Mike Phillips
Active member
- Dec 5, 2022
- 51,004
- 7
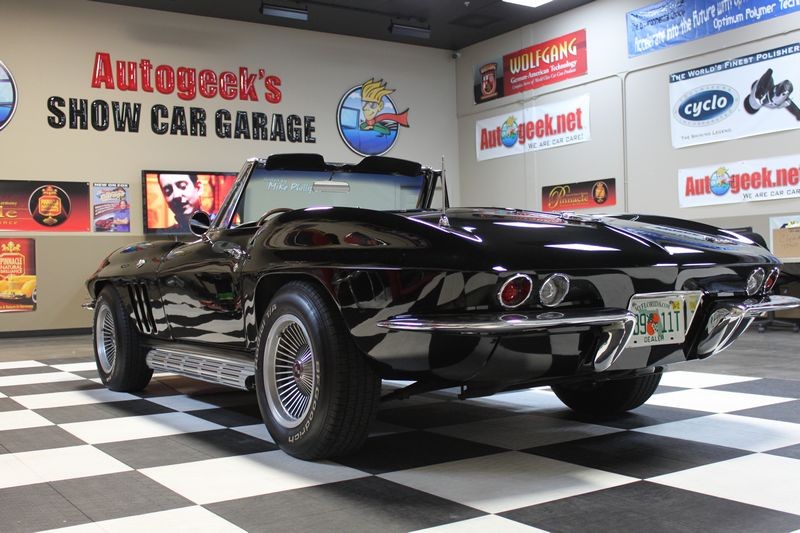
1966 Corvette Stingray - Machine Polish & Machine Wax
On August 18th and 19th, Matt Steele and I made a series of now how-to videos and for these new videos I rounded up some cool cars to work on.
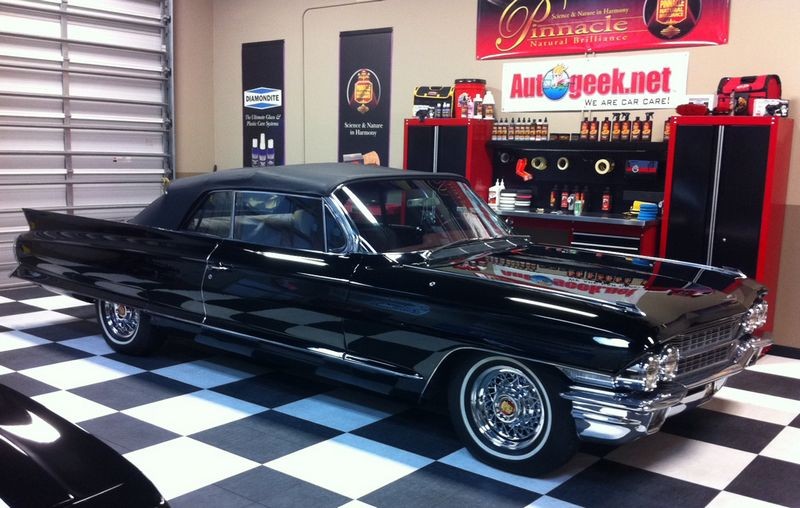
Video Shoot with Matt Steele at Autogeek’s Show Car Garage TV Studio
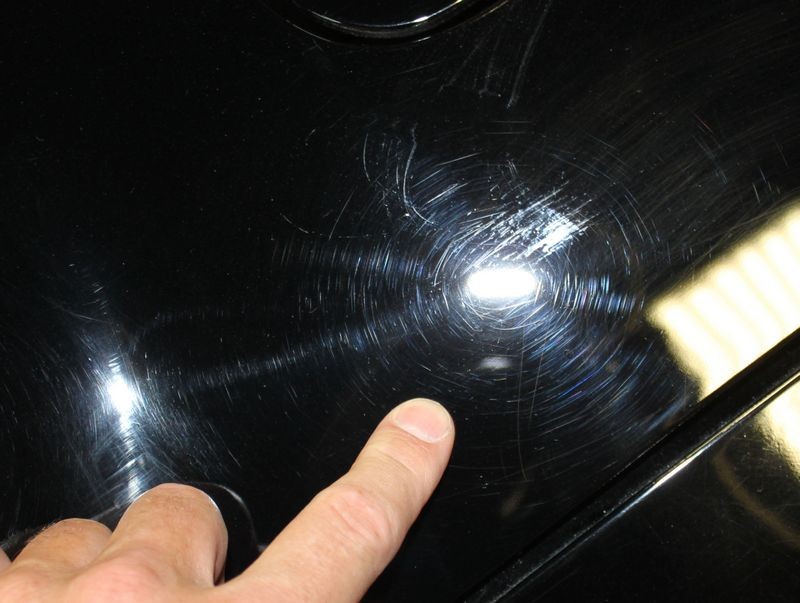
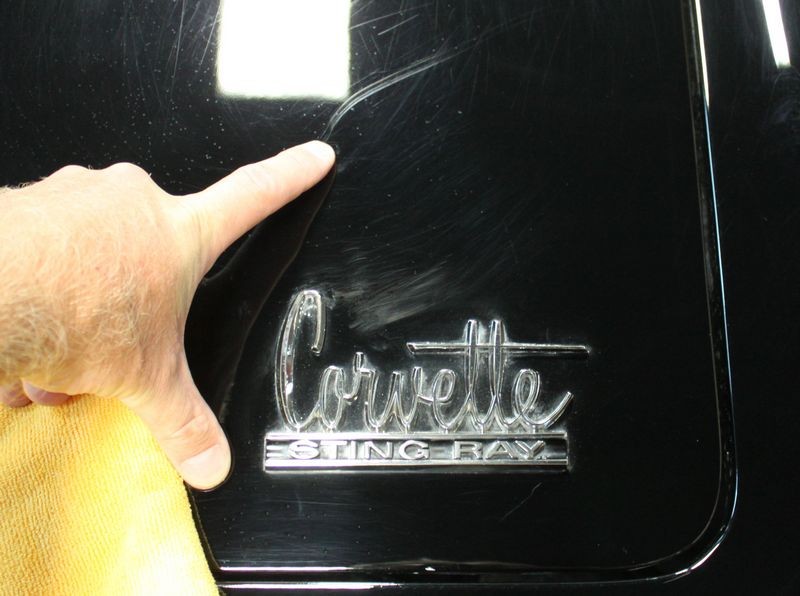
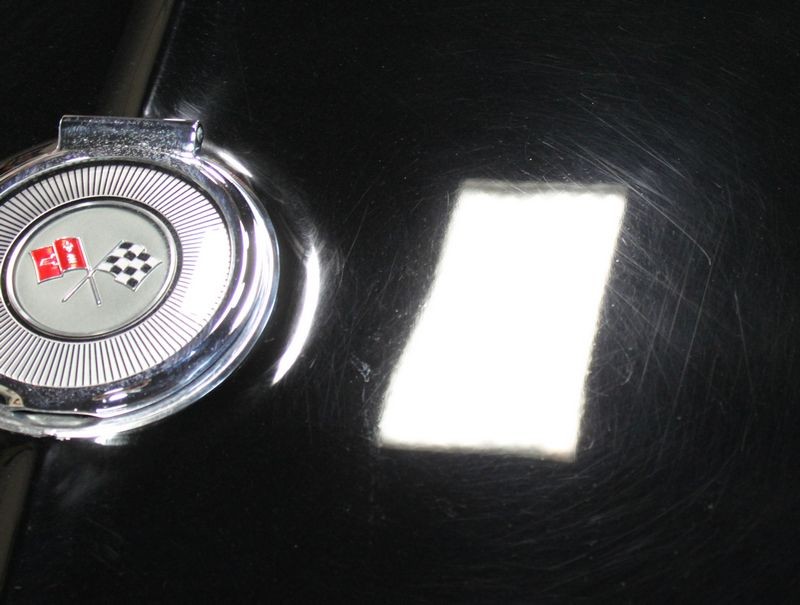
All the cars needed work, either swirls removed, bird dropping etchings removed, etc. One of the cars belongs to my good friend Craig Danzig and upon close inspection I found a lot of Random Isolated Deeper Scratches plus the normal swirls and scratches common to so many cars. Craig let me know that many of the scratches are caused by their pet cat and please no cat remedies as Craig let me know the cat is an important member of their family. (So no cat posts or I'll delete them).
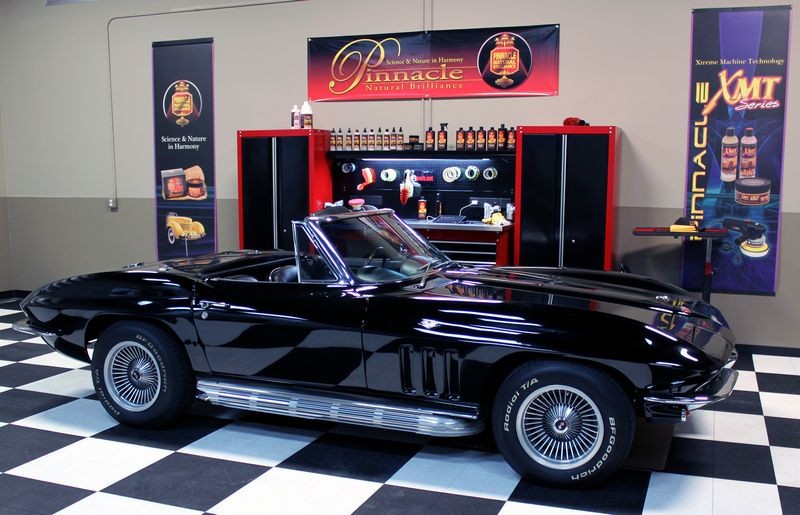
But this isn't a "car", it's a 1966 Corvette Stingray that was a "Barn Find" and then restored to it's almost pristine condition it's in today. We also shared the story behind this Corvette on our TV show, What's in the Garage?, which we'll be shooting Season 2 starting in January.
Episode 5 - Stuart, Florida - Corvette Barn Story in this Episode
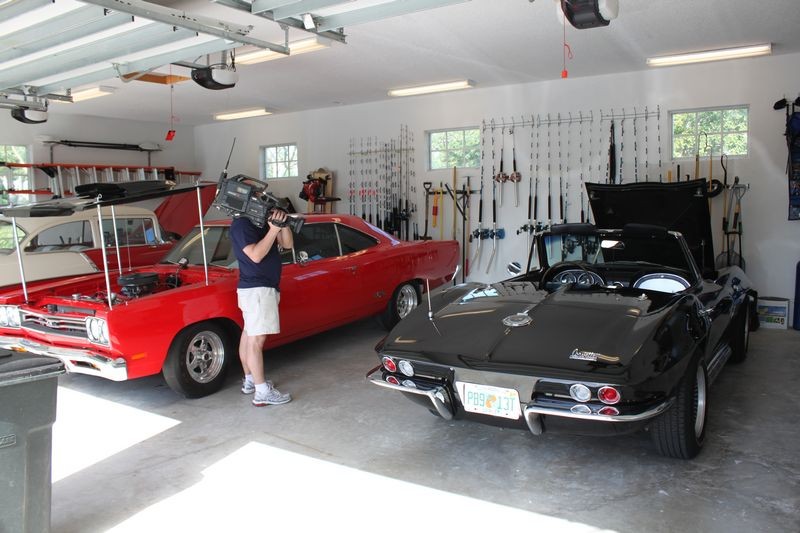
All of the cars arrived either Wednesday night or Thursday morning which was perfect for all the claying, swirl removal and machine waxing steps we needed to shoot in the videos. This also means there was no time to finish buffing out the cars on Thursday and Friday. If you've ever been involved with making a video you can understand how long it can take to prepare and shoot individual segments.
The 2011 Camaro we used is coming back in the next week or so, it belongs to my friend Rene and I'm going to provide some personal, one-on-one training for him and the President of the local Camaro club they belong to, so you'll see it in a future write-up. (Bird dropping etchings).
The 2003 Corvette I machine waxed, the 2007 Mustang I removed the swirls and machine waxed, but this 1966 Corvette need a little more TLC so I saved it for Saturday.
I wrote an article about starting a detailing business, the focus on the article is about teaching people new to detailing as a part time venture to learn right at the start to match their services to their customer, here's the article,
A few tips on starting a part-time detailing business
Following my own advice and knowing this really cool car is going back to the same parking space in Craig's garage that the cat has access to I didn't try to remove all the deeper swirls and scratches because it's highly likely that it's going to see a few more into the future.
What I did do is remove a majority of all the shallow swirls and scratches and then polish the clearcoat till it's was clear and glossy and then I machine waxed it using Pinnacle Souveran Paste Wax.
I arrived at work at 8:00am and only had till 4:00pm to do the entire job so I kept my process simple but effective.
Process
Wiped car down the day before using DP Waterless Wash & Gloss but gave it another wipe to remove any accumulated dust.
Note: Unless the owner tells you it's okay to wash their car with water it's a good practice not to wash classics like this with water because you'll introduce water to places you cannot reach to dry and this can promote the formation of rust.
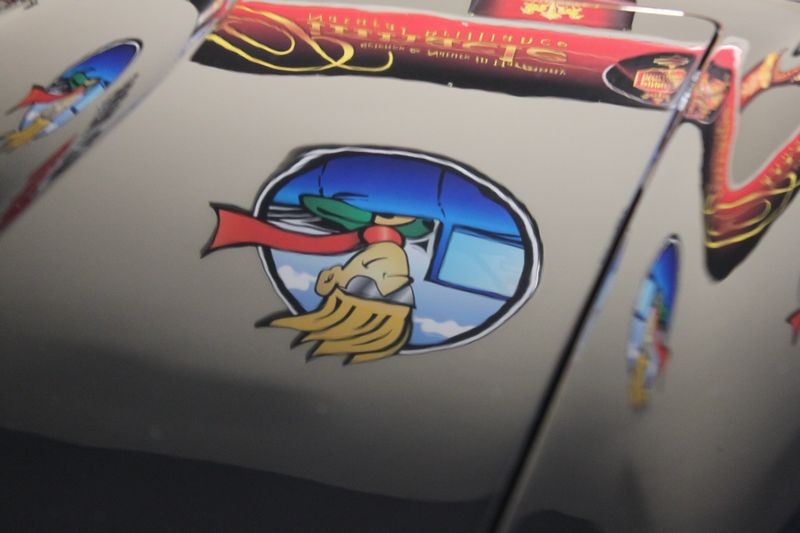
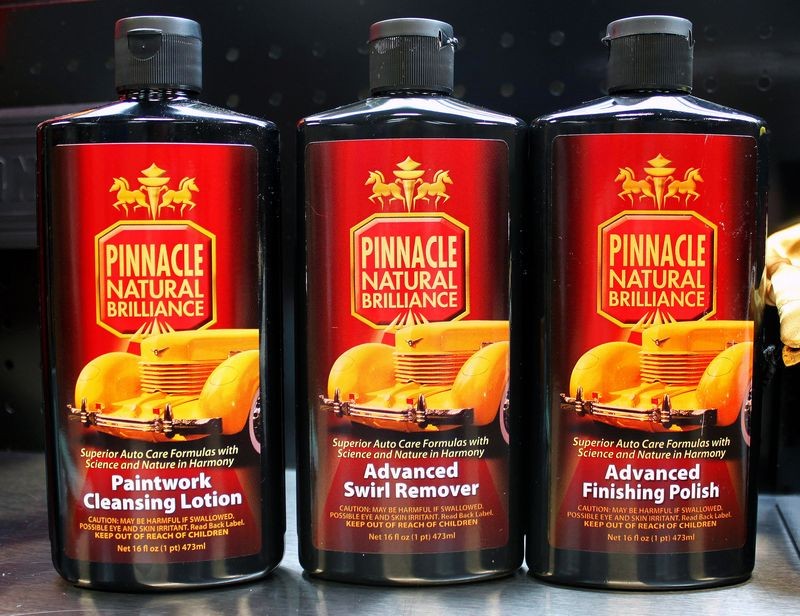
Step 1 - Remove Swirls using Pinnacle Advanced Swirl Remover
Step 2 - Polished the paint to a clear, high gloss using Pinnacle Advanced Finishing Polish
Step 3 - Machine applied Pinnacle Souveran Paste Wax
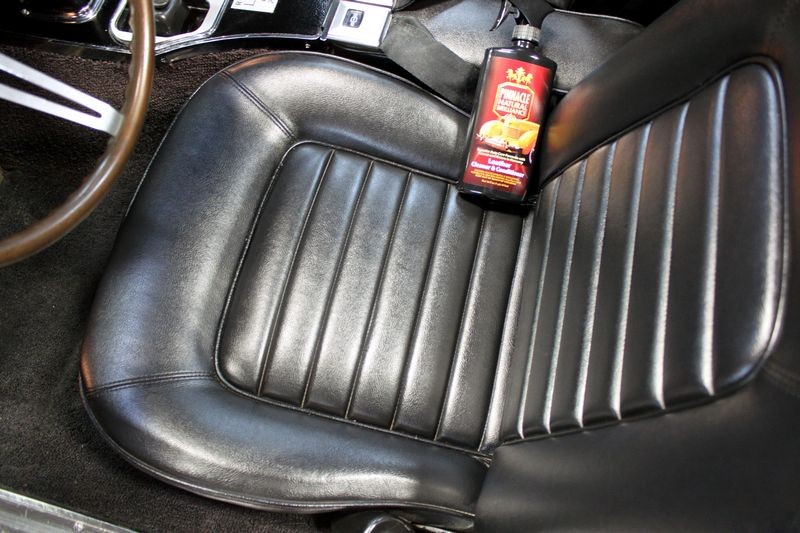
Step 4 - Cleaned, conditioned and protected leather and vinyl using Pinnacle Leather Cleaner & Conditioner
All machine steps performed using a PC 7424XP with 5.5" Lake Country Flat Pads, (Orange, White and Blue)
Here's some pictures from this detailing project...
Before
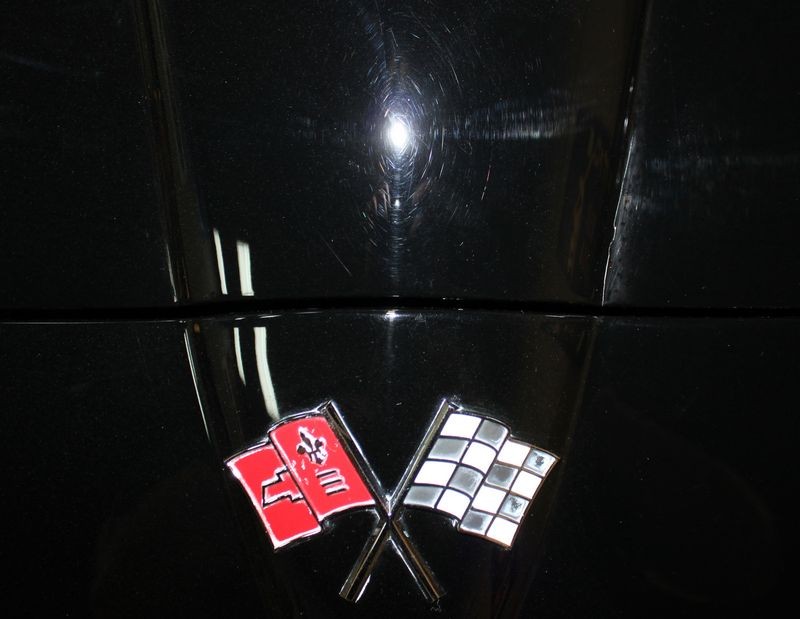


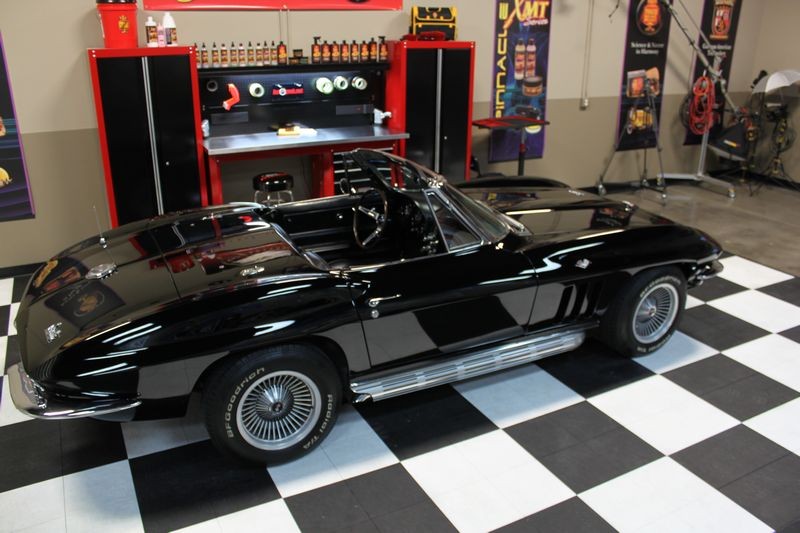
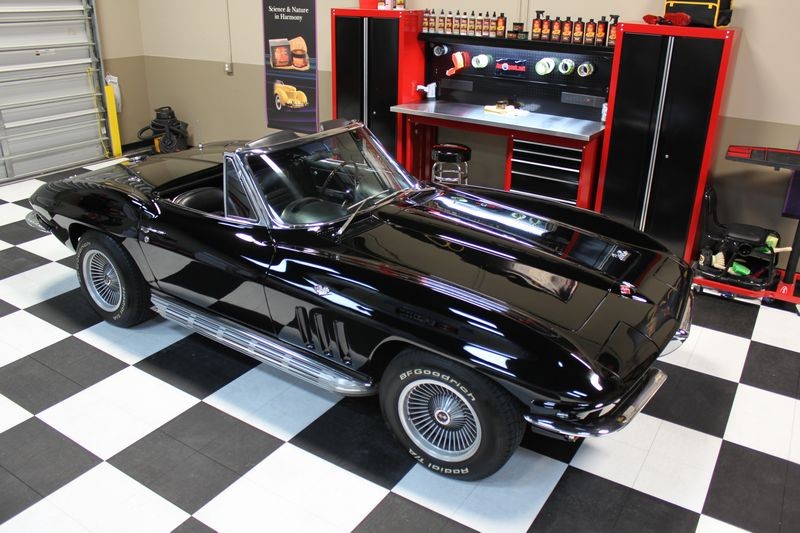
After


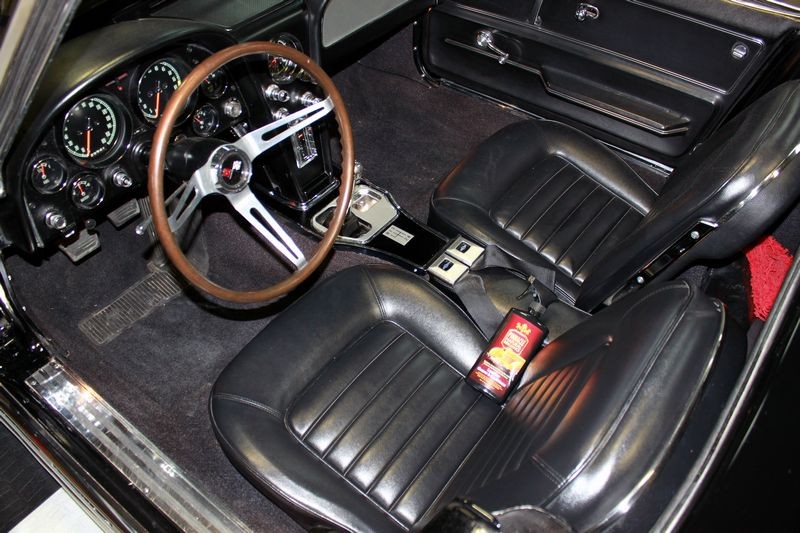
Interior
Note this car was restored and very low mileage since the restoration so the interior is still in excellent condition but you can see where the Pinnacle Leather Cleaner & Conditioner restored the richness of color to the black leather and vinyl surfaces.


Parting shots...
And late Saturday afternoon Craig takes his baby home before the rain starts...

Also just to add... the engine doesn't sound stock... don't know if Craig hot-rodded it a little or not or that's just how a 1966 Chevy Corvette engine sounds but one thing for sure.... it sounds as good as it looks...
:xyxthumbs:
On August 18th and 19th, Matt Steele and I made a series of now how-to videos and for these new videos I rounded up some cool cars to work on.
Video Shoot with Matt Steele at Autogeek’s Show Car Garage TV Studio
All the cars needed work, either swirls removed, bird dropping etchings removed, etc. One of the cars belongs to my good friend Craig Danzig and upon close inspection I found a lot of Random Isolated Deeper Scratches plus the normal swirls and scratches common to so many cars. Craig let me know that many of the scratches are caused by their pet cat and please no cat remedies as Craig let me know the cat is an important member of their family. (So no cat posts or I'll delete them).
But this isn't a "car", it's a 1966 Corvette Stingray that was a "Barn Find" and then restored to it's almost pristine condition it's in today. We also shared the story behind this Corvette on our TV show, What's in the Garage?, which we'll be shooting Season 2 starting in January.
Episode 5 - Stuart, Florida - Corvette Barn Story in this Episode
All of the cars arrived either Wednesday night or Thursday morning which was perfect for all the claying, swirl removal and machine waxing steps we needed to shoot in the videos. This also means there was no time to finish buffing out the cars on Thursday and Friday. If you've ever been involved with making a video you can understand how long it can take to prepare and shoot individual segments.
The 2011 Camaro we used is coming back in the next week or so, it belongs to my friend Rene and I'm going to provide some personal, one-on-one training for him and the President of the local Camaro club they belong to, so you'll see it in a future write-up. (Bird dropping etchings).
The 2003 Corvette I machine waxed, the 2007 Mustang I removed the swirls and machine waxed, but this 1966 Corvette need a little more TLC so I saved it for Saturday.
I wrote an article about starting a detailing business, the focus on the article is about teaching people new to detailing as a part time venture to learn right at the start to match their services to their customer, here's the article,
A few tips on starting a part-time detailing business
Following my own advice and knowing this really cool car is going back to the same parking space in Craig's garage that the cat has access to I didn't try to remove all the deeper swirls and scratches because it's highly likely that it's going to see a few more into the future.
What I did do is remove a majority of all the shallow swirls and scratches and then polish the clearcoat till it's was clear and glossy and then I machine waxed it using Pinnacle Souveran Paste Wax.
I arrived at work at 8:00am and only had till 4:00pm to do the entire job so I kept my process simple but effective.
Process
Wiped car down the day before using DP Waterless Wash & Gloss but gave it another wipe to remove any accumulated dust.
Note: Unless the owner tells you it's okay to wash their car with water it's a good practice not to wash classics like this with water because you'll introduce water to places you cannot reach to dry and this can promote the formation of rust.
Step 1 - Remove Swirls using Pinnacle Advanced Swirl Remover
Step 2 - Polished the paint to a clear, high gloss using Pinnacle Advanced Finishing Polish
Step 3 - Machine applied Pinnacle Souveran Paste Wax
Step 4 - Cleaned, conditioned and protected leather and vinyl using Pinnacle Leather Cleaner & Conditioner
All machine steps performed using a PC 7424XP with 5.5" Lake Country Flat Pads, (Orange, White and Blue)
Here's some pictures from this detailing project...
Before
After
Interior
Note this car was restored and very low mileage since the restoration so the interior is still in excellent condition but you can see where the Pinnacle Leather Cleaner & Conditioner restored the richness of color to the black leather and vinyl surfaces.
Parting shots...
And late Saturday afternoon Craig takes his baby home before the rain starts...
Also just to add... the engine doesn't sound stock... don't know if Craig hot-rodded it a little or not or that's just how a 1966 Chevy Corvette engine sounds but one thing for sure.... it sounds as good as it looks...
:xyxthumbs:


")