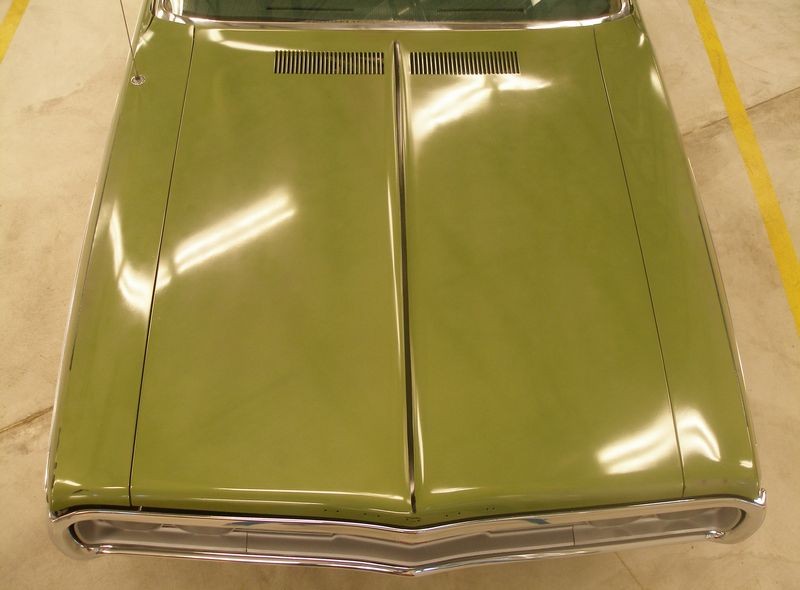
Re: Classic Car Restoration Detail
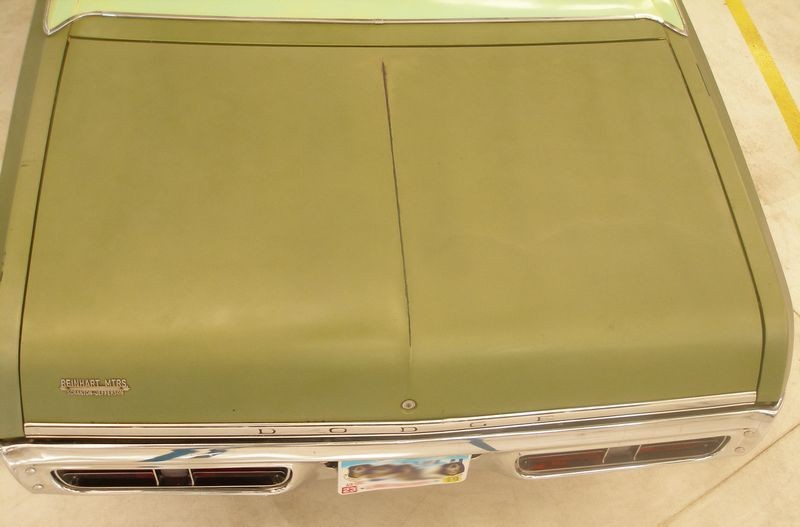
This is still a great example of what I talk about in this article, remember the owner just wants to take what he has and make it look as good as possible for the best possible sale of the car.
"Taking your car's paint to it's maximum potential"

This is exactly what the client and I talked about prior to beginning the job.
Today, I'm forced to take a day off due to very wet weather, but yesterday I put in a few extra hours, so I could be at an excellent pick up point come tomorrow.
I started with the engine. I followed Mike Phillips method for cleaning the engine bay of a classic car. Removed the intake, covered the carburetor, alternator, and distributor. I used my foam cannon (from a distance) and foamed the engine and underside of hood. I allowed for some dwell time and then began agitating via various brushes. Followed by a thorough rinse. I stayed away from the top of the engine, due to rusting and the paint chipping away...better to leave a little dirt, then remove paint.
Next, I moved onto the exterior surfaces. Thorough wash, rinse, iron-x, and clayed. The paint was now prepped and ready for it's first application of Meg's #7. After applying (vigorously rubbing in) Meg's #7, I allowed it some time to soak. During this time, I broke out the Optimum Metal Polish, Mothers Powerball and Electric Drill. Their is significant pitting on almost all metal surfaces, as well as rust, and white rust. I'm not refurbishing to new, rather just clean and brighten.
Moving on, I turned my attentions to the interior. The interior received a thorough cleaning from top to bottom and looks great. (I didn't ask the client, but I suspect that at one point during her ownership, a mouse may have made its home inside the vehicle.
Finally, prior to ending for the day, I went back to the exterior and removed the Meg's #7. First coat likely soaked in for 2 hours. Then I reapplied a very very thick coat of Meg's #7 which will be left to soak for about 36 hours.
So far so good!
