Mike Phillips
Active member
- Dec 5, 2022
- 51,004
- 7

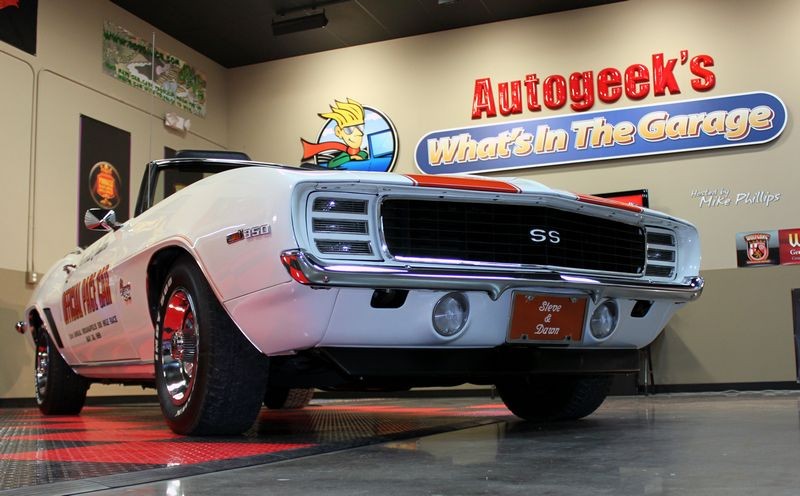
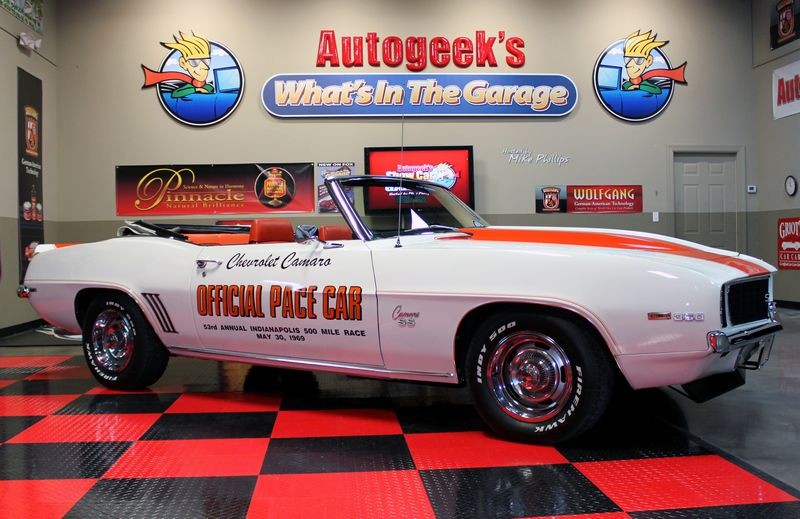
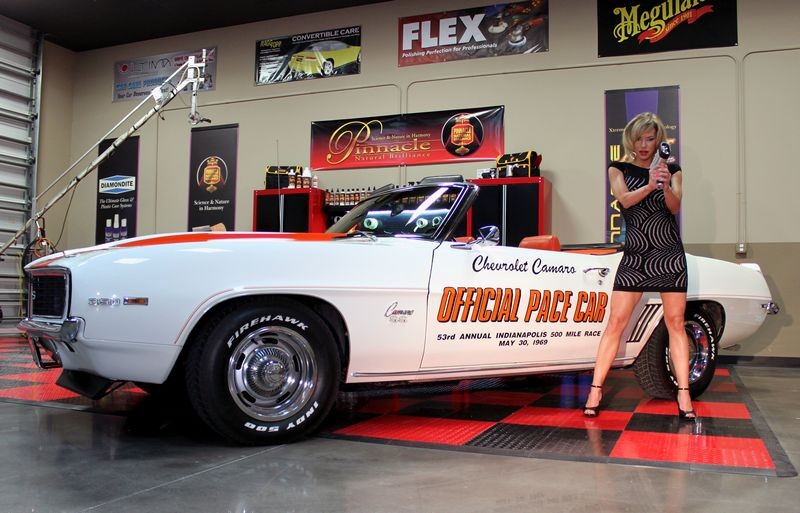
1969 Camaro Pace Car - Show Car Makeover - Modeled by Michelle
Steve just arrived with his Camaro and the sun is sitting low in the sky but I was able to get a few pictures to show the condition of the paint...
Here's how low the sun was in the sky...

Best Sun Swirl Shots I could get...


Here's how the paint looks using the Brinkmann Swirl Finder Light

Here I'm using the camera flash to light up the swirls and scratches...

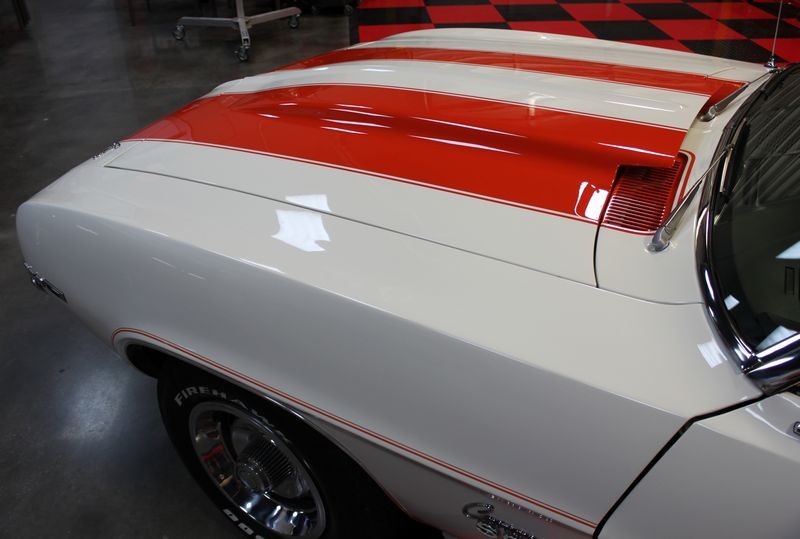
Close-up: There's scratches and general surface imperfections throughout the finish...

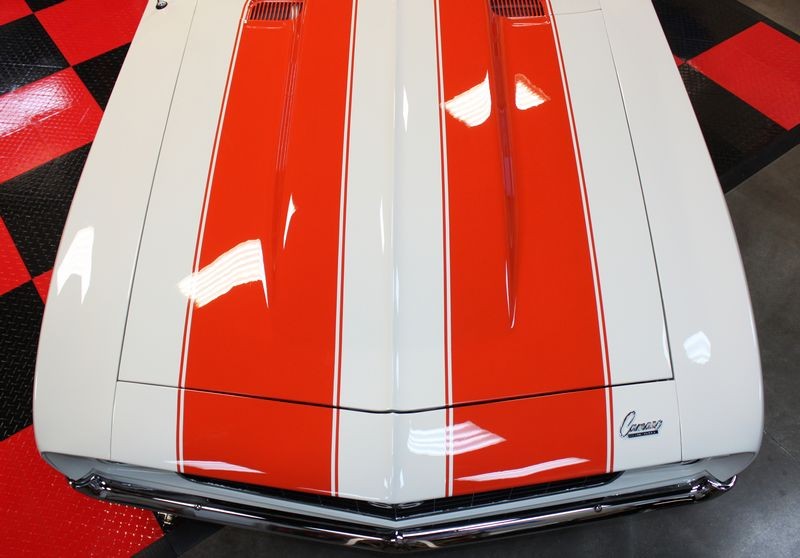
This shot is to frame-up the following shots so you can tell where the close-ups are being taken. Every body panel looked the same way...

Close-ups...


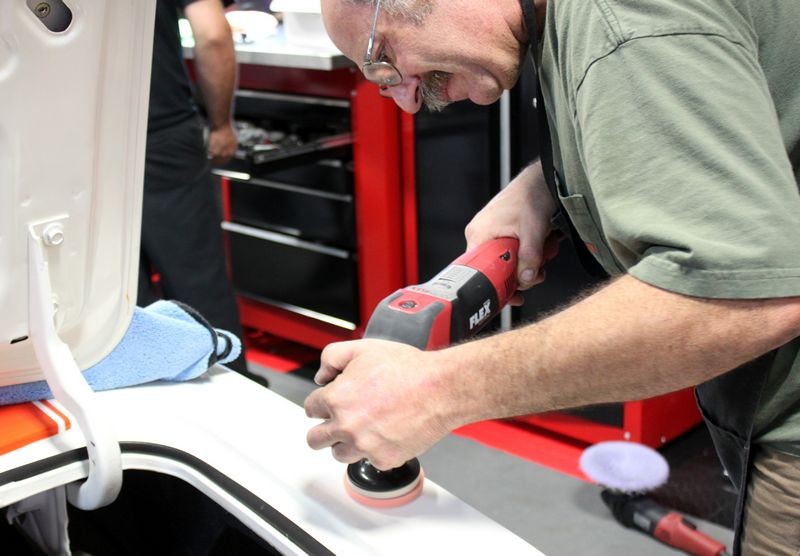
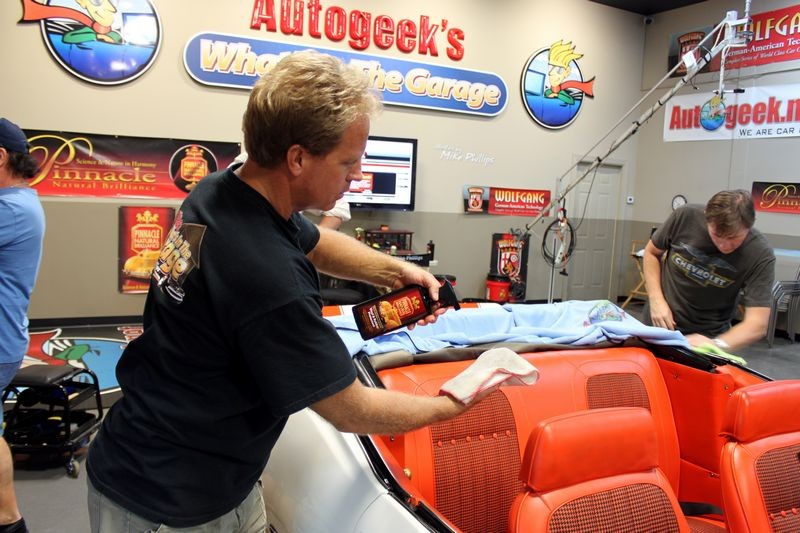
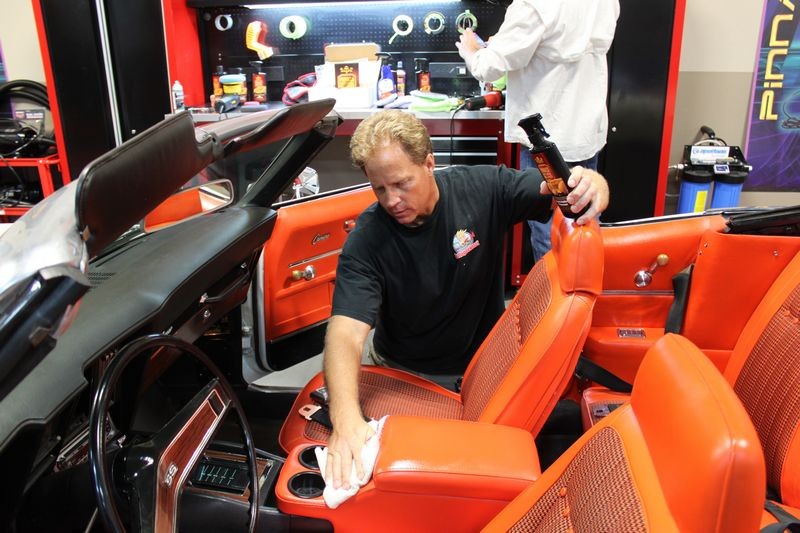
Next up we wiped the car clean using Detailer's Pro Series Waterless Auto Wash and Pinnacle Clay Lubricant, which can be used to remove light dust, smudges and fingerprints.
In this shot, Rene is sharing some tips and techniques on how to carefully wipe a car down... (Thanks Rene!)

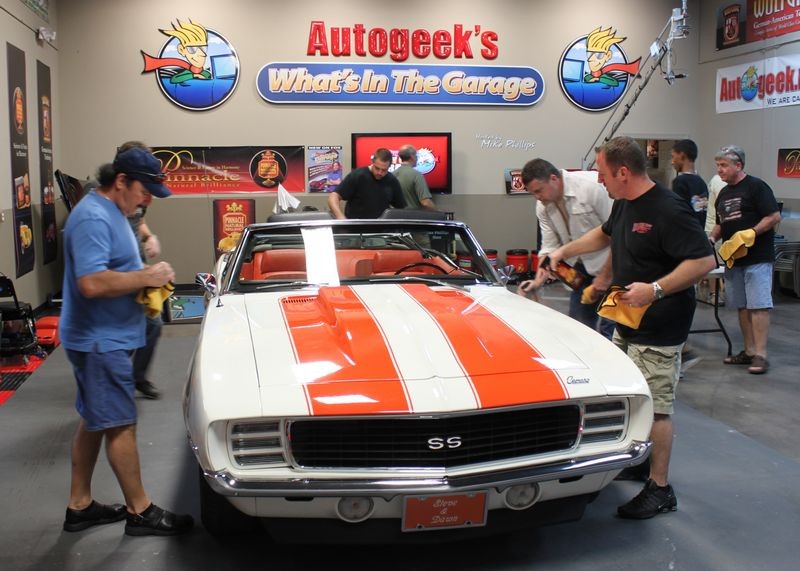
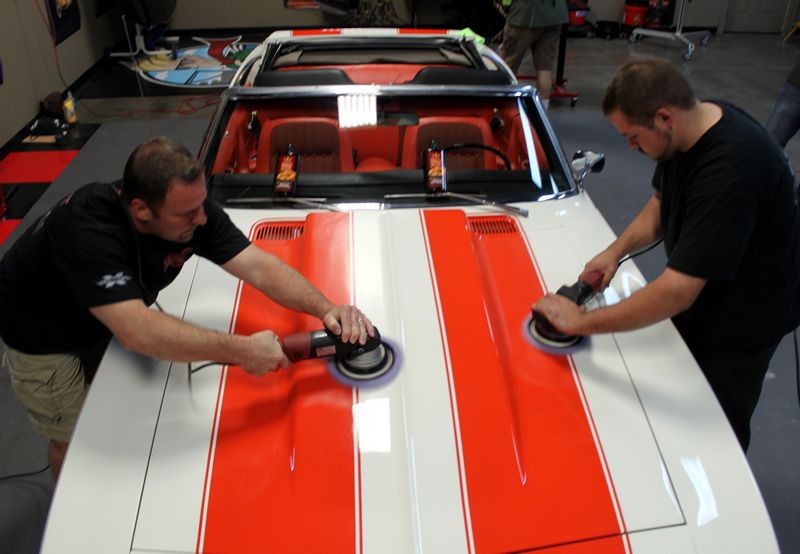
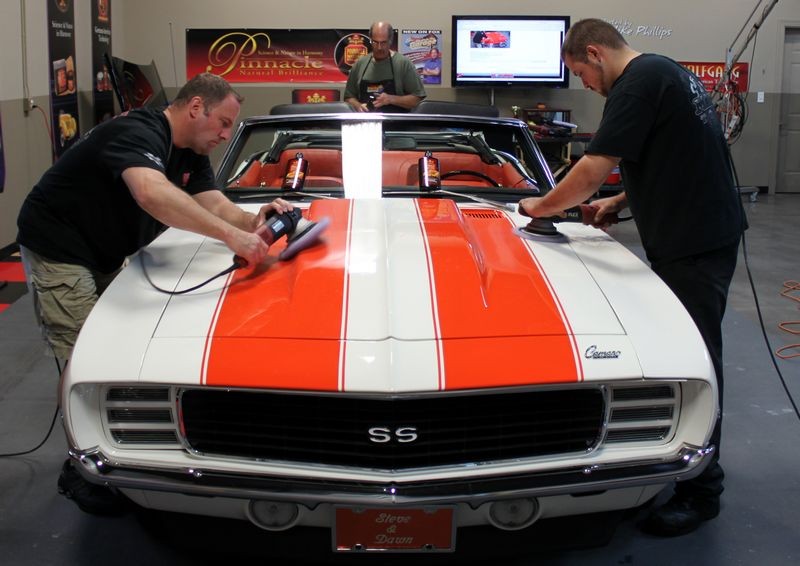
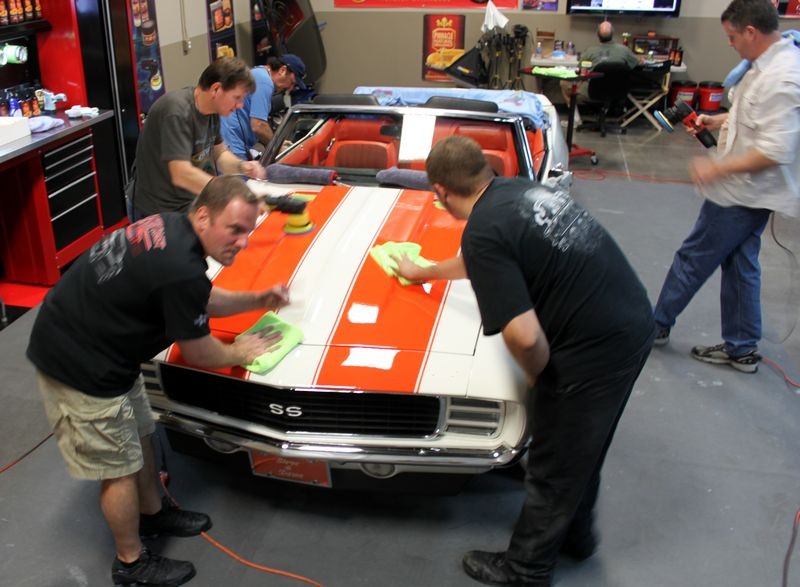
It doesn't take long to wipe a car clean with 7 guys...

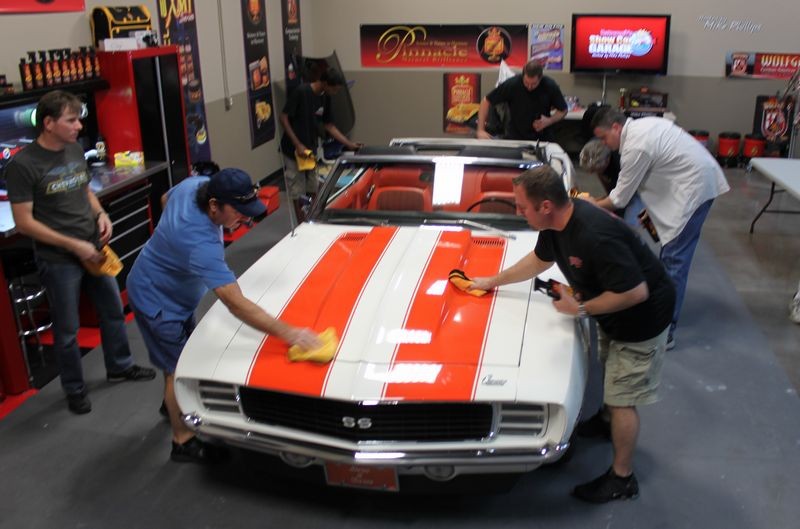
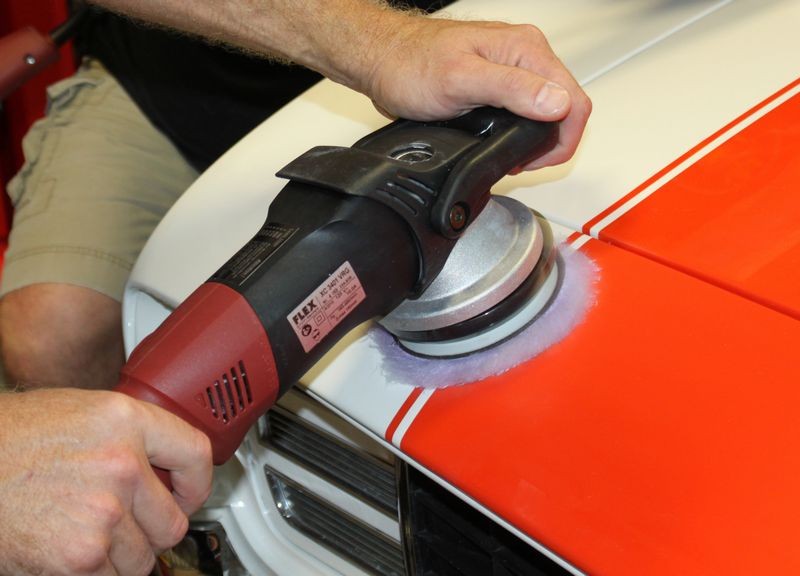
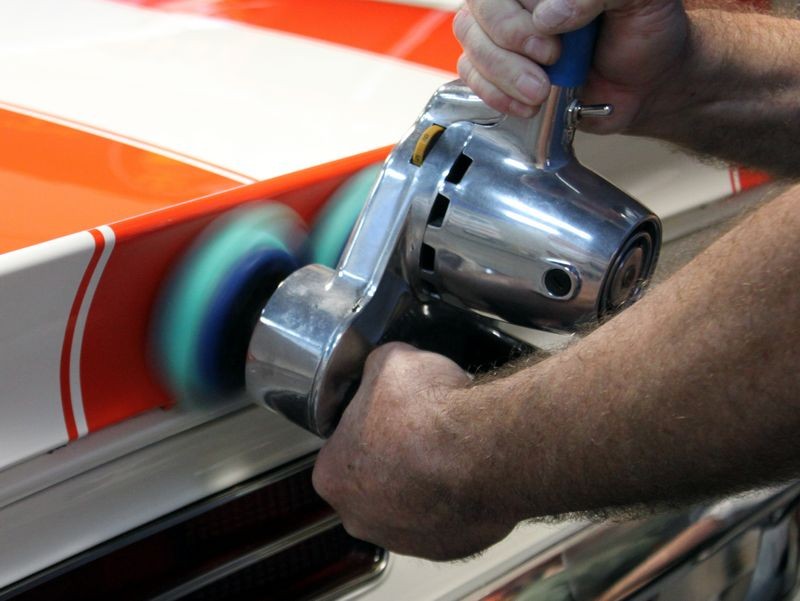
After wiping the car clean, we felt the paint with our bare hands and also using the baggie test and the paint felt pretty rough so we went ahead and clayed each panel using Pinnacle Clay Lubricant and Pinnacle Ultra Poly Clay.
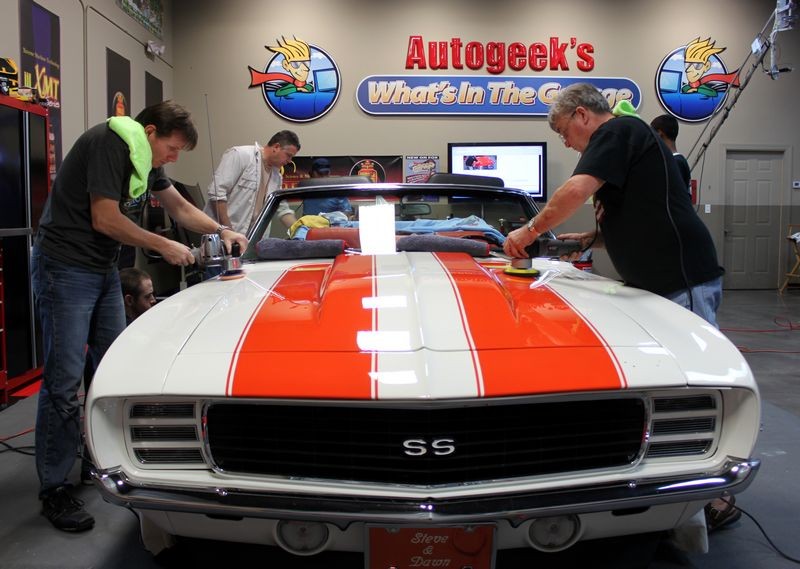
Same thing... it doesn't take long to clay an entire car with 8 guys claying the paint...

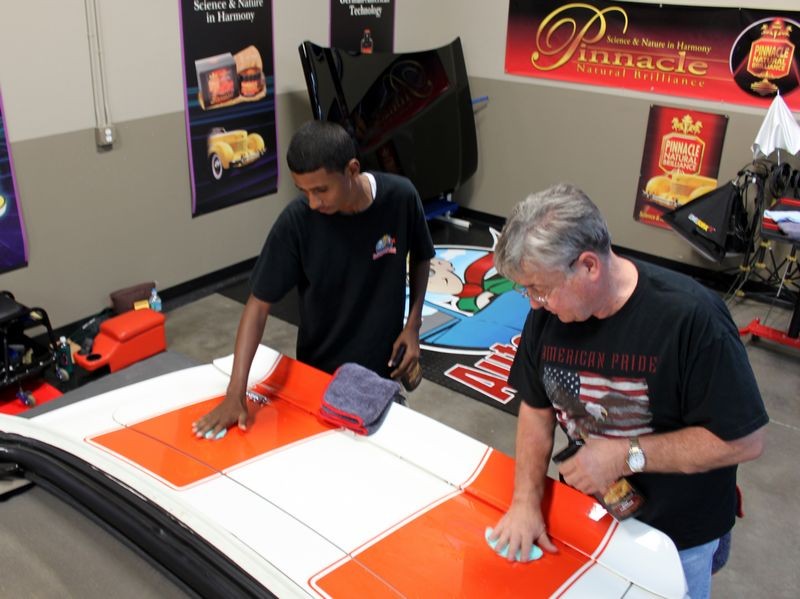
In this picture, Robert from Impressions Fine Auto Detailing and a regular here at our weekly projects shares with Ron, (in the blue shirt), how to use detailing clay the right way. These projects are a great way to learn about products and techniques by guys that have been doing this for years...

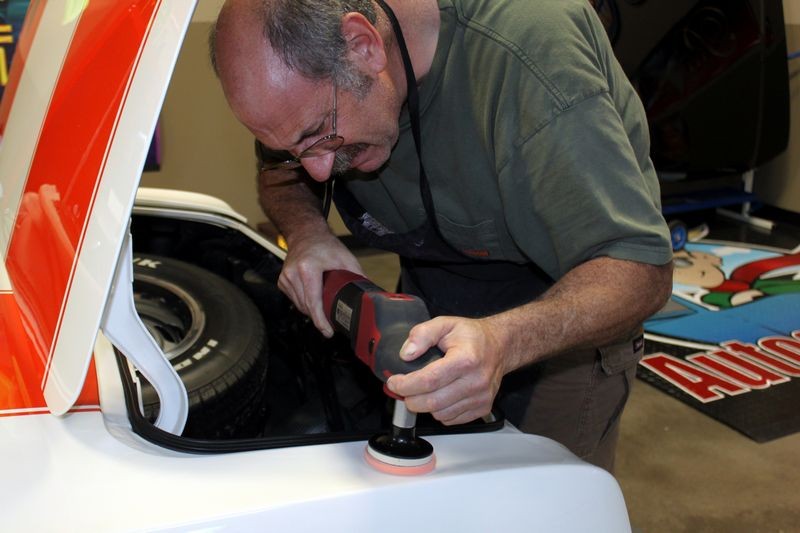
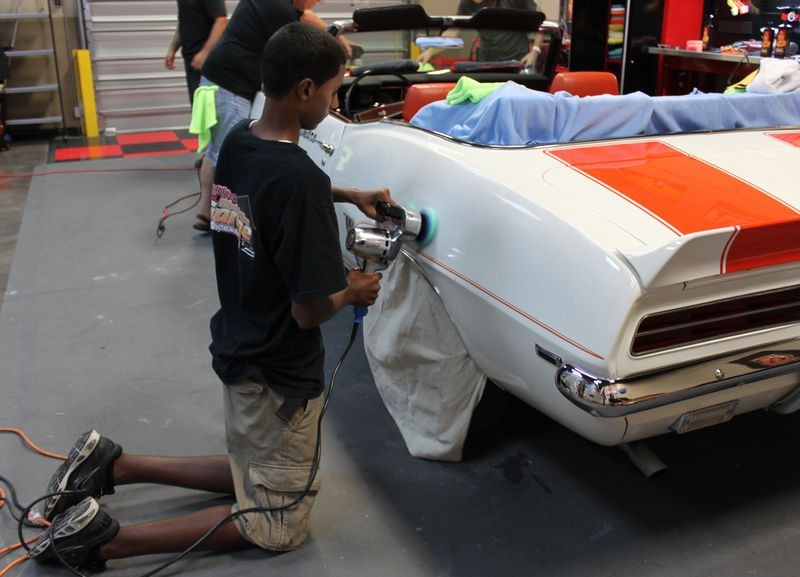
Here's Hector and Glen claying the rear clip of the Camaro... Hector is going to be one heck of a Pro Detailer if he keeps attending our weekly projects plus he's going to get to work on a lot of really cool cars. Glen is to the right helping with the claying step.


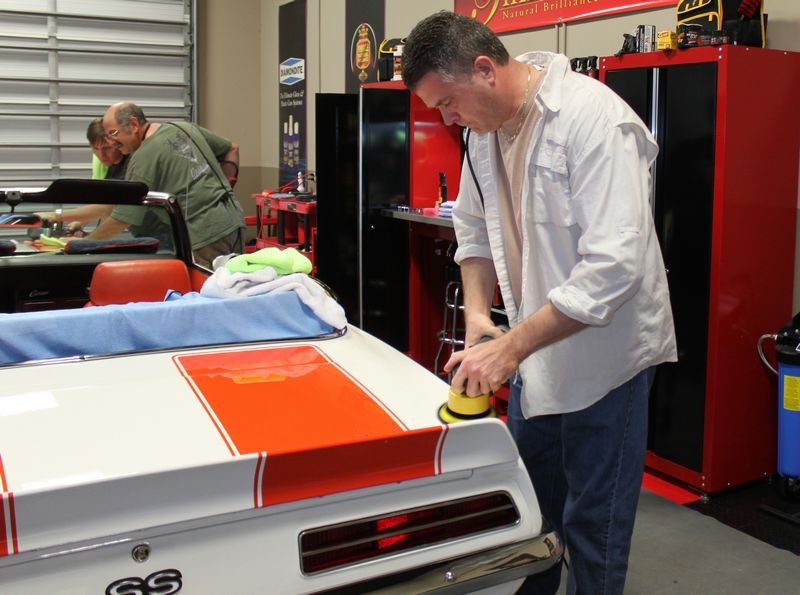
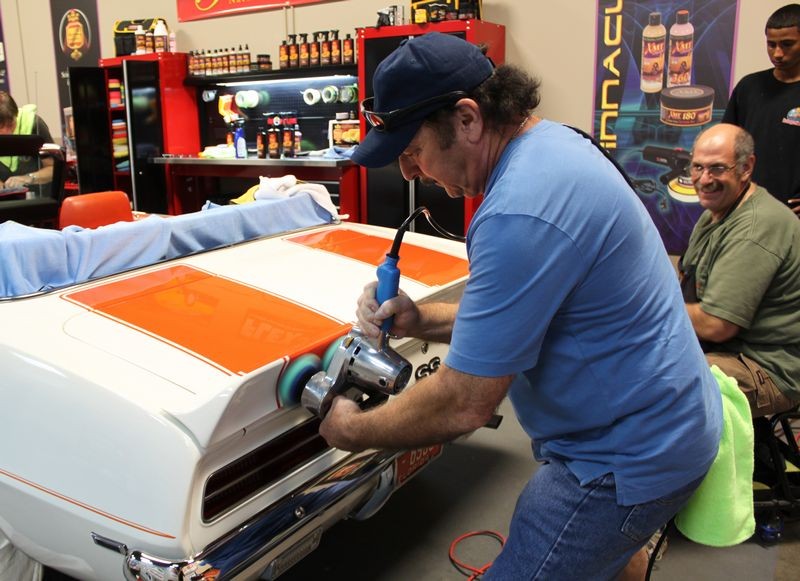
Pictured with the green microfiber towel over his shoulder is Steve the owner. I want to thank Steve for trusting Autogeek with his precious car... you're in good hands at Autogeek...

")


 rops: Mike, I would love to know how you keep finding these amazing ladies to model for AG and how I can get a job at PBME so that I can move back to the South and meet them.LOL