Mike Phillips
Active member
- Dec 5, 2022
- 51,004
- 6
1969 Corvette Stingray - Cobra Clay Mitt Review
A while back I had this old 2-door Chevy to detail. Nick gave me the new Cobra Clay Mitt to test out. As a professional best practice I don't wash muscle cars, classics or antiques using the traditional wash method of using a bucket and water hose.
The reason why is I don't introduce water to places where rust can be an issue. Instead I use a waterless wash for most of my detail work.
Couldn't use the Cobra Wash Mitt the way most people would use it but that's not a problem I'll just use it with some clay lube.
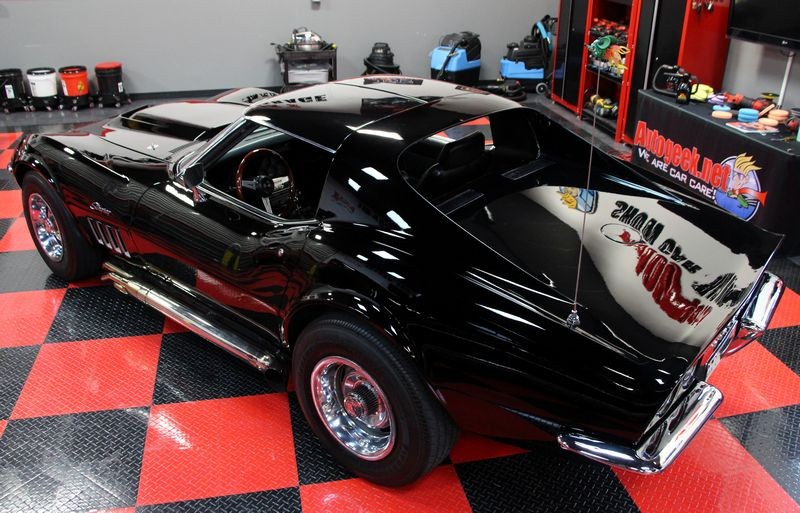
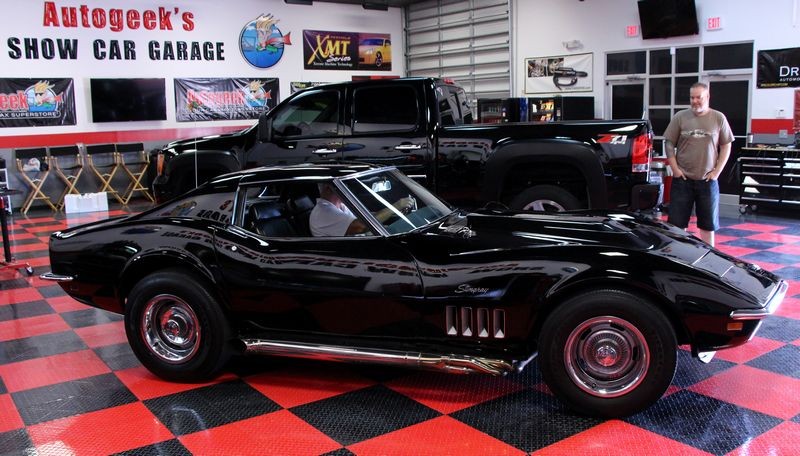
1969 Corvette
This Corvette has a long history as a race car but the current owner tamed it down and now just cruises it to car shows.

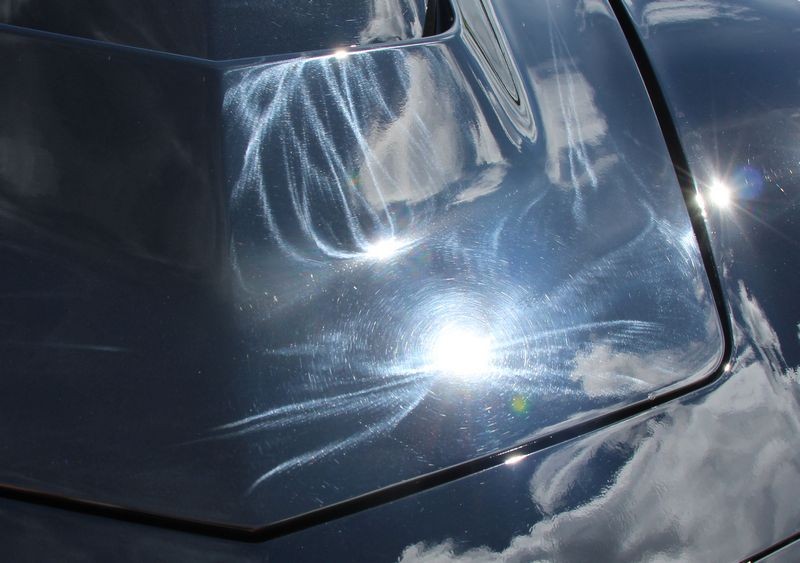
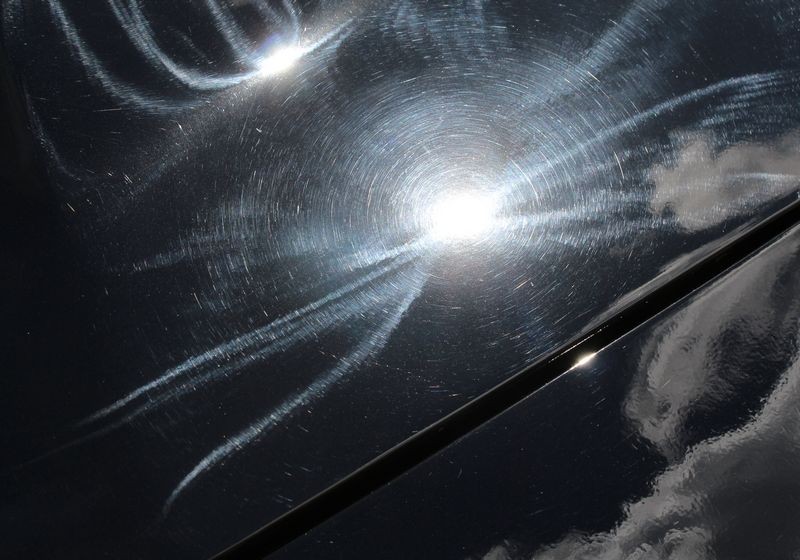
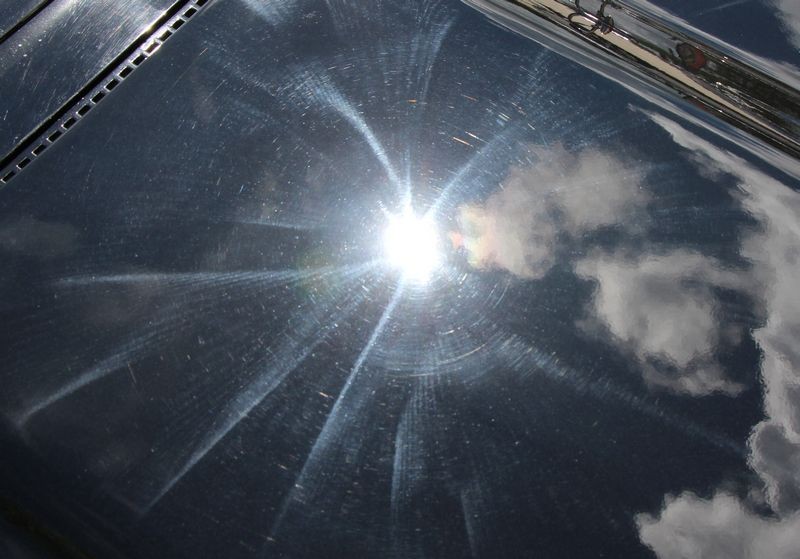
Problem was... the dreaded holograms...

Bonded Contaminants
Besides horrible holograms after doing the Baggie Test I found the paint was also contaminated. Due to the amount of contaminants my guess is there was clear overspray paint plus who know what else. I used some detailing clay to gauge how bad the contamination was.
The contamination you see below was collected off the paint after claying only one half of the deck lid.

The Cobra Clay Mitt
Here's the Cobra Clay Mitt. One size has a polymerized rubber face. This is the side you use to decontaminate paint.
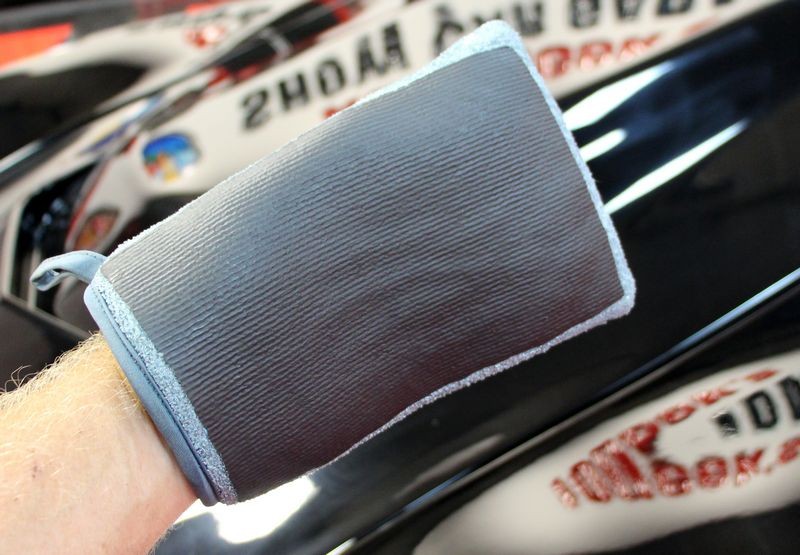
The other side is soft plush microfiber with a short nap.
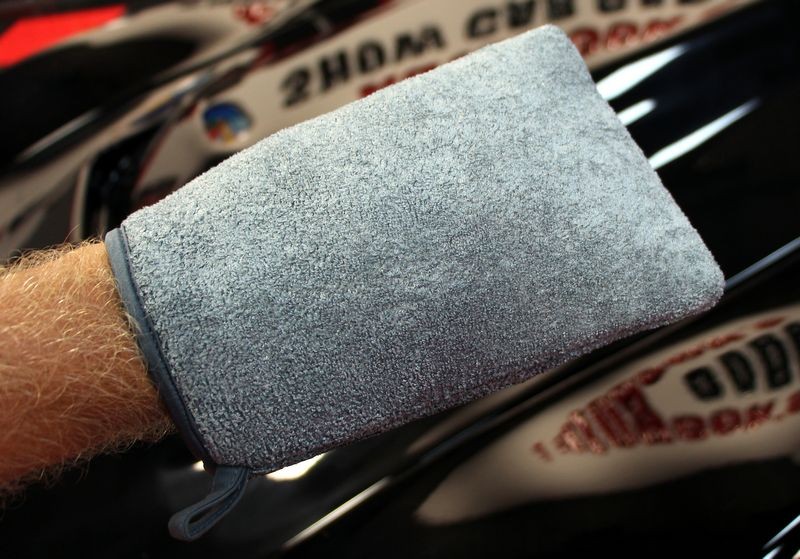
Cobra Clay Mitt Review
The Cobra Clay Mitt worked superb for removing all the contaminants off the paint, glass and chrome trim on this 1969 Corvette. I didn't place my hand inside the mitt but instead simply gripped the wash mitt from the microfiber side and then rubbed it over the surface using a generous amount of clay lube.
It was fast and effective. It was as easy to use and unlike clay if you drop it on the ground you can rinse it off and continue using it.
I'll definitely use it again.
Results
No pictures of the process for doing all the correction, polishing and sealing from this project as I started at 6:30pm and had to hustle to get her done before midnight.

On Autogeek.com
Cobra Clay Mitt
")
A while back I had this old 2-door Chevy to detail. Nick gave me the new Cobra Clay Mitt to test out. As a professional best practice I don't wash muscle cars, classics or antiques using the traditional wash method of using a bucket and water hose.
The reason why is I don't introduce water to places where rust can be an issue. Instead I use a waterless wash for most of my detail work.
Couldn't use the Cobra Wash Mitt the way most people would use it but that's not a problem I'll just use it with some clay lube.
1969 Corvette
This Corvette has a long history as a race car but the current owner tamed it down and now just cruises it to car shows.
Problem was... the dreaded holograms...
Bonded Contaminants
Besides horrible holograms after doing the Baggie Test I found the paint was also contaminated. Due to the amount of contaminants my guess is there was clear overspray paint plus who know what else. I used some detailing clay to gauge how bad the contamination was.
The contamination you see below was collected off the paint after claying only one half of the deck lid.
The Cobra Clay Mitt
Here's the Cobra Clay Mitt. One size has a polymerized rubber face. This is the side you use to decontaminate paint.
The other side is soft plush microfiber with a short nap.
Cobra Clay Mitt Review
The Cobra Clay Mitt worked superb for removing all the contaminants off the paint, glass and chrome trim on this 1969 Corvette. I didn't place my hand inside the mitt but instead simply gripped the wash mitt from the microfiber side and then rubbed it over the surface using a generous amount of clay lube.
It was fast and effective. It was as easy to use and unlike clay if you drop it on the ground you can rinse it off and continue using it.
I'll definitely use it again.
Results
No pictures of the process for doing all the correction, polishing and sealing from this project as I started at 6:30pm and had to hustle to get her done before midnight.
On Autogeek.com
Cobra Clay Mitt

 rops:
rops:
