RaskyR1
New member
- Apr 14, 2008
- 3,733
- 0
I love working on older cars like this as they always take you back in time. This particular one reminds me of my childhood days of hanging out in the local mall and being in Spencer Gifts with my friends browsing through all the large wall posters. Although the poster I bought that day was actually of a red Porsche 911 turbo slant nose, I can’t help but think of those days staring at the poster on my wall and admiring the beautiful work of art it is. Of course the Kelly Lebrock poster next to it wasn’t bad either. ")
This vehicle was no garage queen and it is/was driven and enjoyed as all cars should be. With that it did have a few bruises here and there but overall it was a very nice car and appeared to be mostly original with only some moderate oxidation and heavy washed induced marring. The trim had faded down a little too and needed to be addressed.
Process:
Wash – Meguiar’s Hyper Wash and natural lambs wool mitt
Wheels – P21S Wheel Cleaner Plus & various brushes.
Tires - Cleaned with Megs D143 and Tuf-Shine brush. Dressed with Megs Hyper Dressing 3:1
Convertible top cleaned with RaggTop cleaner and a brush
Paint Prep – Griot’s Fast Surface Prep Mitt and Glide as lube
Paint Correction - Groit`s Fast Correct Cream on the G15 with Griot`s MF BOSS pads followed by Optimum Hyper Polish on the G15 with yellow BOSS pads. Griot’s BOSS Innerflex pad was also installed during polishing on the fenders and quarter panels. Tight areas were done with Megs G110v2 and the Rupes Nano.
Trim – Solution Finish
Glass – Megs D120 and Griot’s PFM glass towels
LSP – Griot’s Best Of Show Paste Wax
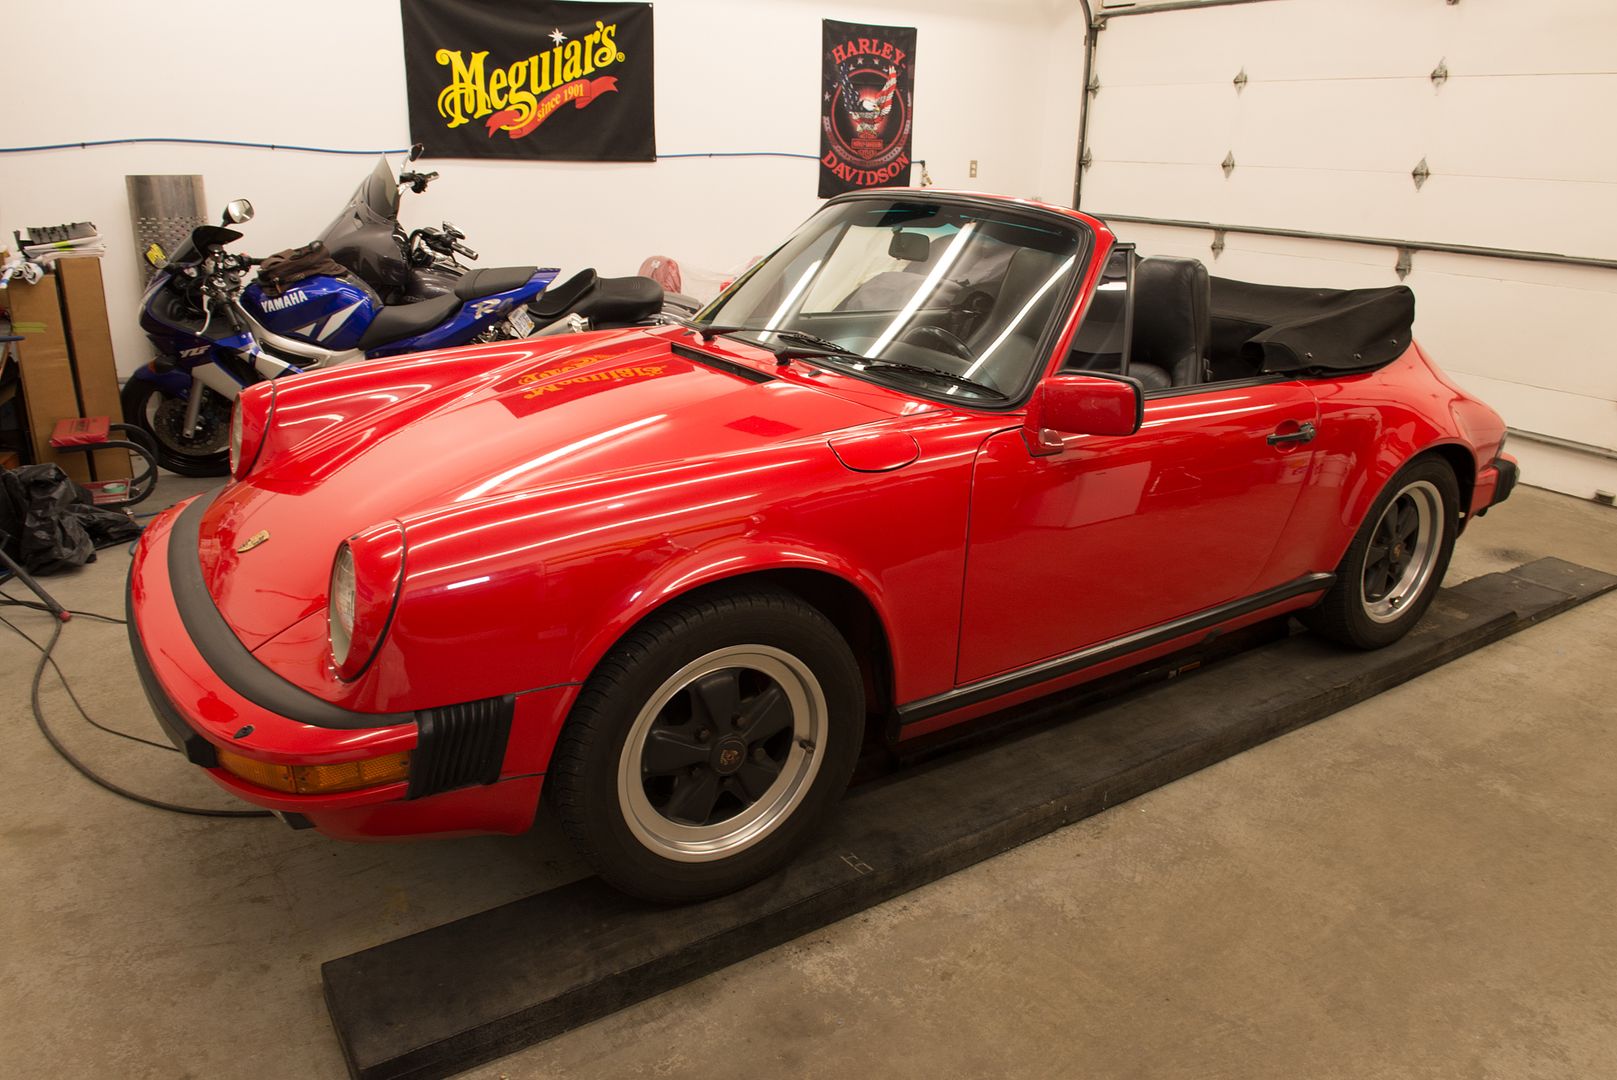
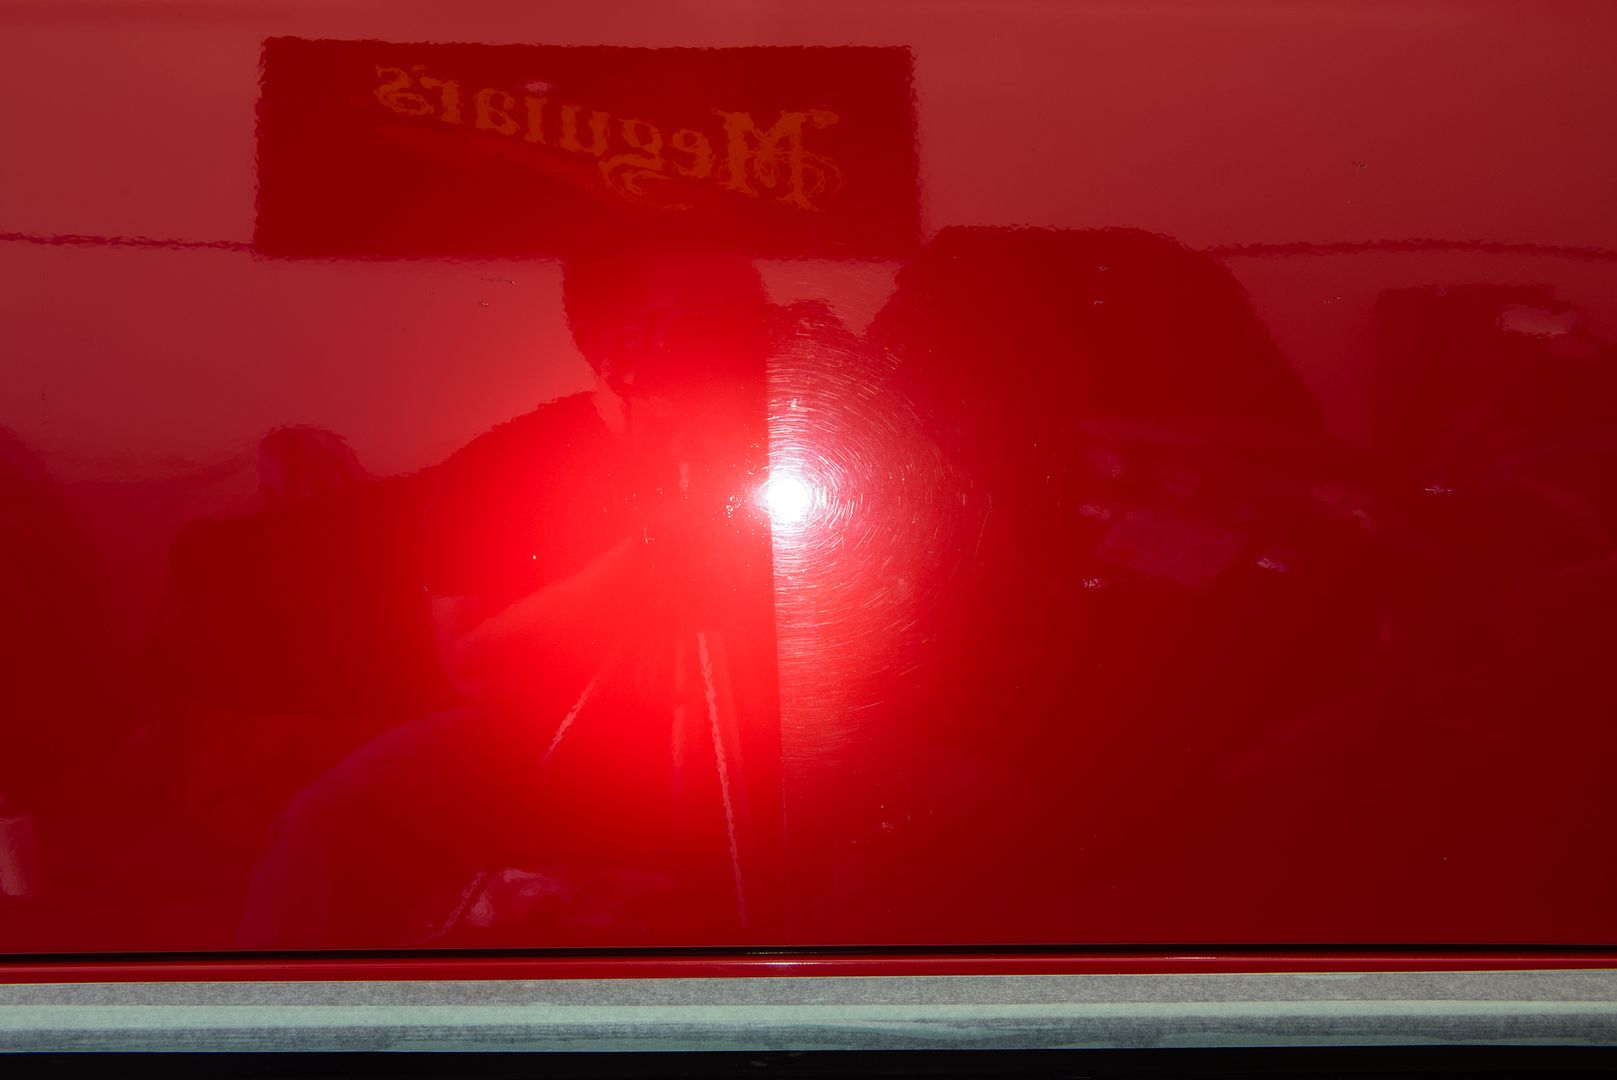
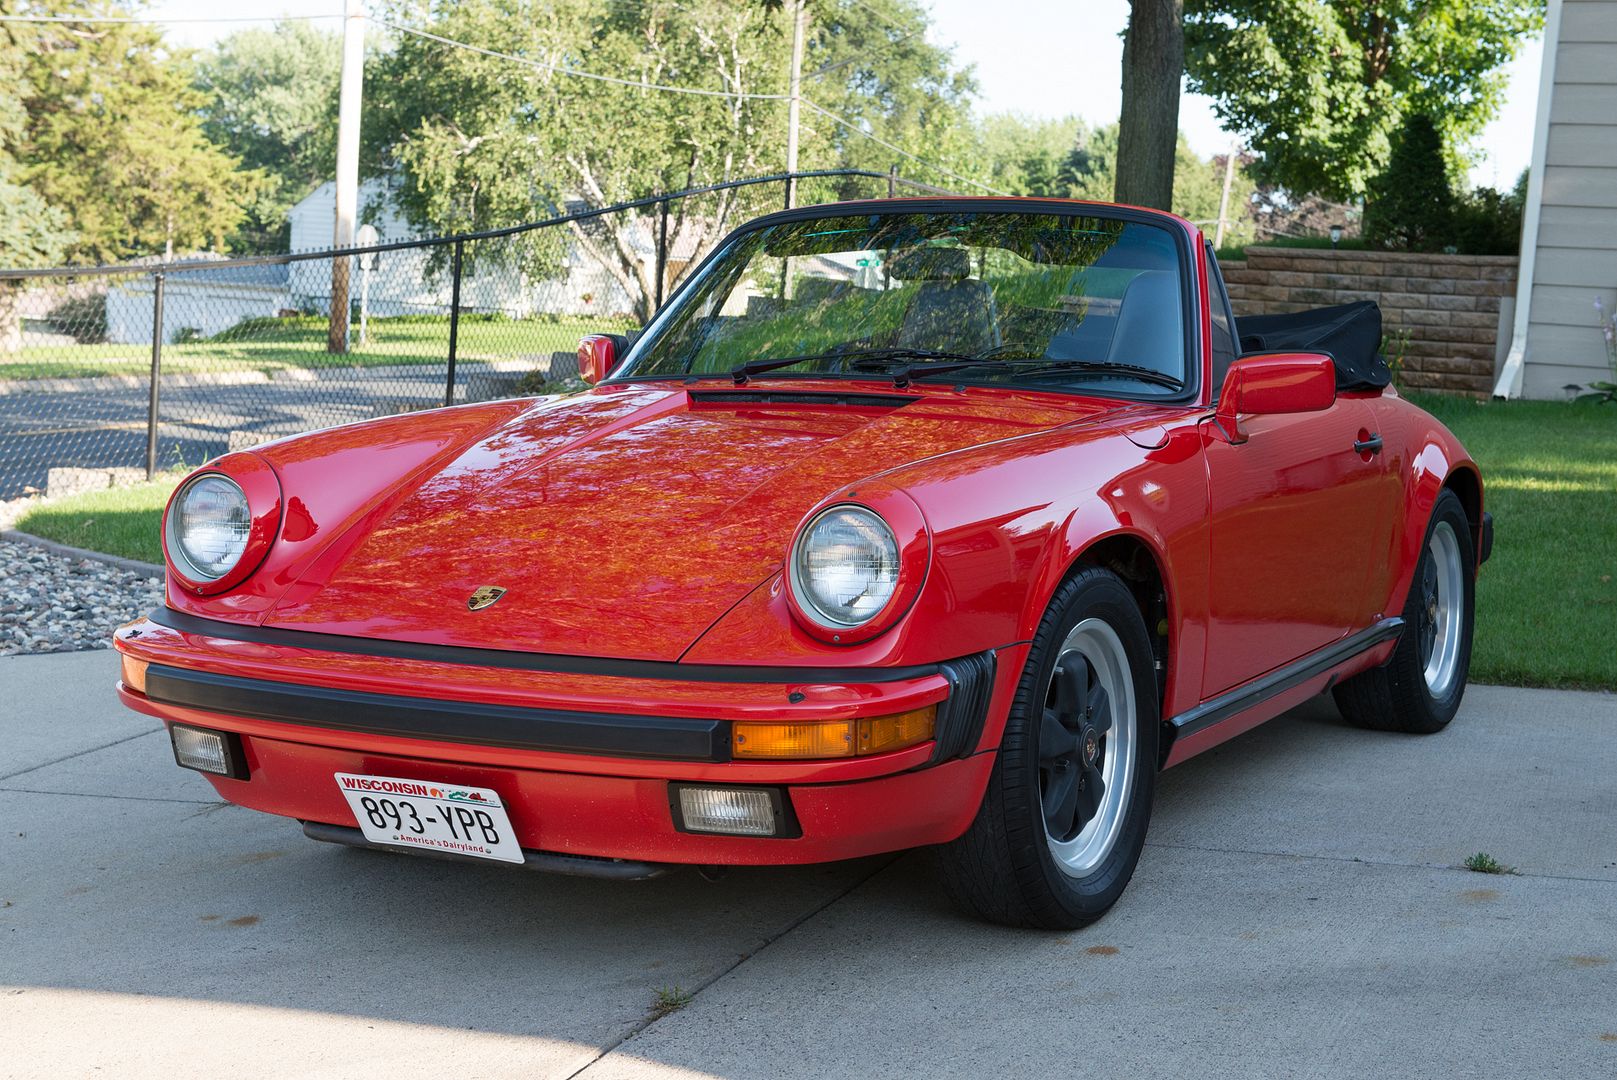
Before pics
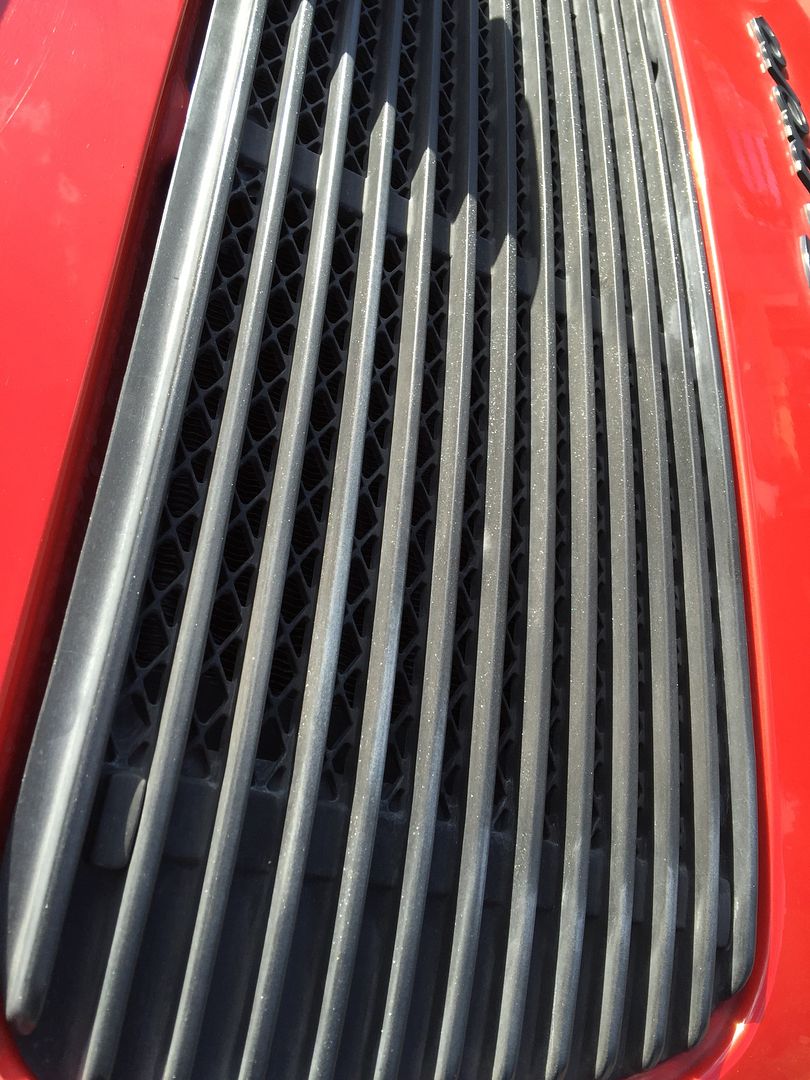
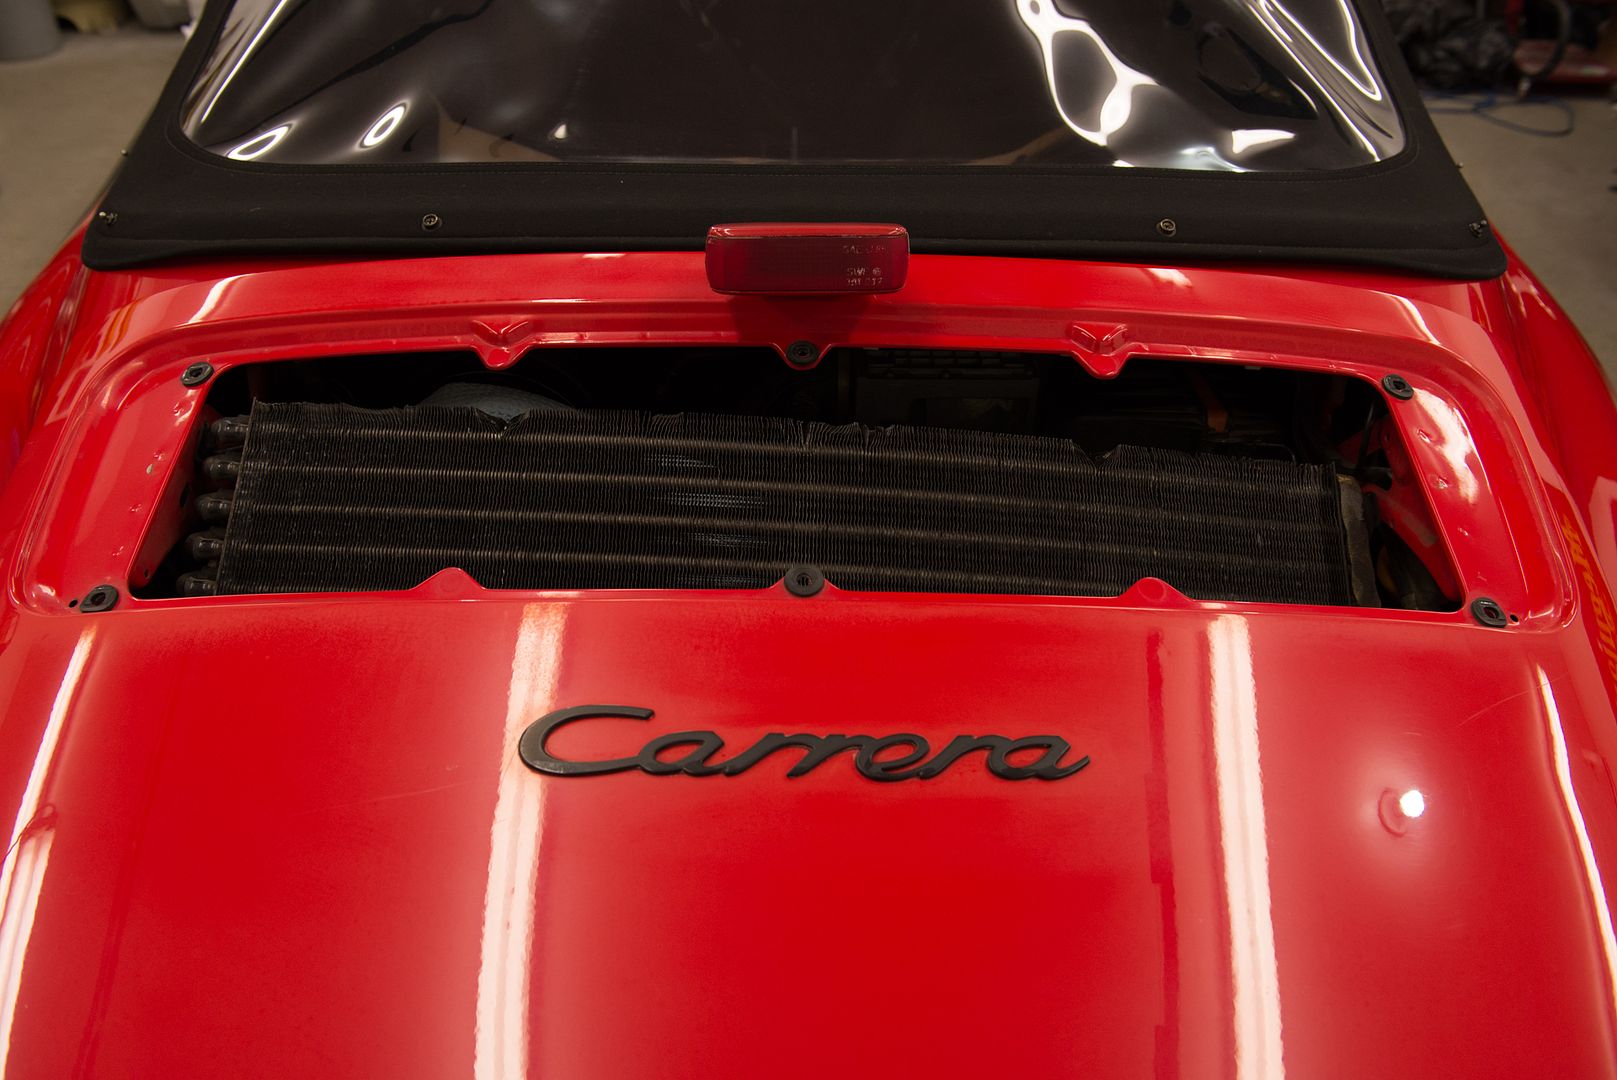
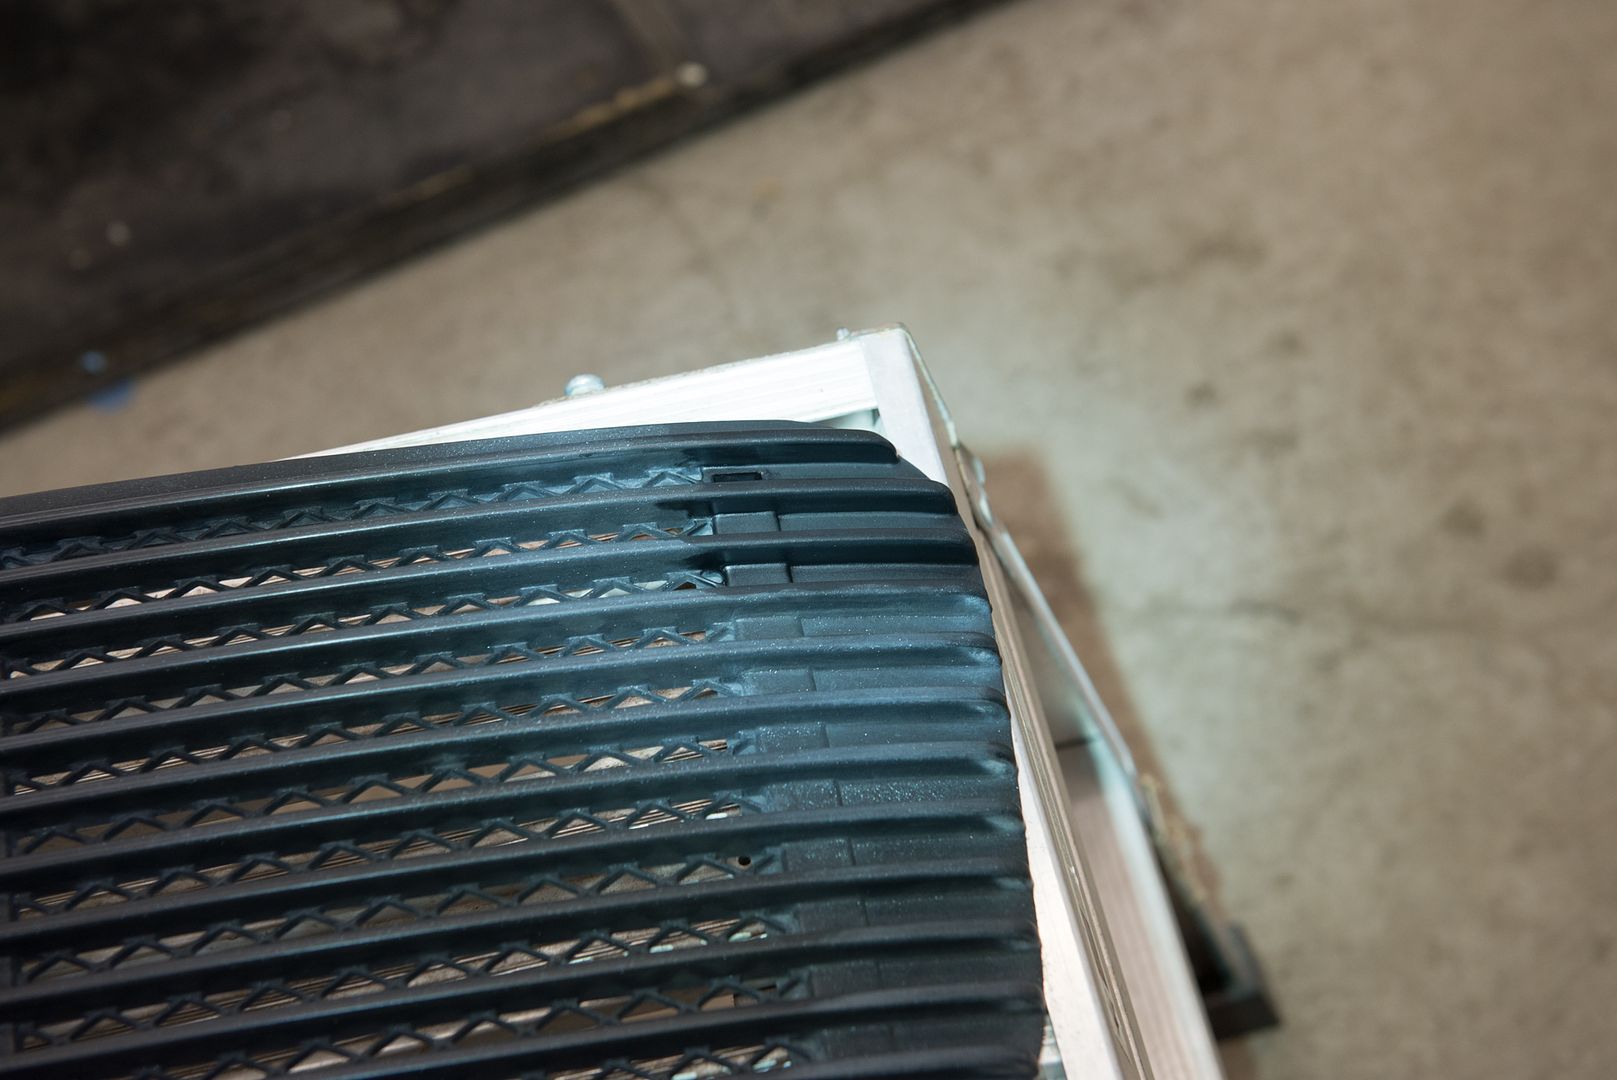
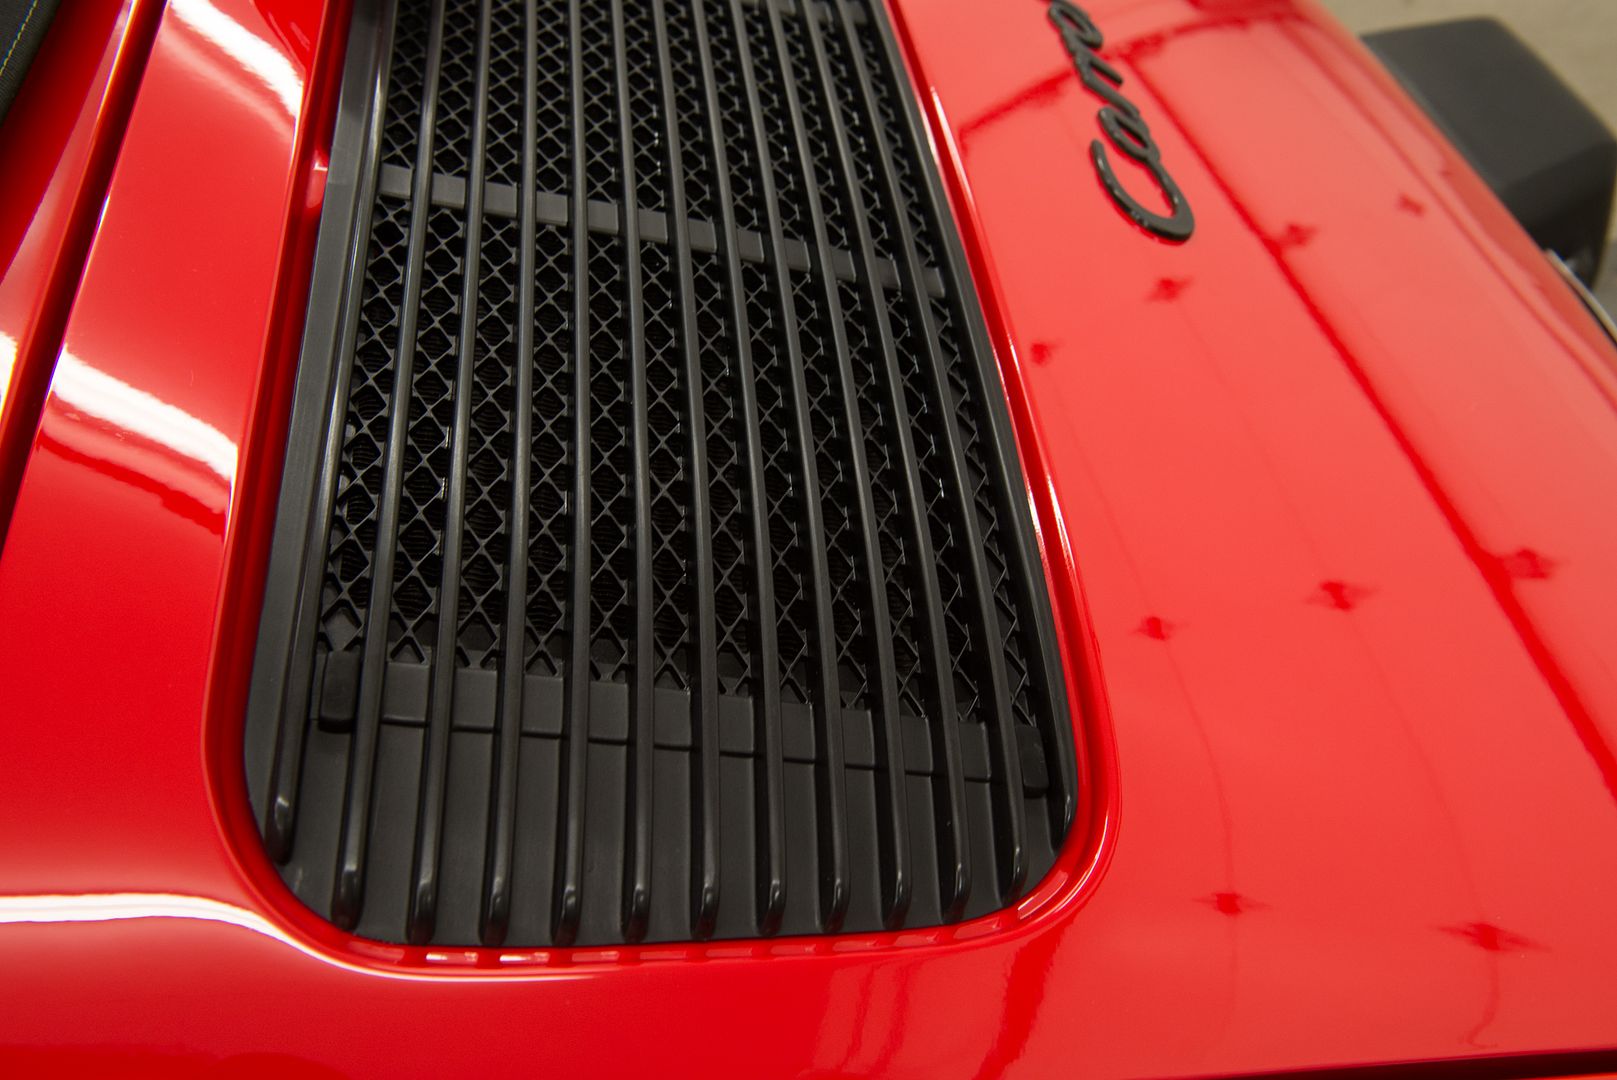
Engine vent was really faded and grey looking
The oil cooler had to be dropped in order to get access to the bolts holding the vent piece in.
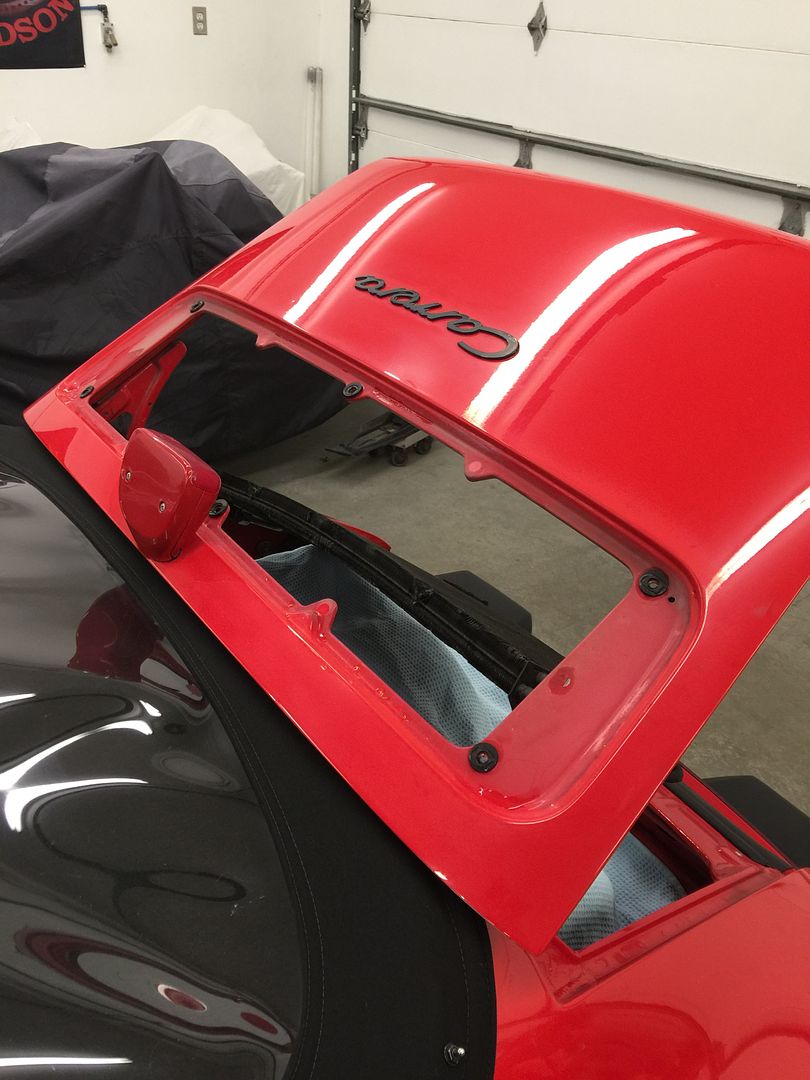
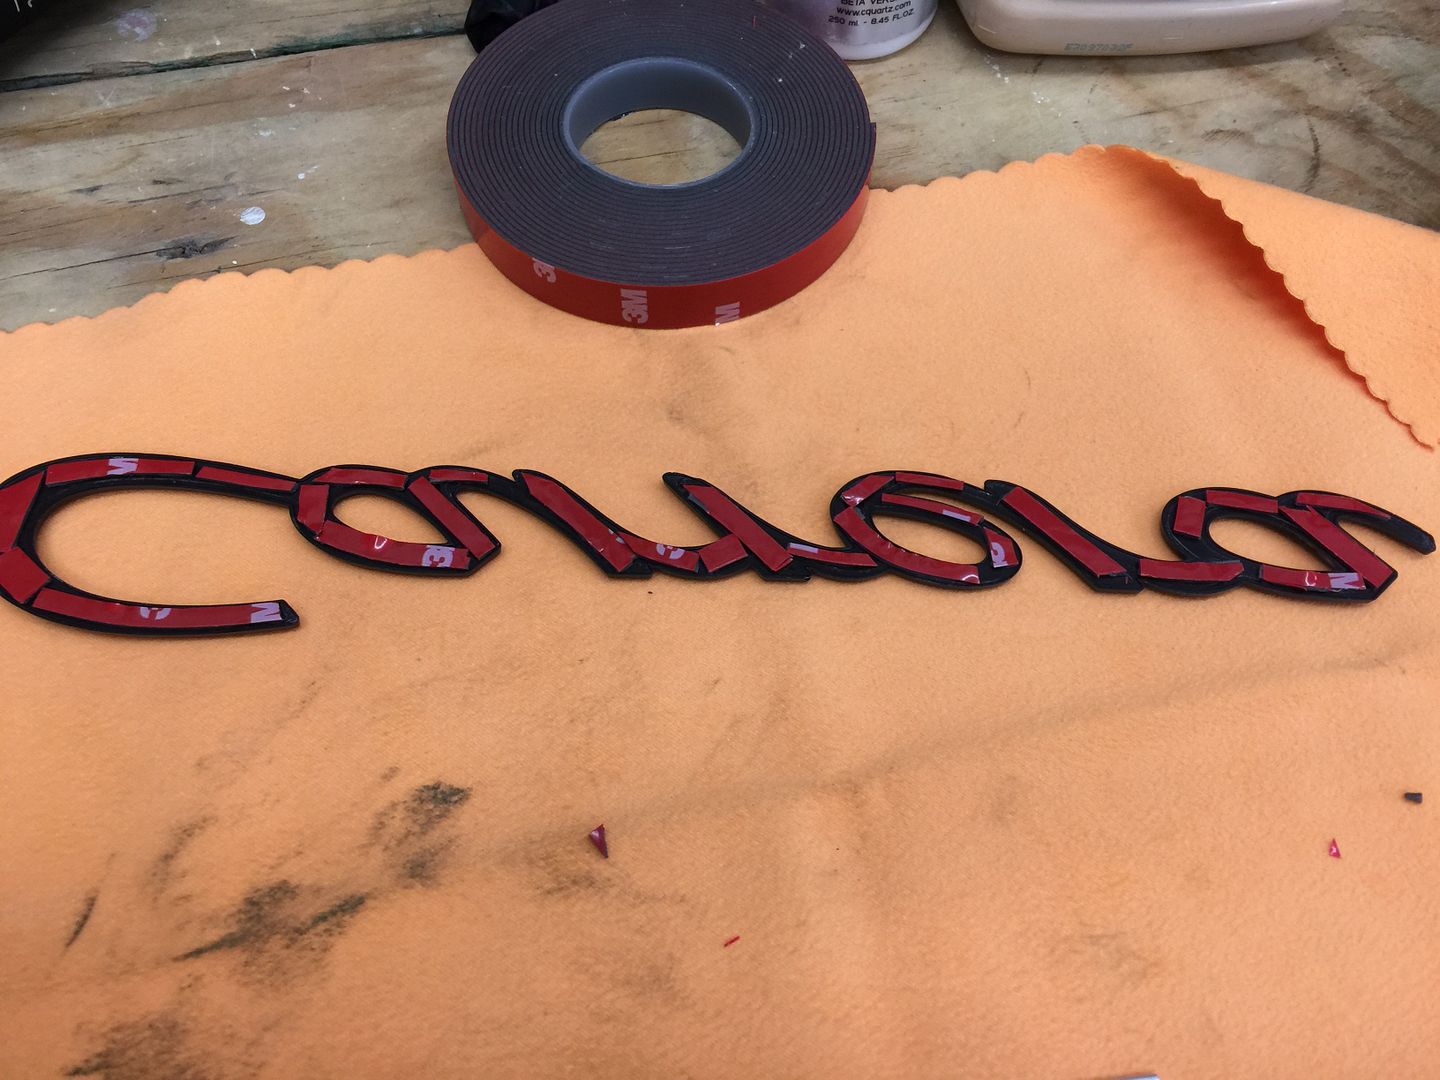
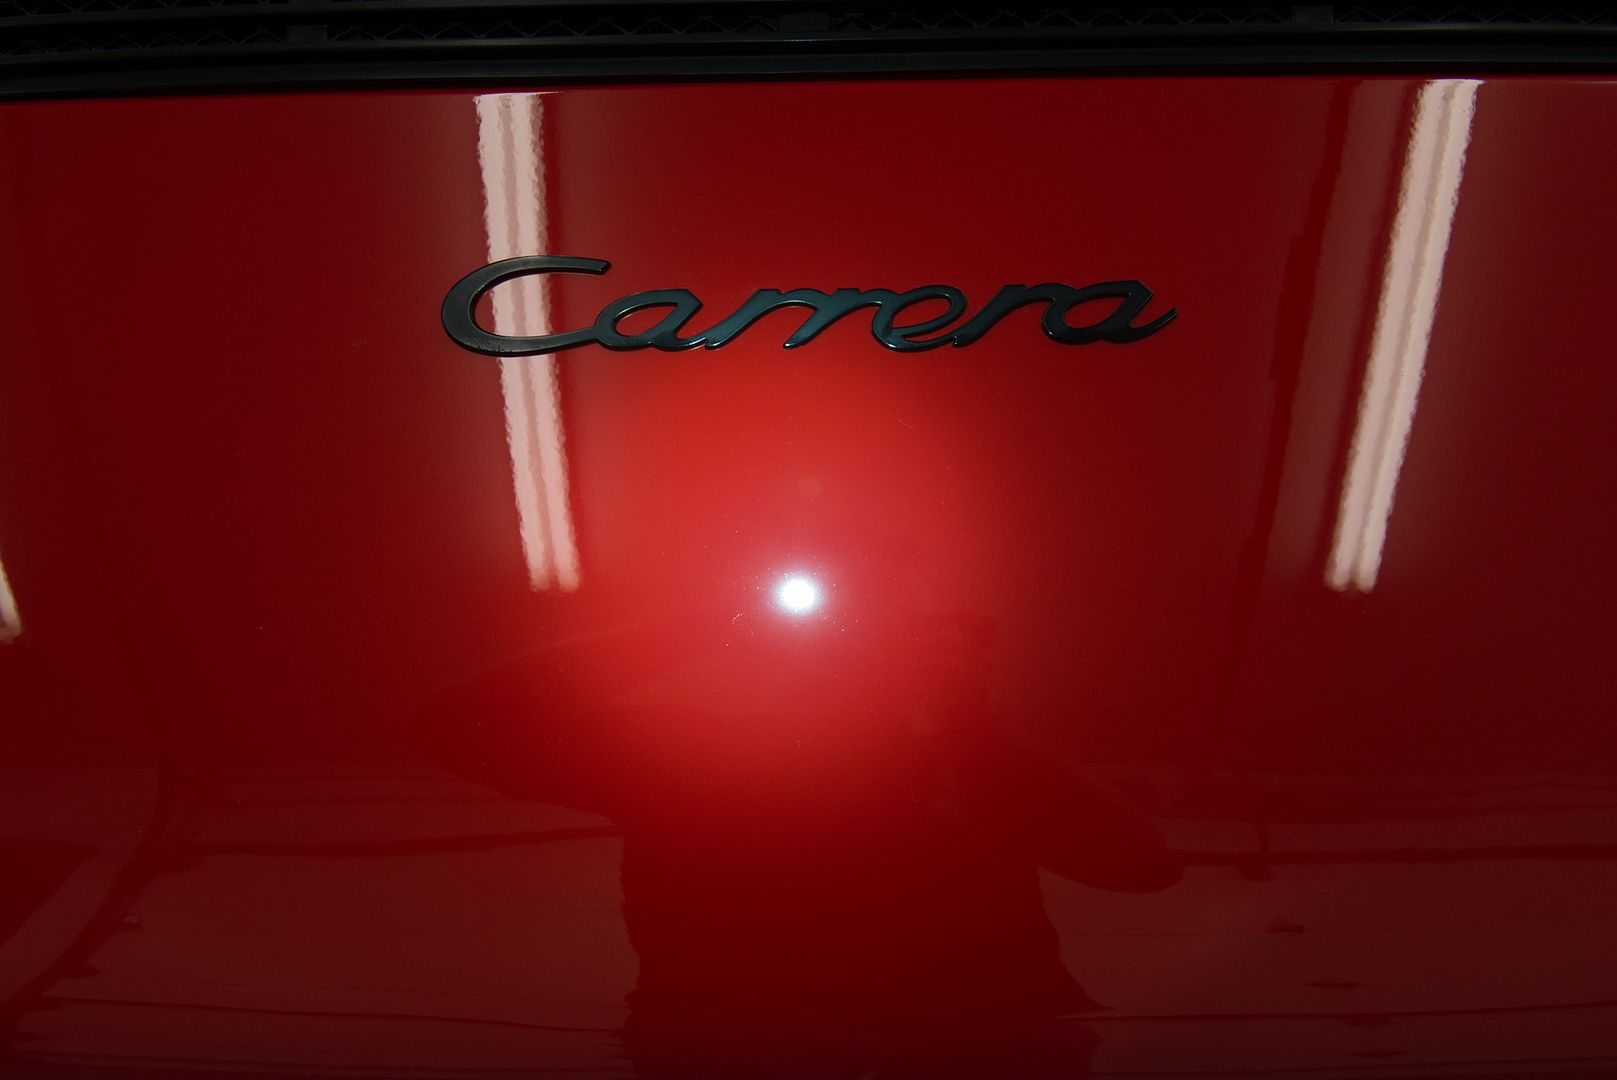
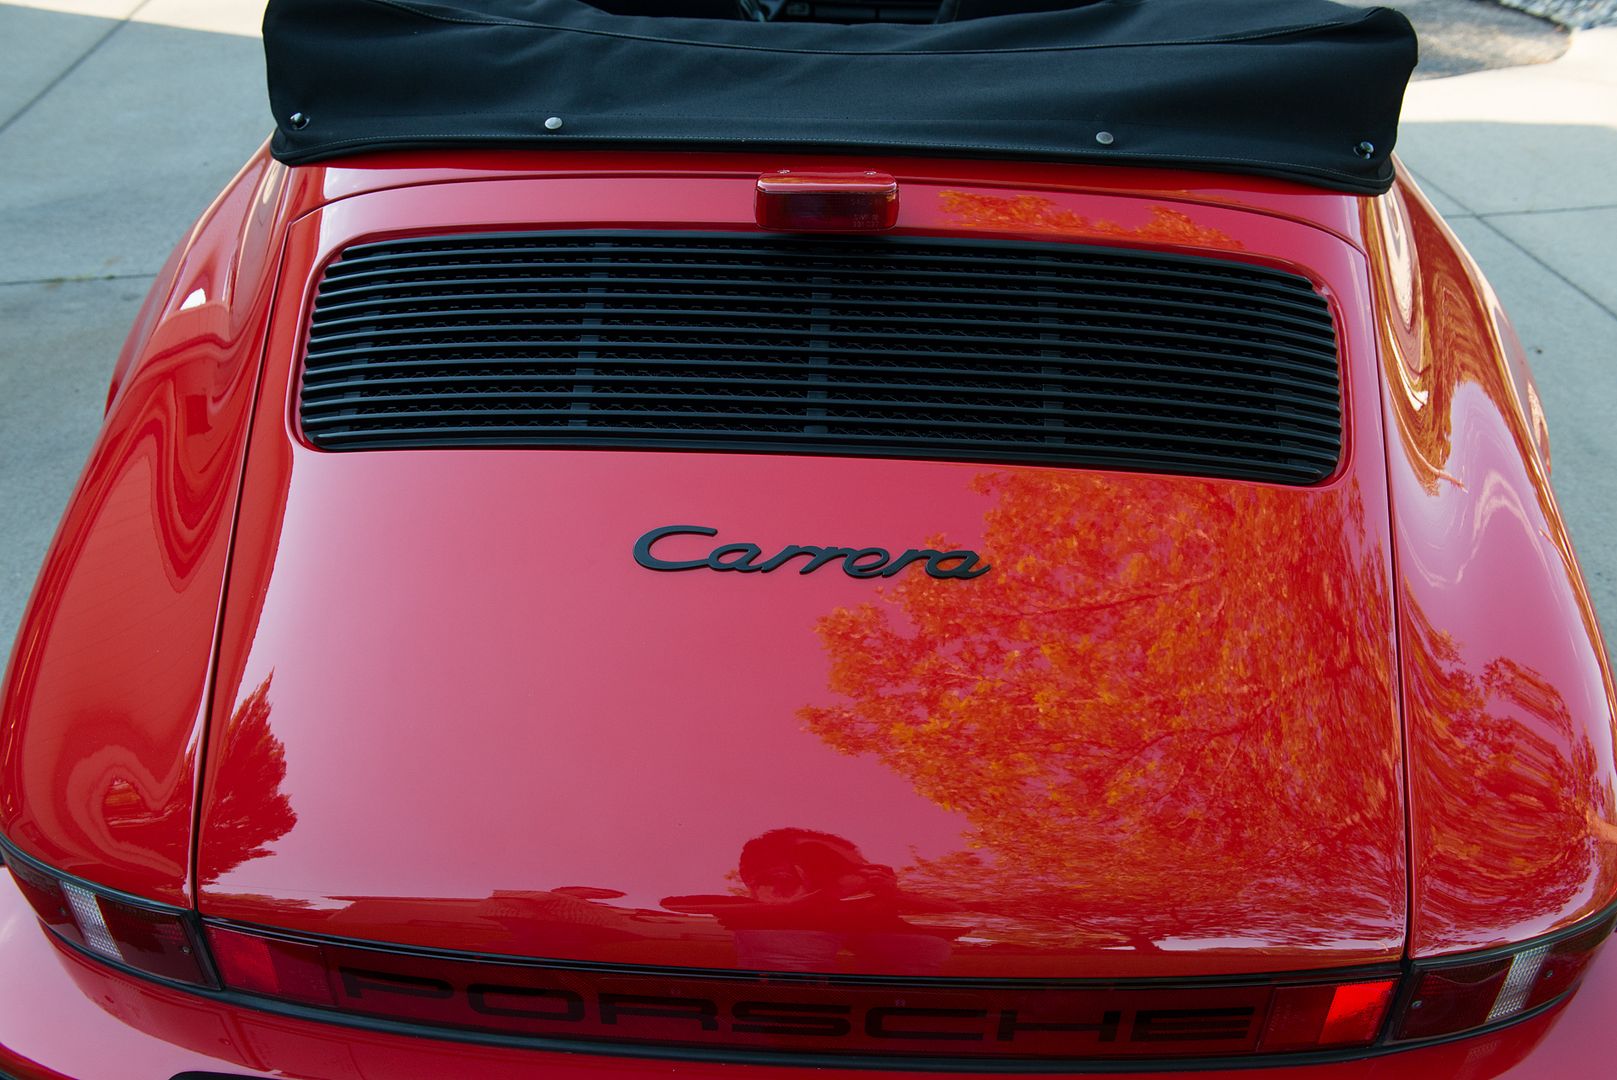
The Carrera badge was removed for polishing and reinstalled after correction. You can see how faded and dirty it is between and around the letters.
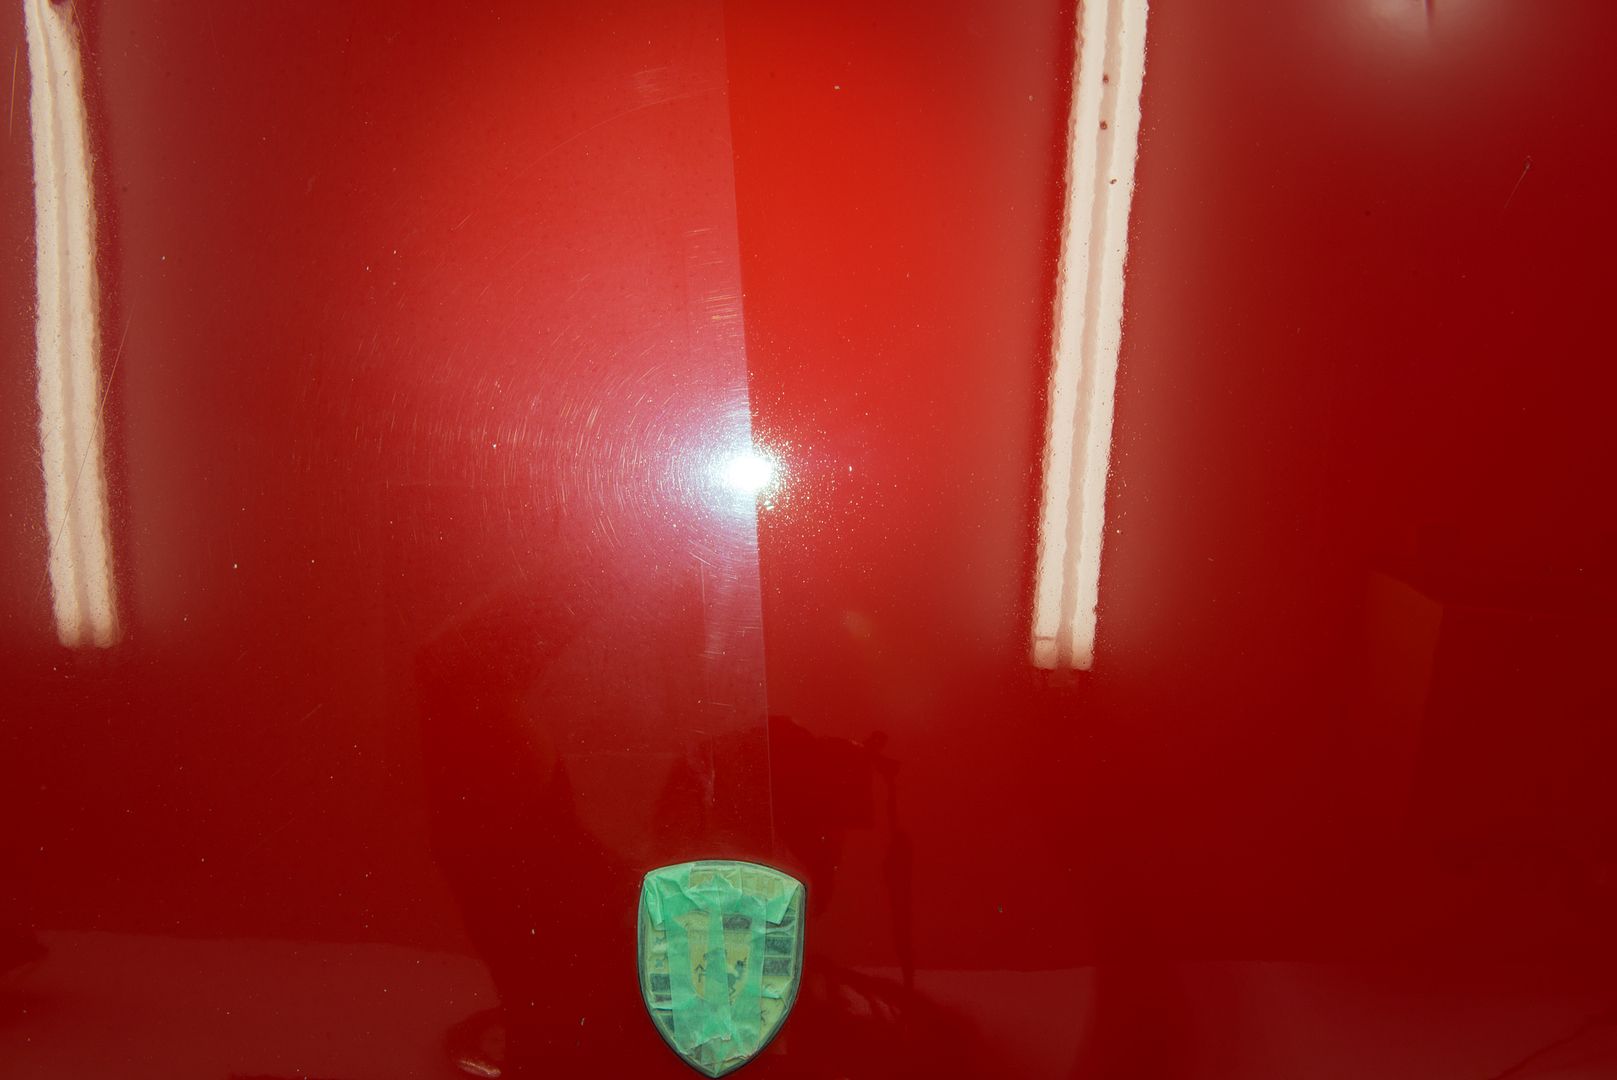
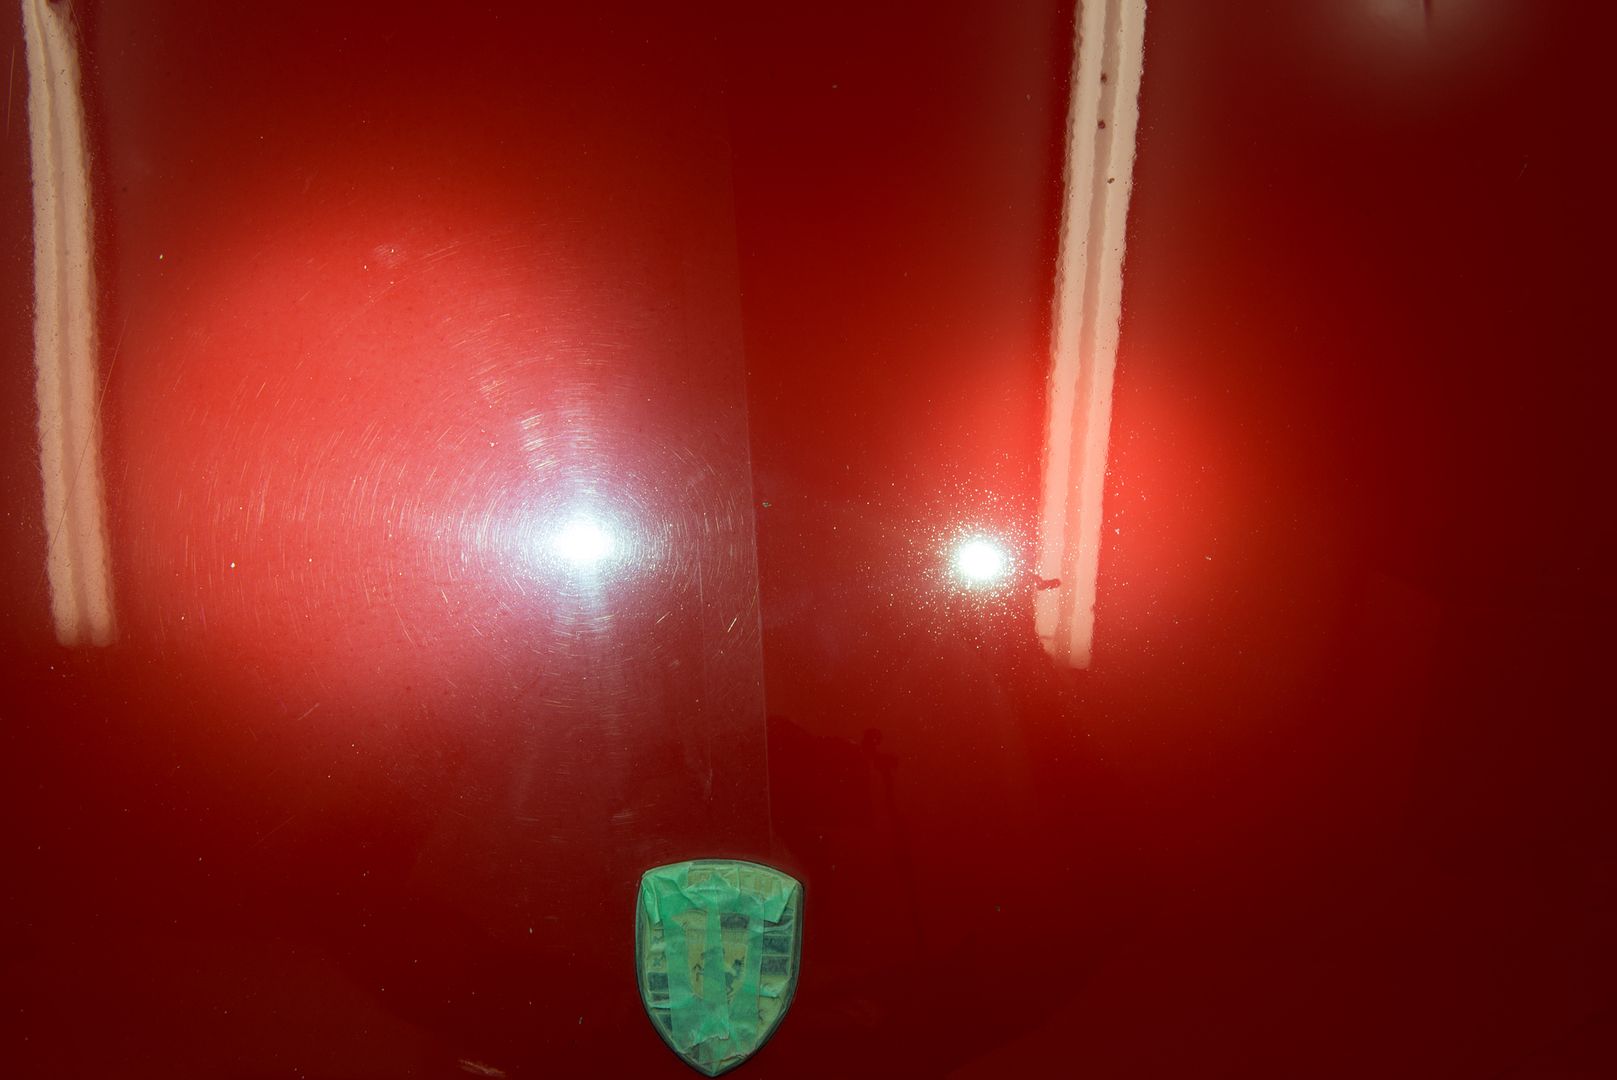
Test spot of Solution Finish
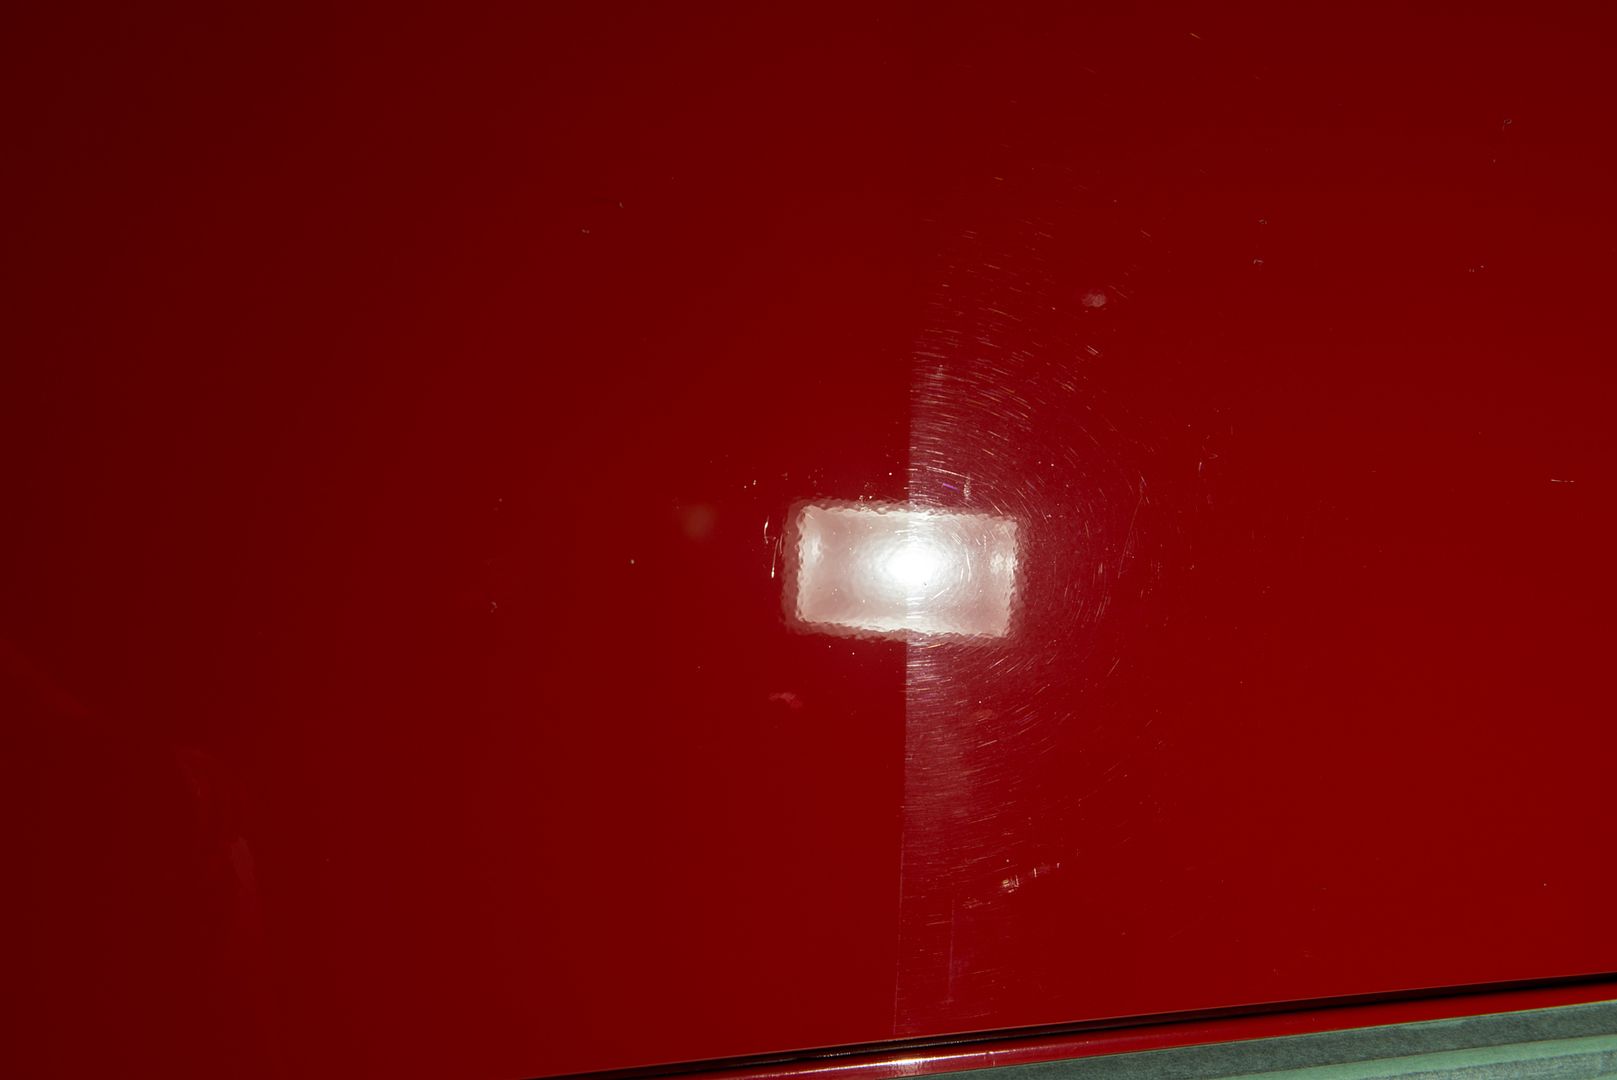
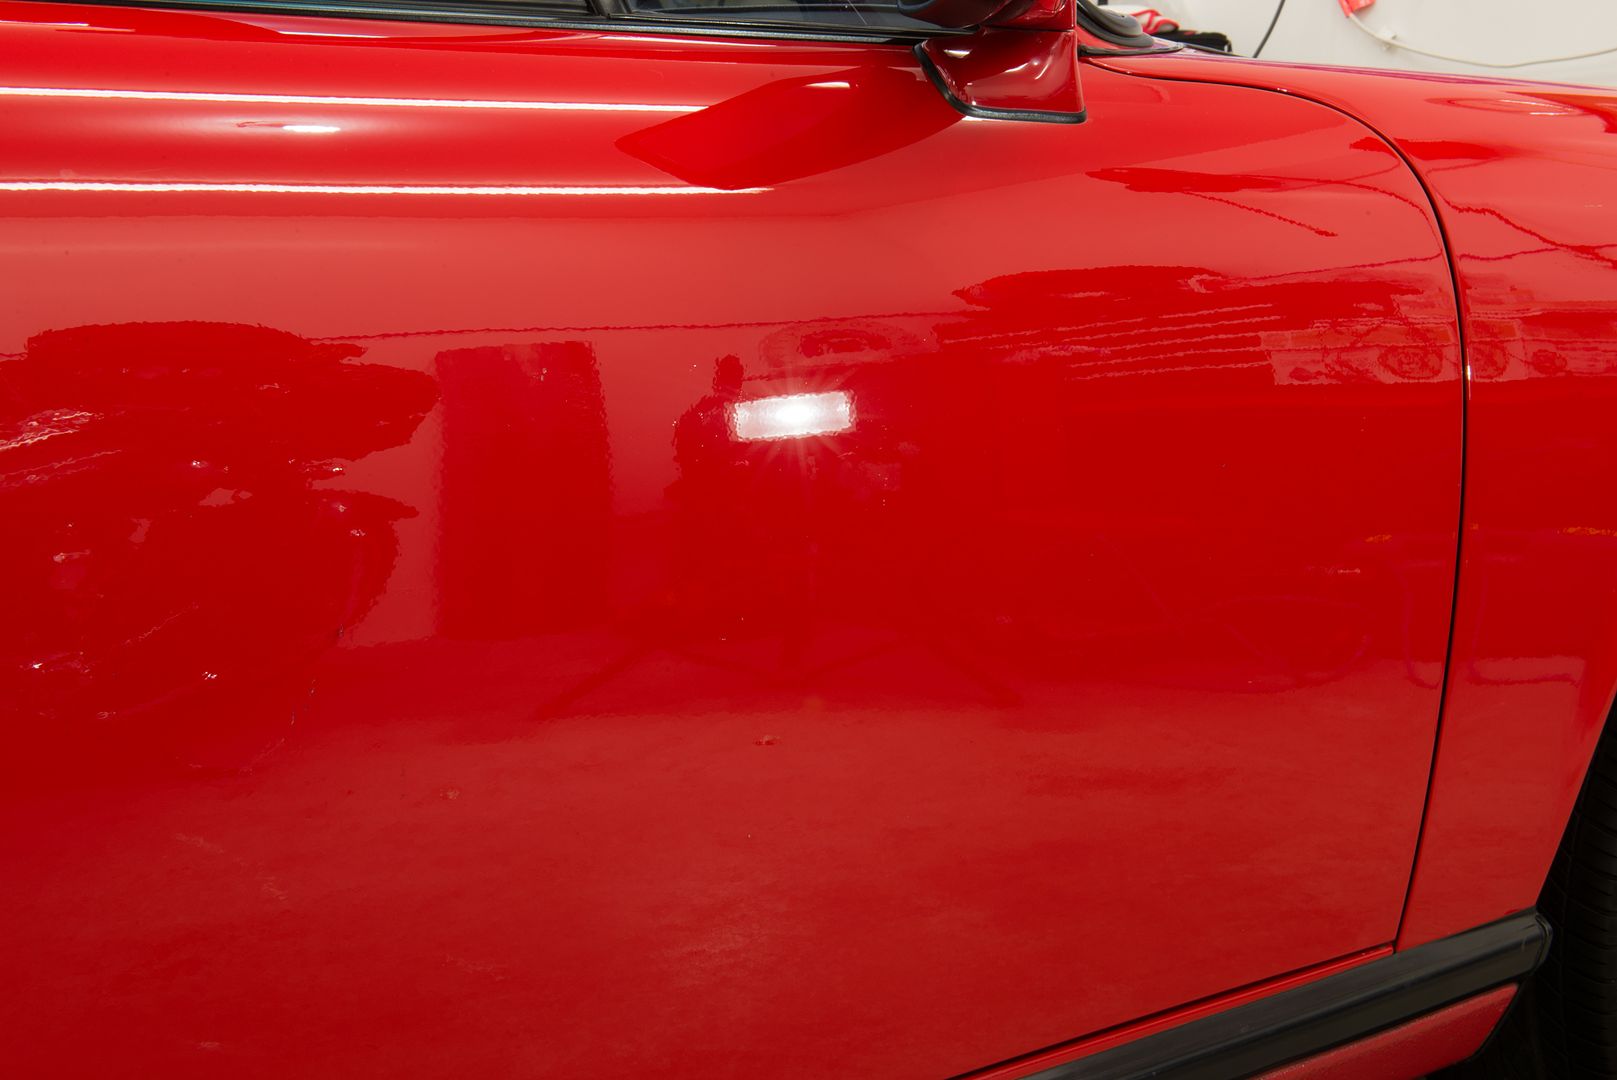
50/50 shots
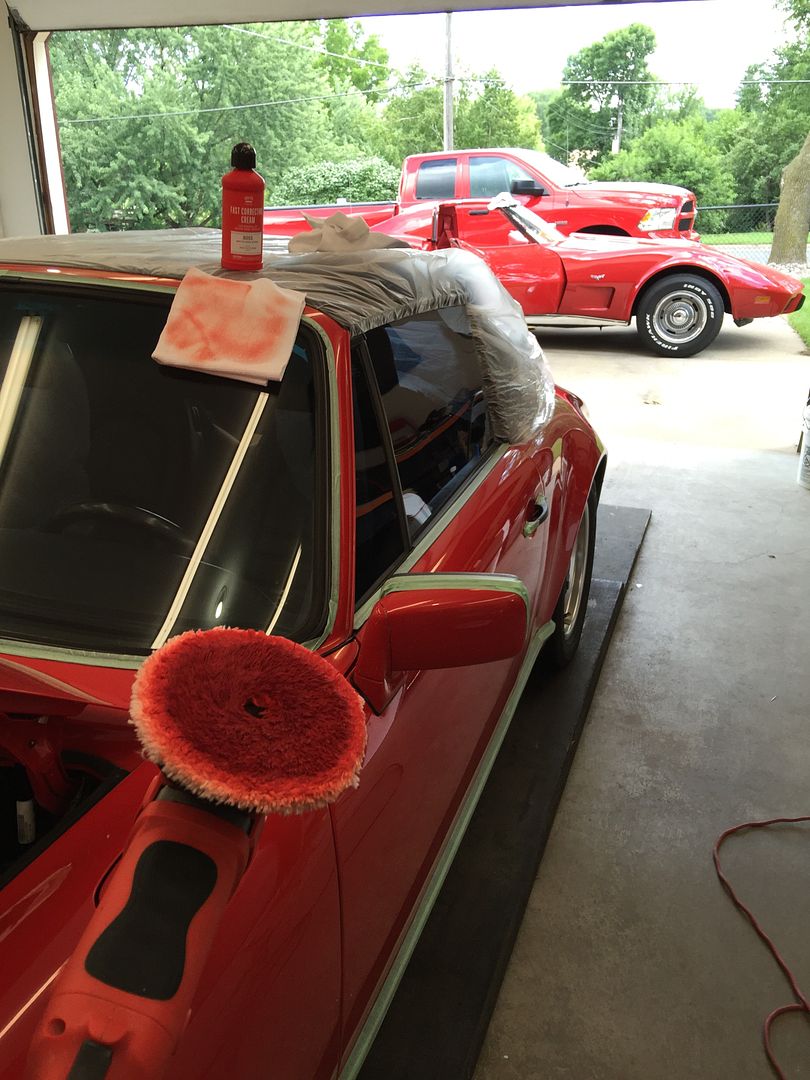
All I was seeing this day was red, lots of red!
Trying out the new CarPro MF pads too, only had one though.
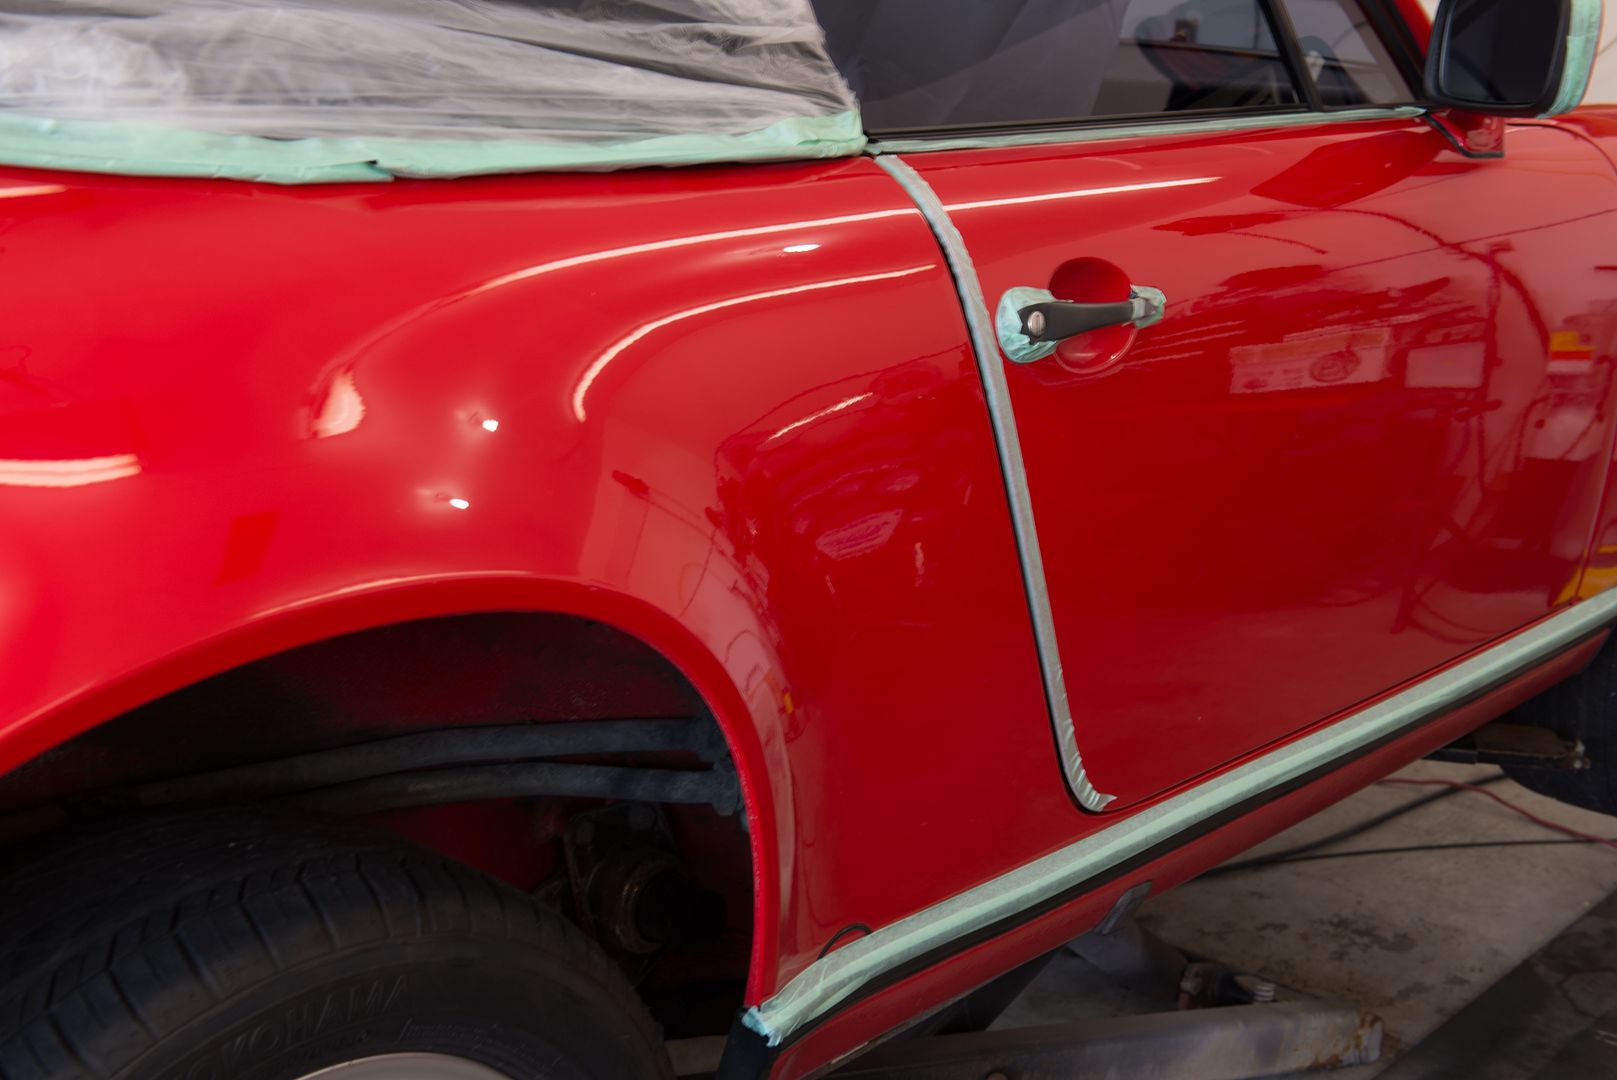
The car had a few burned edges from previous detailers so they were taped off during correction.
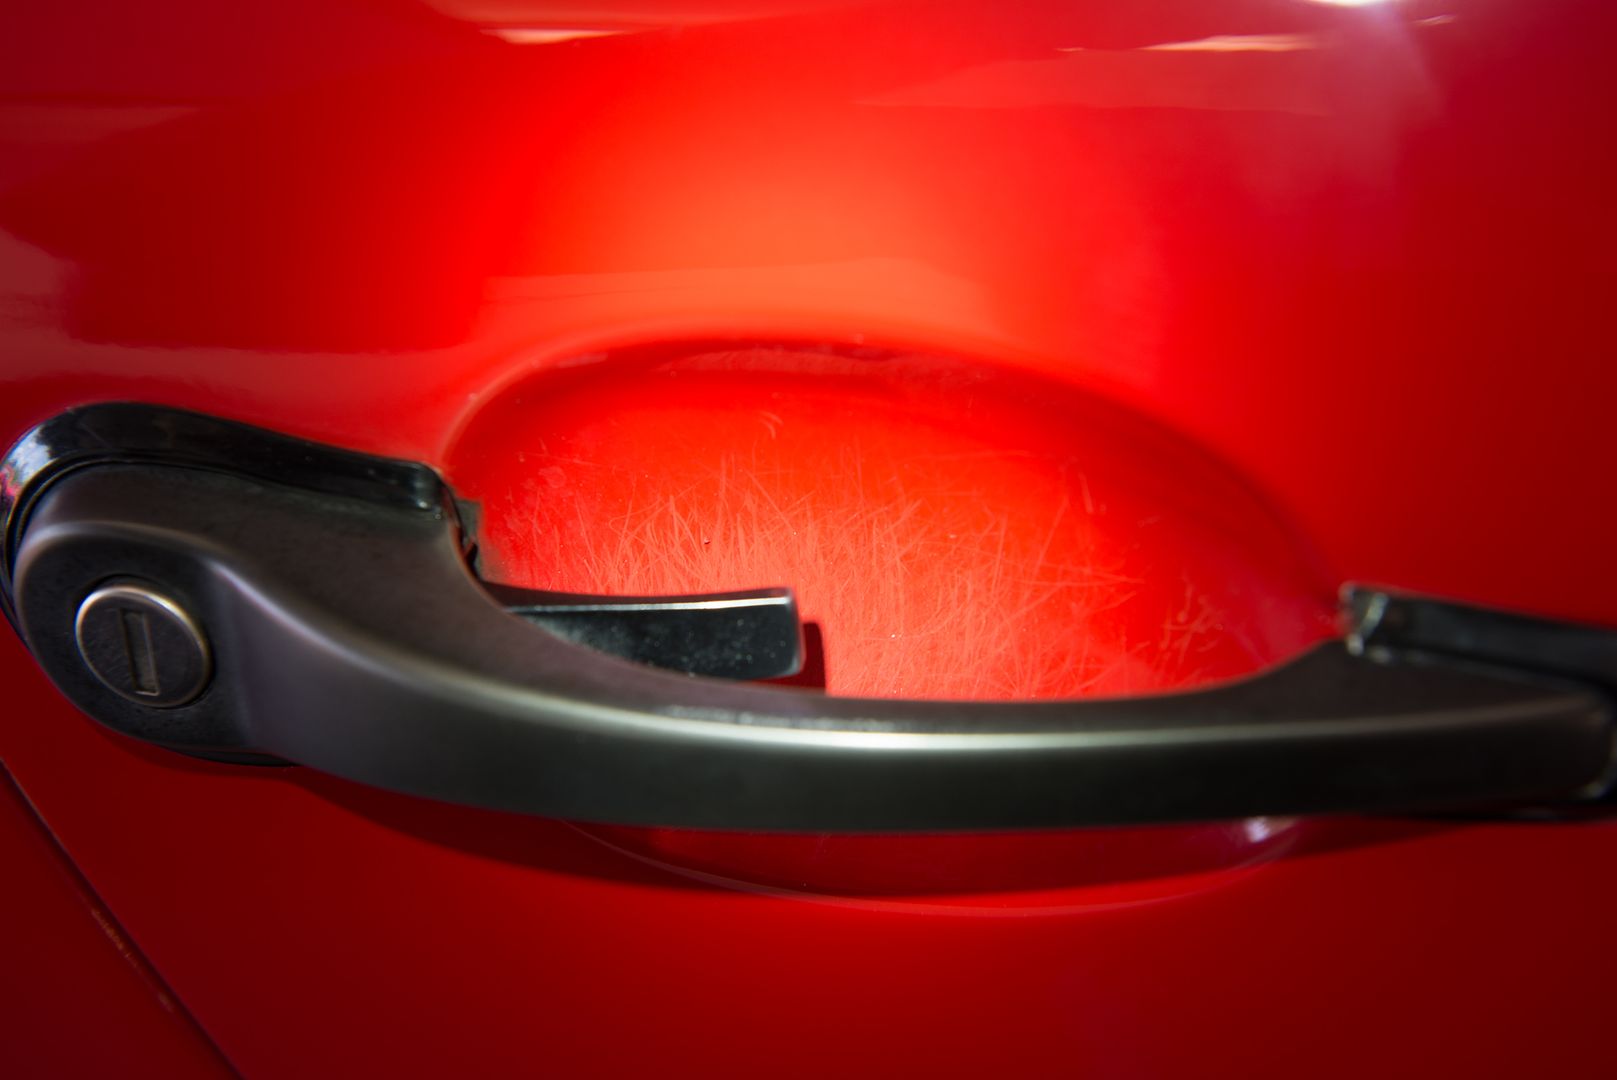
Door cups were bad, sorry, forgot to get an after pic of these.
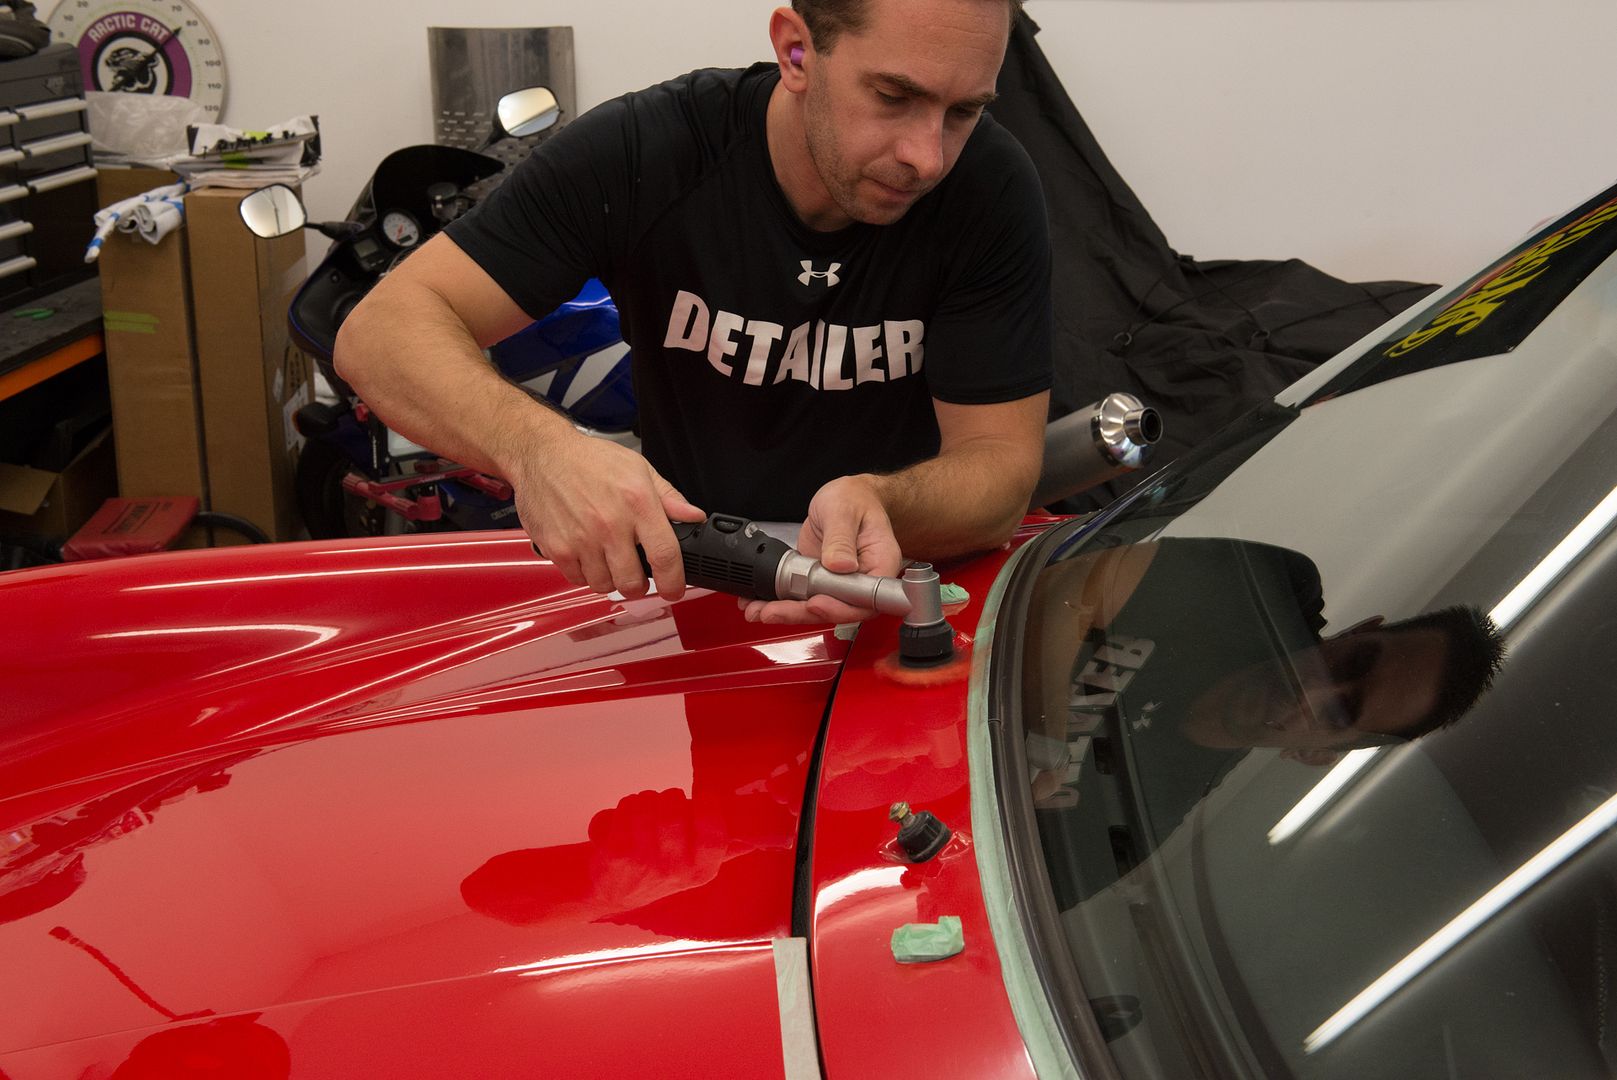
Rupes Nano got LOTS of use on this car!
This part was not fun
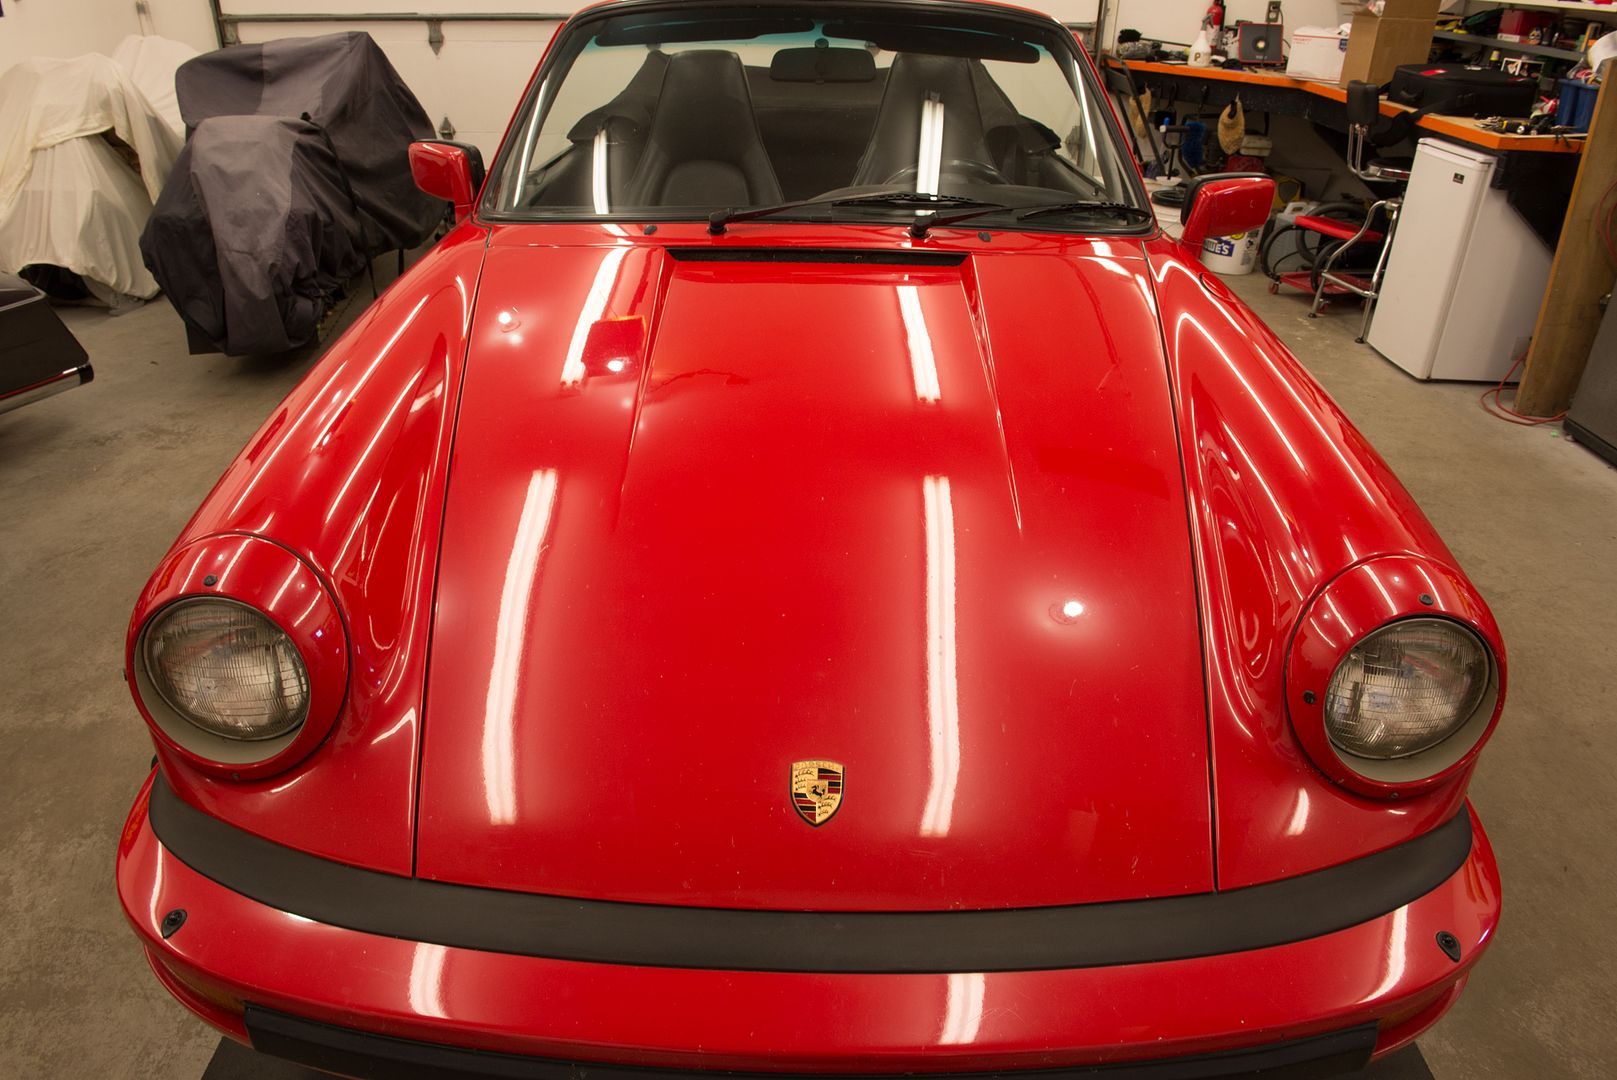
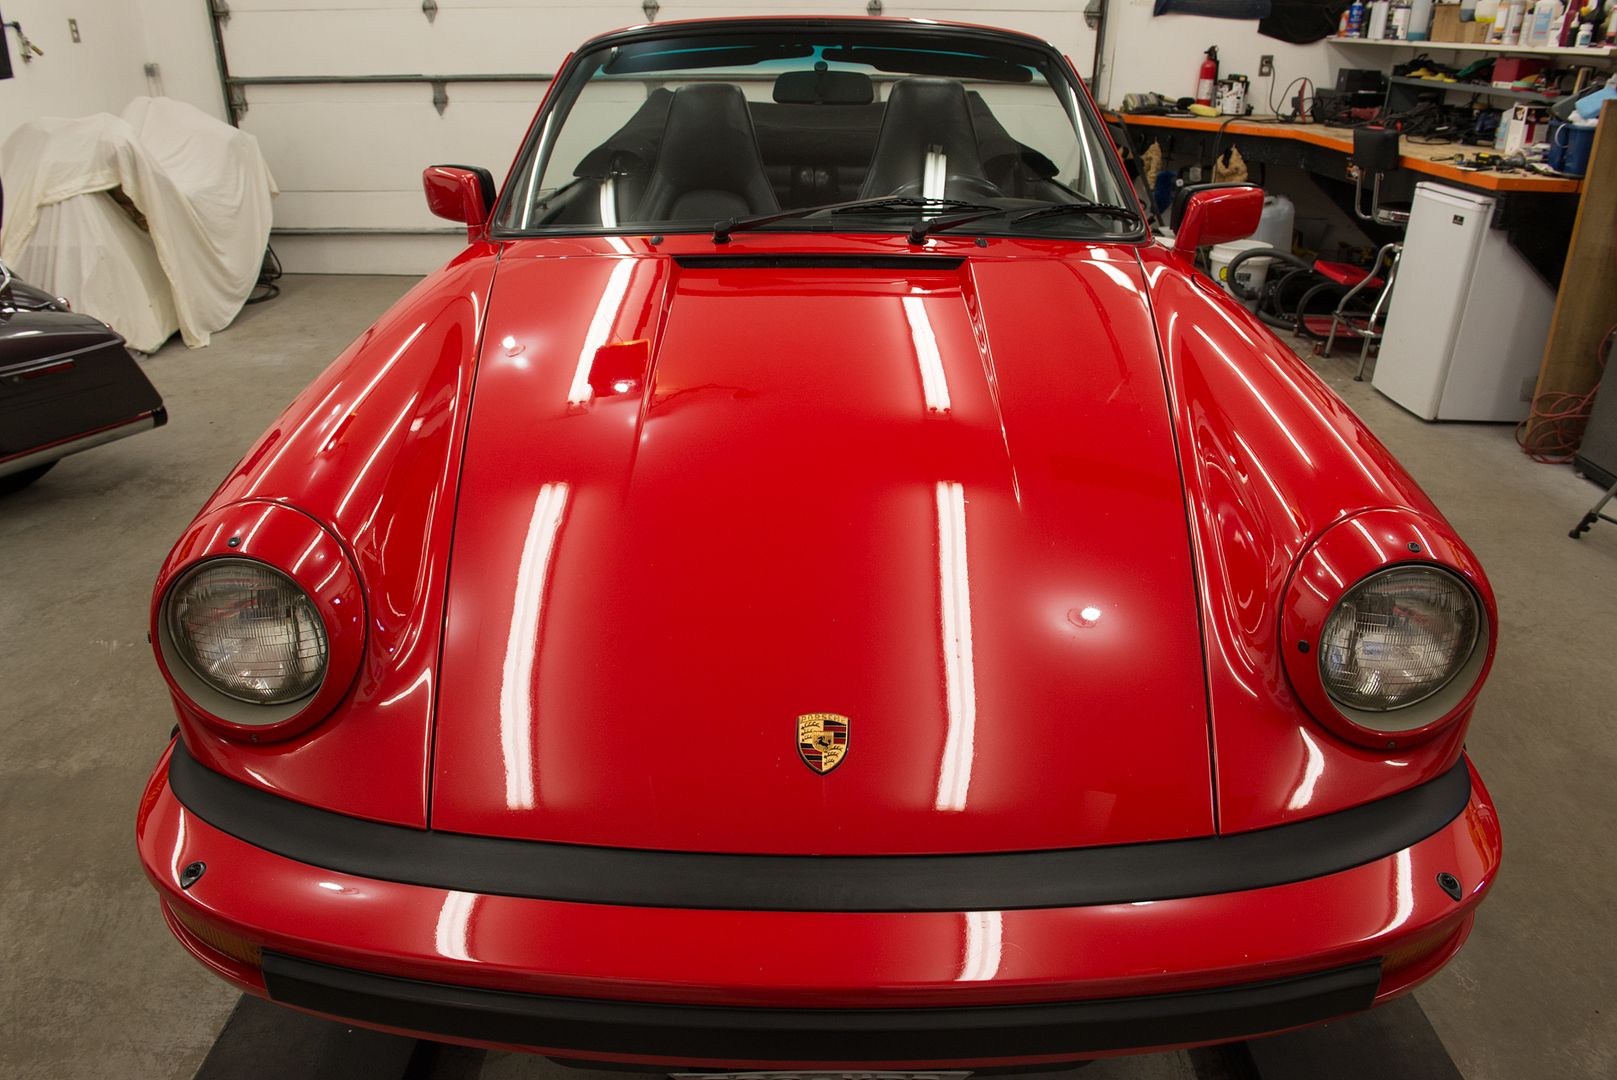
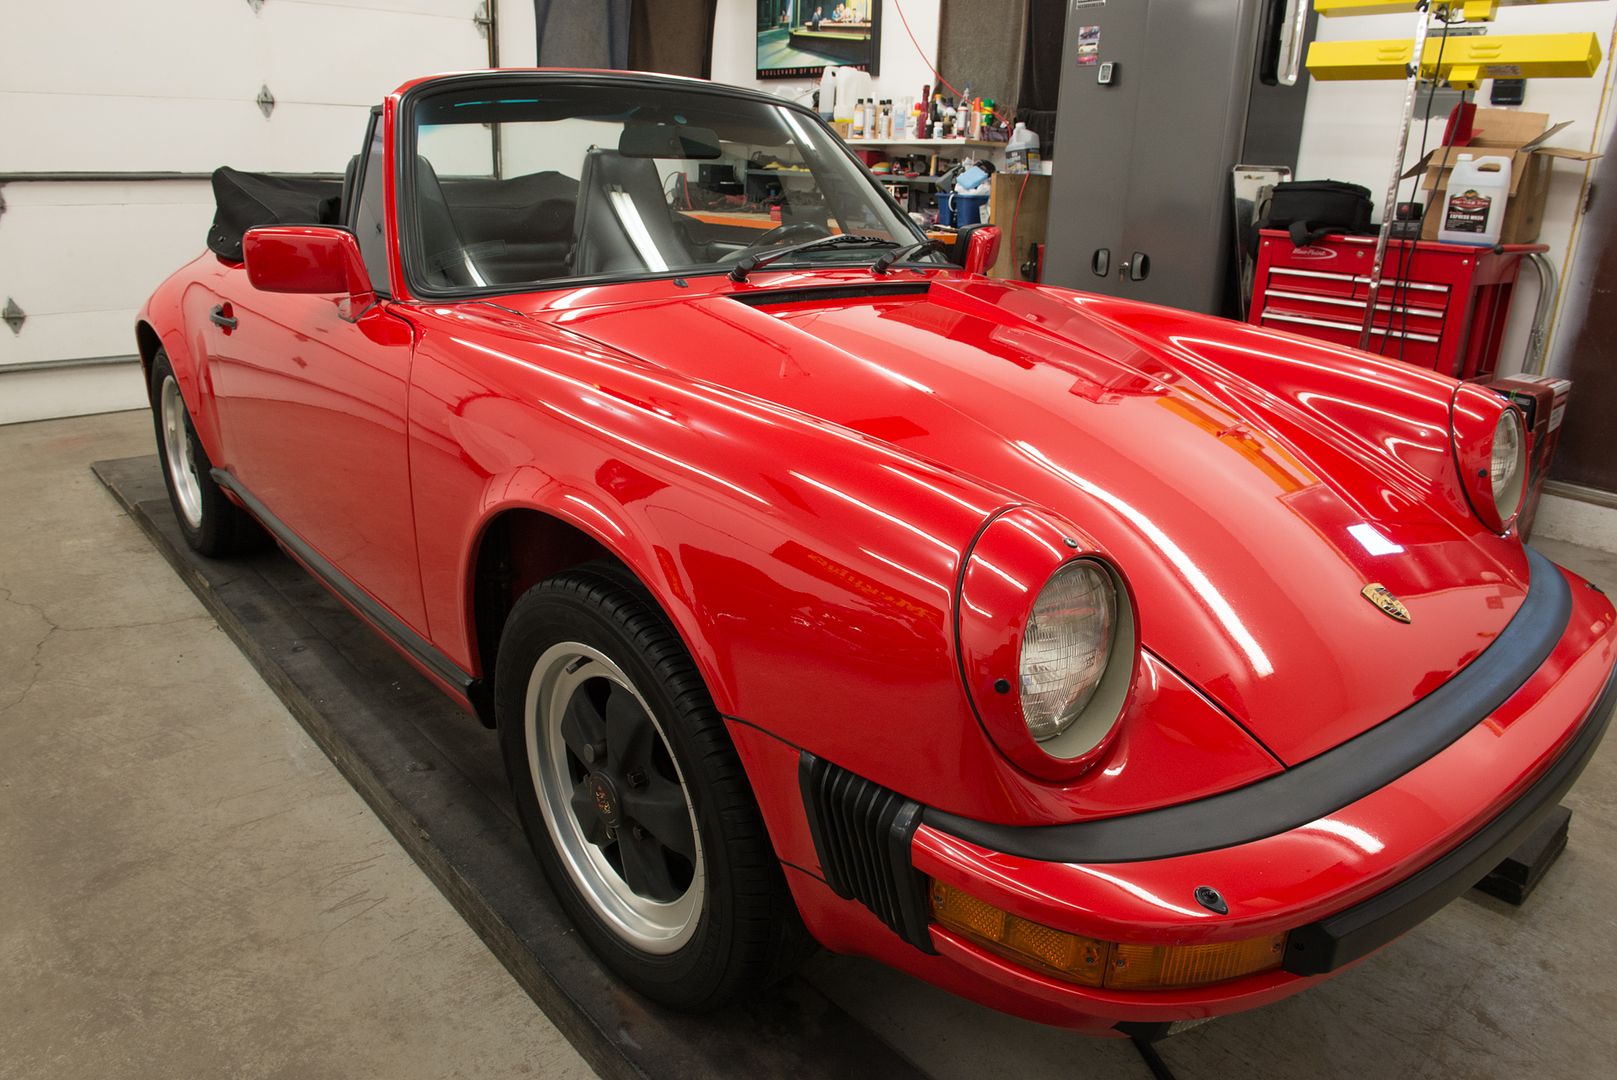
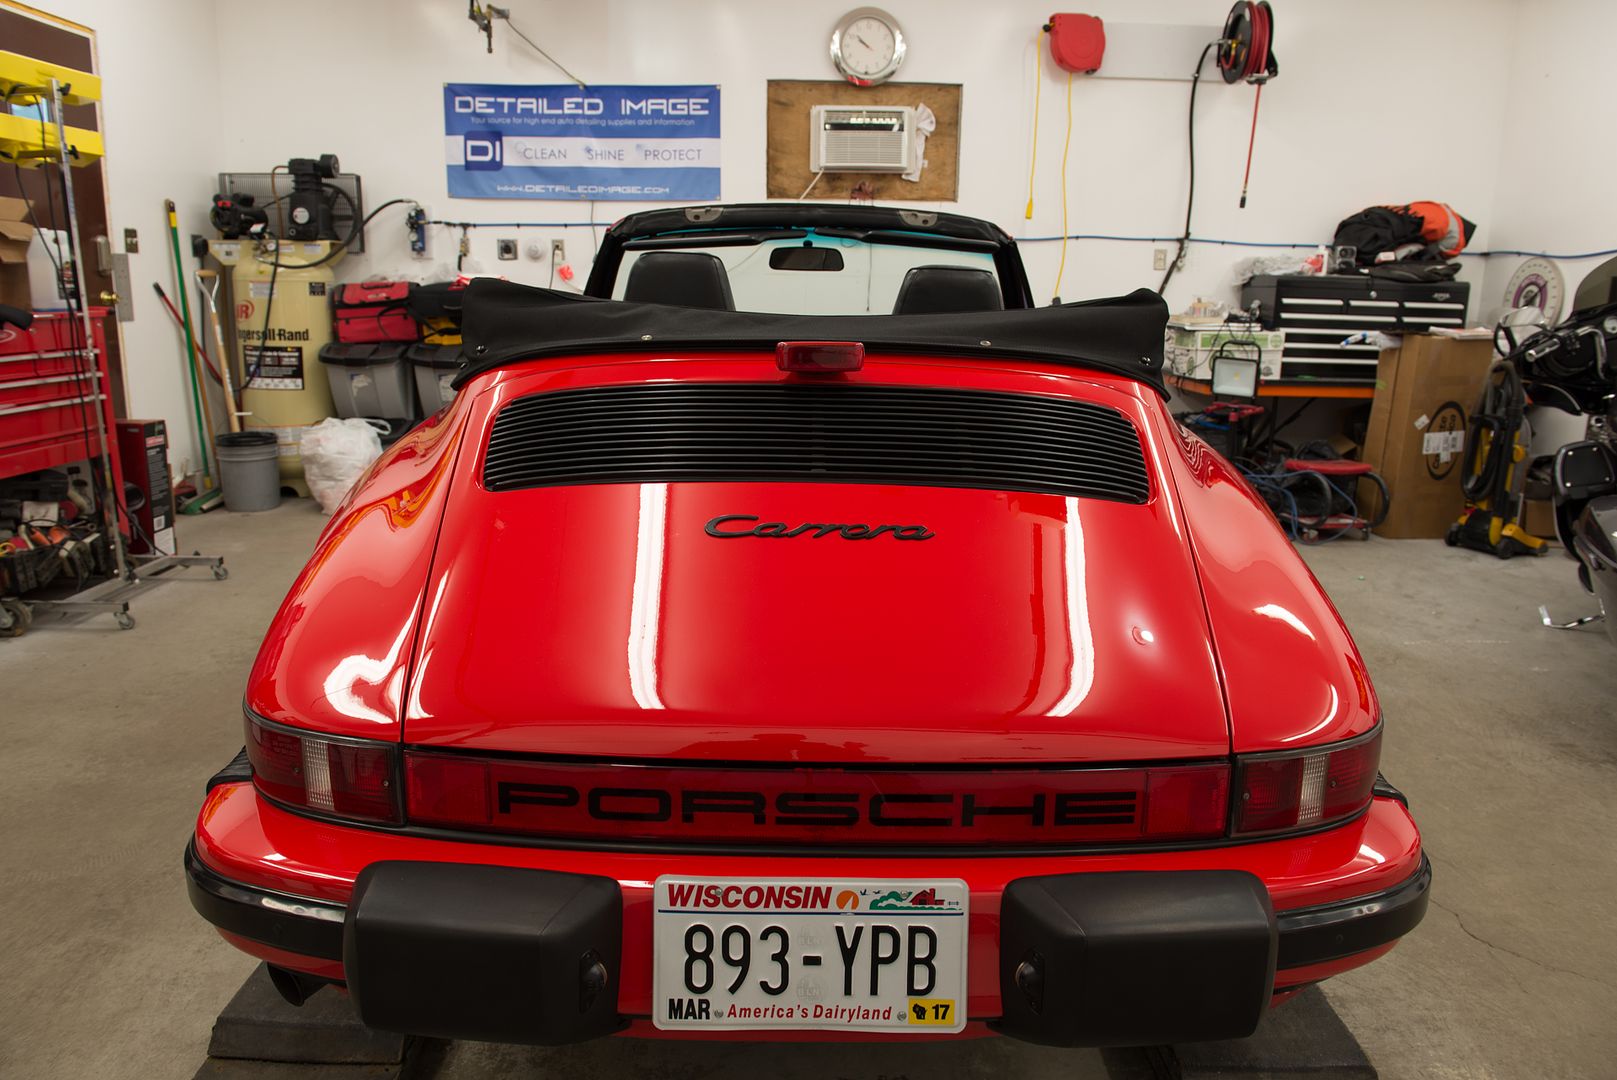
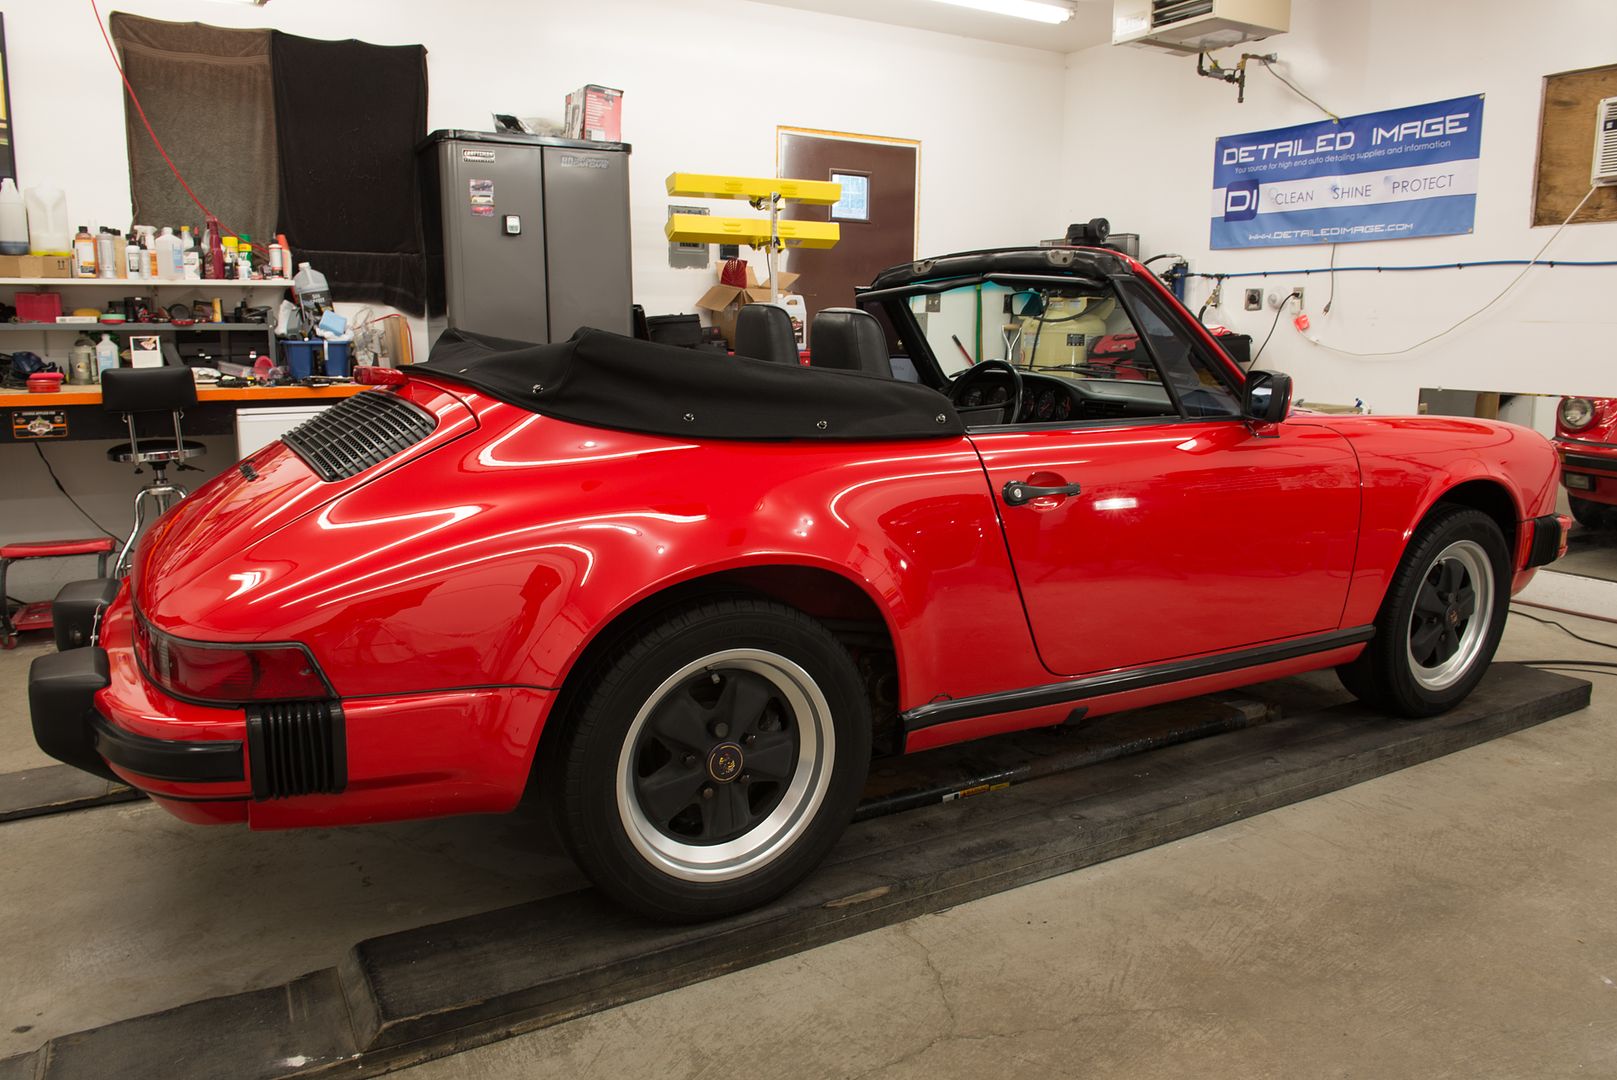
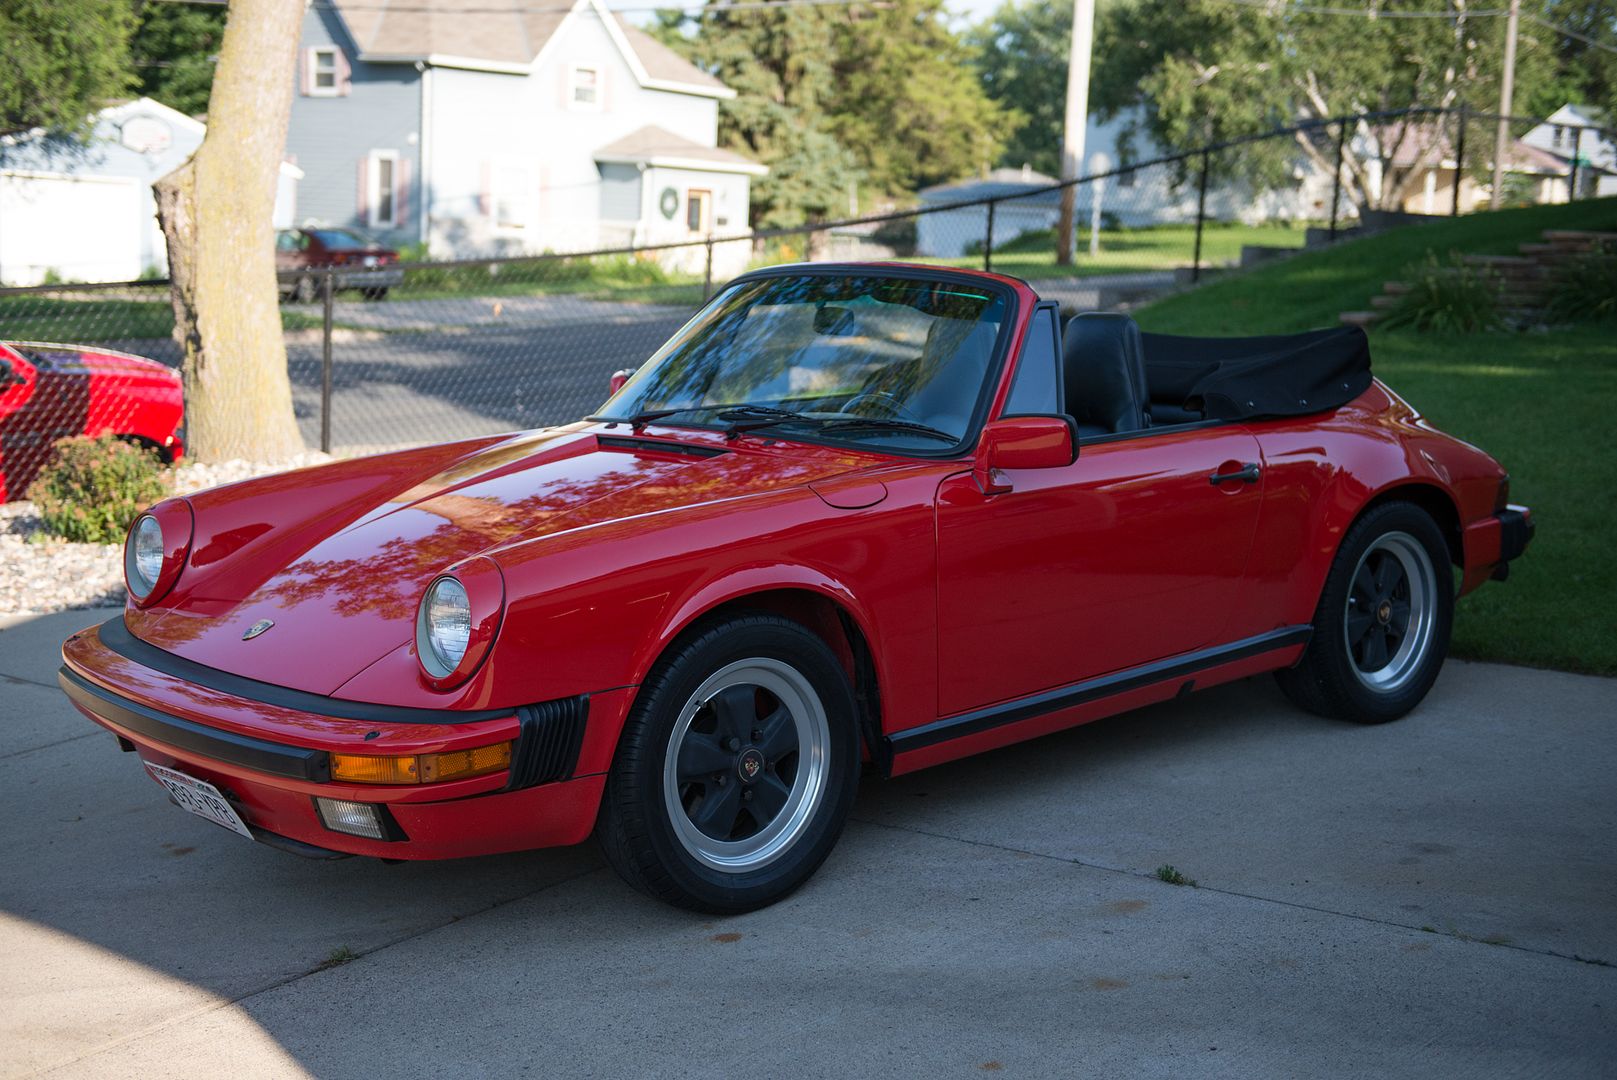
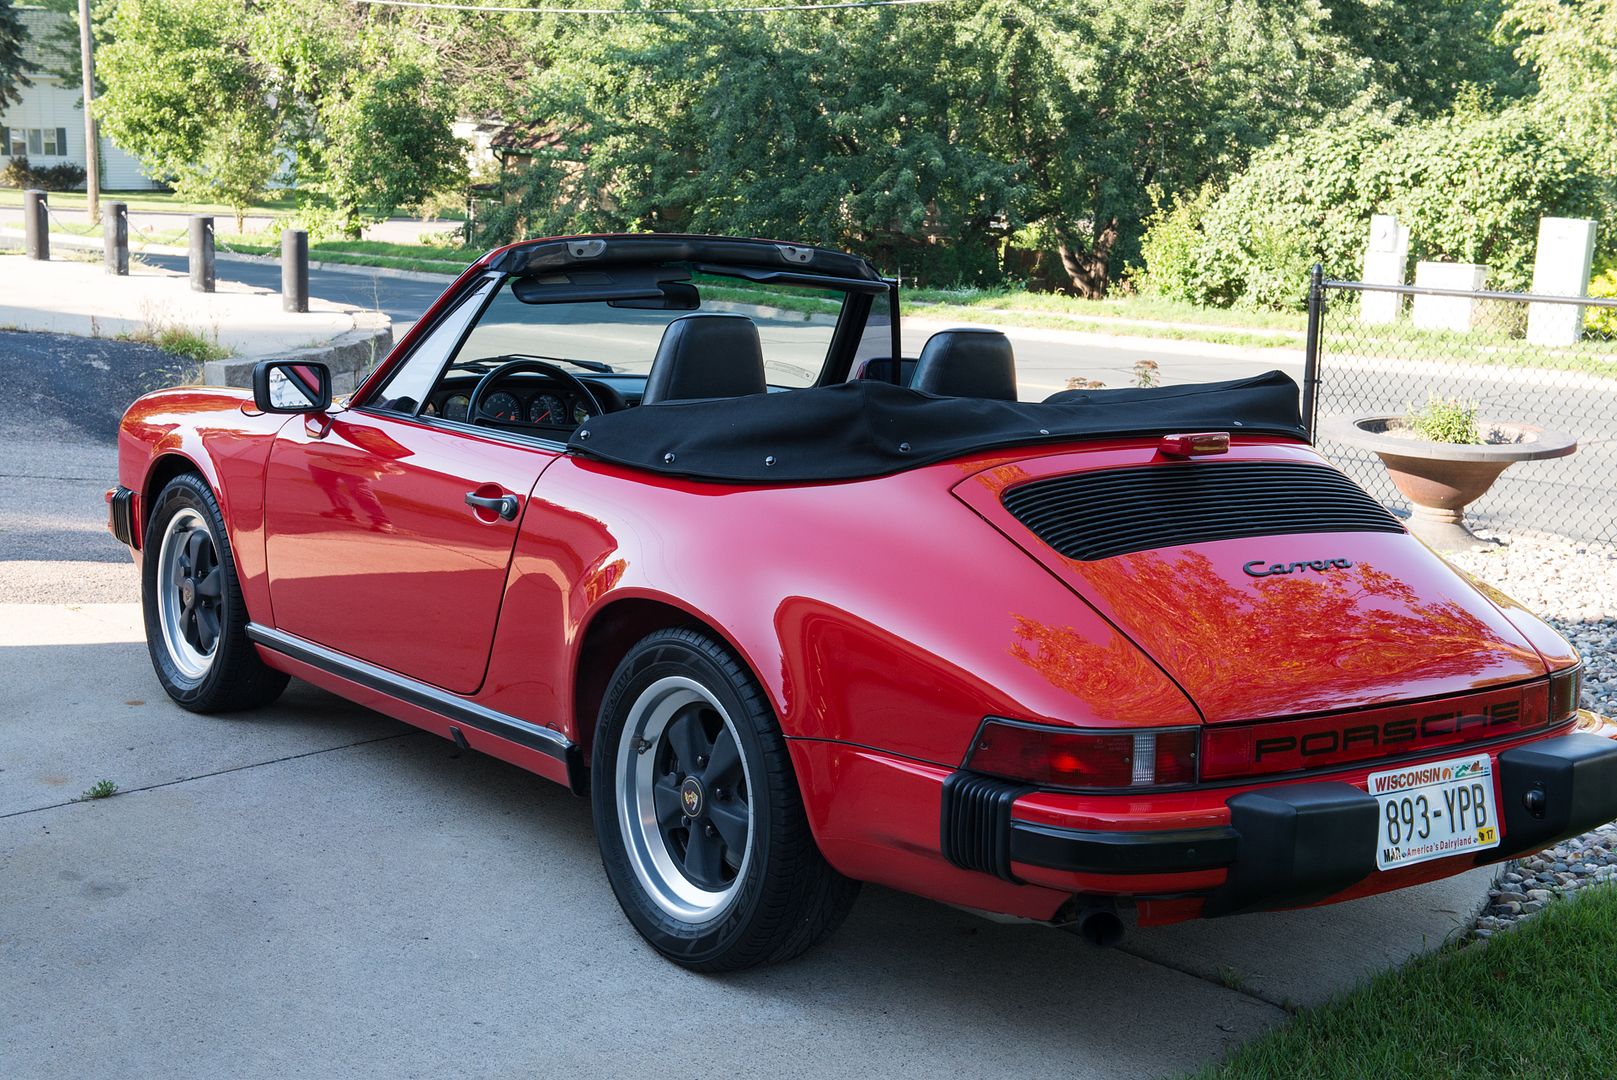
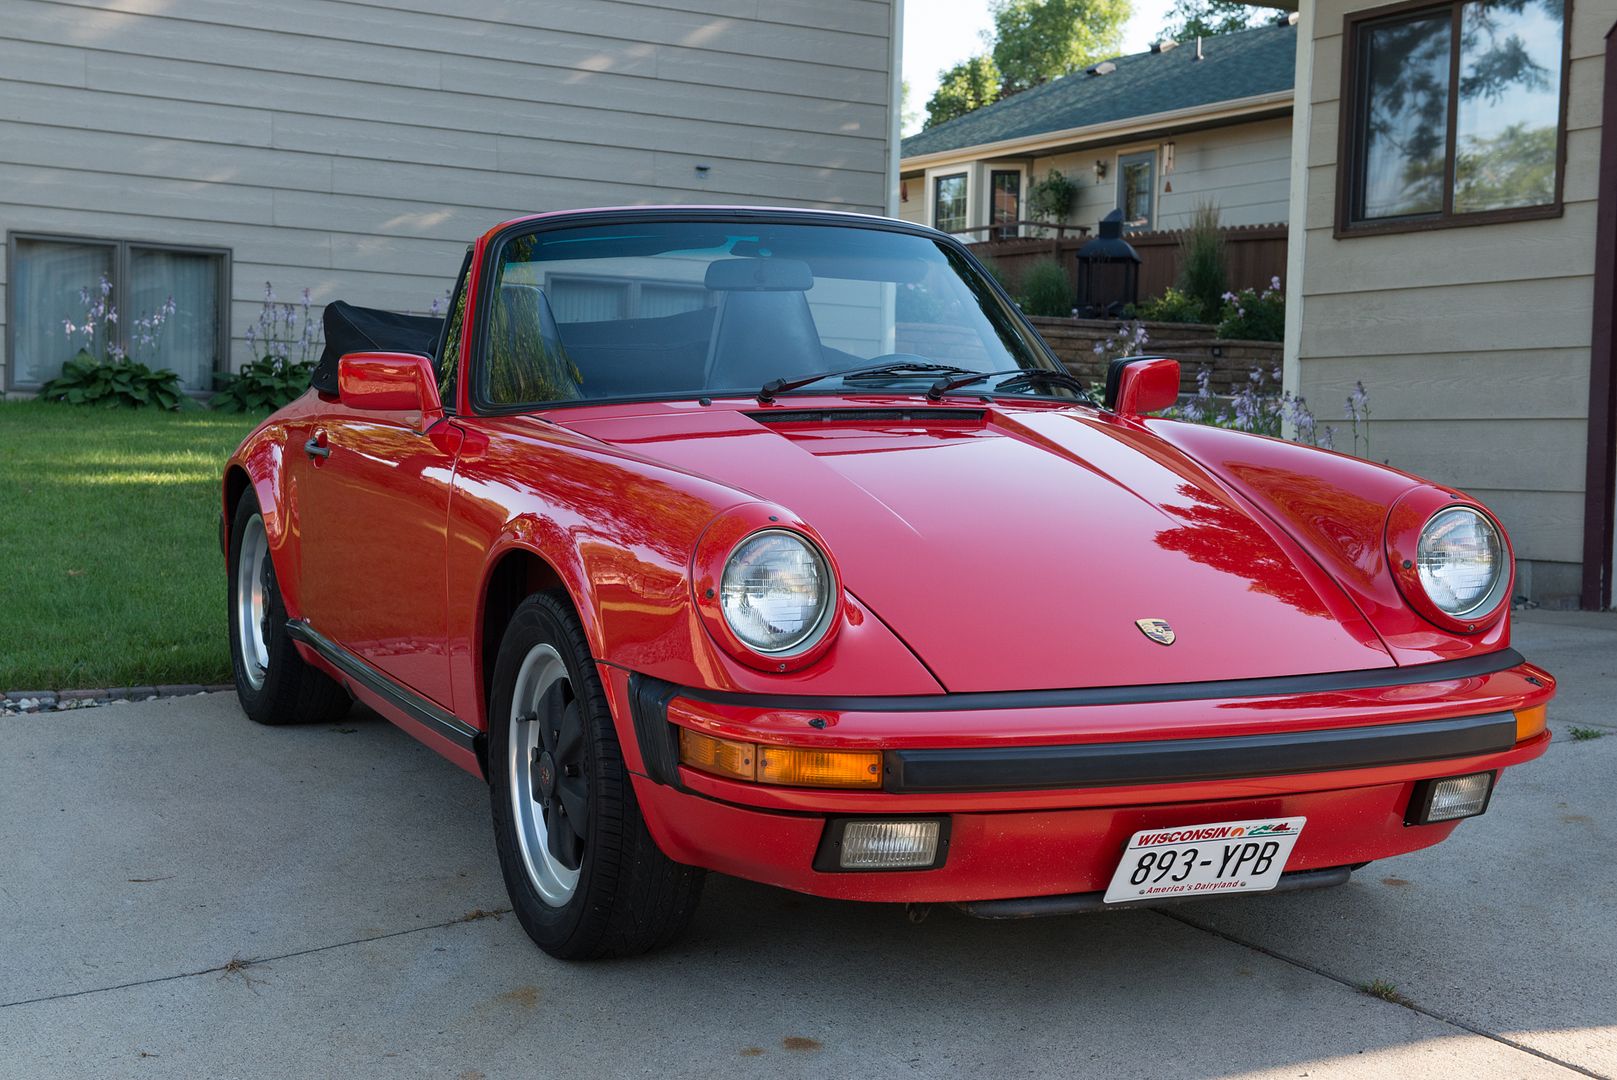
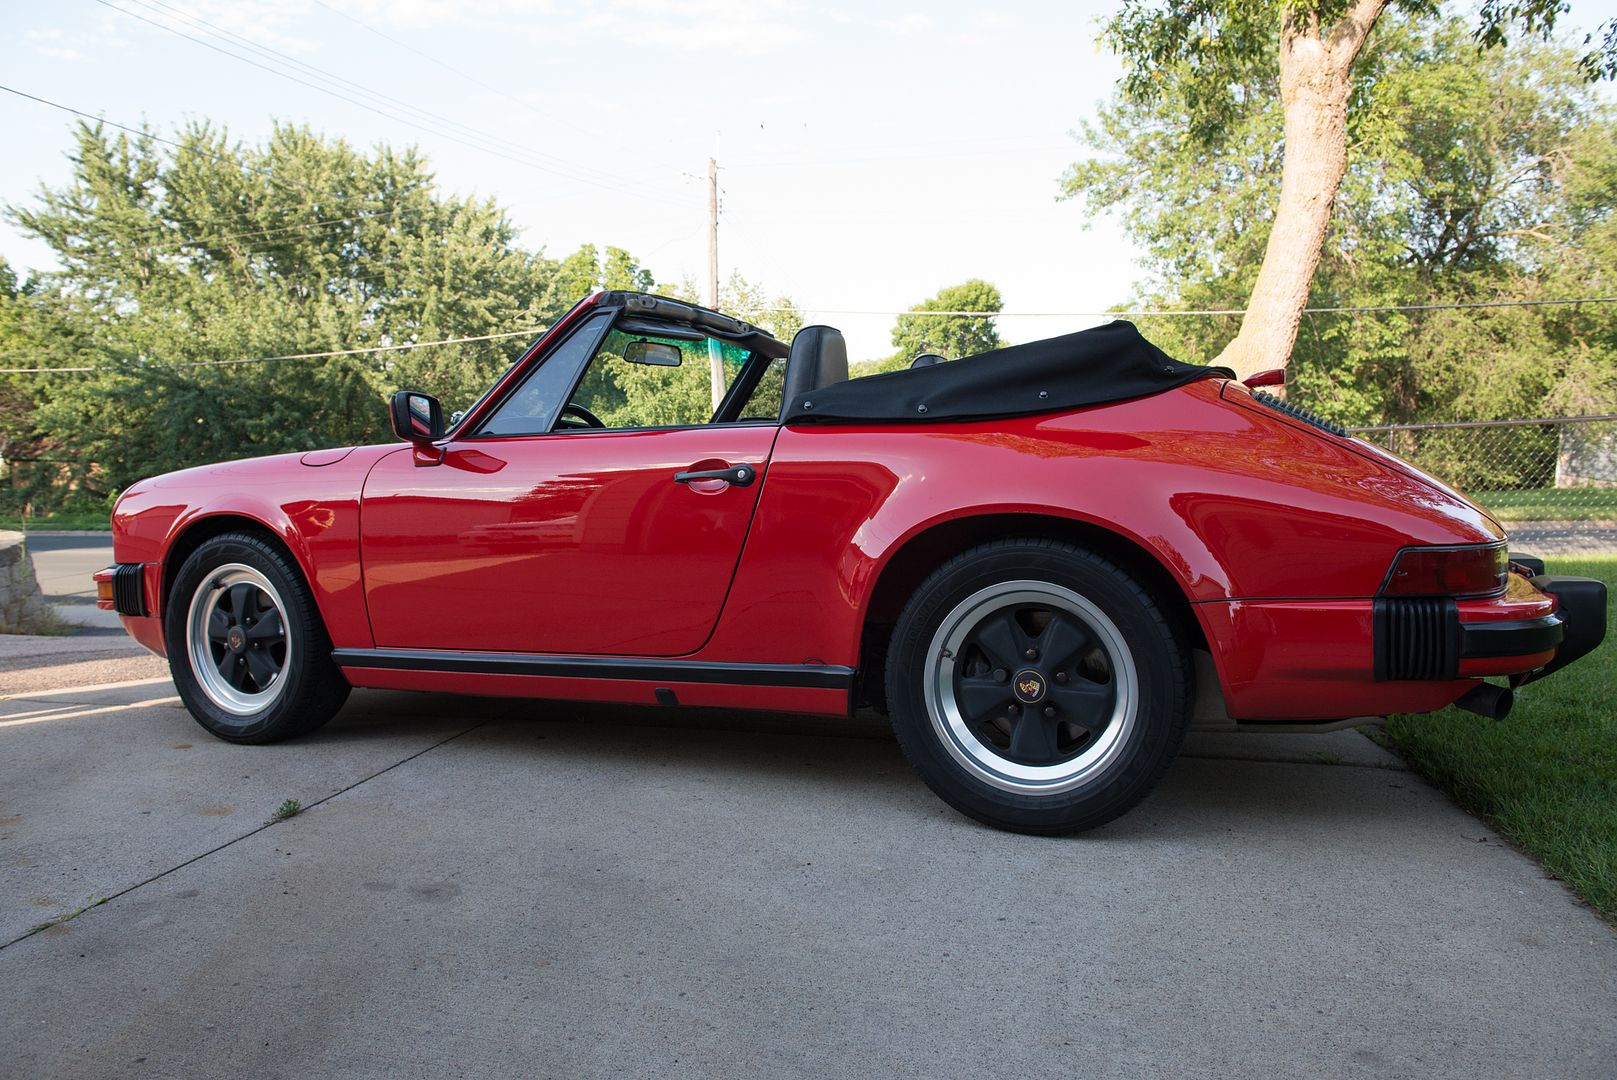
After pics!

Thanks for looking,
Rasky
This vehicle was no garage queen and it is/was driven and enjoyed as all cars should be. With that it did have a few bruises here and there but overall it was a very nice car and appeared to be mostly original with only some moderate oxidation and heavy washed induced marring. The trim had faded down a little too and needed to be addressed.
Process:
Wash – Meguiar’s Hyper Wash and natural lambs wool mitt
Wheels – P21S Wheel Cleaner Plus & various brushes.
Tires - Cleaned with Megs D143 and Tuf-Shine brush. Dressed with Megs Hyper Dressing 3:1
Convertible top cleaned with RaggTop cleaner and a brush
Paint Prep – Griot’s Fast Surface Prep Mitt and Glide as lube
Paint Correction - Groit`s Fast Correct Cream on the G15 with Griot`s MF BOSS pads followed by Optimum Hyper Polish on the G15 with yellow BOSS pads. Griot’s BOSS Innerflex pad was also installed during polishing on the fenders and quarter panels. Tight areas were done with Megs G110v2 and the Rupes Nano.
Trim – Solution Finish
Glass – Megs D120 and Griot’s PFM glass towels
LSP – Griot’s Best Of Show Paste Wax
Before pics


Engine vent was really faded and grey looking

The oil cooler had to be dropped in order to get access to the bolts holding the vent piece in.

The Carrera badge was removed for polishing and reinstalled after correction. You can see how faded and dirty it is between and around the letters.

Test spot of Solution Finish

50/50 shots


All I was seeing this day was red, lots of red!
Trying out the new CarPro MF pads too, only had one though.

The car had a few burned edges from previous detailers so they were taped off during correction.

Door cups were bad, sorry, forgot to get an after pic of these.

Rupes Nano got LOTS of use on this car!

This part was not fun

After pics!


Thanks for looking,
Rasky
 rops:
rops: