1994 Porsche Detailed for Operation Comfort Modeled by Brittany

Joined
Dec 5, 2022
Messages
51,004
Reaction score
7
1994 Porsche Detailed for "Operation Comfort" Modeled by Brittany from Stuart, Florida


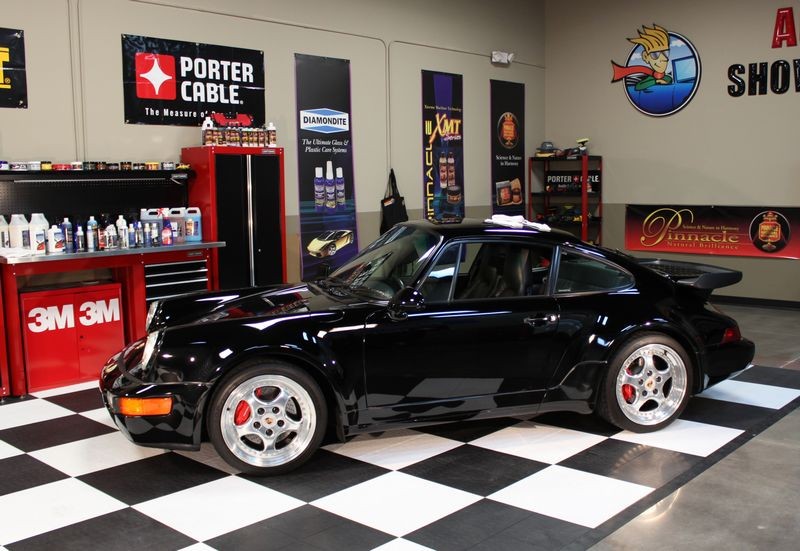
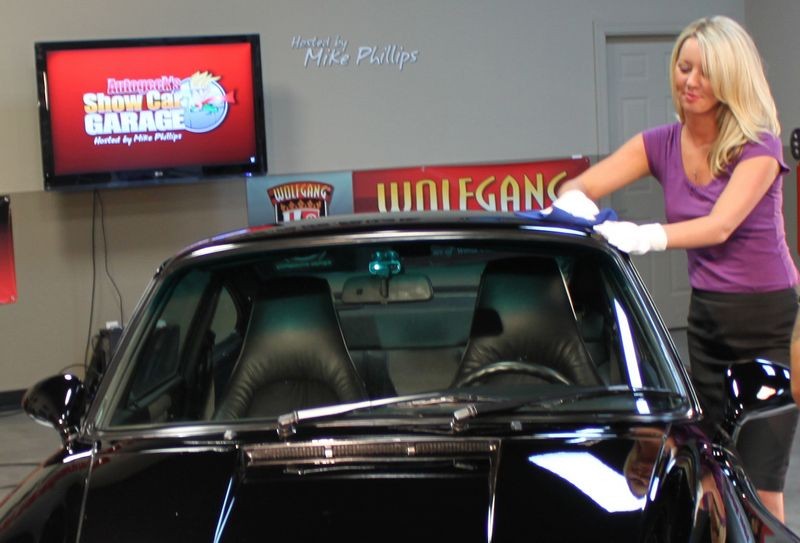
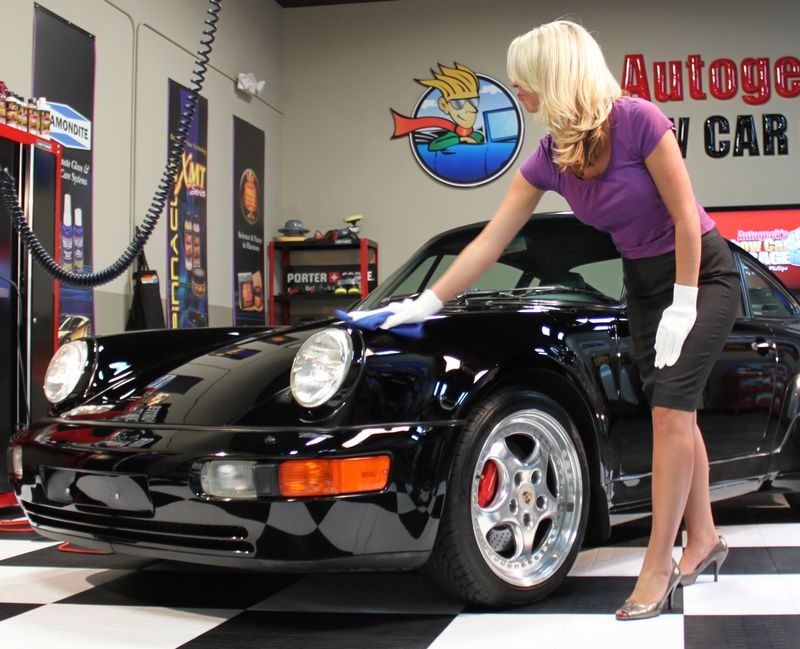
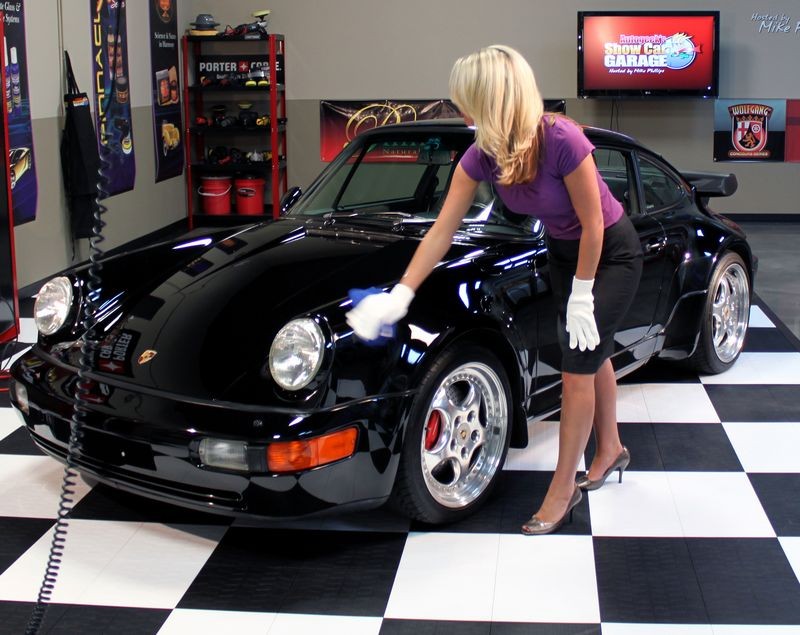
This is a 1994 Porsche 964 Turbo 3.6 I detailed for Sam and then had a beautiful local girl Brittany, model it for a charity we support called Operation Comfort.

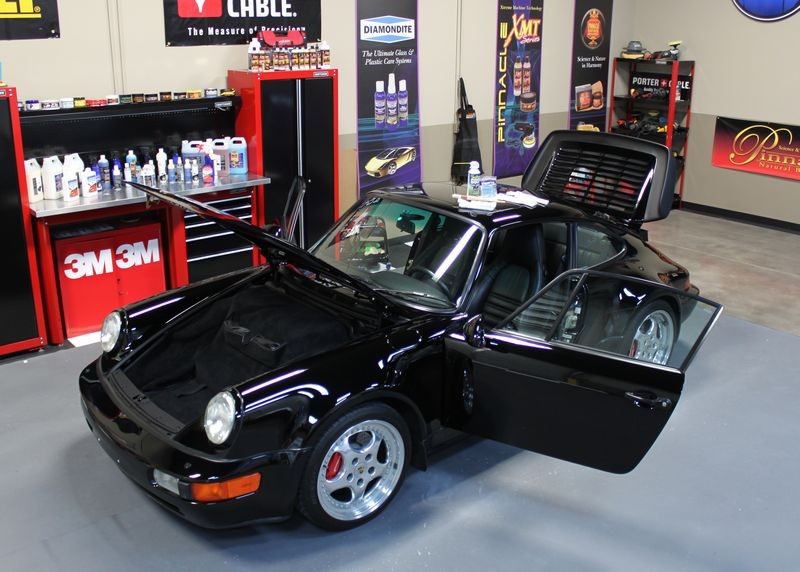
Sam's 1994 Porsche 964 Turbo 3.6
Yancylighting007.jpg


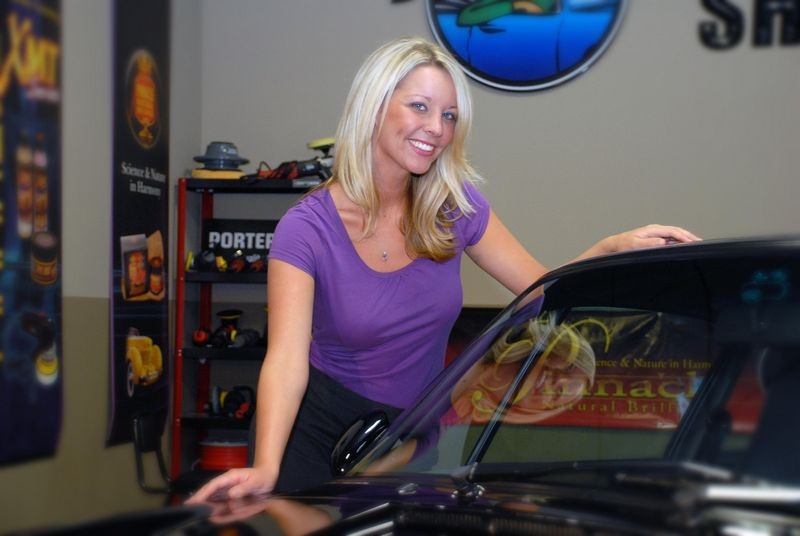
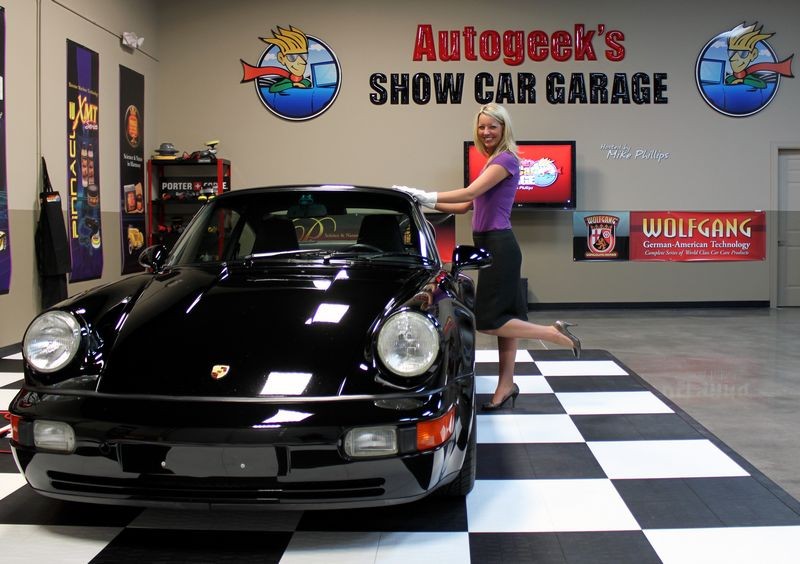
Brittany making the car look great!
MissB006.jpg


Sam, Brittany and Autogeek's Support for Operation Comfort Video
[video=youtube_share;28JIT1aXrXs]- Autogeek supports Operation Comfort[/video]​


From Wikpedia.org
1994 Porsche 964 Turbo 3.6
Porsche released the 964 Turbo 3.6 in January, 1993, now featuring a turbocharged version of the 3.6 litre M64 engine and producing 360 PS (260 kW; 360 hp) @ 5500 rpm, the 3.6 litre powered Turbo was produced only for model year 1993/1994, with fewer than 1,500 of them produced in total, making it one of the rarest and most sought after Porsches produced since the 959.
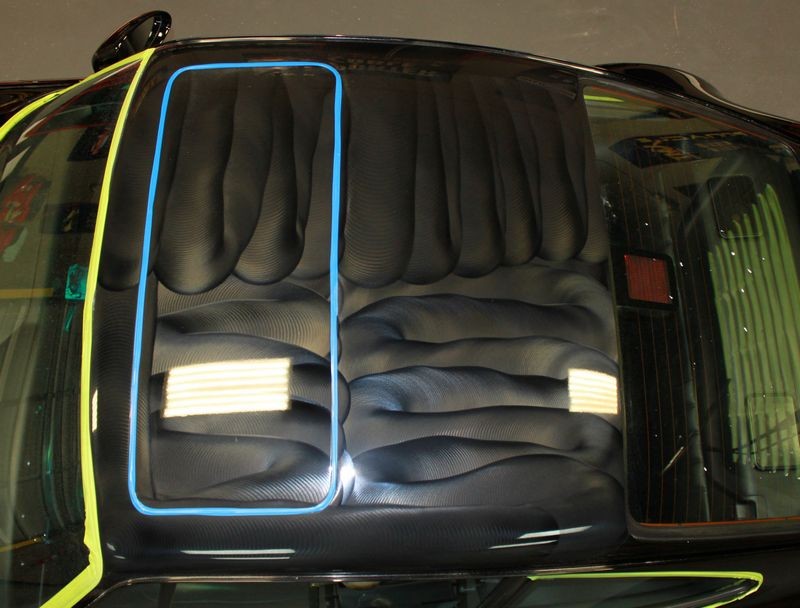
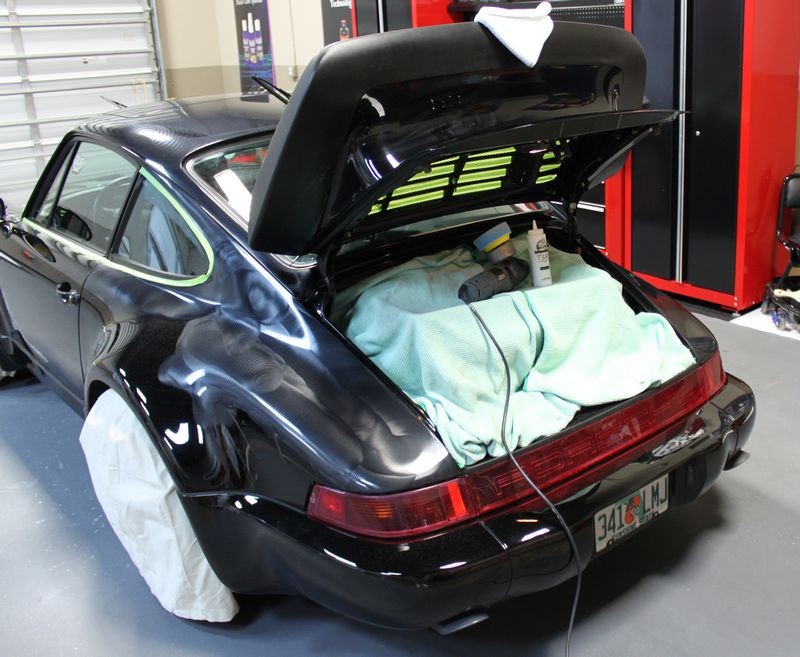
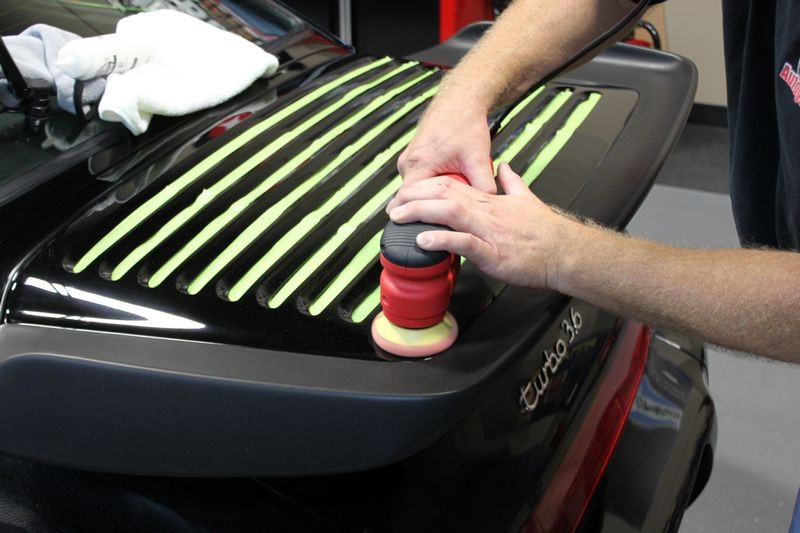
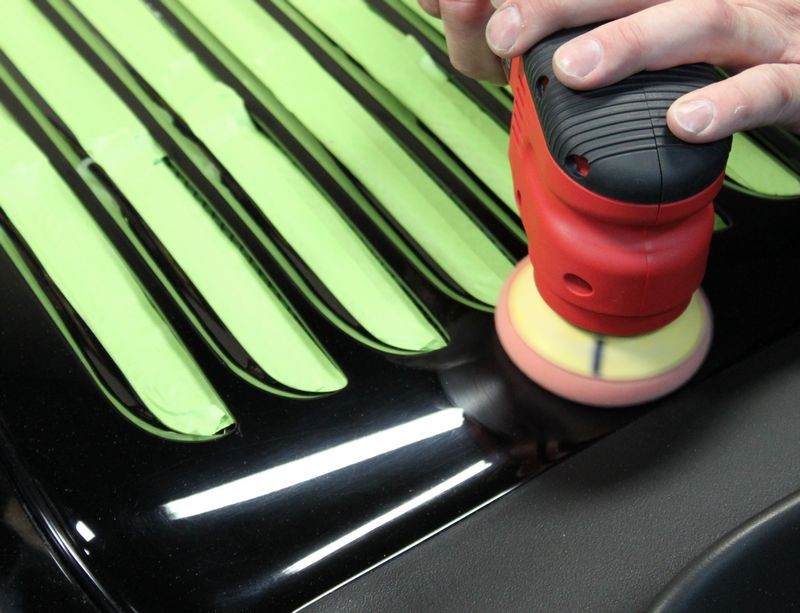
Below you'll find the write-up for the process I used to remove the swirls and restore a show car finish. This was actually a simple approach but the key to getting great results is taking your time and massaging the swirls out of the paint section at a time. Being careful around plastic, rubber or felt trim, and also being mindful around the deck-lid on a car like this as under the louvers was a black grill taping or covering the open sections will protect the grill from any splatter residue when machine cleaning and polishing surrounding paint.


:)
 
First, here's the products, pads and tools I used...

DP Waterless Auto Wash
Wolfgang Elastic Poly Clay
Wolfgang Clay Lubricant
3M Automotive Performance Masking Tape
Porter Cable 7424XP
Lake Country Flat Pads 5.5" Orange, White & Blue
Lake Country Hydro Pads 4" - Cyan, Tangerine
Griot's Garage 3" Orange and Red pads
Wolfgang Total Swirl Remover
Wolfgang Finishing Glaze
Wolfgang Deep Gloss Paint Sealant
Wolfgang Fuzion
Cobra Supreme 530 Microfiber Towels
Cobra Arctic White Edgeless Microfiber Polishing Towels
Gust Easy Duster
Microfiber Gloves
Glass Master Pro Glass Cleaner
Wolfgang Black Diamond Tire Gel
Wolfgang Instant Detail Spritz
Cobra Indigo Microfiber Towel
Cobra Flex Foam Tire Dressing Applicators


Washing
The car arrived clean, so instead of washing the car I carefully wiped the car clean using DP Waterless Wash.

Tip to help prevent rust...
When it comes to classic cars many owners prefer you DON'T wash their car with a normal car wash because you'll introduce water into all the nooks and crannies of the car where rust can form unseen. Due to the cost of doing a body-off restoration in order to remove rust a waterless, rinseless wash is a good service to offer your customers who own classic and antique cars.


Claying
I used the Baggie Test to check for above surface bonded contaminants and the contamination level was very low but I went ahead and clayed each panel to ensure there were no above surface bonded contaminants and because that's my normal procedure for show car work.

PaintCleaningByHand022.jpg


Visual Inspection
I inspected the paint in the sun when Sam first showed me his Porsche and the sun revealed the normal swirls and scratches most all cars have including special interest cars. After wiping the car clean and claying the paint and then wiping the paint clean, I took some pictures to show the swirls...


This is the paint in the middle of the hood just above the Porsche badge, the paint over the rest of the car looked just like this under bright light or in direct sunshine...
1994BlackPorscheOC003.jpg


This is the paint on the driver's side of the hood just in front of the windshield...
1994BlackPorscheOC004.jpg


A close-up of the same section...
1994BlackPorscheOC005.jpg


This is the driver's side rear fender, a few days after this picture was taken Brittany will use this area as a mirror...
1994BlackPorscheOC006.jpg


Close-ups of the same areas...
1994BlackPorscheOC007.jpg


1994BlackPorscheOC008.jpg


1994BlackPorscheOC009.jpg


Visual Inspection Results
Overall the paint was filled with swirls, scratches, water spots and some kind of surface staining that required polishing to remove....


Test Spot
I did a Test Spot on the hood just above the Porsche badge and found the Wolfgang Total Swirl Remover and Finishing Glaze were more than up to the job of removing the swirls, restoring a show car finish.


Paint above the green painter's tape is before condition
1994BPTestSpot001_jpg.JPG


I removed the painter's tape and used the residue line to enable the camera to focus on the surface. The paint below the line was machine cleaned with Wolfgang TSR and then machine polished with Wolfgang Finishing Glaze. After the tape was removed the paint was wiped with Mineral Spirits to remove any polishing residue.

The dots or spots you see in the after shots are either pinholes in the paint or tiny specs or divots from rock chips.
1994BPTestSpot002_jpg.JPG


Before - the blob above the light is touch-up paint
1994BPTestSpot004_jpg.JPG


1994BPTestSpot003_jpg.JPG


The Wolfgang Twins worked out to be a perfect fix for Sam the owner because he already owns a PC and I wanted to keep the process simple so that anytime in the future should the need arise he would be able to remove any future swirls and scratches with a proven process that anyone can get pro results with even if it's their first time.

For example,

Proof You Can Do It! - Joe The Detailer - Black Porsche Turned into Black Pearl!


All the techniques I used over this Porsche can be learned from these three resources...

Incredibly detailed and thorough...
Tips and Techniques for using the PC 7424XP Dual Action Polisher to remove Below Surface Defects


When machine polishing paint, you can only tackle a small section at a time, how you buff the section is called a "Section Pass". Then you simply repeat a successful "Section Pass" over the rest of the car and be sure to overlap each section pass a little into the previous section for a uniform appearance.

Show Car Garage Video: How-To do a "Section Pass" when Machine Polishing with a DA Polisher

Show Car Garage Video: How To Remove Swirls, Scratches and Water Spots using a PC 7424XP, Meguiar's G110v2 or Griot's Garage 6" Random Orbital Polisher


:)
 
After taping-off any trim and the black grill under the louvers on the rear deck-lid I simply duplicated the process used in my test spot over the rest of the car.

1994BlackPorscheOC010.jpg


1994BlackPorscheOC011.jpg


In the below picture, I've actually already machine polished the door using an orange pad with the TSR because I wanted to make sure the staining problem could be fixed before buffing out the rest of the car. Whatever it was it polished out clear so I moved on with the rest of the car.
1994BlackPorscheOC012.jpg


I started with doing the complete process to just the roof to knock it out and to avoid having to wipe any splatter off lower panels after they had been polished and to avoid having to lean against paint on the door previously polished when having to return to the roof.

1994BlackPorscheOC014.jpg


1994BlackPorscheOC015.jpg


1994BlackPorscheOC016.jpg


After Wolfgang Total Swirl Remover...
1994BlackPorscheOC017.jpg


Next, Wolfgang Finishing Glaze using a white polishing pad followed with a second pass using a gray finishing pad...
1994BlackPorscheOC018.jpg


Sealed with Wolfgang Deep Gloss Paint Sealant 3.0 using a blue finishing pad on the 4.0 speed setting.
1994BlackPorscheOC019.jpg


Wolfgang Deep Gloss Paint Sealant drying...
1994BlackPorscheOC020.jpg


While the paint sealant was drying and I was finished with roof except for hand waxing with Fusion, I moved to the lower panels and started in on any panel that was thin or difficult to reach using both 4" pads and 3" pads.

The section in front of the windshield was worked-over using a 4" Cyan Pad on the 5.0 Speed setting with Wolfgang Total Swirl Remover, later to be re-polished with Wolfgang Finishing Glaze on a white 4" CCS pad.

Before
1994BlackPorscheOC021.jpg


1994BlackPorscheOC022.jpg


Wolfgang Total Swirl Remover
1994BlackPorscheOC023.jpg


1994BlackPorscheOC024.jpg


I used the 4" pad around the B-piller, around the windows, the front and rear bumpers and some of the other curvy, tight areas.
1994BlackPorscheOC025.jpg


:)
 
To work on the paint under the whale tail, I used the Griot's Garage 3" Mini Polisher...

1994BlackPorscheOC026.jpg


The paint around the louvers and the louvers were the most difficult areas to work on and while the paint was greatly improved in this area there are still deeper scratches remaining that can be removed but will require more time to work out carefully by hand or machine...
1994BlackPorscheOC027.jpg


1994BlackPorscheOC028.jpg


If I work on this car again in the future I'll either have the owner check into having the black grill removed or I'll have to do it myself so that there's no risk of causing any damage to the grill or getting splatter on it from multiple machine polishing steps...

Most of the time when I look at areas like this detailed before me I find spatter or the other guy's wax...
1994BlackPorscheOC029.jpg


Polishing and sealing were both done with the red finishing/waxing pads offered by Griot's Garage for their 3" Mini Polisher.
1994BlackPorscheOC030.jpg


1994BlackPorscheOC031.jpg


At this point the entire car is now sealed with Wolfgang Deep Gloss Paint Sealant 3.0, this was Saturday night.
1994BlackPorscheOC032.jpg


Sunday afternoon I removed most of the tape and carefully removed any residue where the tape-lines were and then applied a second coat very carefully, (around the trim), and let it set-up for about 45 minutes.

1994BlackPorscheOC033.jpg


1994BlackPorscheOC034.jpg


1994BlackPorscheOC035.jpg


After wiping off the second coating of the Wolfgang DGPS 3.0 I opened her up and started doing what I call detailing.

"Polishing paint is polishing paint, detailing is getting the wax out of the cracks"


As I was detailing the car I took a few pictures and created a thread in our Tricks, Tips and Techniques forum group.


This is called Stretching
The "Stretching Shot" is when you have all the doors, trunk lid, hood etc., opened up so you can wipe down and detail all the nooks and crannies on the car to remove any polish or wax residue.

PorscheProject003.jpg


PorscheProject004.jpg


PorscheProject005.jpg


Kind of the idea of how we stretch out only as it applies to a car... of course some cars look cooler than others when they're stretching...

sunset.jpg


Next up it's time for Brittany to take over...


:)
 
The Photo and Video Shoot
On Wednesday, both Brittany and Sam came by for the video and photo shoot... both were very happy to be a part of supporting Operation Comfort.

It hurts me to say this because I poured my heart and soul into the polishing work on the Porsche but... Brittany easily outshines the Porsche....


Here's Brittany and I going over the technique for applying Wolfgang Fuzion by hand for the second video.
1994BlackPorscheOC036.jpg


1994BlackPorscheOC038.jpg


Here's Brittany admiring the shine and then pointing out some wax residue I missed... :)
1994BlackPorscheOC039.jpg


MissB006.jpg


MissB008.jpg


MissB010.jpg


MissB011.jpg


Yancy took this shot and we had a poster made out of it...
MissB007.jpg


:)
 
After a few lessons on how to machine polish Brittany has the confidence to use the Porter Cable 7424XP DA Polisher to gently apply a liquid paint sealant to the Porsche...

MissB014.jpg


MissB015.jpg


MissB017.jpg


Wearing our Microfiber Gloves, Brittany gives the paint a final wipe to reveal a streak-free, crystal clear finish...
MissB026.jpg


MissB027.jpg


MissB027c.jpg


MissB028.jpg


MissB029.jpg


MissB030.jpg


MissB031.jpg


MissB033.jpg


MissB034.jpg


MissB035.jpg


MissB036.jpg


MissB037.jpg


MissB038.jpg


Now that the Porsche has a finish worthy of the Porsche name, it's time to go for a ride!
MissB039.jpg


MissB040m.jpg


MissB041.jpg


MissB042.jpg


MissB044.jpg


She waves goodbye and then we never seen here again...
MissB045.jpg


MissB046.jpg


MissB047.jpg


Look at how the paint sparkles in the sun like a polished gemstone...
MissB048.jpg


See ya!
MissB049.jpg

__________________
 
The fun video...

[video=youtube_share;TjgoEmgKm-Y]- Brittany Models a 1994 Porsche at Autogeek's Show Car Garage Studio[/video]

Detail a car for a Veteran

Join me in supporting a great cause and that's to financially support Operation Comfort by detailing a car and then donating the profit or a portion of the profit to Operation Comfort. To kick start this program I've donated the profit from this detail to Operation Comfort.


The serious video...

[video=youtube_share;28JIT1aXrXs]- Autogeek supports Operation Comfort[/video]


:xyxthumbs:
 
The bar has been raised by Mike Phillips for all internet forums on the planet..
 
I hope everyone respects all that Mike, Brittany, and Operation Comfort has done for their respective communities. Keeping this thread on track and light is the best option .. thank you all in advance.
 
I LOVE that car and how beautiful you made it! Great job and excellent write up Mike!
 
VERY nice write-up Mike. :D I didn't expect anything less from you though buddy. ;) The car came out fantastic and I've started doing all horizontal panels first on the cars I polish out for the same reasons you stated as to why you do the roof first, though Jonathan is 6' 7" tall...it really isn't MUCH of an issue for him as it is for my 5' 9" frame. lawl.
 
Great work as always Mike...

Coincidentally enough, I have one of these 994 Turbos being dropped of today to work on...
 
The bar has been raised by Mike Phillips for all Internet forums on the planet..

I don't know about that...


I've been posting to forums since forums have been around and I've never used a model in any of my work before and because I'm always open to new ideas (and new products and techniques), I thought I would try having a beautiful and classy model be part of the beauty shots.

The more I've become involved with Operation Comfort has inspired me personally look for other ways I can help our returning wounded soldiers transition back into society and with that I've had a few ideas for some future projects that might involve more people.

The first step of one of my ideas is the first step and that was to step outside of old habits of doing things the way they've always been done and trying something new and that's where Brittany fit into the picture. Just having her here at the Studio, working with Yancy, video cameras, lighting and of course a car was a learning experience for all of us.


Will anything come from this into the future? I don't know except that as a company we're going to keep moving forward with producing educational videos on car detailing and continuing our support for Operation Comfort.

This style of write-up was a first for me and I'm not sure if I'll do anymore like this into the future but I've learned a few things from it and will probably learn even more thing from it into the future.


Maybe we'll see some others like it from other detailers and for this reason I did want to set a standard in that one of my goals was to keep it professionally and tastefully done and by this I mean keeping the photo shoot family friendly while still appreciating natural beauty.


Besides all that, in an effort to provide a nice environment for the photo and video shoot it gave me a great idea for putting one of the 3M buckets to good use...


Yancylighting013.jpg


Thank you to 3M for the cold beverage holder... :xyxthumbs:


:)
 
This is the paint in the middle of the hood just above the Porsche badge, the paint over the rest of the car looked just like this under bright light or in direct sunshine...
1994BlackPorscheOC003.jpg


A close-up of the same section...
1994BlackPorscheOC005.jpg


Paint above the green painter's tape is before condition
1994BPTestSpot001_jpg.JPG


The dots or spots you see in the after shots are either pinholes in the paint or tiny specs or divots from rock chips.
1994BPTestSpot002_jpg.JPG


:)[/QUOTE]

Mike, First great write up and I hope things are going good for Operation Comfort.
The pics I left in the quote look exactly like what I have, little white spots that some can be felt and some can not. My car is black also. I posted some pics of mine in another thread here:

http://www.autogeekonline.net/forum/auto-detailing-101/27031-paint-defects-need-advise-pics.html

I am not sure of what they are but people are telling me they are probably rock chips. I am wondering if you got rid of them on that Porsche and if so how? I'm a newbie to this and am wondering if I should invest in a DA and a bunch of products or just put that money towards a new paint job. I am not looking for perfection but if I can get rid of most of the spots and swirls I would be happy saving the money on a paint job.
 
1st I love the 964. Its an amazing car that had relatively low production run. My kinda Porsch.

2nde In pic 10 (the pic right above) with the half and half section taped off. I'm dealing with this also. My Porsche is about the same year as that one with the same paint color. Is the only option a re-spray?

3rd would you say that paint/ clear coat was on the soft side?
 
Mike, First great write up and I hope things are going good for Operation Comfort.
The pics I left in the quote look exactly like what I have, little white spots that some can be felt and some can not. My car is black also. I posted some pics of mine in another thread here:

http://www.autogeekonline.net/forum/auto-detailing-101/27031-paint-defects-need-advise-pics.html

I am not sure of what they are but people are telling me they are probably rock chips.

See my comments on page 3 of this thread and know it is a common problem that there is not always a known root cause for the issue. (Comments explain this)

Seeing Dots! Help! - Pinhole or Solvent Pop? Common Paint Issue

I am wondering if you got rid of them on that Porsche and if so how? I'm a newbie to this and am wondering if I should invest in a DA and a bunch of products or just put that money towards a new paint job. I am not looking for perfection but if I can get rid of most of the spots and swirls I would be happy saving the money on a paint job.


Nope, didn't get rid of them, here's why..

The holes or divots go "into the paint", they are not a "topical defects", as in limited to just an upper portion of the surface. The holes in the paint on the Porsche are deep enough that more and more polishing just removes more and more paint and at some point you're going to go to far.

Anytime a defect like this is limited to just the front portion of the car, that is the hood and front portions of the fenders, this leads one to think it could be impact related, such as sand blasting as discussed in the above thread.

Solvent Pop is usually a problem only seen in repaints, not factory paint.

When a problem is isolated only to the horizontal surface of the hood, then this could be related to engine heat over time, of course this wouldn't affect this Porsche as the engine is in the back.

I did not see these divots or impact holes anywhere else on the car and since it is the front and because the car is capable of high speeds it could be something related to impact of particulates in the air? I don't know, but I do know that you only have a limited amount of thickness or film-build to safely work with and when I buff on someone else's "toy" I don't go as far as I would on my own toy and that's because if I'm going to buy anyone a paint job it's going to be me, not the other guy. :D

If you read the above blue clickable linked to thread, you'll see the OP of that thread had Toyota repaint his hood, this removed the problem and he's a happy camper.

It would be interesting to see if the problem re-occurs over time due to engine heat, impact from air-borne debris or paint issues.

Time to call Mystery Incorporated.

:)
 
Mike and everyone else THANKS for all your experience!!
I think I'm going to turn this over to "Mystery Incorporated", I just finished reading the "Seeing Dots! Help!" thread and a whole lot of other threads here on AG and I still don't know whats going on but I'm thinking it's either solvent pop or sandblasting/rock chips. The rest of the paint on my car is pretty good except for swirls and some small scratches. So I think I'm going to go ahead and detail the whole car and see how it comes out then decide if I should do a whole repaint or maybe I can get by with just the hood. Too bad I am in SE Georgia and it will be in the 90's til Sept. so I will probably have to wait til it cools down a little. I'm going to keep reading and post some more questions when it gets closer to me tackling this job.
Again Thanks to everyone on AG!!! It has been a big help and I know there is a whole lot more help for newbies like me just waiting to be found.
 
Back
Top