The Guz
Well-known member
- Jun 17, 2013
- 8,777
- 58
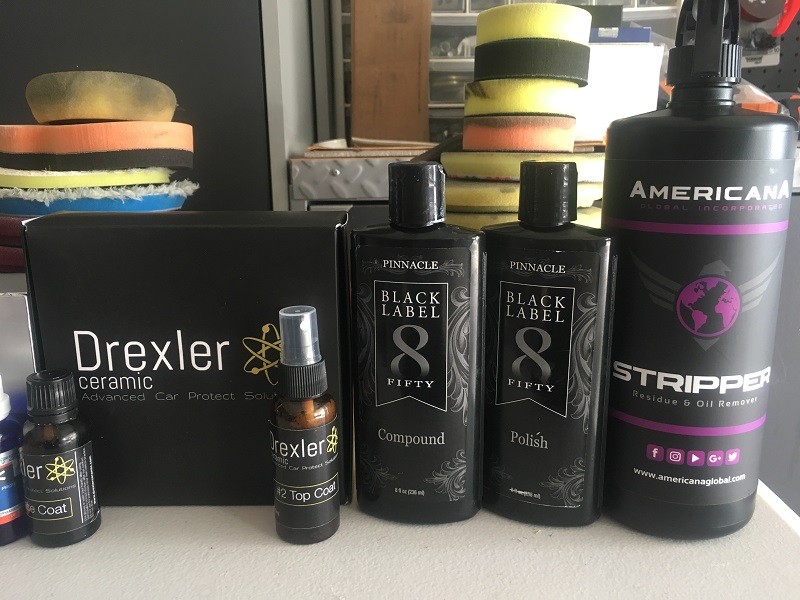
This car was done as part of my testing and review of the Pinnacle Black Label compound and polish.
Review - Pinnacle Black Label Compound and Polish
I worked on this one a couple weeks ago.
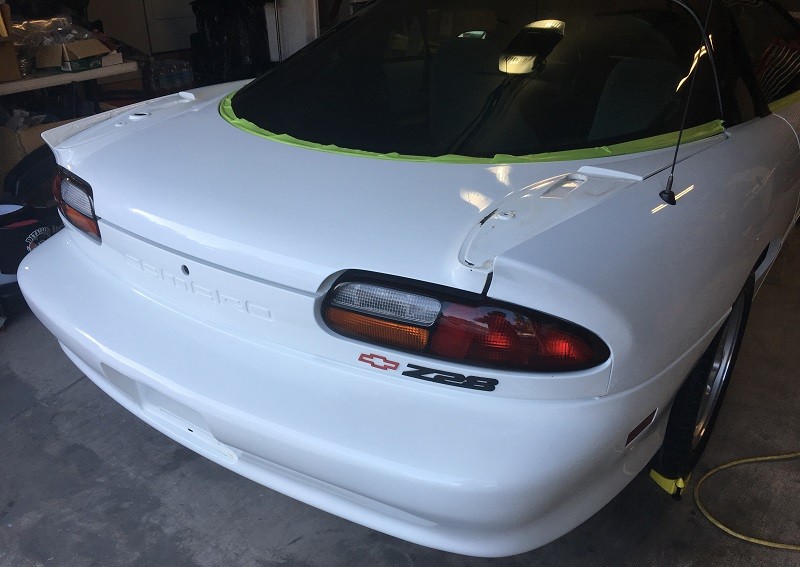
It is a 1997 Camaro Z28 with 70k miles. About 5 years ago the car was in an accident and the front and rear bumper were replaced along with the exhaust.
It had the typical body shop defects after it came back when I recall seeing it after the work was done. The arctic white paint does a good job concealing defects but when the sun hits it at the right angle that is when the true finish is revealed.
Started with the wheels then proceeded to the chemical decon. This paint had the most horrendous iron contamination I have seen. It took 3 rounds of iron remover (wolfgang uber and ironx) to remove 95% of the contamination in combination with claying. Thanks to JustJesus for sending me a bottle of Uber Iron Remover to test out. This Camaro used to live near a refinery.

When it comes to an f-body of this body style, the rear spoiler comes off. It allows access to the rear hatch.
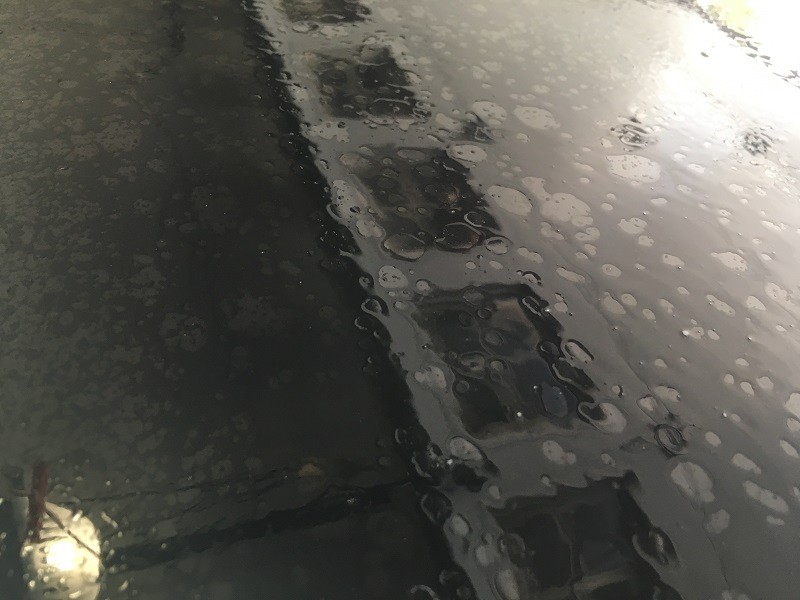
I am going to take the easy way out but for conditions of the defects click on the review link up top. With that said after claying, the paint was brighter in appearance. But as I polished half the hood and looked at my pads, I could see the built up road film on the paint. I went through many foam cutting pads due to the amount of residue being removed. Hopefully this shows up well to give an indication of the dingy paint.
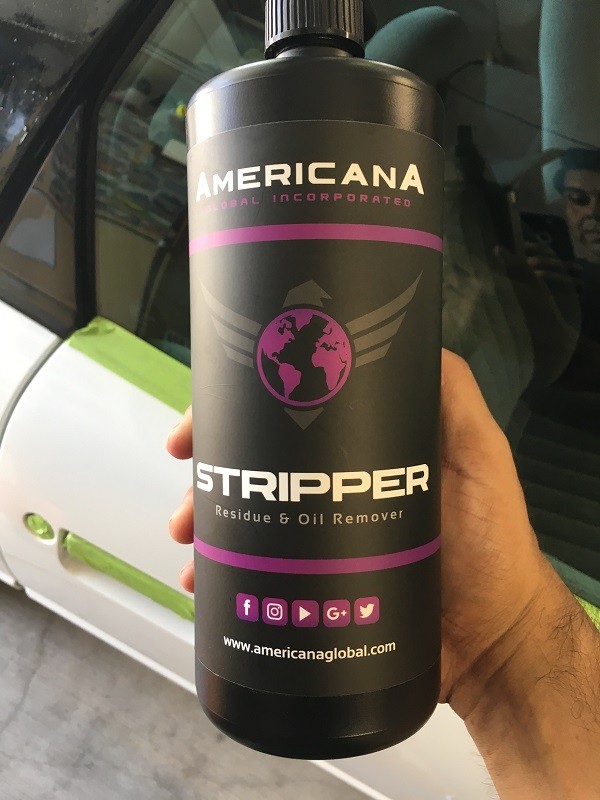
After the compounding and polishing was complete it was time to prep wipe the paint. I gave this paint prep a try. It has an interesting effect as it breaks down the polishing oils.
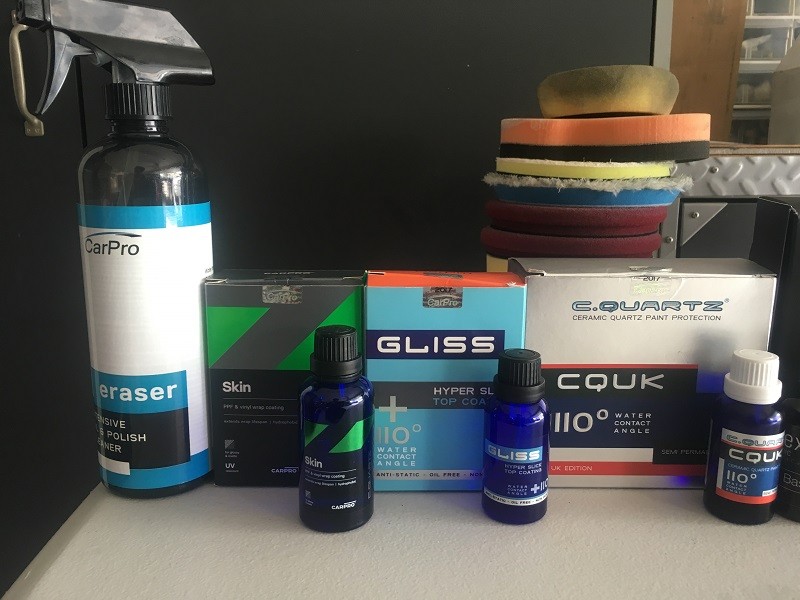
The headlight area is matte paint. This was a simple Eraser wipe down followed by Cquartz Skin.
Cquartz Skin left the finish with a subtle richer finish.
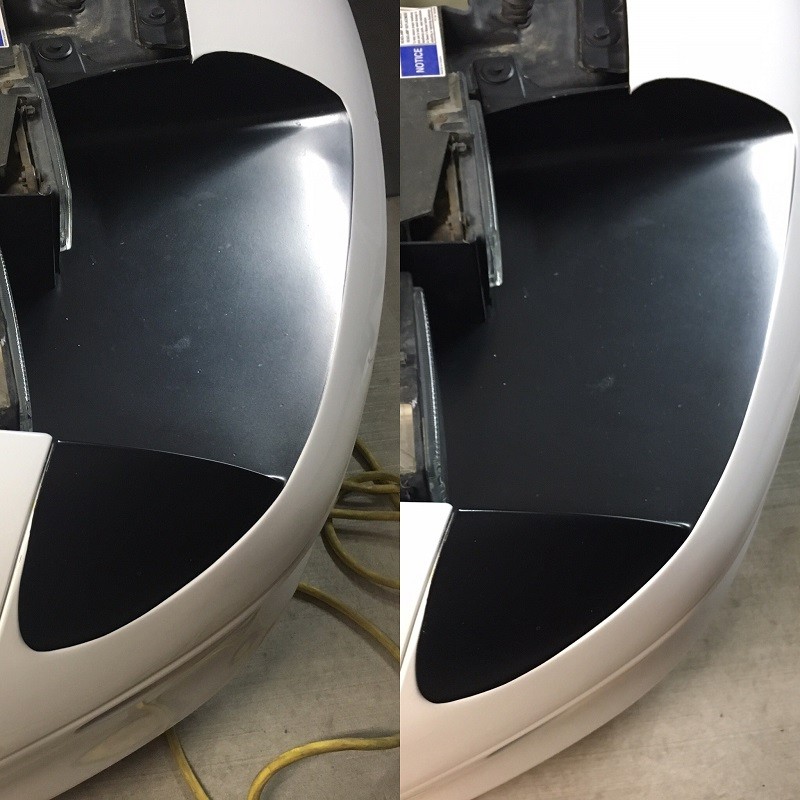
As I was experimenting with Gliss, there was no increase in gloss. The matte rich finish was retained. This is more for experimentation purposes to see how they work together.

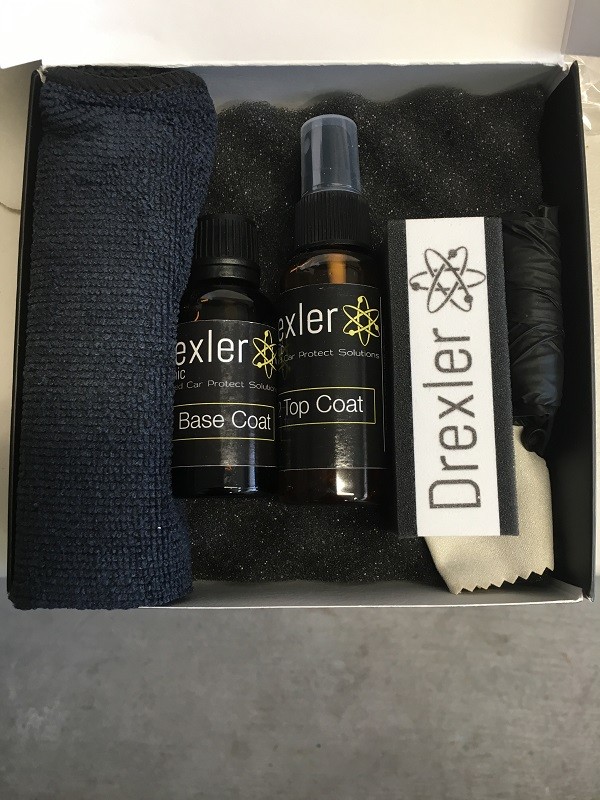
Once complete the paint was coated with Drexler ceramic coating. This is a two part coating.
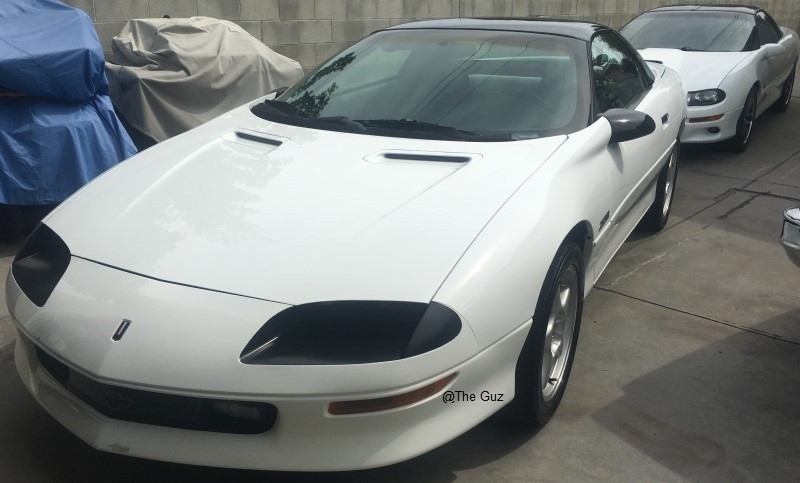
Final images. We all know how difficult white is to capture gloss. But in the end the paint was brighter in appearance and restored.


My 02 SS in the background which is the same color.
Products used.
Glass: Mckee’s glass restorer polish + McKee’s Glass Coating
Tires: CarPro Perl 1:1
Trim: Blackfire Wax Remover + McKee’s 37 Trim Restorer
Paint:
Wheels were coated with CQUK 2.0
Matte paint coated with Skin + Gliss V1
Walk around
Review - Pinnacle Black Label Compound and Polish
I worked on this one a couple weeks ago.
It is a 1997 Camaro Z28 with 70k miles. About 5 years ago the car was in an accident and the front and rear bumper were replaced along with the exhaust.
It had the typical body shop defects after it came back when I recall seeing it after the work was done. The arctic white paint does a good job concealing defects but when the sun hits it at the right angle that is when the true finish is revealed.
Started with the wheels then proceeded to the chemical decon. This paint had the most horrendous iron contamination I have seen. It took 3 rounds of iron remover (wolfgang uber and ironx) to remove 95% of the contamination in combination with claying. Thanks to JustJesus for sending me a bottle of Uber Iron Remover to test out. This Camaro used to live near a refinery.
When it comes to an f-body of this body style, the rear spoiler comes off. It allows access to the rear hatch.
I am going to take the easy way out but for conditions of the defects click on the review link up top. With that said after claying, the paint was brighter in appearance. But as I polished half the hood and looked at my pads, I could see the built up road film on the paint. I went through many foam cutting pads due to the amount of residue being removed. Hopefully this shows up well to give an indication of the dingy paint.
After the compounding and polishing was complete it was time to prep wipe the paint. I gave this paint prep a try. It has an interesting effect as it breaks down the polishing oils.
The headlight area is matte paint. This was a simple Eraser wipe down followed by Cquartz Skin.
Cquartz Skin left the finish with a subtle richer finish.
As I was experimenting with Gliss, there was no increase in gloss. The matte rich finish was retained. This is more for experimentation purposes to see how they work together.
Once complete the paint was coated with Drexler ceramic coating. This is a two part coating.
Final images. We all know how difficult white is to capture gloss. But in the end the paint was brighter in appearance and restored.
My 02 SS in the background which is the same color.
Products used.
Glass: Mckee’s glass restorer polish + McKee’s Glass Coating
Tires: CarPro Perl 1:1
Trim: Blackfire Wax Remover + McKee’s 37 Trim Restorer
Paint:
Wheels were coated with CQUK 2.0
Matte paint coated with Skin + Gliss V1
Walk around
")