This vehicle was detailed a couple weeks ago. I've been so busy lately I haven't had any time to do write ups. Well here is a quick one for this car. It was booked for a headlight restoration and full detail (no correction). I ended up having a little more time than I had originally thought so I went ahead and added a deep paint cleaning to knock off some oxidation and restore some shine. Enjoy!
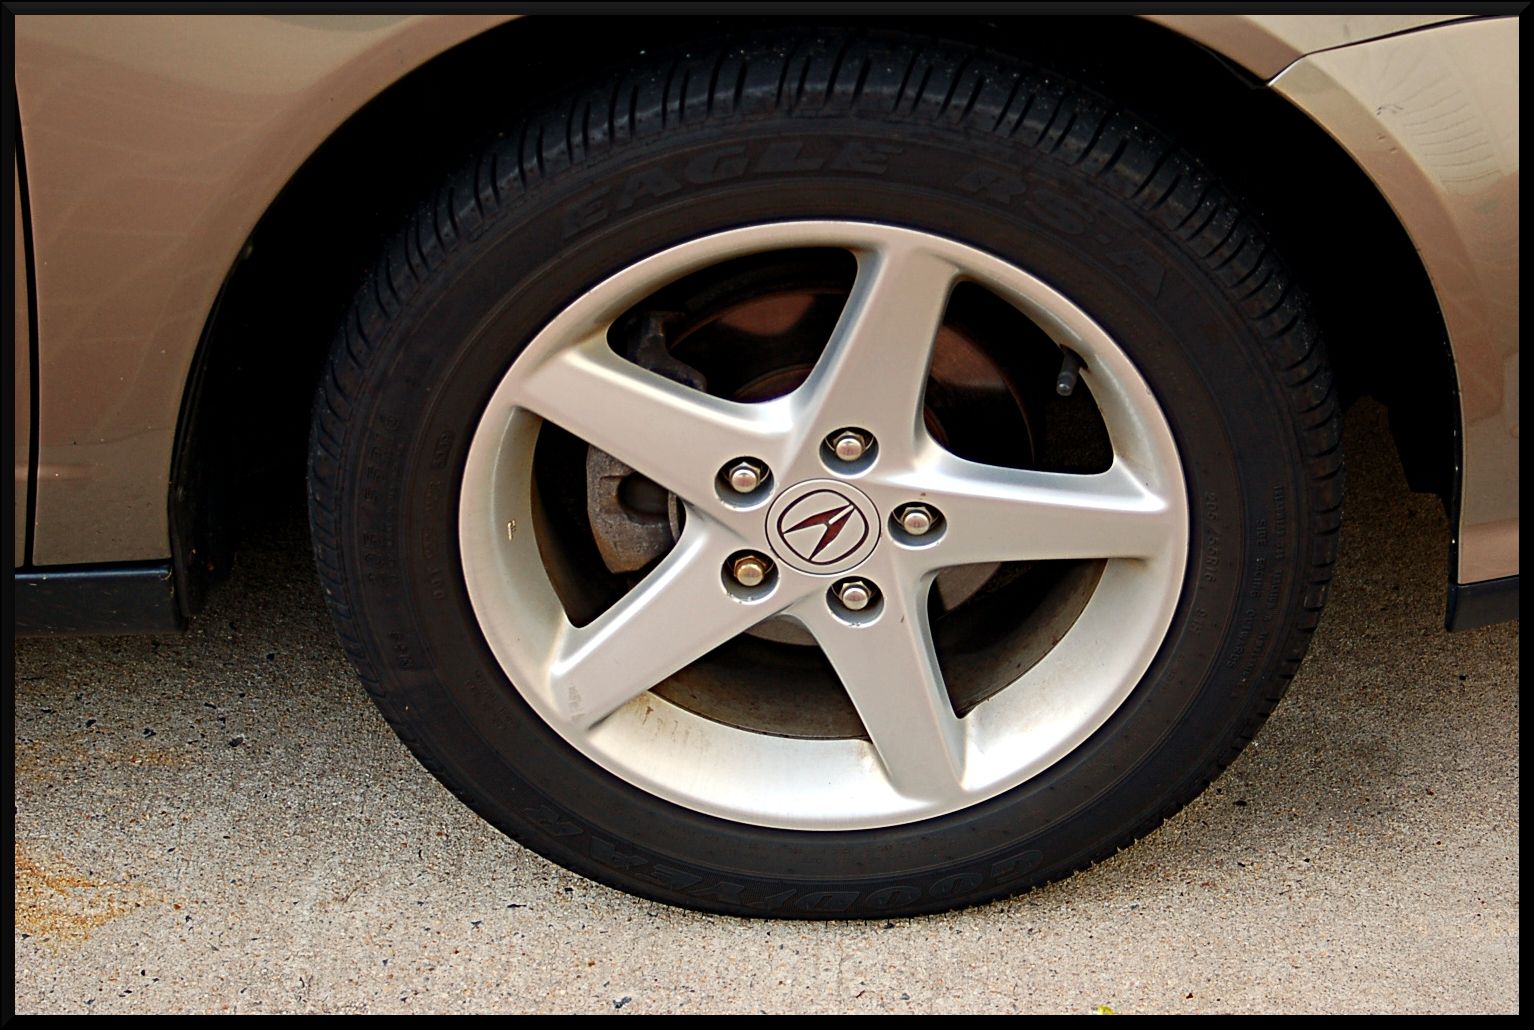
The wheels weren't in bad shape to begin with. they were cleaned up with Muc-Off Frequent Wheel Cleaner and various brushes. The tires and wheel wells were cleaned with Power Clean. The tires were dressed with DP Tire Dressing and the wells were dressed with Adams Undercarriage Spray.
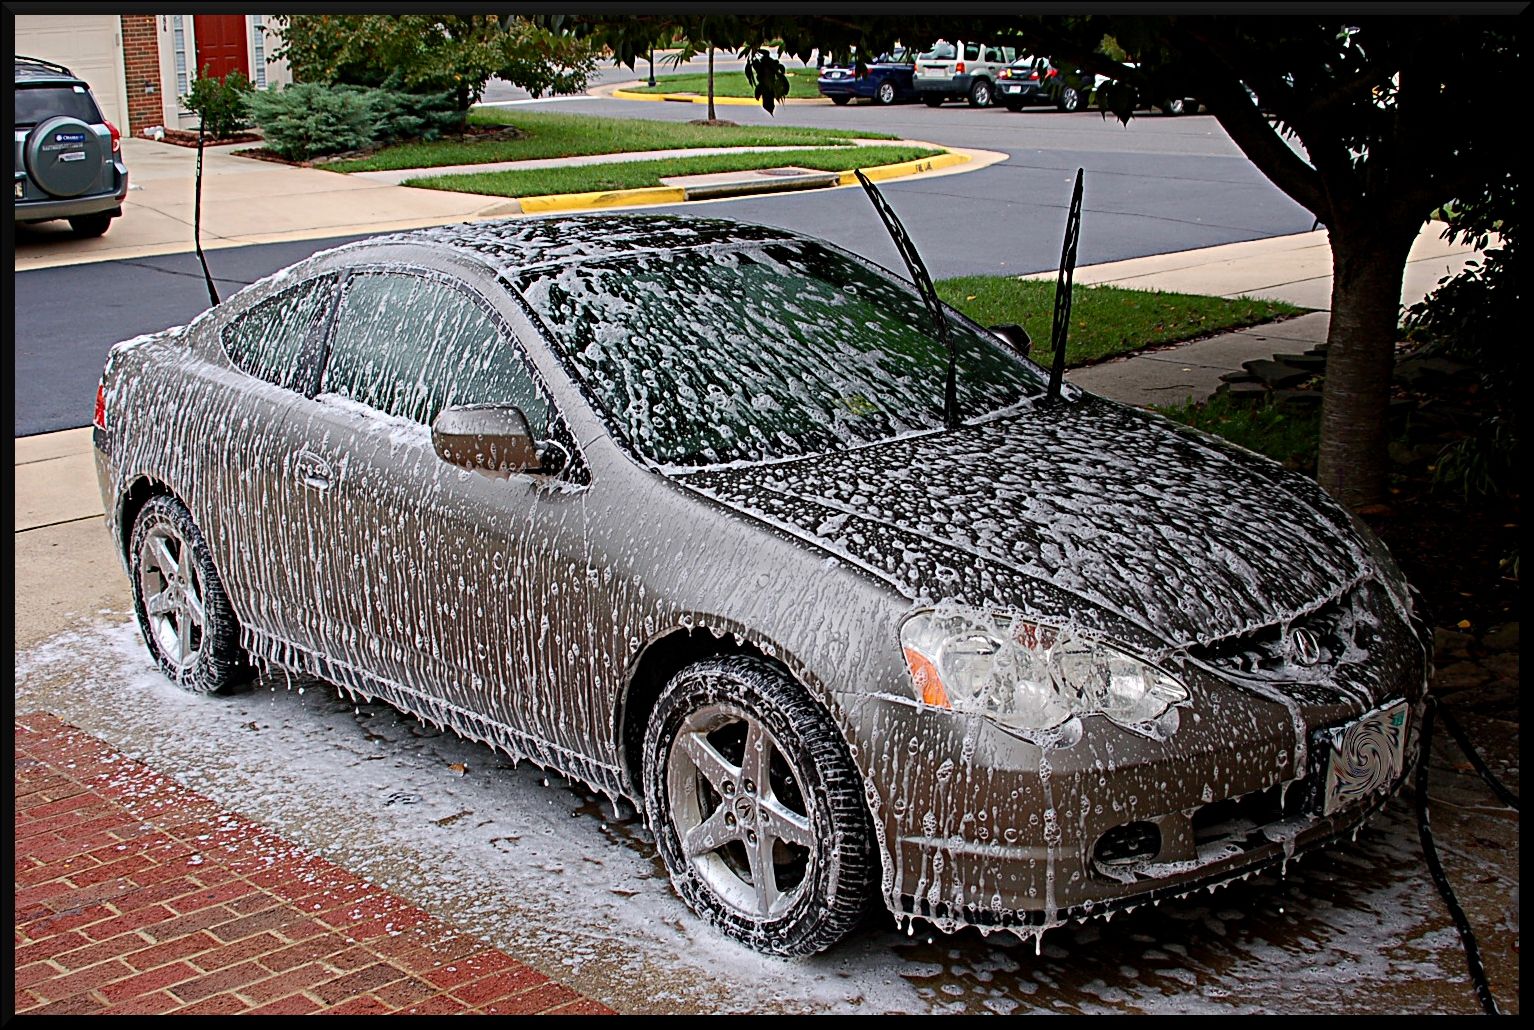
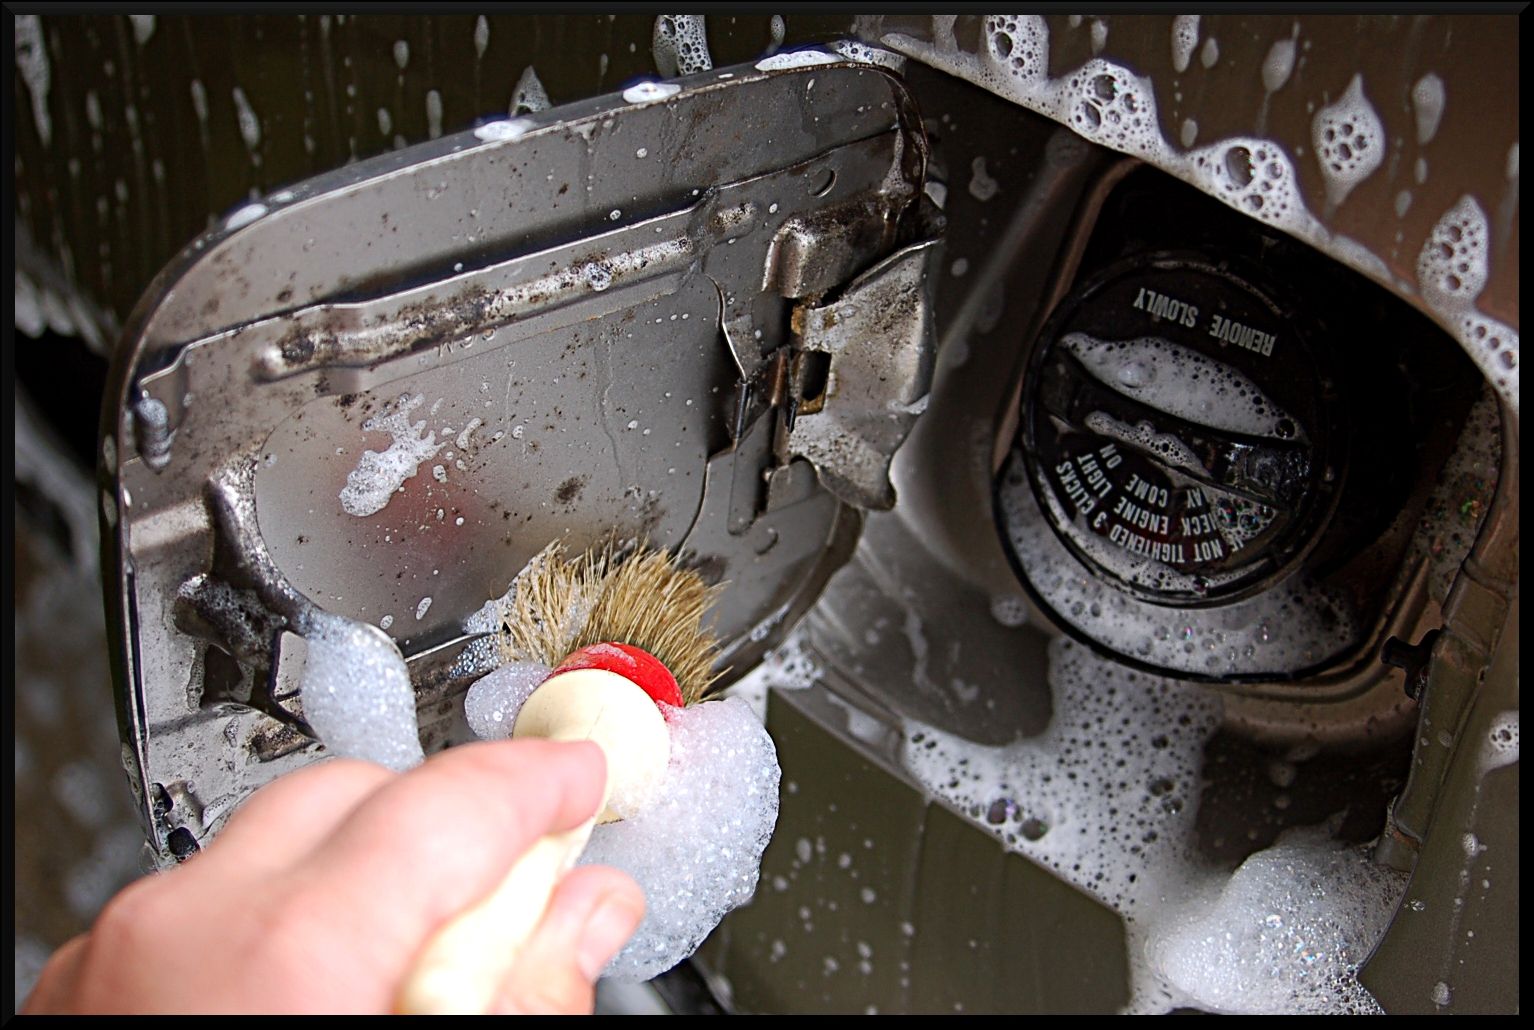
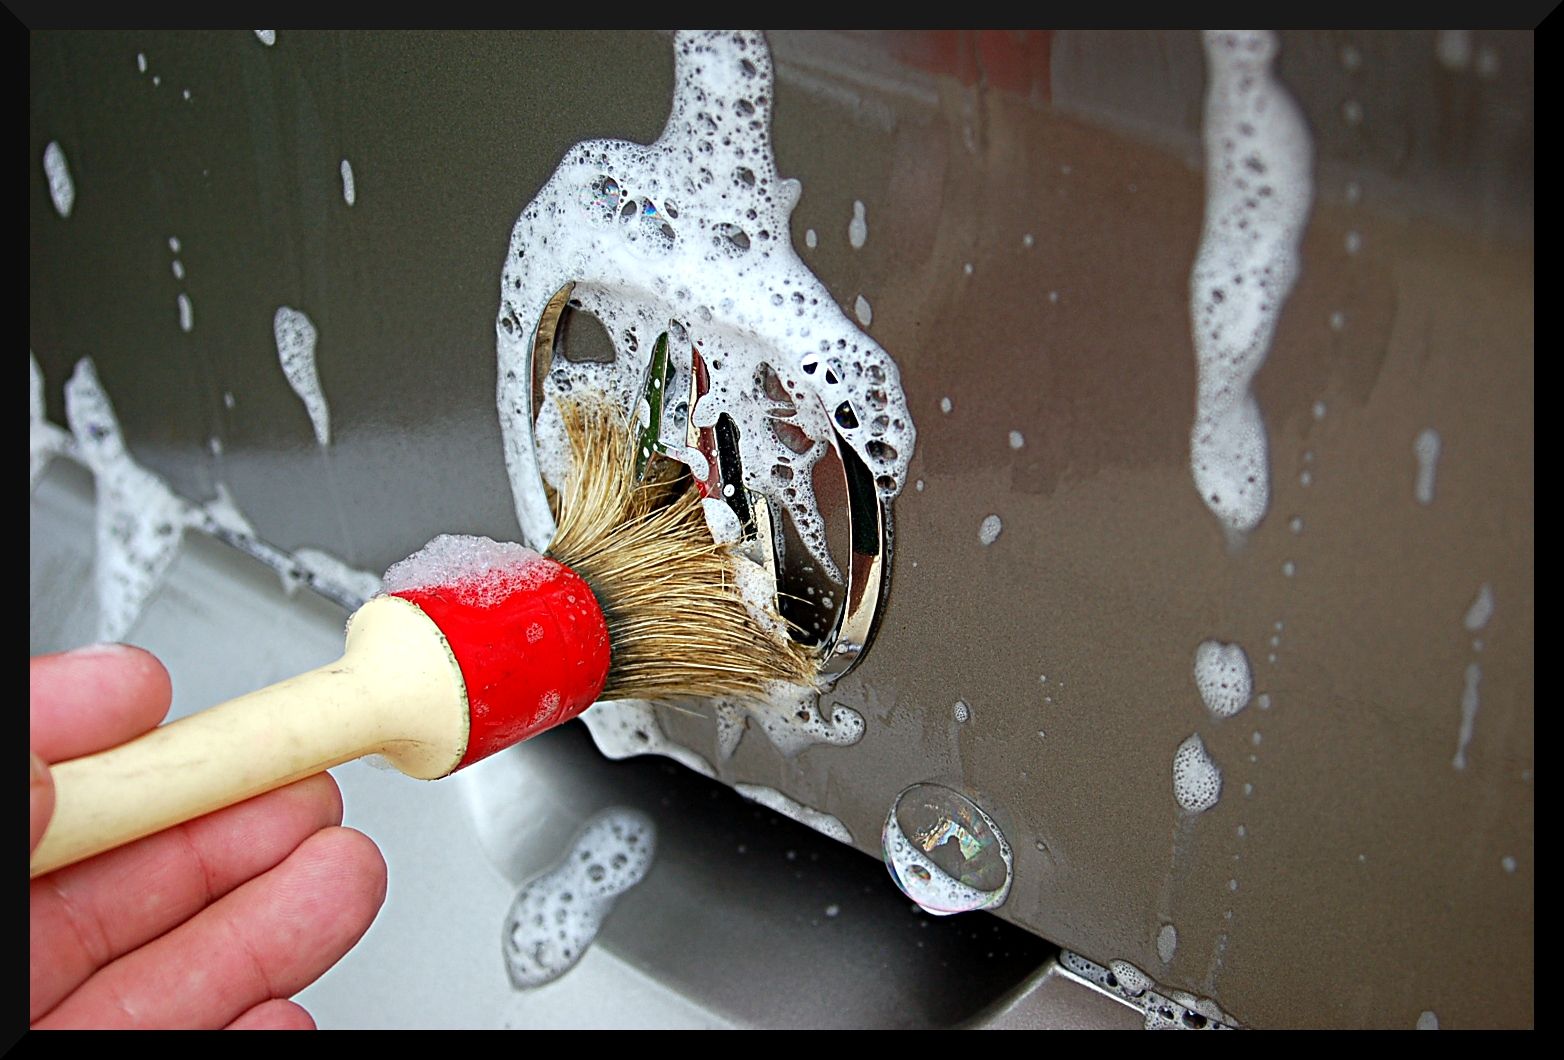
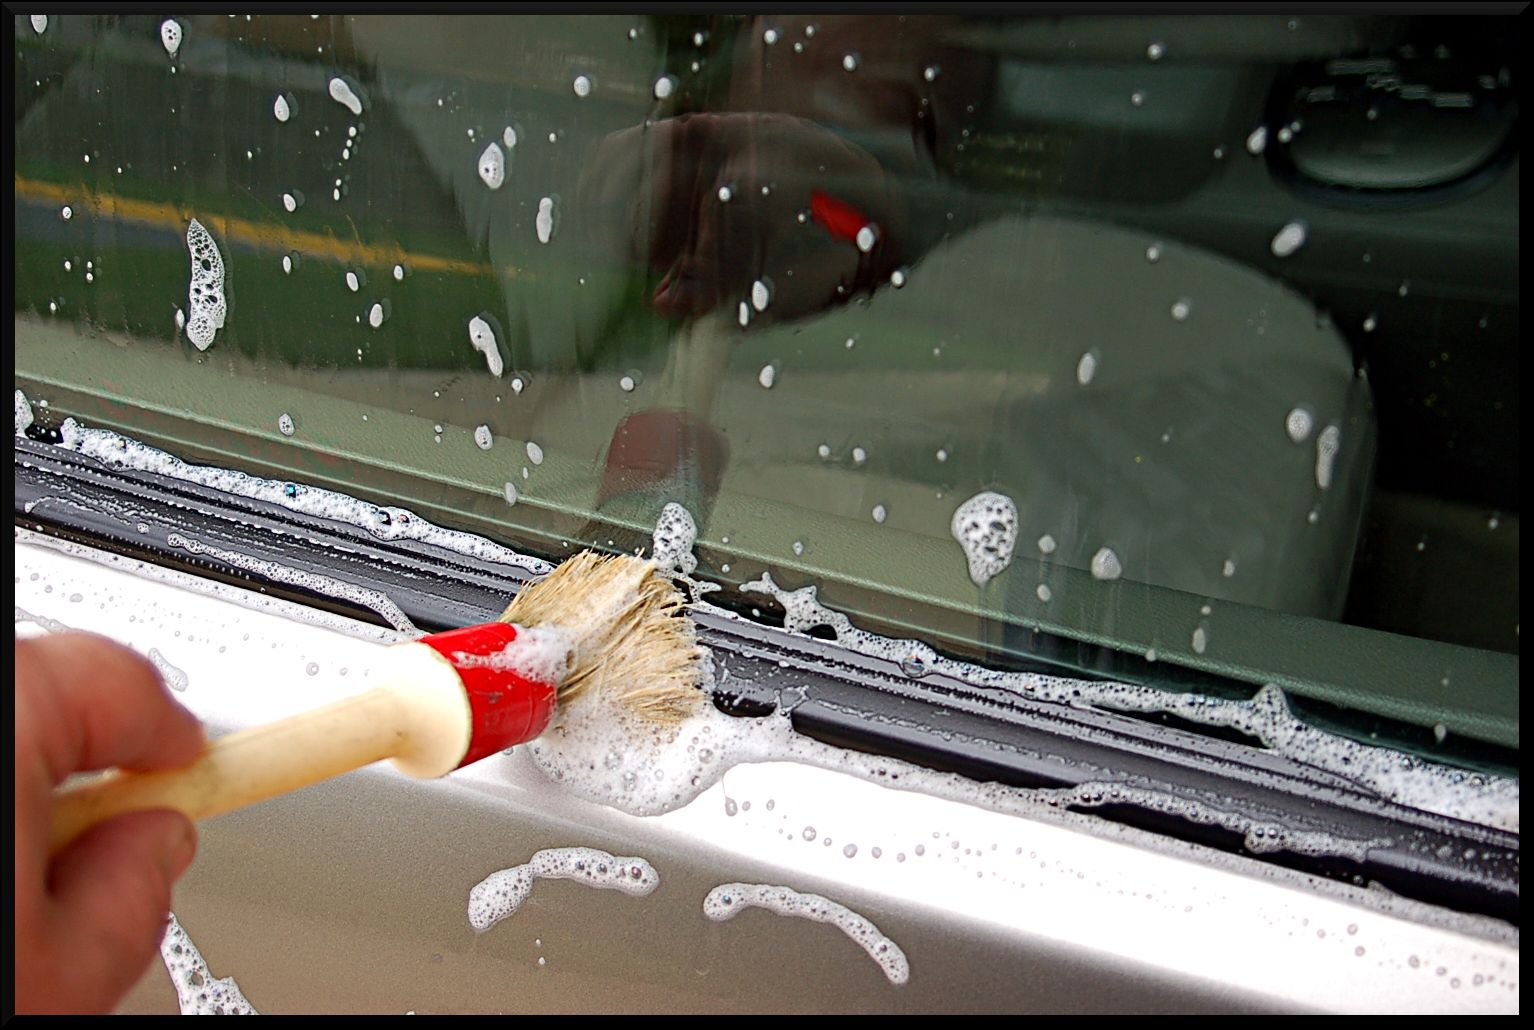
The vehicle was then foamed with DP Xtreme foam with some Powerclean mixed in to aide in cleaning. The foam was left to dwell for 5 minutes while various emblems and trim were agitated with a soft brush to loosen built up dirt and debris. After being rinsed thoroughly it was washed with Ultima Shampoo.
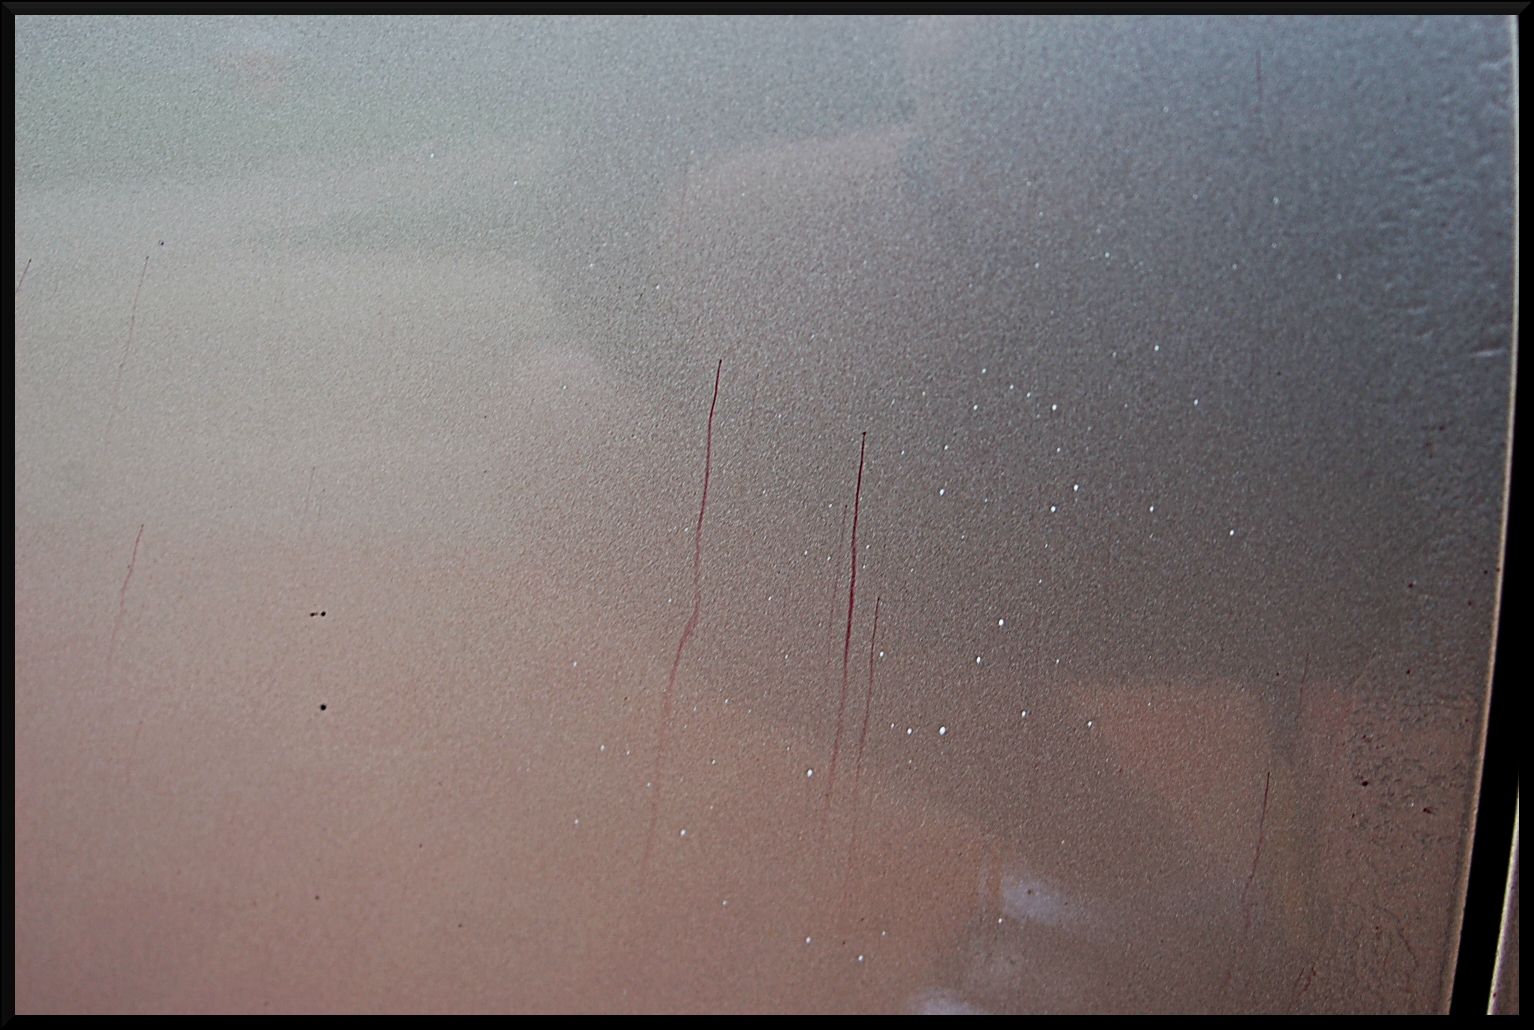
For the next step in decontamination, the entire vehicle received an Iron X treatment, followed by a claying with Ricardo Yellow clay. I have been using the Ultima Clay Block recently, but since no correction was taking place I felt it was too aggressive for this car. After much use I have found that on some paint the Ultima Clay Block will cause significant marring.
The engine bay was also detailed. It was cleaned with Powerclean and various brushes, then dressed with Sonus Trim and Motor coat. Adams In and Out Spray was also used to touch up some parts that the Sonus didn't reach.
Before:

After:

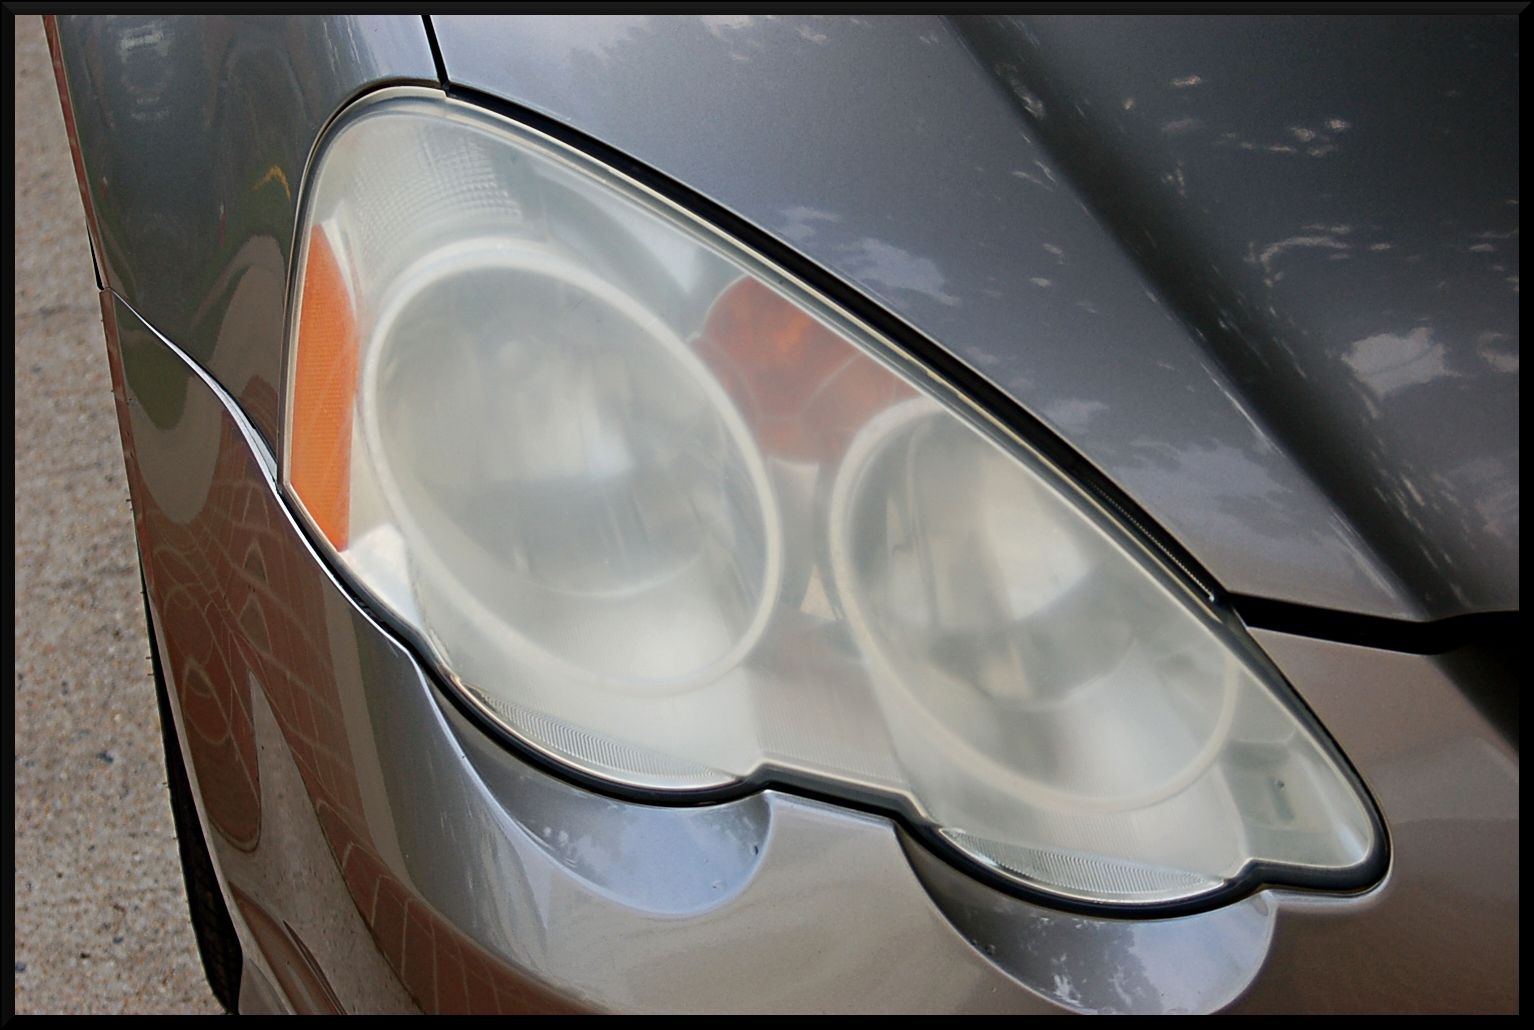
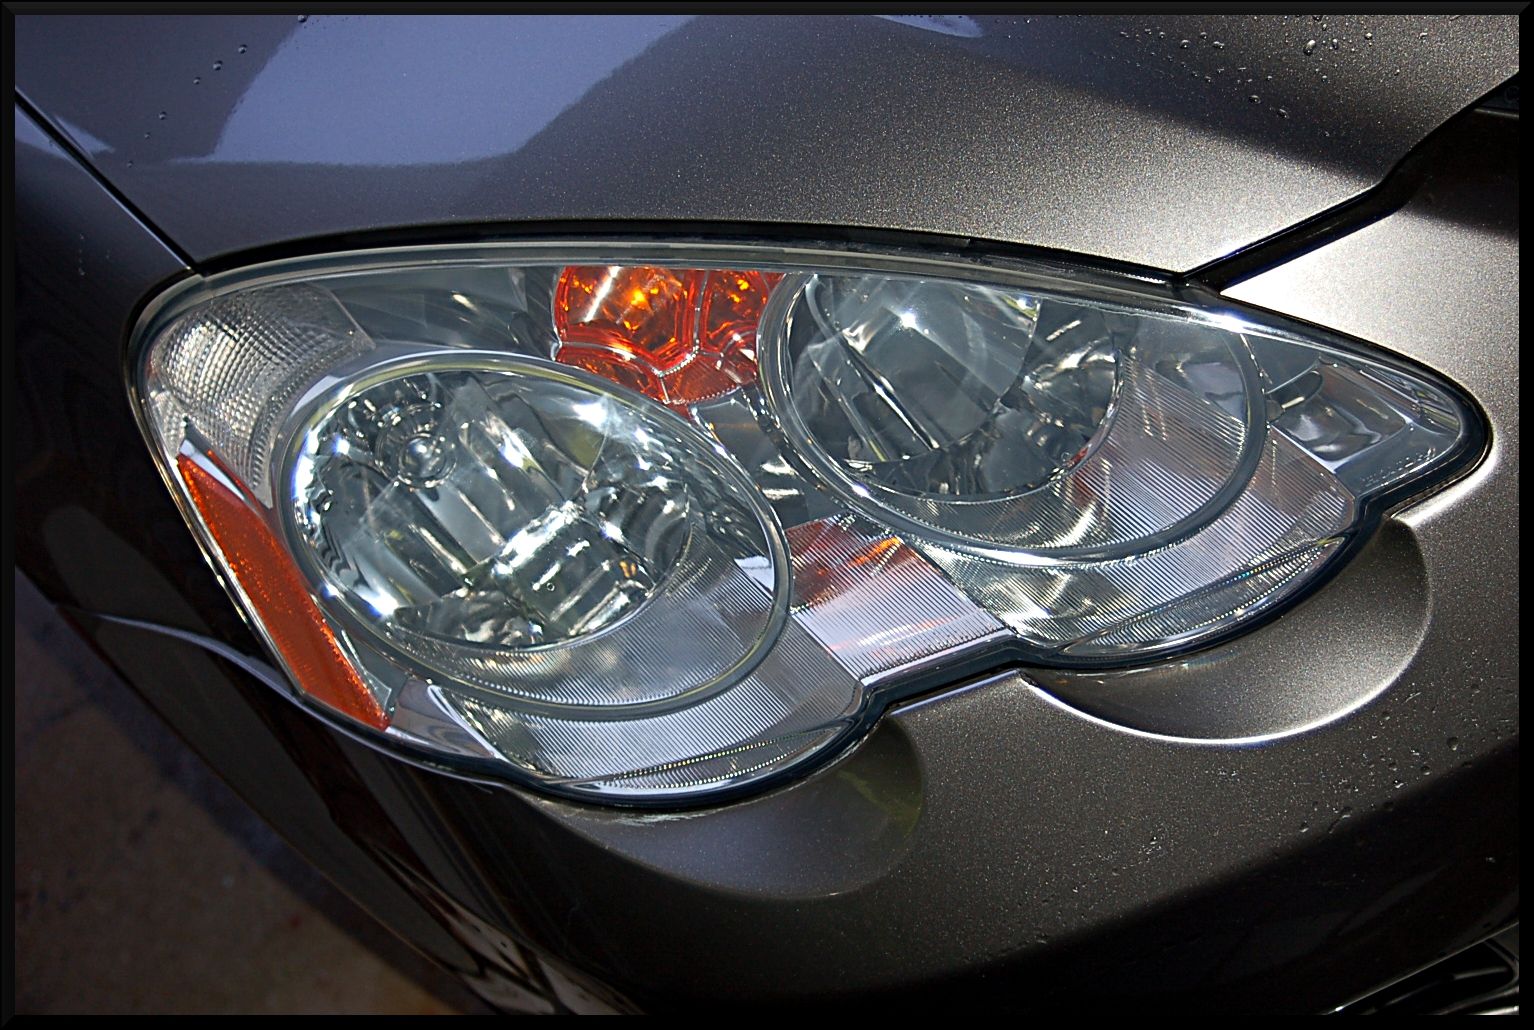
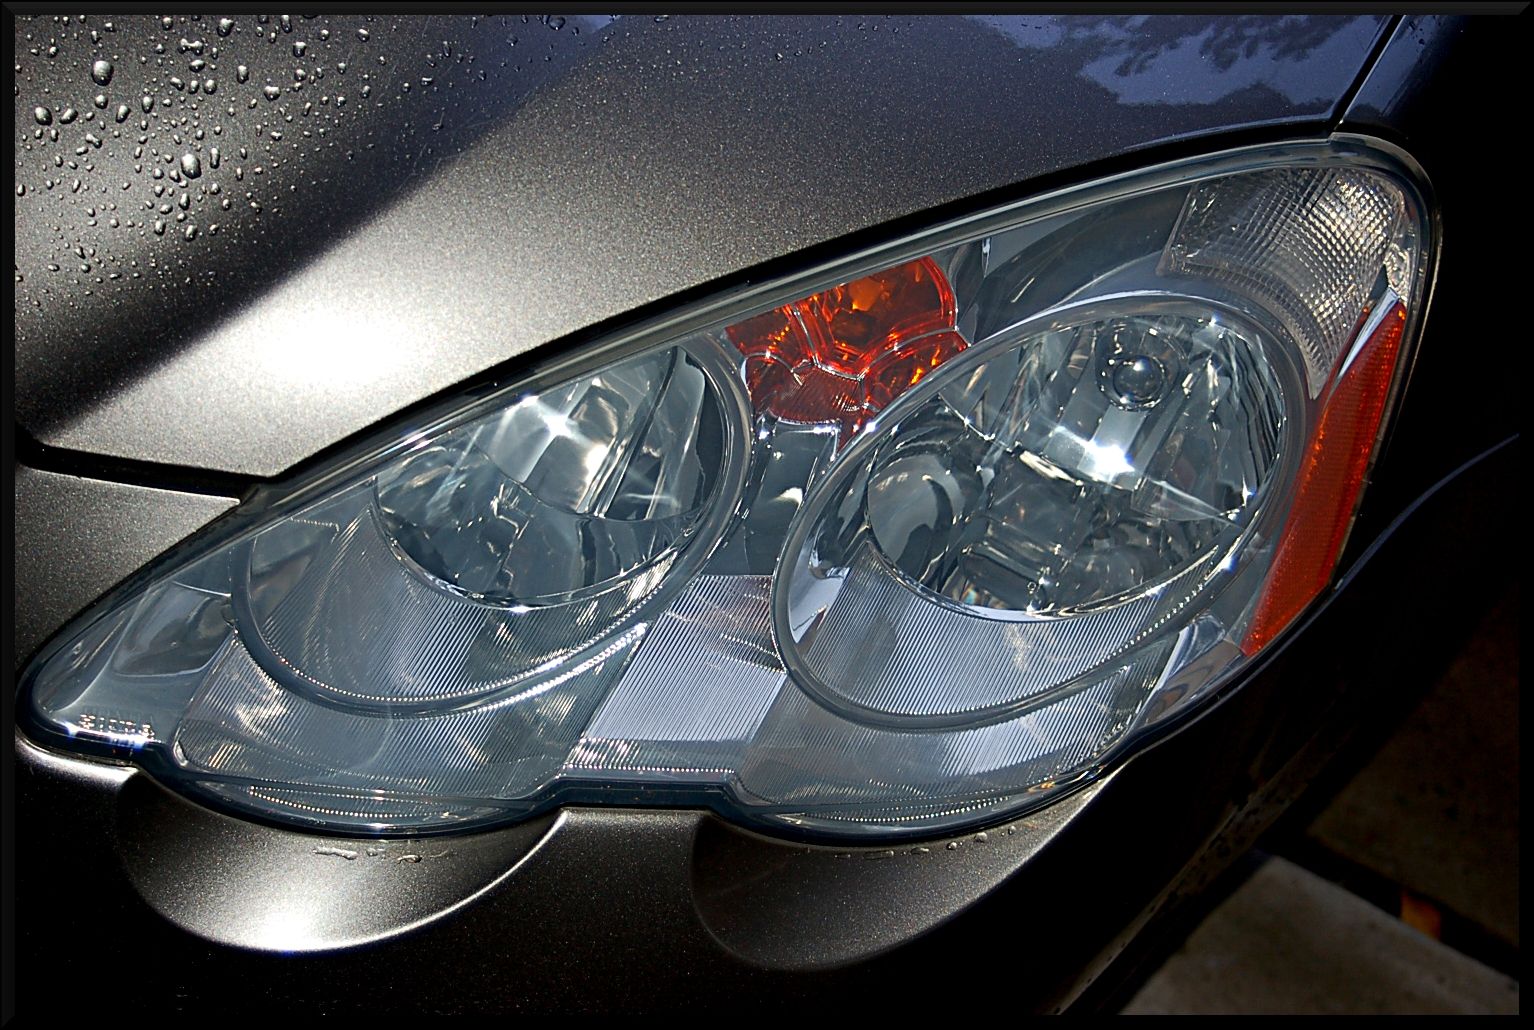
Next up the headlights were restored. This required 3 sanding steps, and two buffing steps. They were sanded with 800, 1500, and 2500 grit sand paper via PC and then buffed with M105 on wool followed by M205 on white foam. For permanent protection, both lights were coated with Opti-Guard
Lights Before:

After:
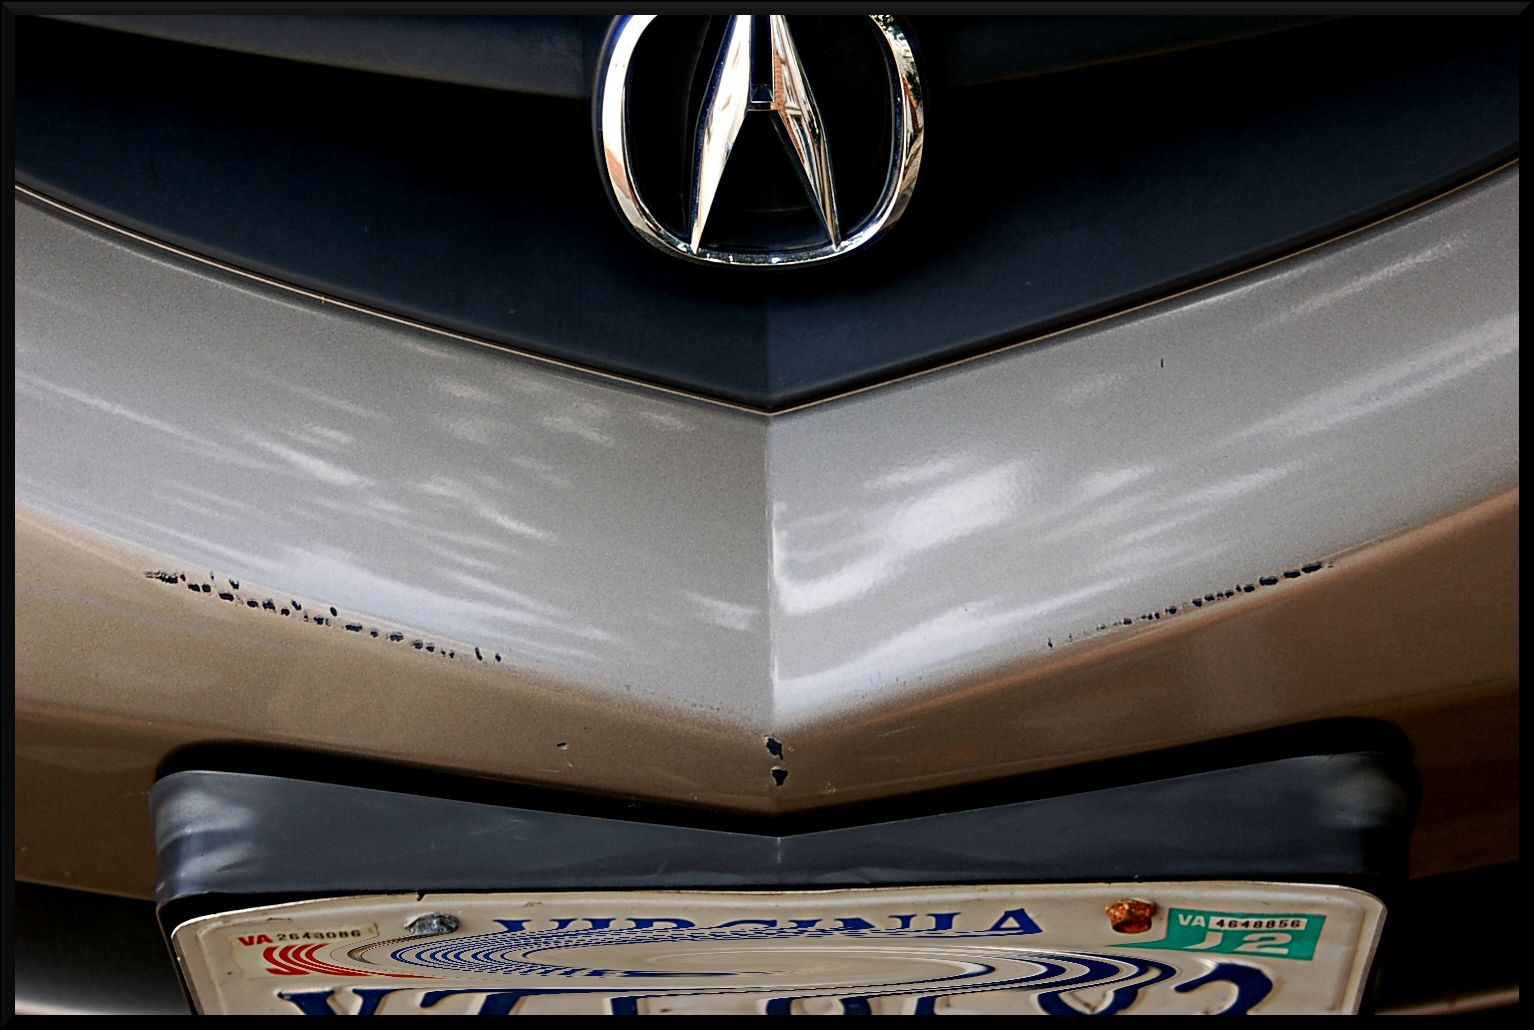
There were some serious chip on the front bumper as well that I needed to take care of. I only had this vehicle for the day, so I wasn't able to build it up over a couple days. Regardless I, and the customer, were very happy with the results.
Before:
After:

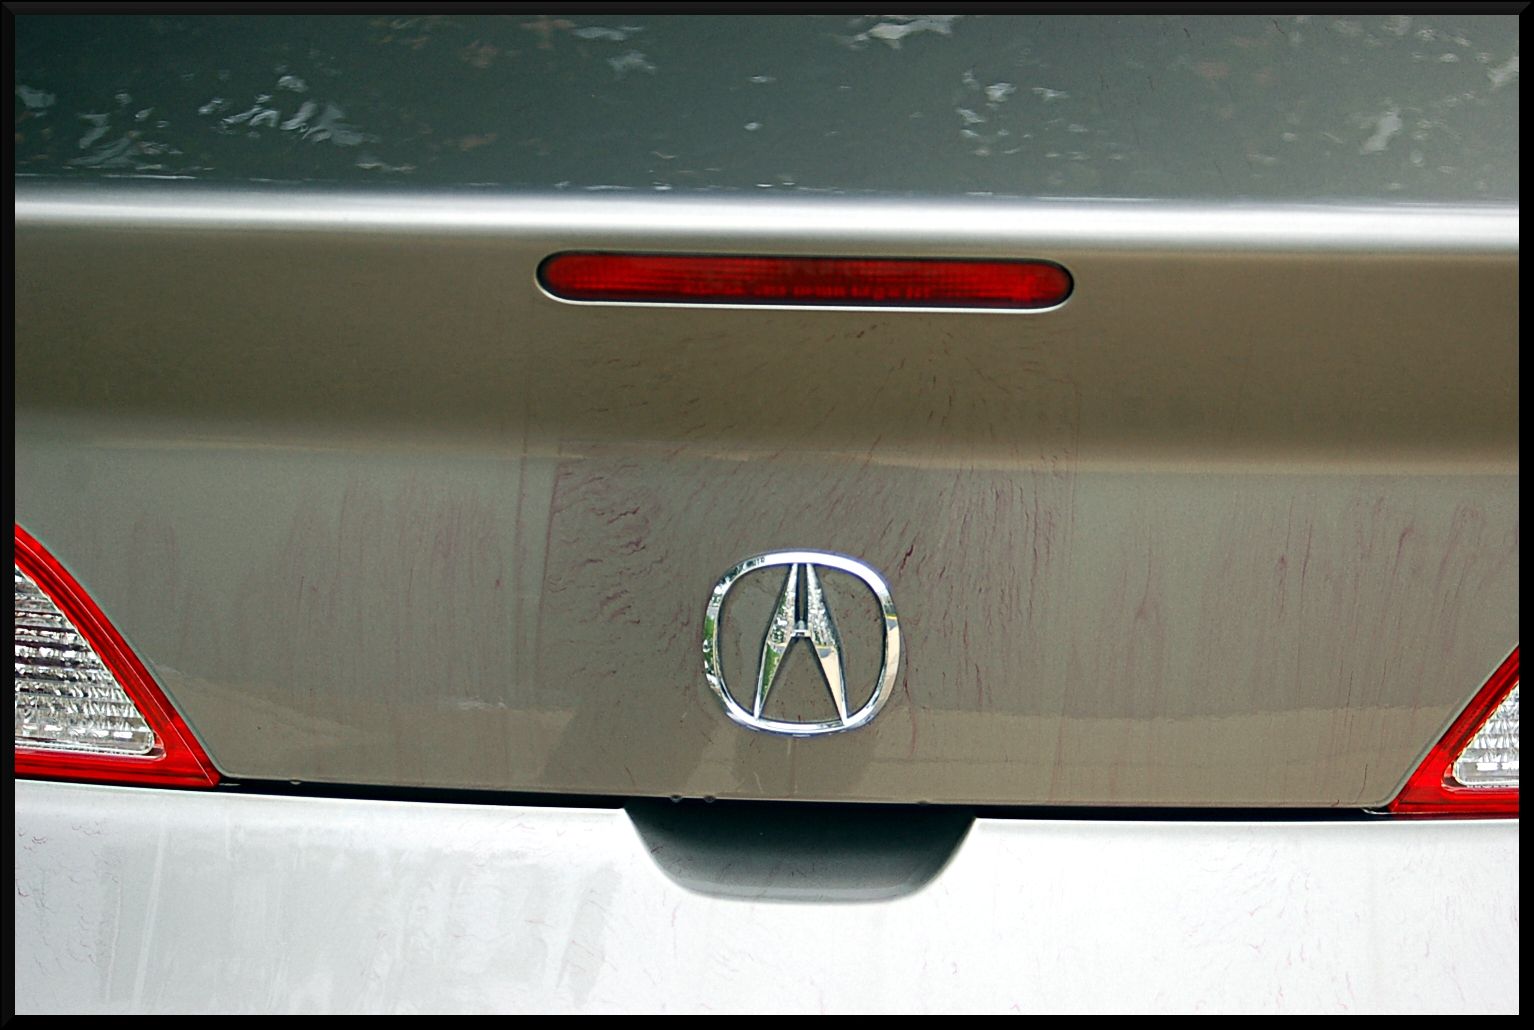
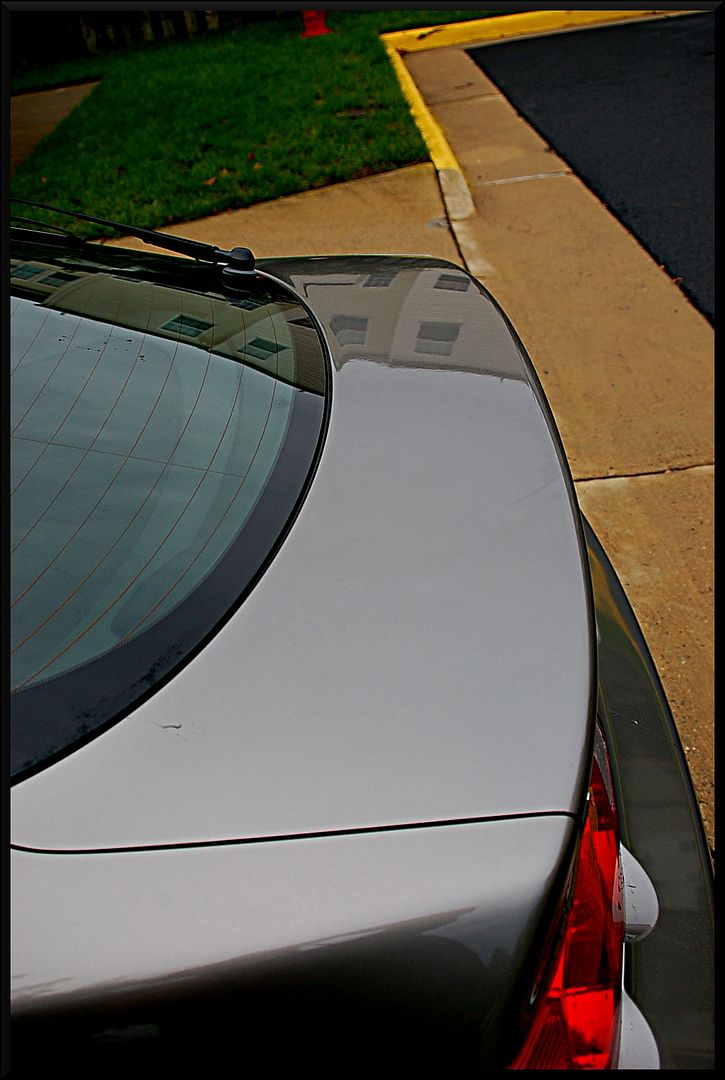
After the vehicle was cleaned I found myself with a little time, and a vehicle that was lacking shine. To fix this i decided to hit it with Jeff Werkstat Prime Strong (super strong paint cleaner/AIO) on a tangerine HT pad. In the first picture you can see what a difference it made. the top of the panel has not been buffed, and the bottom has. Notice the crisper reflection and tons of shine.
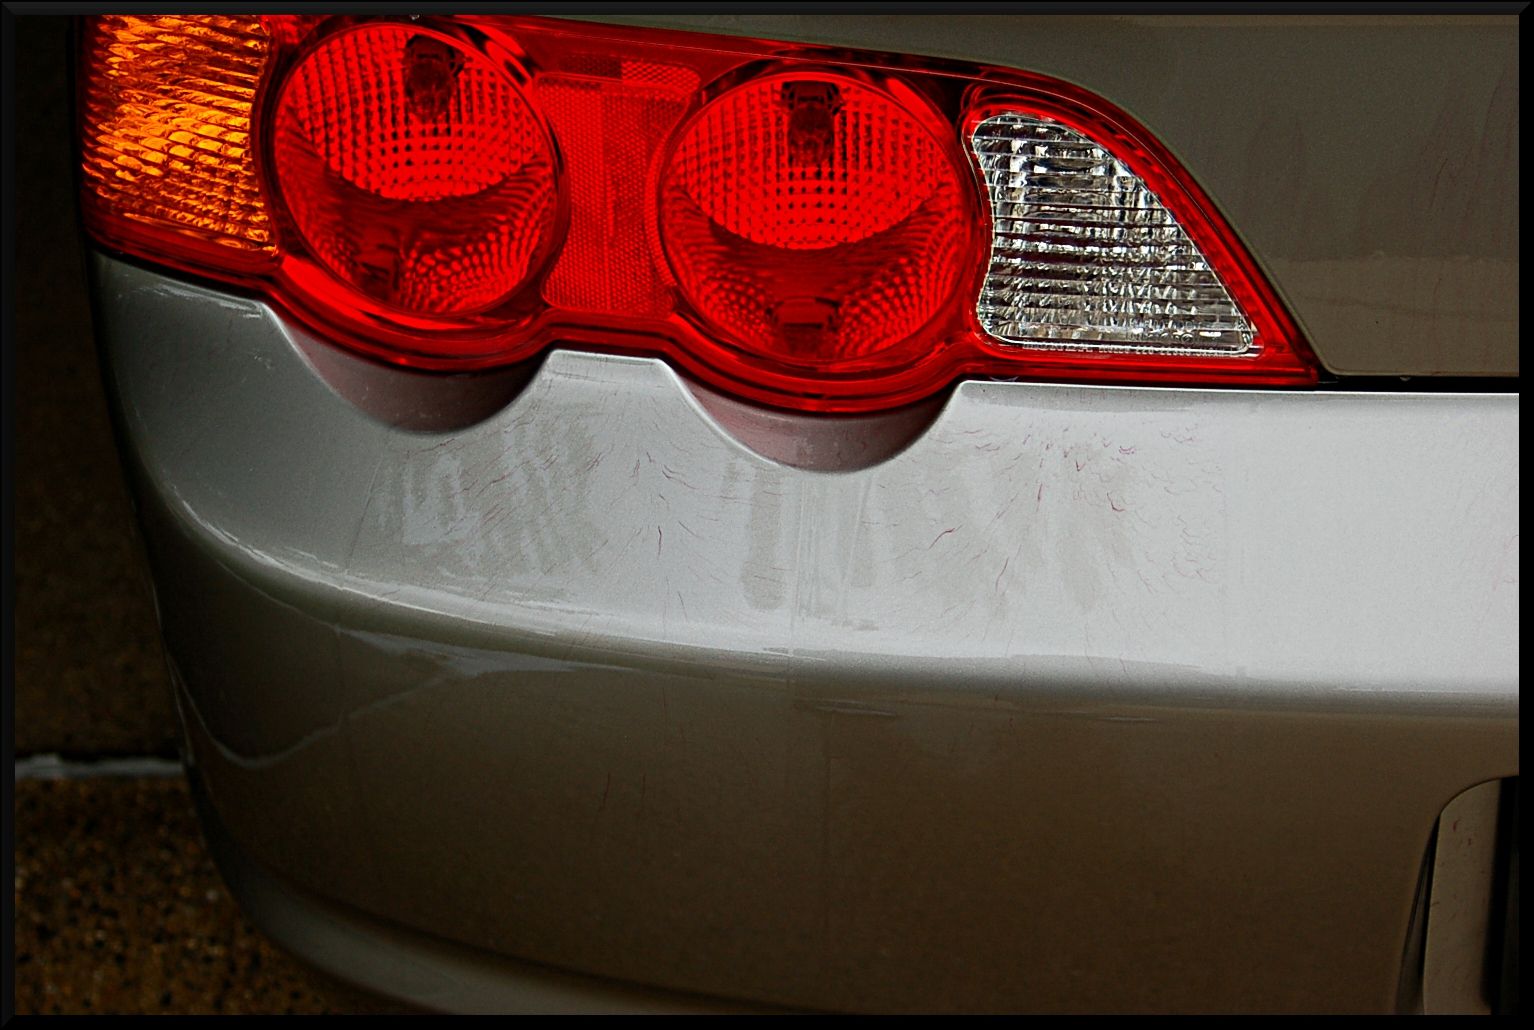
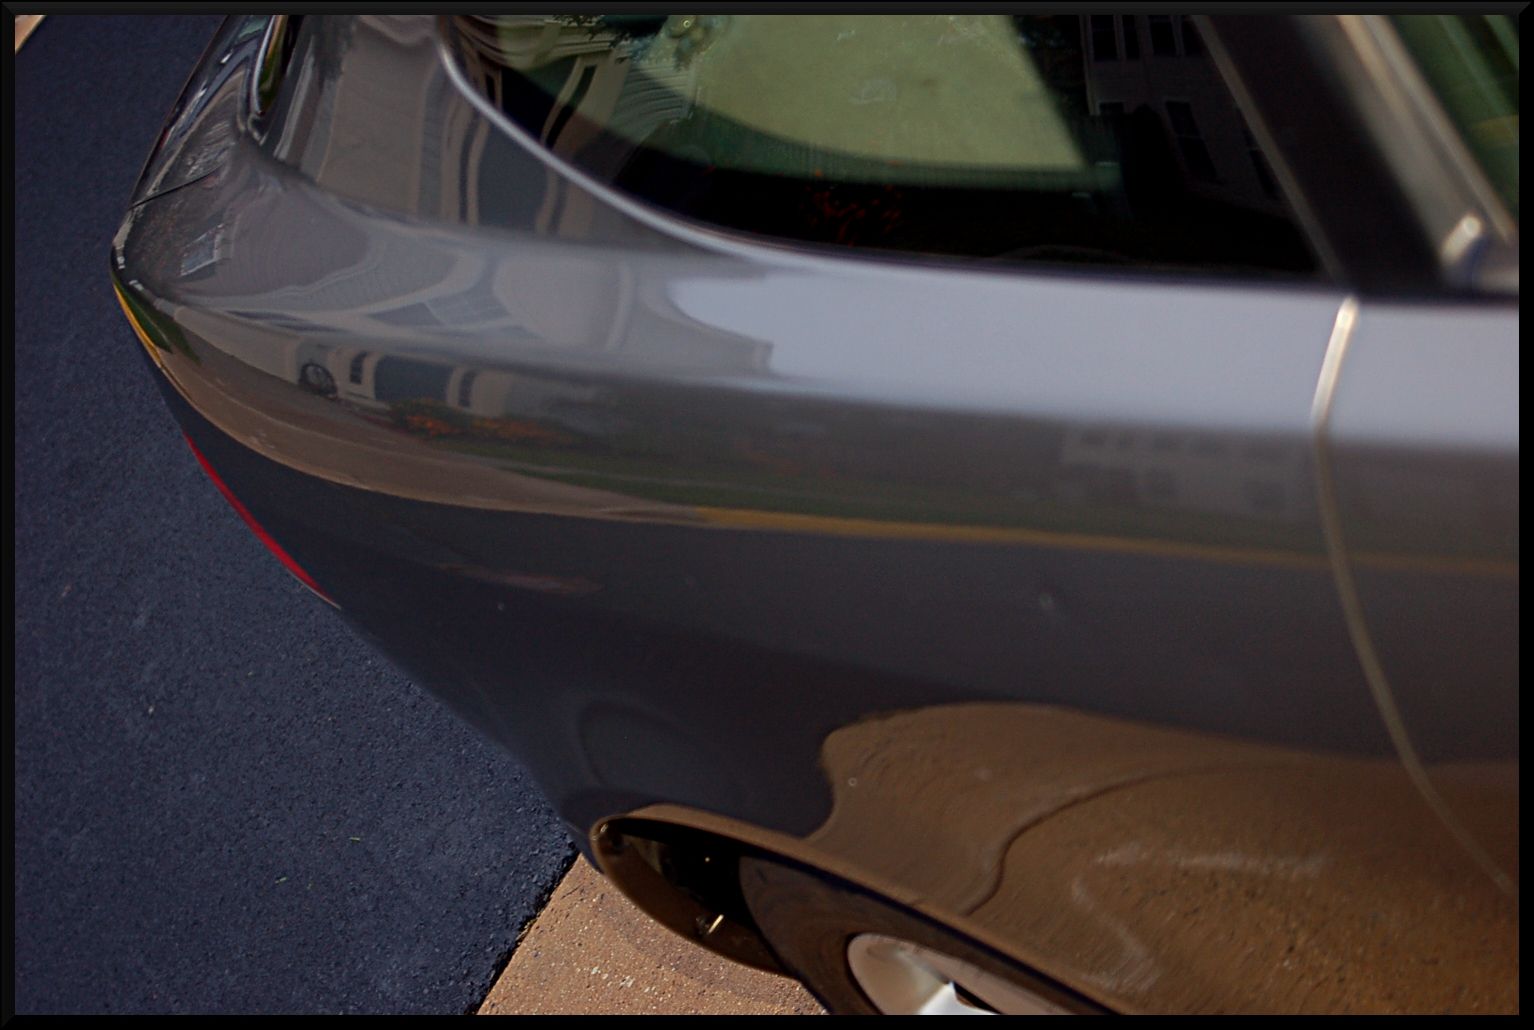
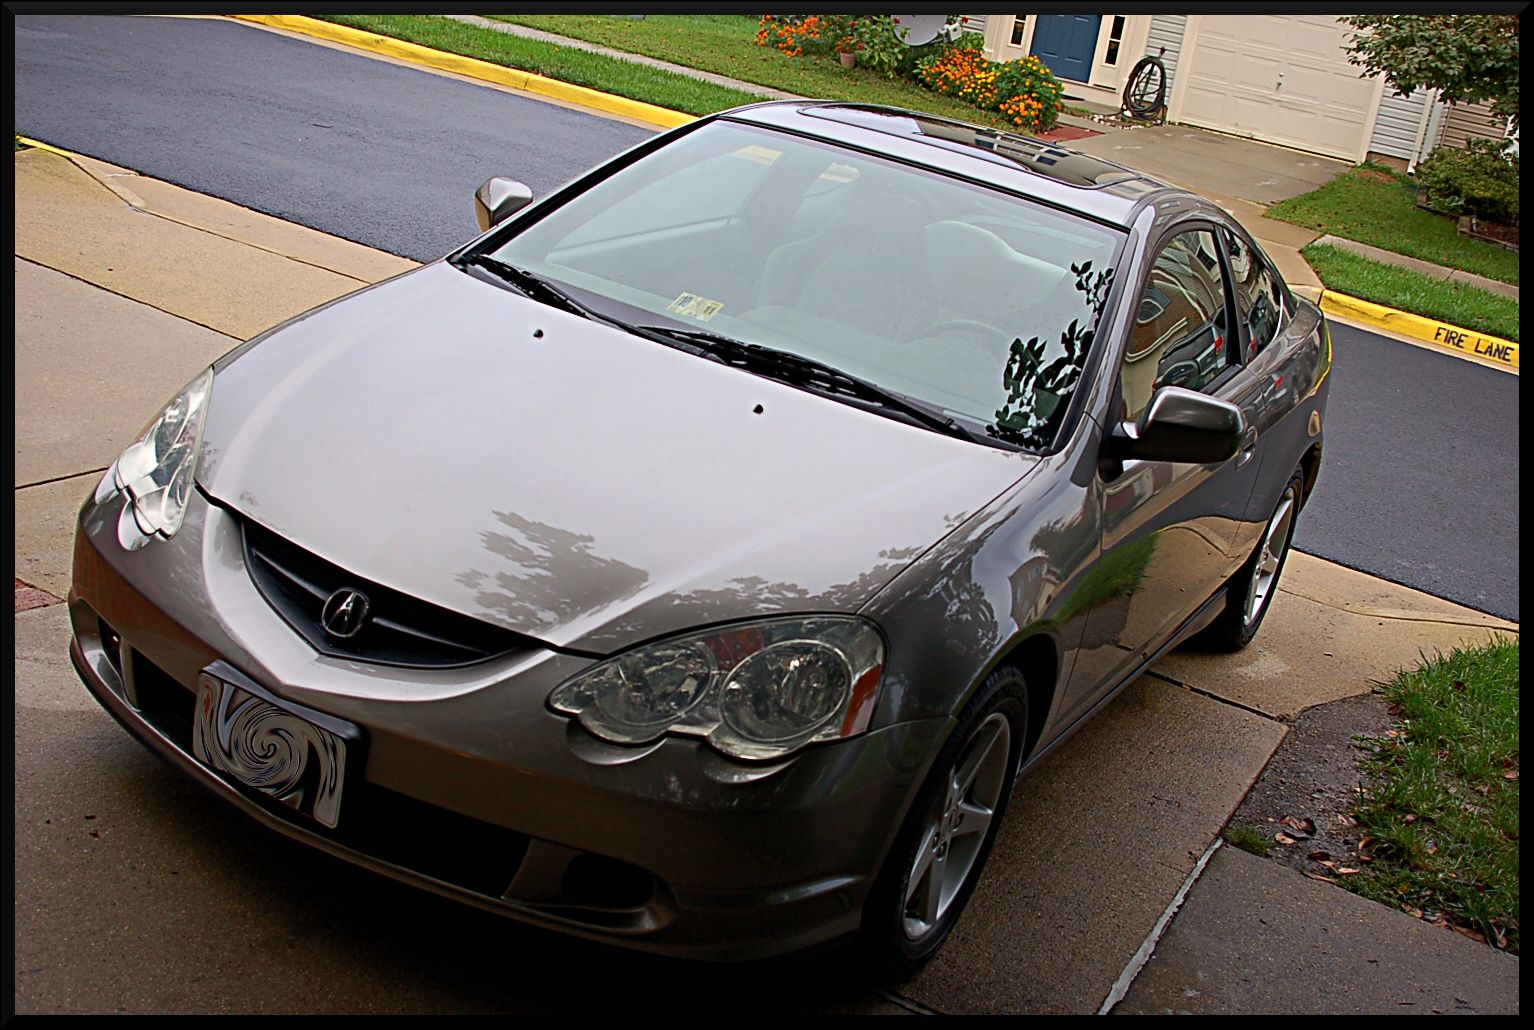
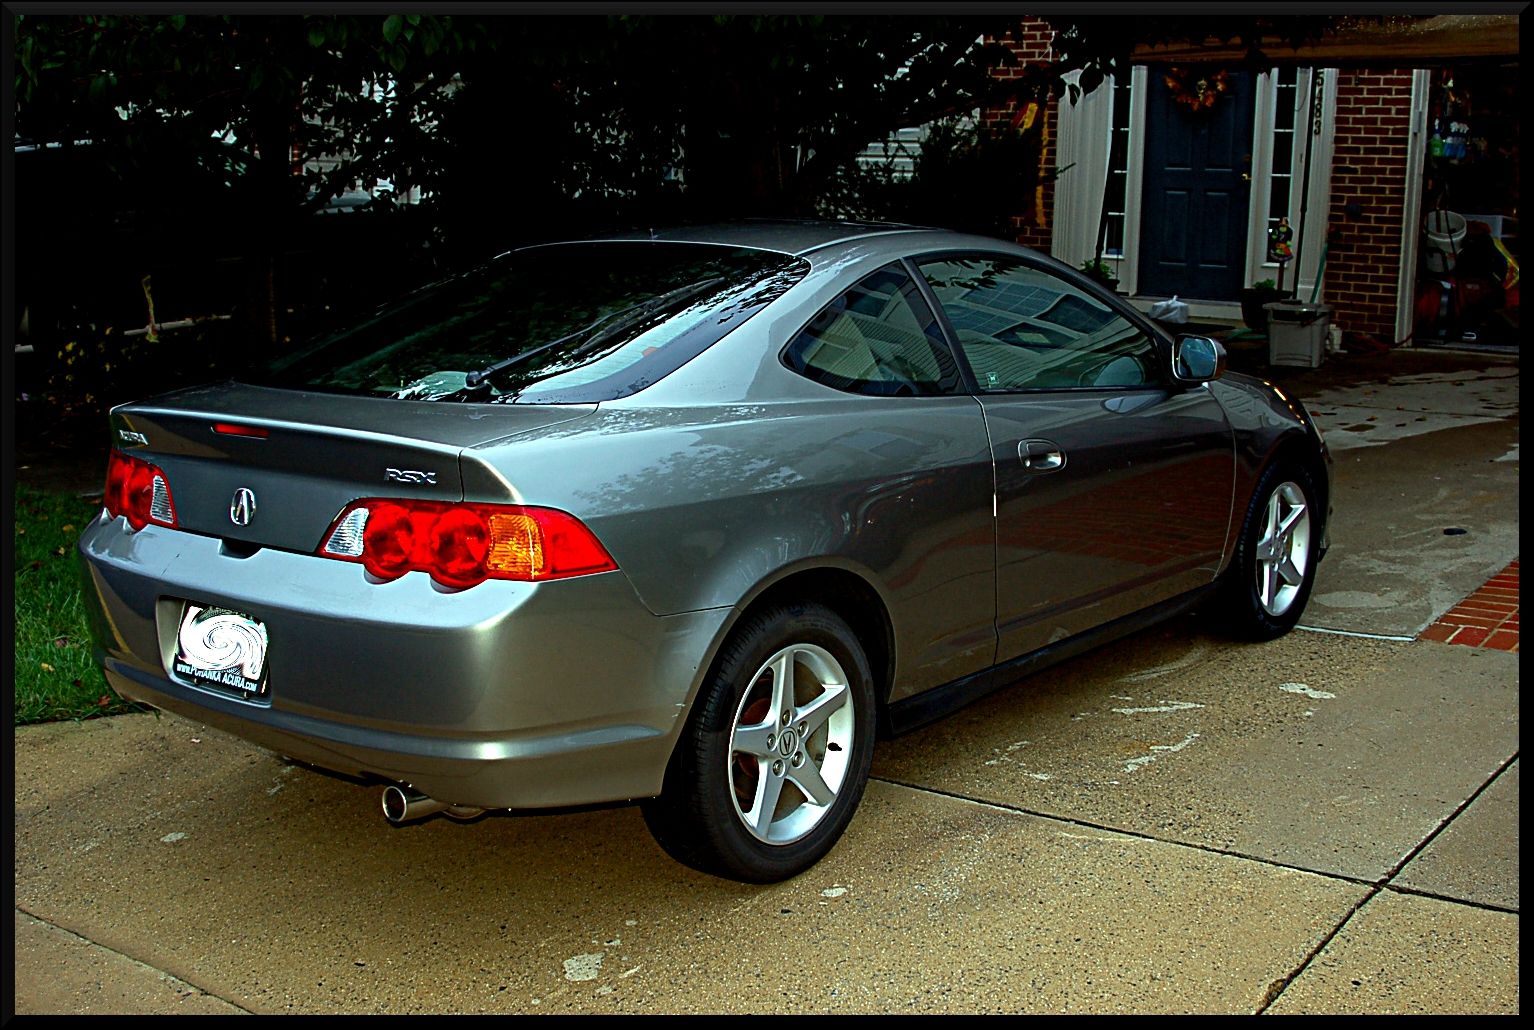
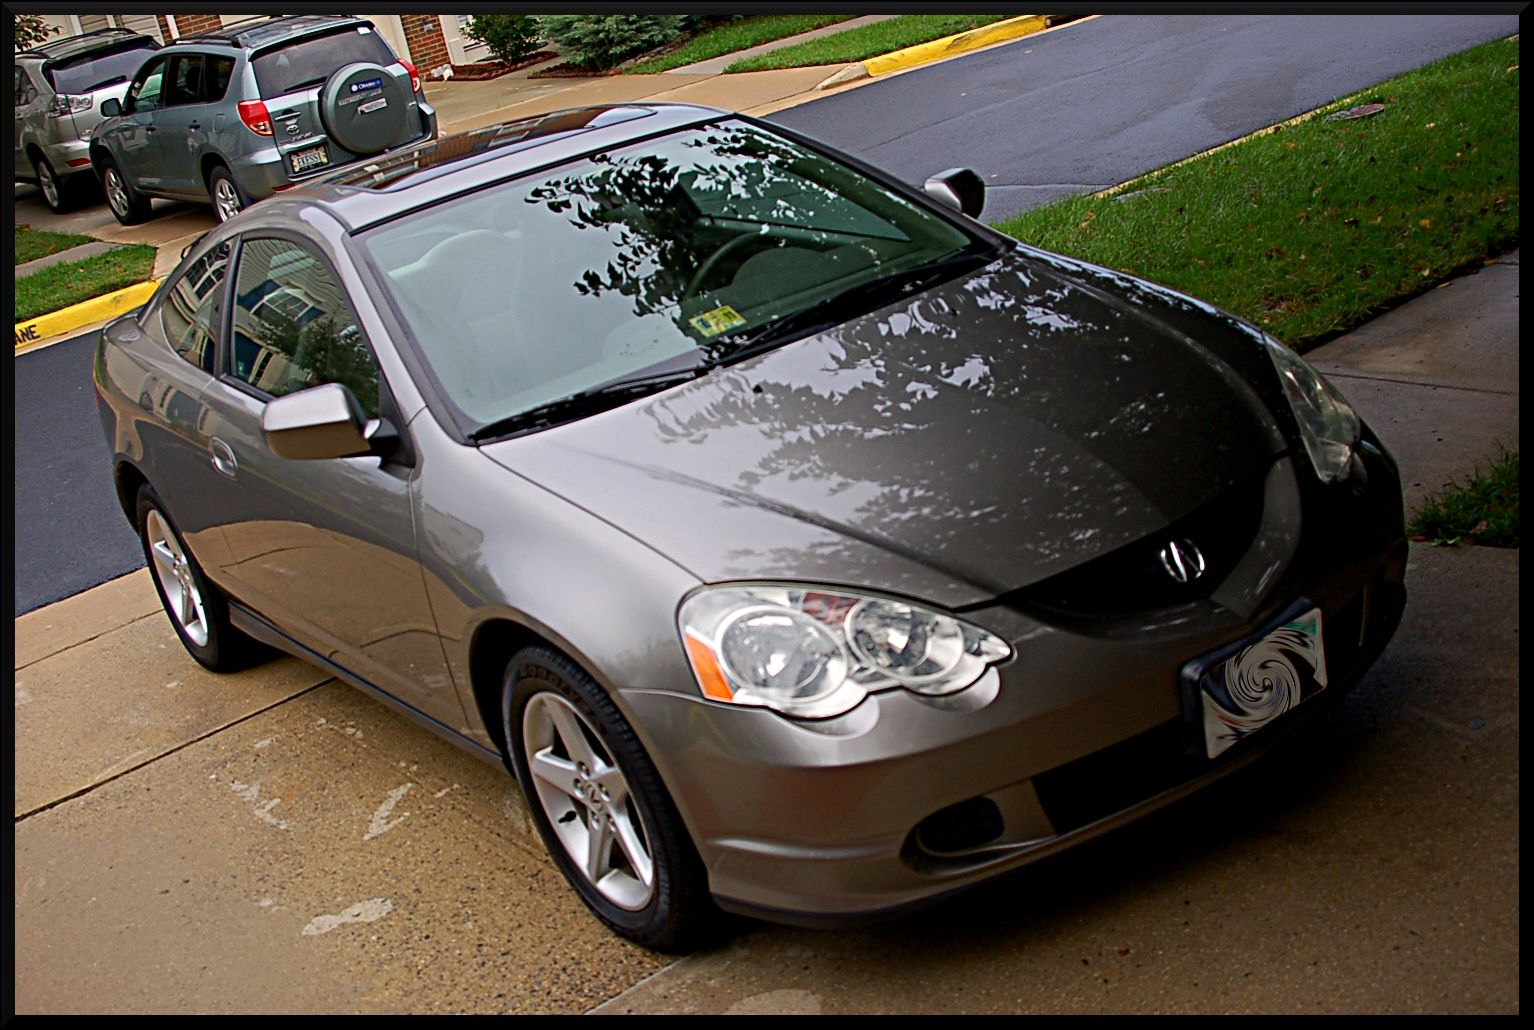
Here are some more reflection pictures after the Prime strong. I was very happy with how it turned out, especially considering the color. I know the sun wasn't out (rained all weekend) but there was tons of flake pop, as well as shine!
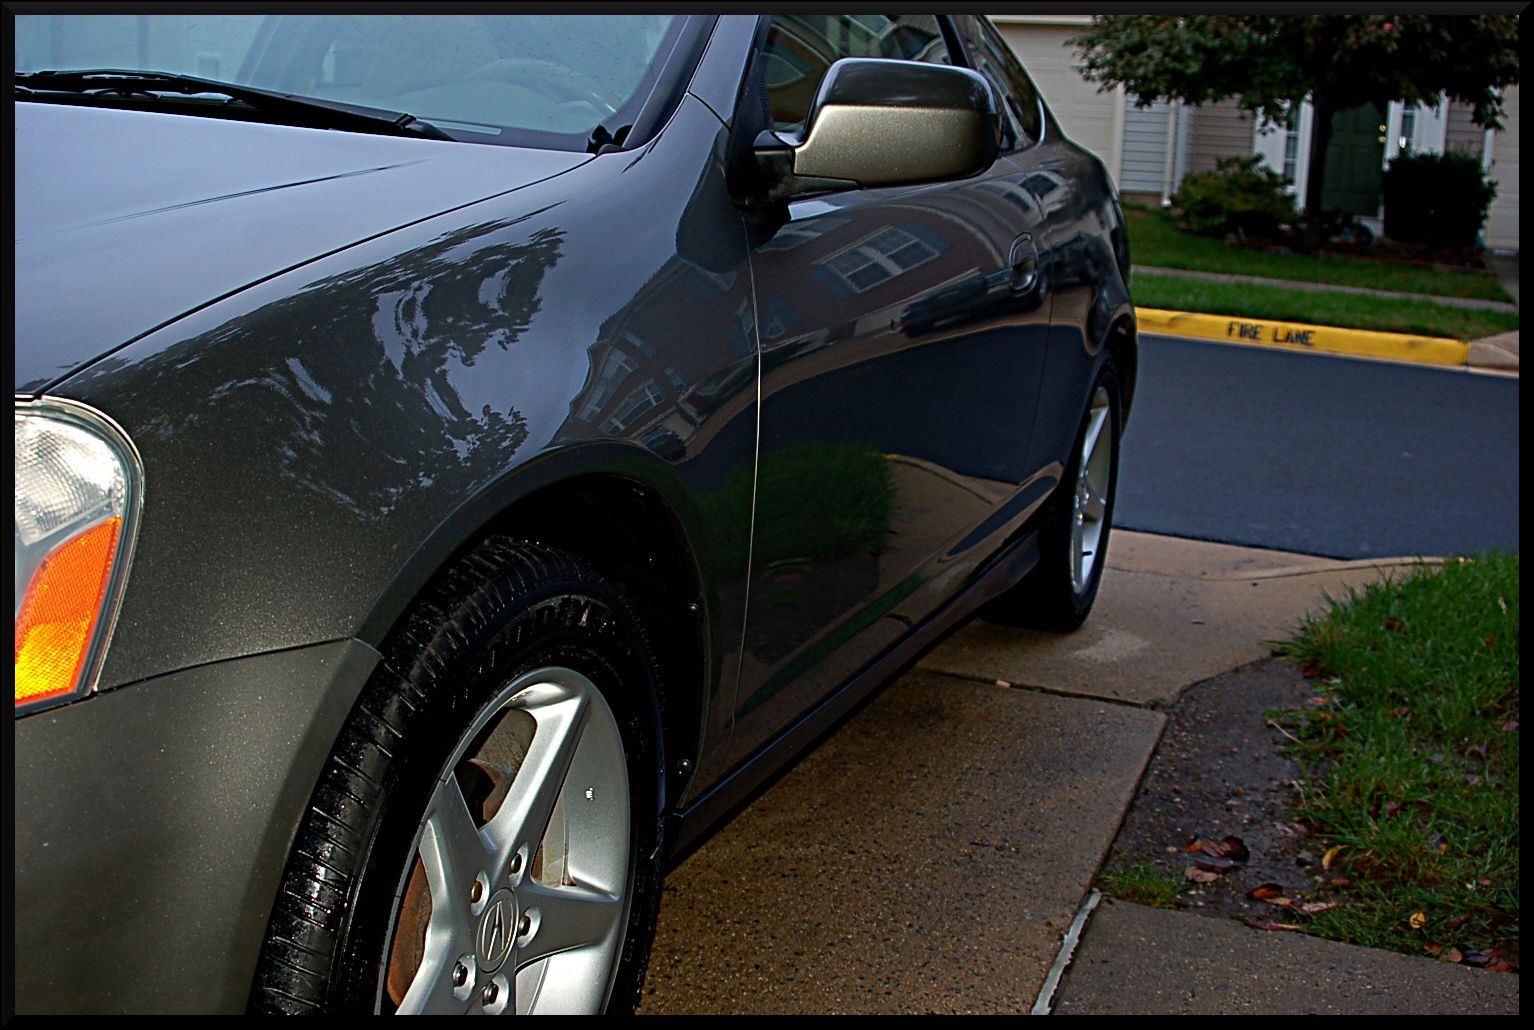
And here is the vehicle all finished up! Well almost finished. Tire shine was not added until later since it would be driven back to the customers house on wet roads.
The wheels weren't in bad shape to begin with. they were cleaned up with Muc-Off Frequent Wheel Cleaner and various brushes. The tires and wheel wells were cleaned with Power Clean. The tires were dressed with DP Tire Dressing and the wells were dressed with Adams Undercarriage Spray.
The vehicle was then foamed with DP Xtreme foam with some Powerclean mixed in to aide in cleaning. The foam was left to dwell for 5 minutes while various emblems and trim were agitated with a soft brush to loosen built up dirt and debris. After being rinsed thoroughly it was washed with Ultima Shampoo.
For the next step in decontamination, the entire vehicle received an Iron X treatment, followed by a claying with Ricardo Yellow clay. I have been using the Ultima Clay Block recently, but since no correction was taking place I felt it was too aggressive for this car. After much use I have found that on some paint the Ultima Clay Block will cause significant marring.
The engine bay was also detailed. It was cleaned with Powerclean and various brushes, then dressed with Sonus Trim and Motor coat. Adams In and Out Spray was also used to touch up some parts that the Sonus didn't reach.
Before:
After:
Next up the headlights were restored. This required 3 sanding steps, and two buffing steps. They were sanded with 800, 1500, and 2500 grit sand paper via PC and then buffed with M105 on wool followed by M205 on white foam. For permanent protection, both lights were coated with Opti-Guard
Lights Before:
After:
There were some serious chip on the front bumper as well that I needed to take care of. I only had this vehicle for the day, so I wasn't able to build it up over a couple days. Regardless I, and the customer, were very happy with the results.
Before:
After:
After the vehicle was cleaned I found myself with a little time, and a vehicle that was lacking shine. To fix this i decided to hit it with Jeff Werkstat Prime Strong (super strong paint cleaner/AIO) on a tangerine HT pad. In the first picture you can see what a difference it made. the top of the panel has not been buffed, and the bottom has. Notice the crisper reflection and tons of shine.
Here are some more reflection pictures after the Prime strong. I was very happy with how it turned out, especially considering the color. I know the sun wasn't out (rained all weekend) but there was tons of flake pop, as well as shine!
And here is the vehicle all finished up! Well almost finished. Tire shine was not added until later since it would be driven back to the customers house on wet roads.