Nica
New member
- Oct 23, 2006
- 3,728
- 0
This is another referral from the previous work I did on the 2003 Tiburon. This vehicle was a challenge and I’m very pleased with the results and the owner liked the results too and that’s all that maters to me that the customer is satisfied. The customer was more interested on the interior then the exterior so I concentrated more on the interior.
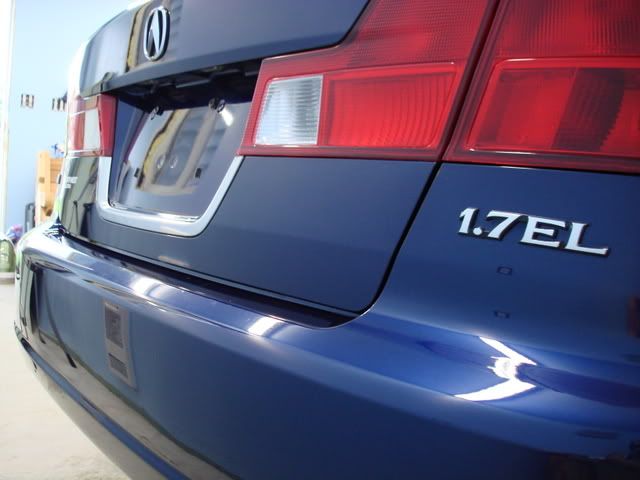
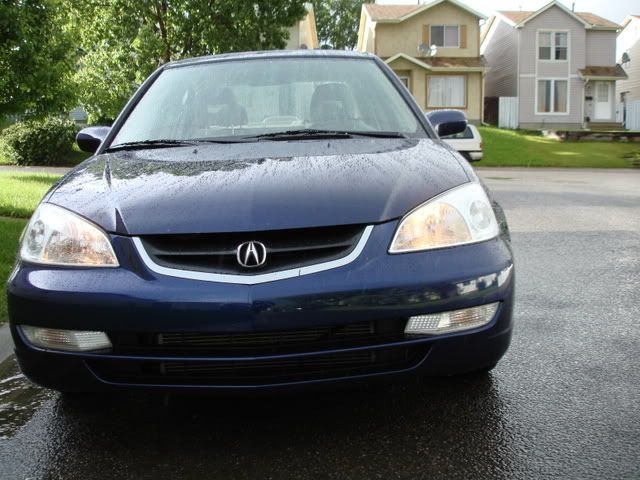
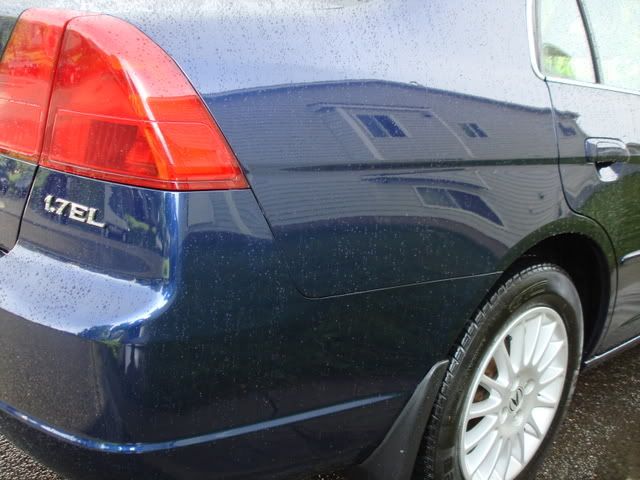
2003 Acura 1.7EL
Exterior Process
Wash:
I used Meguiars Gold Class Shampoo with two bucket method and the white ShMITT.
Clay:
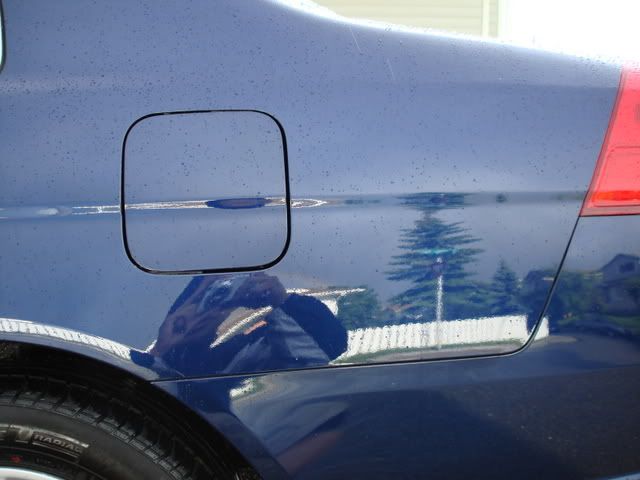
The vehicle was in rough shape so I used Red Clay Magic, the vehicle was covered with small dots of what I’m guessing white fence paint. The Clay Magic made quick work of it though, I like this clay, has a really good bite. After I clayed the vehicle I had to wash it again because of all the contaiments.
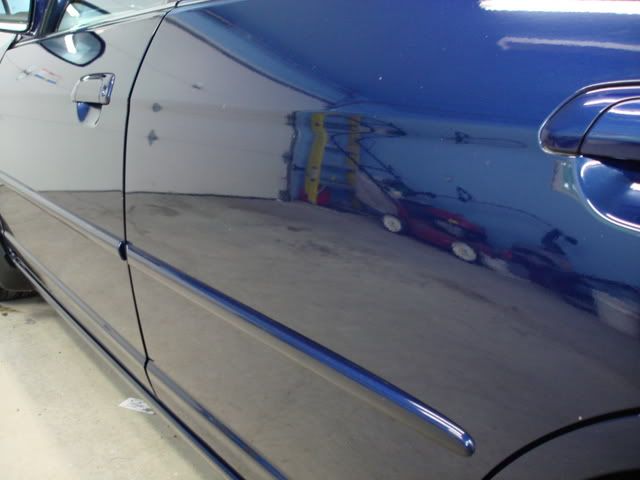
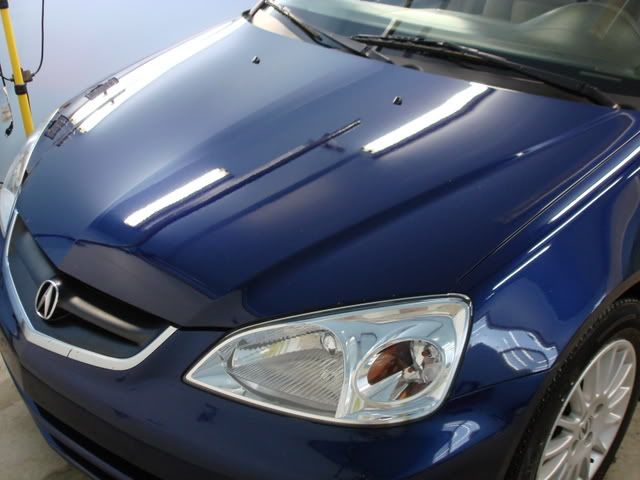
Polish:
Menzerna 106FF – Metabo – Menzerna Orange Pad – 1500rpm = Like I said the customer was not to interested on the exterior to much so I just went with this combo to remove some of the scratches/swirls. The paint needed some work, a wool pad and a Compound would have finished it nicely….maybe next time.
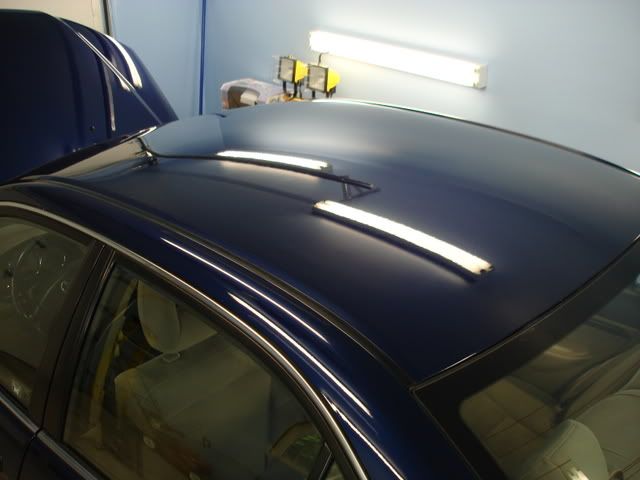
Glaze:
Pinnacle XMT Carnauba Finishg Glaze, applied by hand and removed my hand.
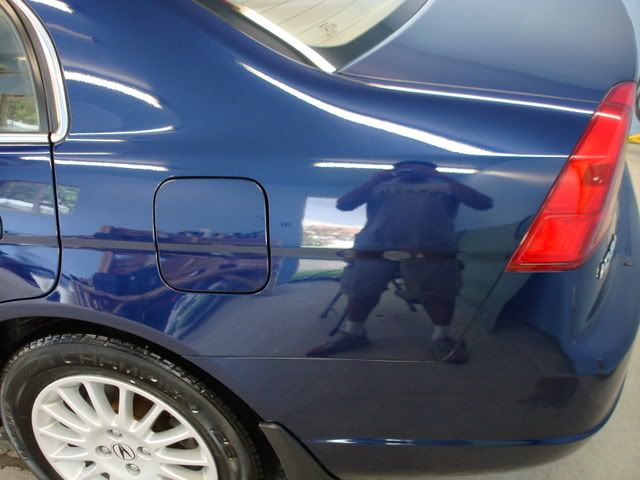
Wax:
1 – coat of Souveran Paste.
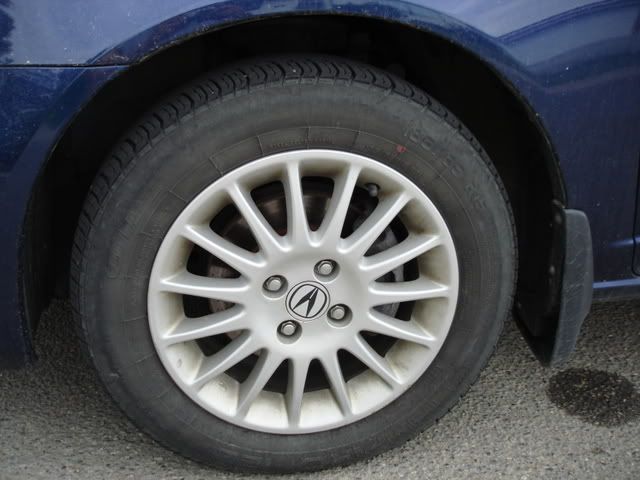
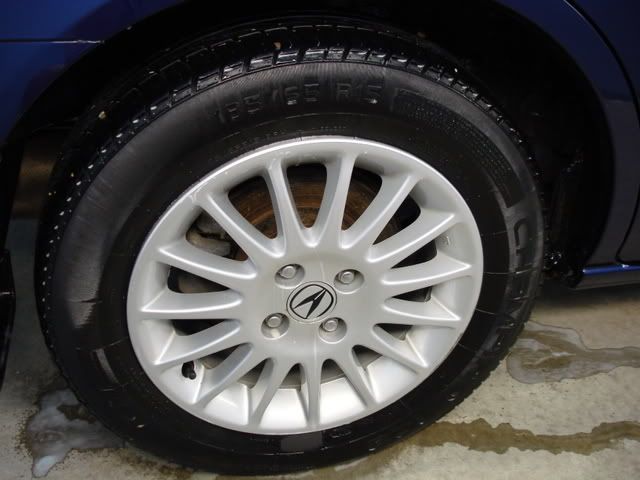
Tire dressing/wheel wells:
For the tires and the wheel wells I used Meguiars Hot shine Tire Spray.
Exterior plastic peaces/trim:
I used Mothers Back to Black.
Glass:
Stoners with glass Cobra MF
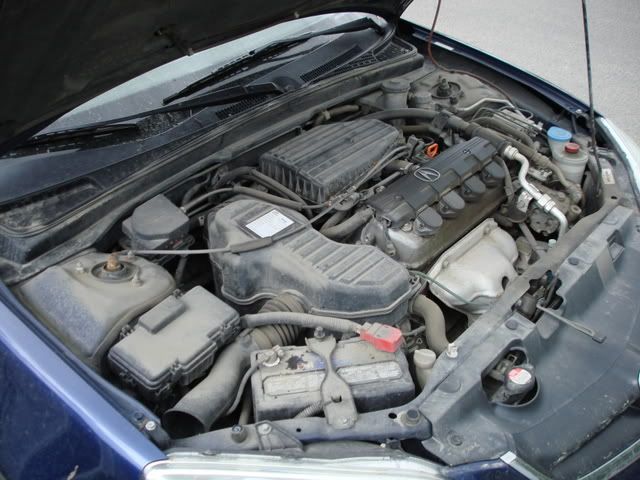
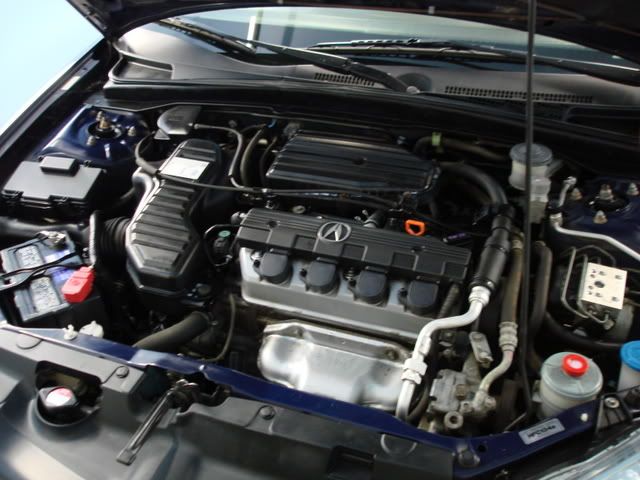
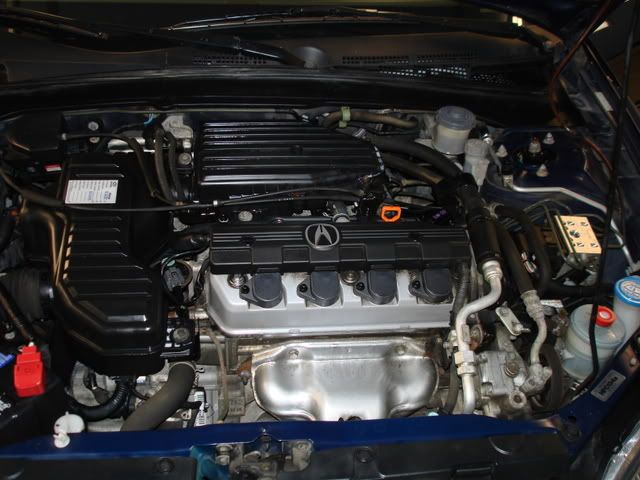
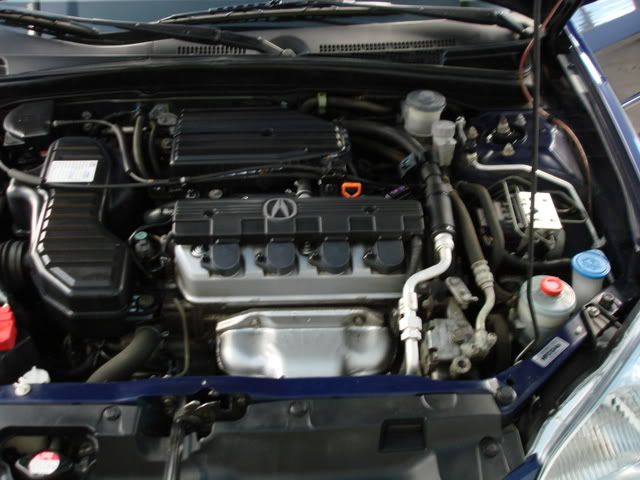
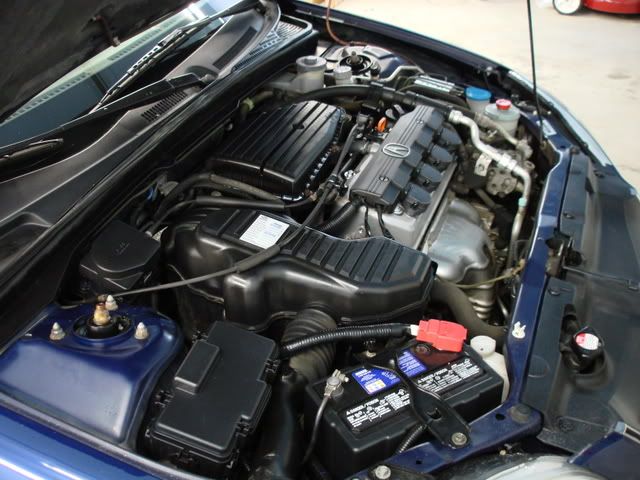
Engine bay:
Used a degreaser found locally 1:1 and dressed with Meguiars Hot shine Tire Spray.
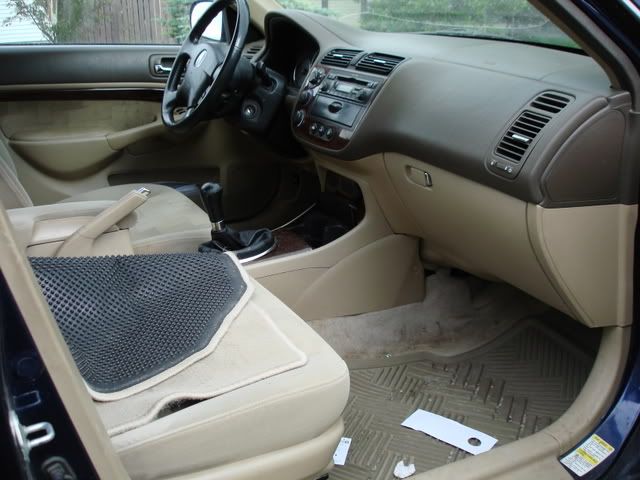
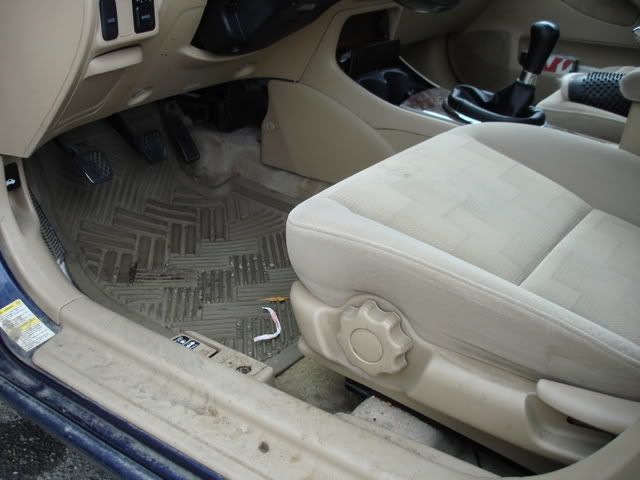
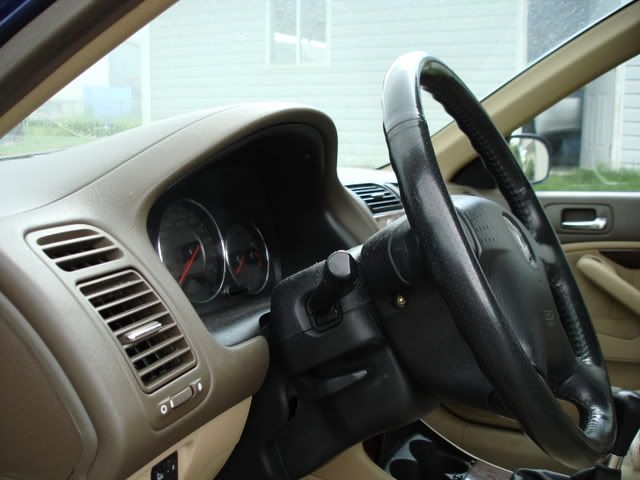
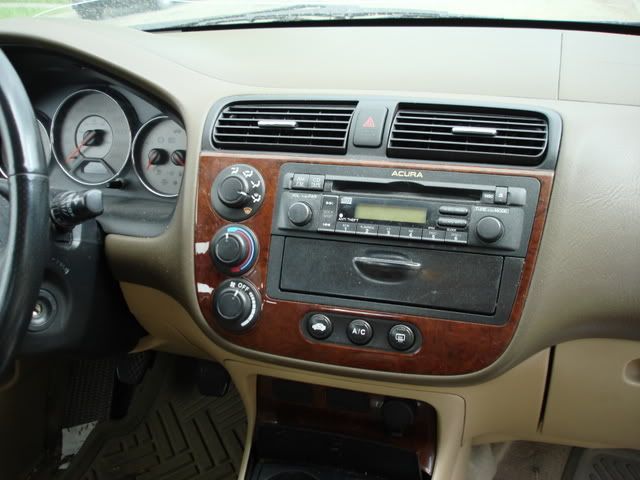
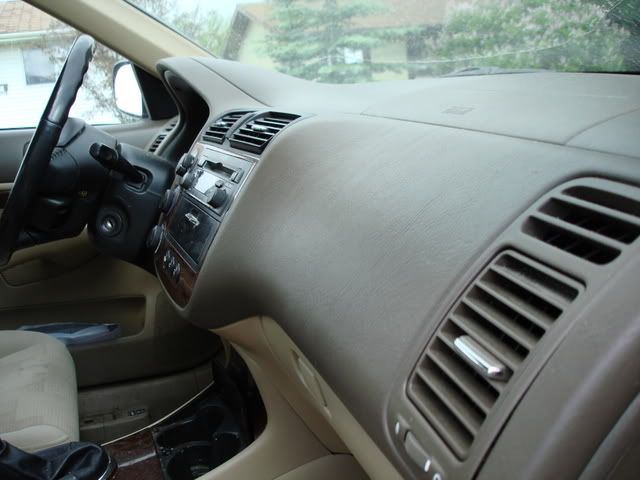
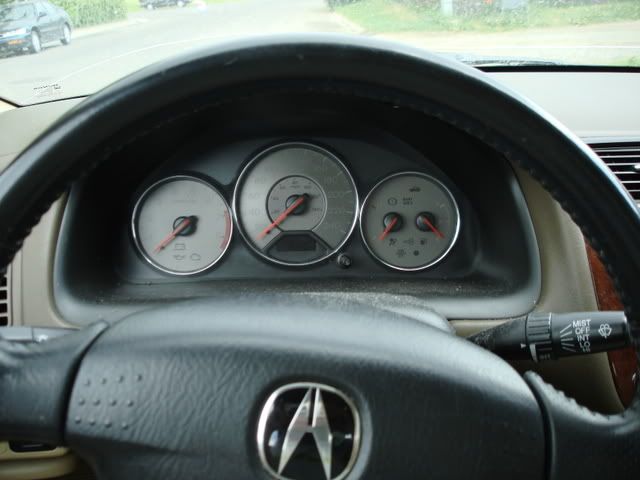
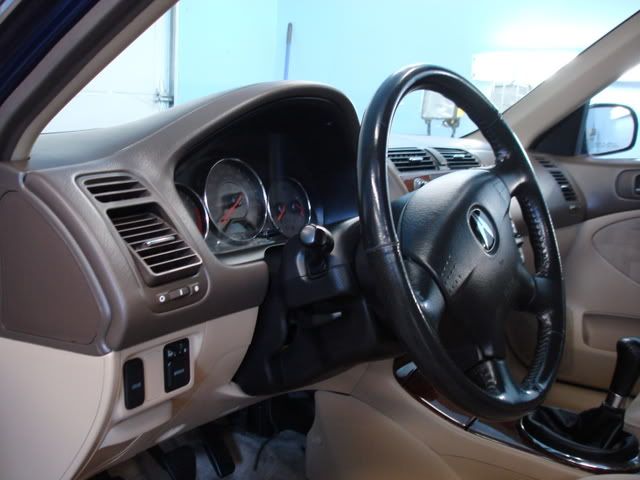
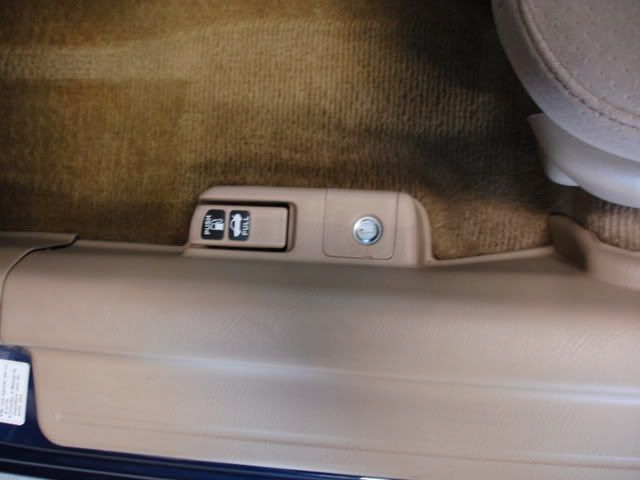
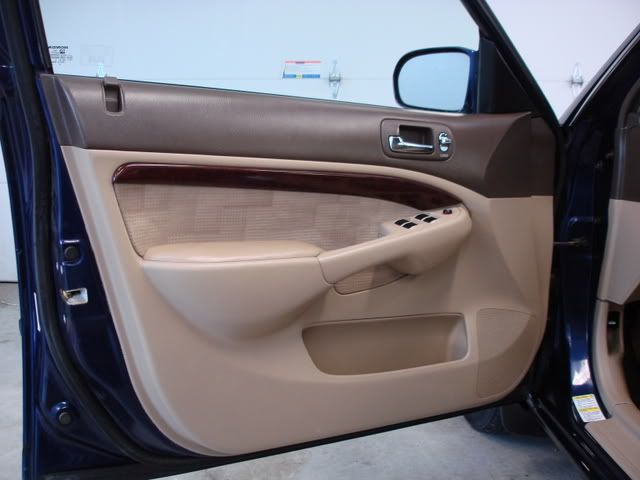
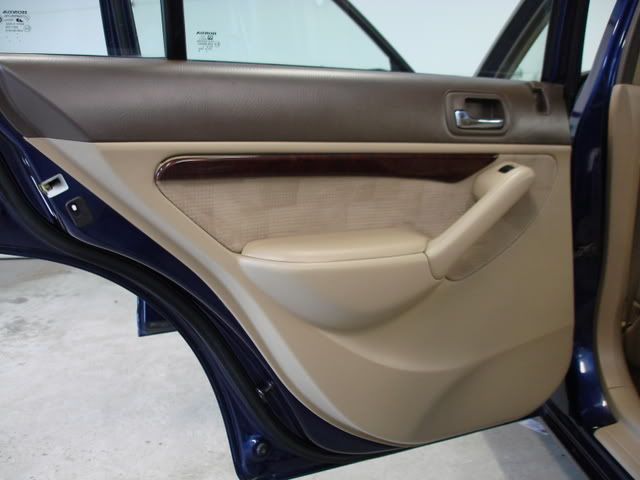
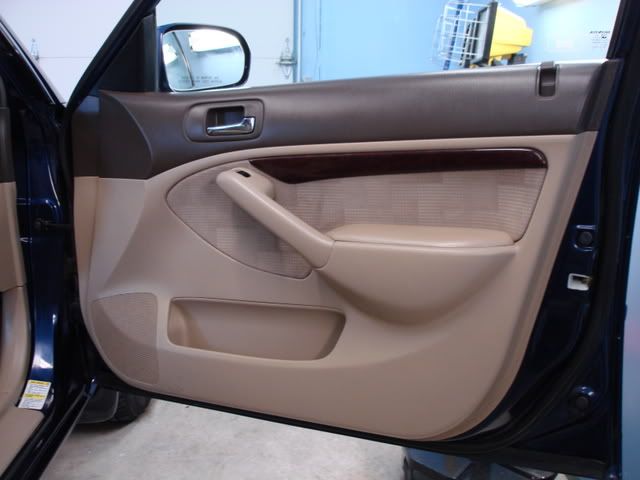
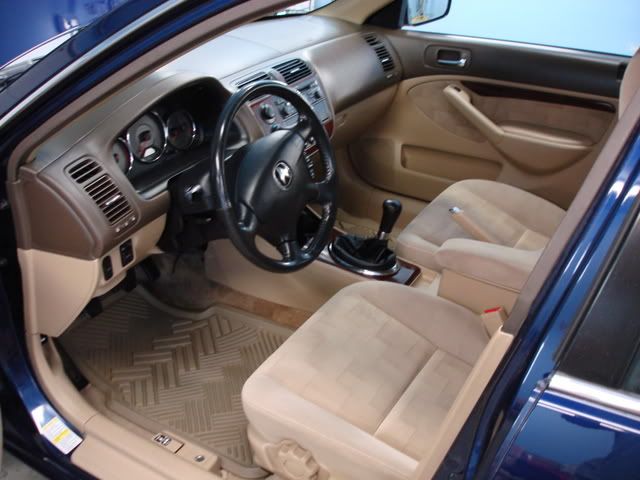
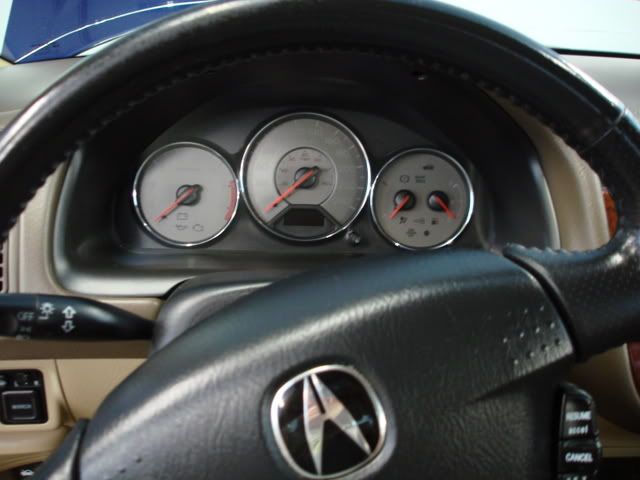
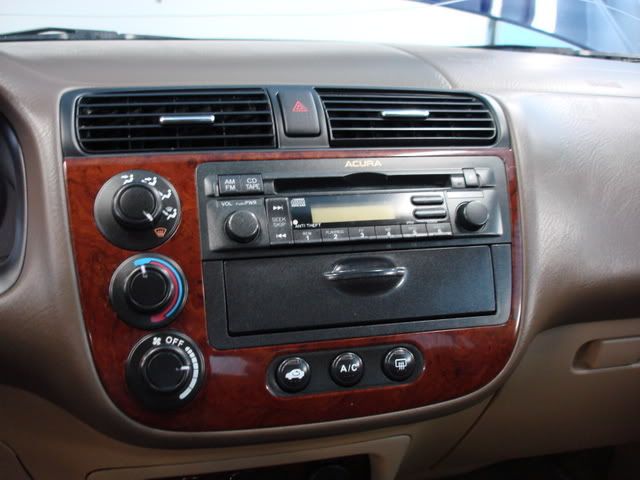
Interior Process:
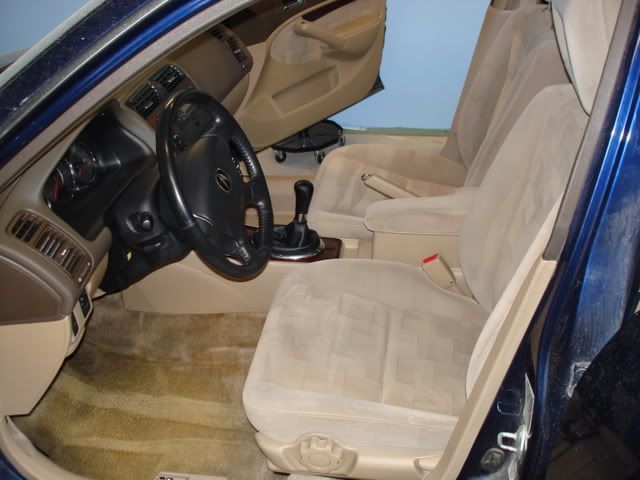
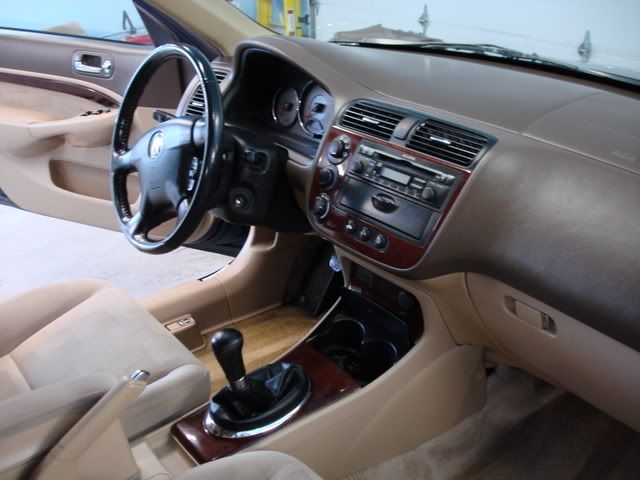
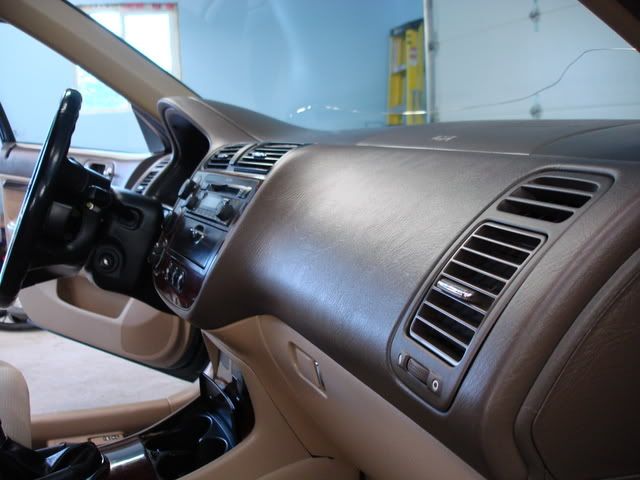
Vinyl and rubber:
I used Meguiars #40, but prior to it I gave the entire vehicle a nice wipe down with Meg’s APC mixed with water 1:1.
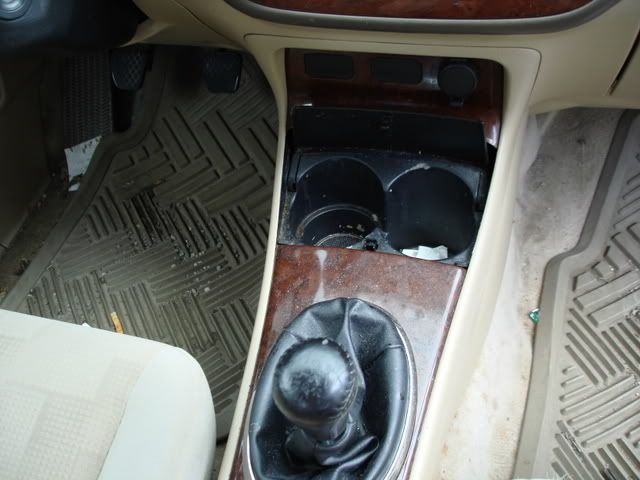
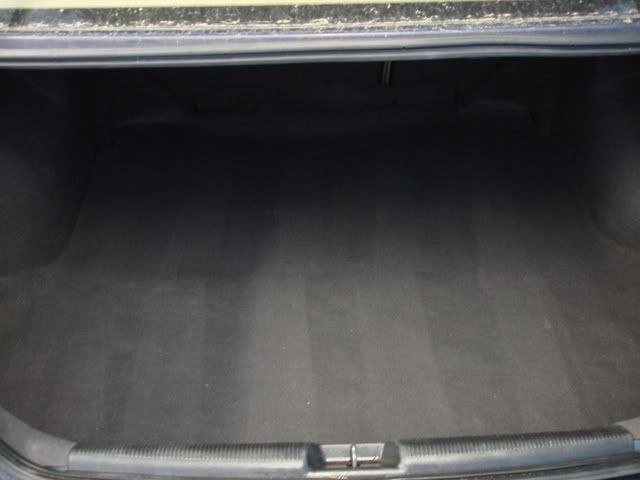
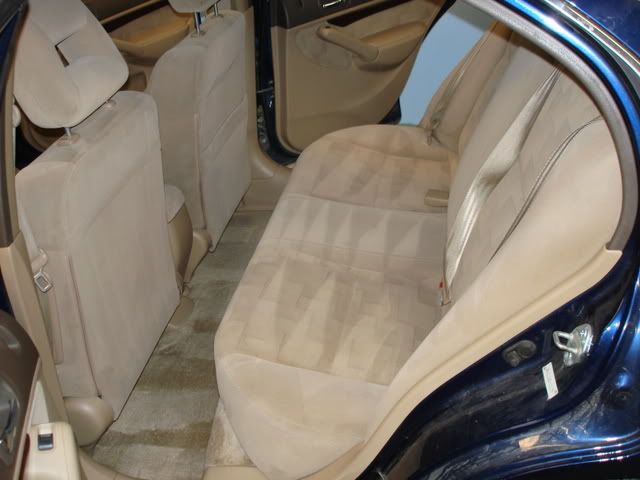
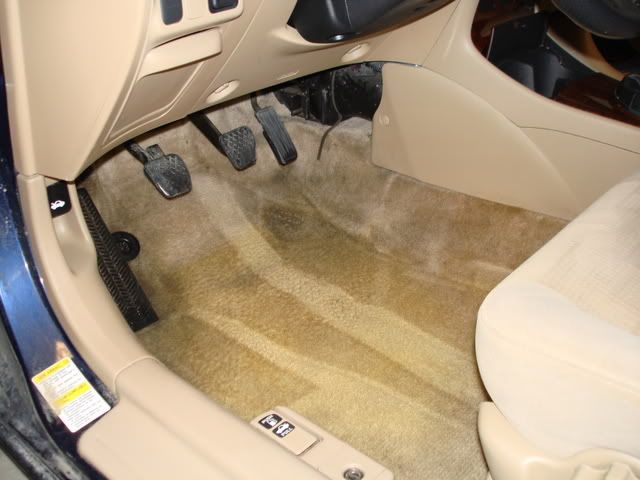
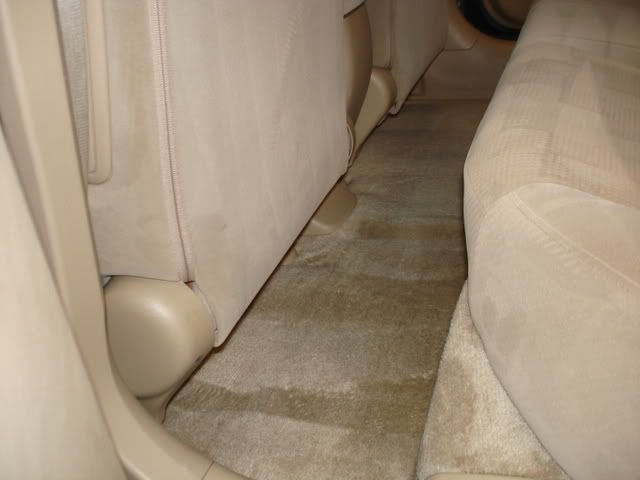
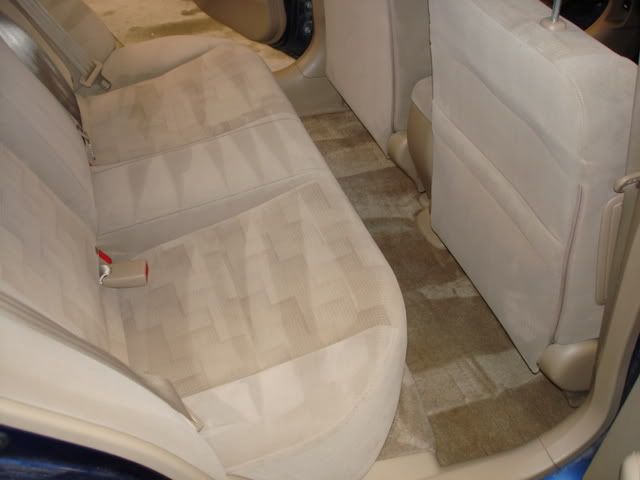
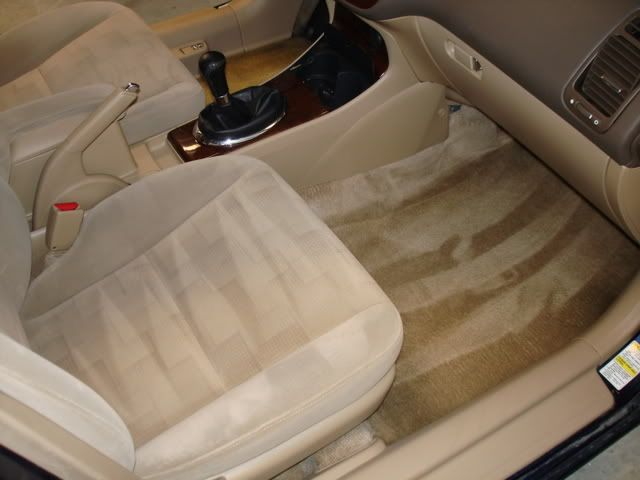
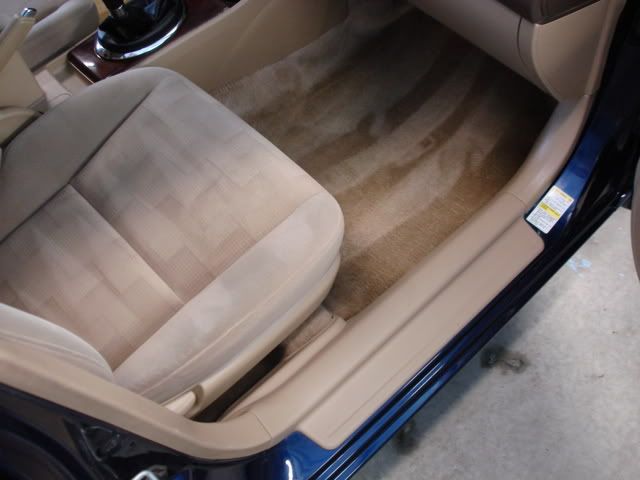
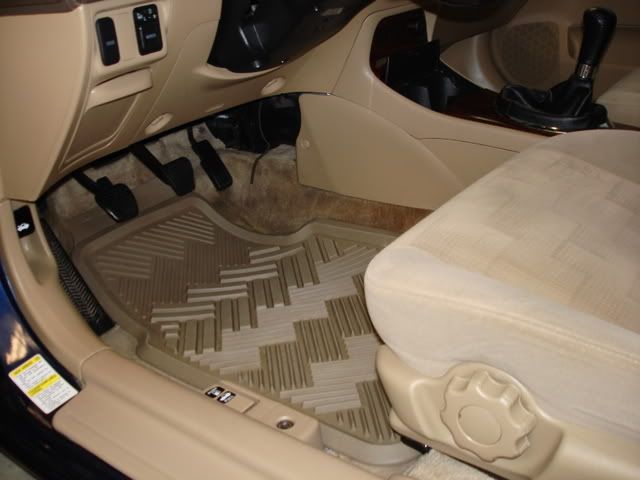
Carpet:
Meguirs APC used it on the carpet and seats as well 10:1 ratio again. I scrubbed with a brush then extracted it with my shop-vac. I did this for the entire vehicle because it needed it.
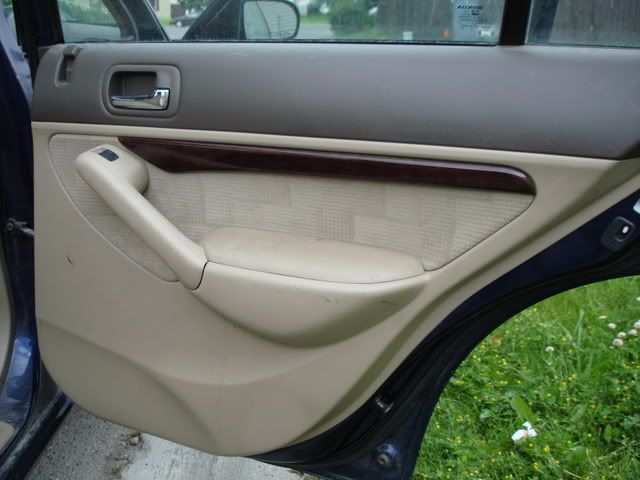
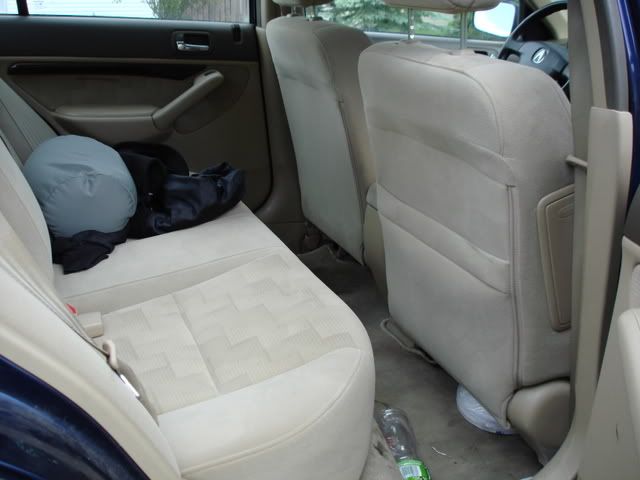
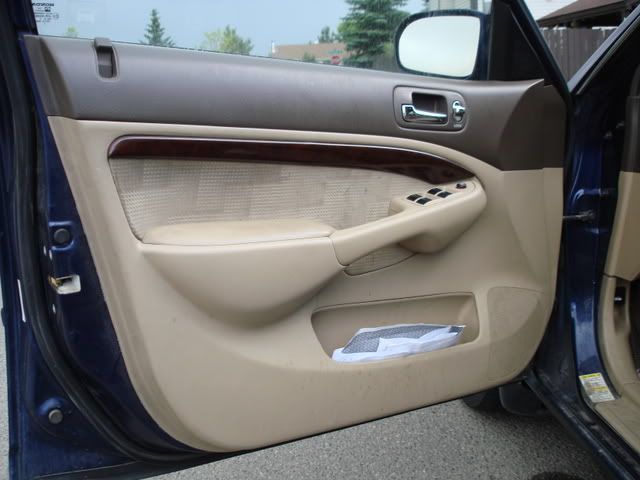
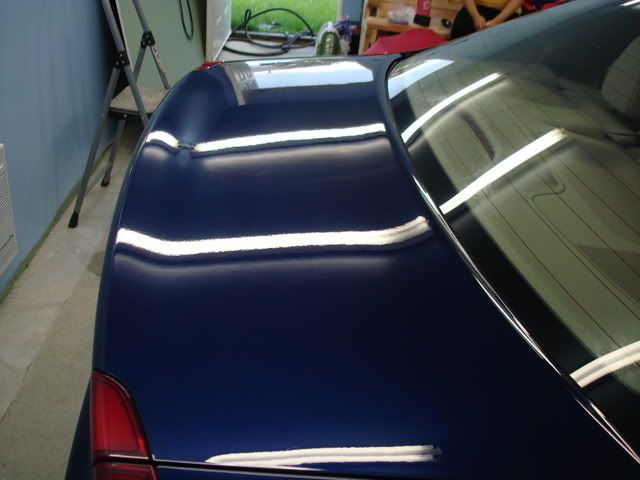
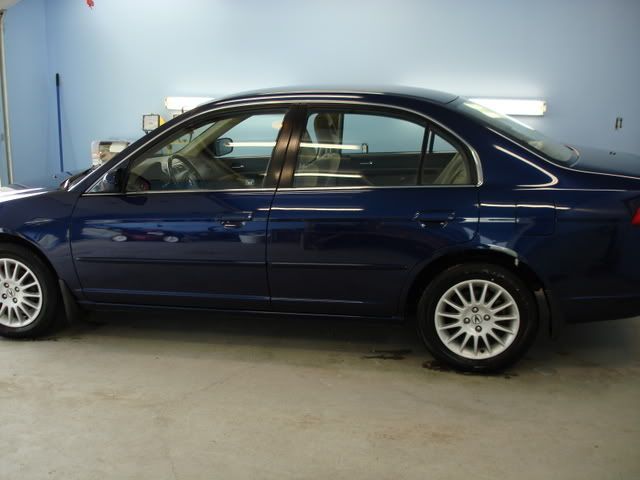
Now for pictures:
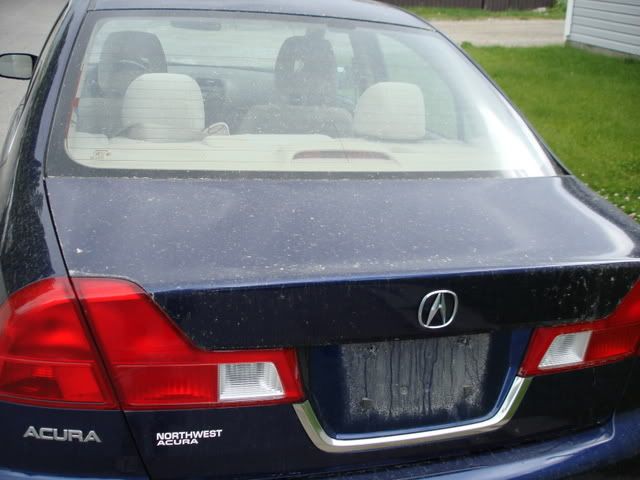
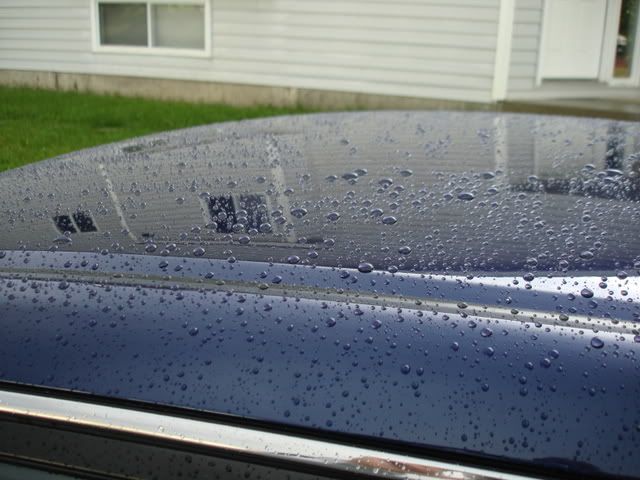
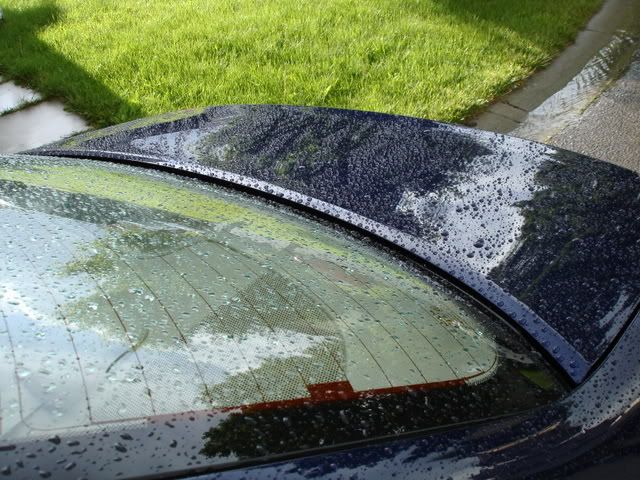
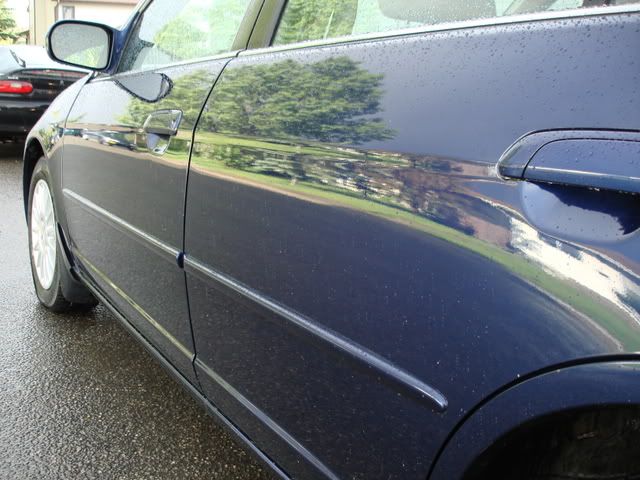
Before:

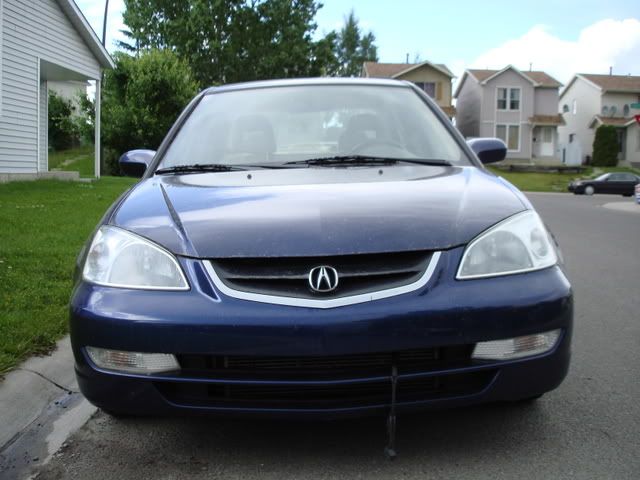
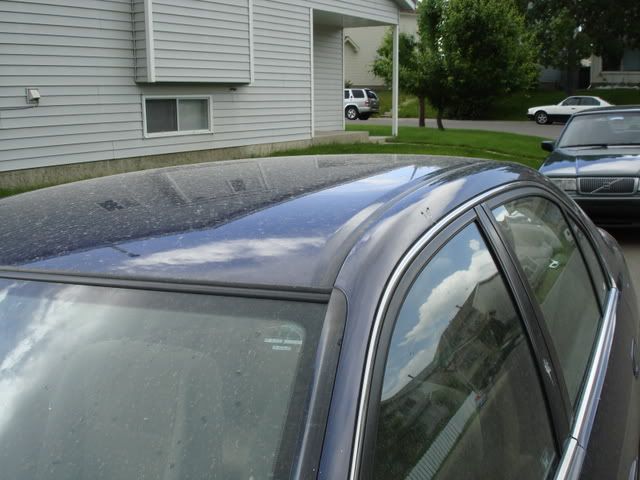
If you look closely you will see bird poop near the pilar...booooo!


1/3
2003 Acura 1.7EL
Exterior Process
Wash:
I used Meguiars Gold Class Shampoo with two bucket method and the white ShMITT.
Clay:
The vehicle was in rough shape so I used Red Clay Magic, the vehicle was covered with small dots of what I’m guessing white fence paint. The Clay Magic made quick work of it though, I like this clay, has a really good bite. After I clayed the vehicle I had to wash it again because of all the contaiments.
Polish:
Menzerna 106FF – Metabo – Menzerna Orange Pad – 1500rpm = Like I said the customer was not to interested on the exterior to much so I just went with this combo to remove some of the scratches/swirls. The paint needed some work, a wool pad and a Compound would have finished it nicely….maybe next time.
Glaze:
Pinnacle XMT Carnauba Finishg Glaze, applied by hand and removed my hand.
Wax:
1 – coat of Souveran Paste.
Tire dressing/wheel wells:
For the tires and the wheel wells I used Meguiars Hot shine Tire Spray.
Exterior plastic peaces/trim:
I used Mothers Back to Black.
Glass:
Stoners with glass Cobra MF
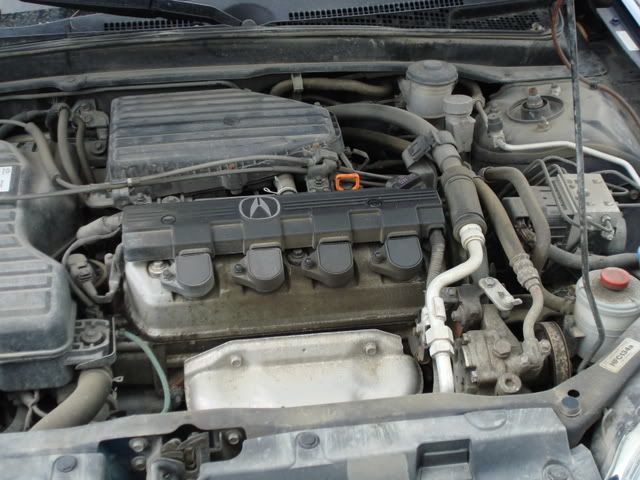
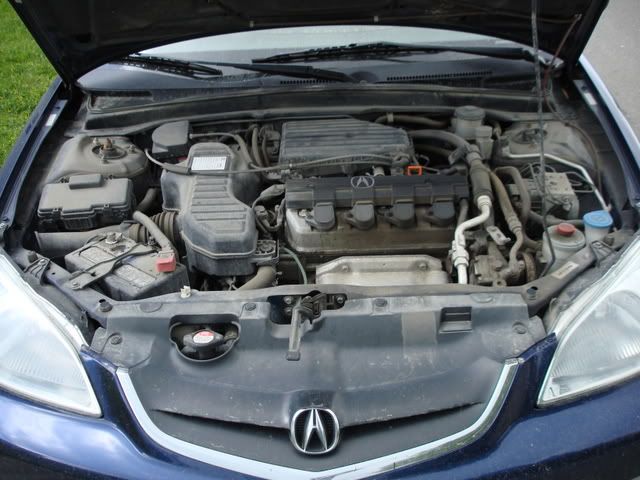
Engine bay:
Used a degreaser found locally 1:1 and dressed with Meguiars Hot shine Tire Spray.
Interior Process:
Vinyl and rubber:
I used Meguiars #40, but prior to it I gave the entire vehicle a nice wipe down with Meg’s APC mixed with water 1:1.
Carpet:
Meguirs APC used it on the carpet and seats as well 10:1 ratio again. I scrubbed with a brush then extracted it with my shop-vac. I did this for the entire vehicle because it needed it.
Now for pictures:
Before:
If you look closely you will see bird poop near the pilar...booooo!
1/3
Last edited:


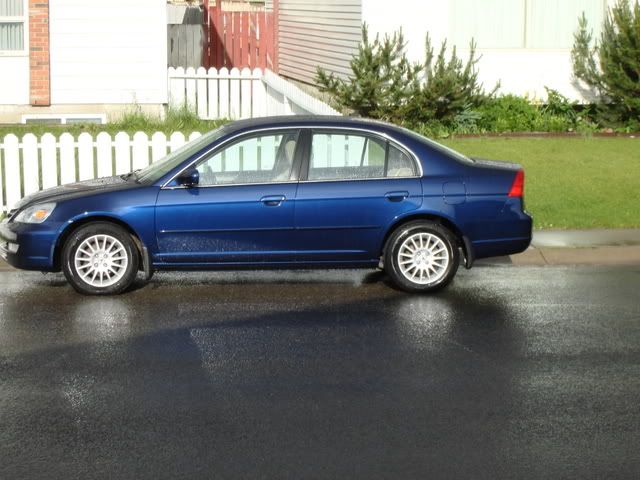


") The blue looks sweet!!
The blue looks sweet!!