Nica
New member
- Oct 23, 2006
- 3,728
- 0
This is one of the referrals from the previous work that I have done. I have a few friends/co-workers/other firm friends that I share my pictures with and someone suggested they give me a call to detail there vehicle and here it is.
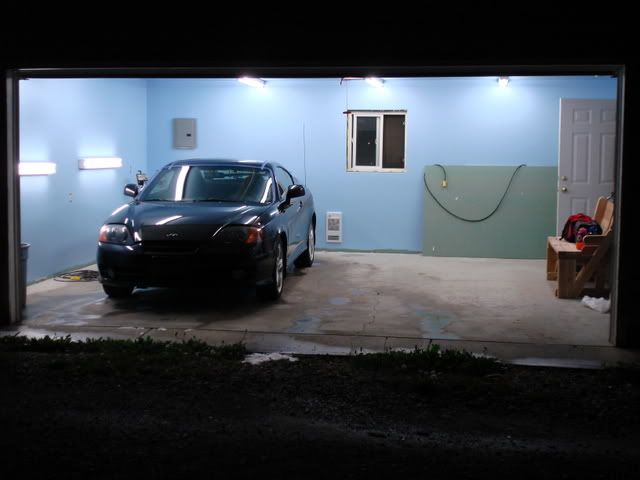
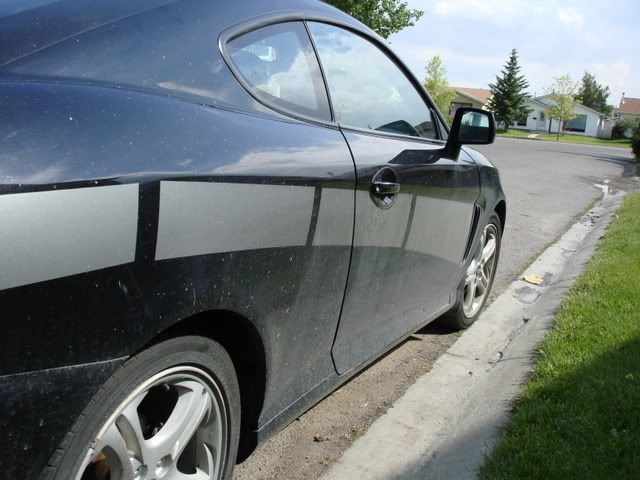
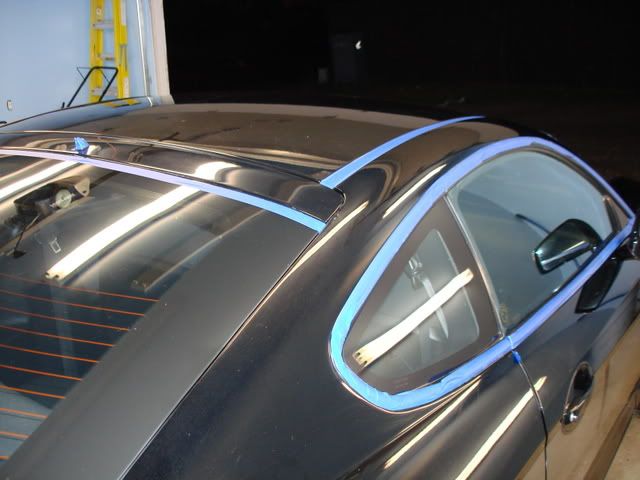
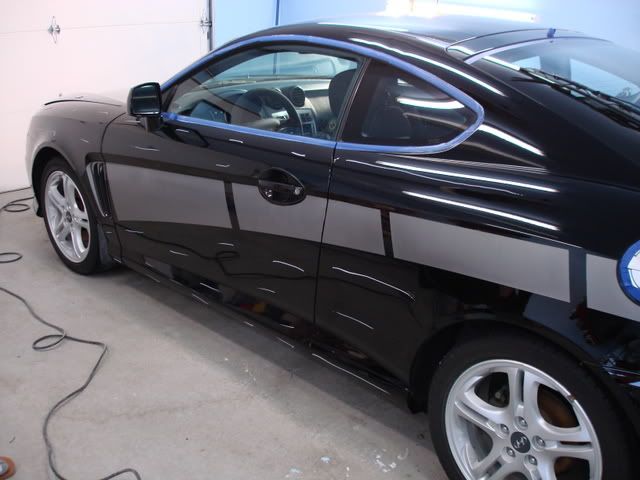
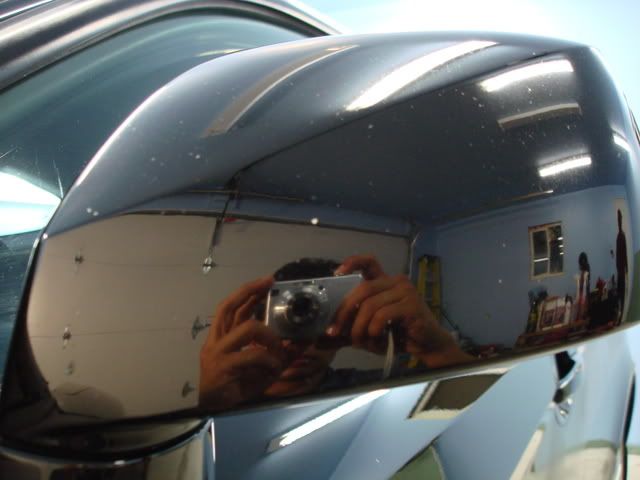
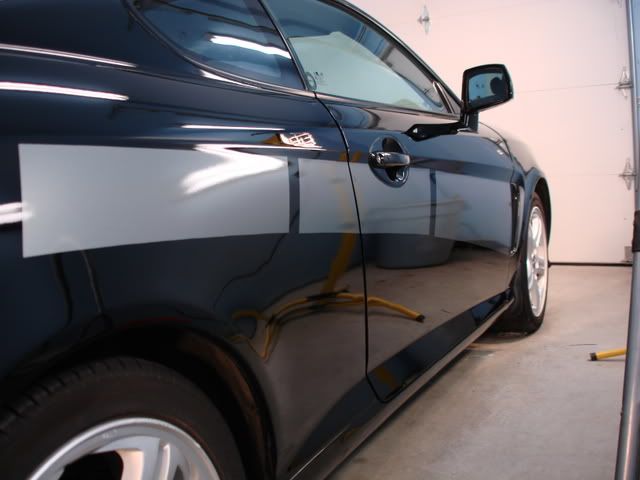
2003 Tiburon
Exterior Process
Wash:
I used Optimum wash (provided by my friend CalgaryDetail) no two bucket method and I used the black ShMITT. When you see the pictures you’ll understand why.
Clay:
Used Clay Magic the red one. Says it’s mild but it has a wicked bite and this vehicle needed lots of bite. I cut the bar in thirds and I used two of the pieces and had to toss it because they were done…this vehicle need lots of work.
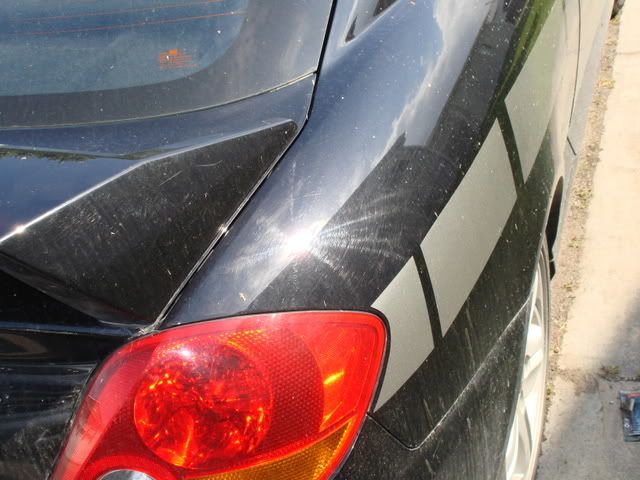
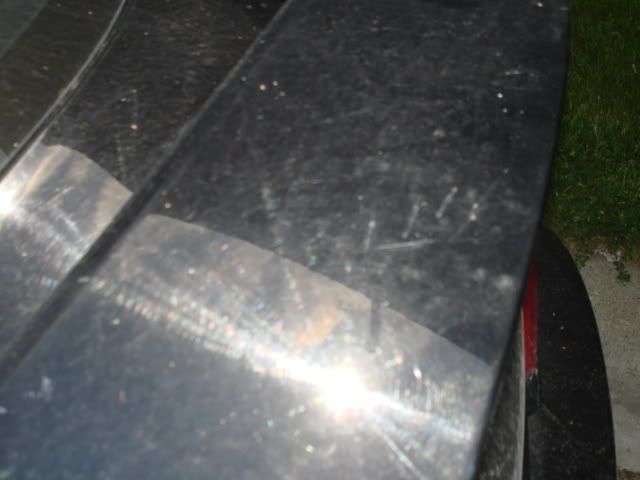
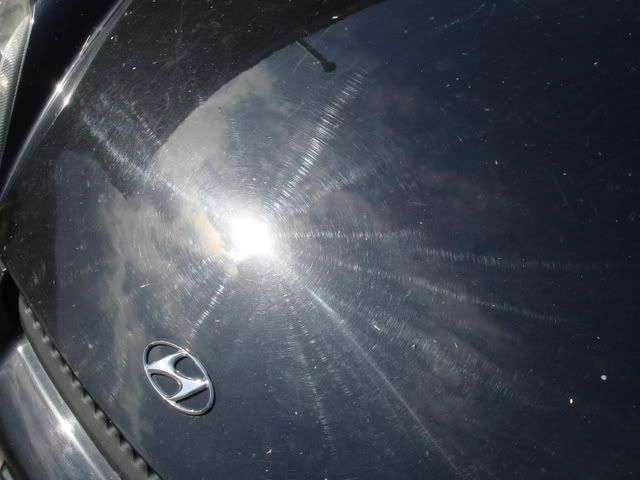
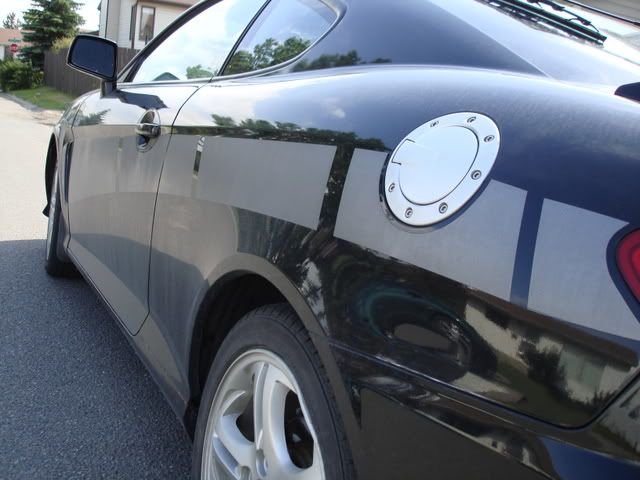
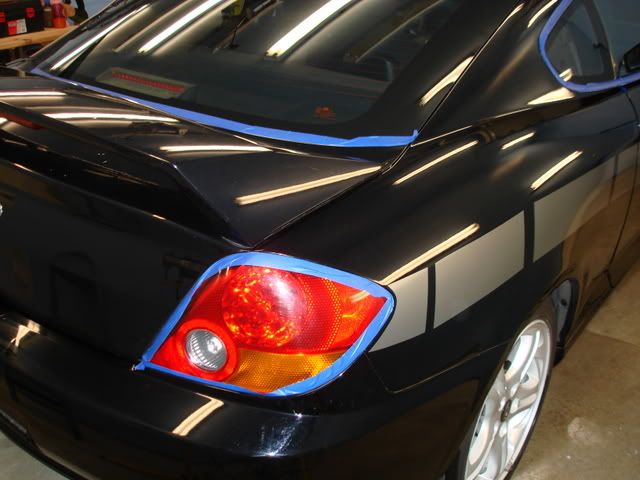
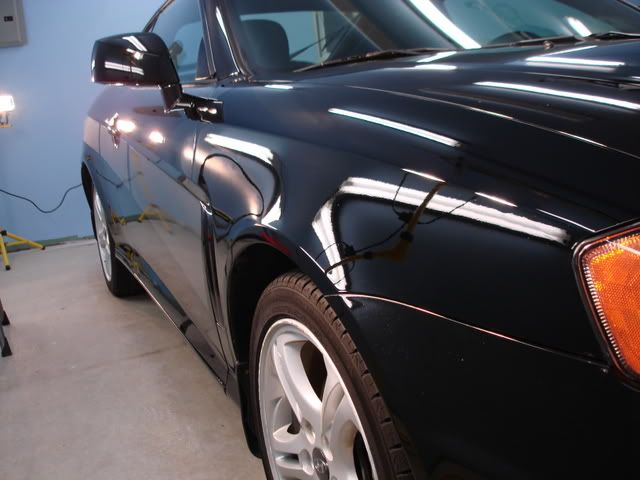
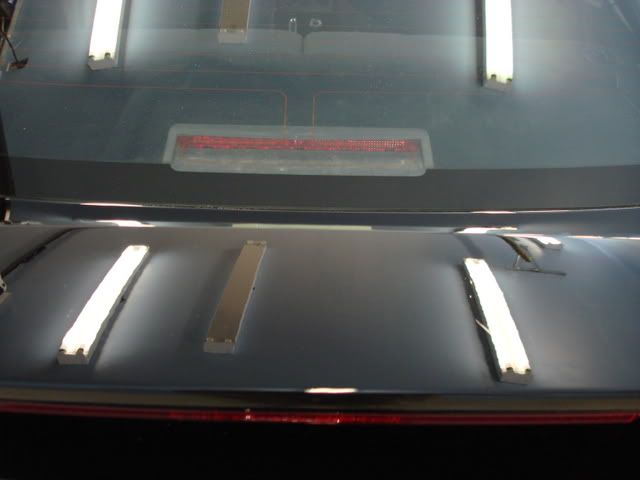
Polish/wetsand:
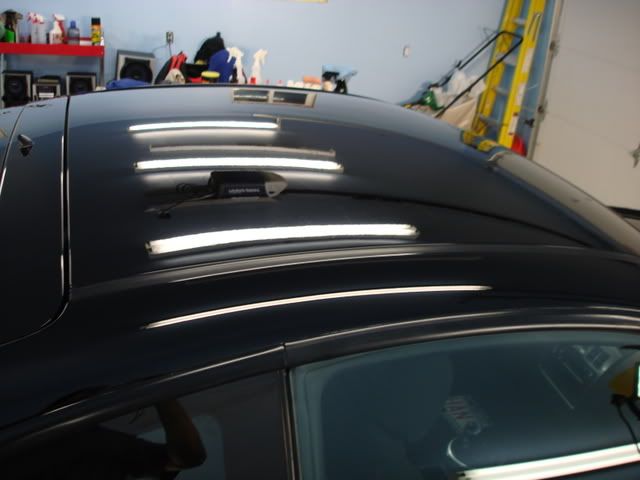
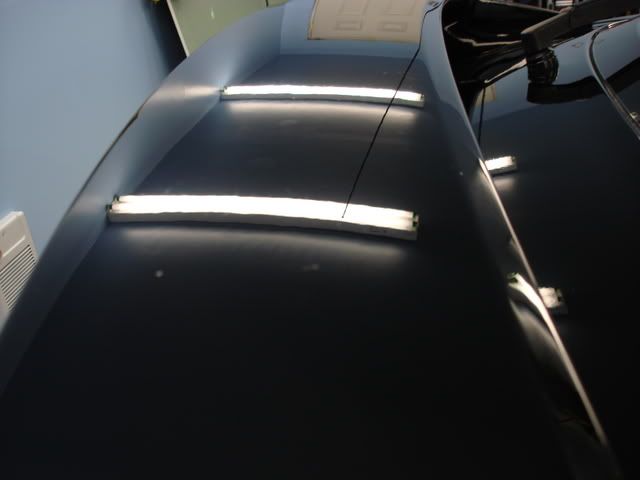
Menzerna Power Gloss Compound – Metabo – Meg’s wool pad – 1500rpm = Incredable results, this combo does wonders to swirls and brings the paint to a flat level you can work on. Incredable what a wool pad can do.
Menzerna 106FF – Metabo – Menzerna finishing pad (orange) – 1500rpm = Brings back the gloss to the paint and gives it a nice wet look.
Wetsanding – 2000grit and lots of it and there were some deep scratches that I just could not remove, they would require touch up paint and I didn’t pick any up so I had to leave them.
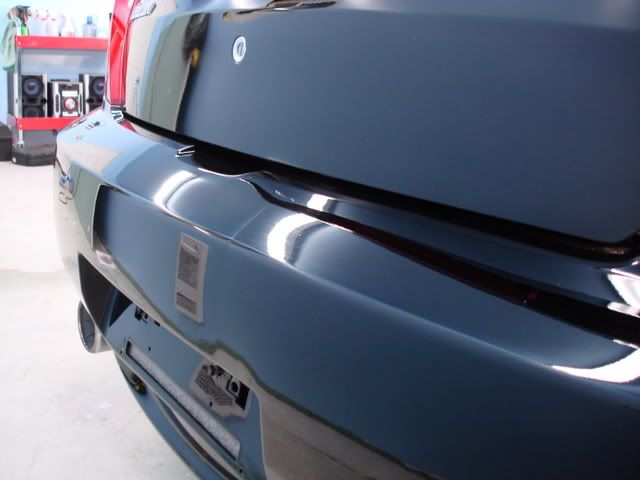
Sealant:
Menzerna Finishing Touch Glaze – applied by hand and removed by hand, the Glaze made the vehicle dripping wet very impressive results.
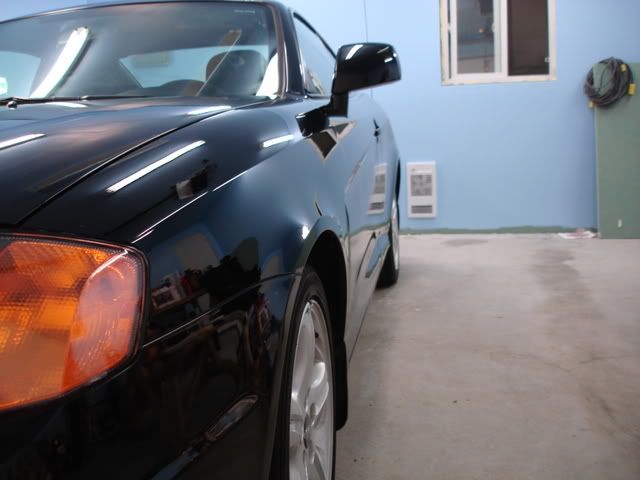
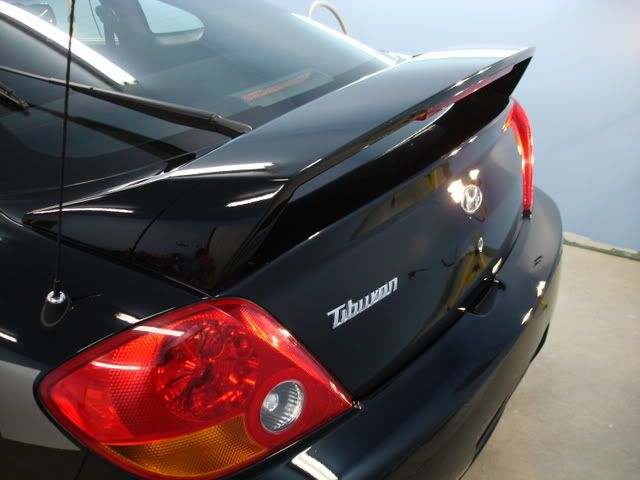
Wax:
2 – coats of Souveran Paste. All I got to say is WOW!!! I had to sit back and just admire the shine and the look of the vehicle.
Tire dressing/wheel wells:
For the tires and the wheel wells I used Poorboys tire dressing (I can’t remember the exact name). A big thank you to home boy CalgaryDetial that gave me a sample of this tuff. Okay third time I use this stuff and it upset my stomach again…not sure why just the smell bugged me…oh and I was fed prior to using it. Not sure what it is but the smell just bugs me…I like the product though and I will purchase it.
Exterior plastic peaces/trim:
I used Mothers Back to Black. Works well, I’m quite pleased with the results.
Glass:
Stoners with glass Cobra MF
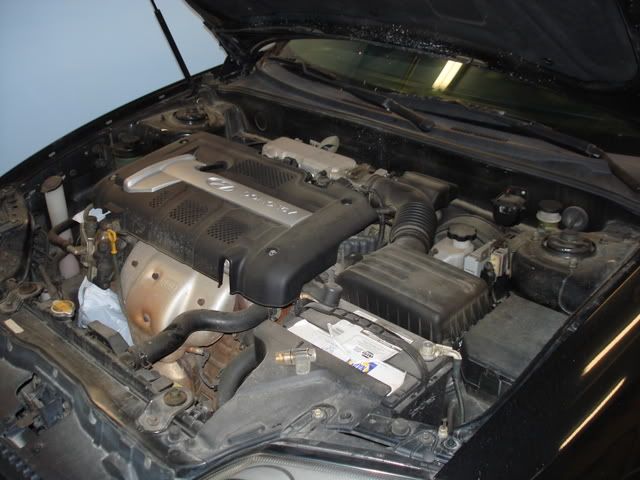
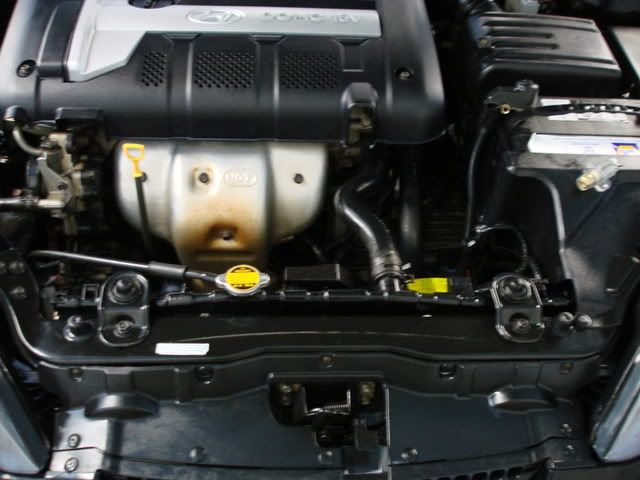
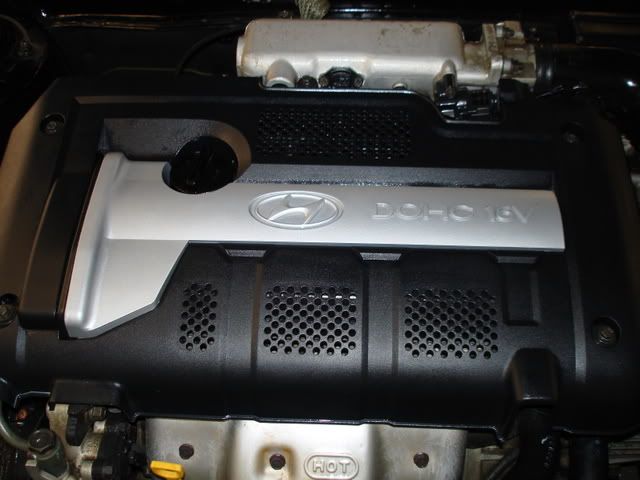
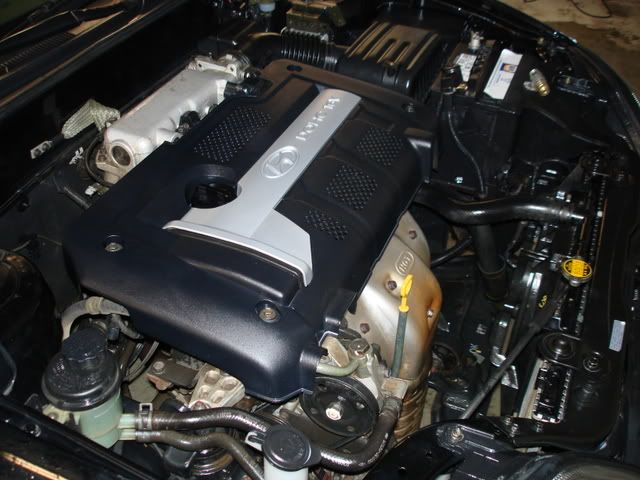
Engine bay:
Used a degreaser found locally 1:1 and dressed with poorboys.
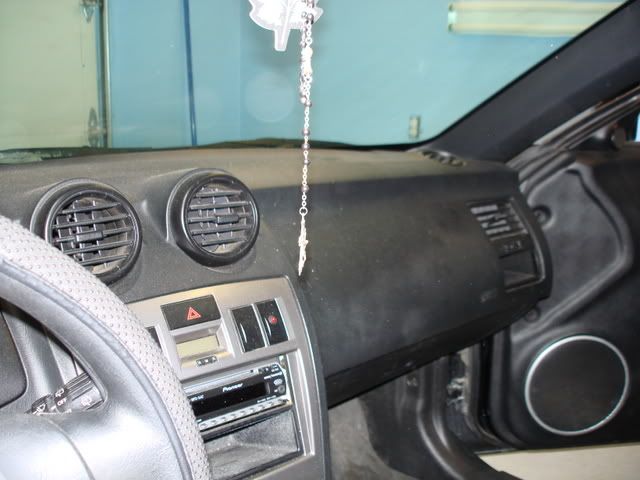
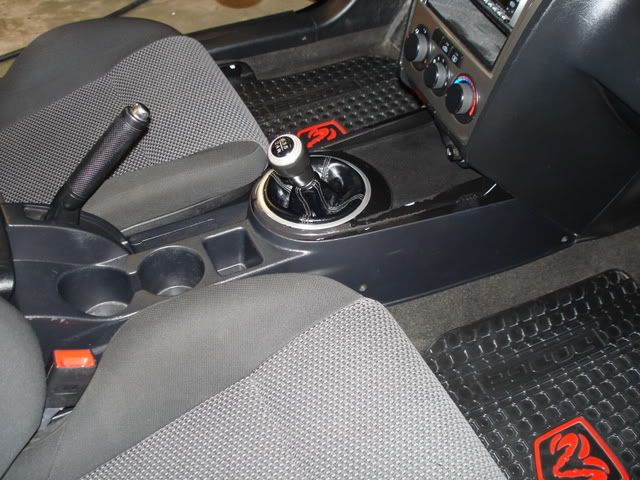
Interior Process:
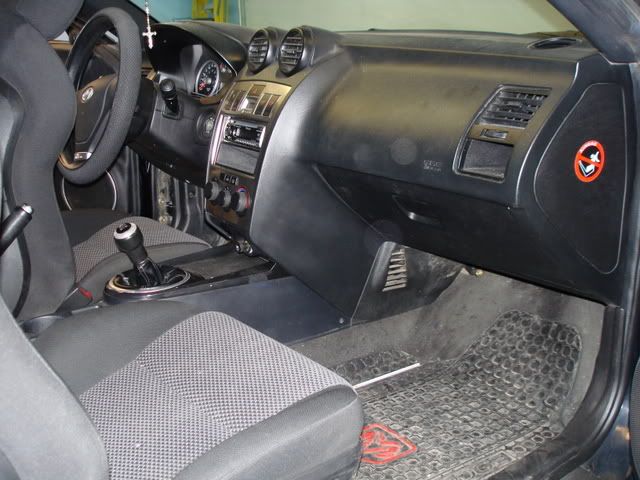
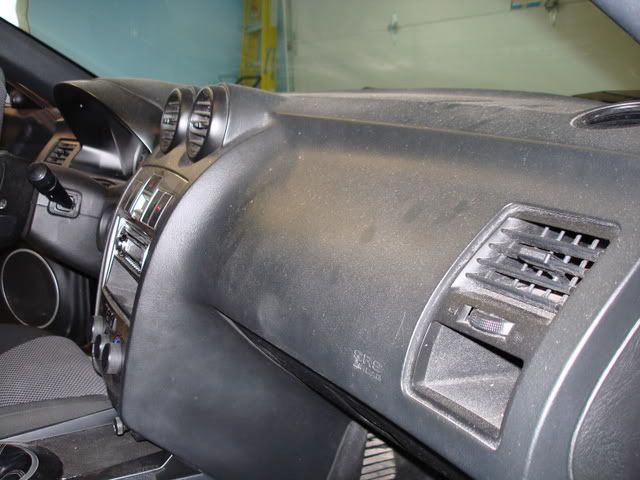
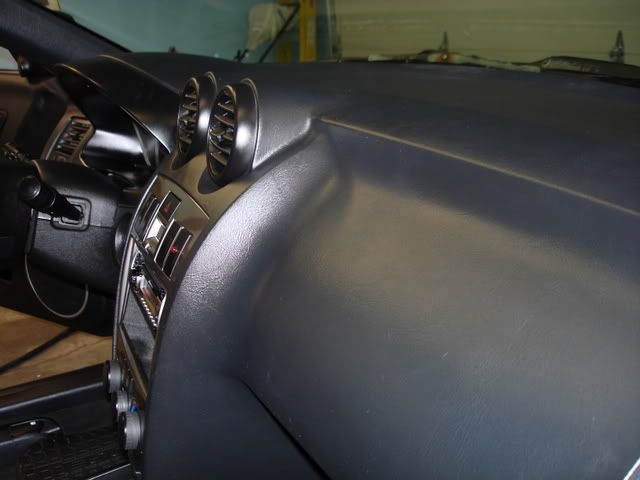
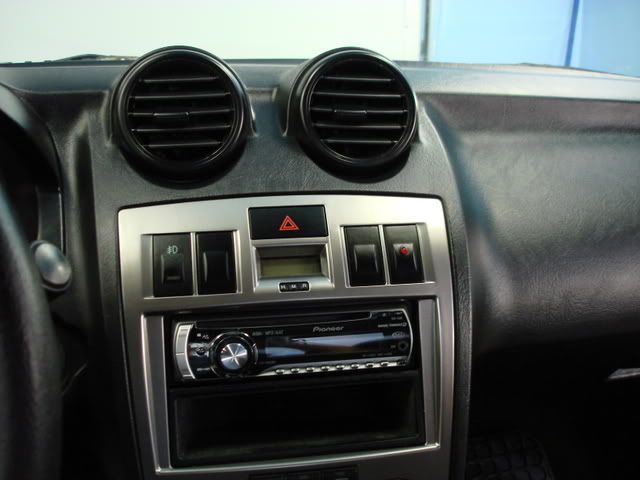
Vinyl and rubber:
I used Meg’s #40, but prior to it I gave the entire vehicle a nice wipe down with Meg’s APC mixed with water 10:1.
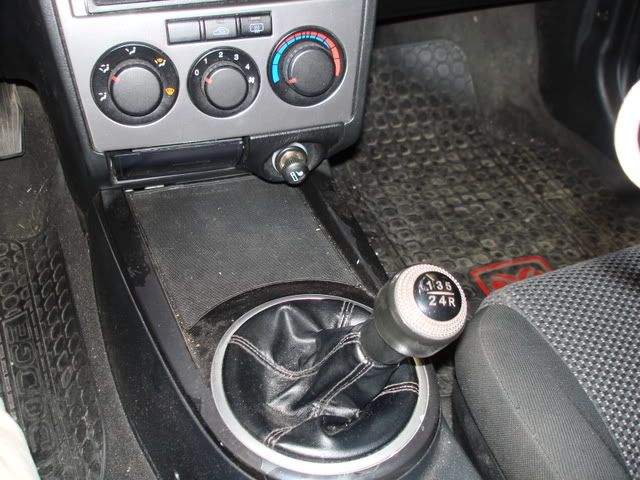
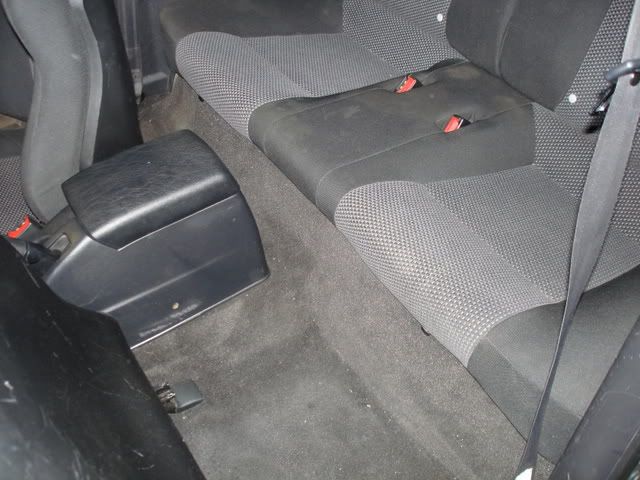
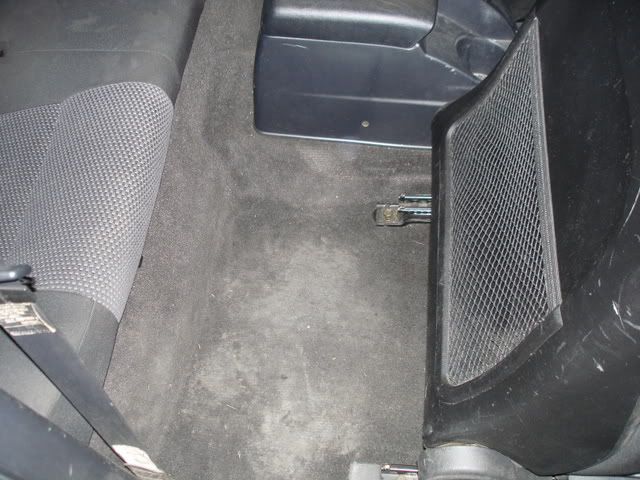
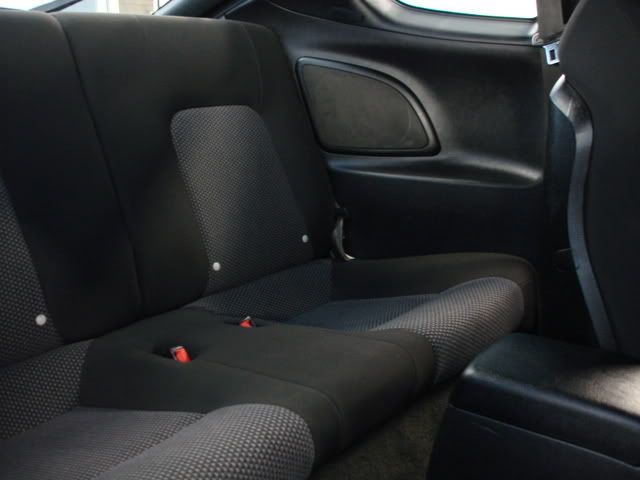
Carpet:
I was very pleased with Meg’s APC so I used it on the carpet and seats as well 10:1 ratio again. I scrubbed with a brush then extracted it with my shop-vac.
Summary:
The interior turned out great and I’m enjoying using Meg’s APC, really a versatile product. I would imagine that any APC would be the same way but I’m going to stick with Meg’s for a bit. The exterior required lots of work and the wool pads sure came in handy, wool pads do incredible job you just need to be a little careful with it that’s all. I was surprised to feel that the wool pad actually does not heat up more then the foam pads. In fact the foam pad generated much more heat compared to the wool pad. I’m quite pleased with the results. I always welcome feed back and tips/pointers.
1/4
2003 Tiburon
Exterior Process
Wash:
I used Optimum wash (provided by my friend CalgaryDetail) no two bucket method and I used the black ShMITT. When you see the pictures you’ll understand why.
Clay:
Used Clay Magic the red one. Says it’s mild but it has a wicked bite and this vehicle needed lots of bite. I cut the bar in thirds and I used two of the pieces and had to toss it because they were done…this vehicle need lots of work.
Polish/wetsand:
Menzerna Power Gloss Compound – Metabo – Meg’s wool pad – 1500rpm = Incredable results, this combo does wonders to swirls and brings the paint to a flat level you can work on. Incredable what a wool pad can do.
Menzerna 106FF – Metabo – Menzerna finishing pad (orange) – 1500rpm = Brings back the gloss to the paint and gives it a nice wet look.
Wetsanding – 2000grit and lots of it and there were some deep scratches that I just could not remove, they would require touch up paint and I didn’t pick any up so I had to leave them.
Sealant:
Menzerna Finishing Touch Glaze – applied by hand and removed by hand, the Glaze made the vehicle dripping wet very impressive results.
Wax:
2 – coats of Souveran Paste. All I got to say is WOW!!! I had to sit back and just admire the shine and the look of the vehicle.
Tire dressing/wheel wells:
For the tires and the wheel wells I used Poorboys tire dressing (I can’t remember the exact name). A big thank you to home boy CalgaryDetial that gave me a sample of this tuff. Okay third time I use this stuff and it upset my stomach again…not sure why just the smell bugged me…oh and I was fed prior to using it. Not sure what it is but the smell just bugs me…I like the product though and I will purchase it.
Exterior plastic peaces/trim:
I used Mothers Back to Black. Works well, I’m quite pleased with the results.
Glass:
Stoners with glass Cobra MF
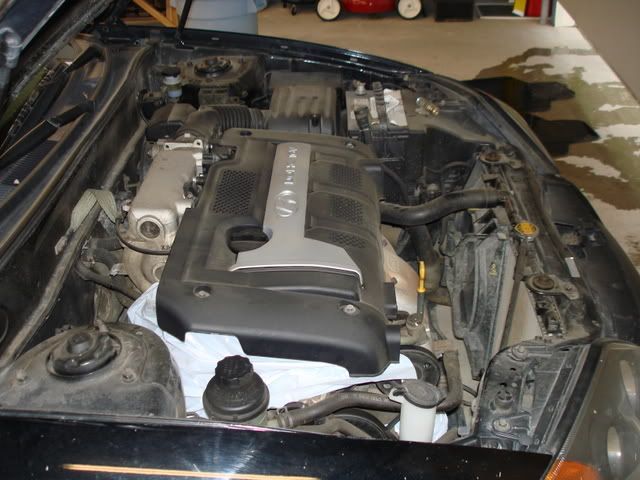
Engine bay:
Used a degreaser found locally 1:1 and dressed with poorboys.
Interior Process:
Vinyl and rubber:
I used Meg’s #40, but prior to it I gave the entire vehicle a nice wipe down with Meg’s APC mixed with water 10:1.
Carpet:
I was very pleased with Meg’s APC so I used it on the carpet and seats as well 10:1 ratio again. I scrubbed with a brush then extracted it with my shop-vac.
Summary:
The interior turned out great and I’m enjoying using Meg’s APC, really a versatile product. I would imagine that any APC would be the same way but I’m going to stick with Meg’s for a bit. The exterior required lots of work and the wool pads sure came in handy, wool pads do incredible job you just need to be a little careful with it that’s all. I was surprised to feel that the wool pad actually does not heat up more then the foam pads. In fact the foam pad generated much more heat compared to the wool pad. I’m quite pleased with the results. I always welcome feed back and tips/pointers.
1/4


 Thanks for the compliments buddy.
") but not on this one maybe the next house...actually for sure the next house will have a snink and a fridge and a stove and evrything. A sink is a must, easy to work and wash up after and during the detailing.
but not on this one maybe the next house...actually for sure the next house will have a snink and a fridge and a stove and evrything. A sink is a must, easy to work and wash up after and during the detailing.")