10secdream
New member
- Aug 17, 2013
- 334
- 0
Detailed a beautiful 2004 Subaru WRX/STI this weekend. The customer was looking to bring out the shine in his ride and give it the best protection possible. We decided that a 1 Step Correction Detail along with a paint coating would fit his needs and budget.
Process
Exterior:
Wheels: Sonax Full Effect Wheel Cleaner with various brushes
Tires: Zep Formula 505 Cleaner & Degreaser
Wheel Wells: Zep Citrus Cleaner (4:1)
Pre-wash: CG Citrus Wash & Gloss + Zep Citrus via foam cannon
Tar Removal: Auto Finesse Oblitarate
Wash: CG Citrus Wash & Gloss via 2BM & Wool Wash Mitt
Decontamination 1: CarPro IronX
Decontamination 2: Nanoskin Autoscrub Speedy Prep Sponge (Fine)
Dry: Waffle Weave Towels
Tape: Meguiar’s Automotive Tape
Paint Thickness: Taken using Digital Coating Thickness Gauge
Polish: HD Adapt w/ White Buff n Shine Pads via Rupes LHR15ES (5.5” pads) and GG6 (4” pads)
Surface Prep: Detailers Pro Coating Prep Polish
Paint Protection: PBL Diamond Surface Coating
Glass Protection: CarPro FlyBy 30
Tire Dressing: CarPro PERL
Trim Dressing: Wolfgang Exterior Trim Sealant
Glass: Sonax Clear Glass via Glass Towel
Exhaust Polishing: Chemical Guys Vintage Heavy Metal Polish via 000 Steel Wool
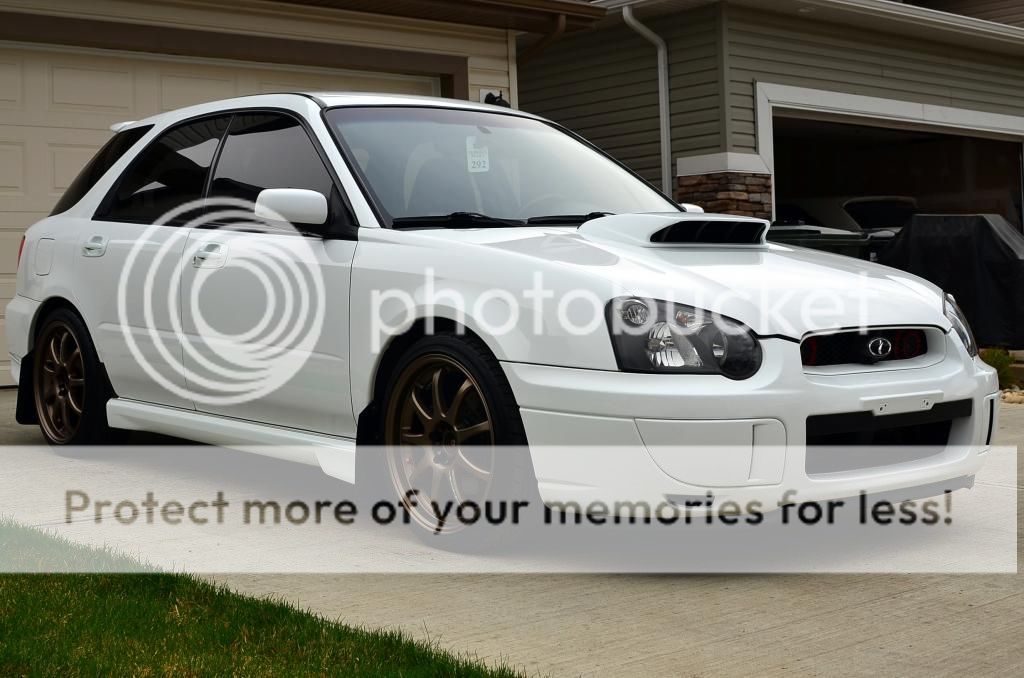
Before Pictures:
Overall the vehicle appeared to be in decent condition when it first arrived. Upon closer inspection the vehicle was heavy contaminated and the white paint looked stained brown/yellow.


Large amount of brake dust on the faces and barrels.

Exhaust could use some love.

The 3m was turning yellow and did not do the car justice. We decided it would be best to remove the film then get it reinstalled after the vehicle was polished.


Engine bay was a little dirty. Love the STI swap in this WRX.

During Pictures:


After decontamination it was time to look in the sun and see what we are dealing with.

I initially did a test spot with HP Polish on a white B&S pad but I did not get the level of correction I wanted. Here is my spot test with HD Adapt on a white pad.

50/50 on taillights

After Pictures:


Thanks for viewing and enjoy.
Process
Exterior:
Wheels: Sonax Full Effect Wheel Cleaner with various brushes
Tires: Zep Formula 505 Cleaner & Degreaser
Wheel Wells: Zep Citrus Cleaner (4:1)
Pre-wash: CG Citrus Wash & Gloss + Zep Citrus via foam cannon
Tar Removal: Auto Finesse Oblitarate
Wash: CG Citrus Wash & Gloss via 2BM & Wool Wash Mitt
Decontamination 1: CarPro IronX
Decontamination 2: Nanoskin Autoscrub Speedy Prep Sponge (Fine)
Dry: Waffle Weave Towels
Tape: Meguiar’s Automotive Tape
Paint Thickness: Taken using Digital Coating Thickness Gauge
Polish: HD Adapt w/ White Buff n Shine Pads via Rupes LHR15ES (5.5” pads) and GG6 (4” pads)
Surface Prep: Detailers Pro Coating Prep Polish
Paint Protection: PBL Diamond Surface Coating
Glass Protection: CarPro FlyBy 30
Tire Dressing: CarPro PERL
Trim Dressing: Wolfgang Exterior Trim Sealant
Glass: Sonax Clear Glass via Glass Towel
Exhaust Polishing: Chemical Guys Vintage Heavy Metal Polish via 000 Steel Wool
Before Pictures:
Overall the vehicle appeared to be in decent condition when it first arrived. Upon closer inspection the vehicle was heavy contaminated and the white paint looked stained brown/yellow.


Large amount of brake dust on the faces and barrels.

Exhaust could use some love.

The 3m was turning yellow and did not do the car justice. We decided it would be best to remove the film then get it reinstalled after the vehicle was polished.


Engine bay was a little dirty. Love the STI swap in this WRX.

During Pictures:


After decontamination it was time to look in the sun and see what we are dealing with.

I initially did a test spot with HP Polish on a white B&S pad but I did not get the level of correction I wanted. Here is my spot test with HD Adapt on a white pad.

50/50 on taillights

After Pictures:


Thanks for viewing and enjoy.