2006 Mercedes-Benz SLK 350 Show Car Makeover Pictures

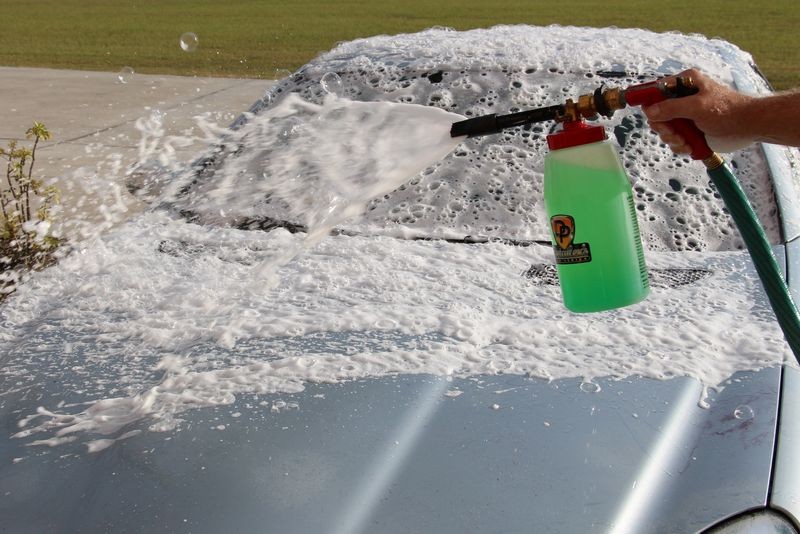
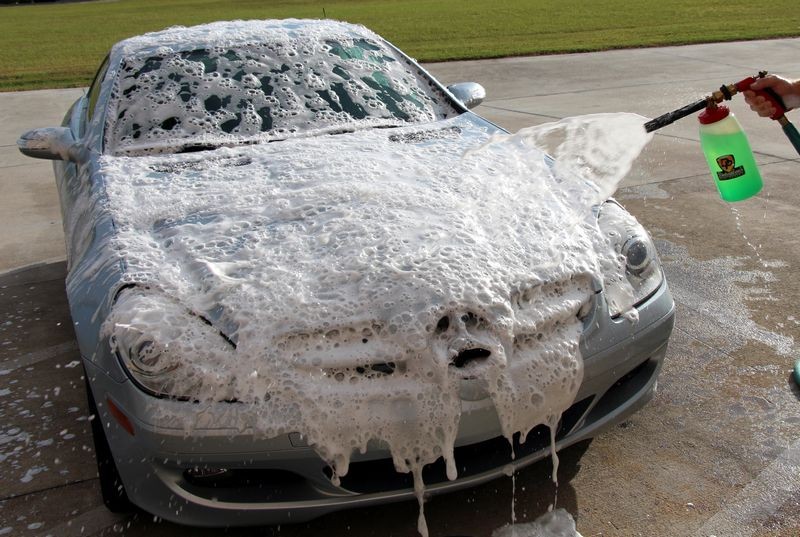
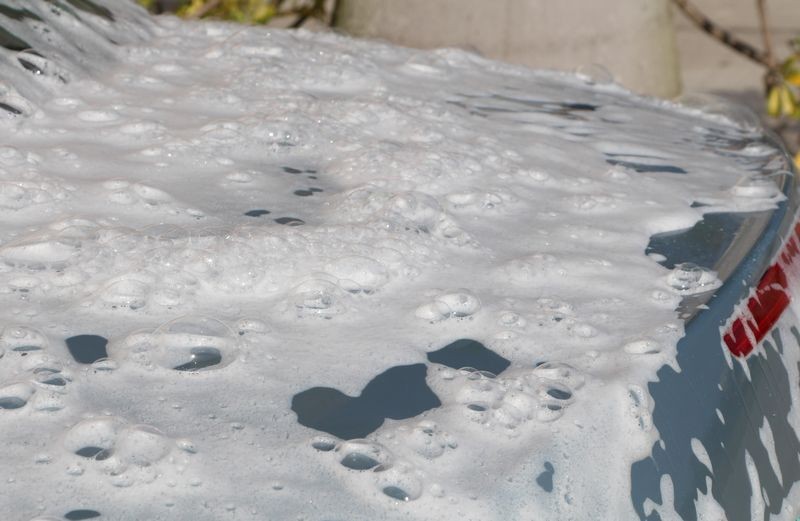
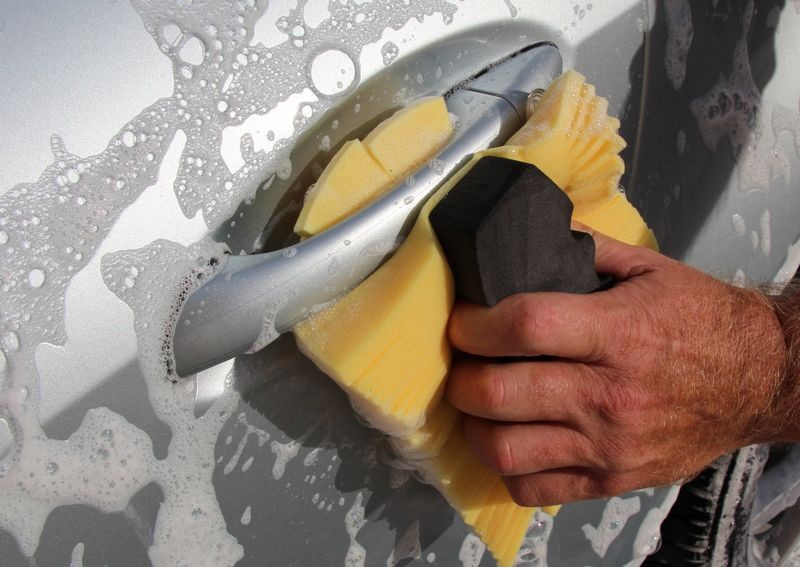
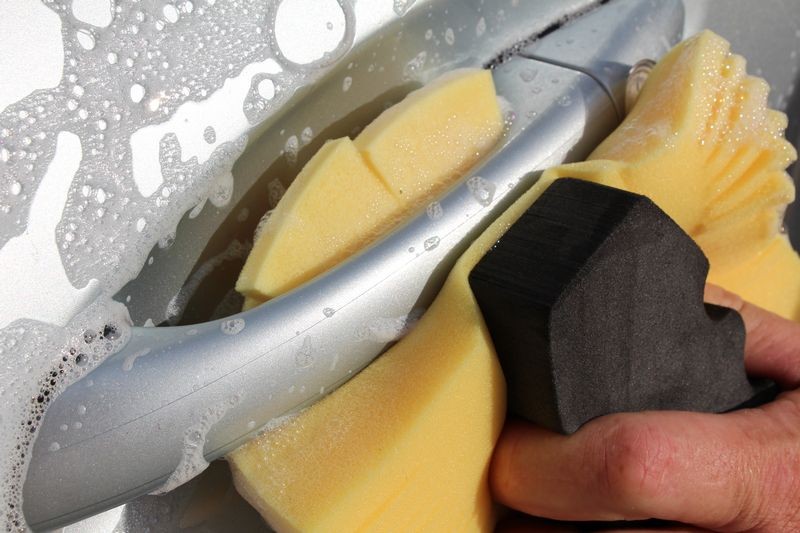
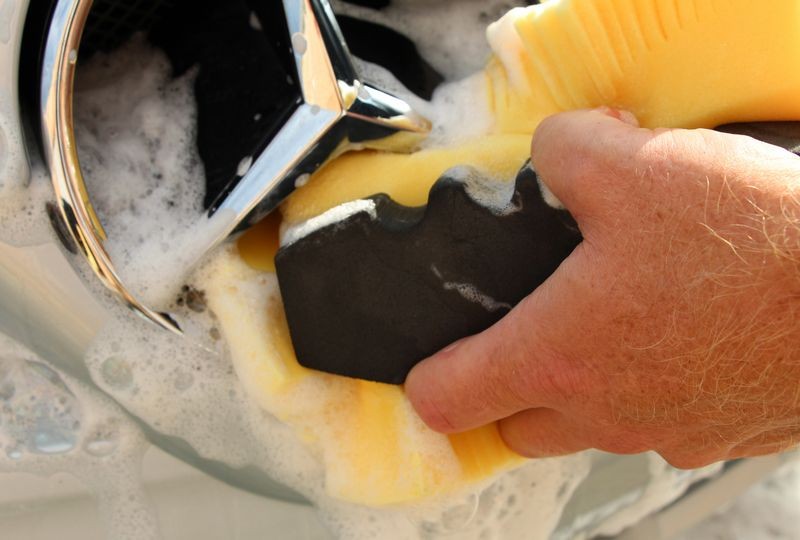
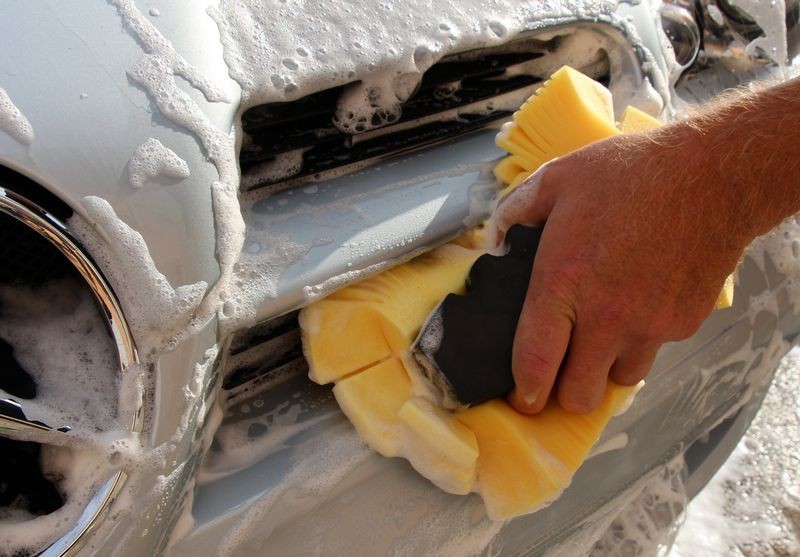
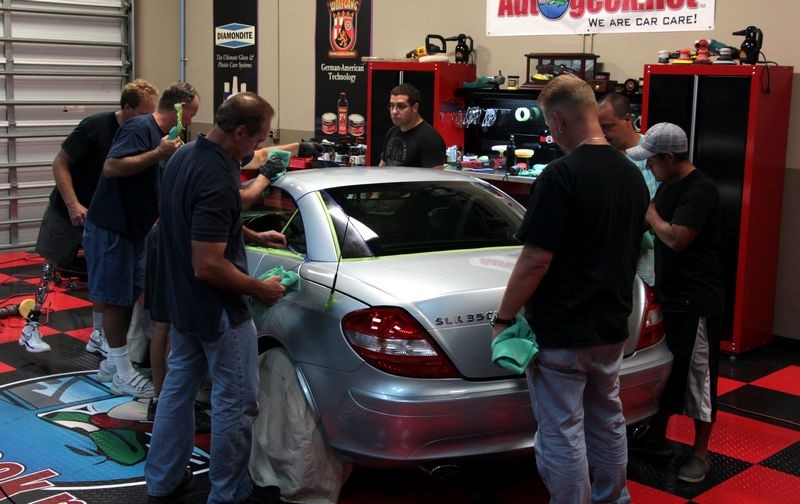
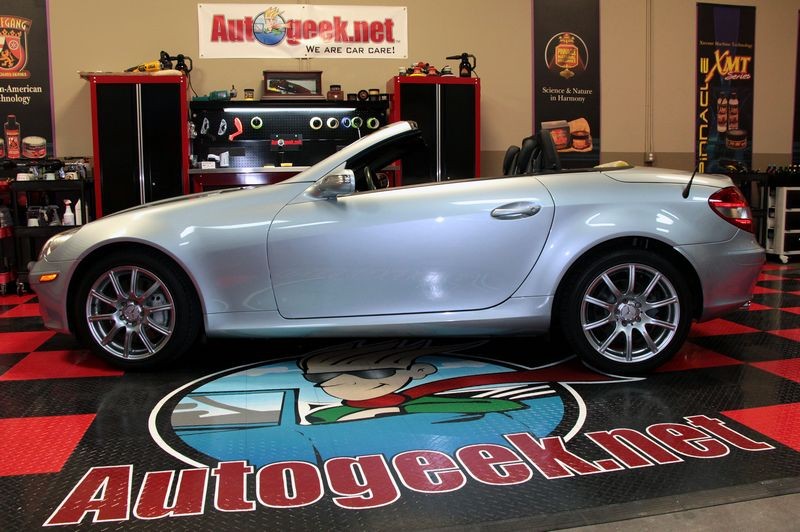
First things first... wash the car...

In my how-to book and in real life, I always start by washing the wheels and tires first and the reason why is explained in the book.

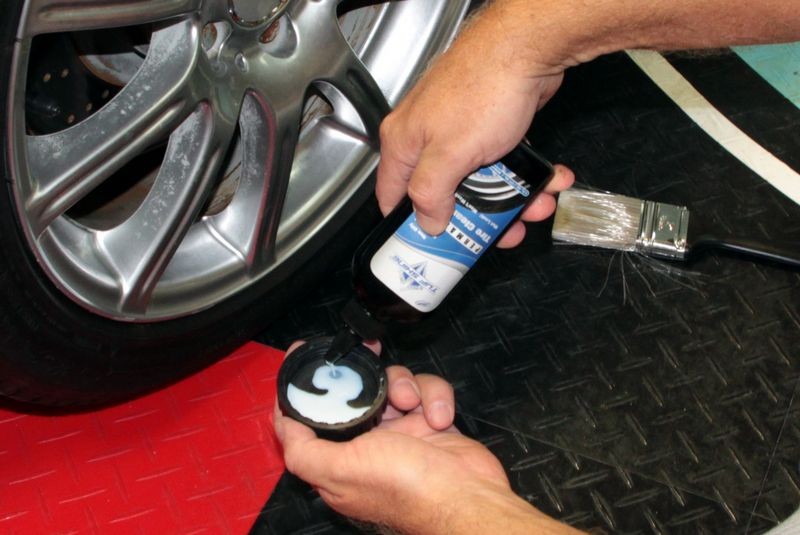
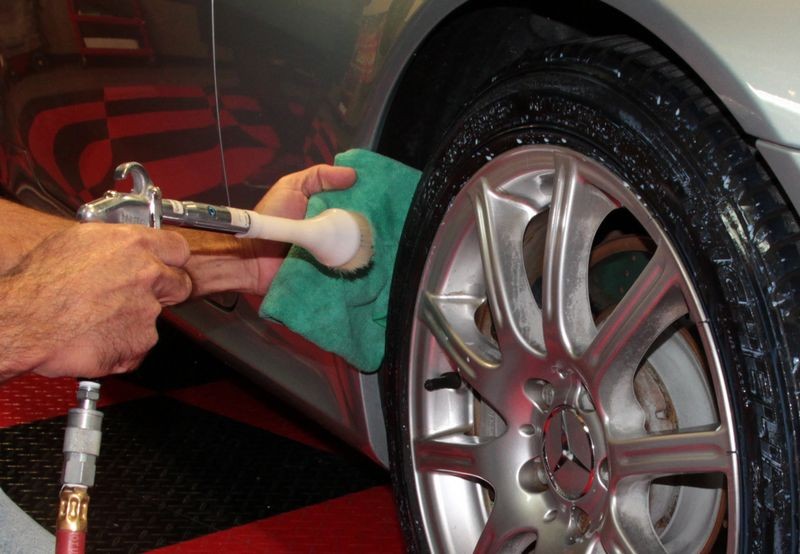
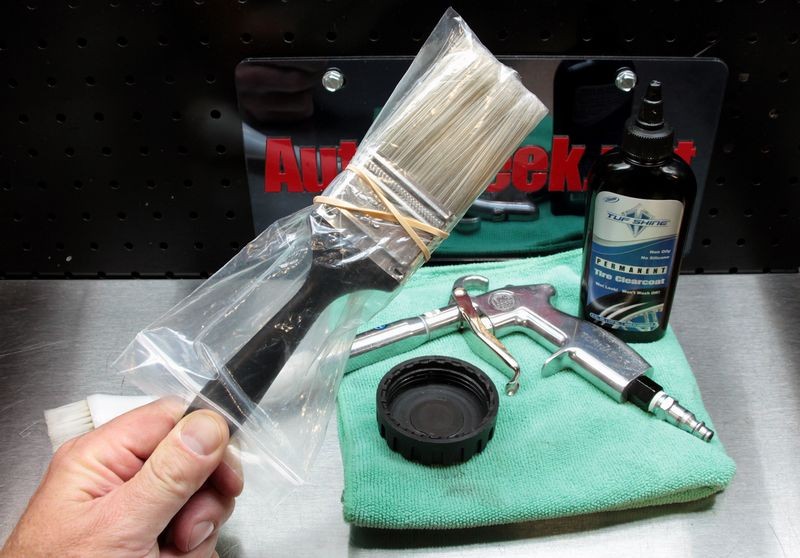
My personal choice for a tire dressing is the TUFF SHINE Tire Clearcoat because it leaves a natural, non-shiny, non-glossy finish which is dry to the touch. As long as you don't curb your tires or wash the tires with either a strong wheel and tire cleaner or any type of APC you also won't remove the clearcoat finish. In fact just normal car soap will clean your tires and the BIG plus is your wash mitt won't turn all black with an oily slime like most tire dressing will cause to your wash mitts.

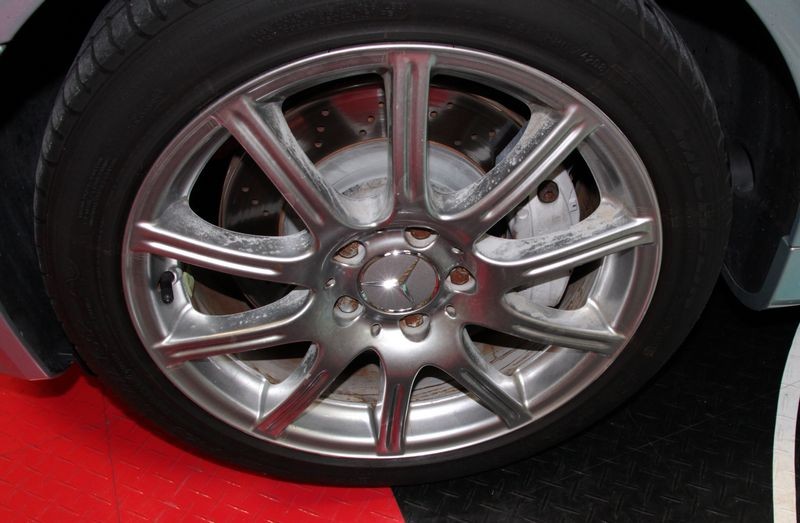
Some kind of slimy tire dressing already on the tires...
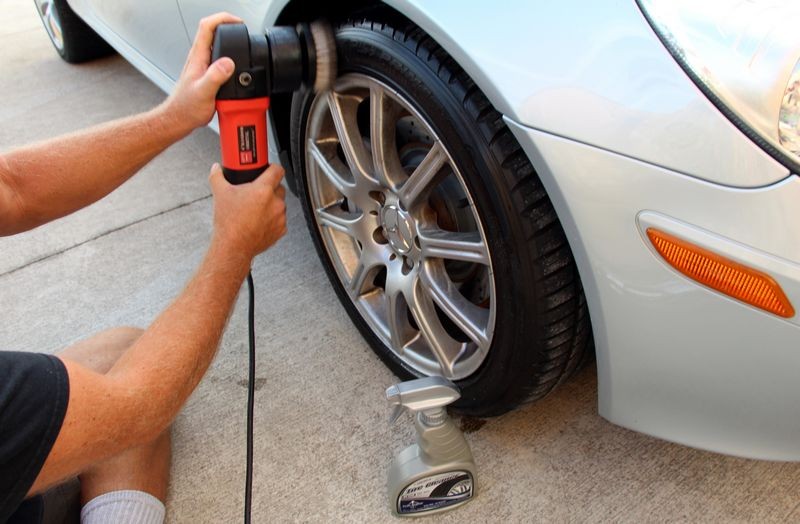
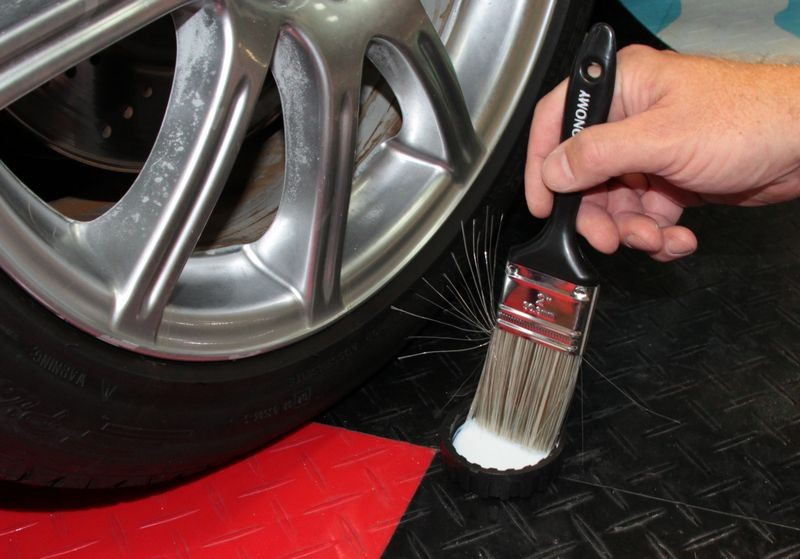
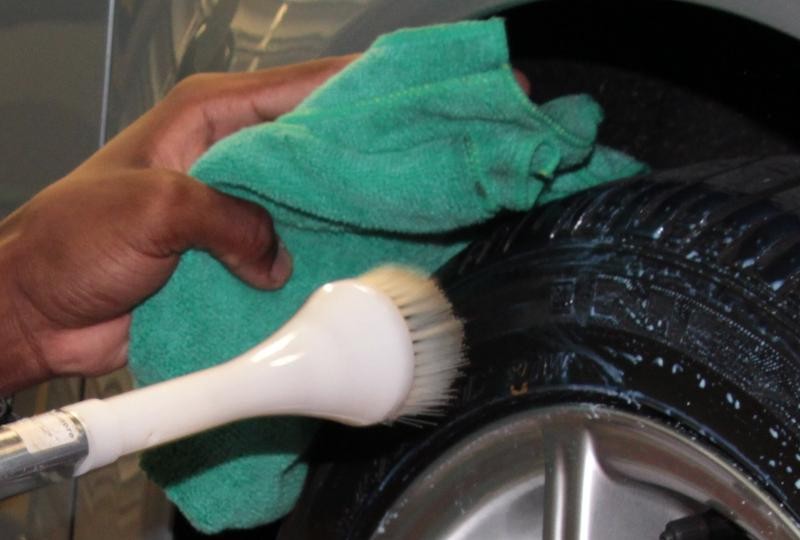
2006_SLK_350_013.jpg


2006_SLK_350_014.jpg


Machine Clean Tires
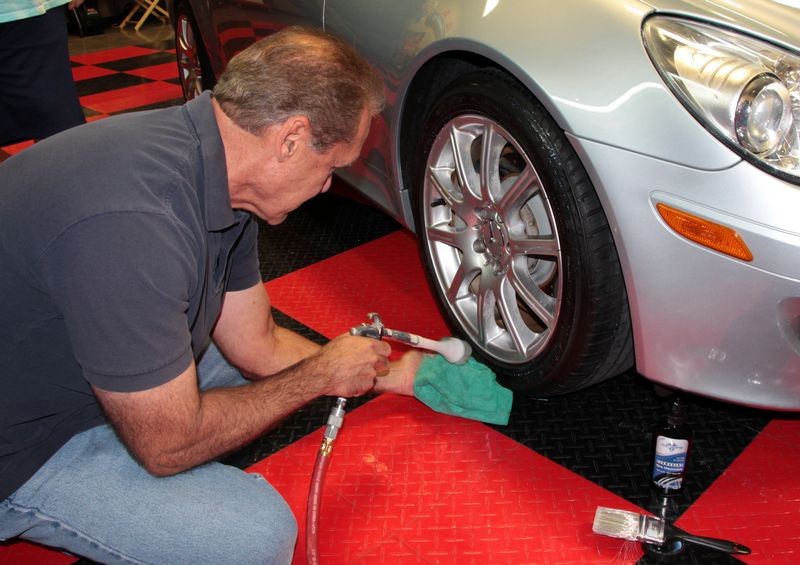
The key is to get the tires surgically clean. The previous owner used some type of greasy, slimy dressing so to REALLY get the tires clean then in my opinion the best, easiest and fastest way to remove all the slimy tire dressing is by MACHINE!


2006_SLK_350_009.jpg


Cyclo Brush on a Griot's DA Polisher = Best Machine Tire Scrubber
These tires have a lot of very thin or fine lines raised lines in the sidewall so to get into these areas and agitate the tire dressing I'm use a Gray, Ultra Soft Upholstery Brush made for Cyclo Polishers on a Griot's Garage DA Polisher on about the 5.0 Speed Setting with the TUFF SHINE Tire Cleaner.


2006_SLK_350_010.jpg


2006_SLK_350_011.jpg


2006_SLK_350_012.jpg


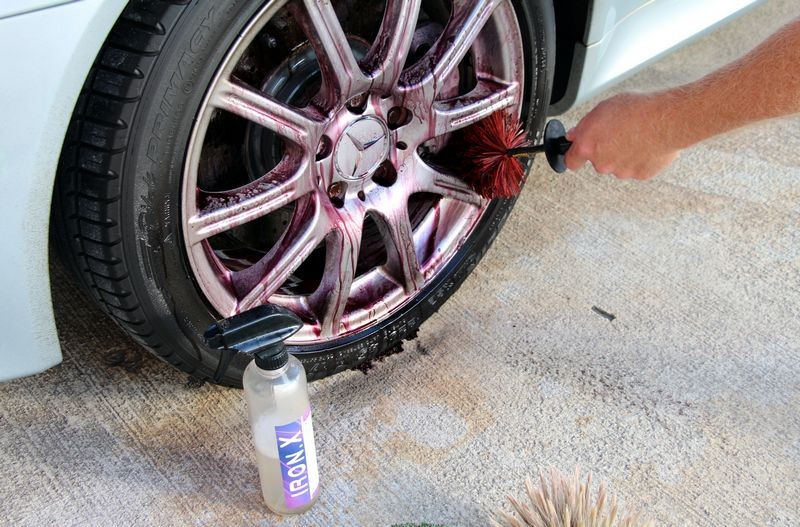
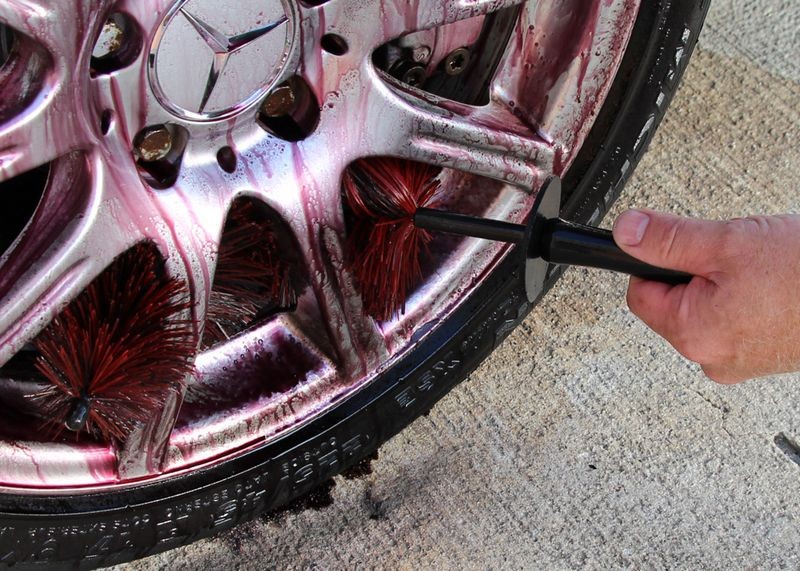
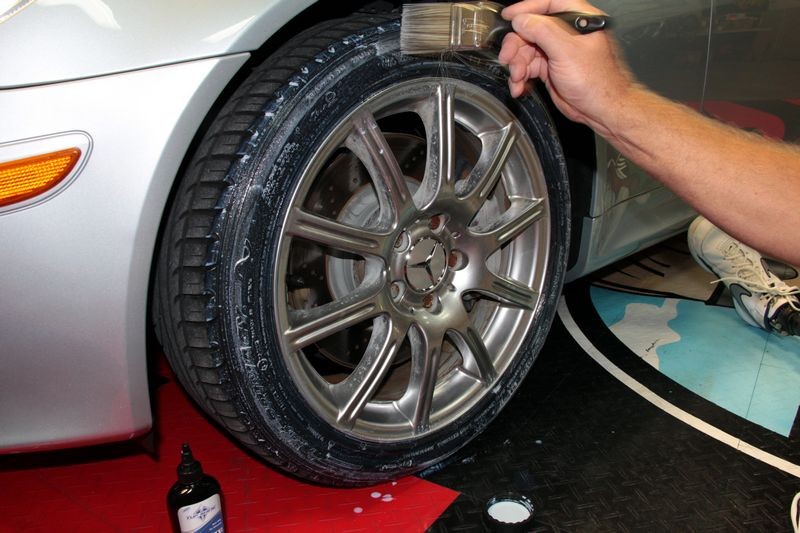
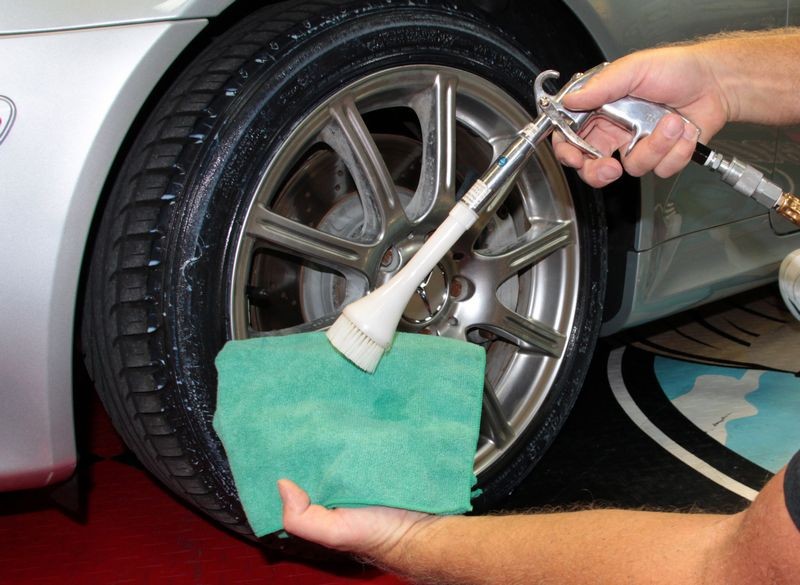
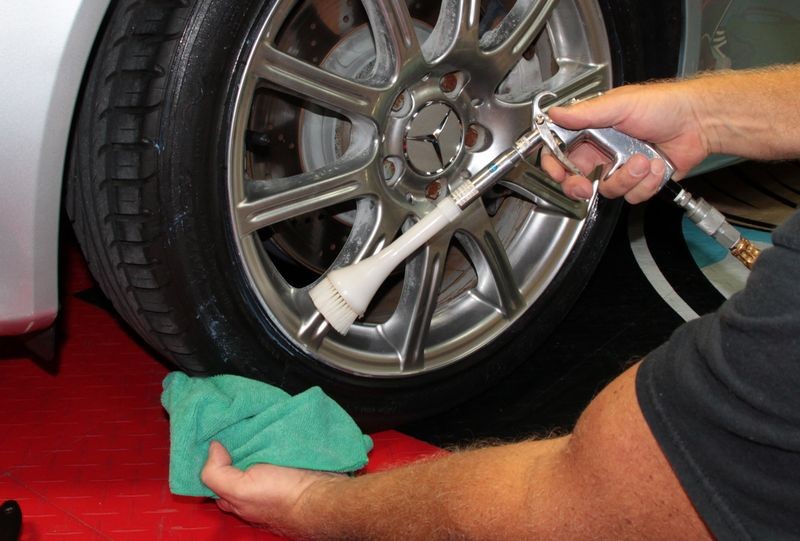
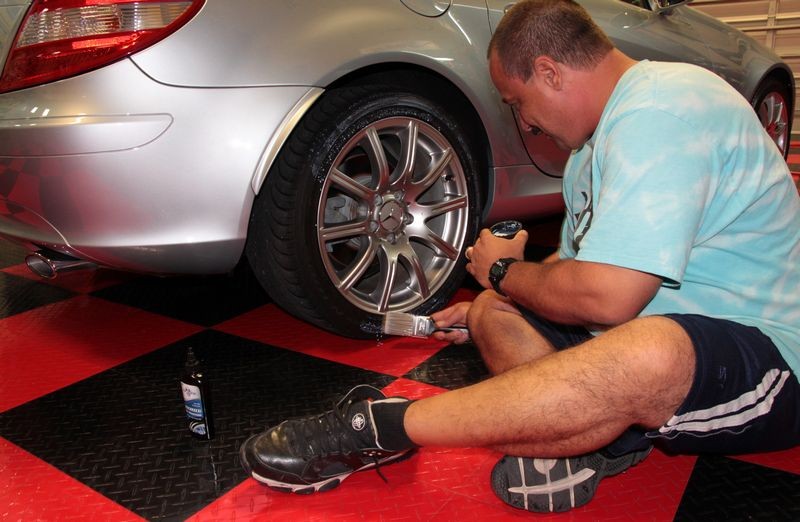
Decontaminate Wheels
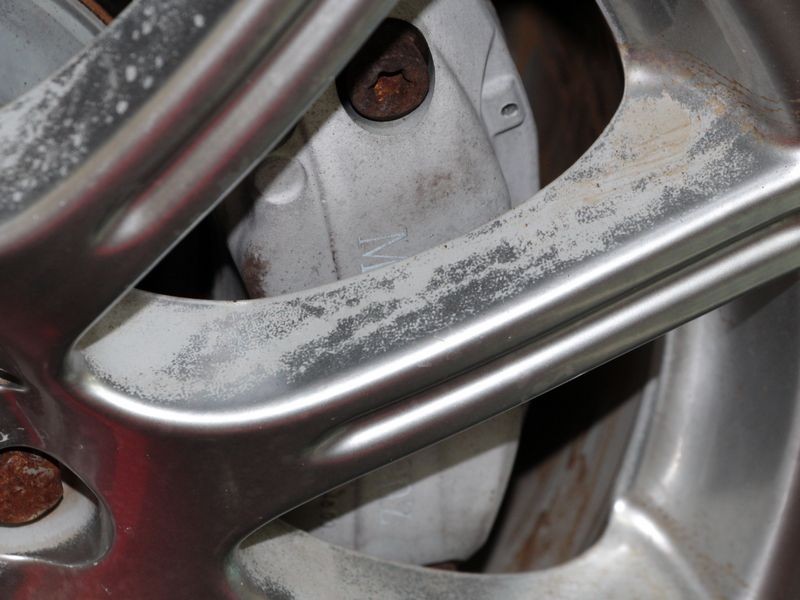
Since I've only owned this car for 5 days I have know idea what's been done for maintenance in the past so after machine scrubbing the tires the next thing I'm going to do is decontaminate the wheels using Iron X and a 
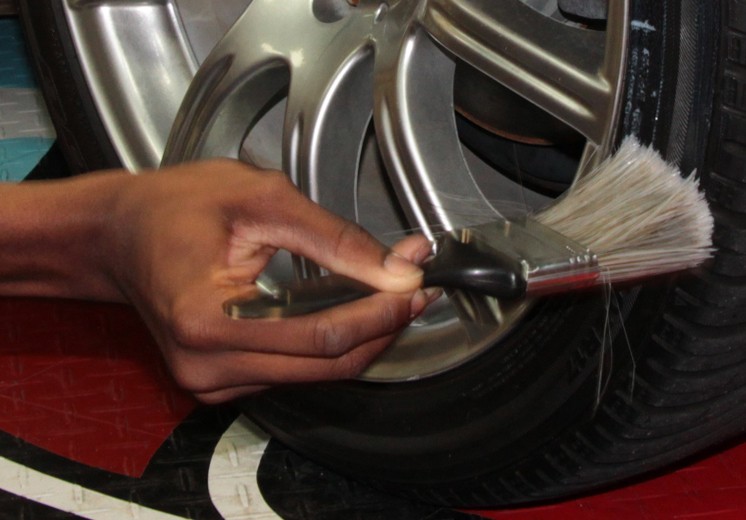
Daytona Speedmaster Wheel Brush, to get behind the spokes, the back of the wheel barrels and around the brake calipers. I used an 8" Montana Boar's Hair Wheel Brush to clean the face of the wheels.

2006_SLK_350_015a.jpg


2006_SLK_350_015.jpg


2006_SLK_350_015b.jpg


2006_SLK_350_015c.jpg


2006_SLK_350_016.jpg

2006_SLK_350_015d.jpg


Removing Iron Particles out of Mercedes-Benz Ceramiclear Paints
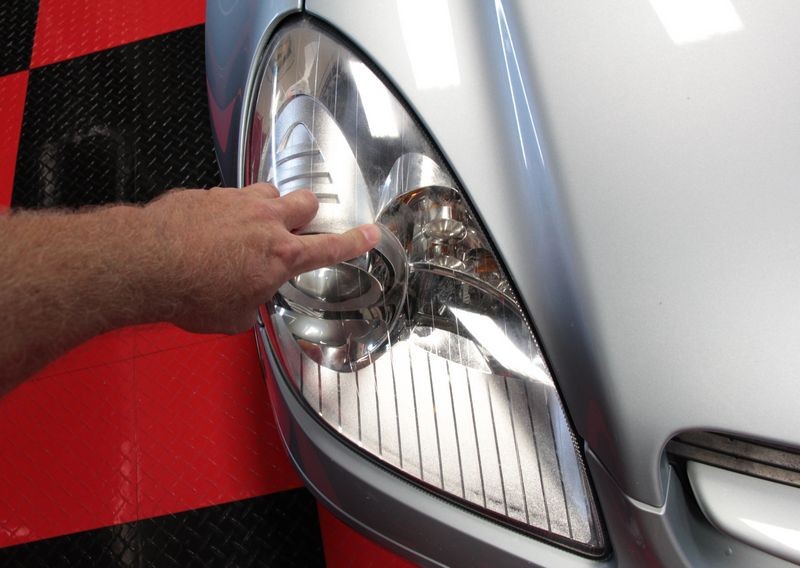
Following the steps outlined in my how-to book, the next thing to do is decontaminate the paint. For this I'm using Auto Finesse Iron Out Iron Remover.

2006_SLK_350_017.jpg


2006_SLK_350_018.jpg


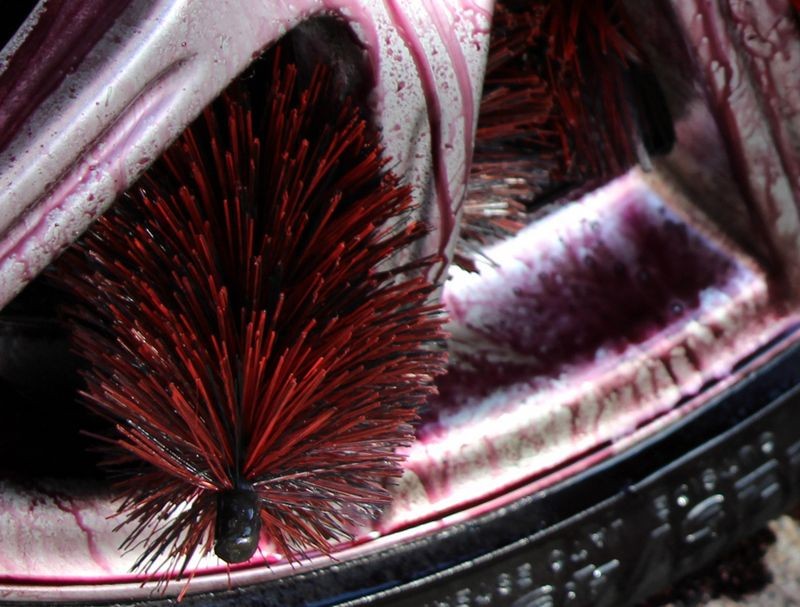
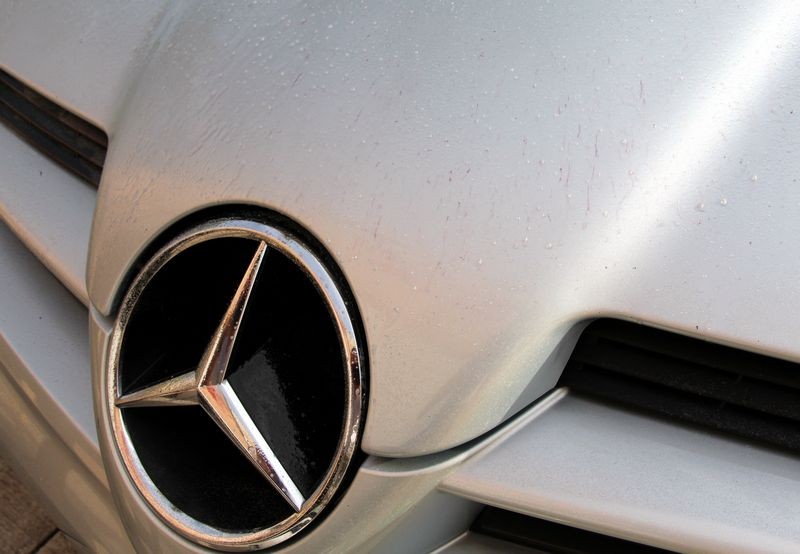
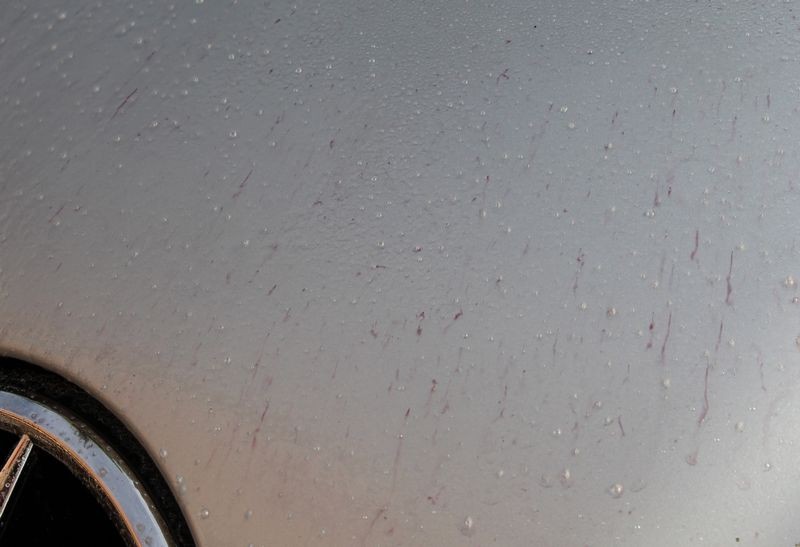
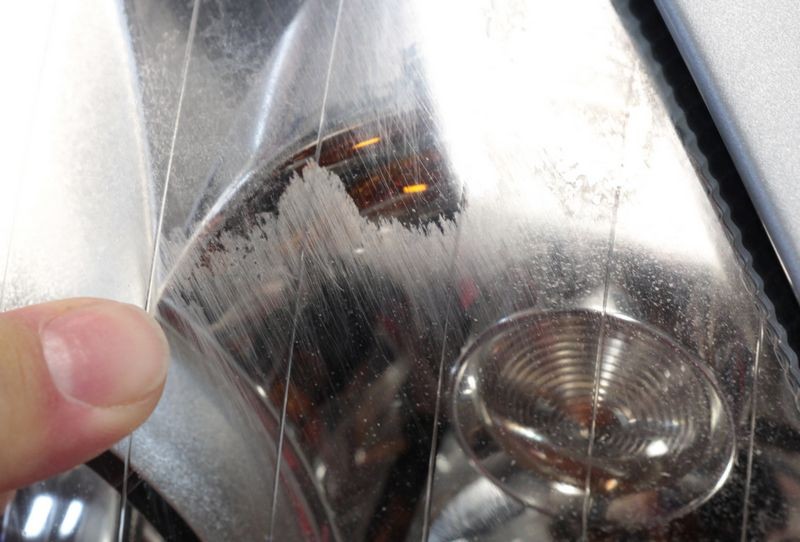
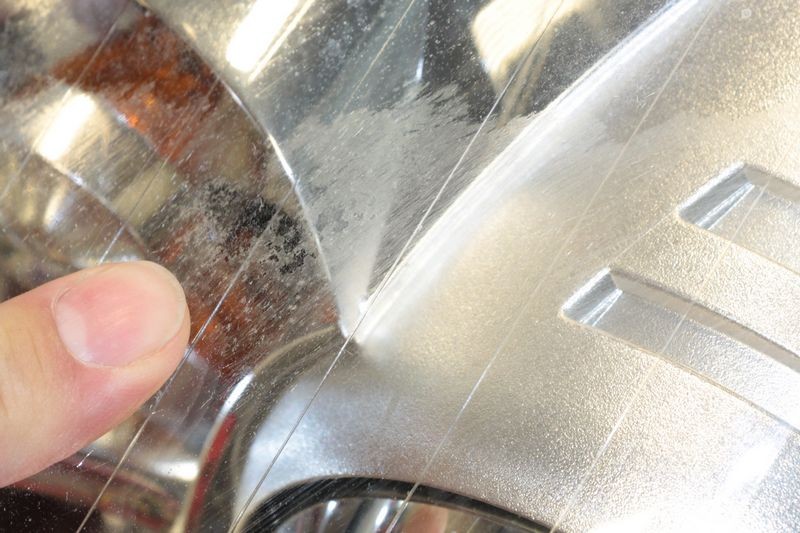
Bleeding-Effect in Mercedes-Benz Ceramiclear Paint

2006_SLK_350_019.jpg


Light Iron Contamination
These pictures show the paint was in fact lightly contaminated with some type of iron particles...

2006_SLK_350_020.jpg


2006_SLK_350_020c.jpg


2006_SLK_350_021.jpg


2006_SLK_350_022.jpg


2006_SLK_350_023.jpg


2006_SLK_350_024.jpg


The BIG PICTURE

Yeah yeah yeah... I know, everyone loves seeing the bleeding-effect when using an Iron Remover because it looks cool. Kind of like how everyone loves seeing water bead-up after it rains on a freshly waxed car.

But here's the deal... while you do want to remove iron particles out of your car's clear coat finish for a number of reasons, in the big picture, this is a process you want to do, (to make sure any iron particles are removed), but in reality... you really don't want to see the bleeding-effect as this means your car's paint was in fact contaminated.

Iron contaminated paint indicates corrosion and deterioration of the clear coat has been taking place and because clear coat paints are THIN this is a bad thing. This is especially true for Ceramiclear paints because the very top layer or shell of a Ceramiclear paint is only around .2 mils for the nano particles of Fumed Silica which provide the scratch resistant characteristics that everyone loves about this type of paint.


Ceramiclear Paints - Be Careful

Here's an excerpt from the above article.

Mike Phillips said:
From Dr. Ghodoussi...
After the "cerami"clear top coat is sprayed, the nano particles of Fumed Silica (SiO2), which are synthetically engineered, migrate to the top 0.2 mils of the clear coat as it is curing.

If you remove this potion of the clear layer of paint, the paint under it will be much softer and will not polish out or react the same way the nano particle portion did or would.
You will at some level have compromised the the finish on the car.

For the same reason you don't want to find iron contamination in a Ceramiclear paint job you also don't want to use aggressive compounds or polishes as they can remove too much of this top shell of fumed silica and expose the underlying softer paint resin.

The fact is...
It would be much better for the health and longevity of your car's paint to NOT see the bleeding-effect as this means your car's paint was not contaminated.


Make sense?


But yeah.... it looks cool even if like the paint on my MB the paint is only lightly contaminated with iron particles.


:)
 
How to wash a car with a foam gun
After allowing the Auto Finesse Iron Out Iron Remover to do it's thing the next step is to wash the car to remove any loose dirt plus the iron particles dissolved by the Auto Finesse Iron Out Iron Remover.

For this step I'm using the Detailer's Half Gallon Foammaster Foam Gun with Detailer's Xtreme Foam Formula Auto Shampoo.


Start at the top just like you would wash normally by spraying the roof down with foam.

2006_SLK_350_025.jpg


Move down the windshield...

2006_SLK_350_026.jpg


And then down the hood...

2006_SLK_350_027.jpg


2006_SLK_350_028.jpg


2006_SLK_350_029.jpg


2006_SLK_350_030.jpg


Foam down one side and work around to the back of the car...

2006_SLK_350_031.jpg


Then foam down the back of the car...

2006_SLK_350_032.jpg


Foam dwells on paint allowing the soap solution to go to work loosening road film and dirt...

2006_SLK_350_033.jpg


2006_SLK_350_034.jpg


2006_SLK_350_035.jpg


Loosen dirt with wash mitt...

Or in this case the new Lake Country Wash Wedge...

The most important thing about using a wash mitt, sponge or brush is to NOT scrub the paint more than what's needed to loosen the bond of any surface dirt so that it can be rinsed off. I cover this in my how-to book also.

2006_SLK_350_036.jpg


2006_SLK_350_037.jpg


2006_SLK_350_038.jpg


2006_SLK_350_039.jpg


2006_SLK_350_040.jpg


And here's the Mercedes-Benz after rinsing and drying using a single Ultimate Guzzler

2006_SLK_350_008.jpg


:)
 
Beautiful work Mike. That Merc was pretty contaminated. Especially the wheels.

I'm sure Stacy was thrilled with the way it turned out. Now the car matches her good looks and and the two of them will surely turn heads. Be careful buddy.
 
Wheel Maskers

Now that the Mercedes-Benz is washed clean and dried, the next thing we're going to do is dress the tires and then cover the wheels and tires with wheel maskers to keep them clean while we machine polish the paint.

I like to dress the tires before placing the wheel maskers over the wheels and tires so the dressing, in this example a permanent coating, can be left to fully dry without being disturbed.

I took the pictures and process from this portion of this show car makeover and turned it into a dedicated article here...

swanicyouth's stellar tip for applying TUFF SHINE Tire Clearcoat


To apply the TUFF SHINE Tire Clearcoat to these low profile tires on our Mercedes-Benz, I borrowed a tip that Steve aka swanicyouth shared in his write-up.

New Tires Tuff Shined !


See post #11 the first sentence.

Quote:
Originally Posted by swanicyouth

The only way to apply TS is with a brush IMO. I use the Carrand Applicator Brush.


After trying numerous methods to apply and work the TUFF SHINE Tire Clearcoat over tire sidewalls and into the grooves and such common on tires his idea gave me the idea to try a house paint type paint brush and I found this to work perfect for this product application.

Just want to give due credit where credit is due... :xyxthumbs:


Another tool I like to use is the Tornador Air Blow Out Gun with the optional Tornador Cone With Brush to really blast the TSTC into all the grooves on the sidewall of most tires and especially around the lugs of my Toyo 40" tall tires on my truck.


Tornador Air Blow Out Gun, TUFF SHINE Tire Clearcoat, 2" paint brush and clean empty lid.

TUFF_SHINE_Tire_Clearcoat_001.jpg


Pour some TUFF SHINE Tire Clearcoat into a clean lid...

TUFF_SHINE_Tire_Clearcoat_002.jpg


Dip end of paint brush bristles into TUFF SHINE Tire Clearcoat
TUFF_SHINE_Tire_Clearcoat_003.jpg


Spread and work over and into tire the TUFF SHINE Tire Clearcoat using the paint brush...

TUFF_SHINE_Tire_Clearcoat_004.jpg


TUFF_SHINE_Tire_Clearcoat_005.jpg


TUFF_SHINE_Tire_Clearcoat_006.jpg


Blast the sidewall of the tire
After allowing the TUFF SHINE Tire Clearcoat to penetrate for a few moments, take a clean microfiber towel and the Tornador Air Blow Out Gun and blow the TUFF SHINE Tire Clearcoat into all the grooves and intricate designs of your tire's sidewall.

TUFF_SHINE_Tire_Clearcoat_007.jpg


Capture any excess splatter using the microfiber towel...

TUFF_SHINE_Tire_Clearcoat_008.jpg


TUFF_SHINE_Tire_Clearcoat_009.jpg


I use the brush bristles on the Air Blow Out Gun to also help work any excess product into tight areas as I'm blasting it...

TUFF_SHINE_Tire_Clearcoat_010.jpg


Here's Frank trying this approach out to the passenger side front tire...

TUFF_SHINE_Tire_Clearcoat_011.jpg


TUFF_SHINE_Tire_Clearcoat_012.jpg


TUFF_SHINE_Tire_Clearcoat_013.jpg


Here's Niki testing out this method...

TUFF_SHINE_Tire_Clearcoat_014.jpg


Steven is one of my co-workers and here he is tacking his turn...

TUFF_SHINE_Tire_Clearcoat_015.jpg


TUFF_SHINE_Tire_Clearcoat_016.jpg


TUFF_SHINE_Tire_Clearcoat_017.jpg


TUFF_SHINE_Tire_Clearcoat_017c.jpg


TUFF_SHINE_Tire_Clearcoat_018.jpg


TUFF_SHINE_Tire_Clearcoat_019.jpg


Clean and store brush
After treating all 4 tires I wiped any excess product out of the brush using the same microfiber towel used to capture excess product. Next I place it in a plastic bag and secure it with a rubber band till the next tire makeover.

TUFF_SHINE_Tire_Clearcoat_020.jpg
 
ok found it.... what you say?? new products?? hmmmmm. i'll stay tuned :)
 
Need to clay...
My co-worker and car buddy Jeff was checking out the Mercedes-Benz after I washed and dried the paint and he said,

"Looks good"

I said the paint is shiny and it does look good but feel it with your hand.


2006_SLK_350_041.jpg


The Baggie Test
He said it felt smooth. So then I asked him to do the "Baggie Test", which he did...


2006_SLK_350_042.jpg


Then he said,

"Wow! Feels rough!"

2006_SLK_350_043.jpg


Headlights need some polishing...
Here's some before shots of the headlights. We're going to use the new All-in-One Headlight Restoration Polish to restore a clear finish.

2006_SLK_350_Headlights_01.jpg


2006_SLK_350_Headlights_02.jpg


2006_SLK_350_Headlights_03.jpg


2006_SLK_350_Headlights_04.jpg


Thursday Night Classes start at 5:00pm
At 5:00pm when we started this project everyone chipped in to help clay the paint, glass and any smooth plastic.

2006_SLK_350_044.jpg


2006_SLK_350_045.jpg


2006_SLK_350_046.jpg


2006_SLK_350_047.jpg


2006_SLK_350_048.jpg


Here's a shot of Louie's clay after claying a portion of the hood, the clay doesn't show a lot of contaminants by way of color but as rough as the paint felt it could be clear overspray paint for all we know.

2006_SLK_350_050.jpg


Tape-off and Cover-up
Next we used 3M Green Painter's Tape and 1/4" Blue Vinyl Tape to tape-off the car...

2006_SLK_350_051.jpg


2006_SLK_350_052.jpg


Test Spot
I asked Robert to do the Test Spot using Wolfgang Total Swirl Remover with a Tangerine Hydro-Tech Polishing pad on the Flex PE14.

2006_SLK_350_053.jpg


2006_SLK_350_054.jpg


Inspecting with a Swirl Finder Light
The results looked phenomenal but the pant looked good to start with.

2006_SLK_350_055.jpg


Second Test Spot
I did the second Test Spot, which we should have done the first time, (my fault), only this time I used the same type of pad but went less aggressive with my product and tool. For this test spot I used a 5.5" Tangerine Hydro-Tech Flat pad on the Porter Cable 7424XP and Wolfgang Finishing Glaze.

This comb removed whatever light swirls, scratches, oxidation there was on the paint so this is the combo we used over the rest of the car. It's kind of nice to have a car where the paint isn't completely filled with deep swirls and scratches for once.


2006_SLK_350_078.jpg


:)
 
Buffing out the Ceramiclear finish
After we dialed-in the pad and product to be used I like to let the guys use whichever tool they like the most or want to to test out if they've never used a particular model before.

Here's Louie using the Porter Cable

2006_SLK_350_056.jpg


Working on the roof is Mile using a Rupes Bigfoot 21 Orbital Polisher

2006_SLK_350_057.jpg


Headlight Restoration
Buffing out the headlights is Robert Diterlizzi using a Flex PE14 with a thin PFW and the new All-In-One Headlight Restoration Polish

2006_SLK_350_058.jpg


In the back working on the passenger side hood is Matt using a Griot's Garage DA Polisher...

2006_SLK_350_059.jpg


Teamwork!

2006_SLK_350_060.jpg


Glass Polishing - Removing Road Film & Water Spots
The glass on this car "looked" clean but when you feel the glass with your bare hand it feels grungy or rough and this is after I washed it really well and just for the heck of it I also used the Auto Finesse Iron Out on the glass.

For this I'm using Pinnacle GlassWorks with a Hydro-Tech Tangerine Pad on a Meguiar's G110v2

2006_SLK_350_061.jpg


Here's Miles machine polishing the door using the Rupes Bigfoot 21

2006_SLK_350_062.jpg


Rupes Polishers are popular at our Thursday night projects
Here you can see Tim machine polishing the driver's side door using the Rupes. The most common comment I hear about the Rupes from the guys at our Thursday nigh classes are they like these tools because the are smooth running and low vibration.

2006_SLK_350_063.jpg


Wolfgang Exterior Trim Sealant
Louie's using a microfiber glove to apply Wolfgang Exterior Trim Sealant to the black plastic inside the Mercedes-Benz hood emblem.

2006_SLK_350_064.jpg


Gloss comes from smoothness & metallic flake pops when the clear coat is clear
Here you can the Wolfgang Finishing Glaze has been wiped off the hood and the paint is now very clear and very glossy which is the goal when it comes to working on clear coats. Especially if you want the metallic flake to POP!

2006_SLK_350_065.jpg


Rupes on the back fender...
Here's Niki machine polishing the paint on the rear of the car while Frank is working on the back of the trunk lid. Niki just went through my detailing boot camp class at the end of September.

2006_SLK_350_066.jpg


Looking good!

2006_SLK_350_067.jpg


Niki buffing out the side mirrors using a Rupes 21 Bigfoot Orbital Polisher

2006_SLK_350_068.jpg


Detailer's Coating Prep Polish
In the pictures below we're now using Detailer's Coating Prep Polish of soft gold Jewelling pads on dual action polishers.


Miles machine applying Detailer's Paint Coating Prep...

2006_SLK_350_076.jpg


2006_SLK_350_069.jpg


2006_SLK_350_070.jpg


My buddy Jay...
Yenko Blazer Jay joined us and here he's talking to Frank while they both wipe the Detailer's Coating Prep Polish off the body panels. Jay is also our in-house expert when it comes to applying new graphics. Check Jay's work out here...

24' Pro-Line Boat - Extreme Marine Makeover - Oxidation Removal


2006_SLK_350_071.jpg


De-Taping
Here were starting to de-tape the car as we continue to wipe the paint clean...

2006_SLK_350_072.jpg


2006_SLK_350_073.jpg


2006_SLK_350_074.jpg


New Guy from Jupiter
I forget this guy's name but he was doing a "Will Call" to pick up some detailer products and of course we invited him to help out. He had a lot of fun so I'm sure we'll see him some more in the future.

2006_SLK_350_075.jpg


Ready for the LSP
The car has been polished and prepped and is now read for the LSP

2006_SLK_350_077.jpg


:)
 
Mike,
do you have any before/after shots you could line up next to each other?
Looks excellent, good job TEAM! :-)
/Daniel
 
Mike,
do you have any before/after shots you could line up next to each other?
Looks excellent, good job TEAM! :-)
/Daniel


Kind of...

Here's before, this picture was taken after decontaminating the paint with Auto Finesse Iron Out and then washing with Detailer's Xtreme Foam Formula Soap and drying with a Guzzler Waffle Weave towel.

So this is before claying and before polishing and the LSP. This picture can be found at the bottom of post #3. Note that I did write in post #7 that my co-worker Jeff noted the paint looked very shiny in the shot below but when he felt it with the baggie test the paint felt very rough. There were very few swirls or other paint defects in this car which is a GOOD thing as I don't think in the last 50,000 miles it's seen much action in the way of paint detailing. The last owner was in their 70's.


2006_SLK_350_008.jpg


Here's after wipe off of the LSP...

Now the paint is completely cleaned, polished, smooth and clear. It's just not a HUGE visual difference from where it started but if you could feel how glassy and slick the paint feels now you would be amazed.

2006_SLK_350_086.jpg


:)
 
While going through the pictures taken for this project I found one more "before" picture.

This would be after washing but before claying and polishing. While the paint is shiny the car looks lifeless... there's no bling so to speak...


2006_SLK_350_099c.jpg


And when I get back from SEMA I'll be doing an extreme makeover on the wheels and brake calipers, so stay tuned....


2006_SLK_350_100.jpg


2006_SLK_350_101.jpg


:)
 
Looks like the German brake dust got the better of those wheels. Can't wait to see them redone.


That's why for this project at this time we didn't apply anything to the wheels. Going to be very busy after SEMA showing all the new cool tools and products but I am going to squeeze in a re-paint on these wheels, new chrome lug nuts and re-paint the calipers.

Will probably detail the wheel well compartments too...


Then stick a fork in this car and call it done.


:D
 
Looks like the team got the job done. Looking forward to the refinished wheels. What color are you considering for the calipers?
 
Awesome work and great write up, thanks for sharing these detail happy hours with such in depth feedback Mike.
 
Back
Top