Bigfoot
New member
- Nov 22, 2006
- 652
- 0
This car was done on 10/01/08, but due to some internet and resting issues it couldn't be posted until today. This car belongs to a young retired Navy veteran who is a very good family friend, almost like family and who is having a maxilofacial surgery next Wednesday. The car sleeps outside 24/7 and has never been polised or waxed since new. I just started taking care of this one a few months back and it has just been getting easier to clean, but also a little tricky. The car has a lot of scratches and dents, which will be taken care of pretty soon and makes the detail a little challenge. Also she usually ries with her mom and her 2 "monsters", her grandfather(WWII Veteran) and her uncle (mentally challenged), and they both pass gas inside all the time Not all that fun, right? LOL Anyways, we decided to tacke it before her surgery so that way it's protected from the elemnts while she recovers. I wanted to do a full detail, but due to time constrains, I had to do an AIO and sealant, rather than wax. Here's my process(you will read about some products you might never heard before, but they're sold widely here in Puerto Rico):
I started with the wheel using Doctor Mecanico APC full strenght on the wheels and wheel wells.
WW scrubed using a cheap sponge
Tired scrubed using Meguiars Tire Brush
Tires were dressed with Cristal Untouchable Wet Tire Finish(aerosol)
WW were dressed with HyperDressing 3:1
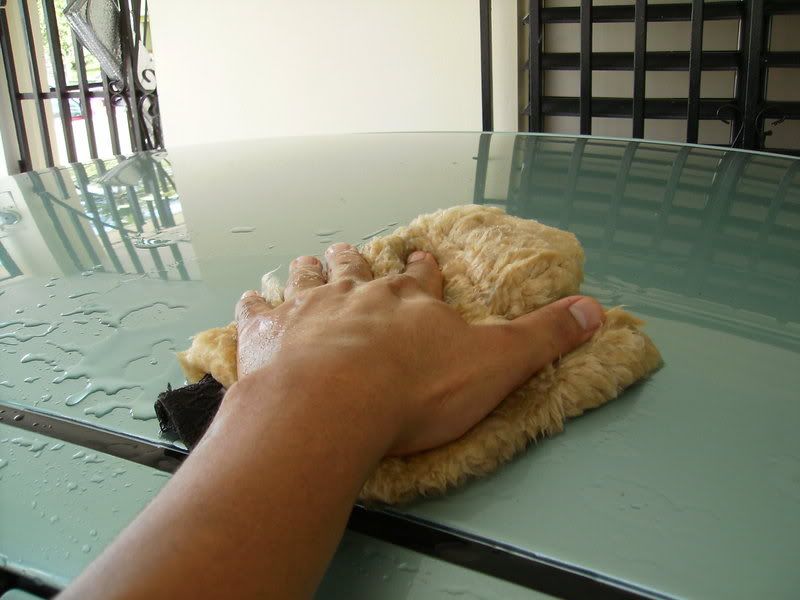
Washed with ONR and sheepskin
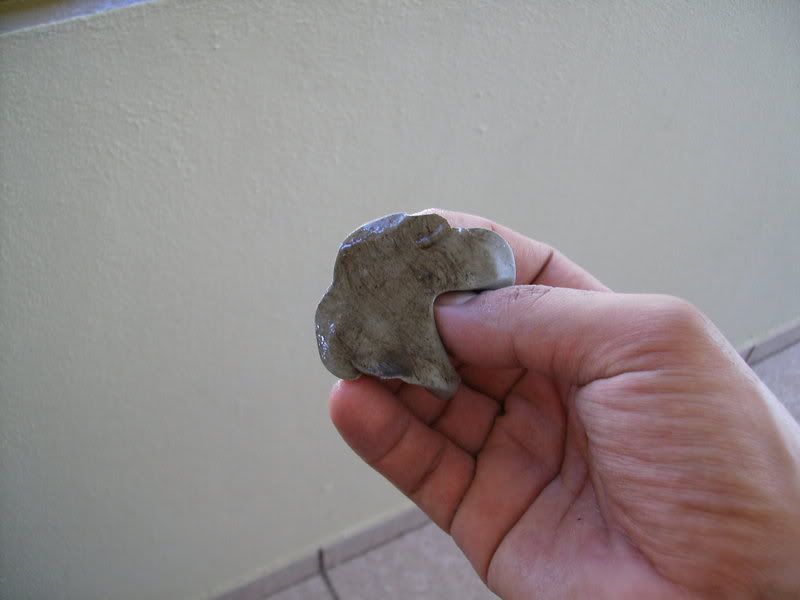
Clayed with Rightlooks Fine Clay for top and upper side panels, and Sonus grey for lower and bottom panels(claying was done while washing)
Dried using Absorber
Polished with PC Danase White pad and OPS
Buffed with Danase Buff Towels
LSP of choice was Danase Paint Sealant
Interior was followed with the following:
Vacuumed with my brand-spanking-new Ridgid WD4050
Plastics were done with Meguiars Quick Interior Detailer and a cheap MF
Carpets brushed down with Meguiars Carpet Brush
Now, onto the pics! you can see in here that the car had some bird sh!t sitting for God-knows-how long and was toasted into the CC
This car was done on 10/01/08, but due to some internet and resting issues it couldn't be posted until today. This car belongs to a young retired Navy veteran who is a very good family friend, almost like family and who is having a maxilofacial surgery next Wednesday. The car sleeps outside 24/7 and has never been polised or waxed since new. I just started taking care of this one a few months back and it has just been getting easier to clean, but also a little tricky. The car has a lot of scratches and dents, which will be taken care of pretty soon and makes the detail a little challenge. Also she usually ries with her mom and her 2 "monsters", her grandfather(WWII Veteran) and her uncle (mentally challenged), and they both pass gas inside all the time Not all that fun, right? LOL Anyways, we decided to tacke it before her surgery so that way it's protected from the elemnts while she recovers. I wanted to do a full detail, but due to time constrains, I had to do an AIO and sealant, rather than wax. Here's my process(you will read about some products you might never heard before, but they're sold widely here in Puerto Rico):
I started with the wheel using Doctor Mecanico APC full strenght on the wheels and wheel wells.
WW scrubed using a cheap sponge
Tired scrubed using Meguiars Tire Brush
Tires were dressed with Cristal Untouchable Wet Tire Finish(aerosol)
WW were dressed with HyperDressing 3:1
Washed with ONR and sheepskin
Clayed with Rightlooks Fine Clay for top and upper side panels, and Sonus grey for lower and bottom panels(claying was done while washing)
Dried using Absorber
Polished with PC Danase White pad and OPS
Buffed with Danase Buff Towels
LSP of choice was Danase Paint Sealant
Interior was followed with the following:
Vacuumed with my brand-spanking-new Ridgid WD4050
Plastics were done with Meguiars Quick Interior Detailer and a cheap MF
Carpets brushed down with Meguiars Carpet Brush
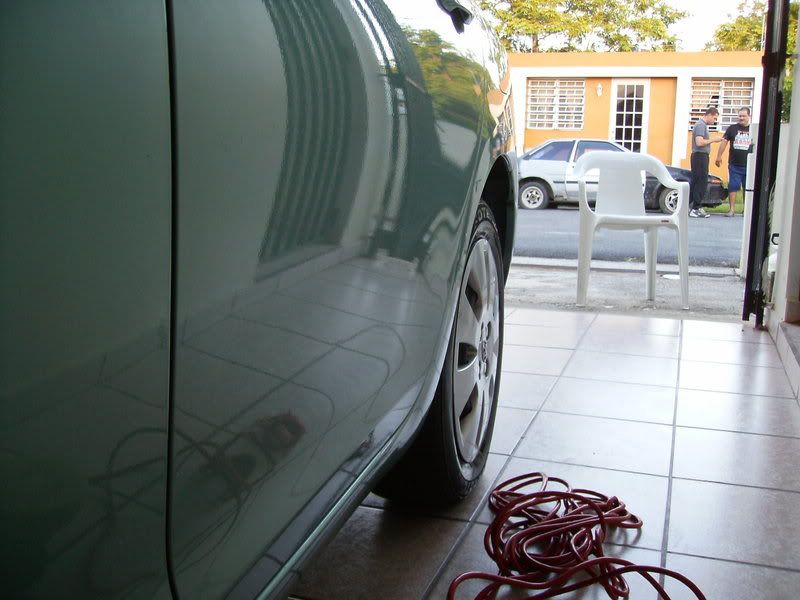
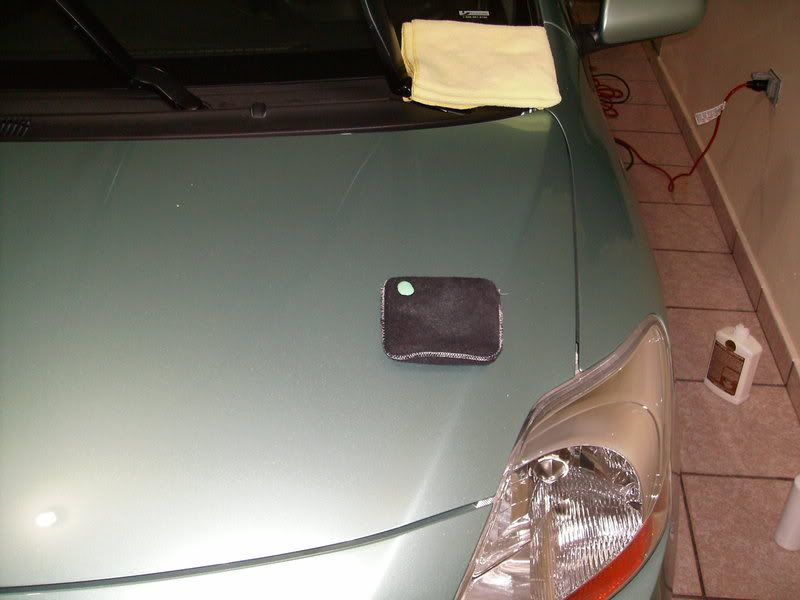
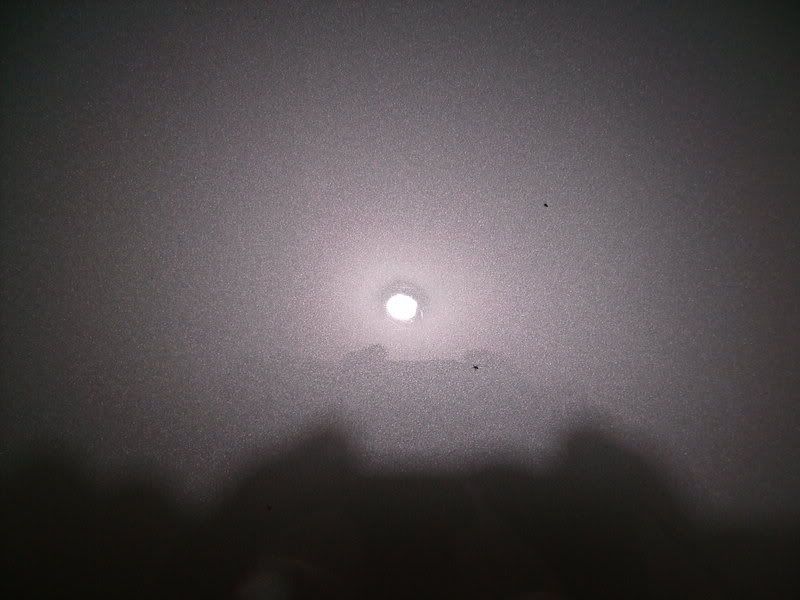
Now, onto the pics! you can see in here that the car had some bird sh!t sitting for God-knows-how long and was toasted into the CC
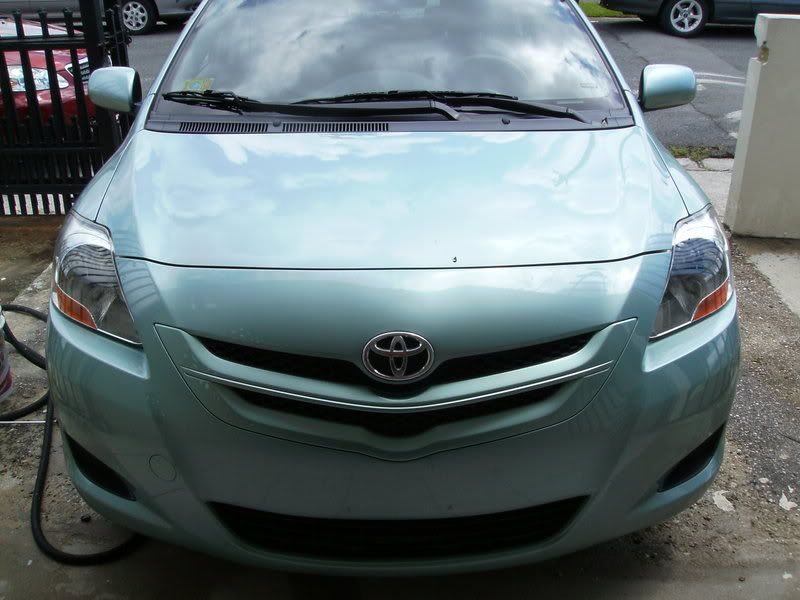
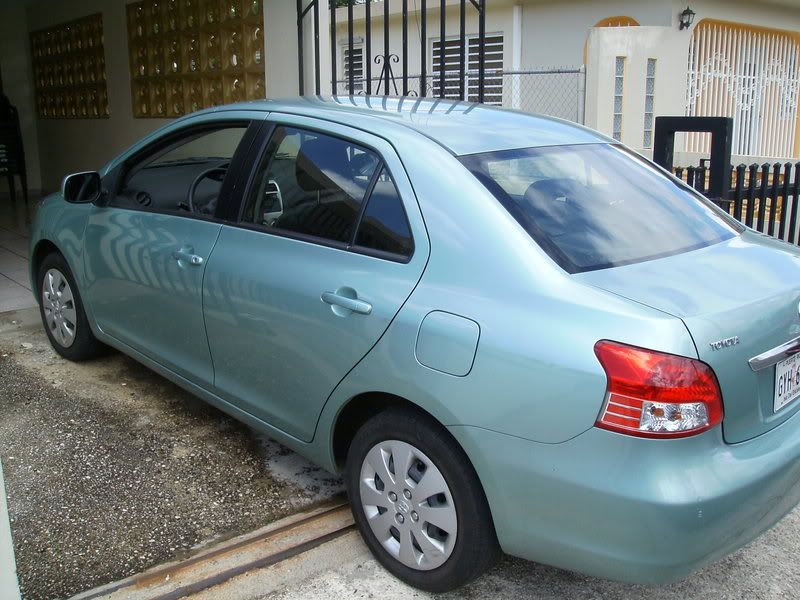
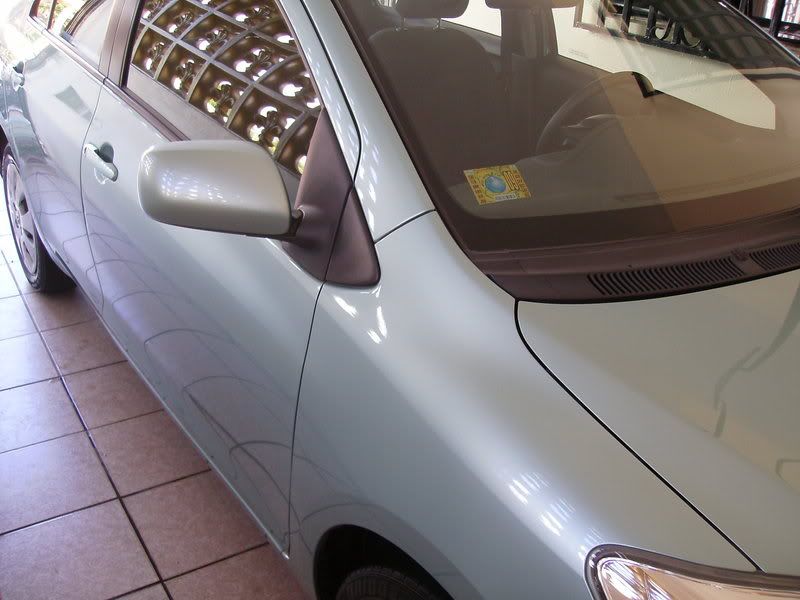
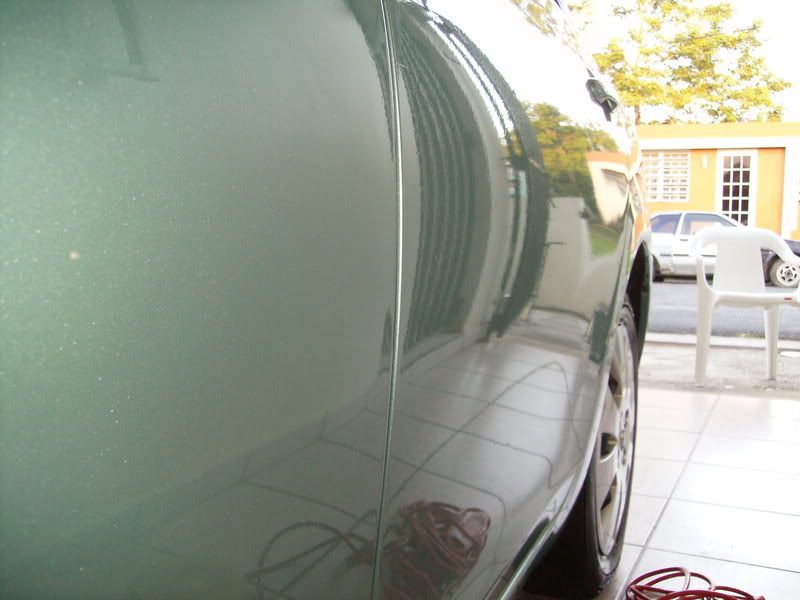
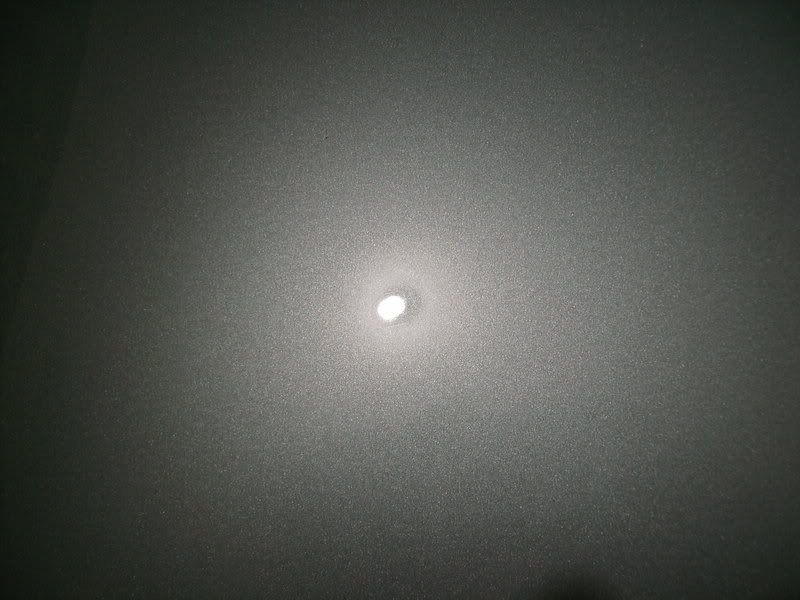
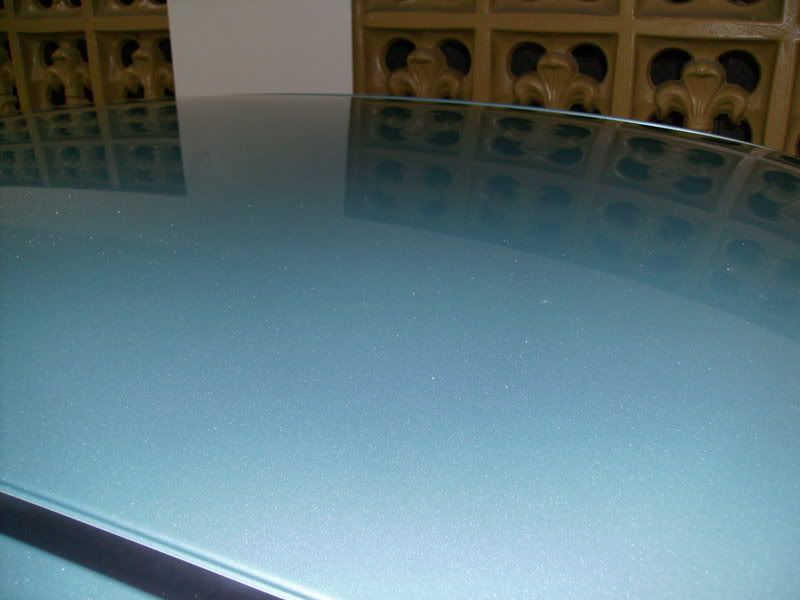
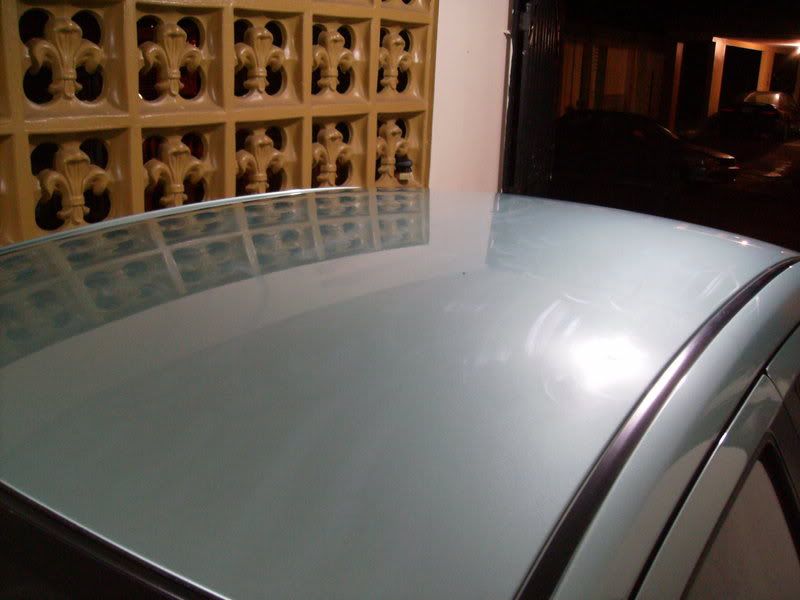
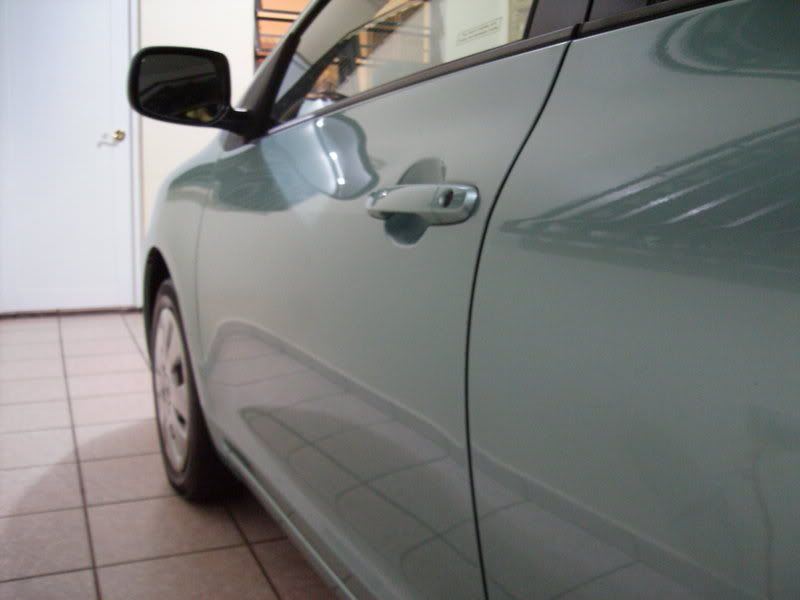
There's some shine in there, and maybe you can see some weird soot right on the middle of the roof that was taken out with the clay

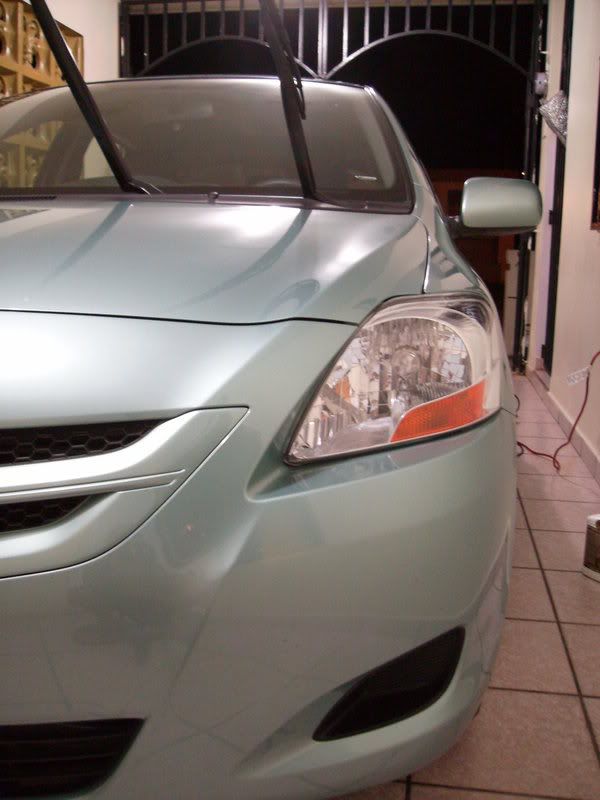
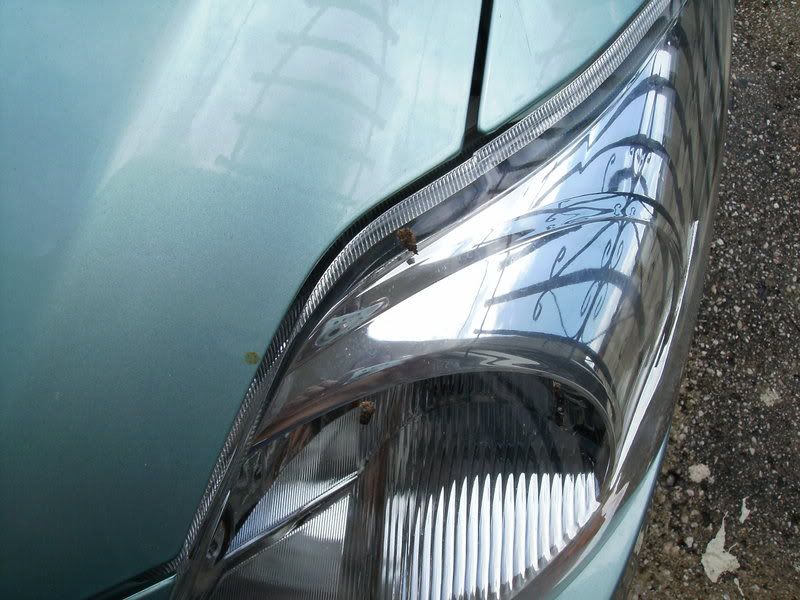
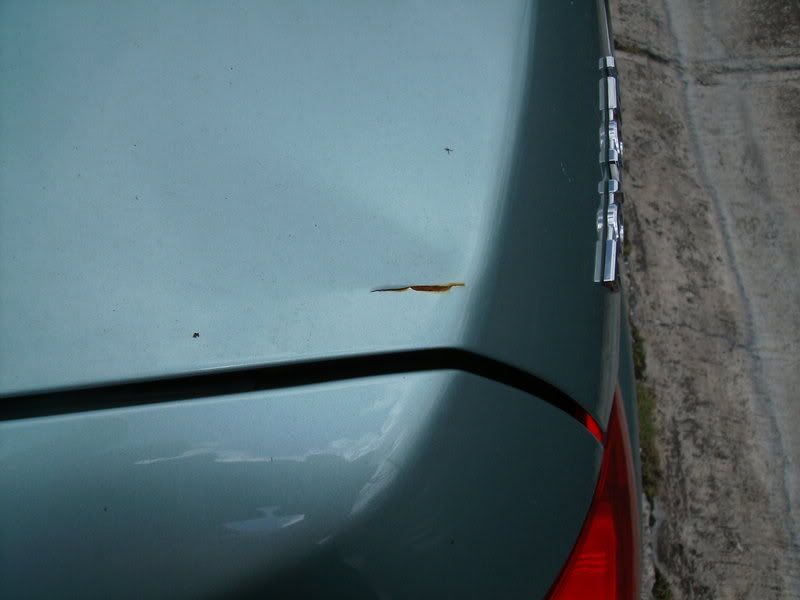
The worst dent the car has right now(as stated before, this will be taken car of soon)
And the interior which was pretty bad, despite I vacuumed it not long ago
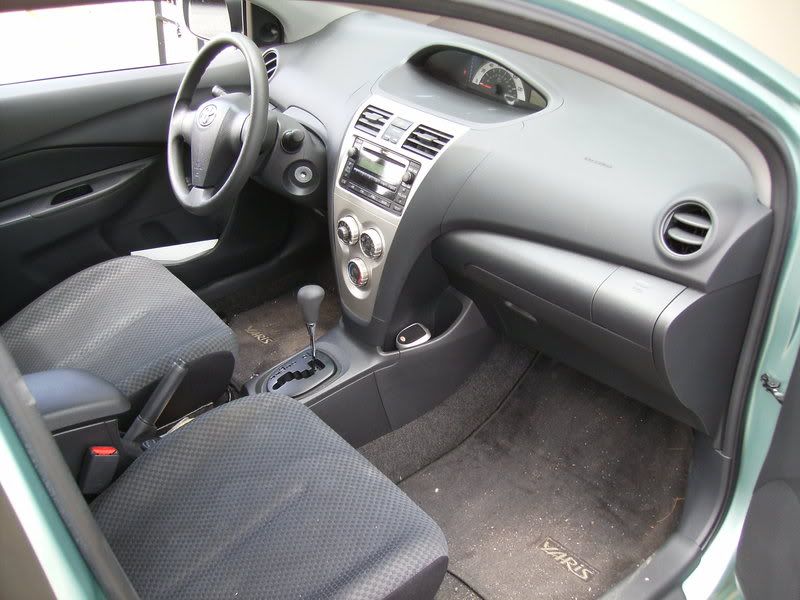
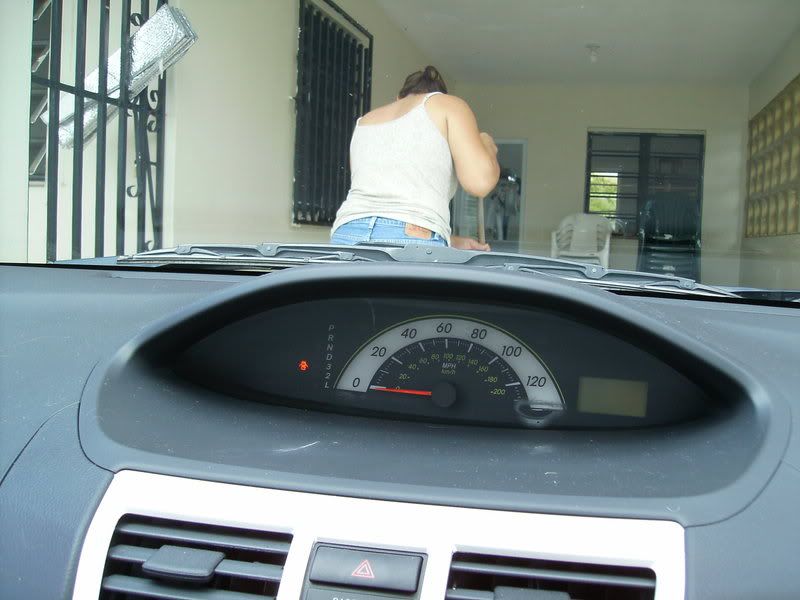
This pic is of the dash, which was not bad, but looking at how to remove that weird spot on the plexy of the ODO(BTW, that's the owner right there)
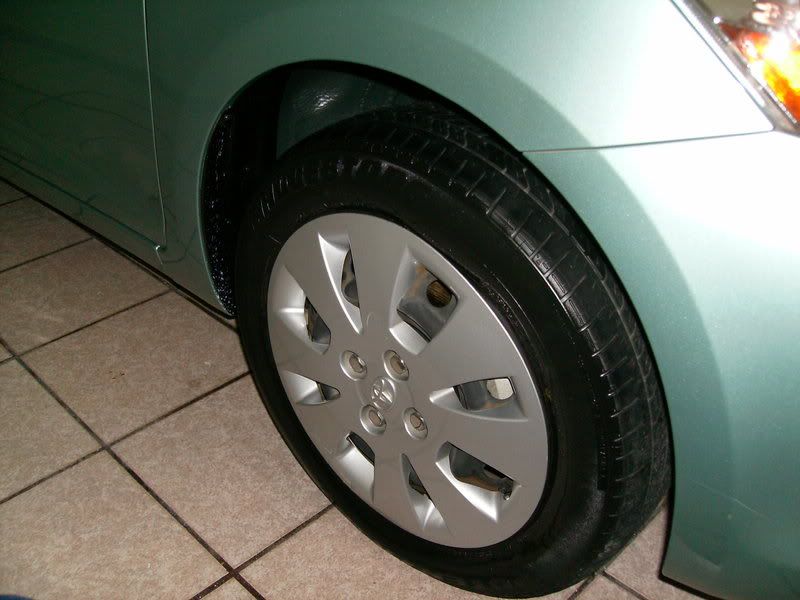
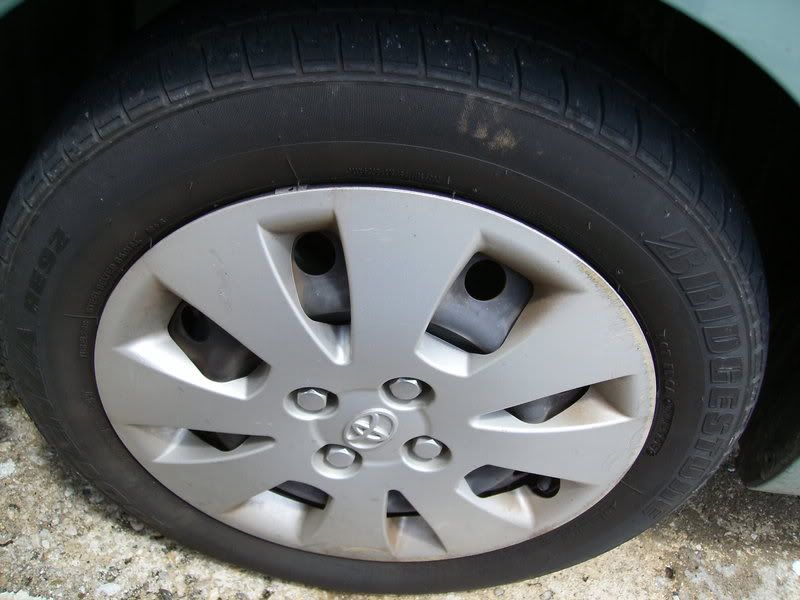
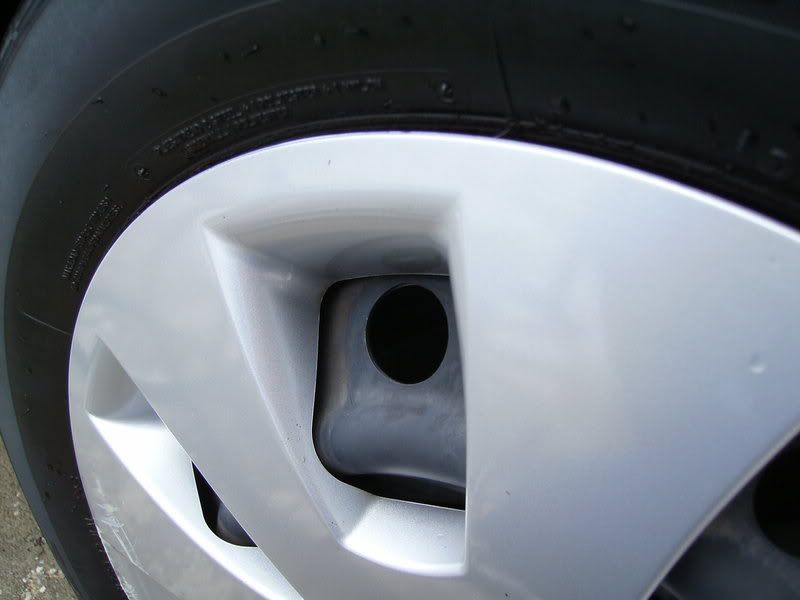
Tire done, but not dressed yet
I started with the wheel using Doctor Mecanico APC full strenght on the wheels and wheel wells.
WW scrubed using a cheap sponge
Tired scrubed using Meguiars Tire Brush
Tires were dressed with Cristal Untouchable Wet Tire Finish(aerosol)
WW were dressed with HyperDressing 3:1
Washed with ONR and sheepskin
Clayed with Rightlooks Fine Clay for top and upper side panels, and Sonus grey for lower and bottom panels(claying was done while washing)
Dried using Absorber
Polished with PC Danase White pad and OPS
Buffed with Danase Buff Towels
LSP of choice was Danase Paint Sealant
Interior was followed with the following:
Vacuumed with my brand-spanking-new Ridgid WD4050
Plastics were done with Meguiars Quick Interior Detailer and a cheap MF
Carpets brushed down with Meguiars Carpet Brush
Now, onto the pics! you can see in here that the car had some bird sh!t sitting for God-knows-how long and was toasted into the CC
This car was done on 10/01/08, but due to some internet and resting issues it couldn't be posted until today. This car belongs to a young retired Navy veteran who is a very good family friend, almost like family and who is having a maxilofacial surgery next Wednesday. The car sleeps outside 24/7 and has never been polised or waxed since new. I just started taking care of this one a few months back and it has just been getting easier to clean, but also a little tricky. The car has a lot of scratches and dents, which will be taken care of pretty soon and makes the detail a little challenge. Also she usually ries with her mom and her 2 "monsters", her grandfather(WWII Veteran) and her uncle (mentally challenged), and they both pass gas inside all the time Not all that fun, right? LOL Anyways, we decided to tacke it before her surgery so that way it's protected from the elemnts while she recovers. I wanted to do a full detail, but due to time constrains, I had to do an AIO and sealant, rather than wax. Here's my process(you will read about some products you might never heard before, but they're sold widely here in Puerto Rico):
I started with the wheel using Doctor Mecanico APC full strenght on the wheels and wheel wells.
WW scrubed using a cheap sponge
Tired scrubed using Meguiars Tire Brush
Tires were dressed with Cristal Untouchable Wet Tire Finish(aerosol)
WW were dressed with HyperDressing 3:1
Washed with ONR and sheepskin
Clayed with Rightlooks Fine Clay for top and upper side panels, and Sonus grey for lower and bottom panels(claying was done while washing)
Dried using Absorber
Polished with PC Danase White pad and OPS
Buffed with Danase Buff Towels
LSP of choice was Danase Paint Sealant
Interior was followed with the following:
Vacuumed with my brand-spanking-new Ridgid WD4050
Plastics were done with Meguiars Quick Interior Detailer and a cheap MF
Carpets brushed down with Meguiars Carpet Brush
Now, onto the pics! you can see in here that the car had some bird sh!t sitting for God-knows-how long and was toasted into the CC
There's some shine in there, and maybe you can see some weird soot right on the middle of the roof that was taken out with the clay
The worst dent the car has right now(as stated before, this will be taken car of soon)
And the interior which was pretty bad, despite I vacuumed it not long ago
This pic is of the dash, which was not bad, but looking at how to remove that weird spot on the plexy of the ODO(BTW, that's the owner right there)
Tire done, but not dressed yet