LMAutoDetailing
New member
- Jul 5, 2011
- 56
- 0
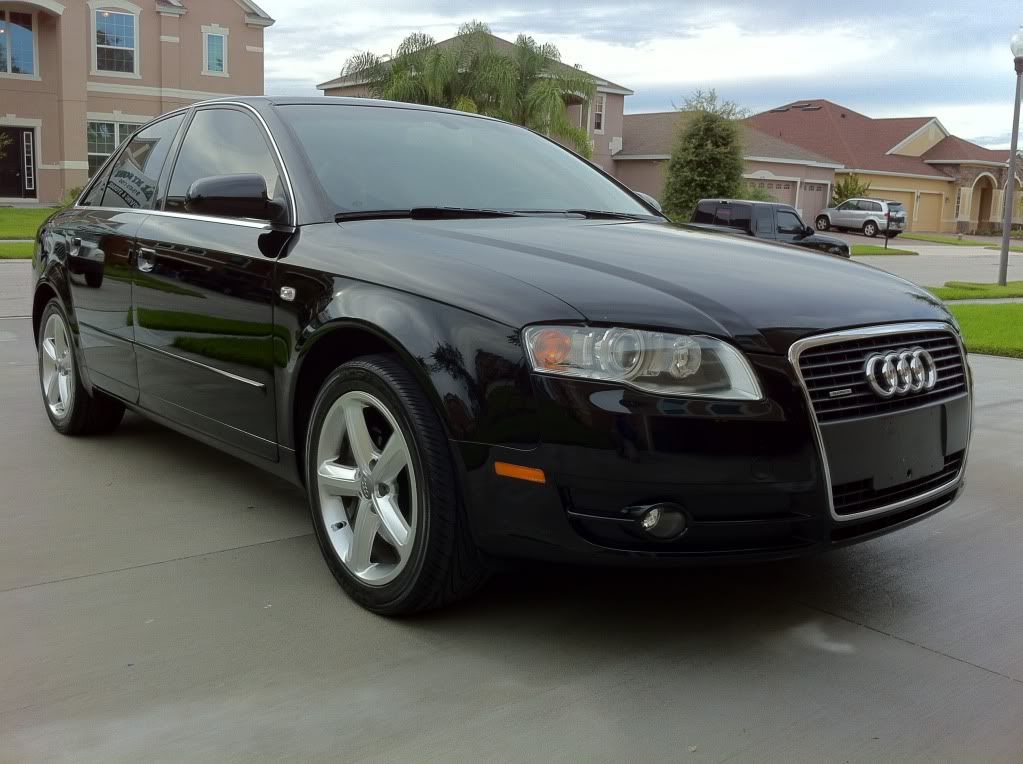
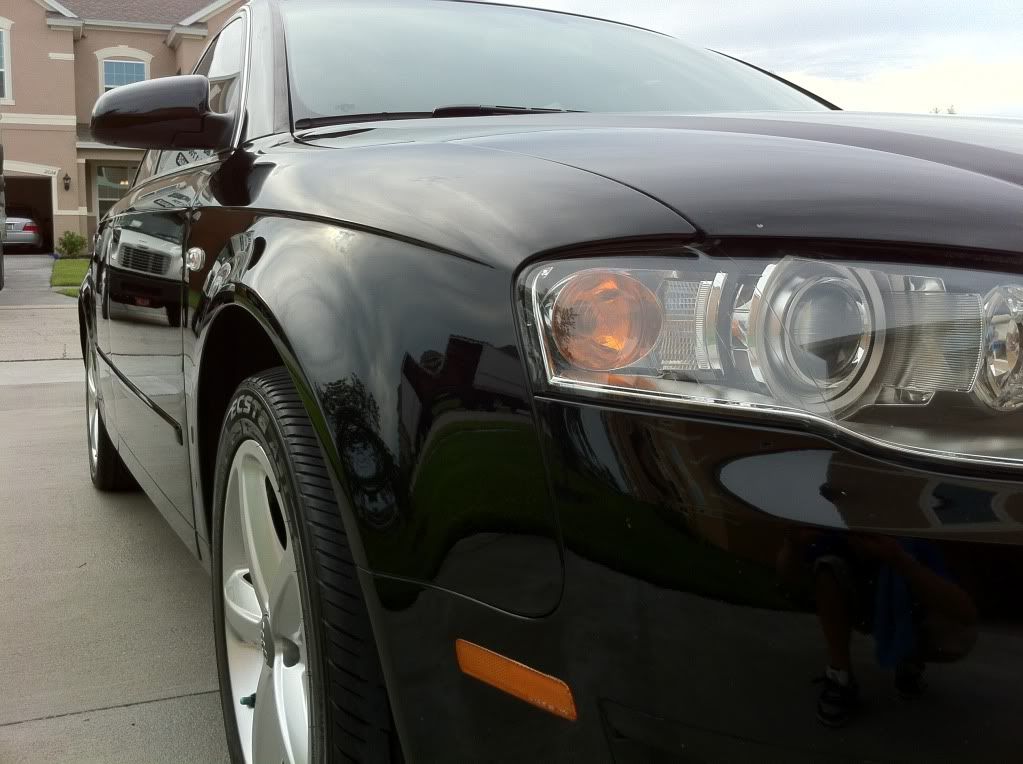
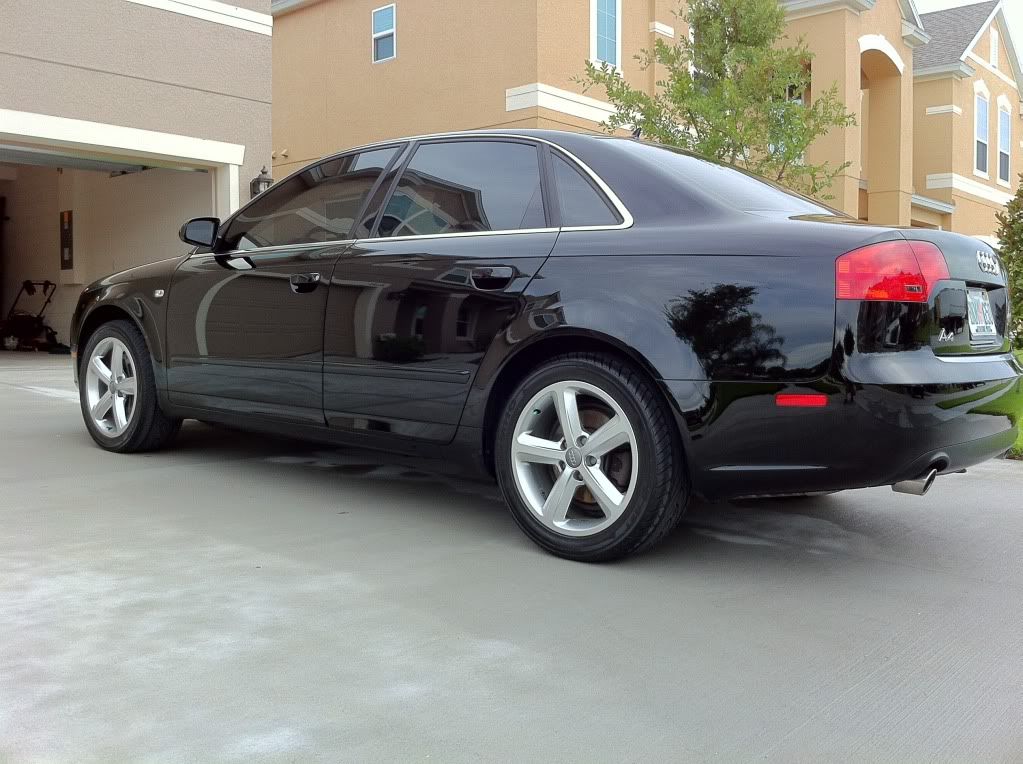
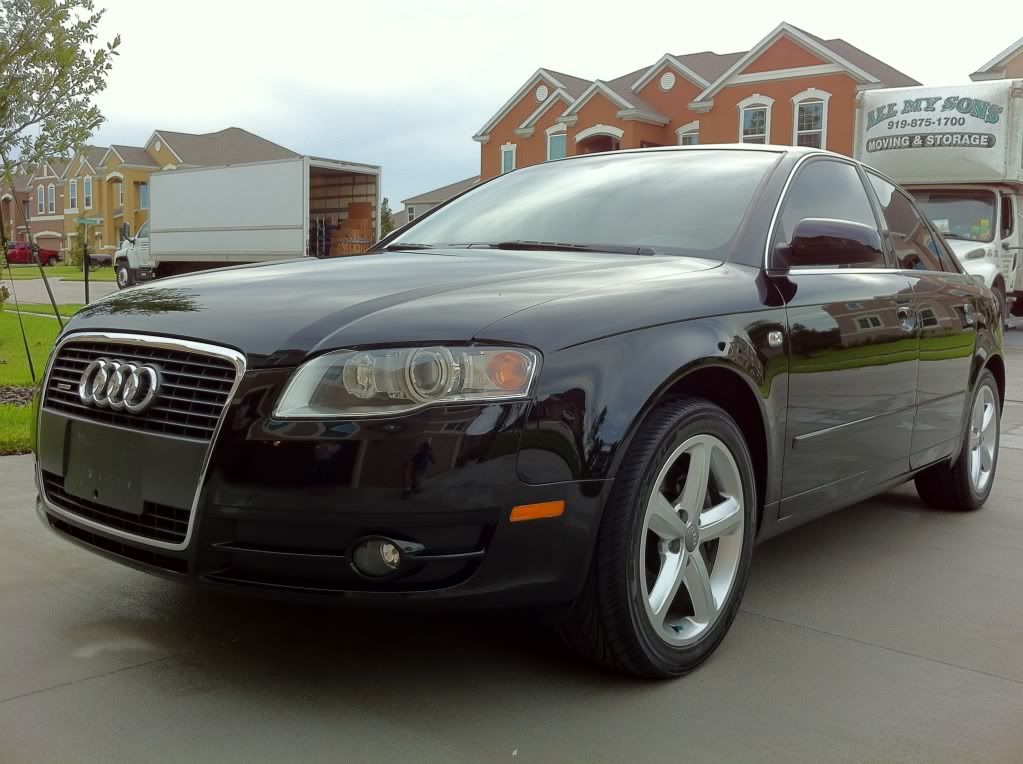
2008 Audi A4 Full Correction
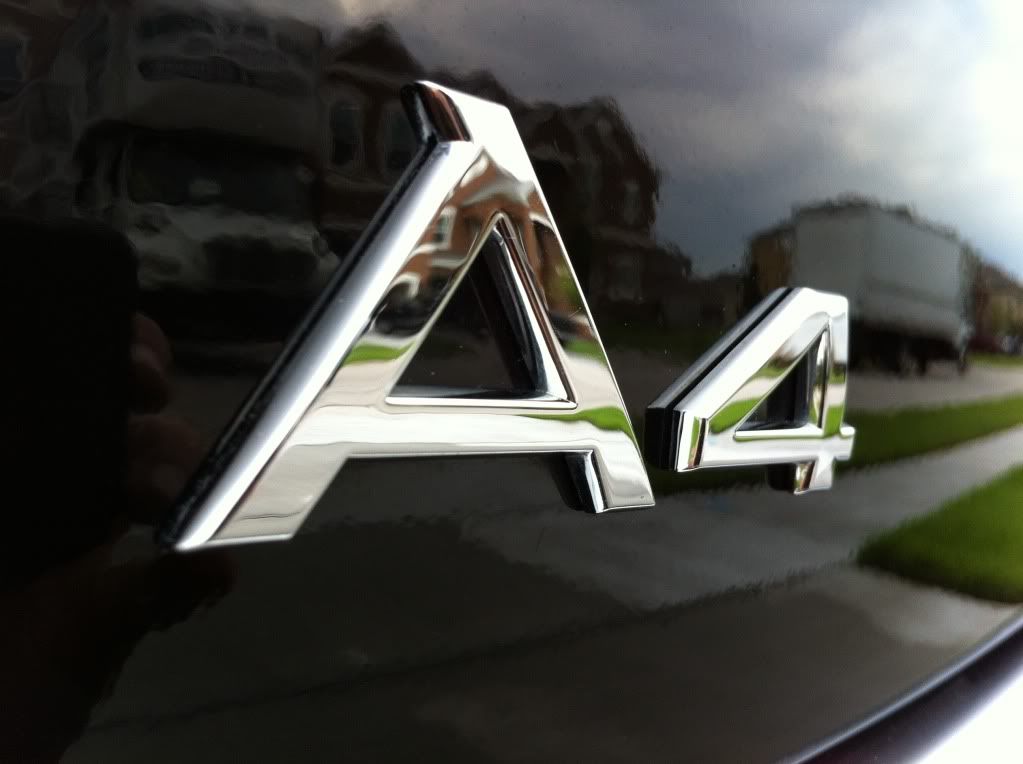
Stephan (LuxuryMobile) was contacted by a client with an 2008 Audi A4 that had been delivered to Orlando by a car transportation service. During the course of transporting it down, the vehicle was exposed to some type of element that left etching in a few spots, then on top of that, the service decided to perform a "wash" on the car which left some pretty servere swirl marks in several areas, especially the hood and trunk, and several deep scratches on the vehicle. The owner himself is knowledgable about detailing and wanted us to correct the inflicted clear coat damage and then he would perform Dr. ColorChip on the severely roadrashed hood/front bumper (love bug damage) and OptiCoat the vehicle on his own. He was also kind enough to have to vehicle washed & clay barred prior to us arriving because we had had prexamined the vehicle about a month prior to estimate 8-10 of worktime (4-5 hours between 2 men) would be necessary to fully correct the vehicle, not including any prep work such as a wash or claying. All photography captured with my iPhone4.
BEFORES:
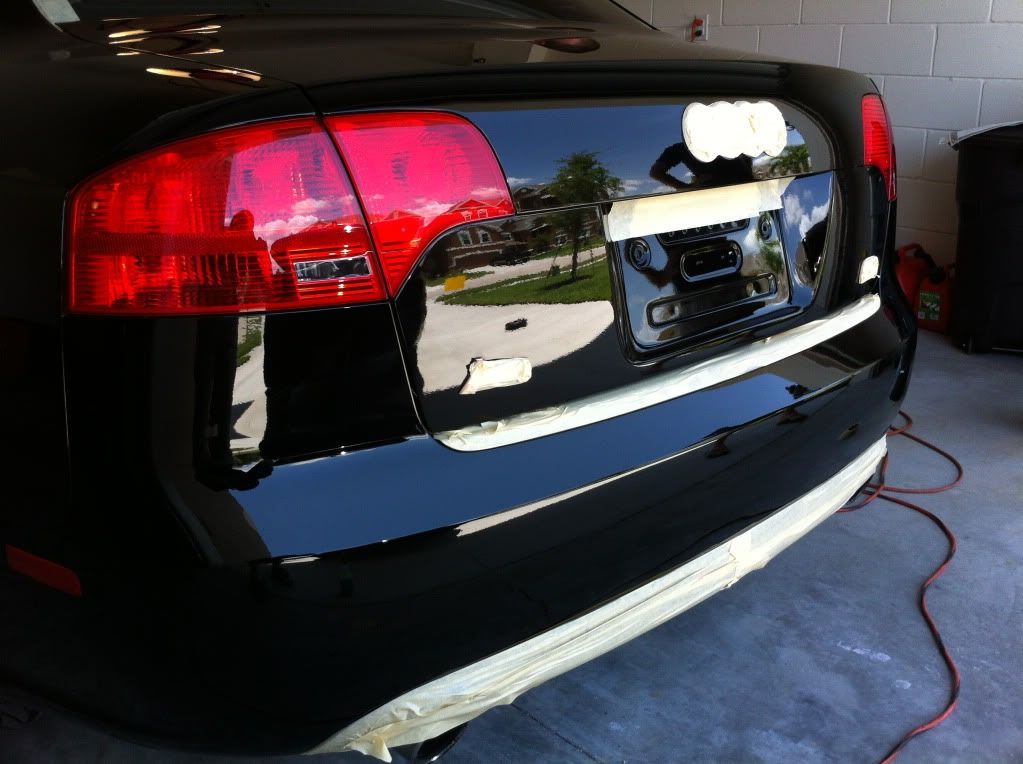
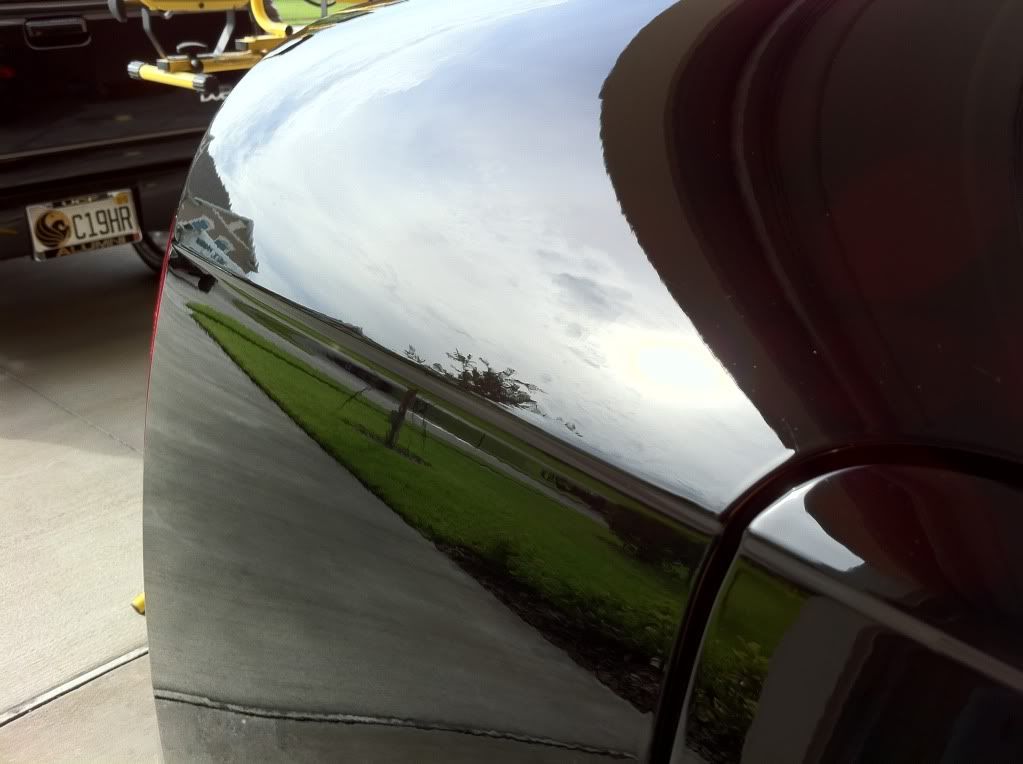
Trunk:
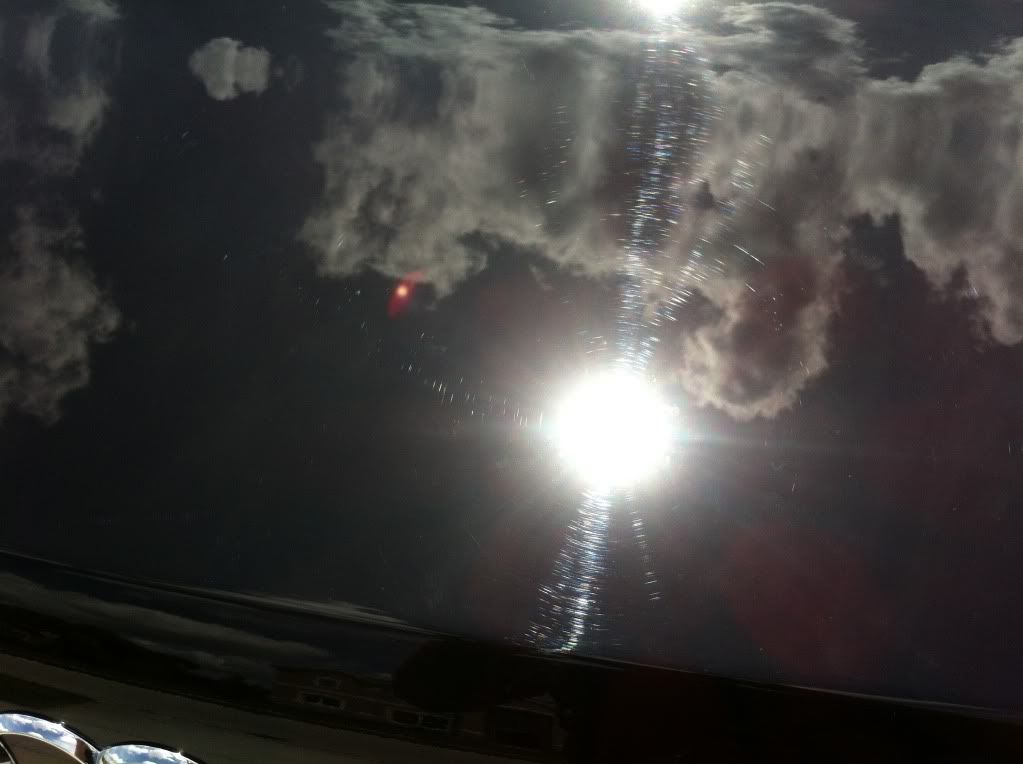

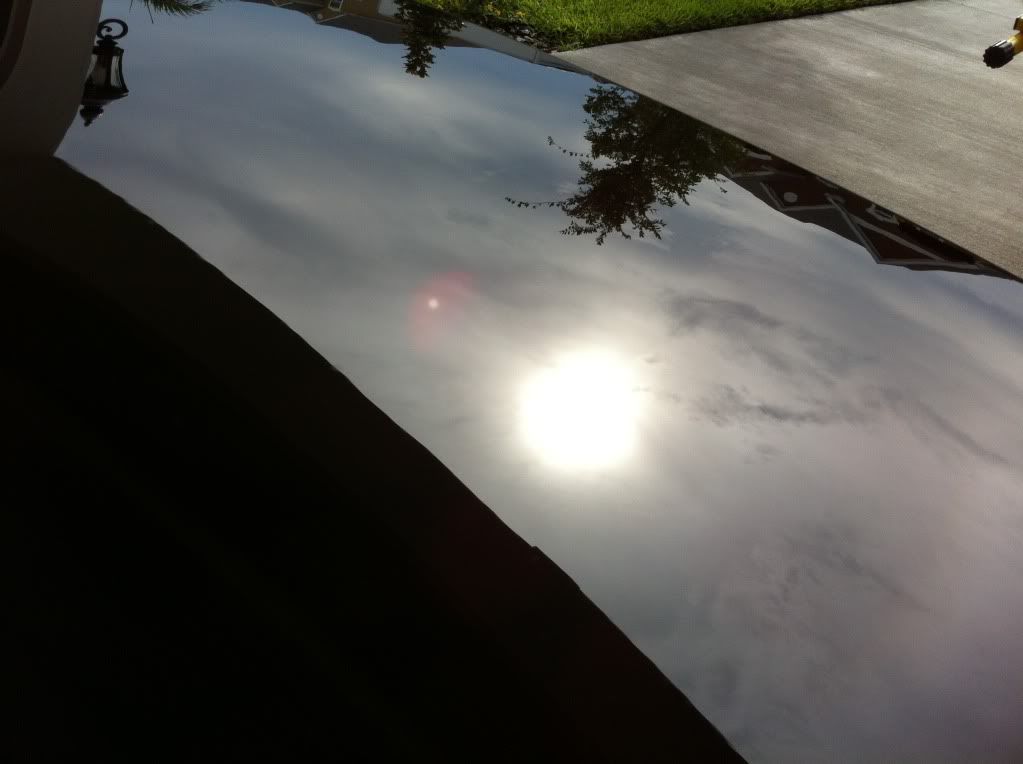
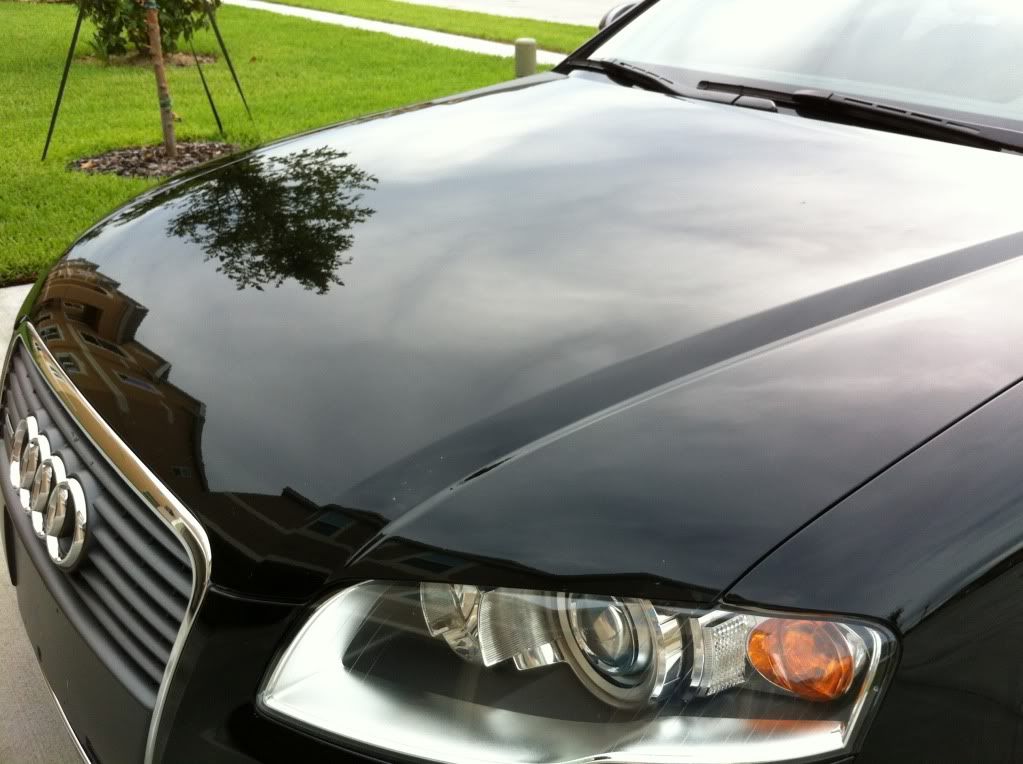
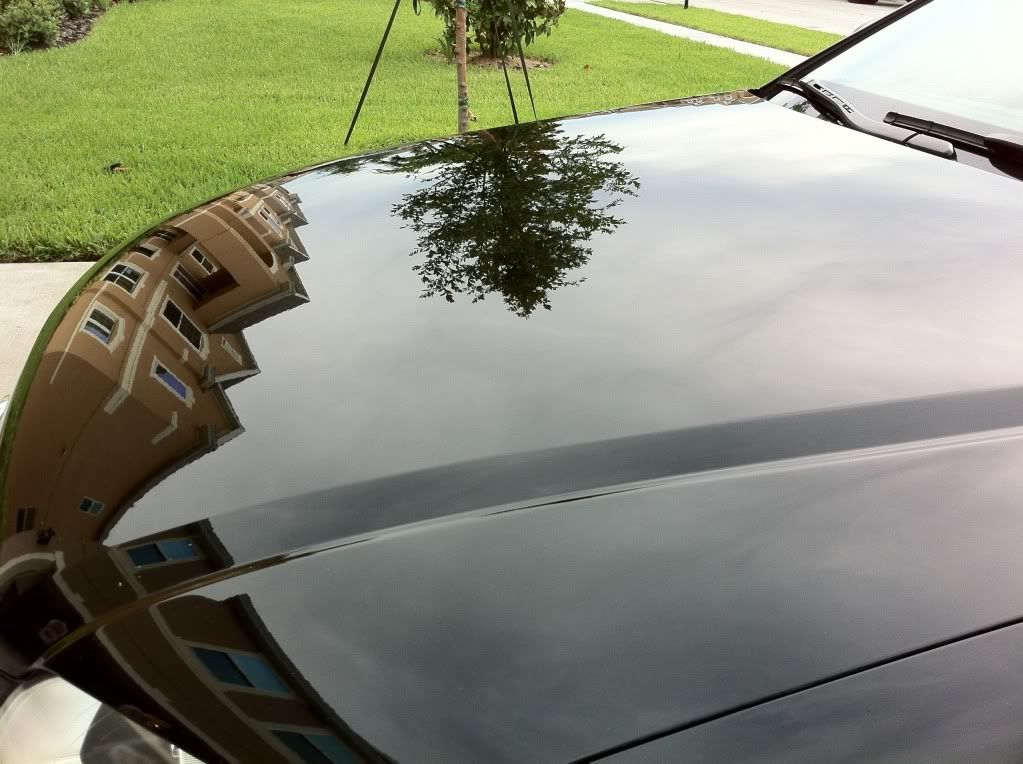
Hood:
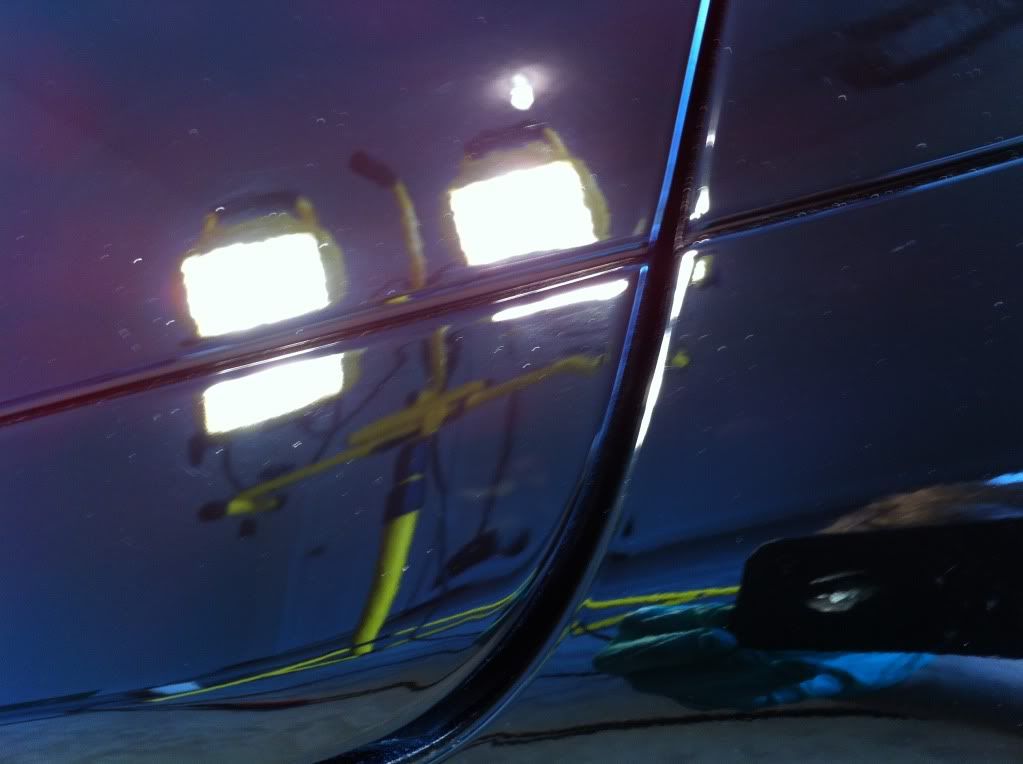
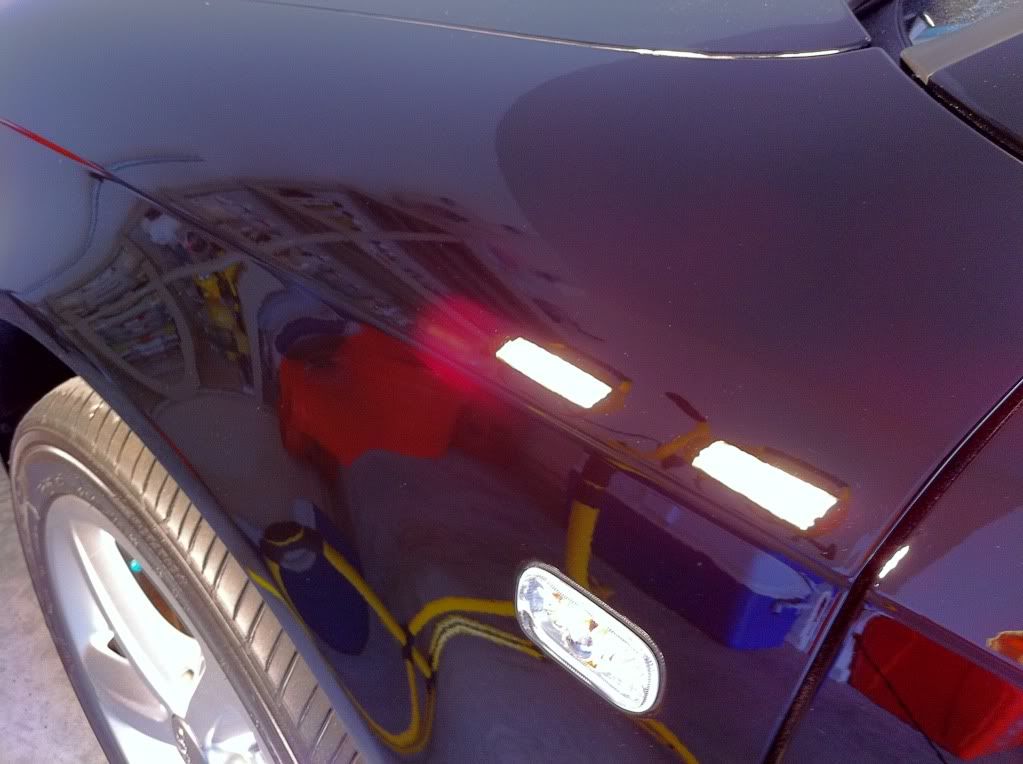
Etching (difficult to capture other spots):
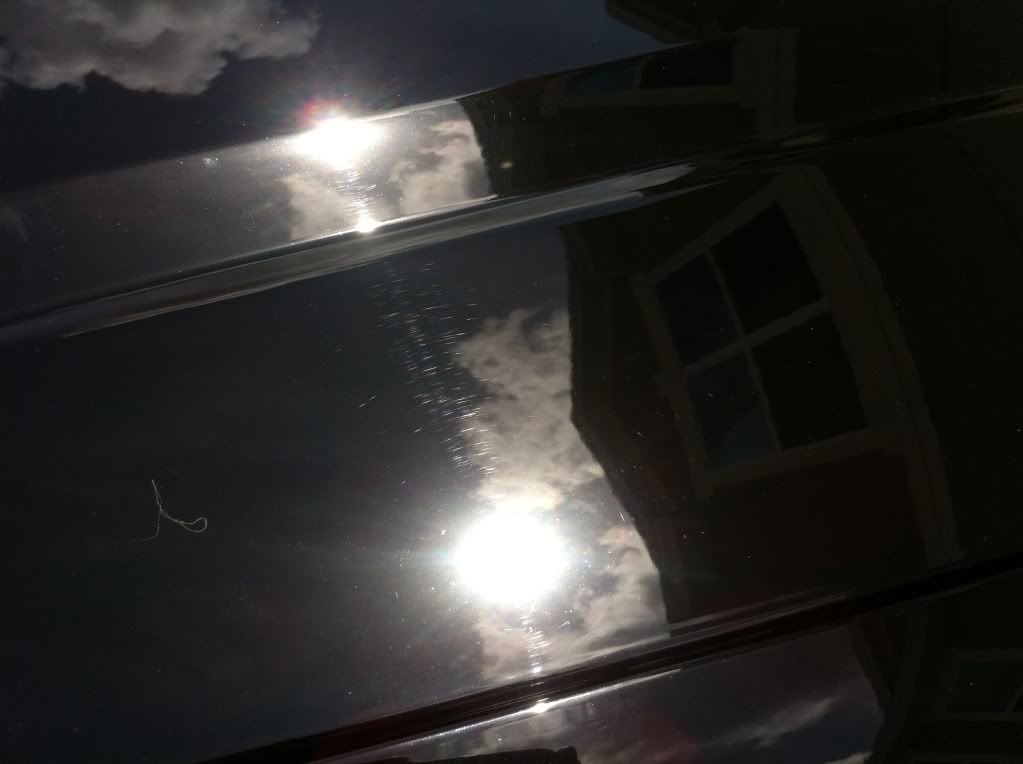
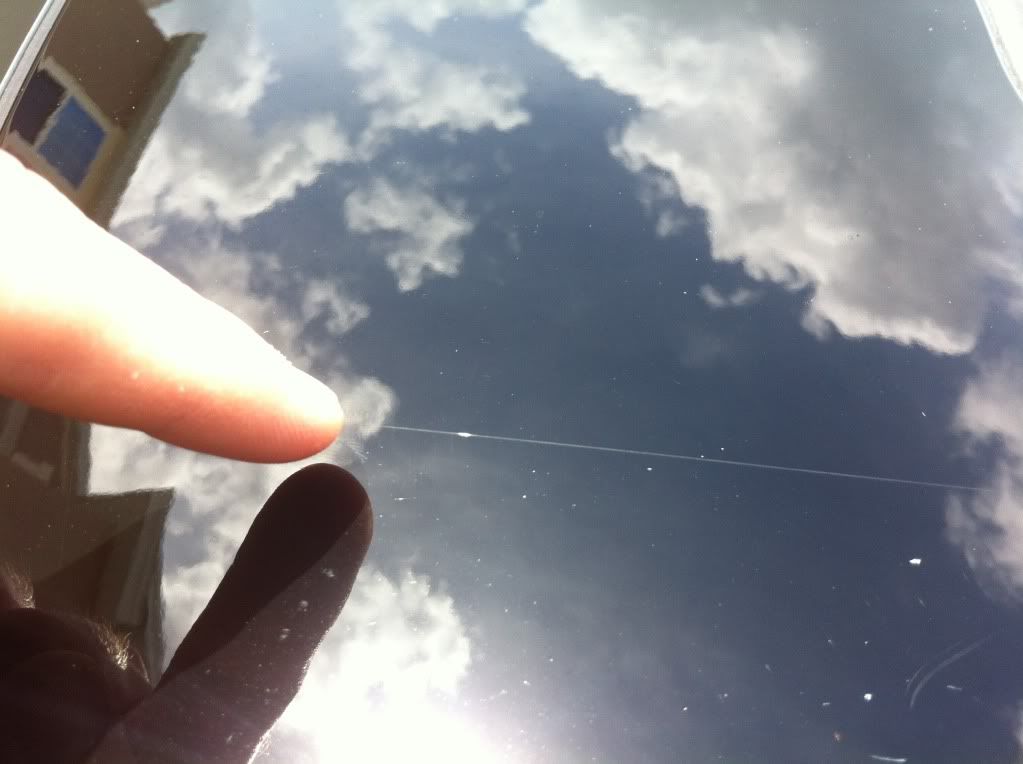
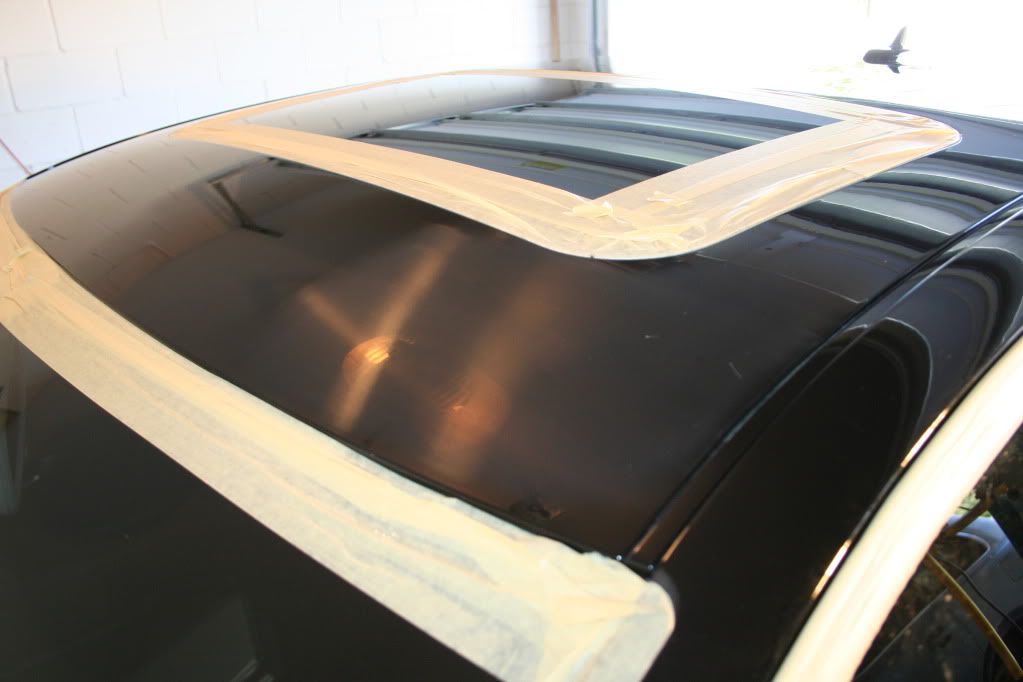
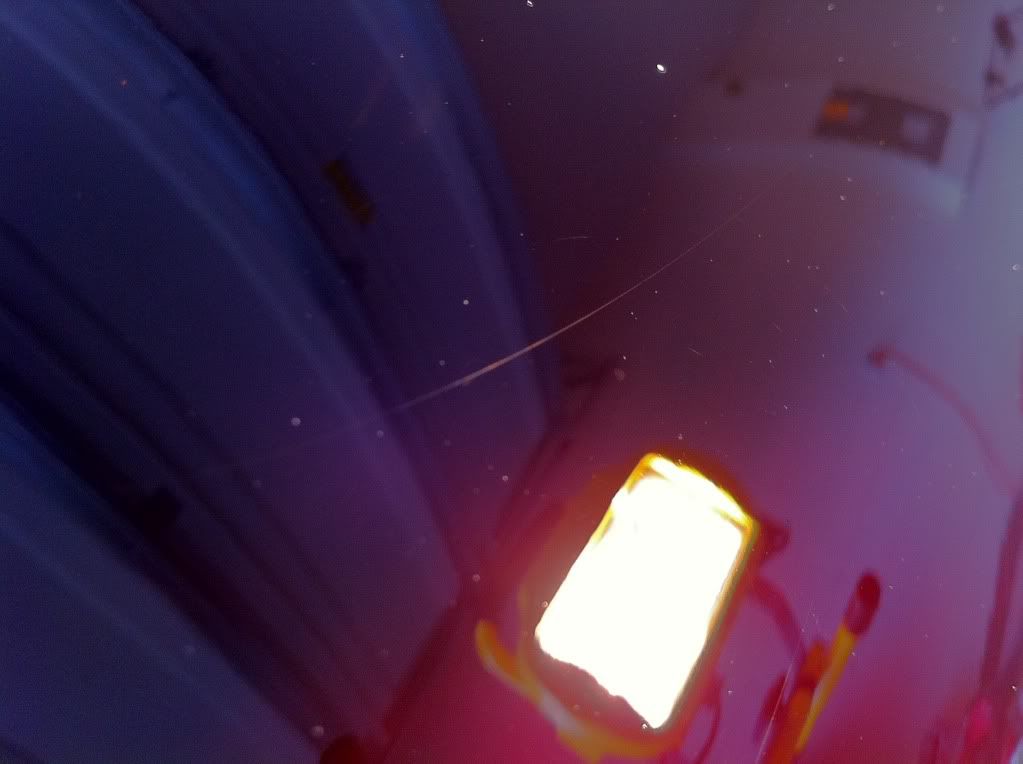
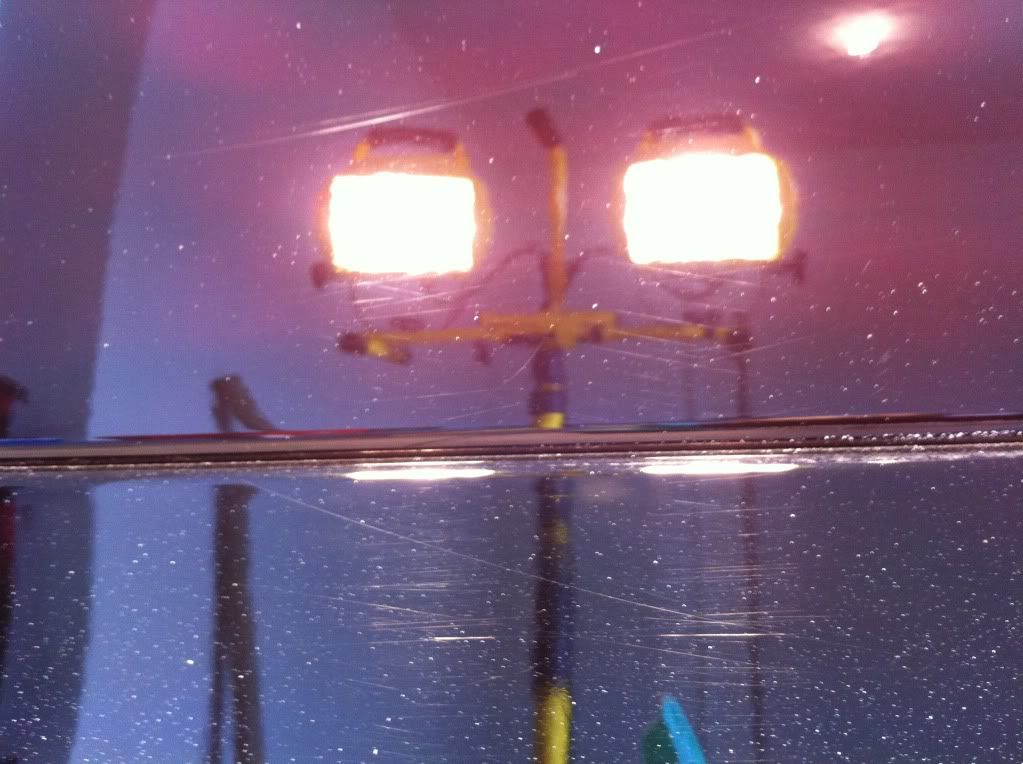
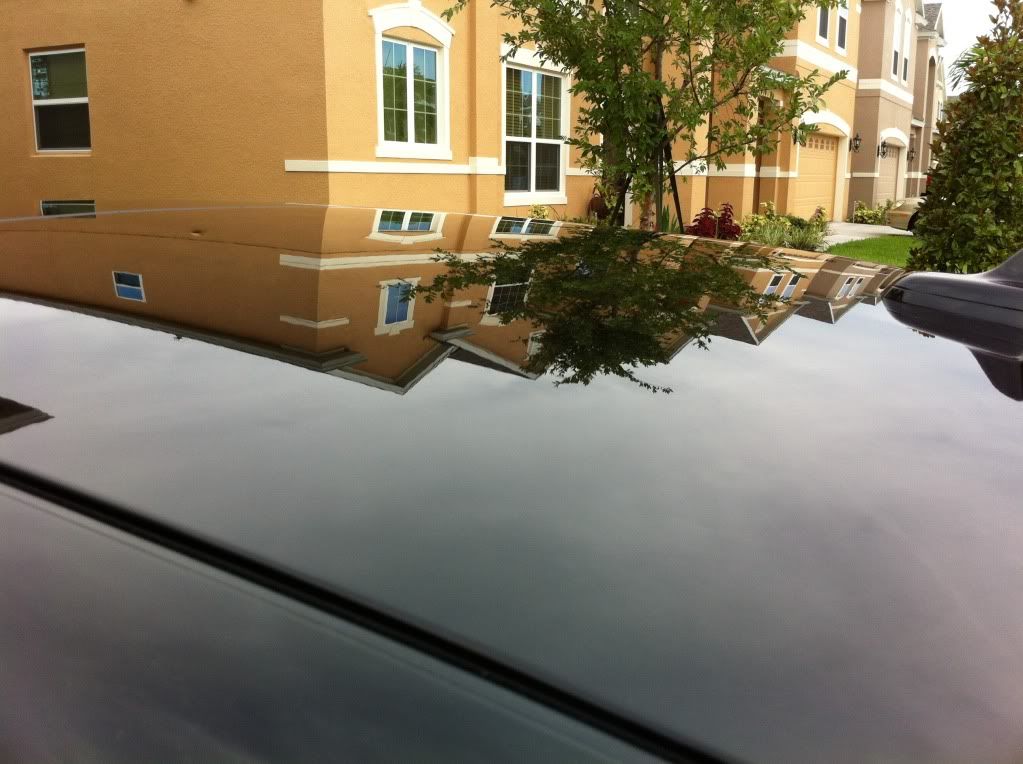
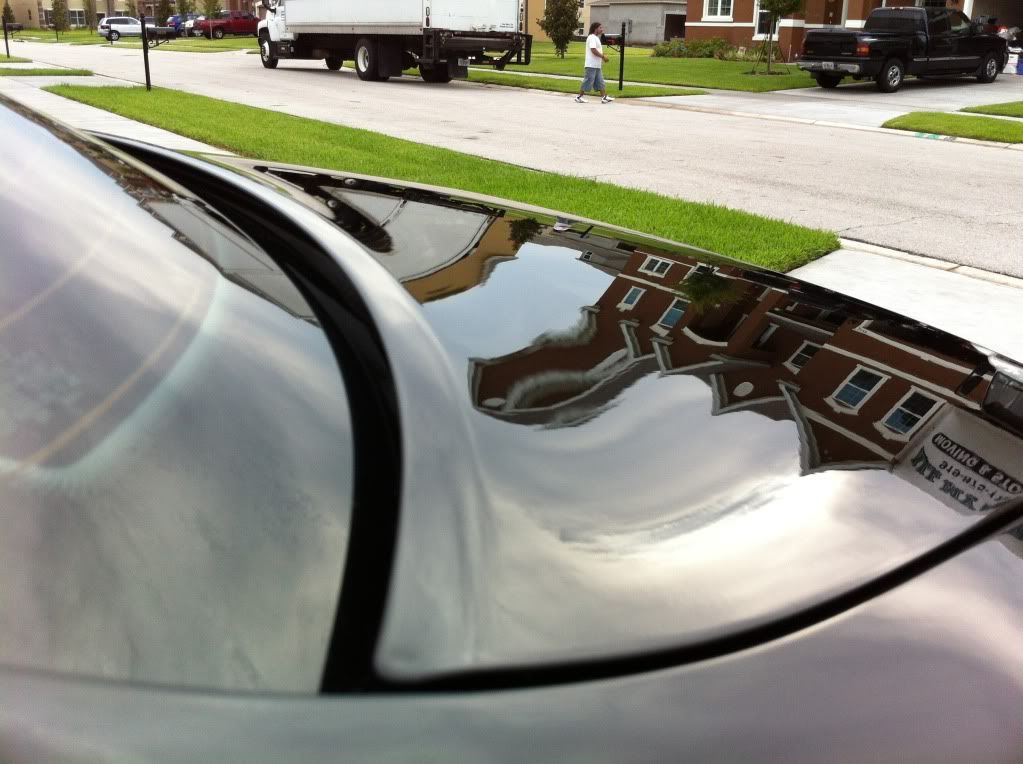
Scratch on the roof:
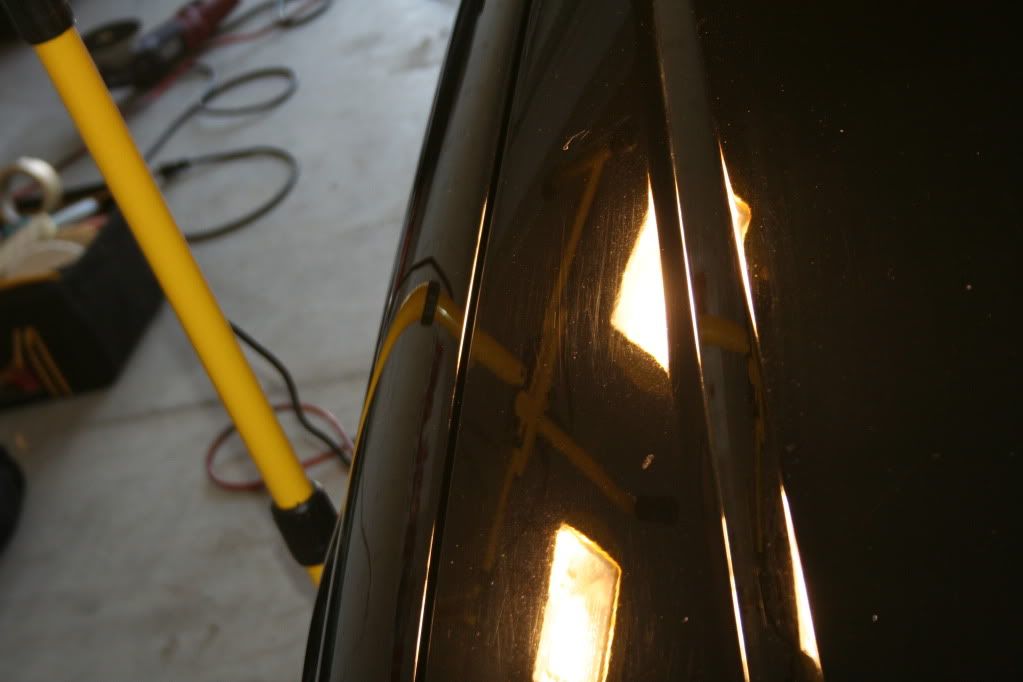
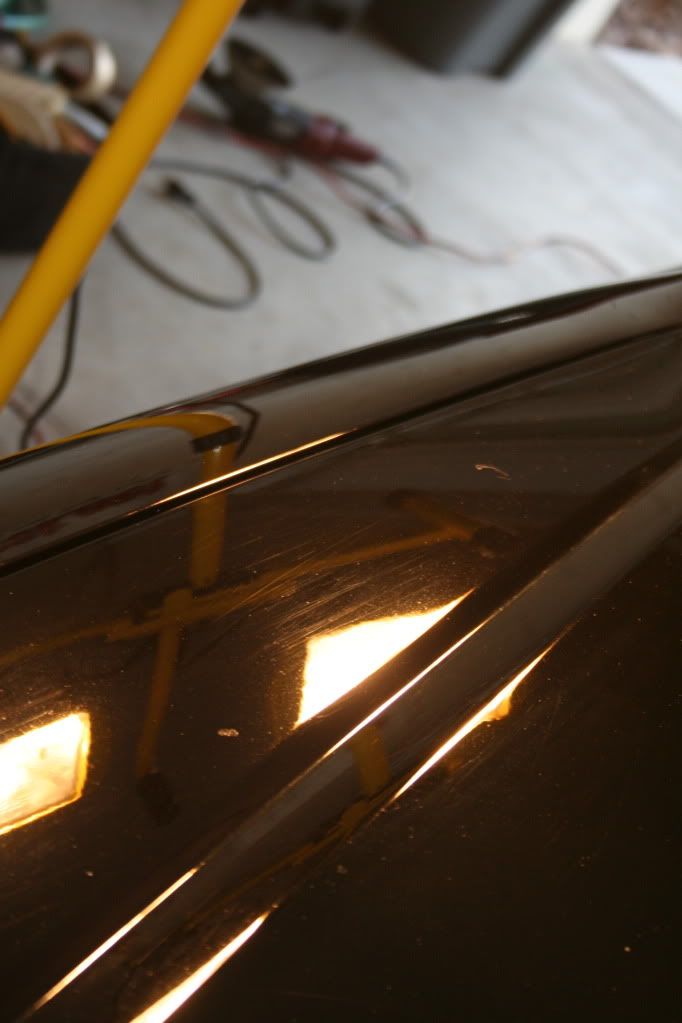
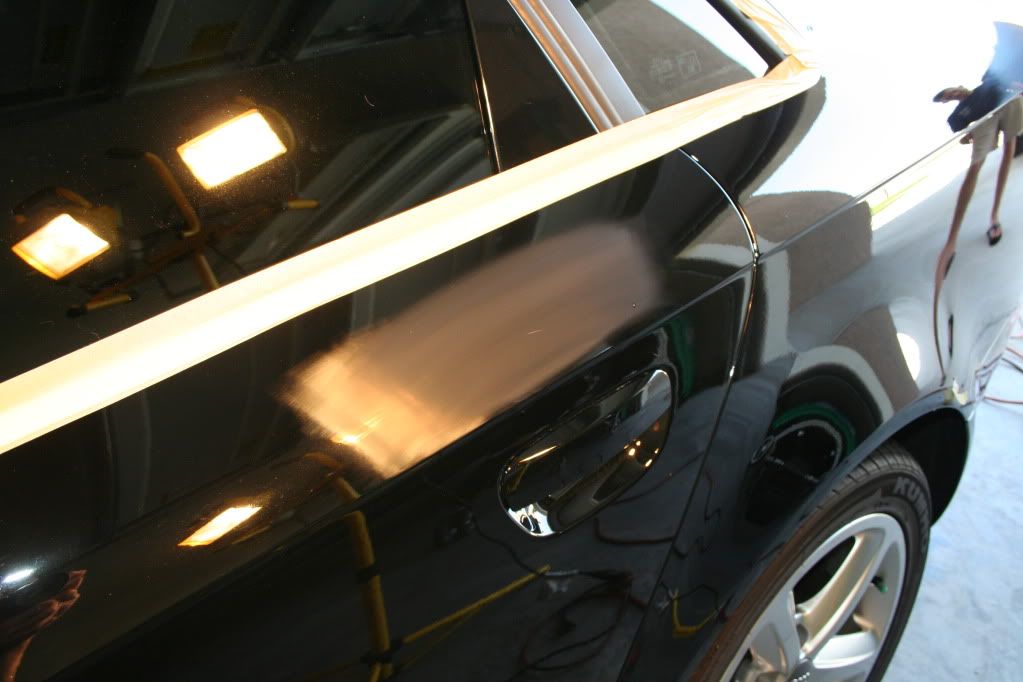
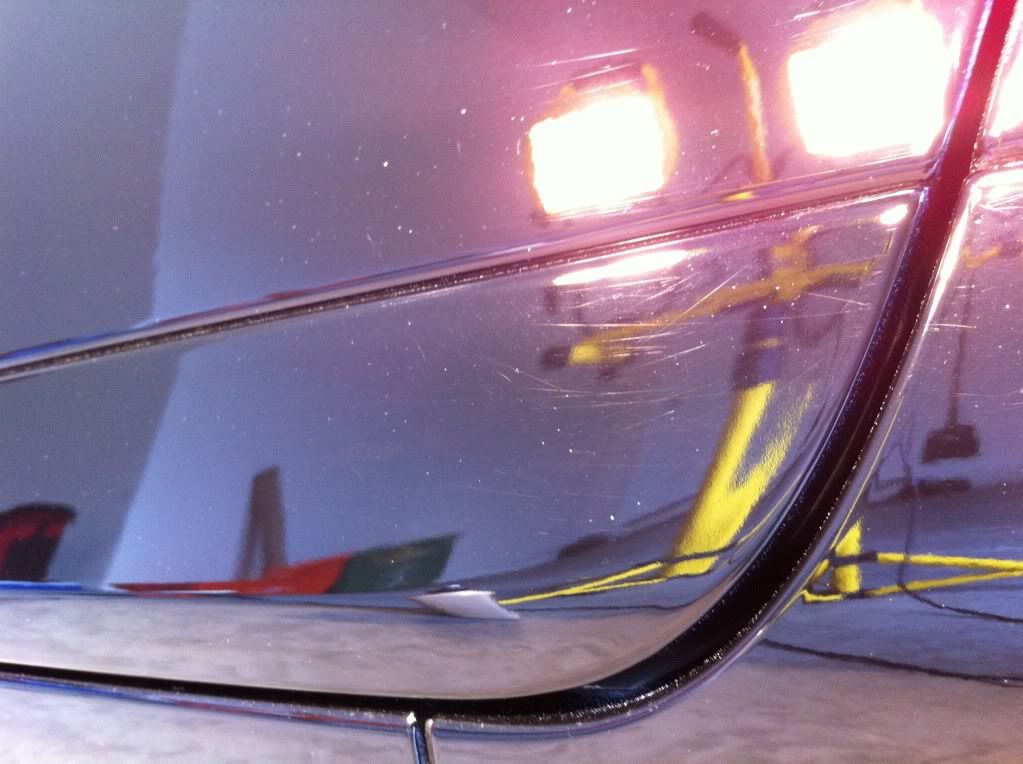
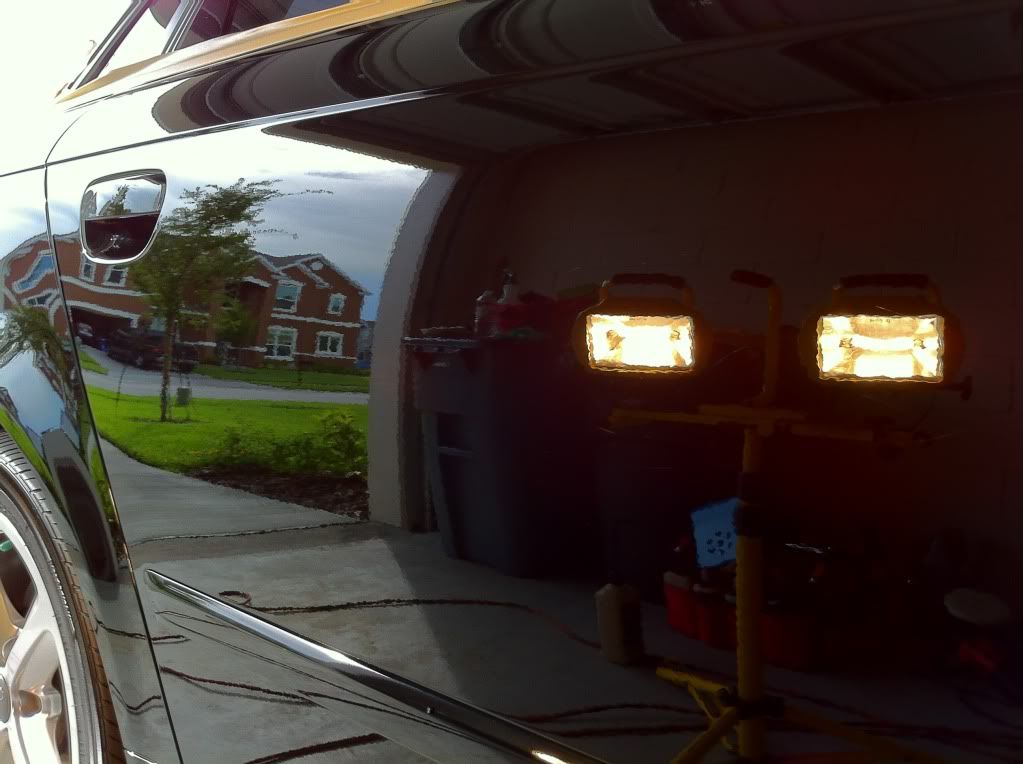
Scratches on the door:

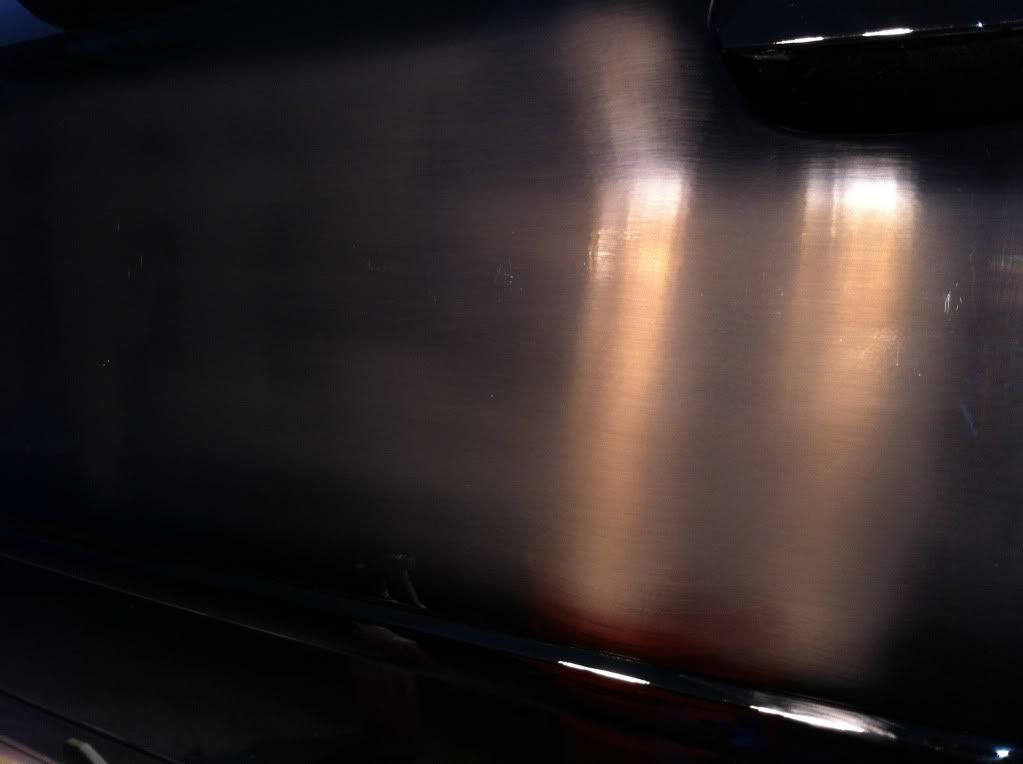
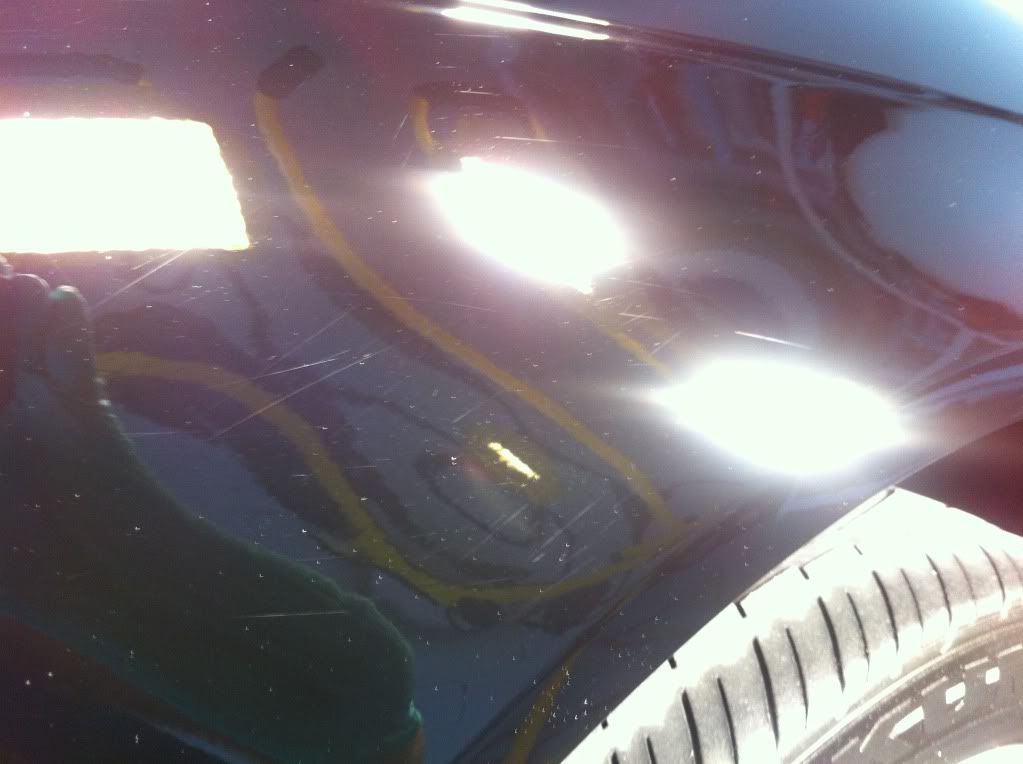
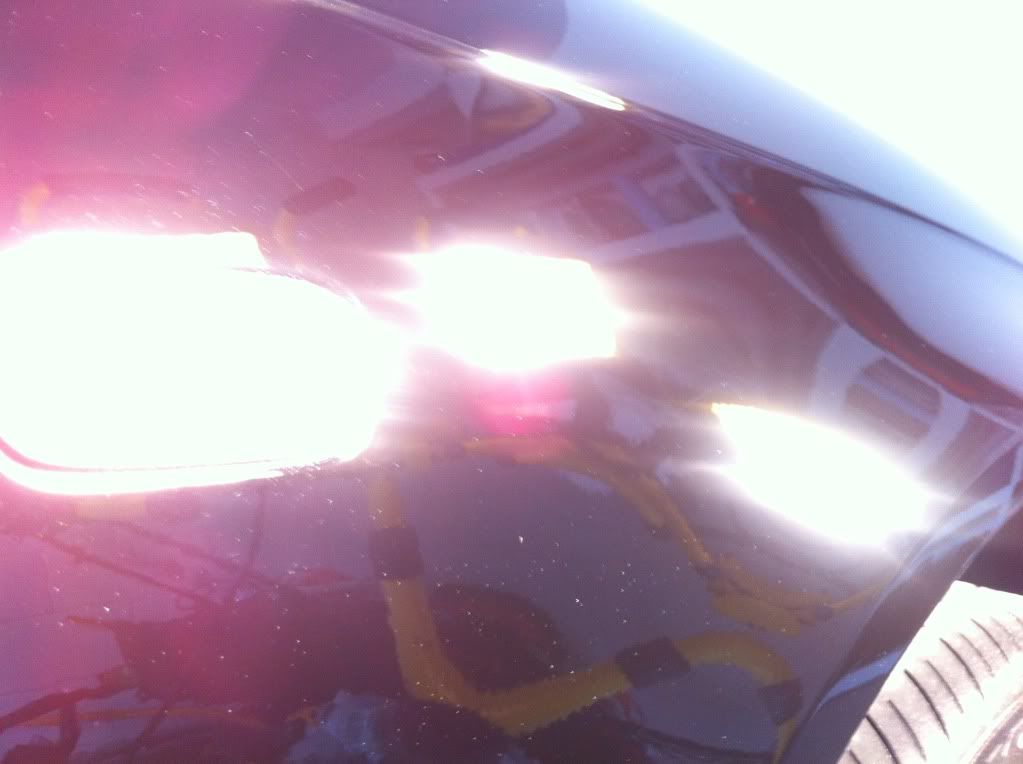
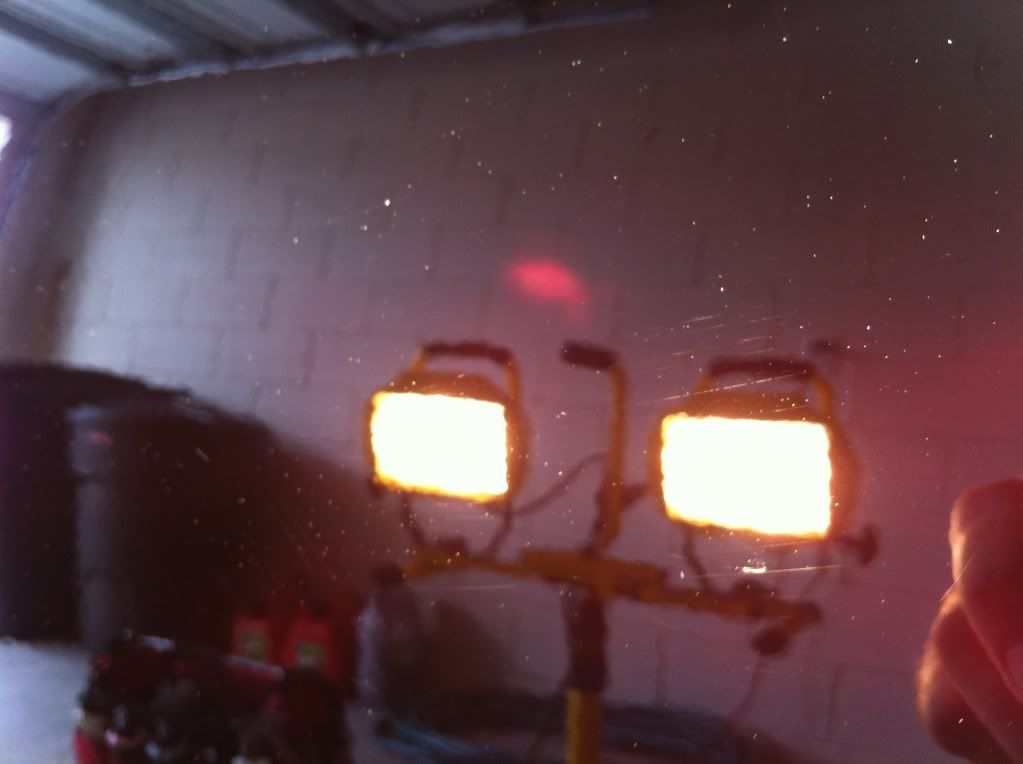
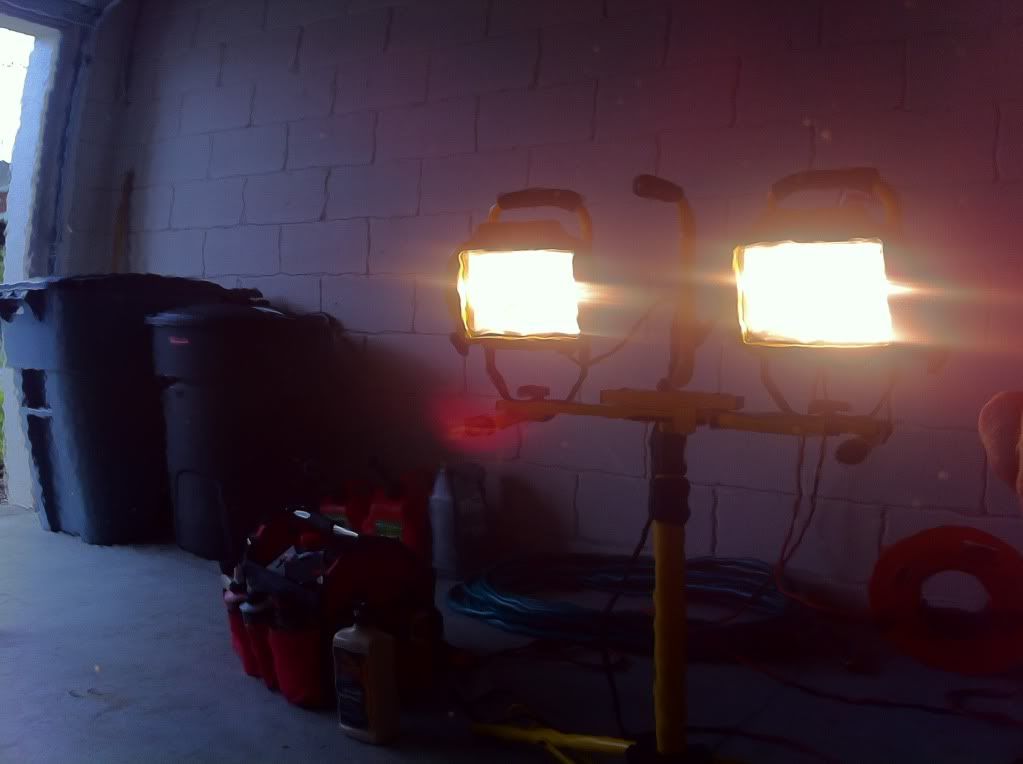
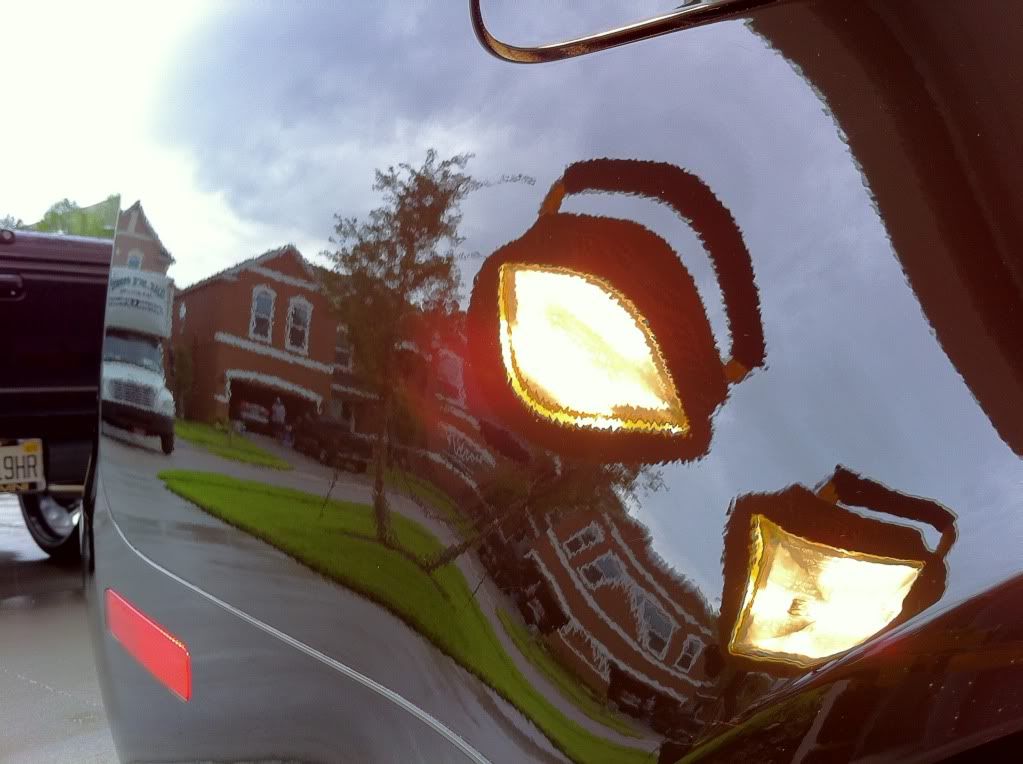
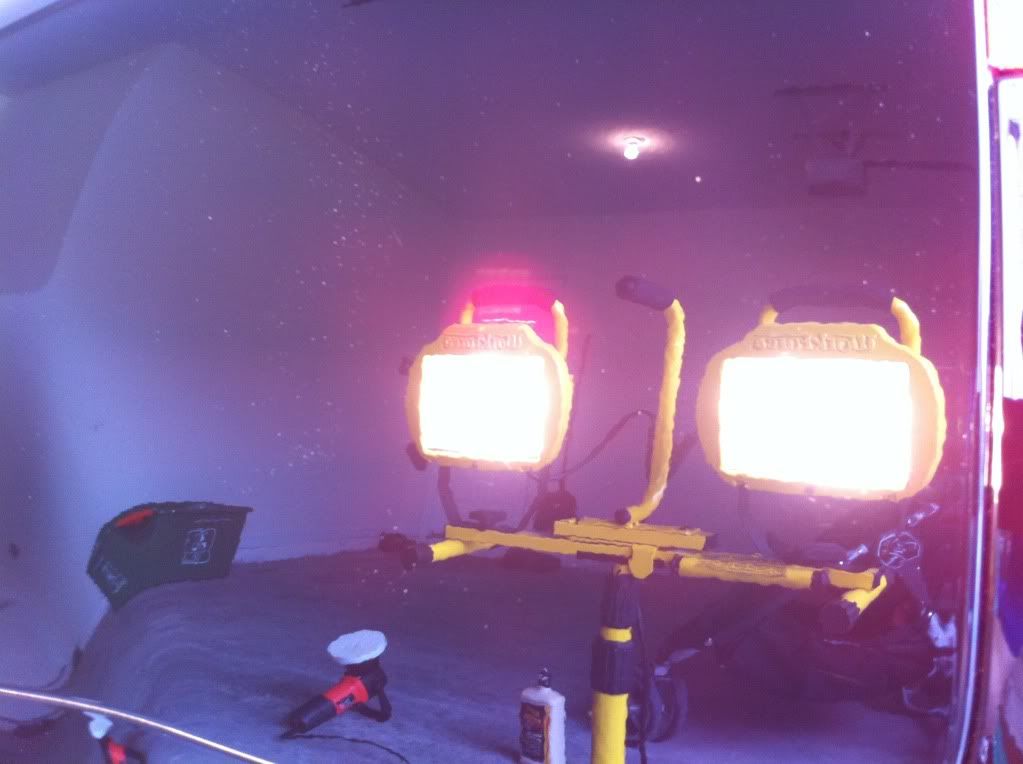
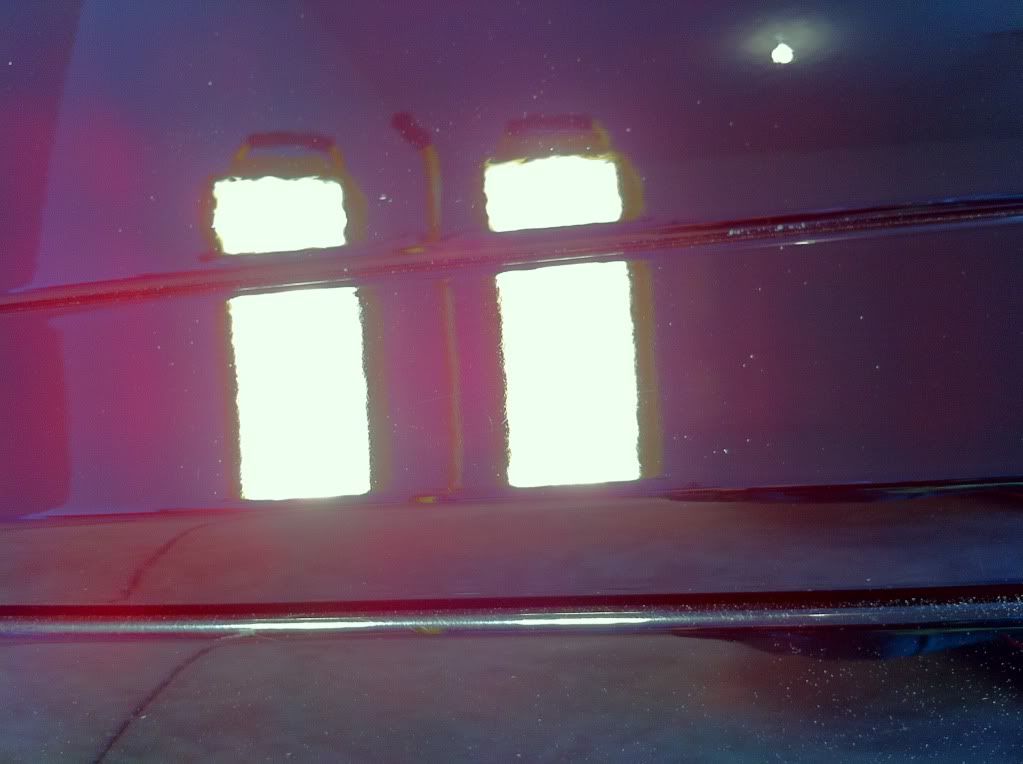
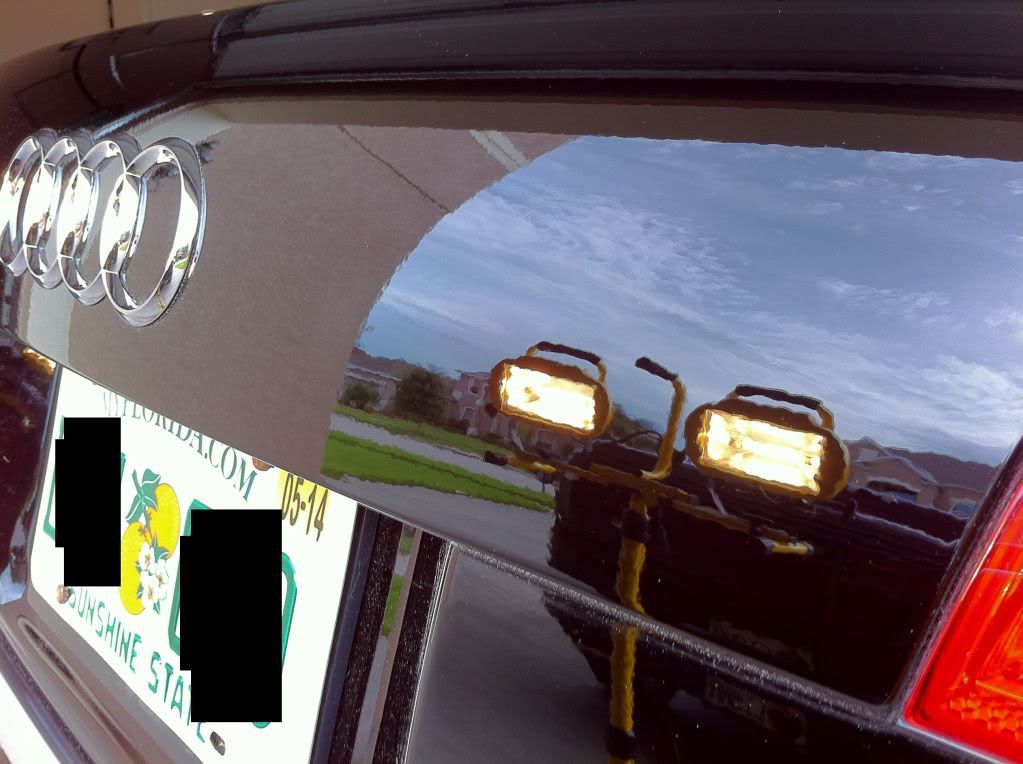
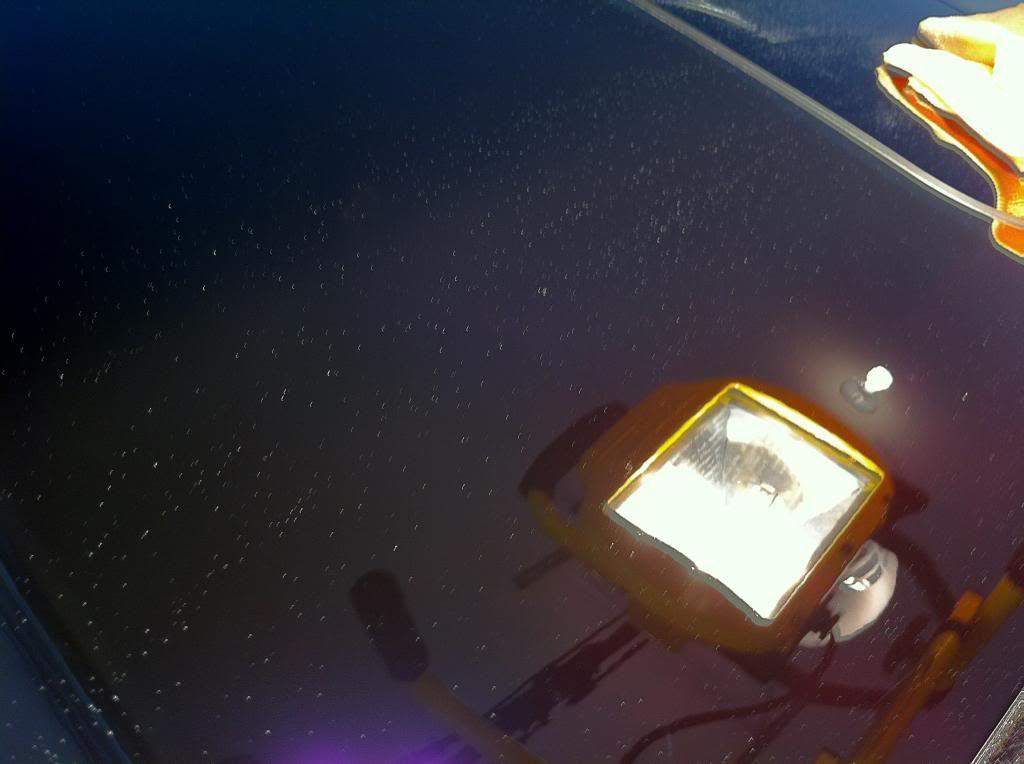
Trunk Under Halogens:
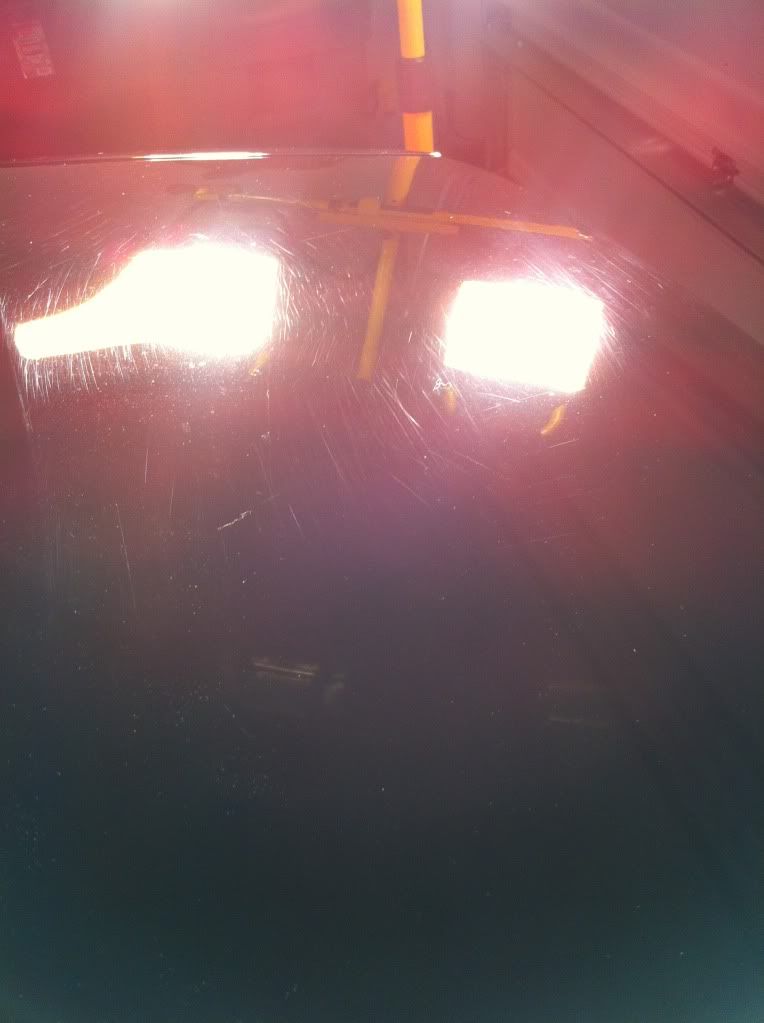
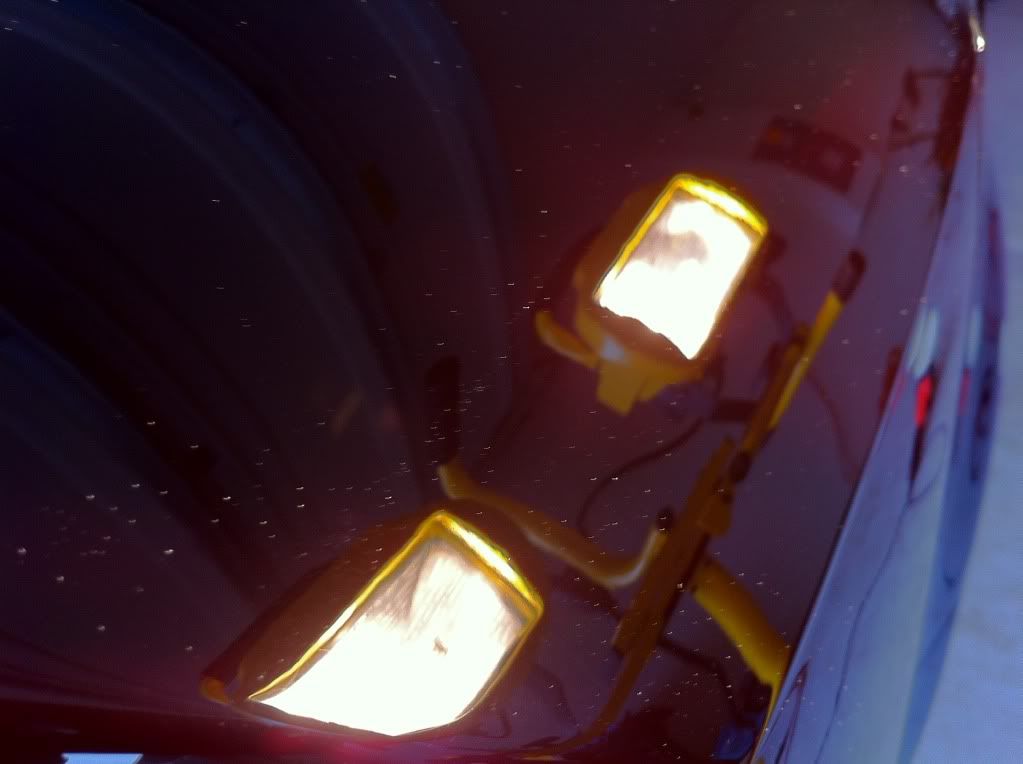
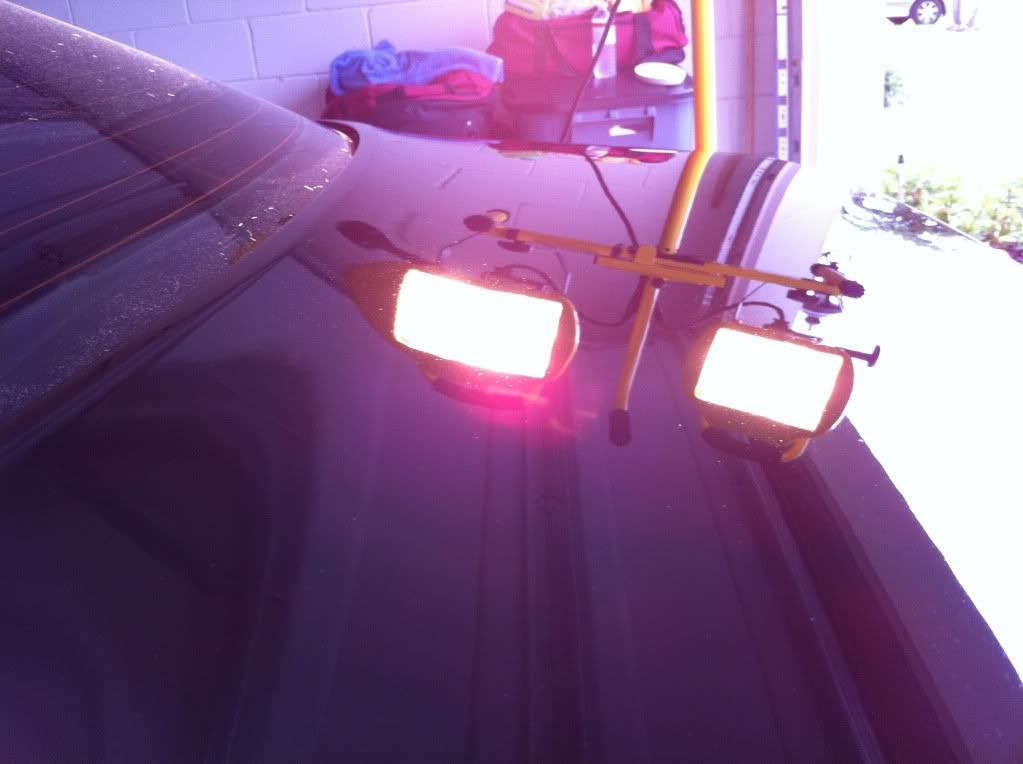
Hood Under Halogens:
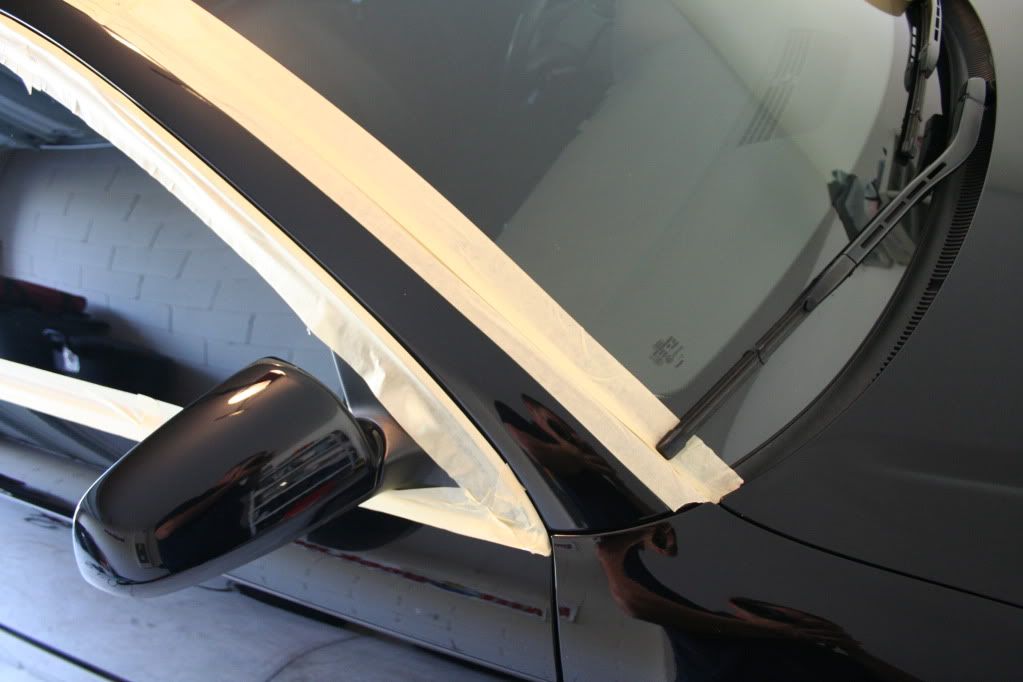
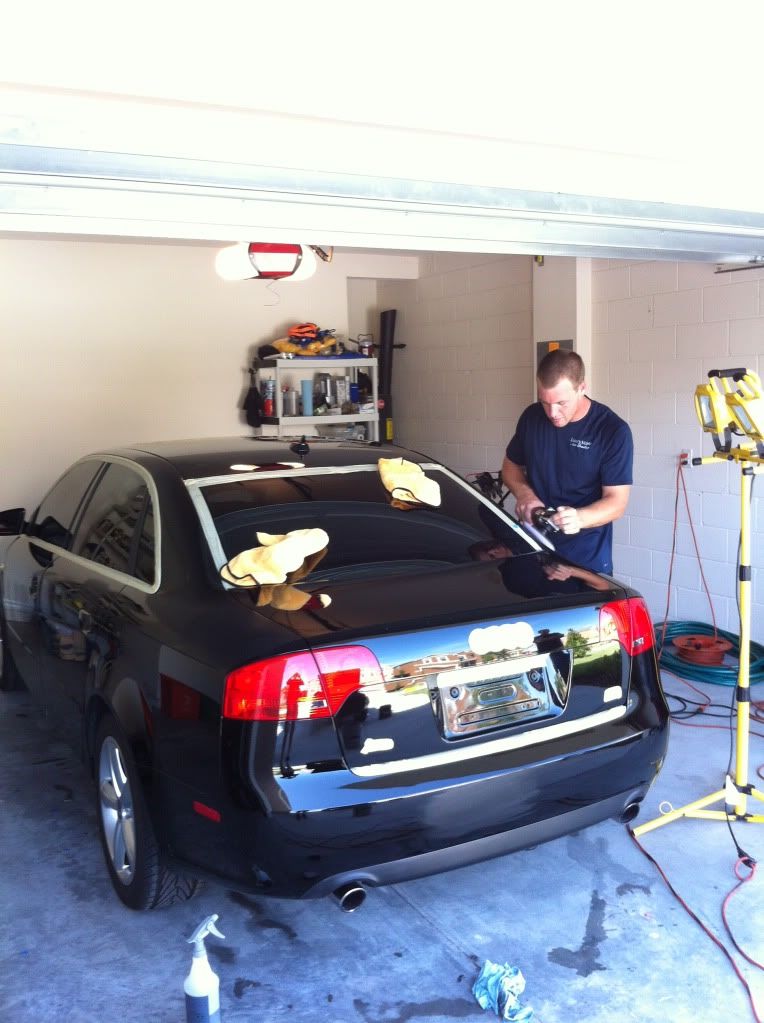
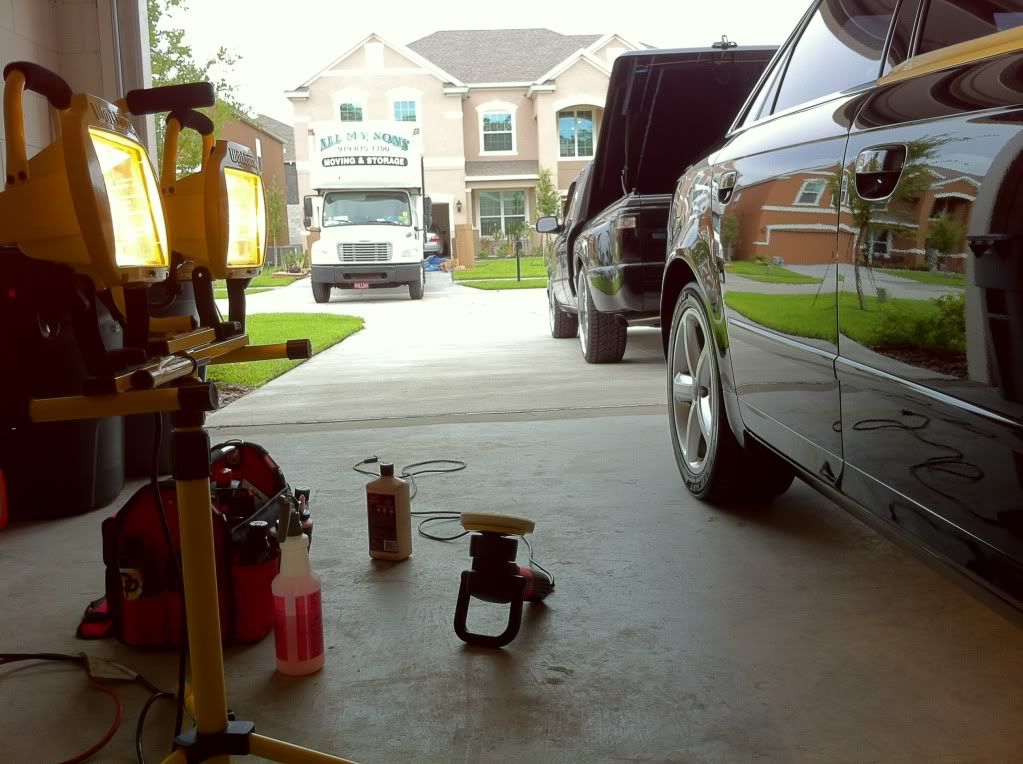
Getting the vehicle taped & prepped for polishing:
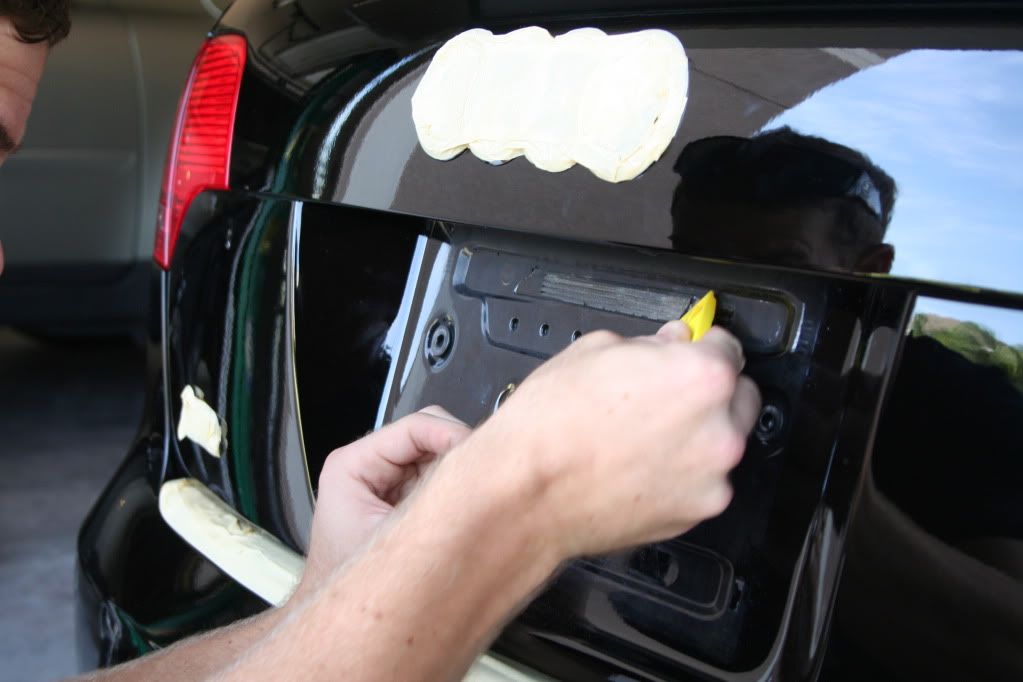
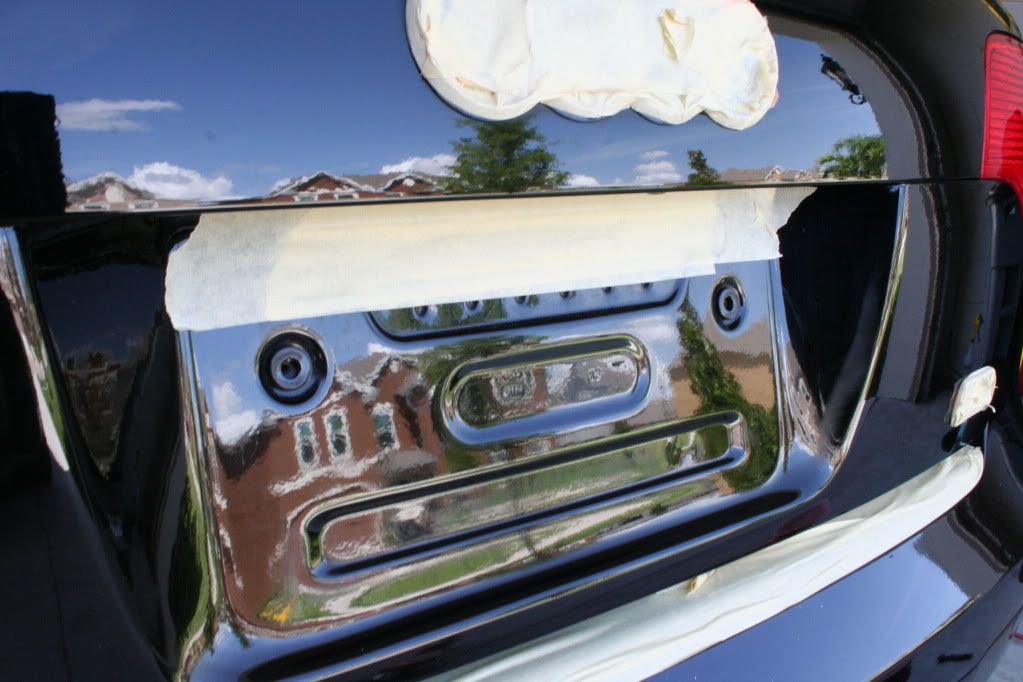
Removing old adhesive build-up behind the license plate:
Spot wet/sanding on scratches (2000/3000 grit):
There were so many "spots" to be wetsanded on the driver door we just wetsanded the entire area with a sanding block & 3000 grit paper:
Correction:
Stephan had his flex3403 rotary on hand so the first step he did was knock down the heavy swirl marks with a LC blue hybrid wool pad and M#105.
This Audi clear coat was resistant to correction to say the least. Even after the first step there were still some DEEP RIDS on some panels that M#205 on a LC white pad would not clear up. We had to get more aggressive. So each panel had to have a 2nd step of M#105 on a 5.5" Surbuff pad using a Griot's DA on speed 6. Keep in mind some panels were more severely defected than others, so defects on some panels will be more prevalent/visible that others.
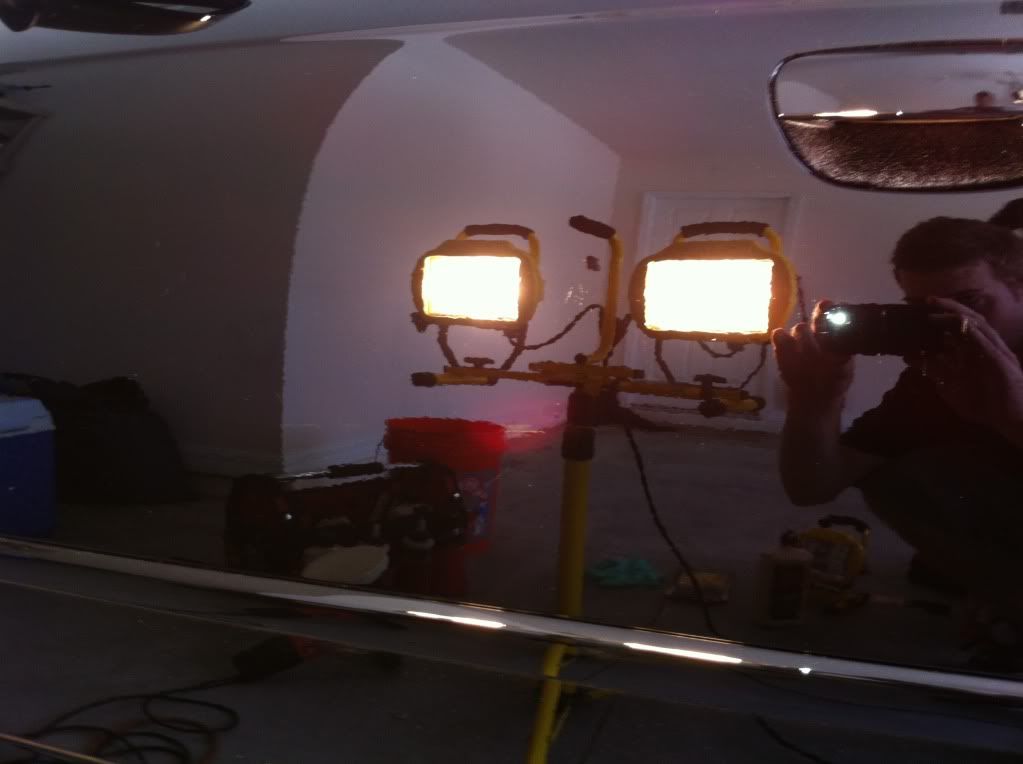
Passenger quarter panel after rotary but BEFORE Surbuff:
Passenger quarter panel after AFTER Surbuff:
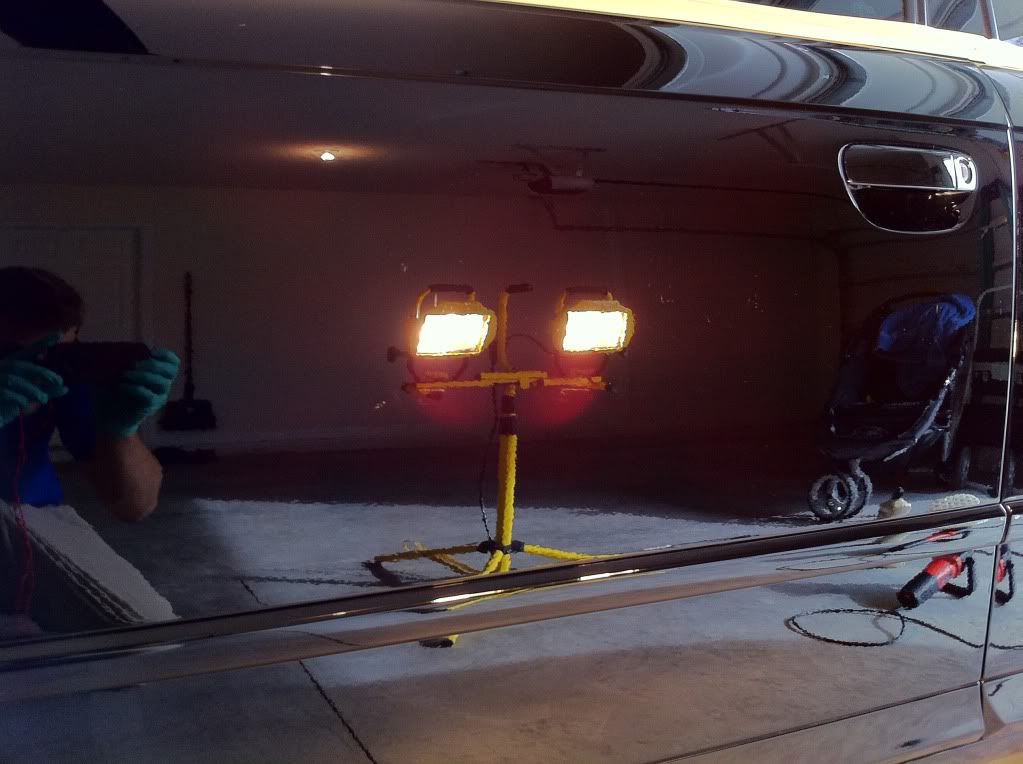
Some deep RIDS on passenger rear door BEFORE Surbuff:
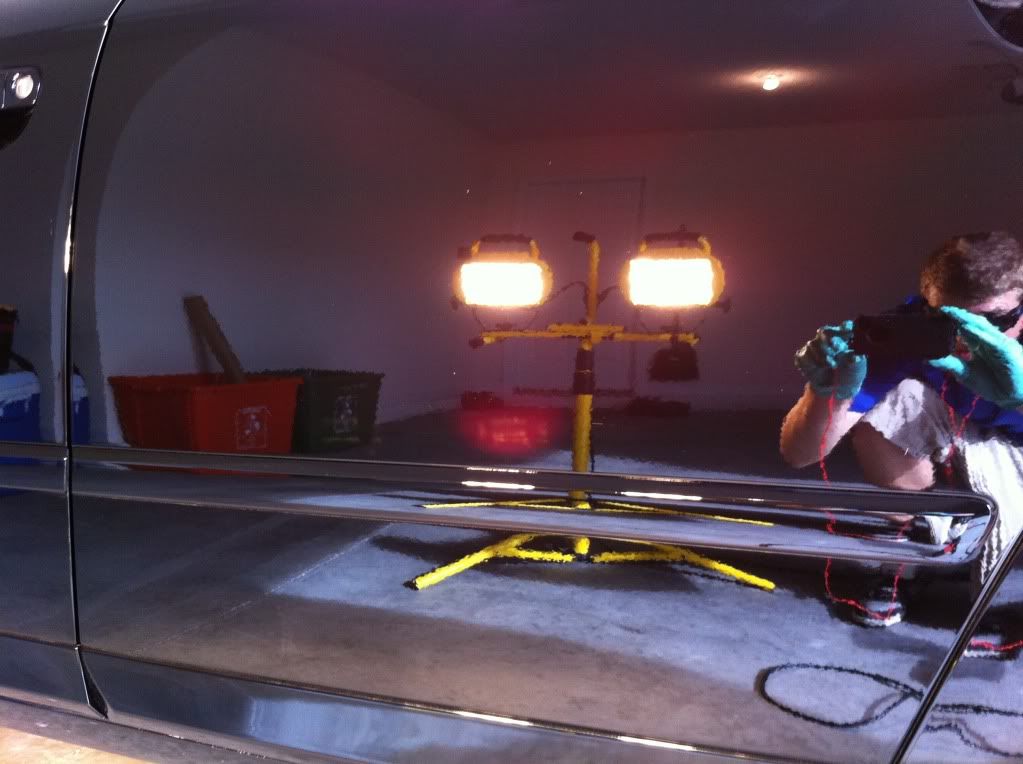
Passenger rear door AFTER Surbuff:
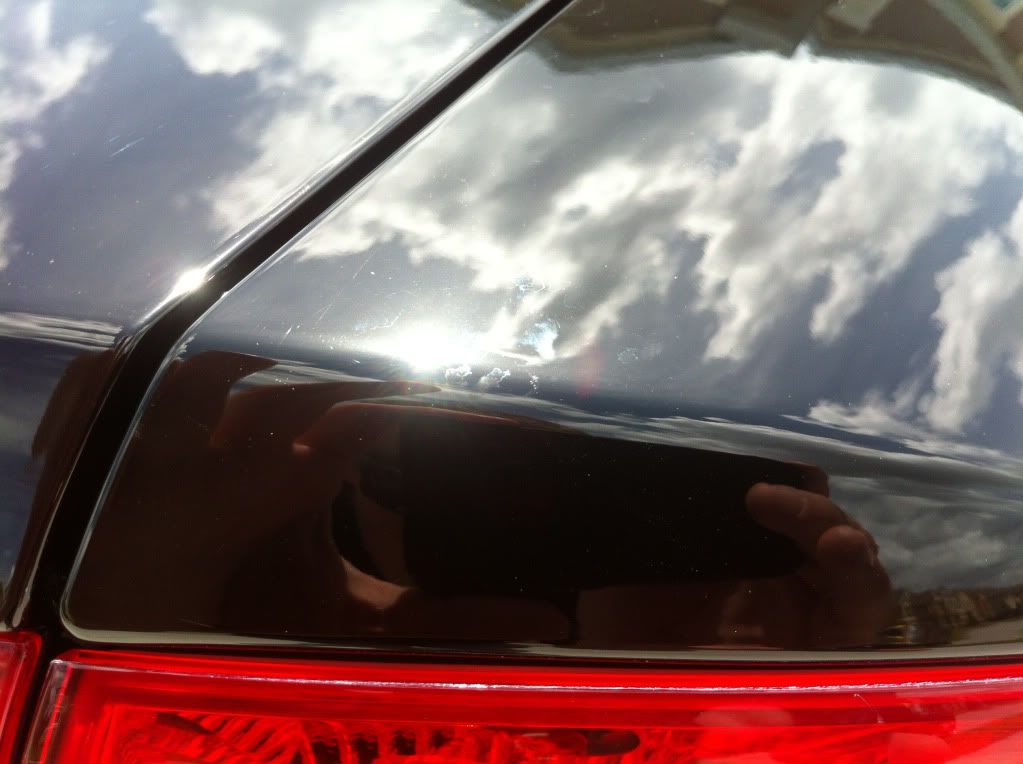
Passenger rear quarter panel deep RIDS BEFORE Surbuff (look near light reflection):

Passenger rear quarter panel AFTER Surbuff:
Deeper scratch on top of passenger rear quarter panel BEFORE Surbuff:
Top passenger rear quarter panel AFTER Surbuff (some dust still there from 105):
Passenger rear door BEFORE Surbuff:

Passenger rear door AFTER Surbuff:
Stephan (LuxuryMobile) was contacted by a client with an 2008 Audi A4 that had been delivered to Orlando by a car transportation service. During the course of transporting it down, the vehicle was exposed to some type of element that left etching in a few spots, then on top of that, the service decided to perform a "wash" on the car which left some pretty servere swirl marks in several areas, especially the hood and trunk, and several deep scratches on the vehicle. The owner himself is knowledgable about detailing and wanted us to correct the inflicted clear coat damage and then he would perform Dr. ColorChip on the severely roadrashed hood/front bumper (love bug damage) and OptiCoat the vehicle on his own. He was also kind enough to have to vehicle washed & clay barred prior to us arriving because we had had prexamined the vehicle about a month prior to estimate 8-10 of worktime (4-5 hours between 2 men) would be necessary to fully correct the vehicle, not including any prep work such as a wash or claying. All photography captured with my iPhone4.
BEFORES:
Trunk:
Hood:
Etching (difficult to capture other spots):
Scratch on the roof:
Scratches on the door:
Trunk Under Halogens:
Hood Under Halogens:
Getting the vehicle taped & prepped for polishing:
Removing old adhesive build-up behind the license plate:
Spot wet/sanding on scratches (2000/3000 grit):
There were so many "spots" to be wetsanded on the driver door we just wetsanded the entire area with a sanding block & 3000 grit paper:
Correction:
Stephan had his flex3403 rotary on hand so the first step he did was knock down the heavy swirl marks with a LC blue hybrid wool pad and M#105.
This Audi clear coat was resistant to correction to say the least. Even after the first step there were still some DEEP RIDS on some panels that M#205 on a LC white pad would not clear up. We had to get more aggressive. So each panel had to have a 2nd step of M#105 on a 5.5" Surbuff pad using a Griot's DA on speed 6. Keep in mind some panels were more severely defected than others, so defects on some panels will be more prevalent/visible that others.
Passenger quarter panel after rotary but BEFORE Surbuff:
Passenger quarter panel after AFTER Surbuff:
Some deep RIDS on passenger rear door BEFORE Surbuff:
Passenger rear door AFTER Surbuff:
Passenger rear quarter panel deep RIDS BEFORE Surbuff (look near light reflection):
Passenger rear quarter panel AFTER Surbuff:
Deeper scratch on top of passenger rear quarter panel BEFORE Surbuff:
Top passenger rear quarter panel AFTER Surbuff (some dust still there from 105):
Passenger rear door BEFORE Surbuff:
Passenger rear door AFTER Surbuff:
")
 rops::dblthumb2::goodjob2: