RoadRageDetail
New member
- Jun 1, 2012
- 347
- 0
This might end up being a long write-up, but my previous victim turned out to be quite a learning process for me and I'm in the sharing mood.
I've been detailing for about six years now with literally thousands of cars under my buffer (shop and independent experience combined) and most of what I have applied to the cars I work on is experience picked up from the paint and body side of our business. Myself and my Makita 9227C (my third rotary and still my favorite) have about a million miles together and lately I've been finding myself in a precarious situation where I just can't get that "upper echelon" finish out of her. I guess you could say I was developing an eye for my work that outgrew my rotary, even though every customer I've worked with probably wouldn't know the difference. So I decided to take the plunge and step it up a few notches.
For the past few months, I've spent a lot of time researching different products and machines to build onto my collection to see what would work best for me, and be easily maintainable as a mobile service when necessary. I want to offer more in-depth detail solutions and while I'm still very proud of what I can do with a rotary and the other supplies in my stable, I wanted something... more.
After a purchase and several large boxes from Autogeek I was ready to take things to the next level.
My next phase was finding a worthy test subject.
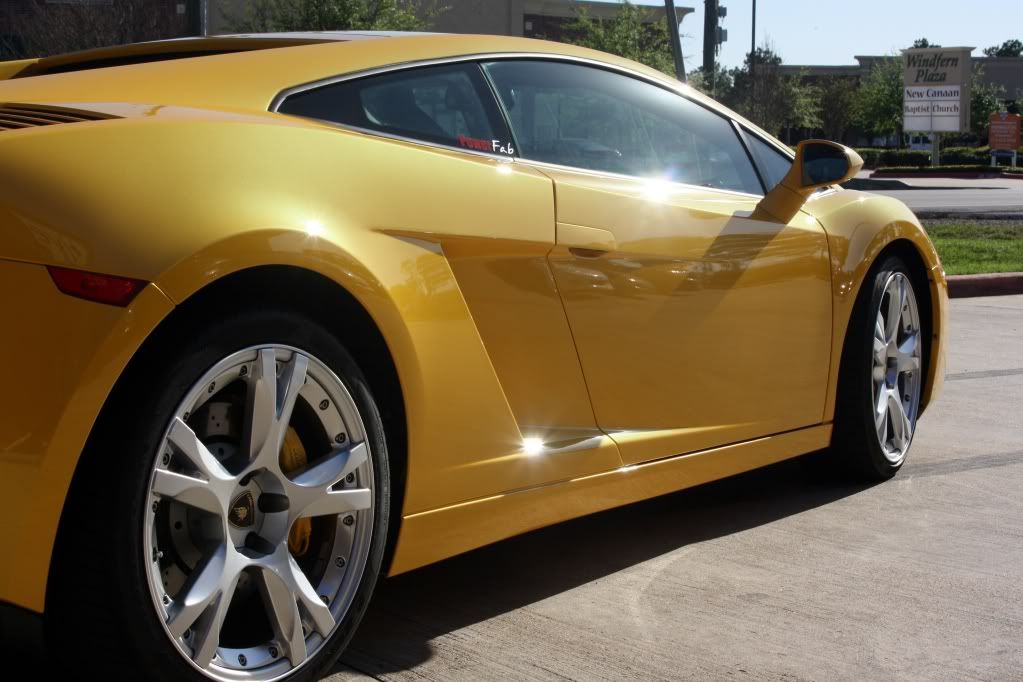
Thanks to Jeremy and John at PowerFab Automotive, a local Houston performance shop, it was an easy issue to handle.
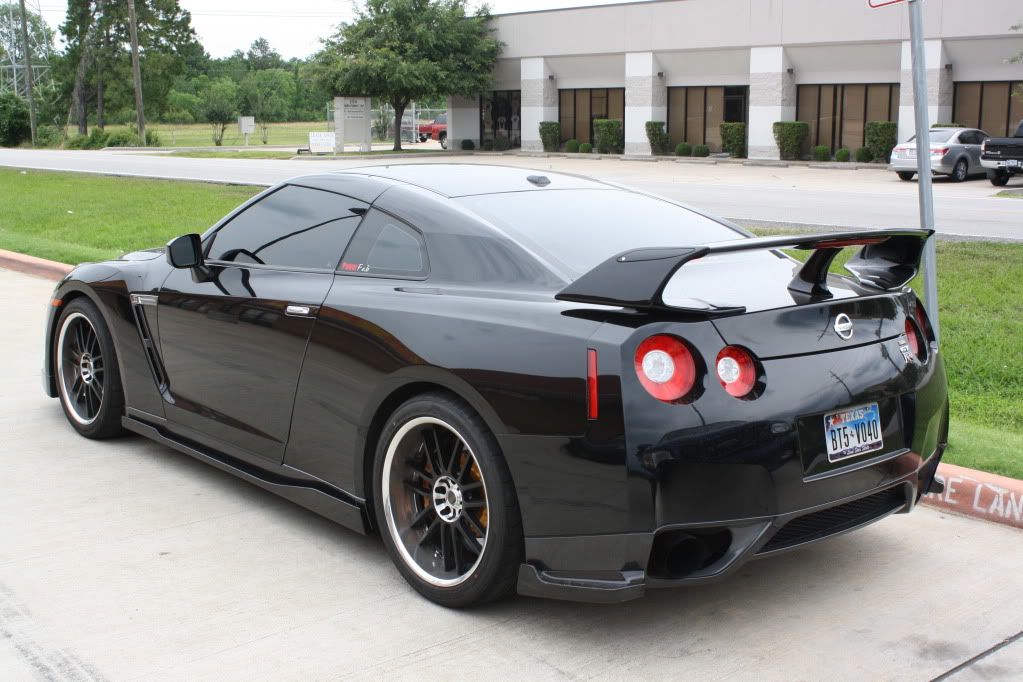
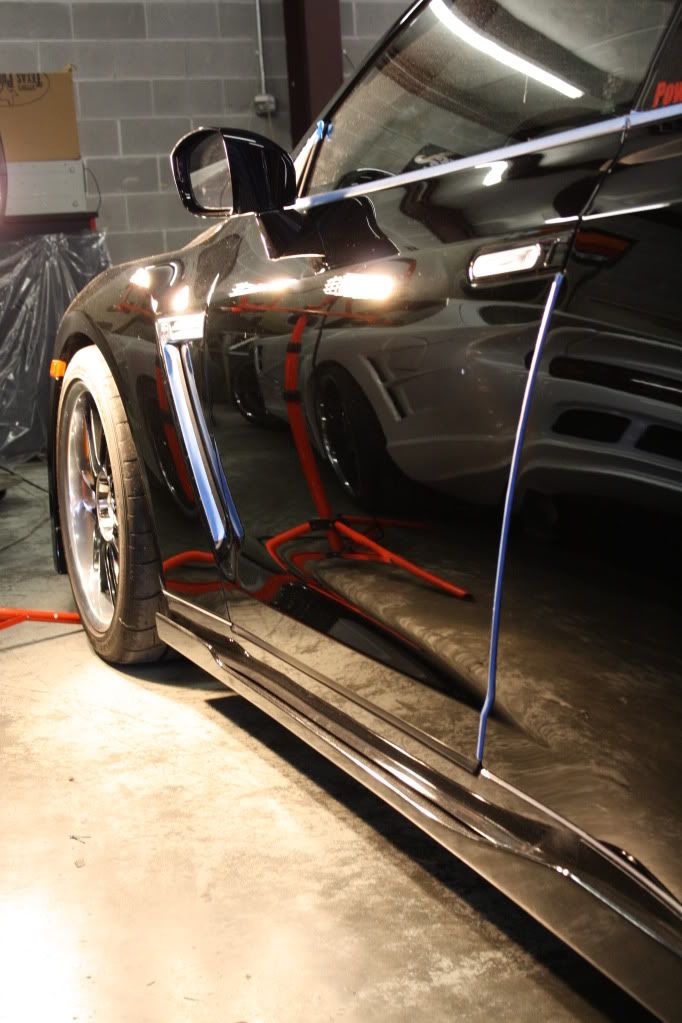
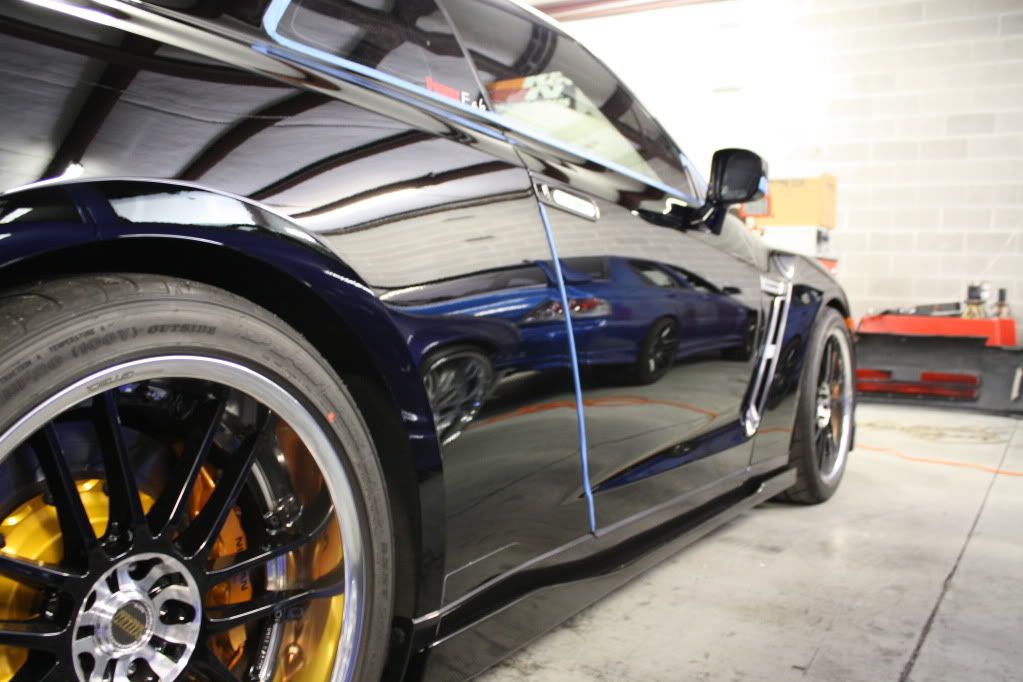
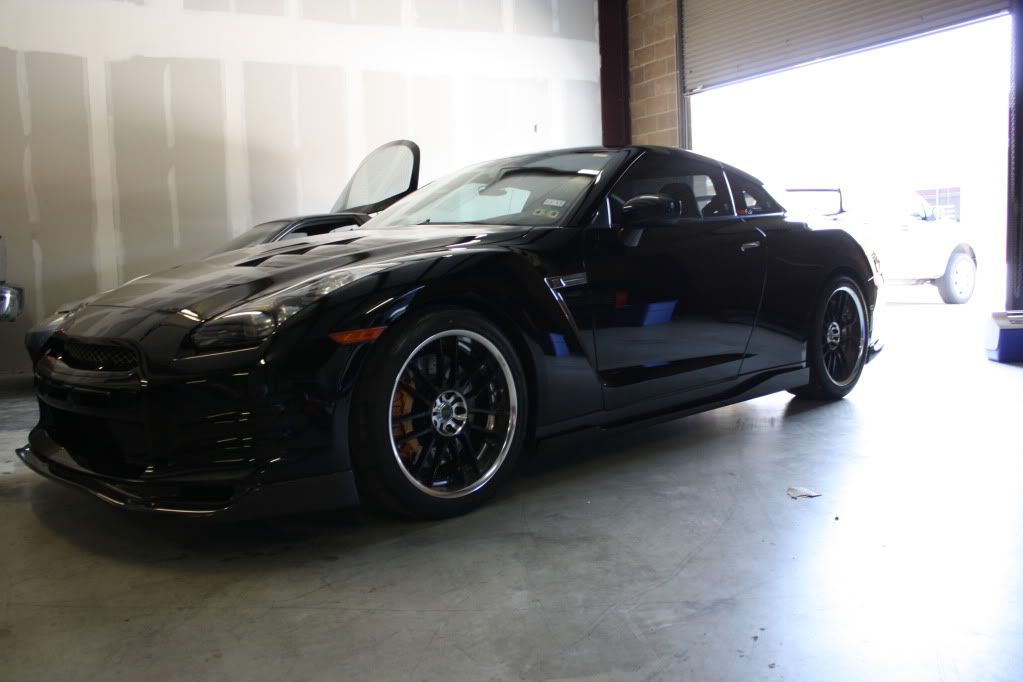
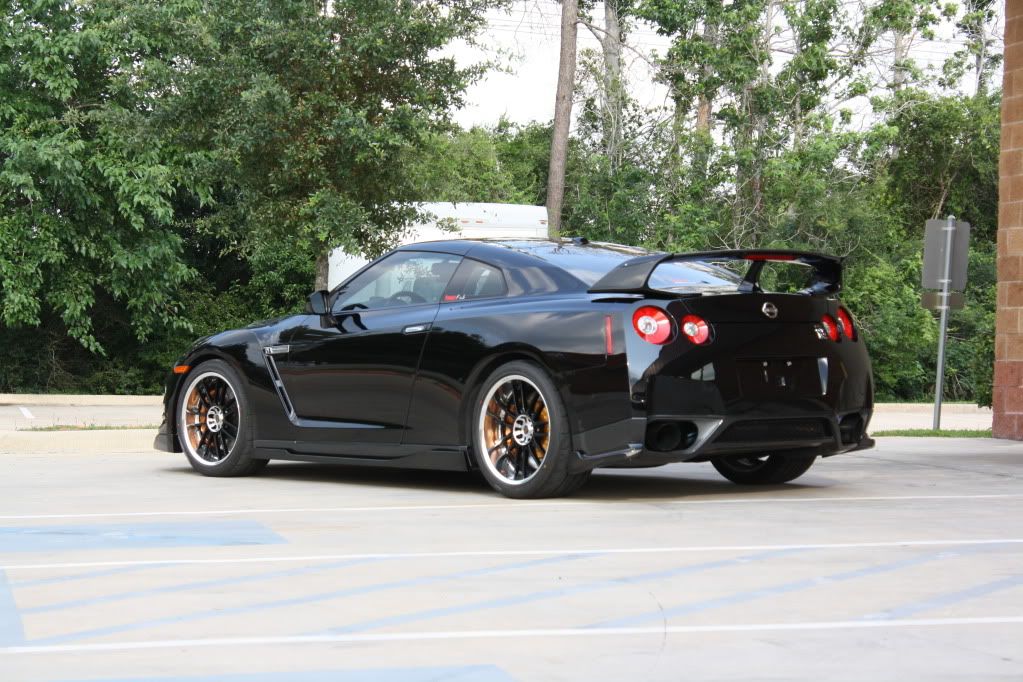
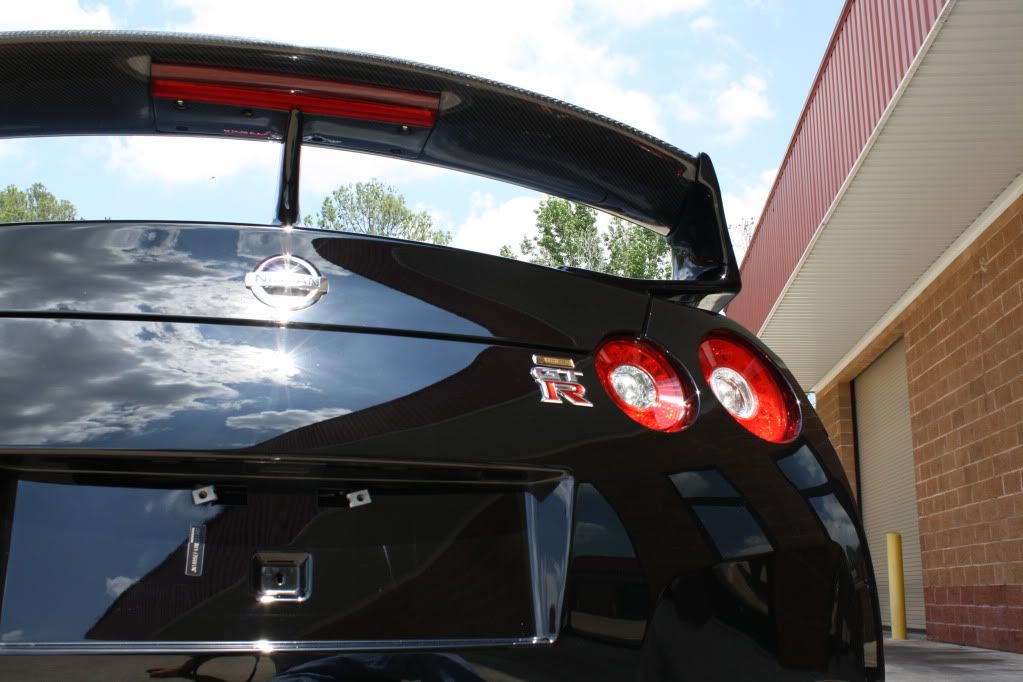
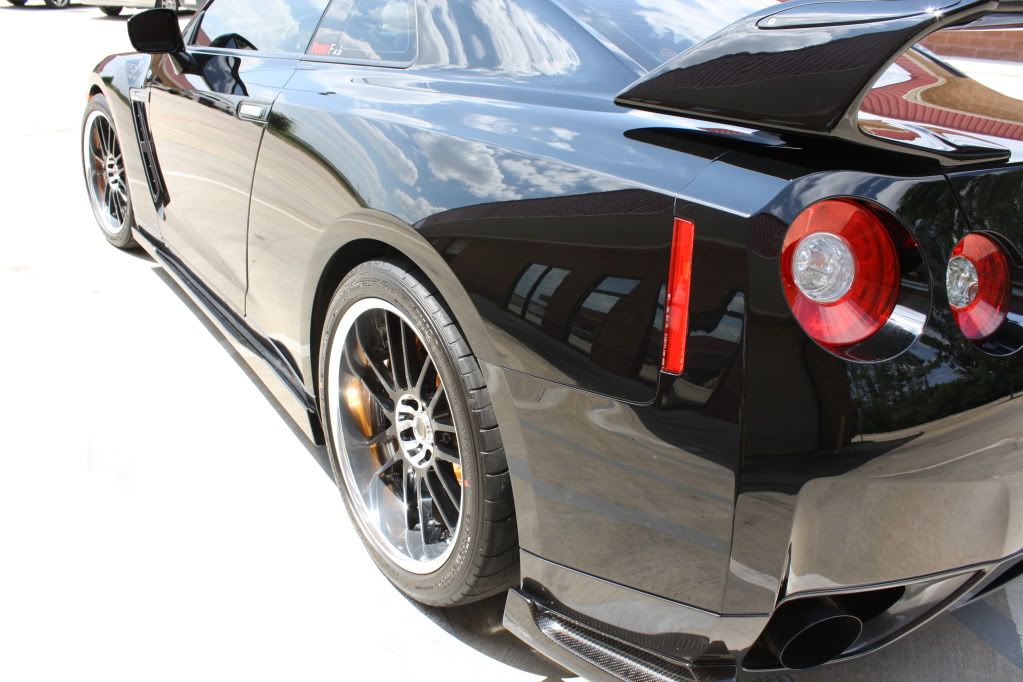
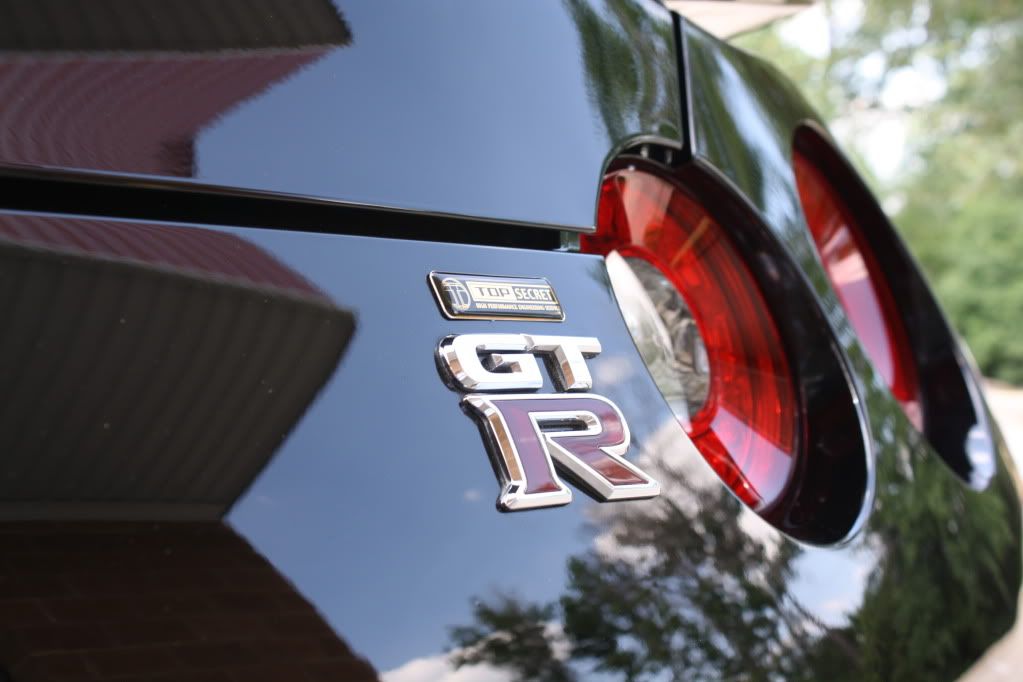
I've detailed their GTR previously, and while it doesn't seem like two years have passed since then, a lot can happen as you will no doubt notice. This might be my first post, but I've lurked these forums for a while and found that you folks like pictures.
I'll get right to it then.
Supplies used:
Autogeek foam gun (Water hose adapter style)
Detailer's Pro Series Super Foam Formula
Poorboy's Super Slick Suds
Dodo Juice Supernatural Washmit (wookie's fist)
Griots Garage yellow claybar
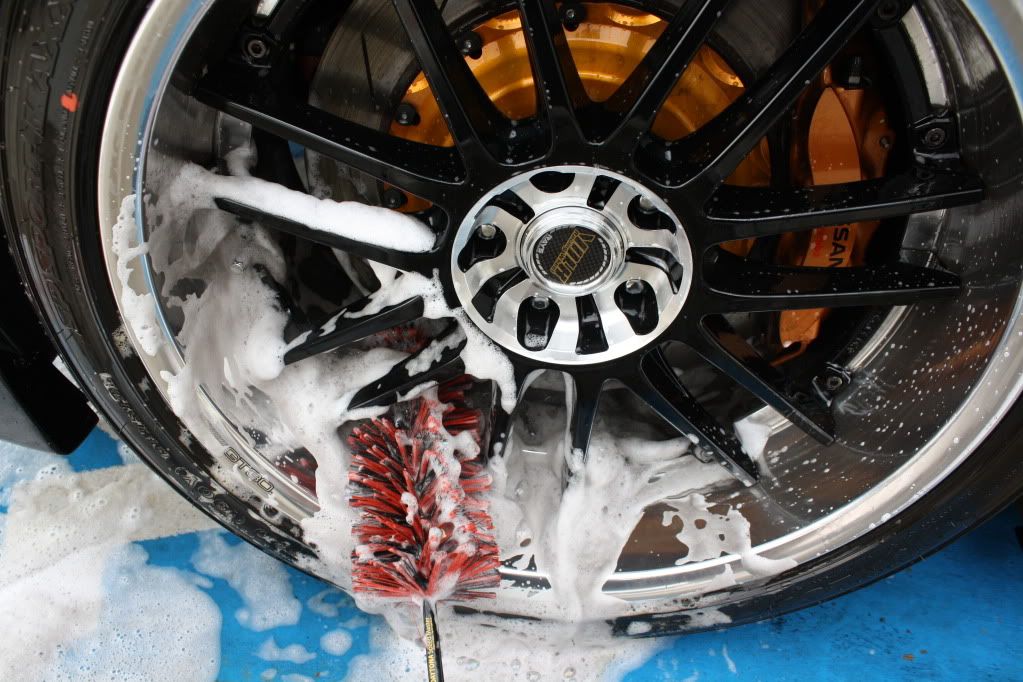
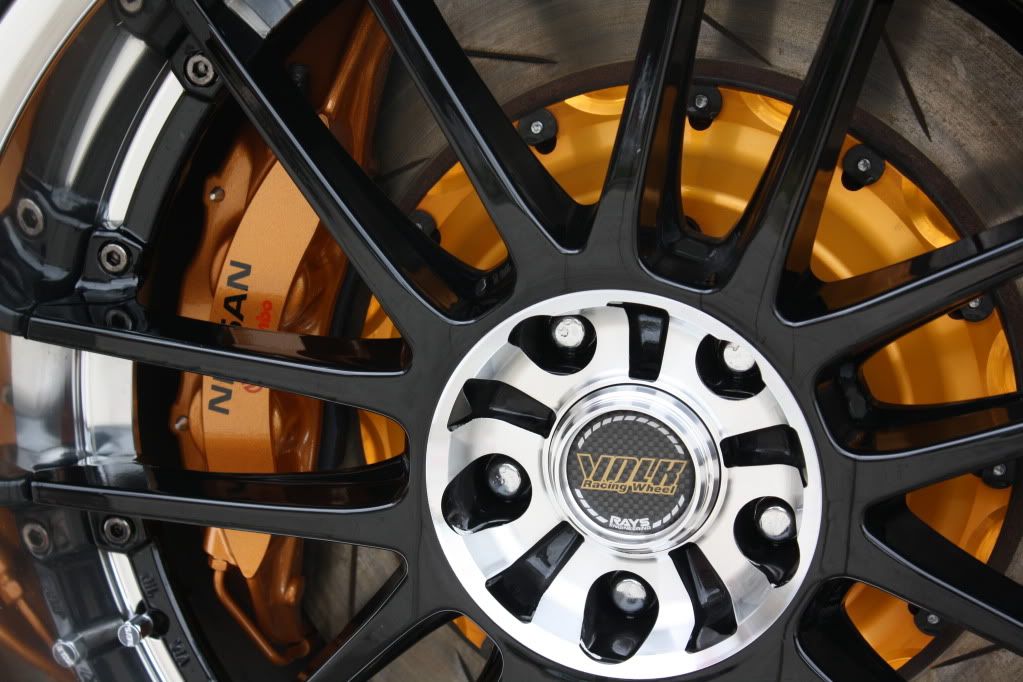
Detailer's Pro Series Wheel Cleaner
Daytona Speedbrush duo (large and small)
Detailer's Pro Series Super Foam Formula used with speedbrushes in bucket
(Generic wheel lug cleaning tool does not work with most aftermarket wheels with tight clearances, FYI)
Waffle Weave Ultimate Guzzler by Cobra
Brinkman Dual Xenon flashlight
Generic Dual Halogen Tripod
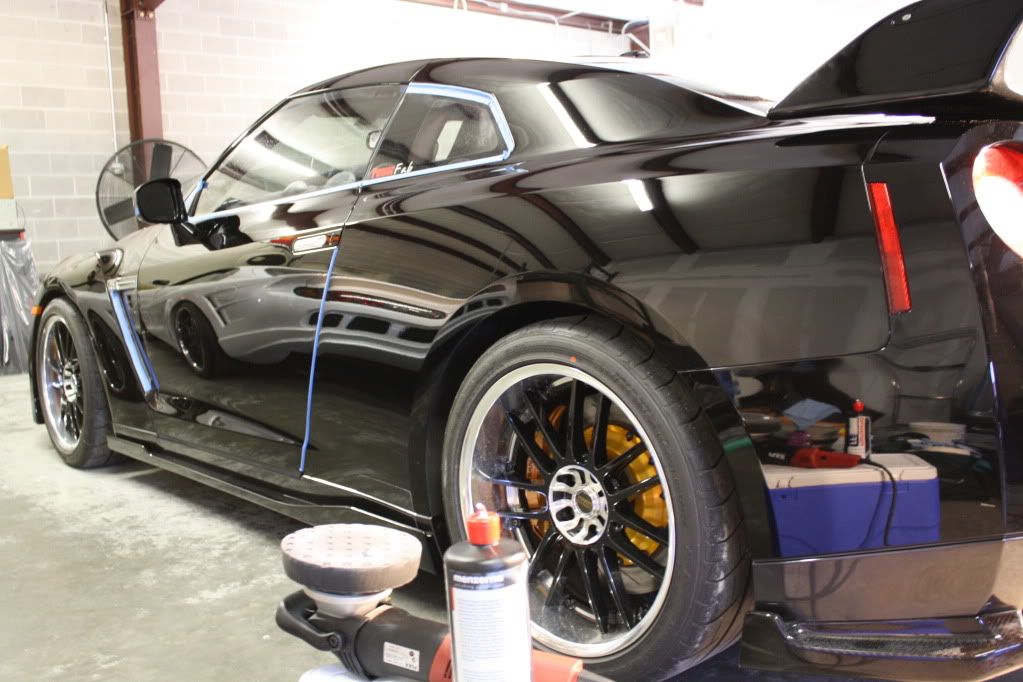
Makita Rotary 9227C
3M Perfect-It Rubbing Compound
3M Perfect-It Machine Polish
Lake Country 6" VC White
Lake Country 6" White Braided Wool
Flex XC 3401 Orbital
Menzerna Intensive Polish
Menzerna Final Finish
XMT Pad Conditioning spray
XMT Pad Cleaning Solution
Lake Country CCS White
Lake Country CCS Black
Blackfire Wet Diamond Sealant
Dodo Juice Hard Candy Wax
Dodo Juice Rainforest Rub
Blackfire Tire Gel
Meguiars Instant Detailer
Invisible Glass Cleaner
Various assortment of brushes and microfiber towels
3M Painters tape

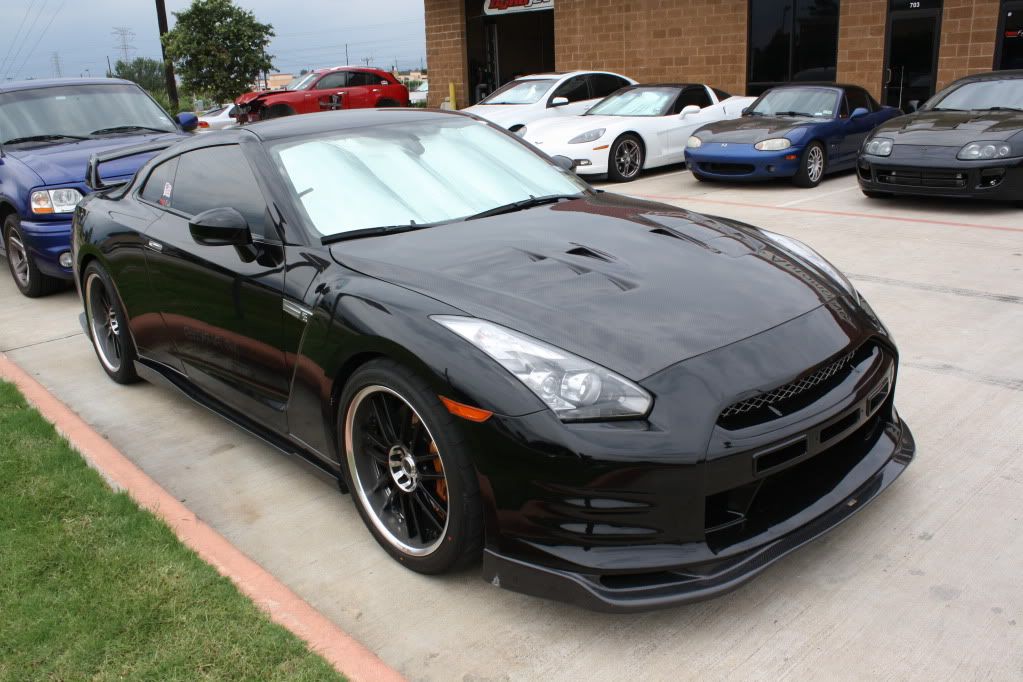
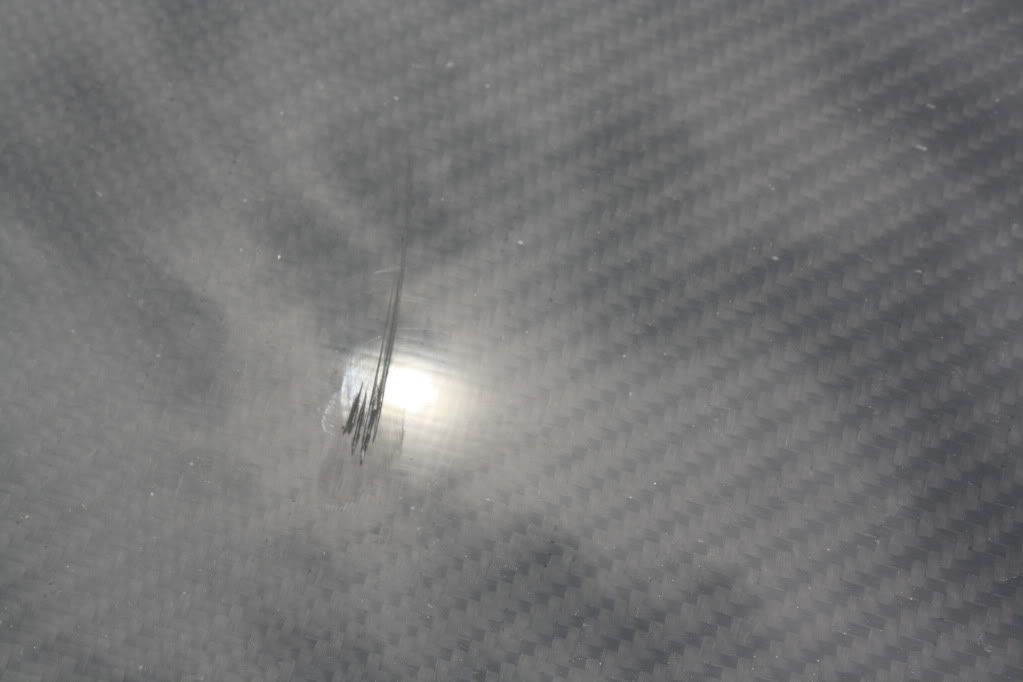
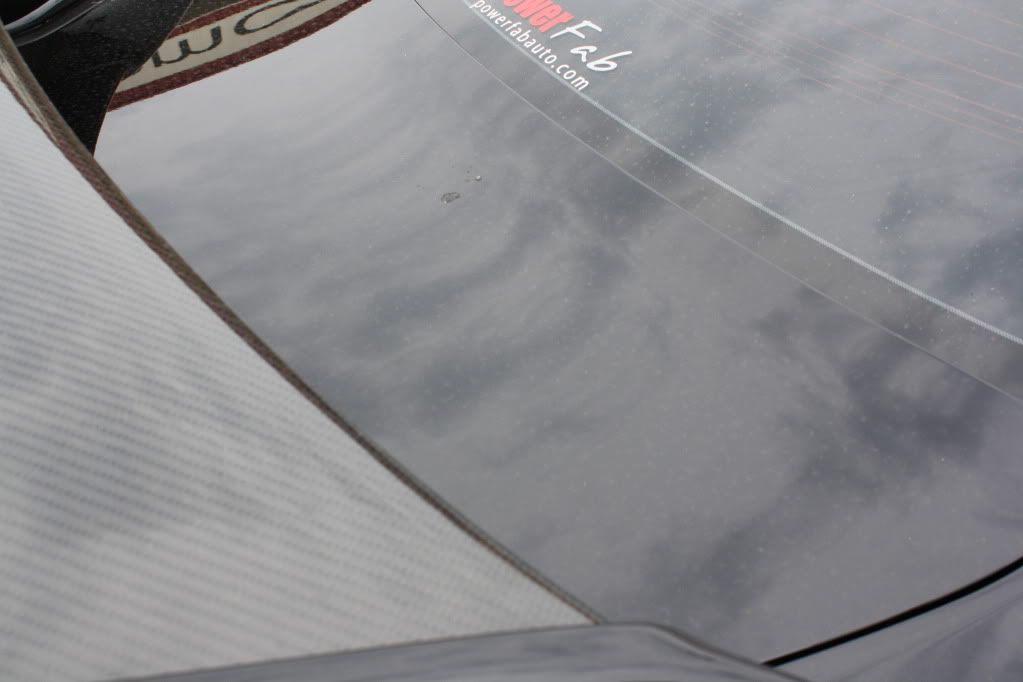
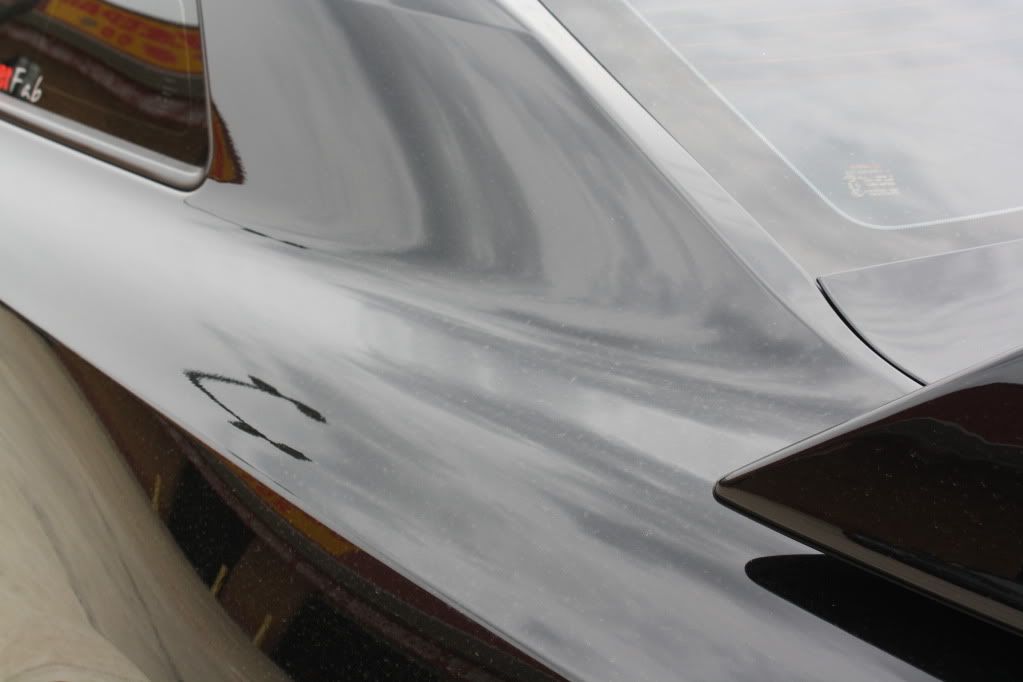
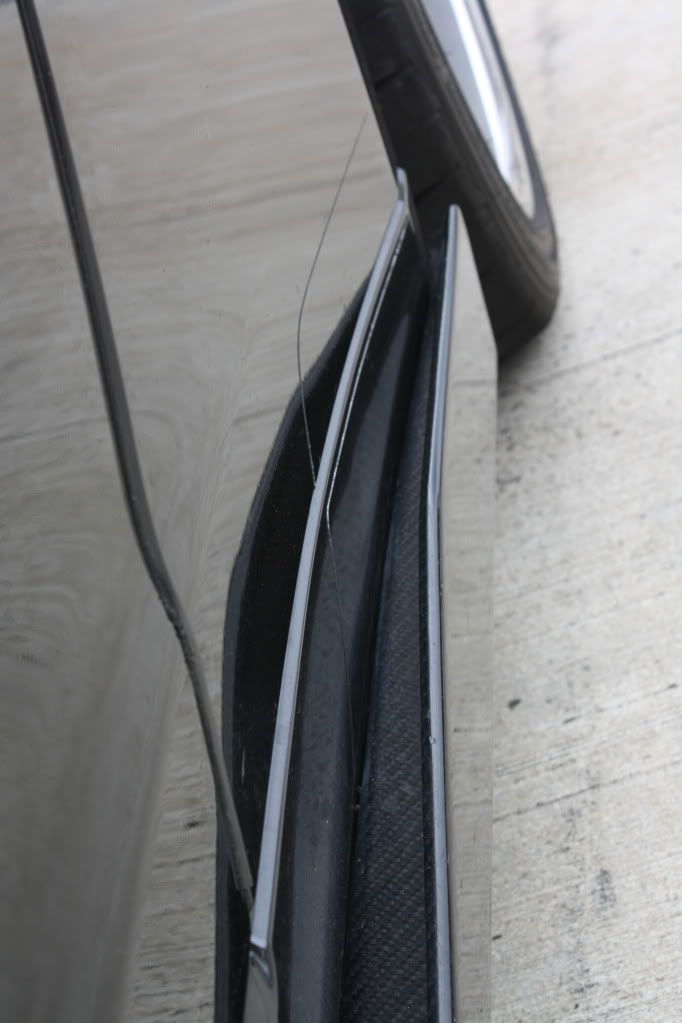
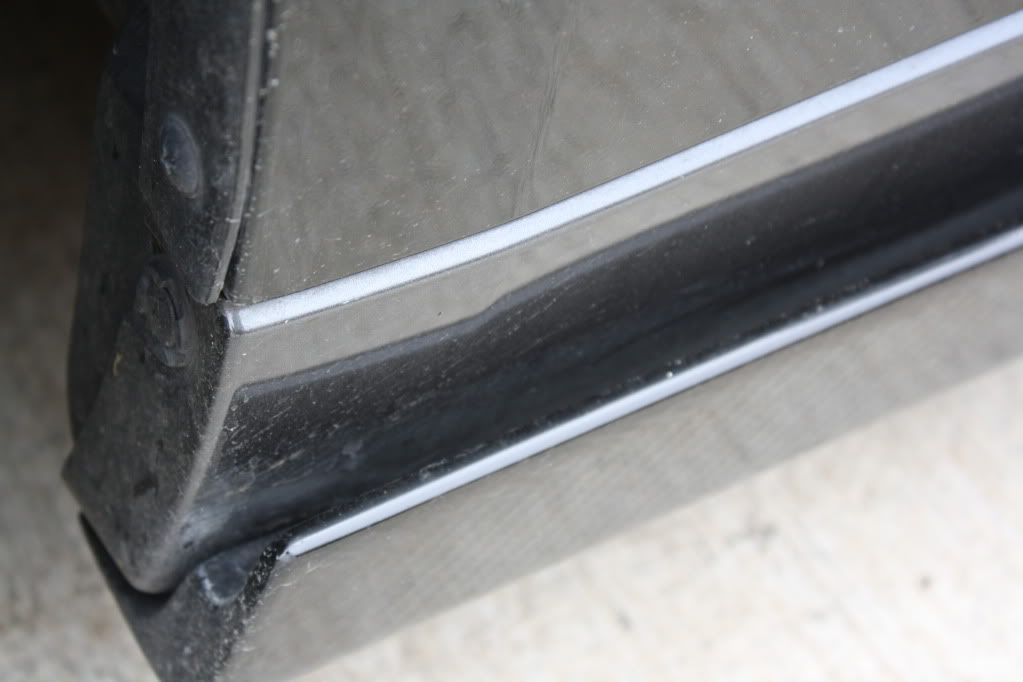
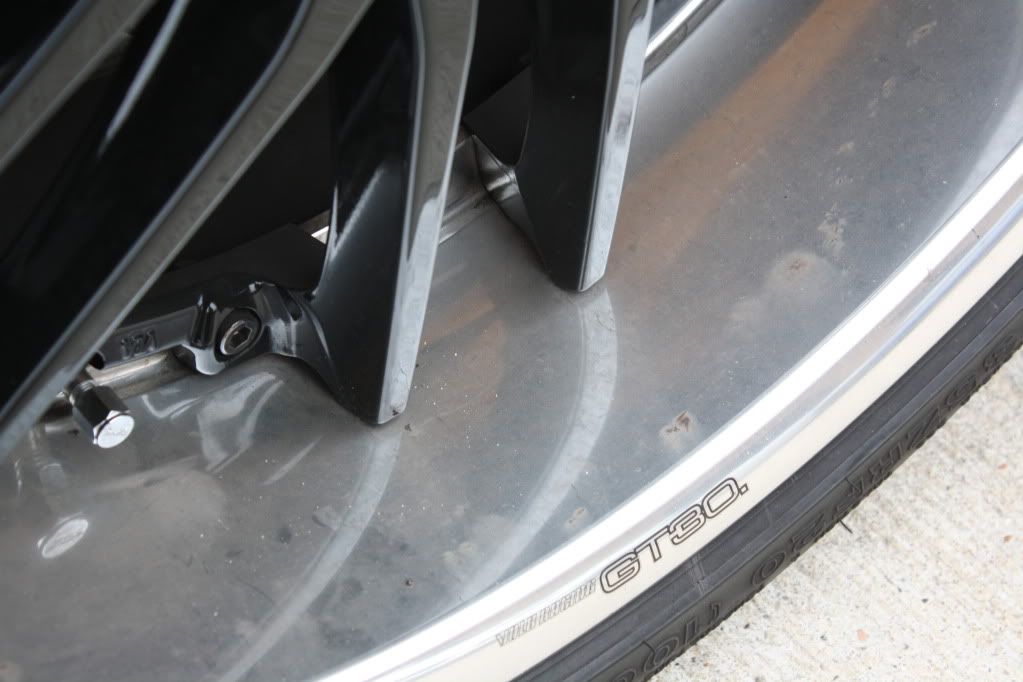
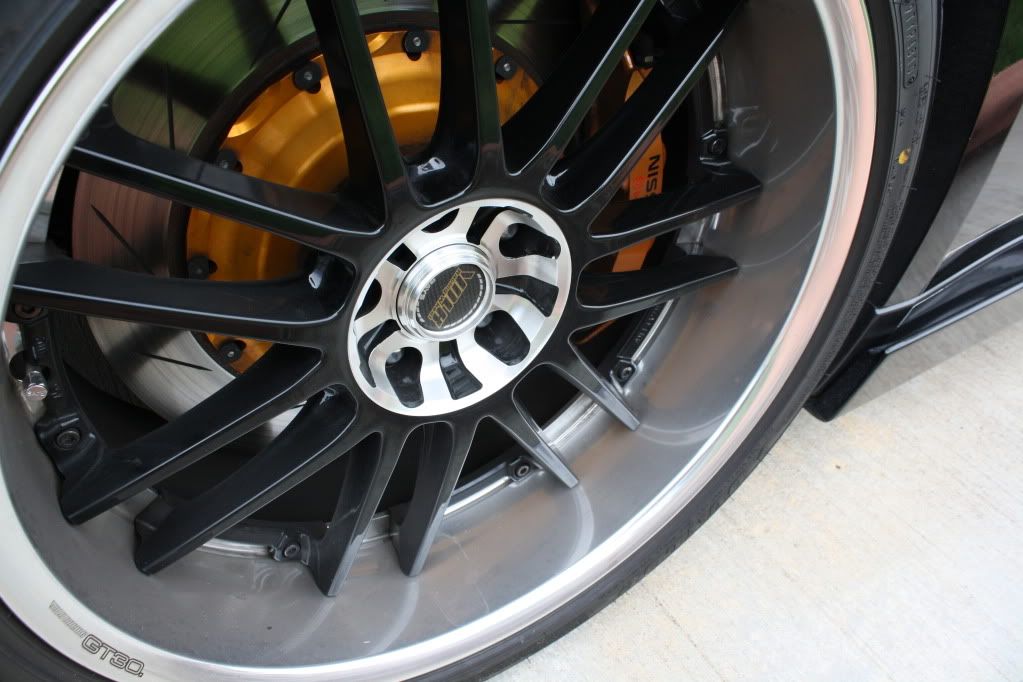
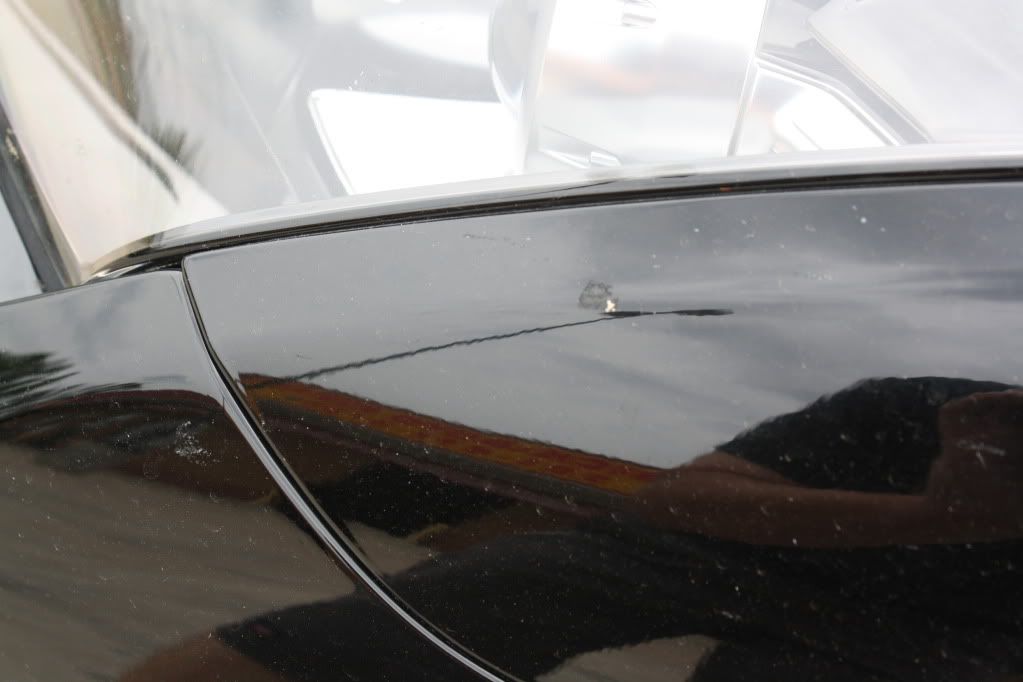
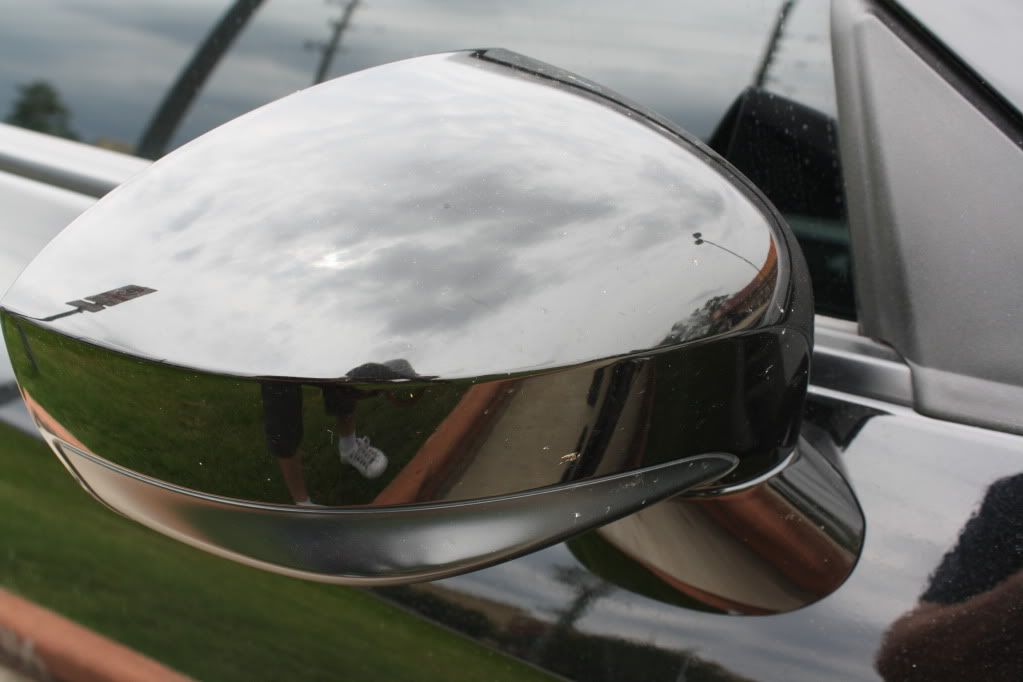
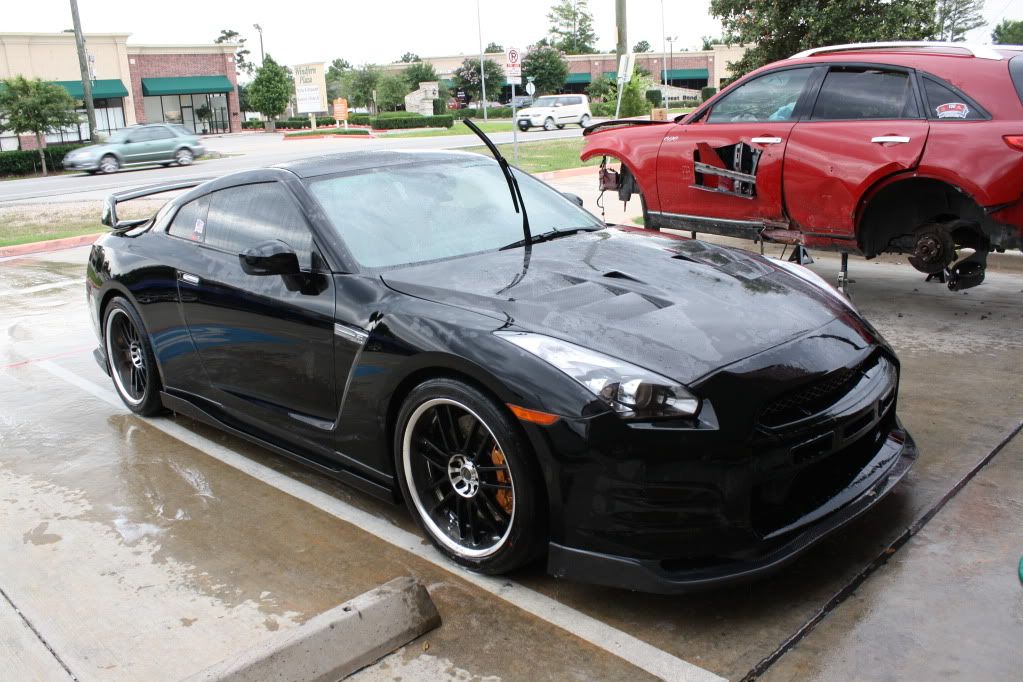
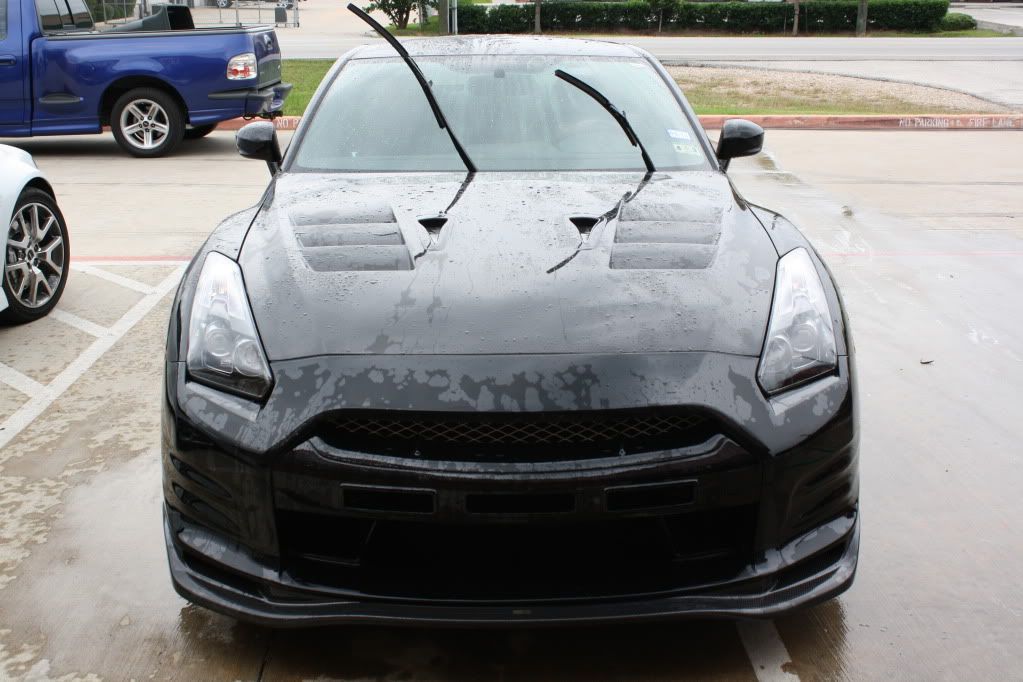
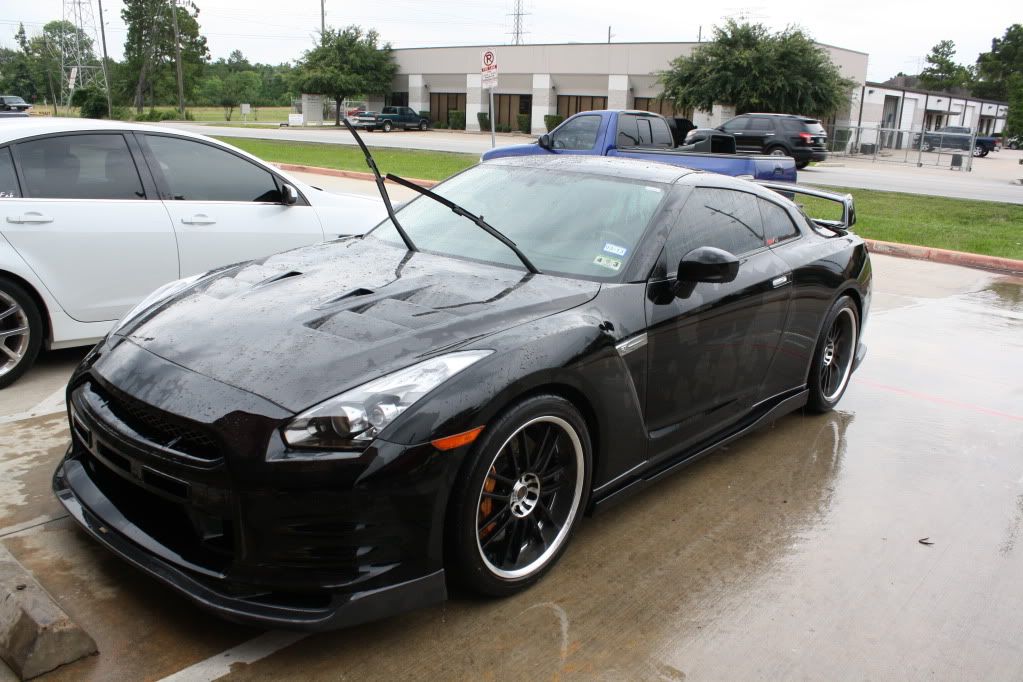
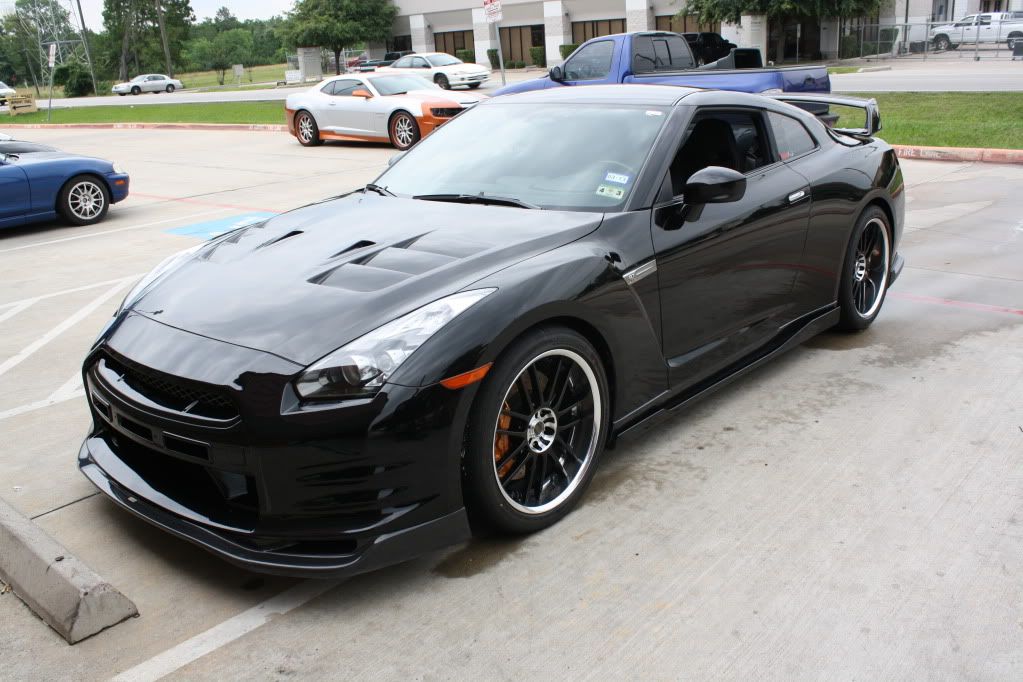
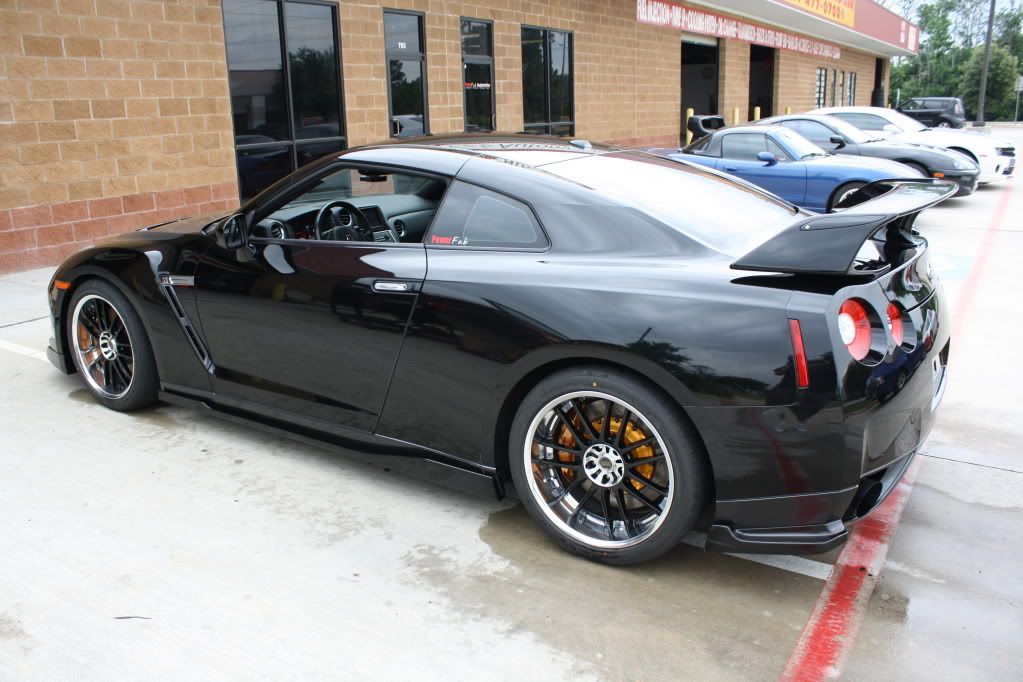
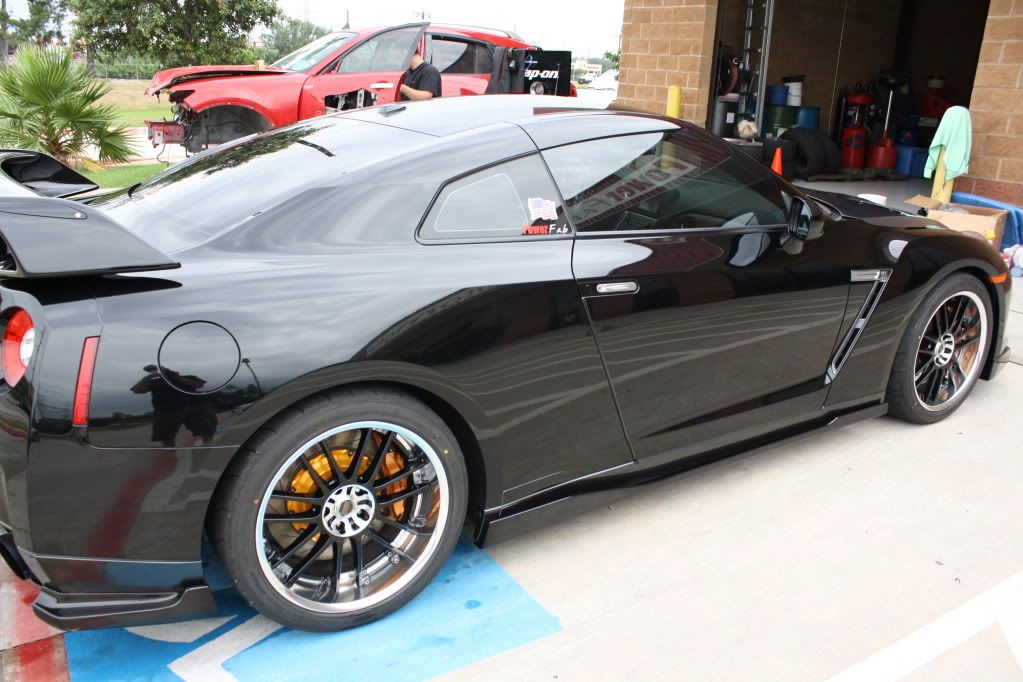
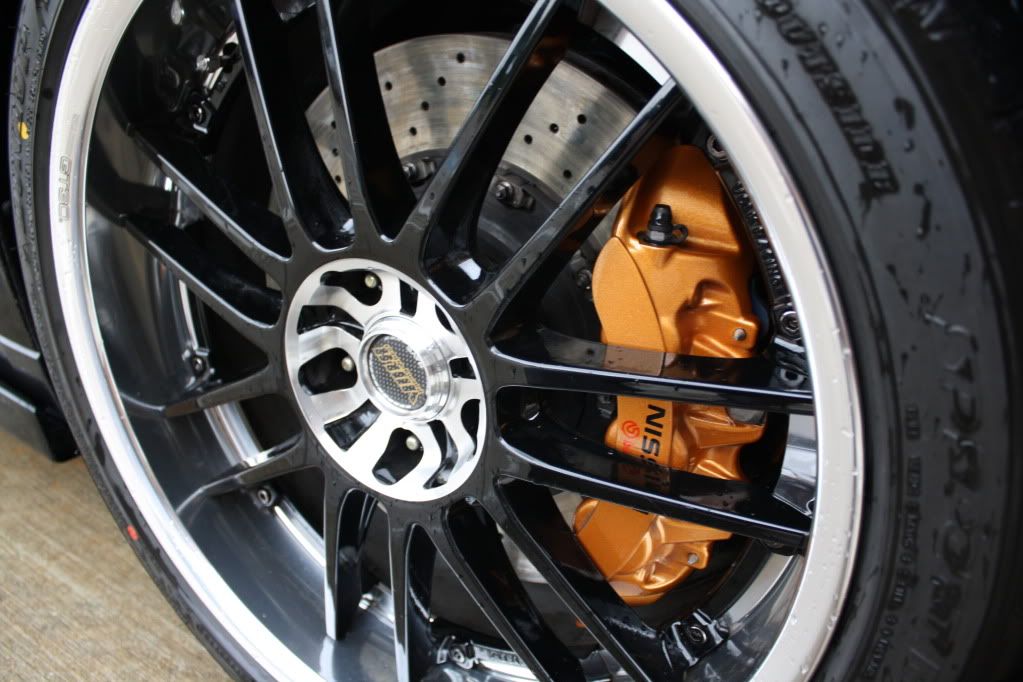
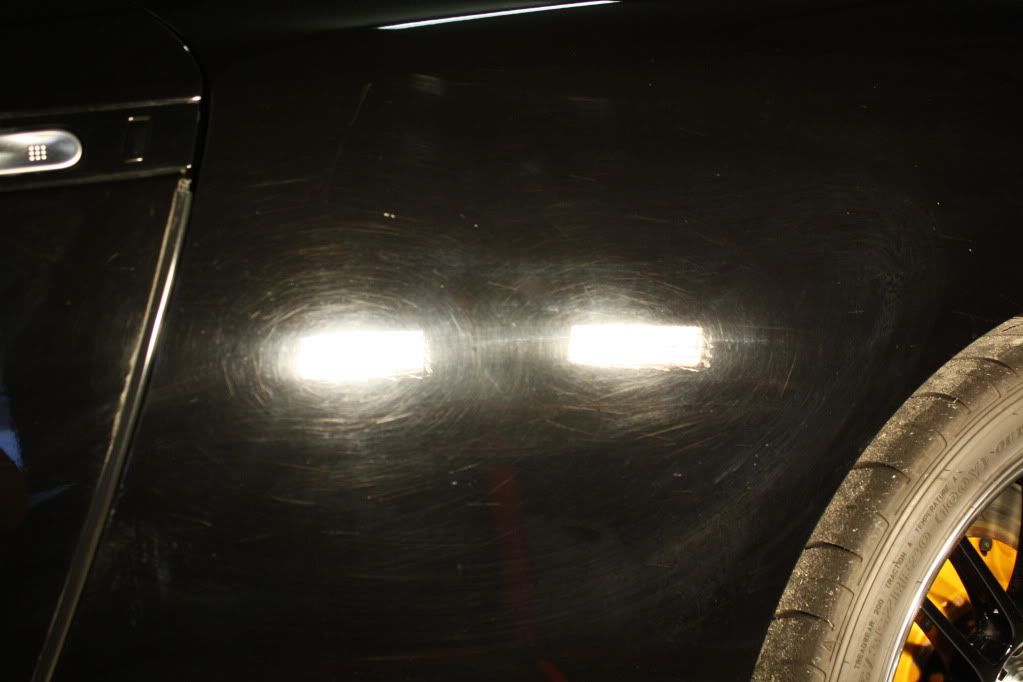
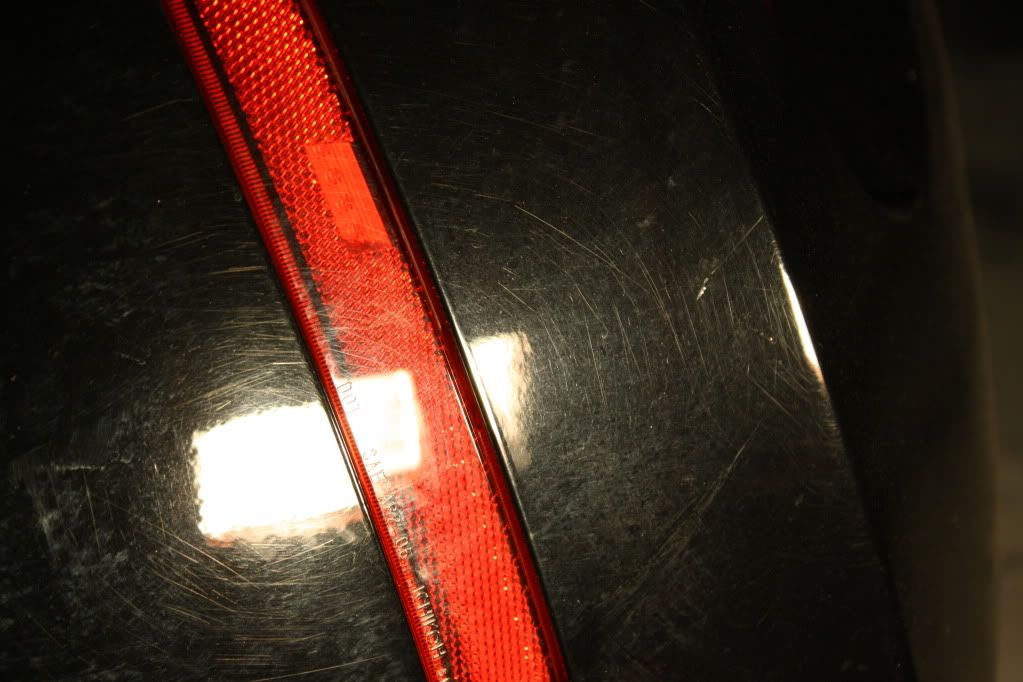
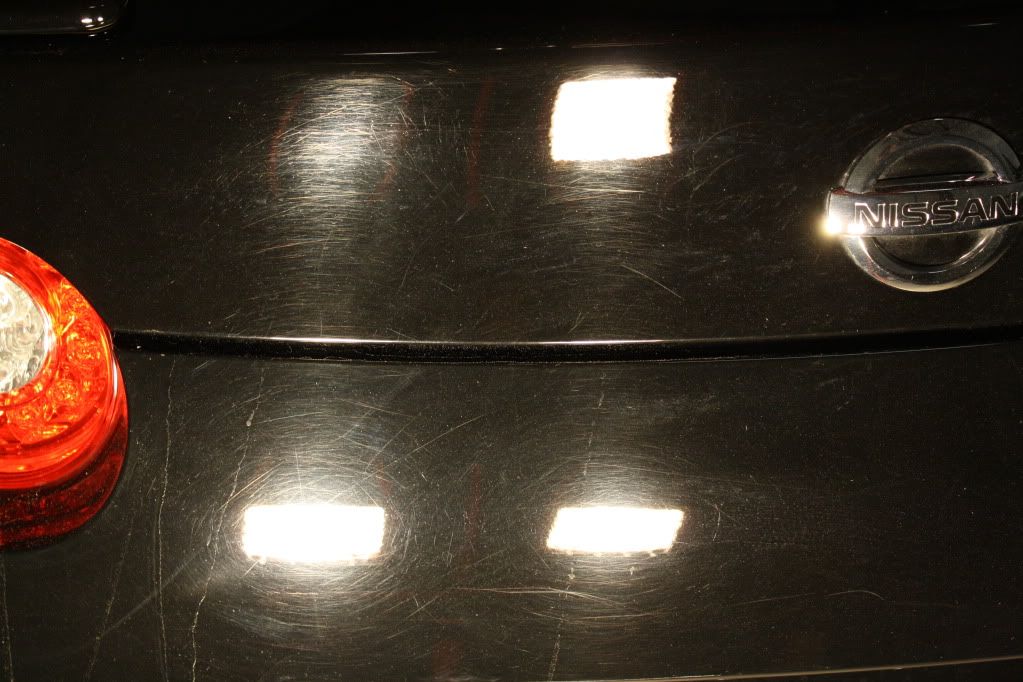
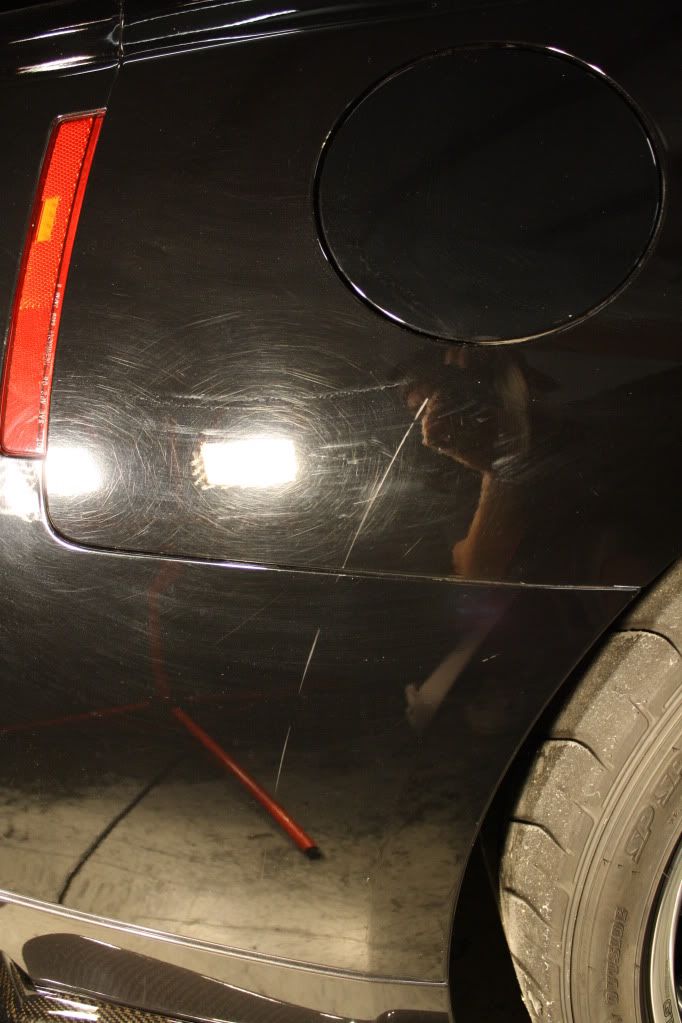
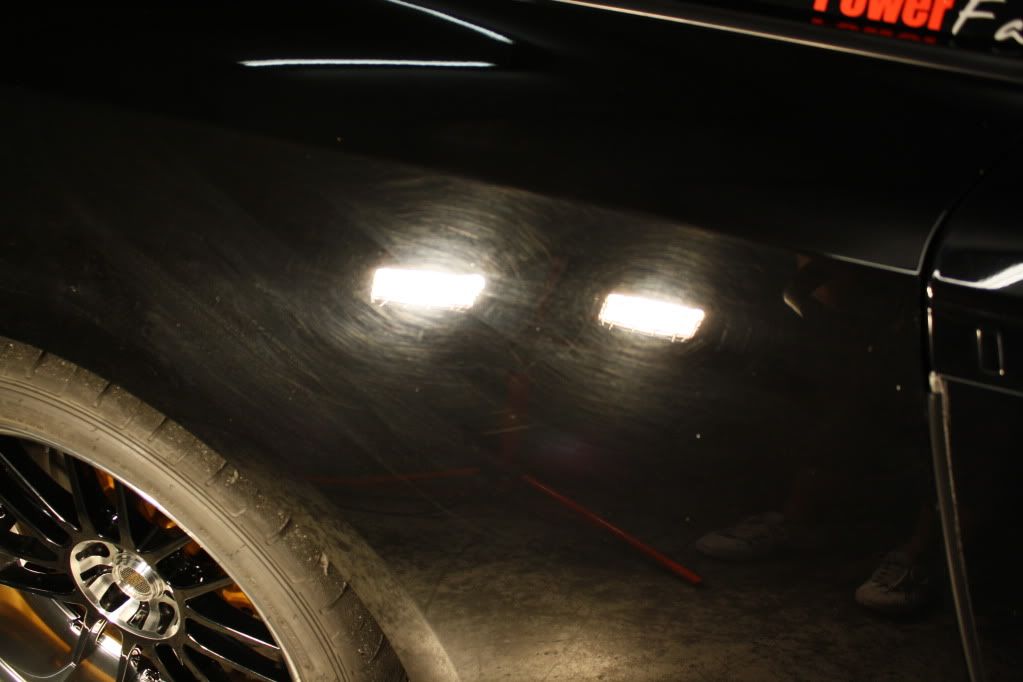
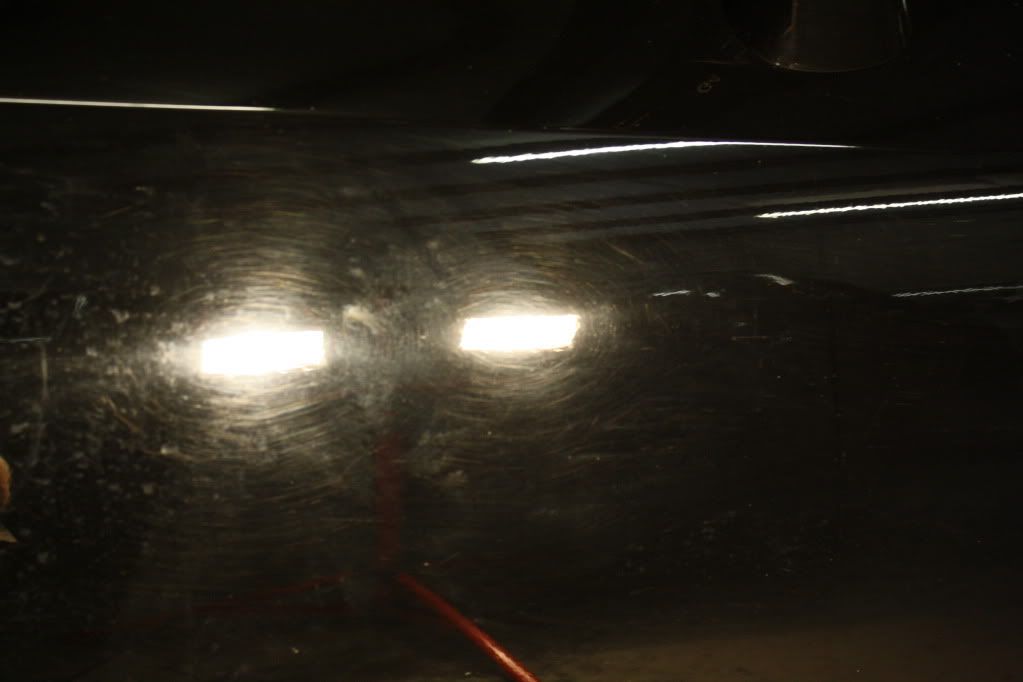
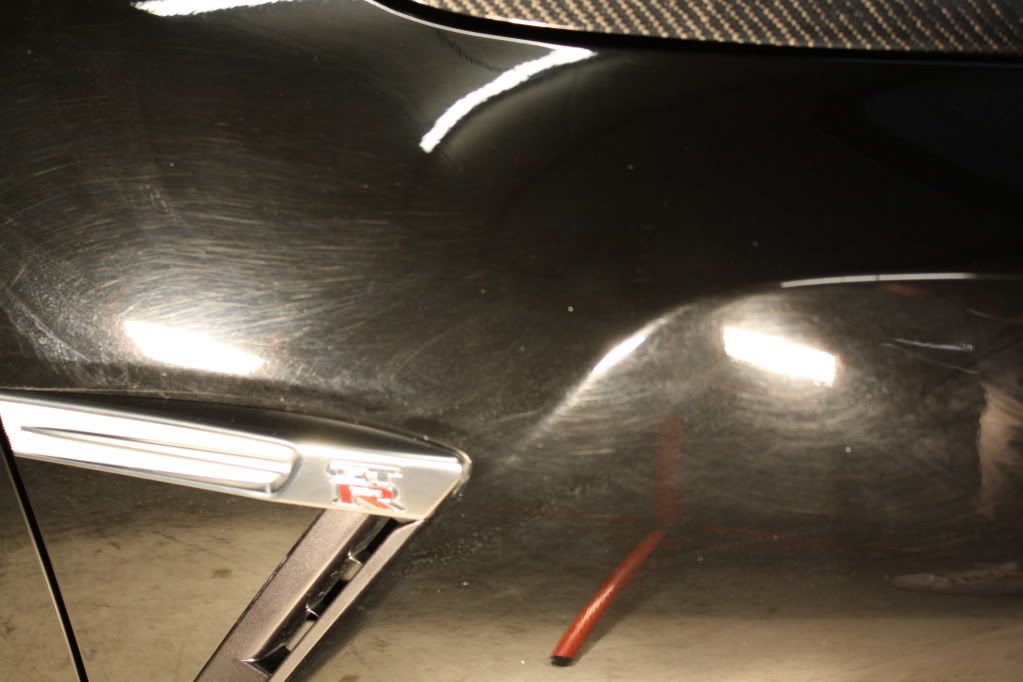
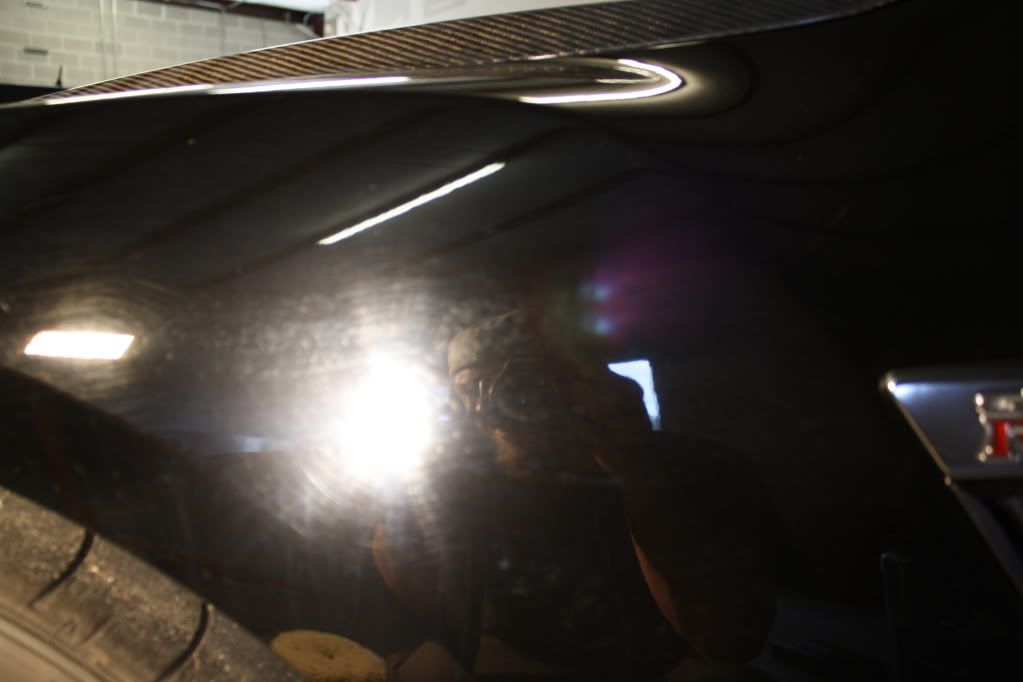
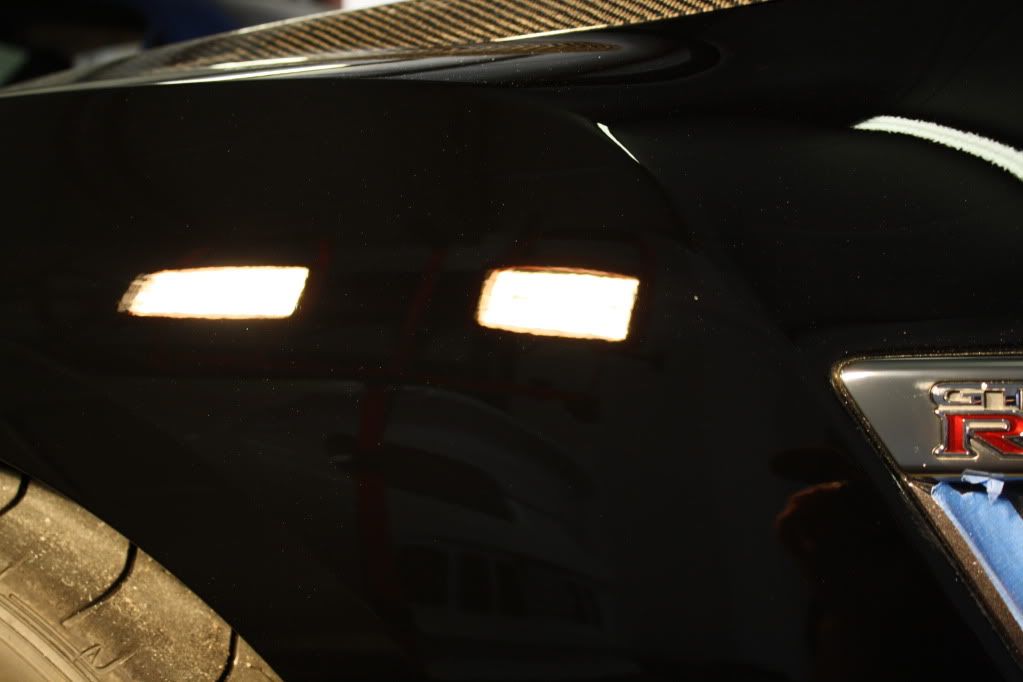
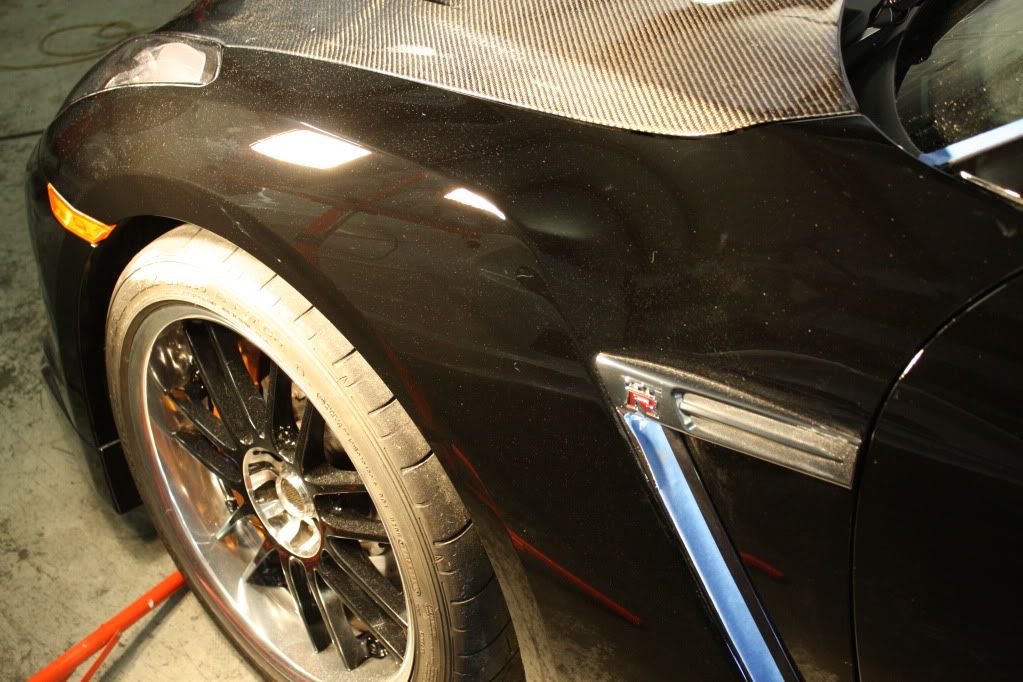
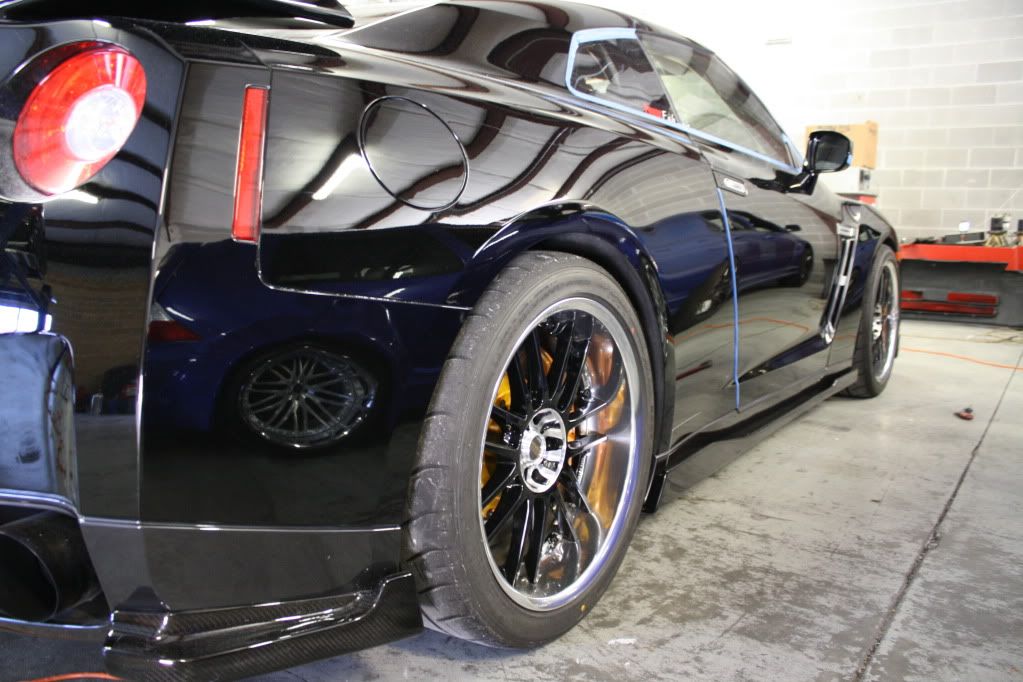
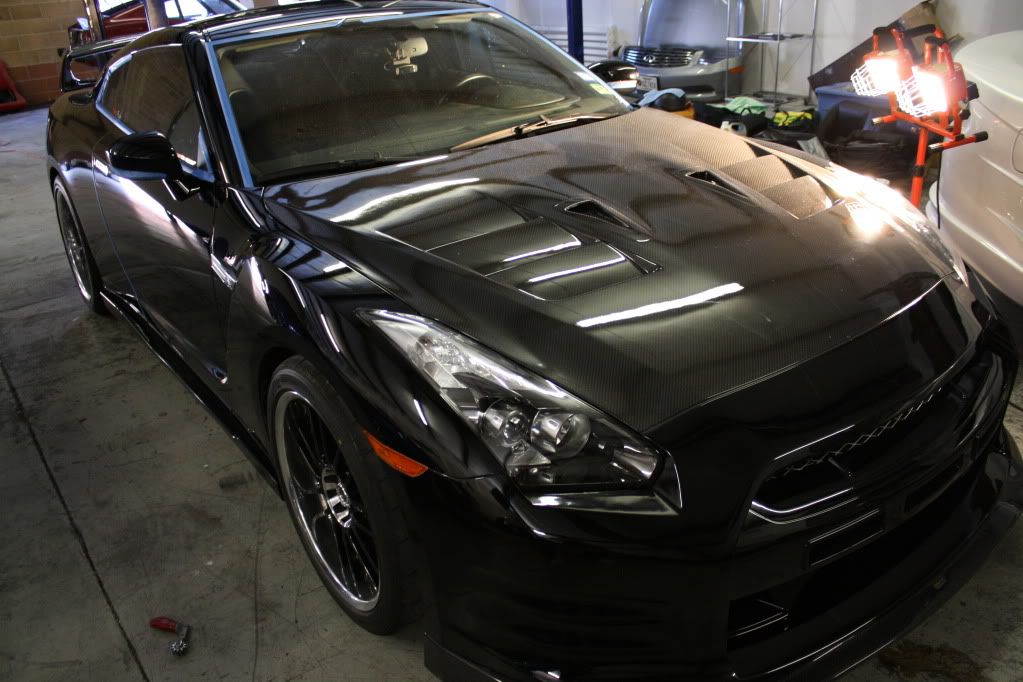
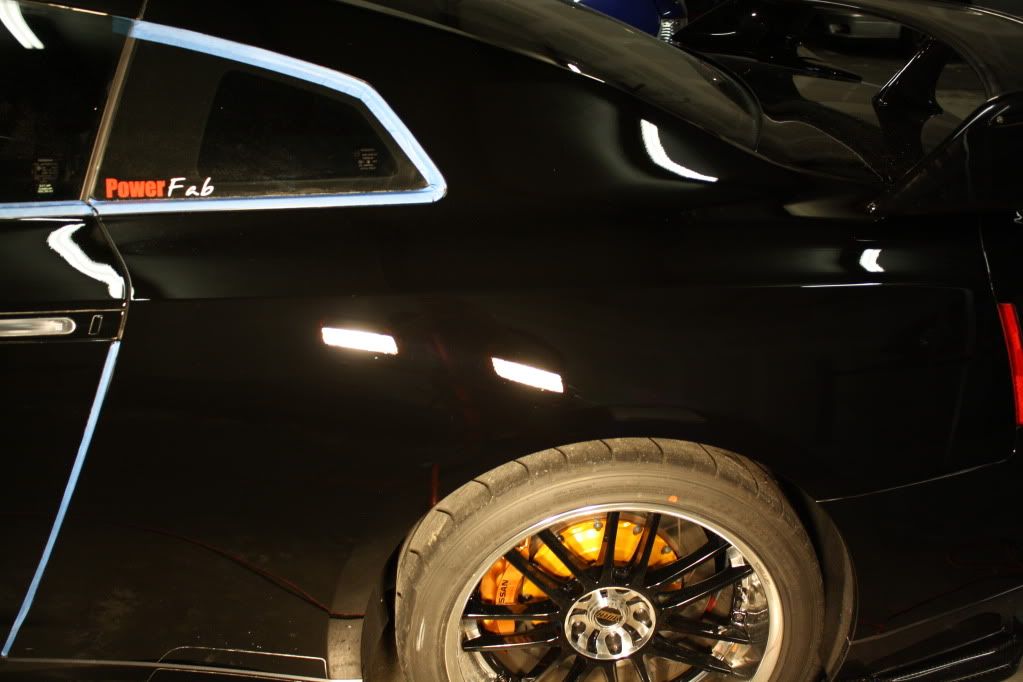
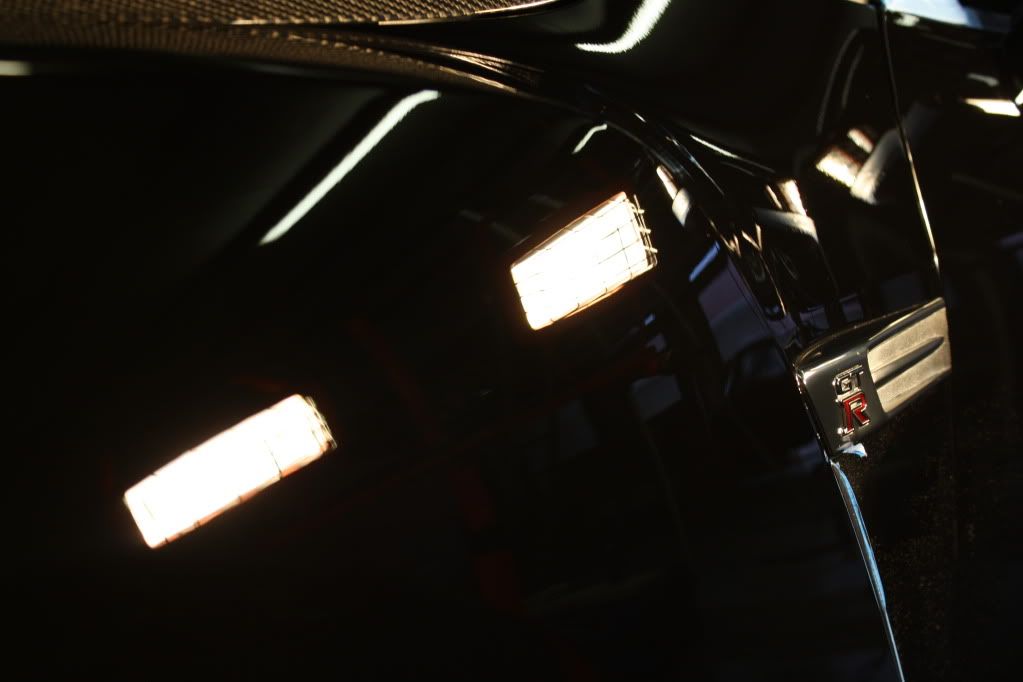
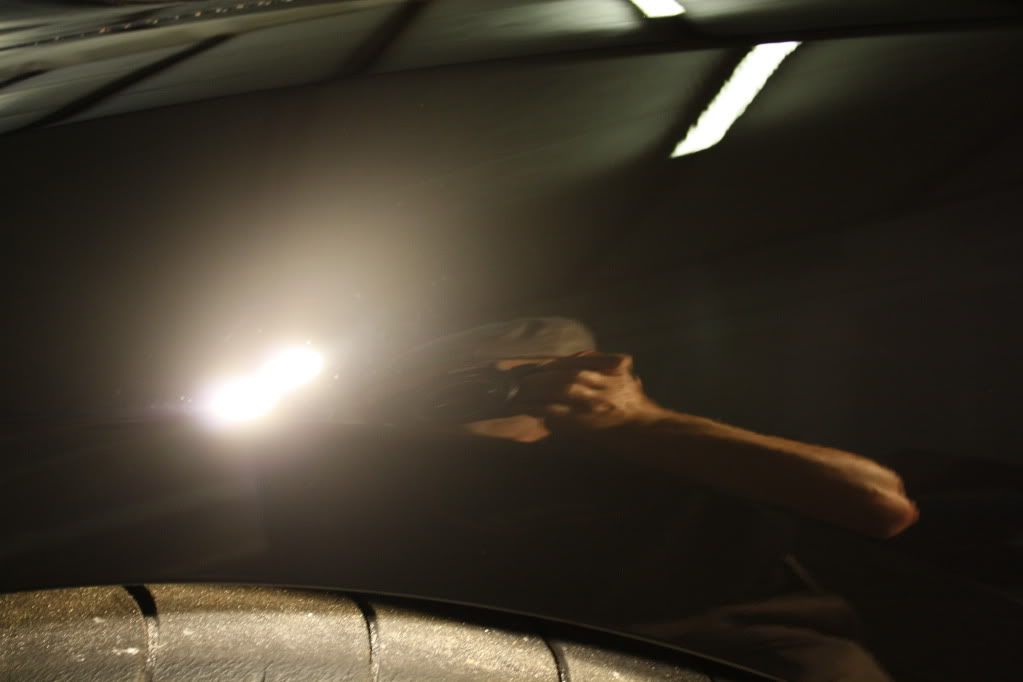
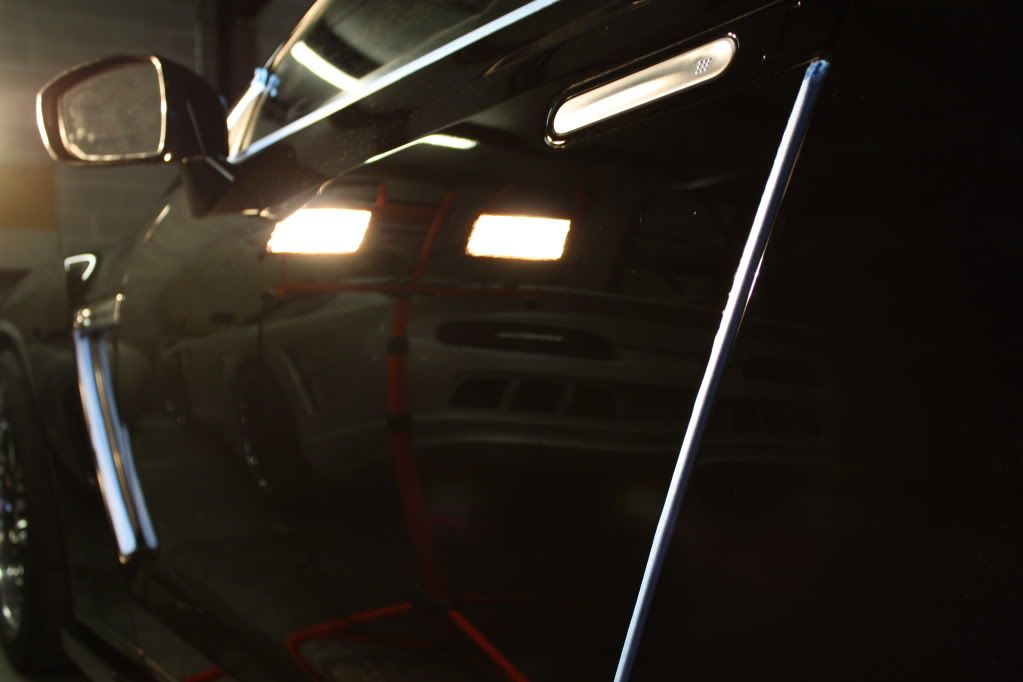
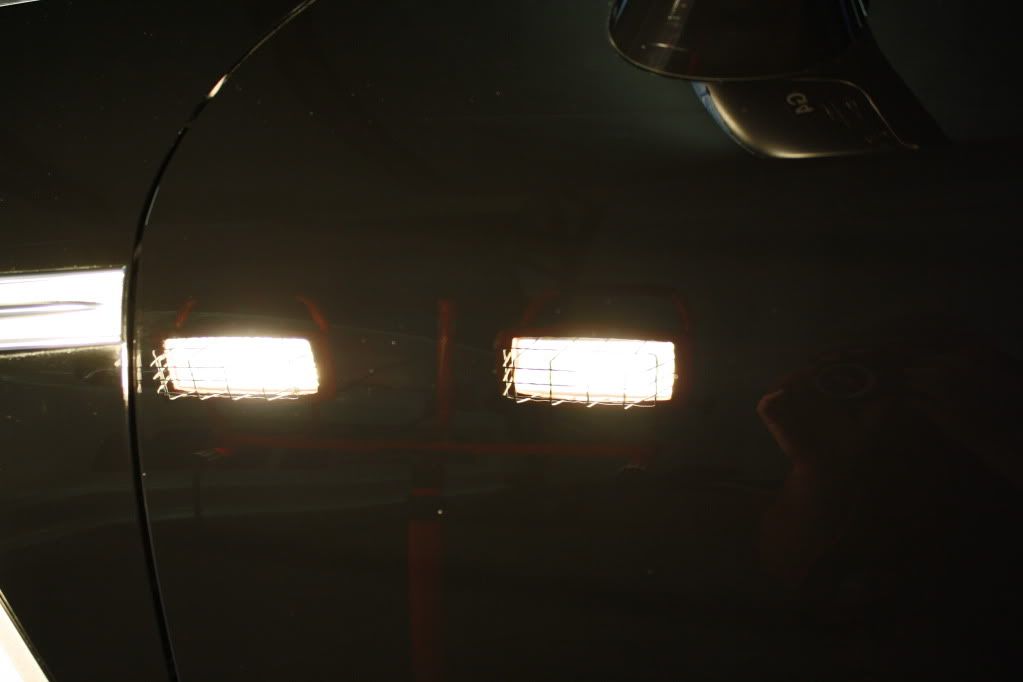
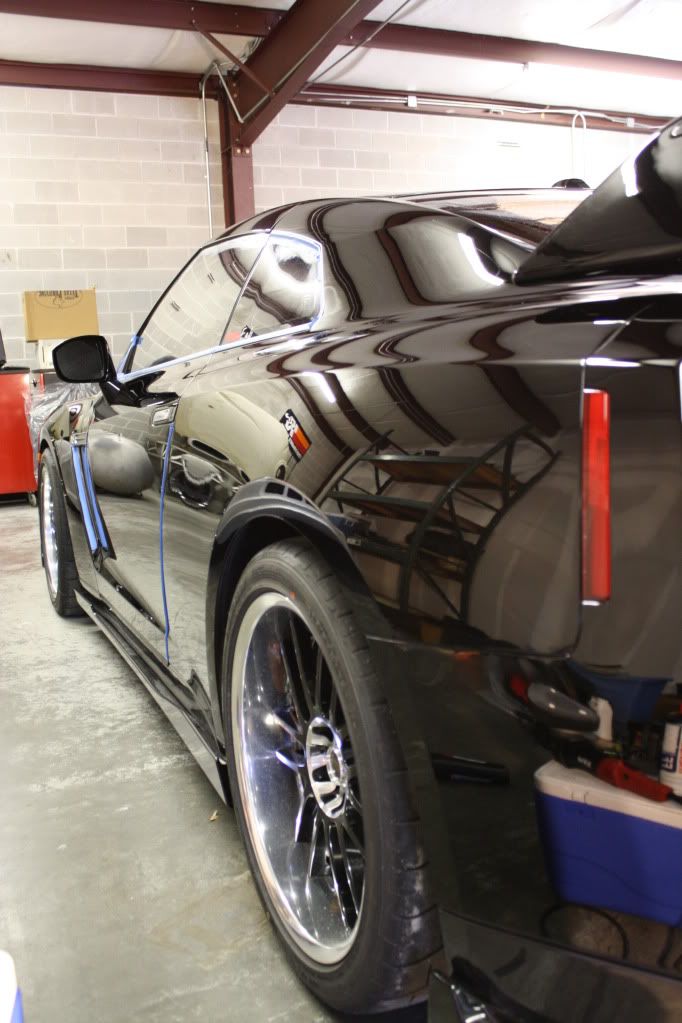
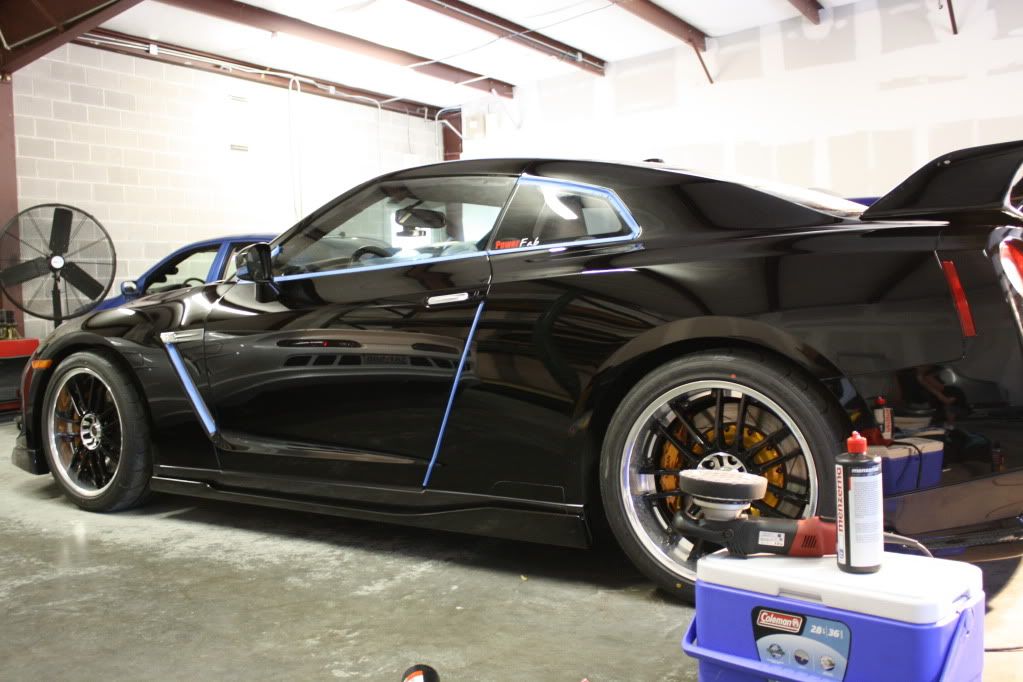
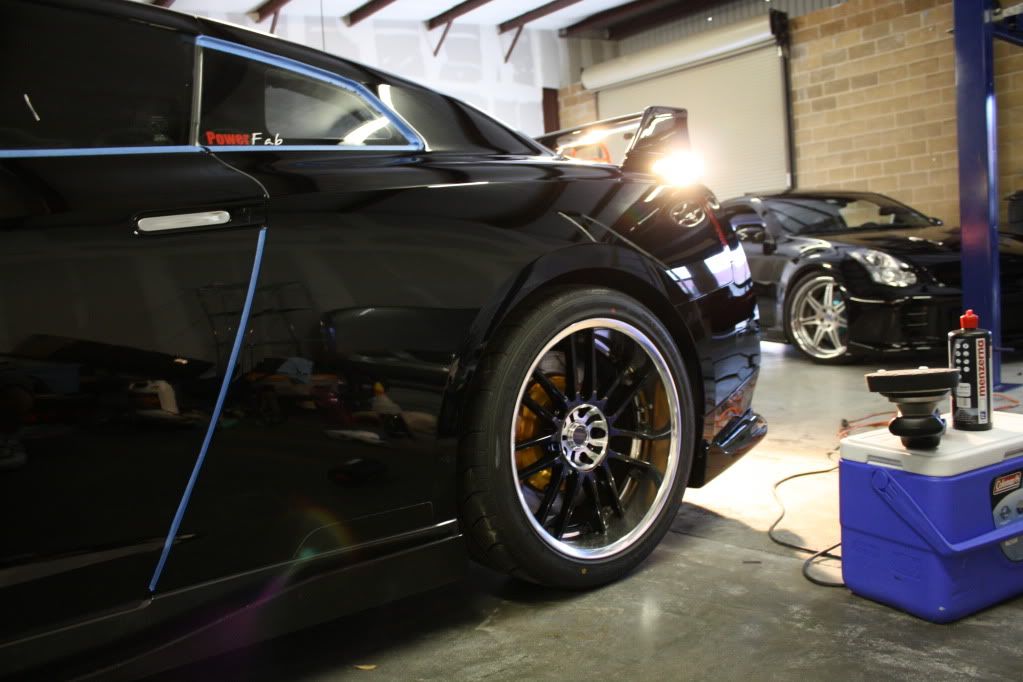
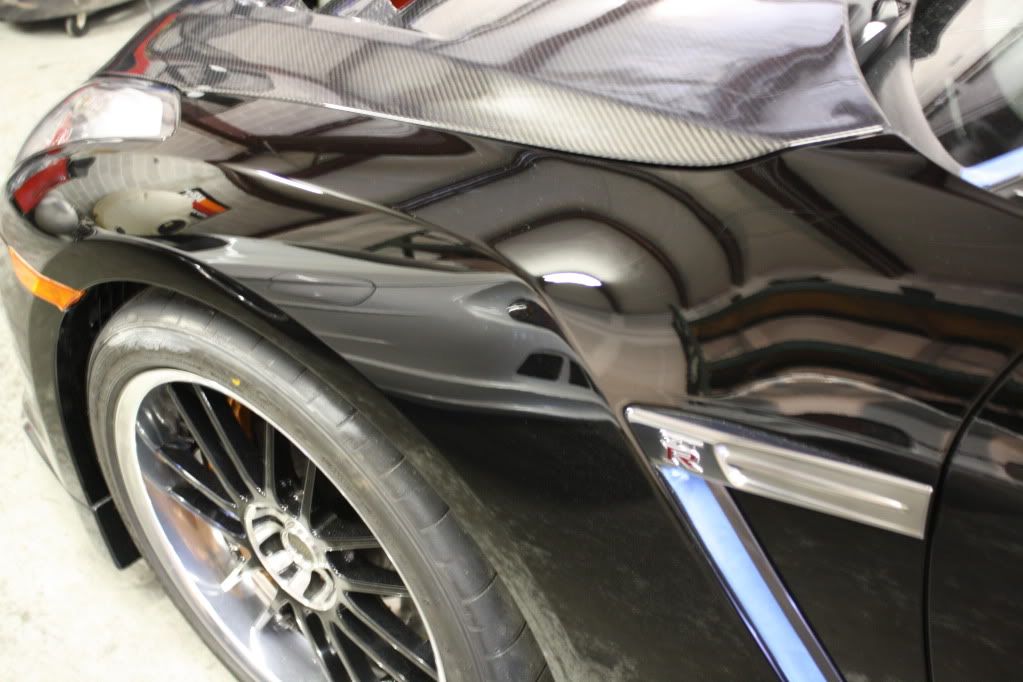
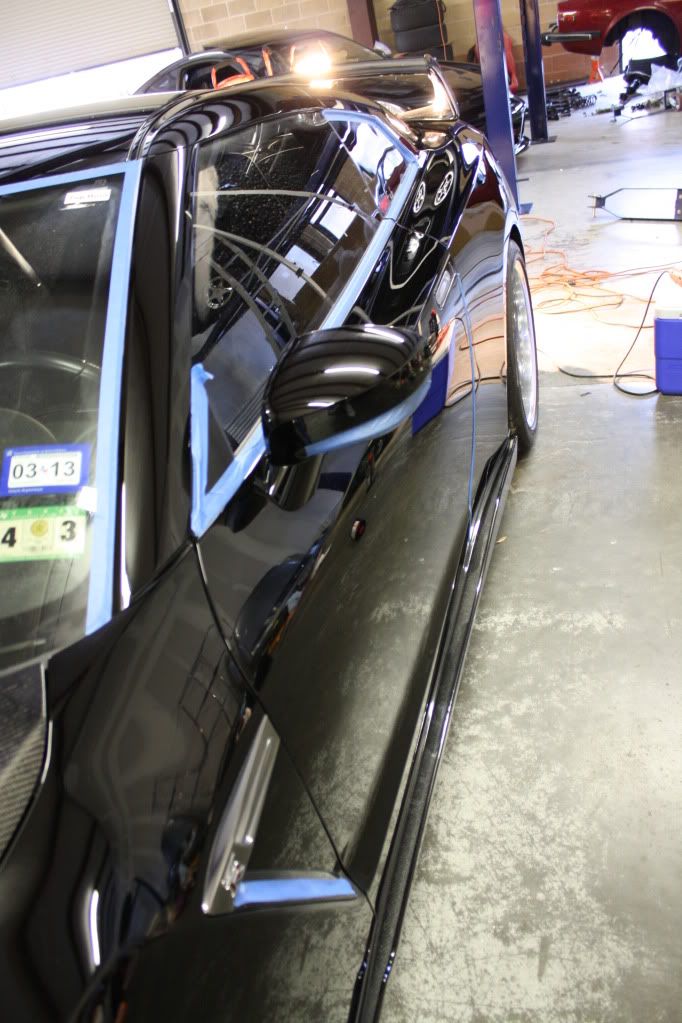
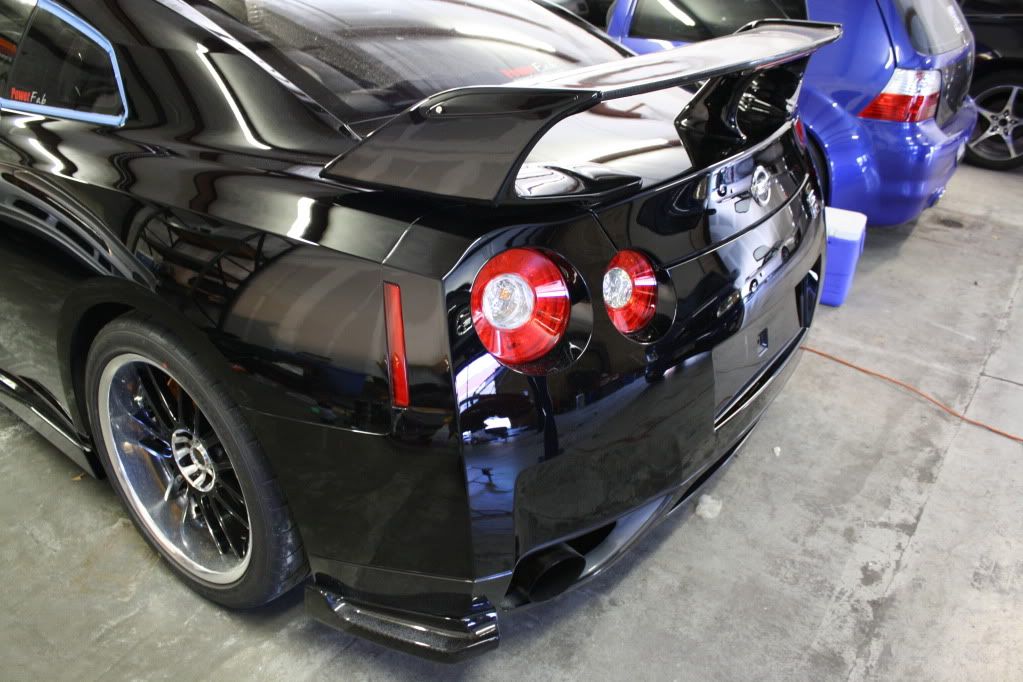
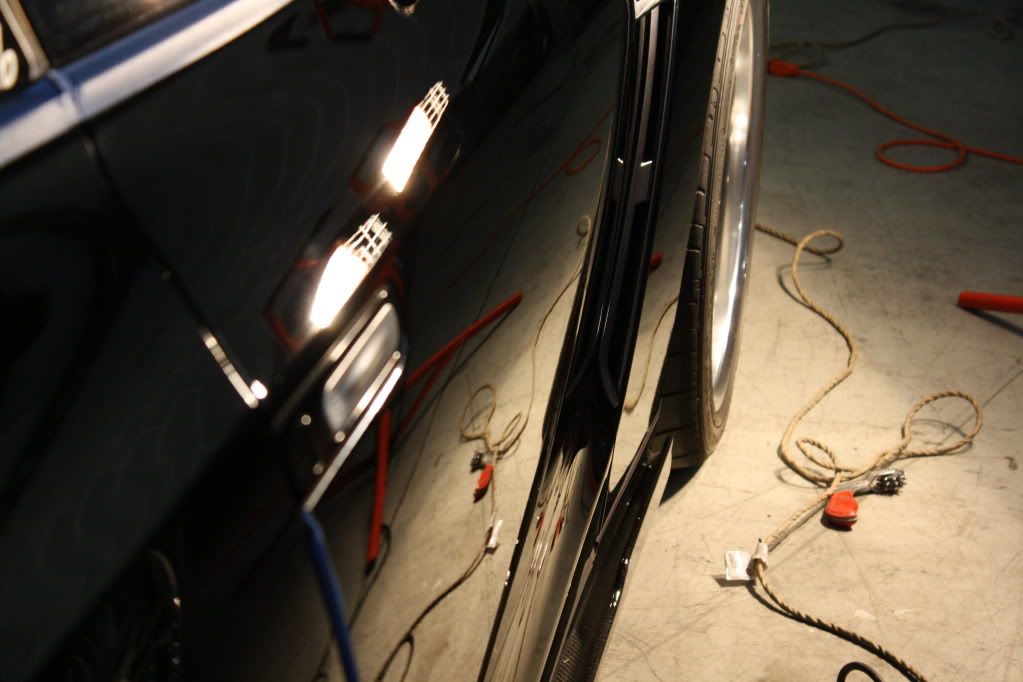
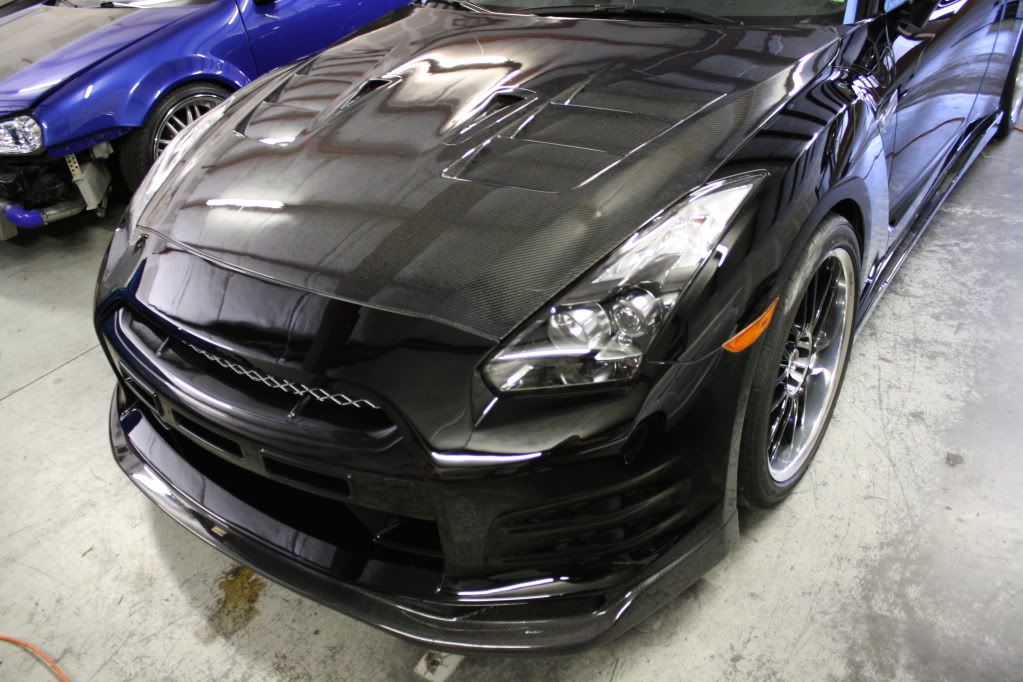
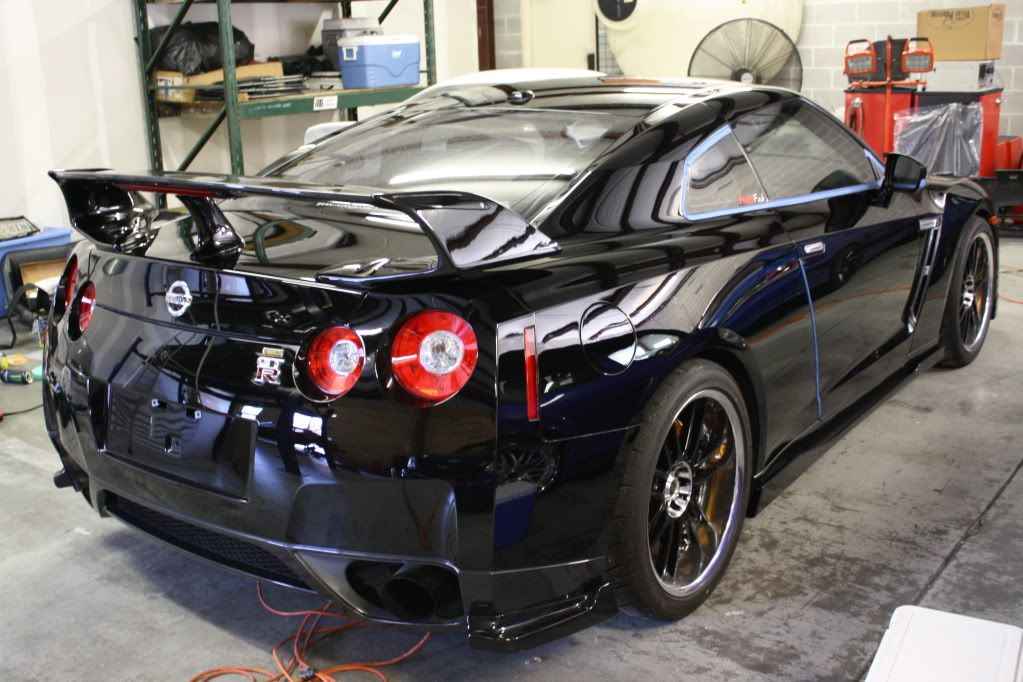
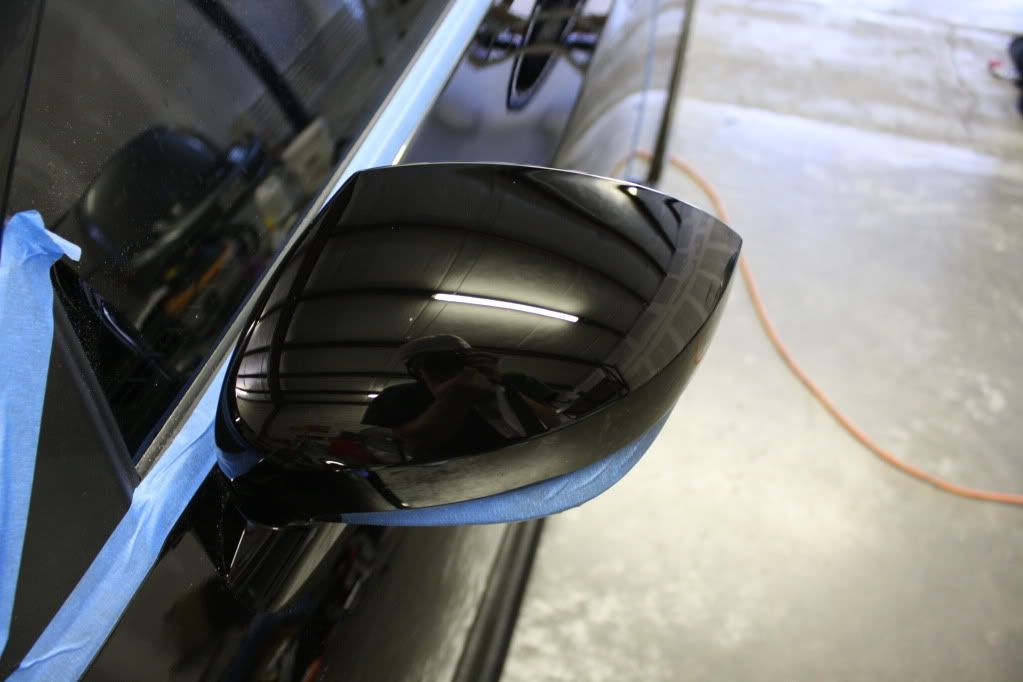
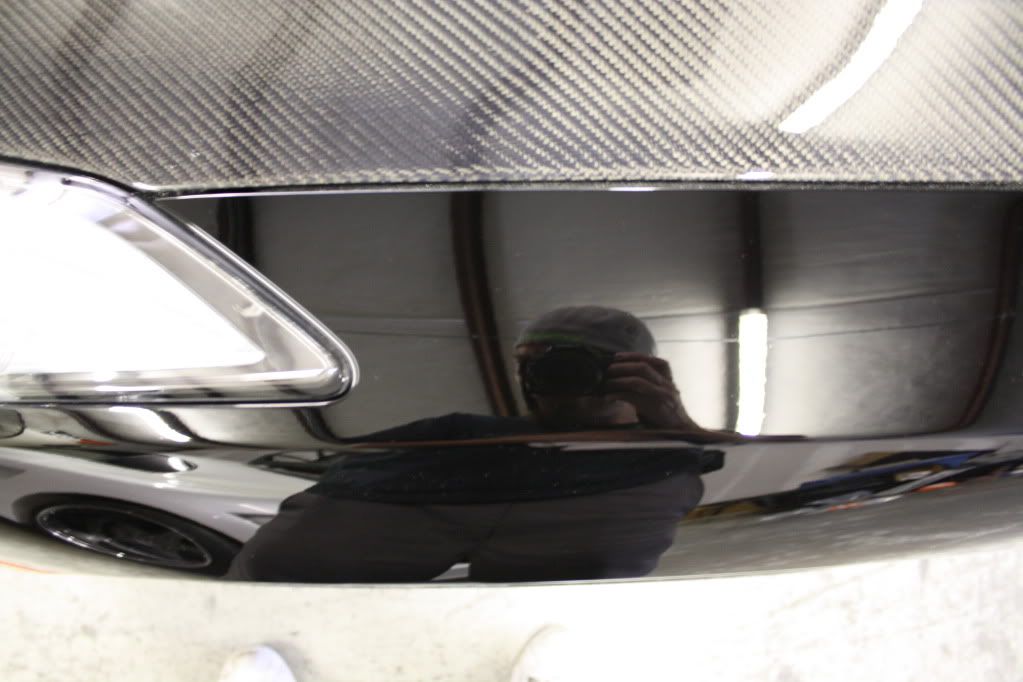
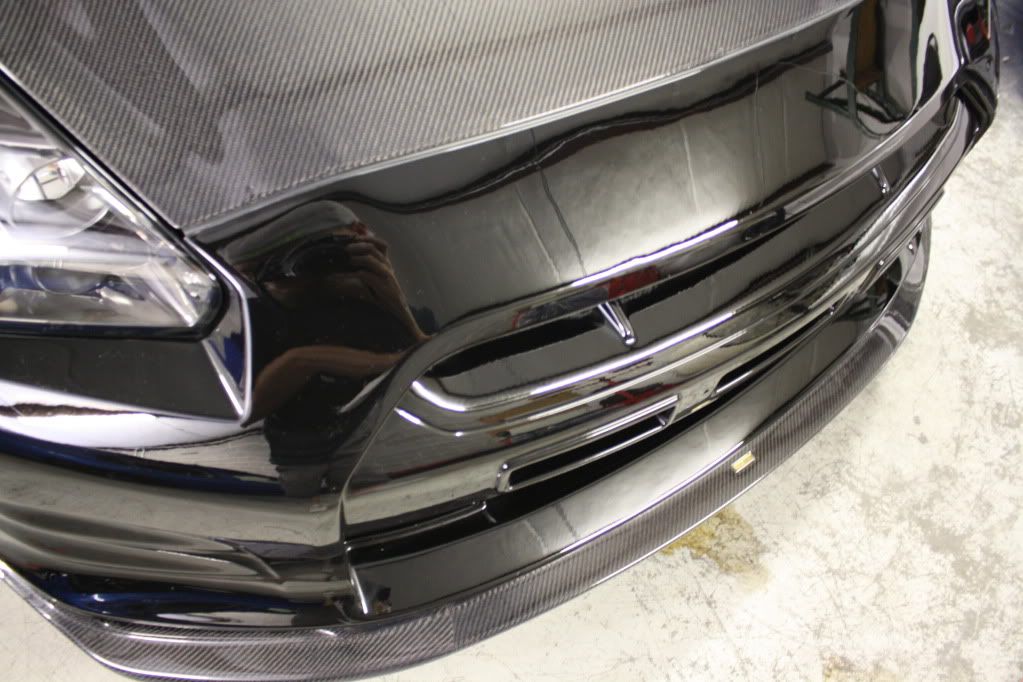
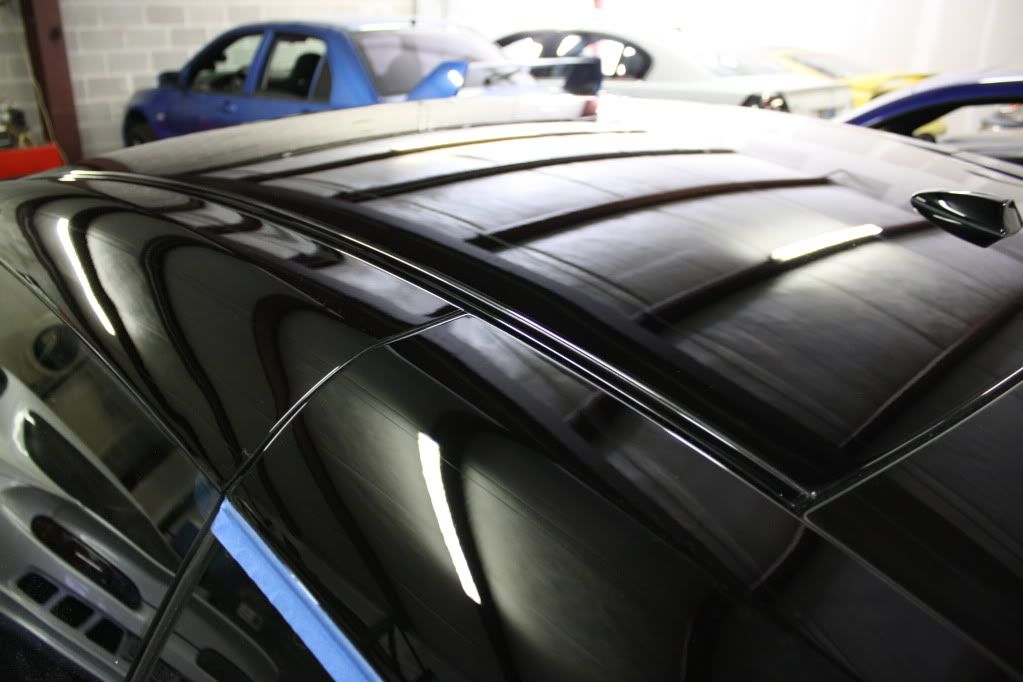
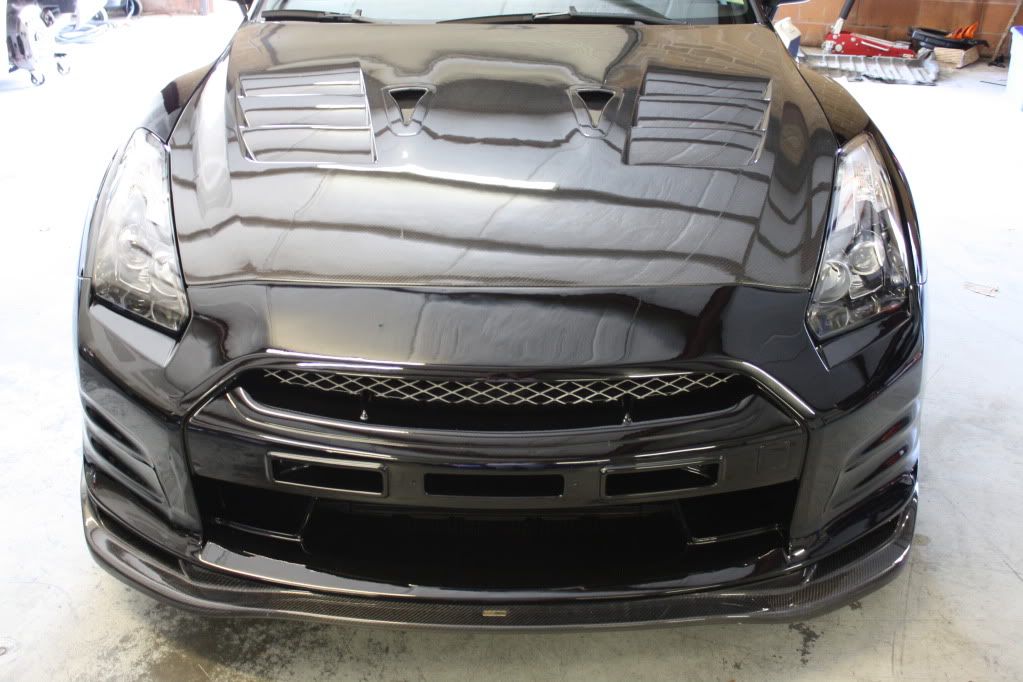
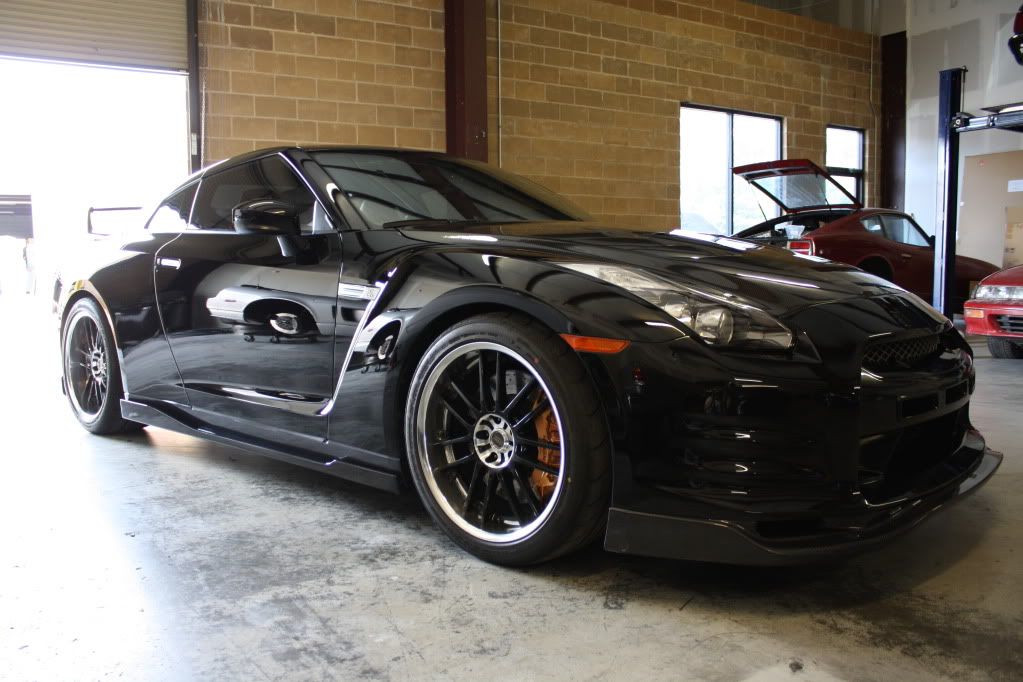
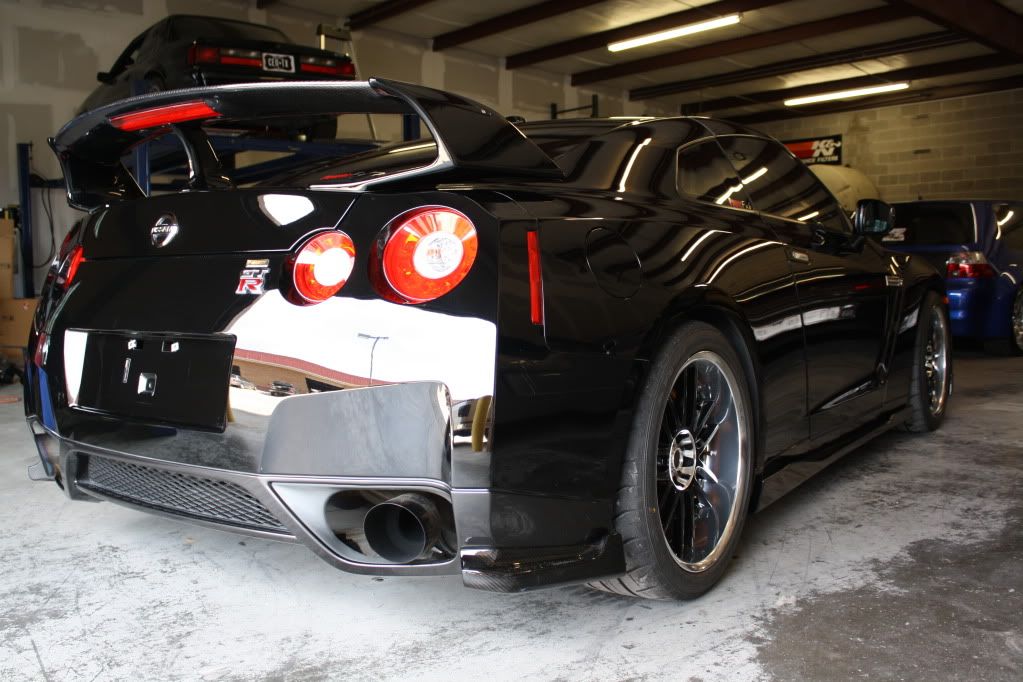
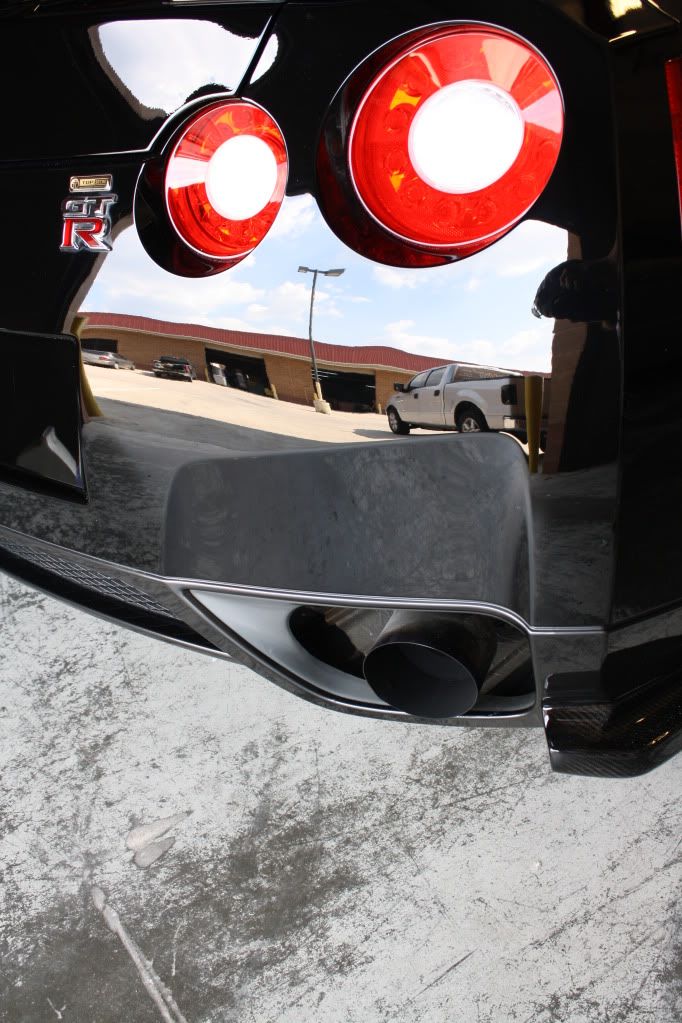
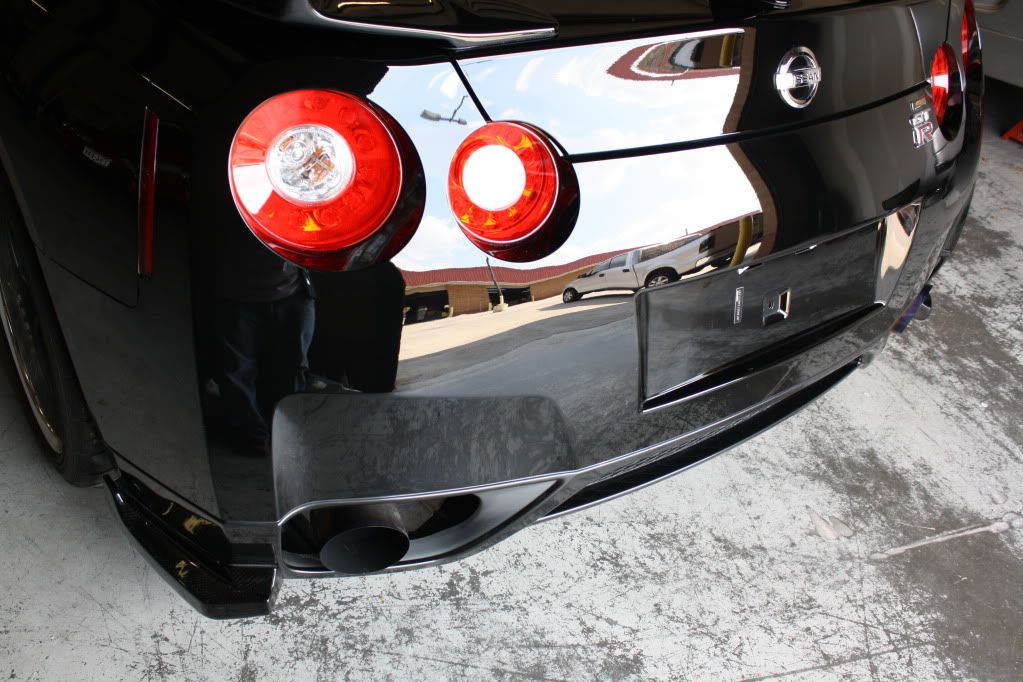
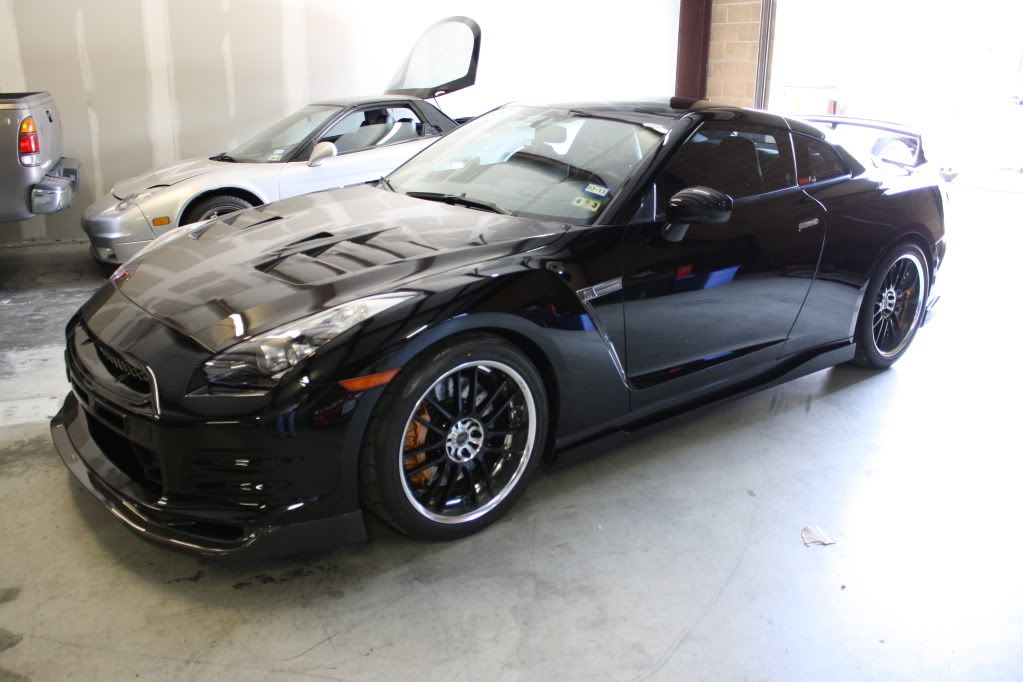
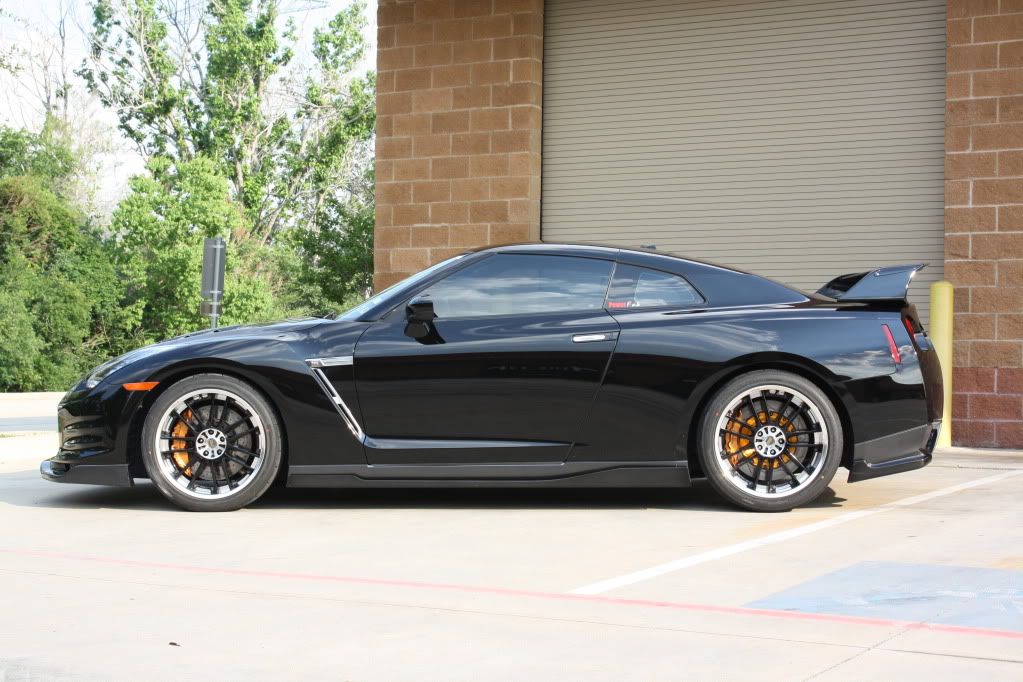
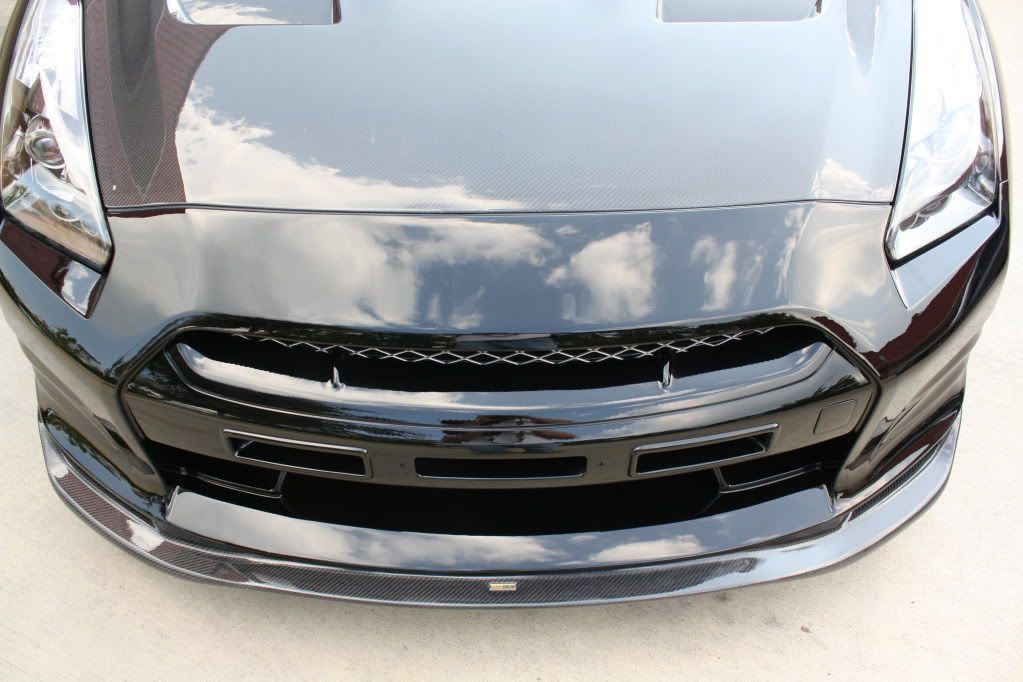
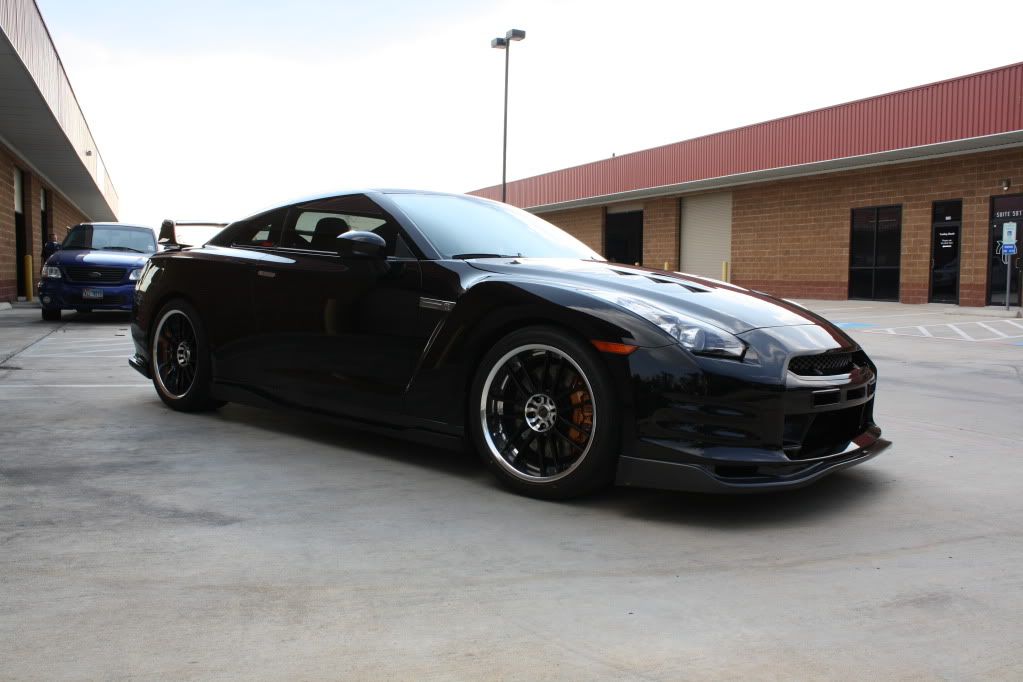
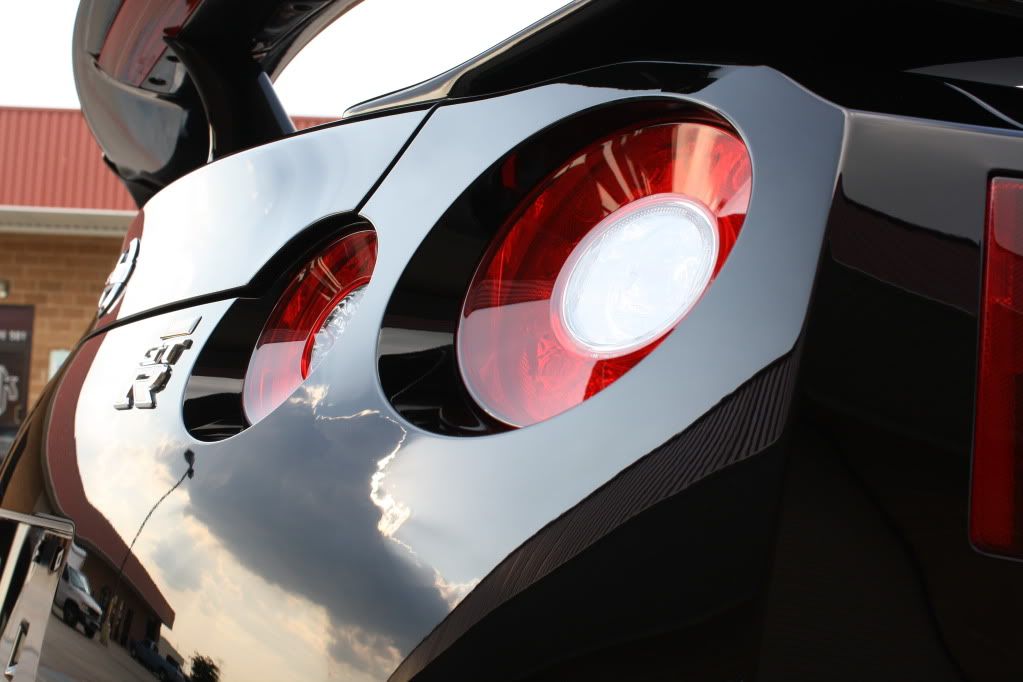
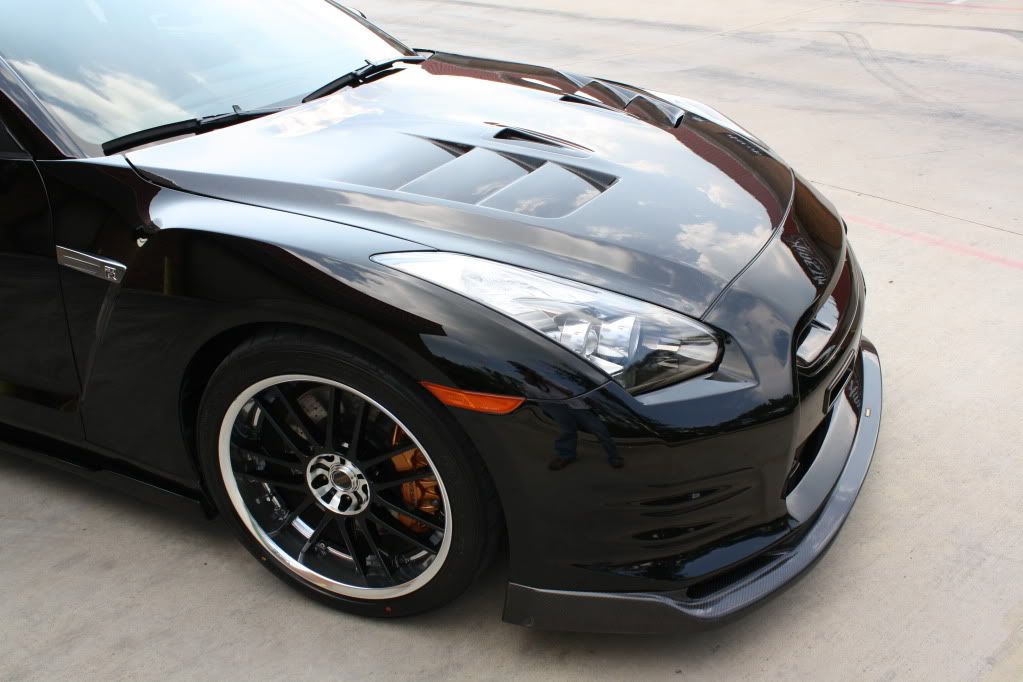
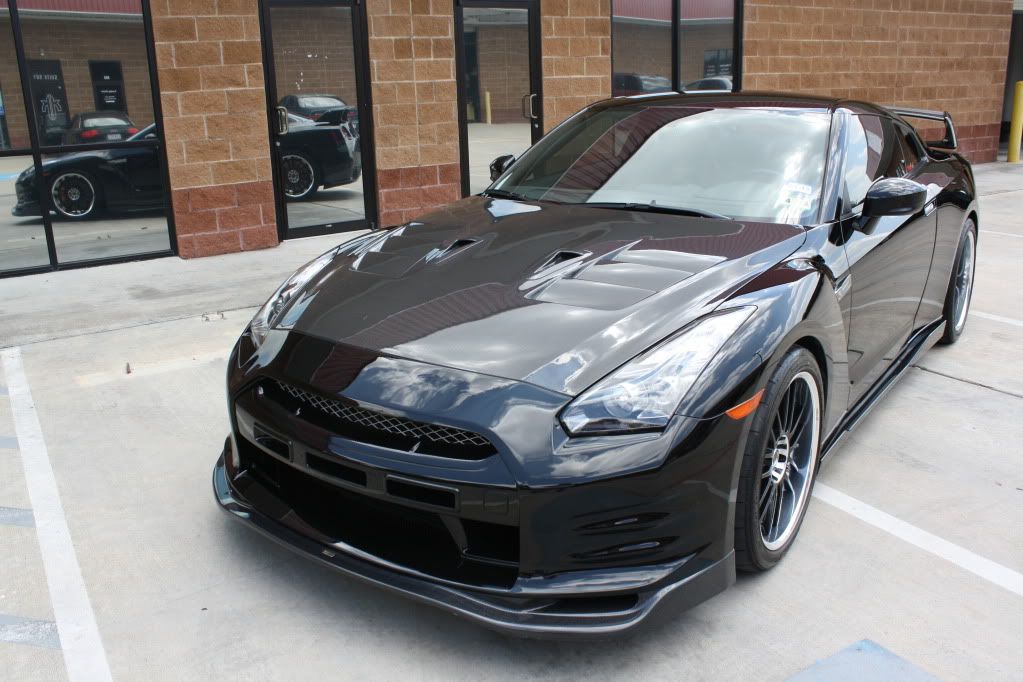
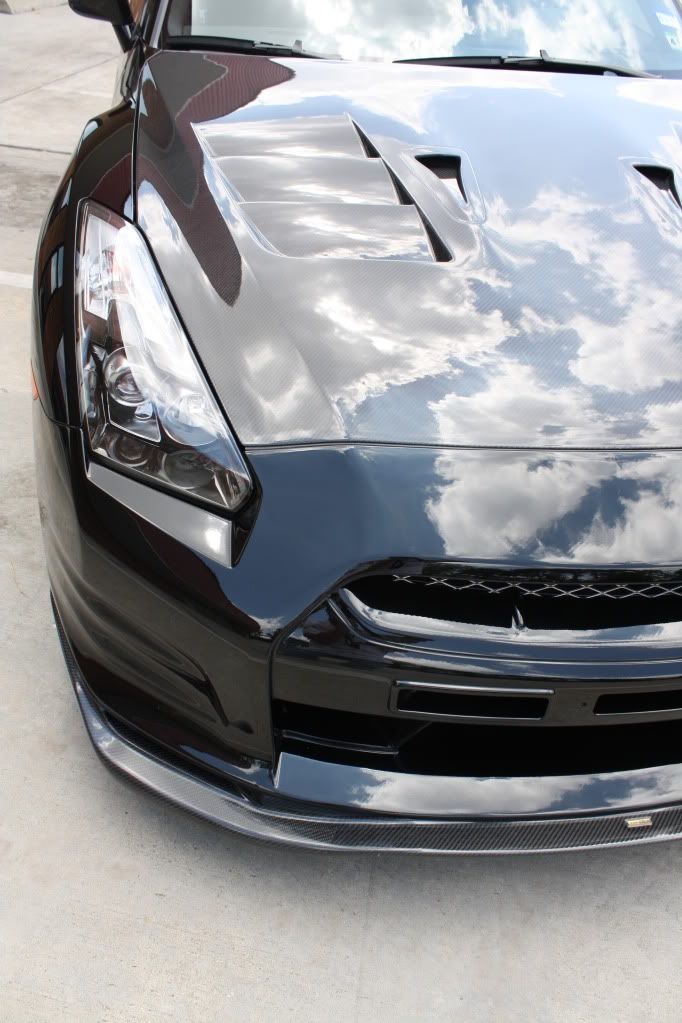
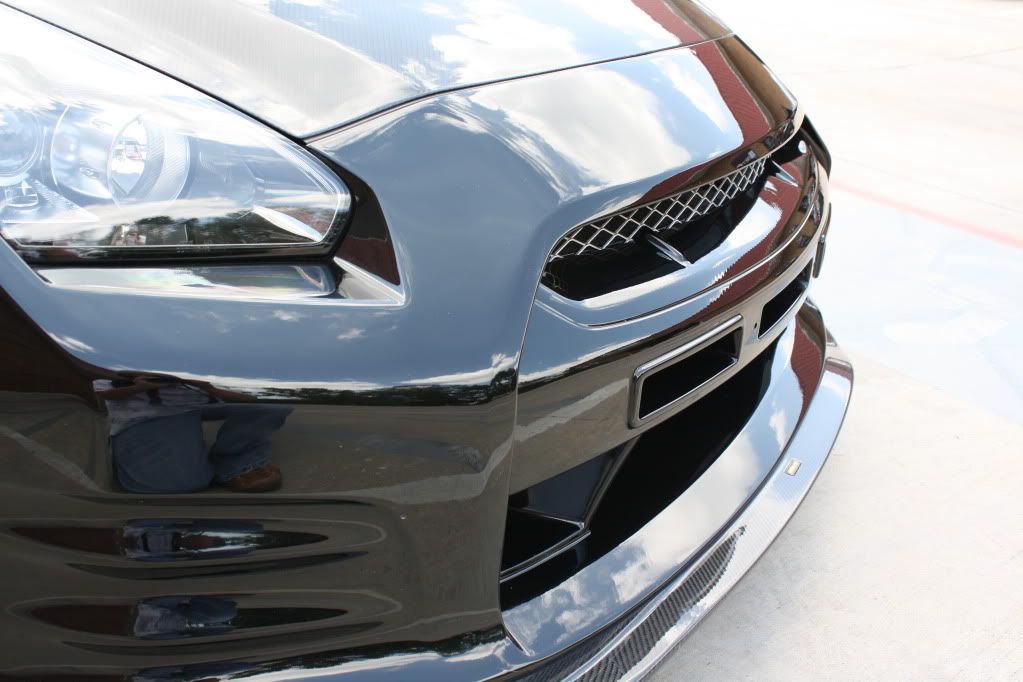
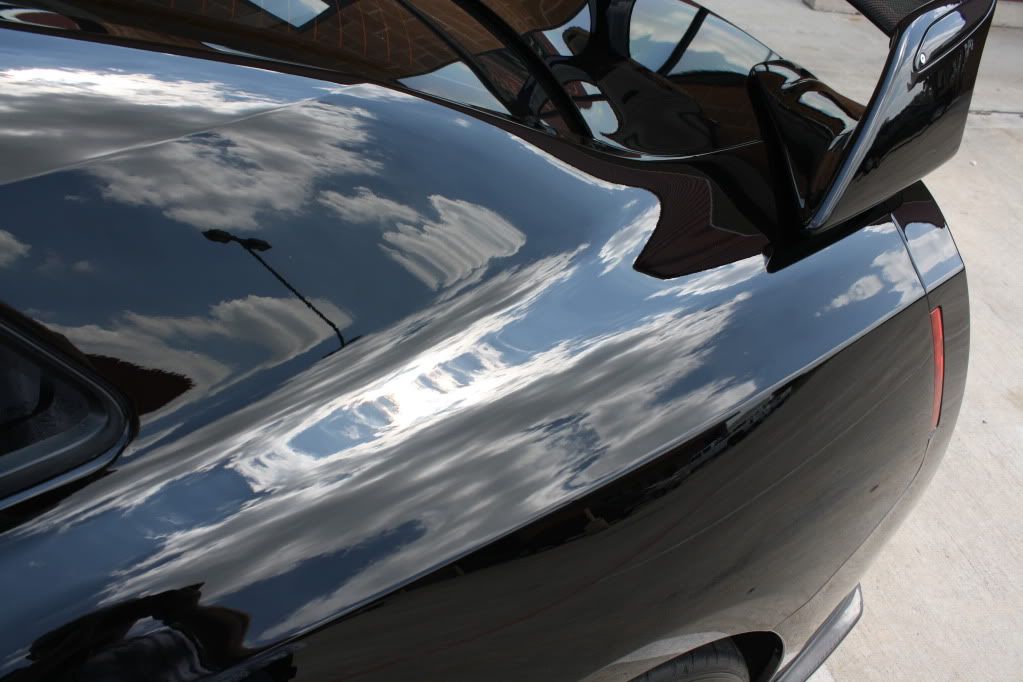
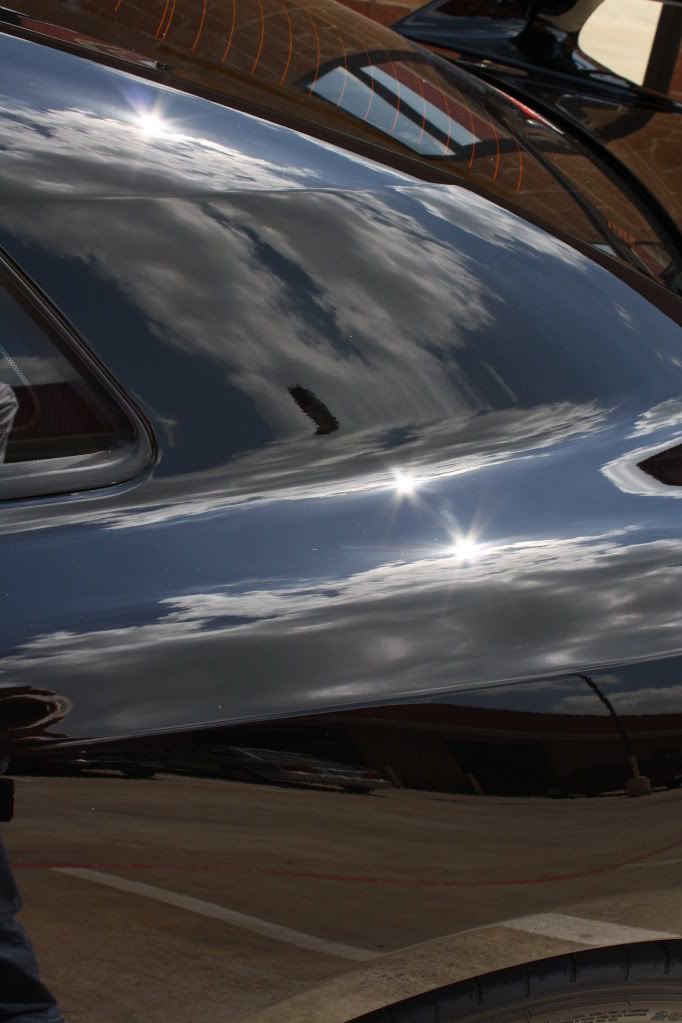
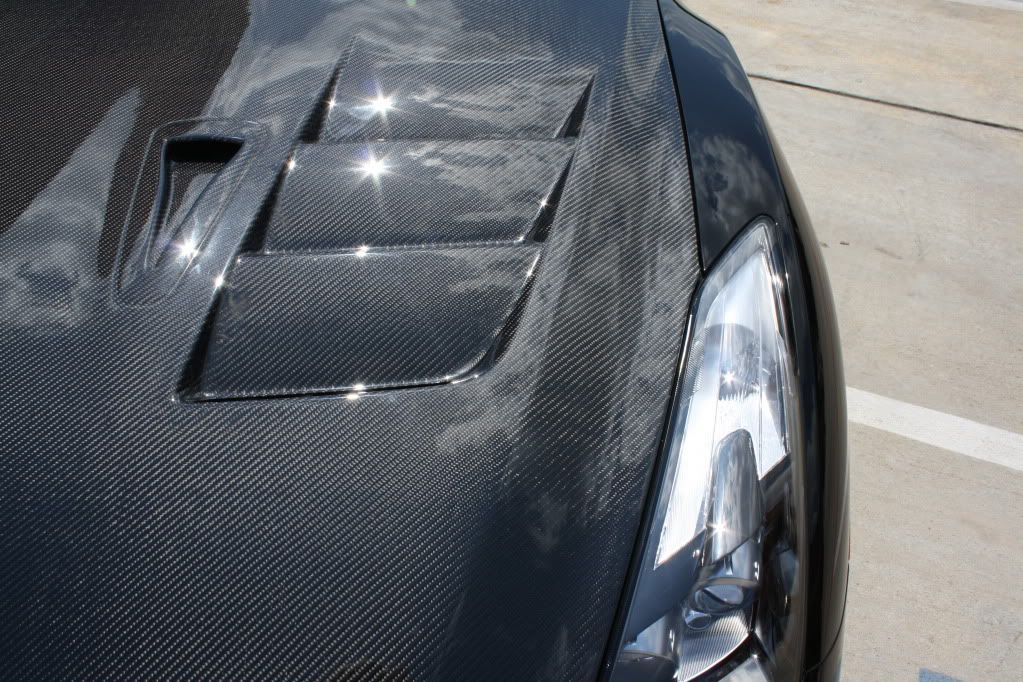
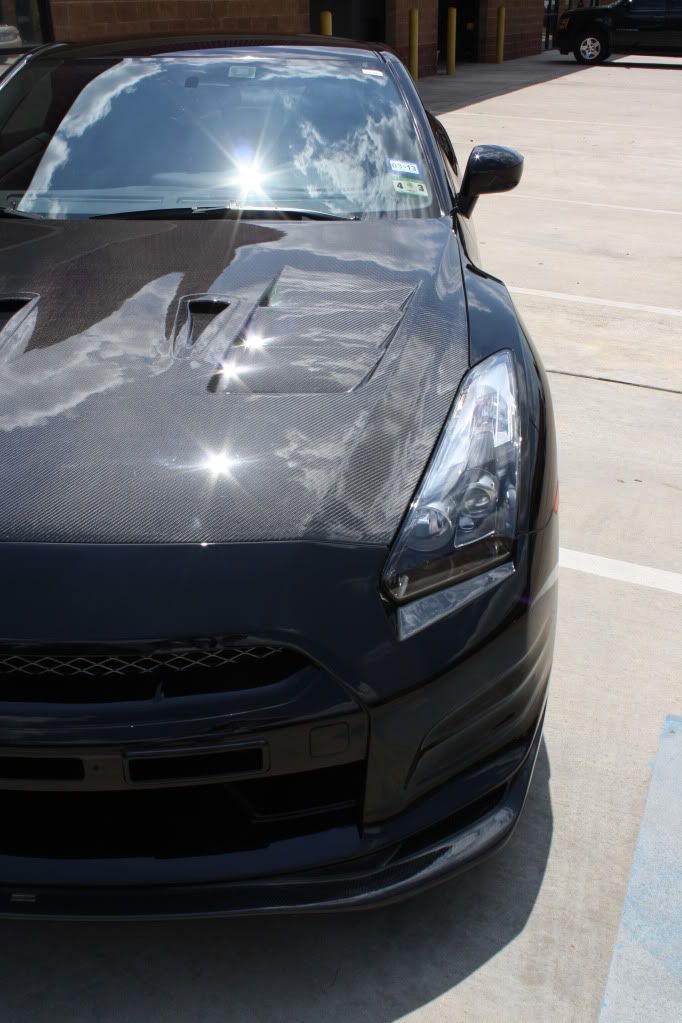
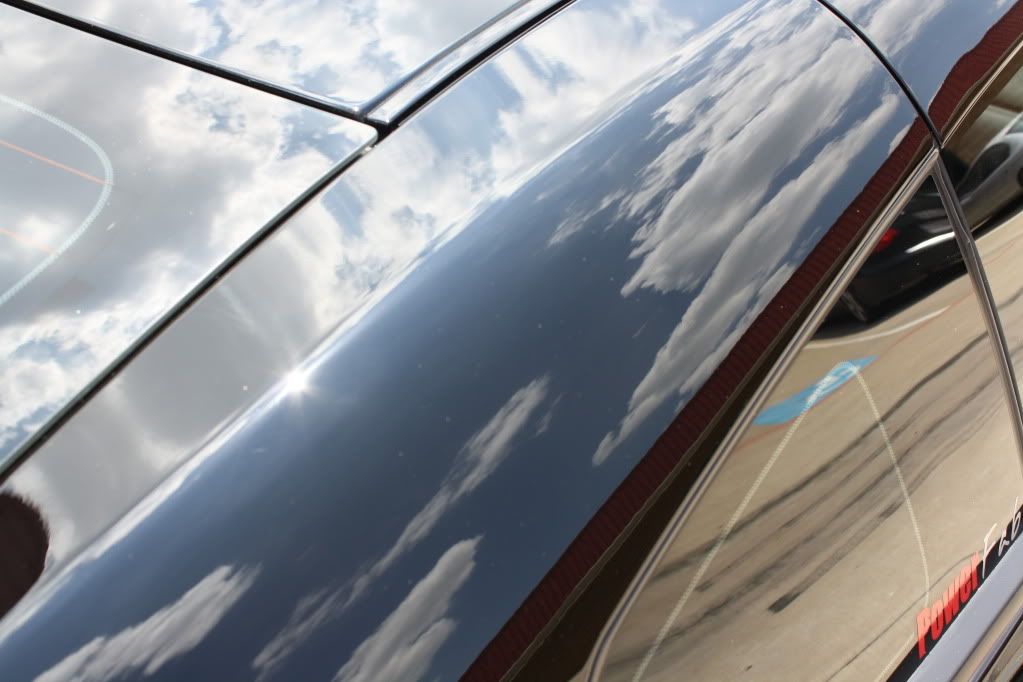
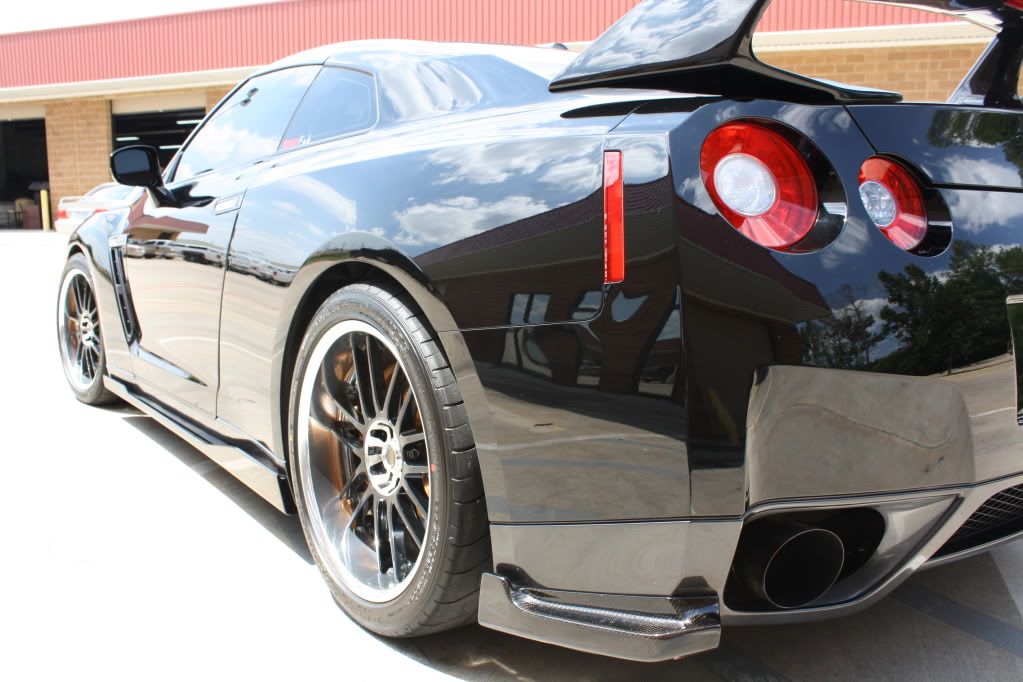
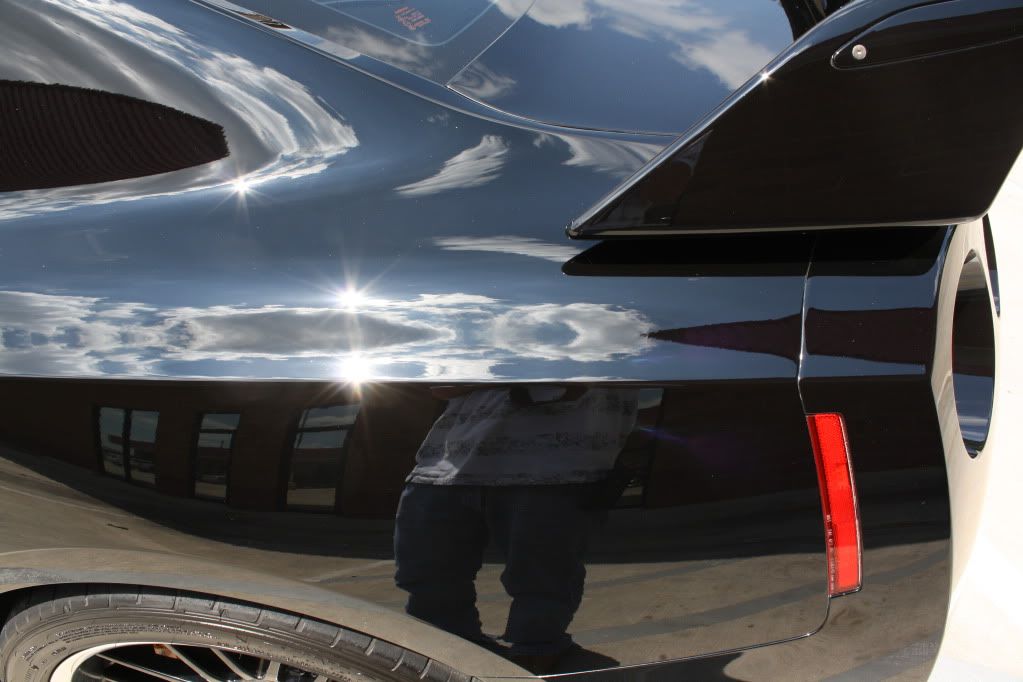
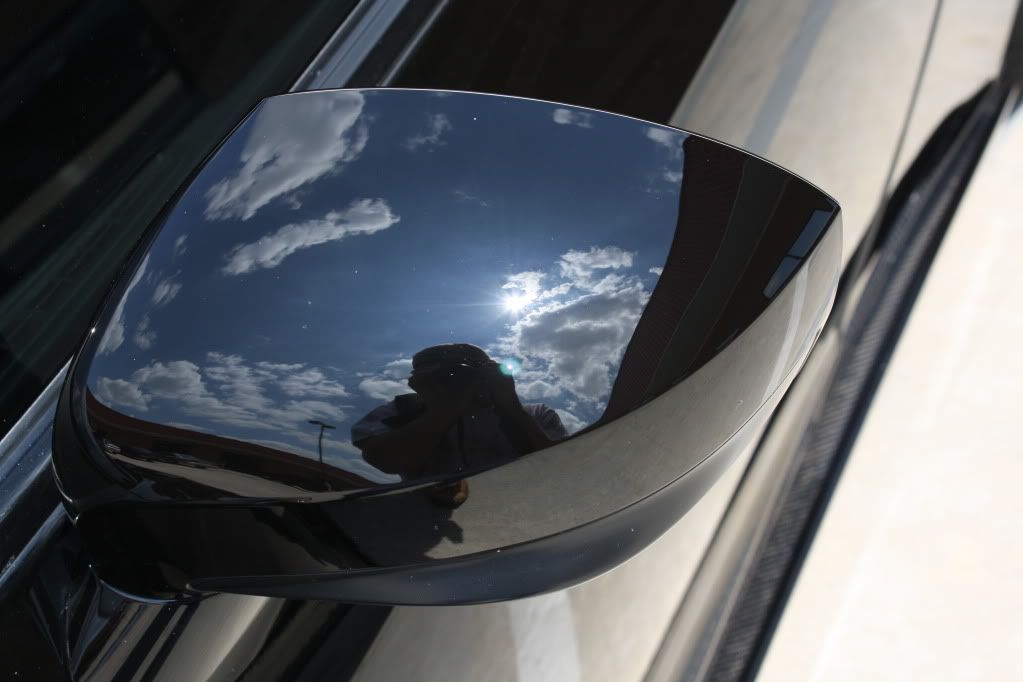
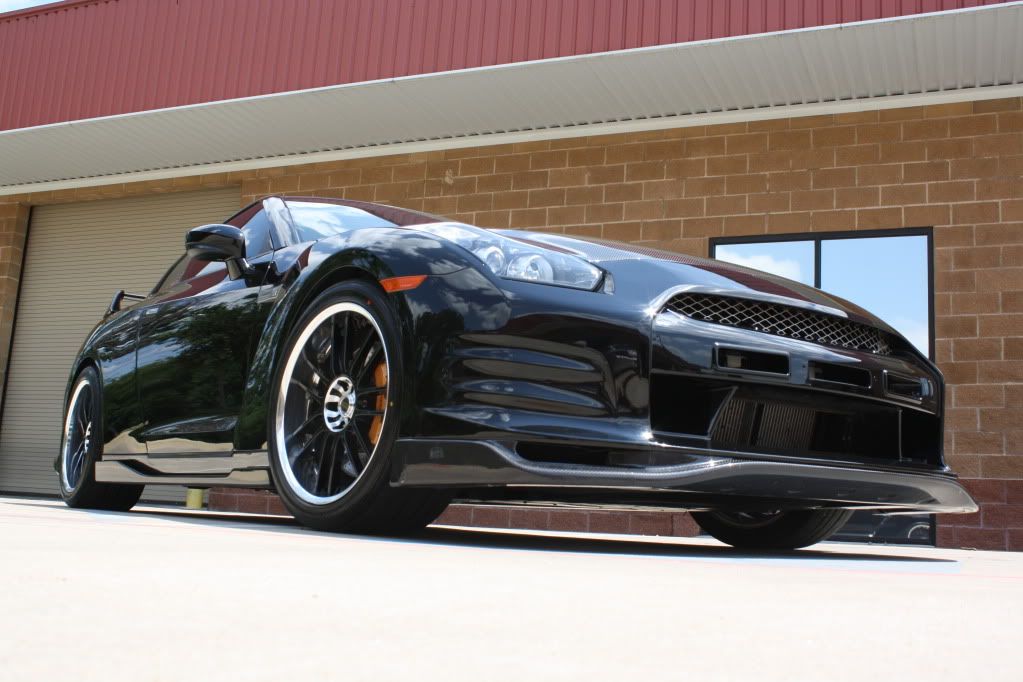
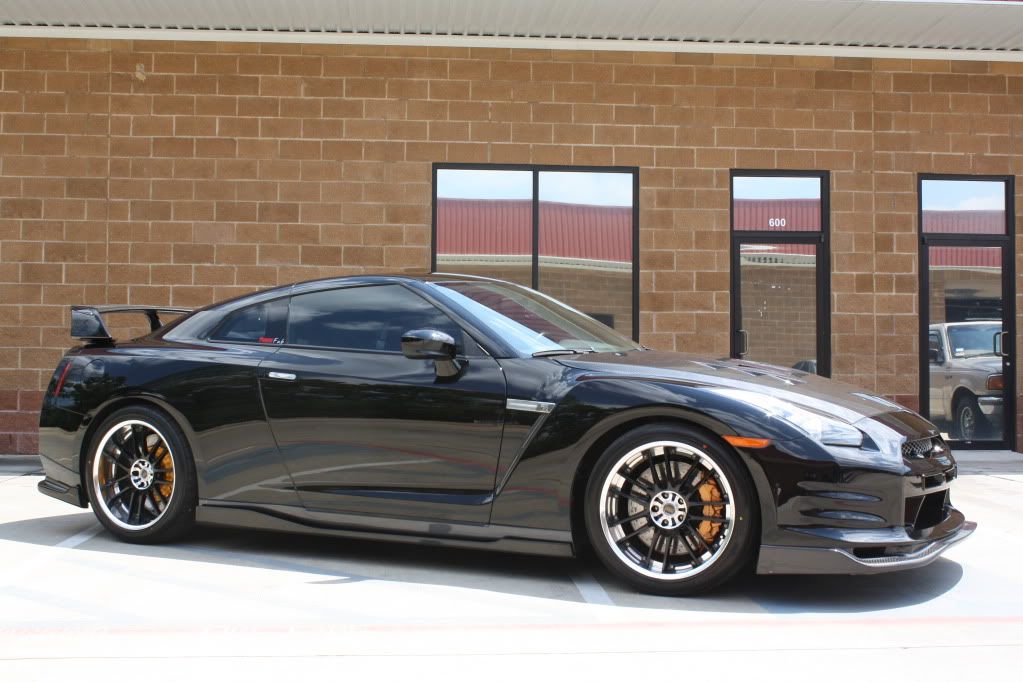
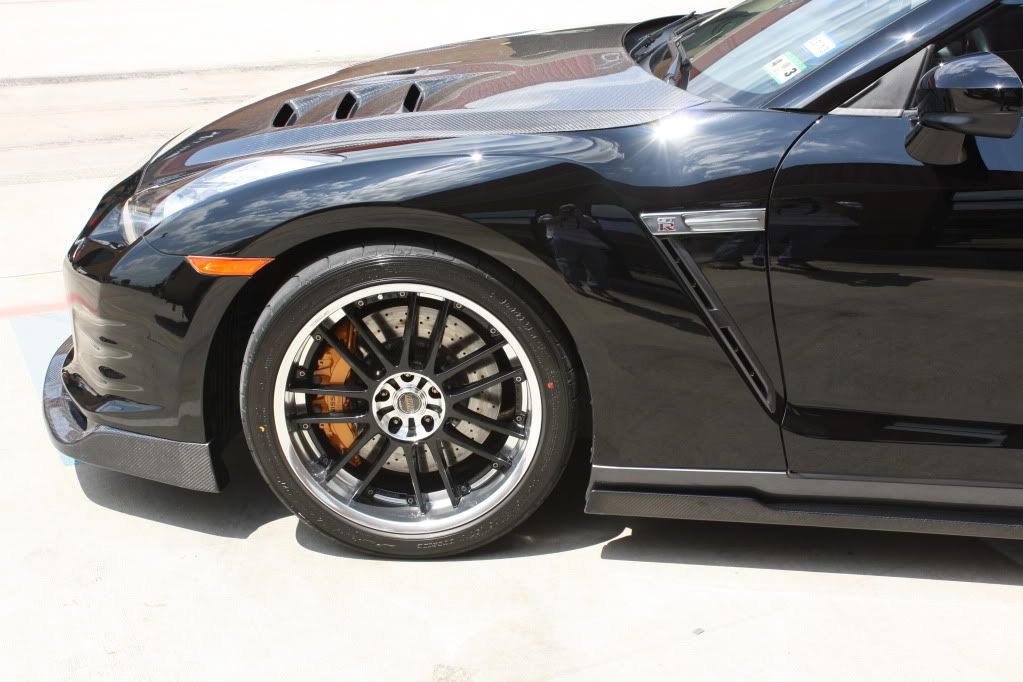
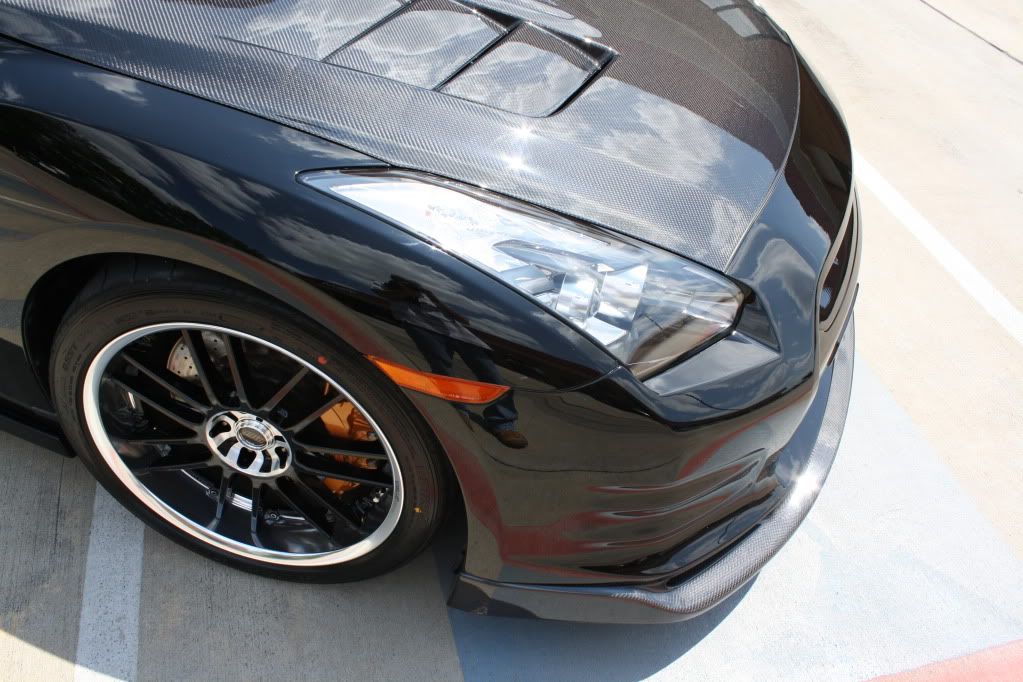
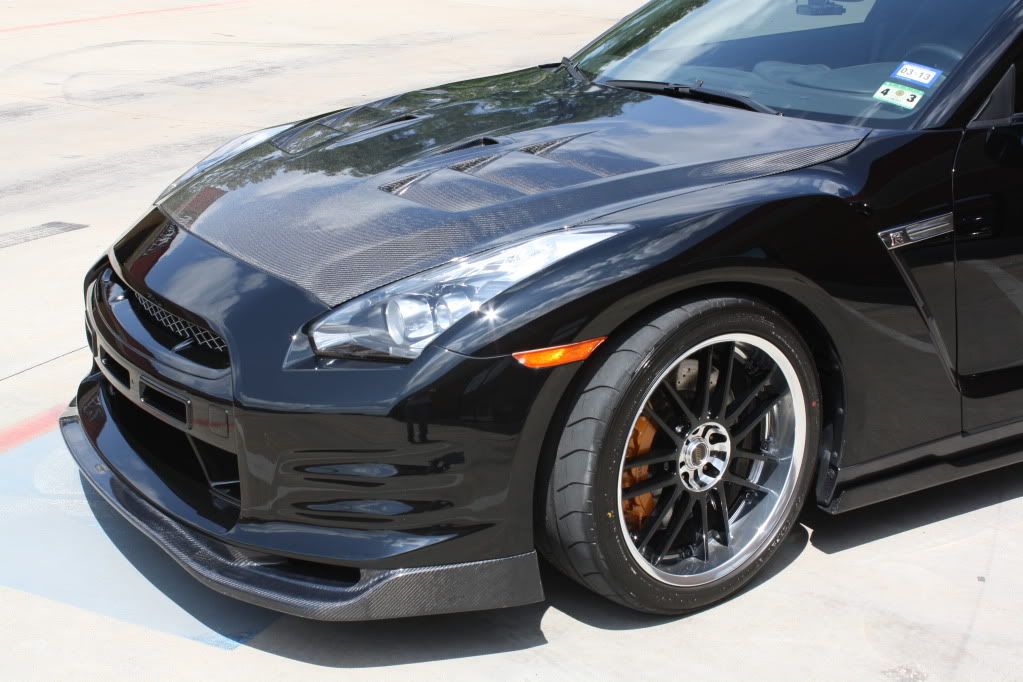
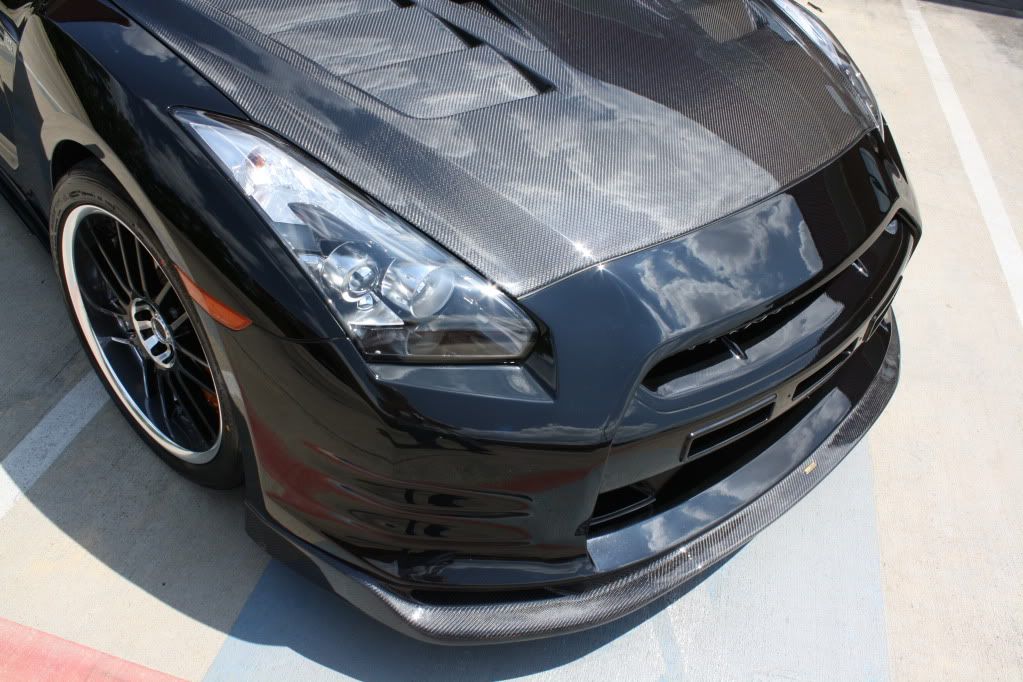
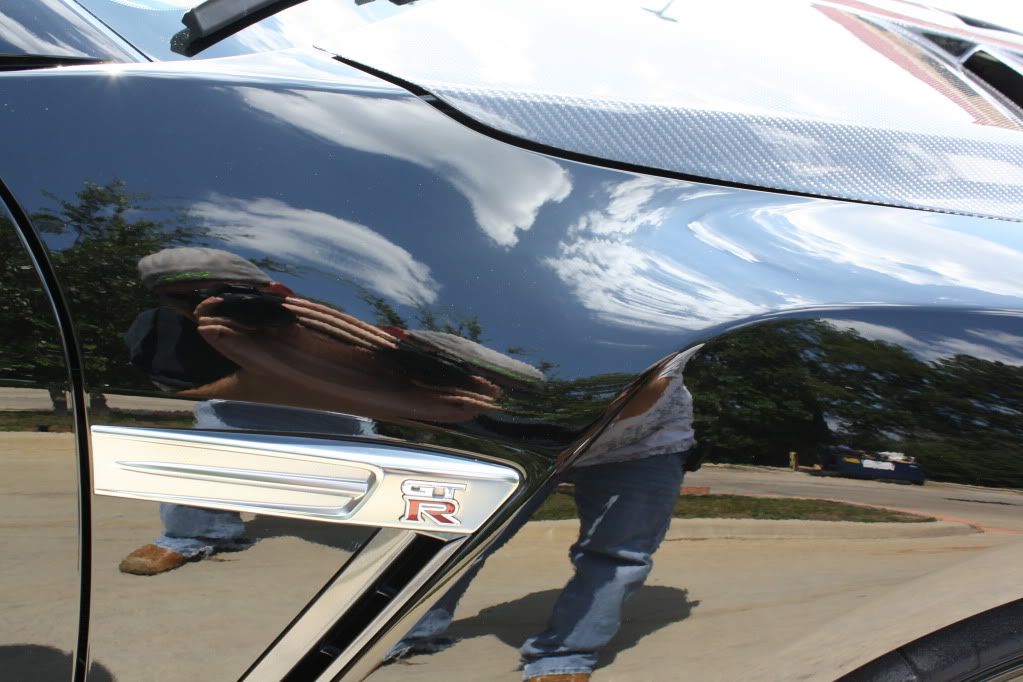
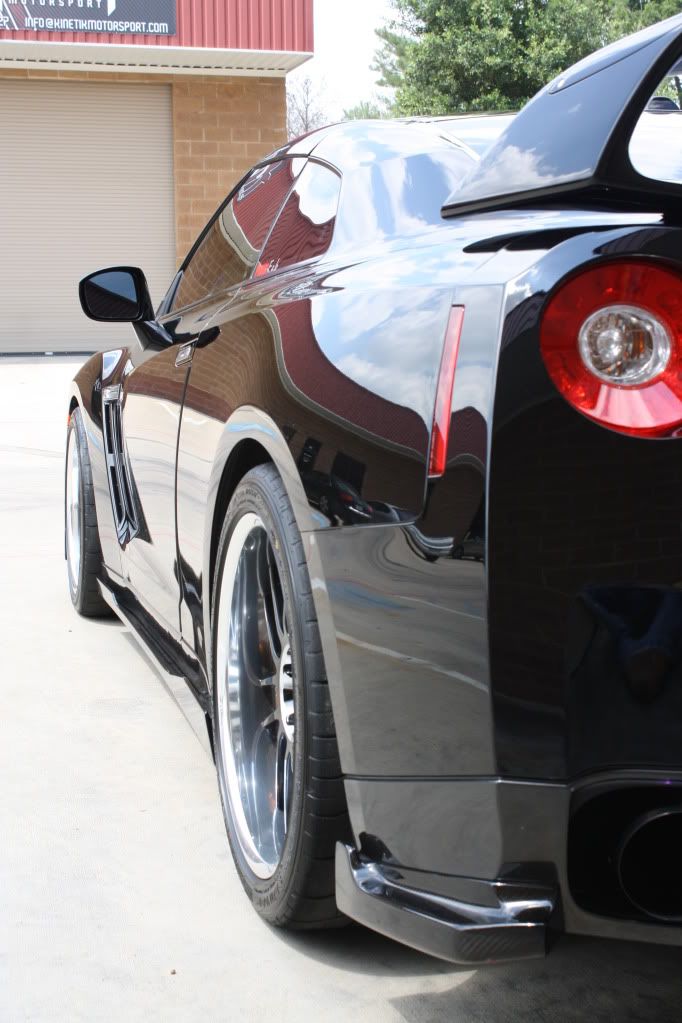
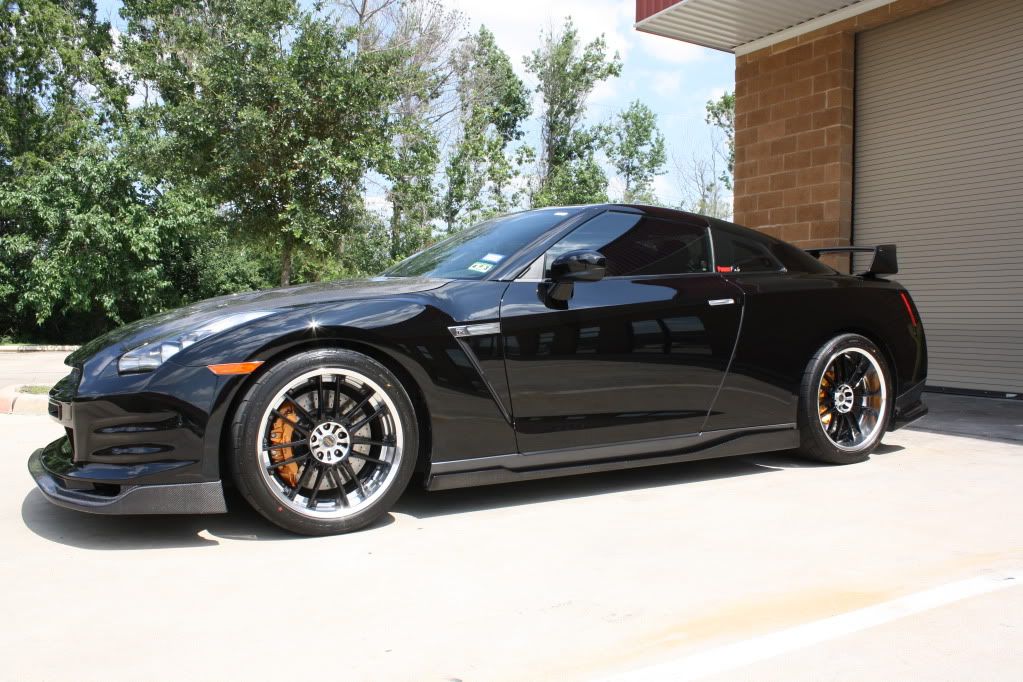
Overall, she didn't look too bad with overcast skies. A little dull, a little dirty. Some scratches in the carbon fiber gel coating. It DOES see track time, so this is to be expected.
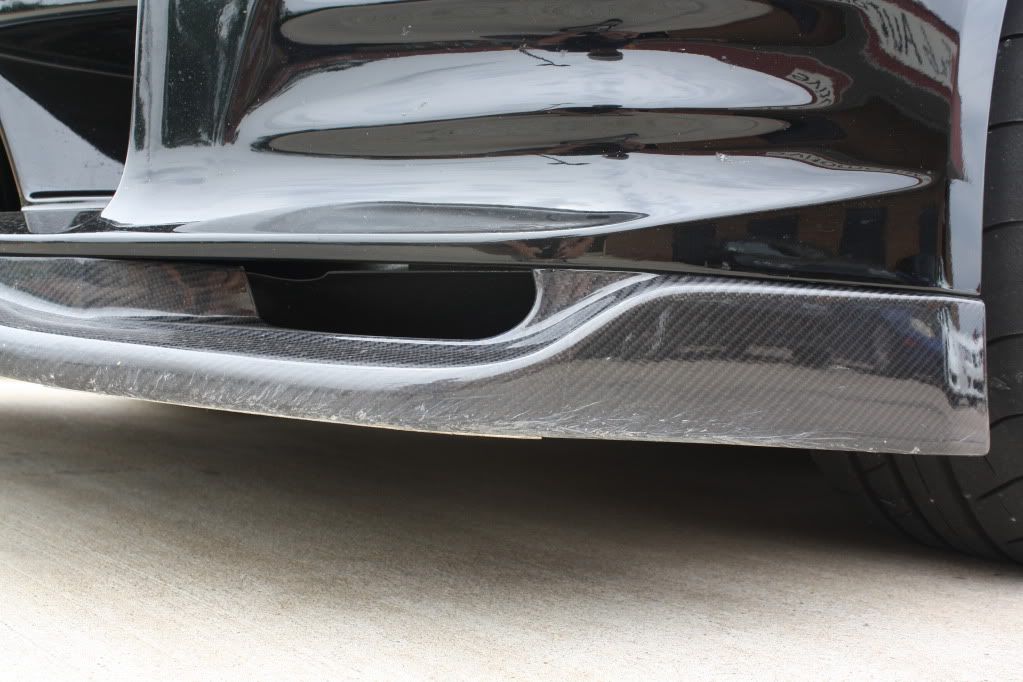
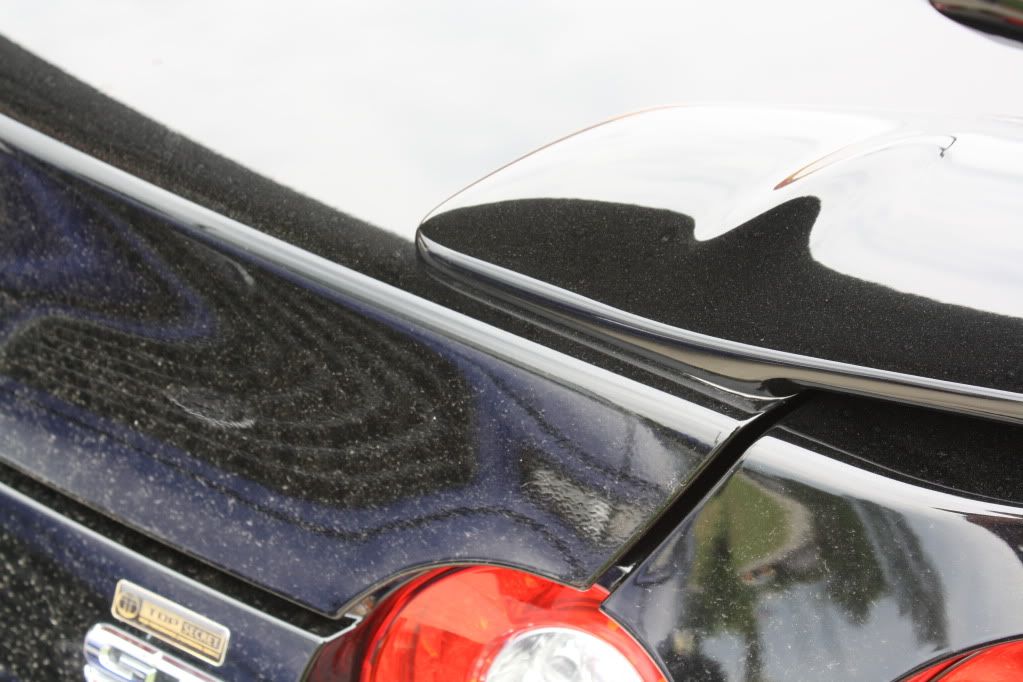
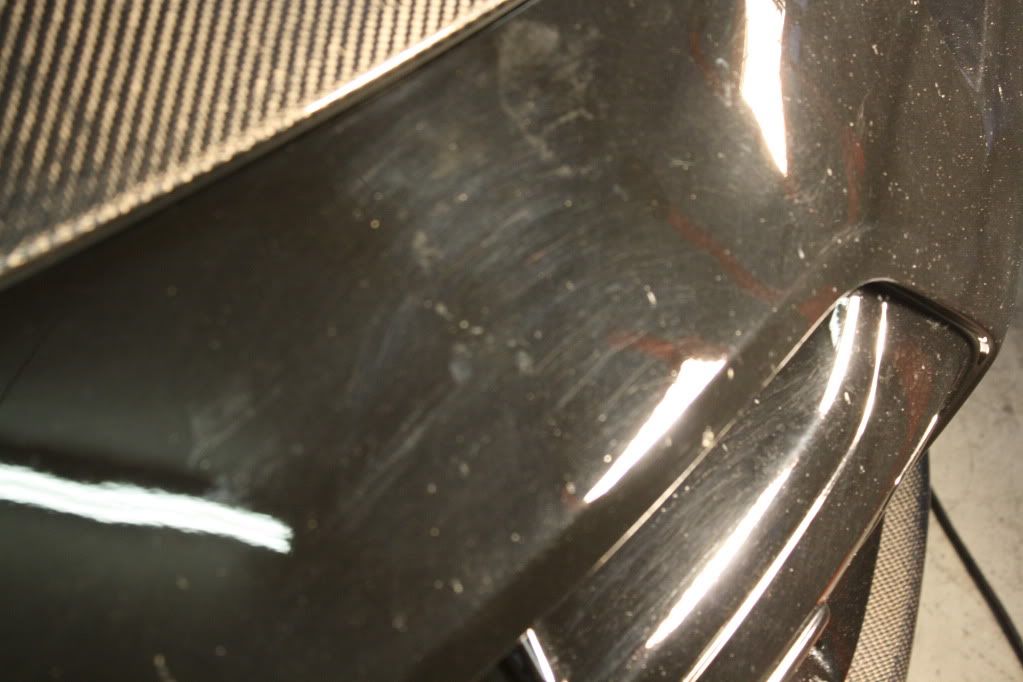
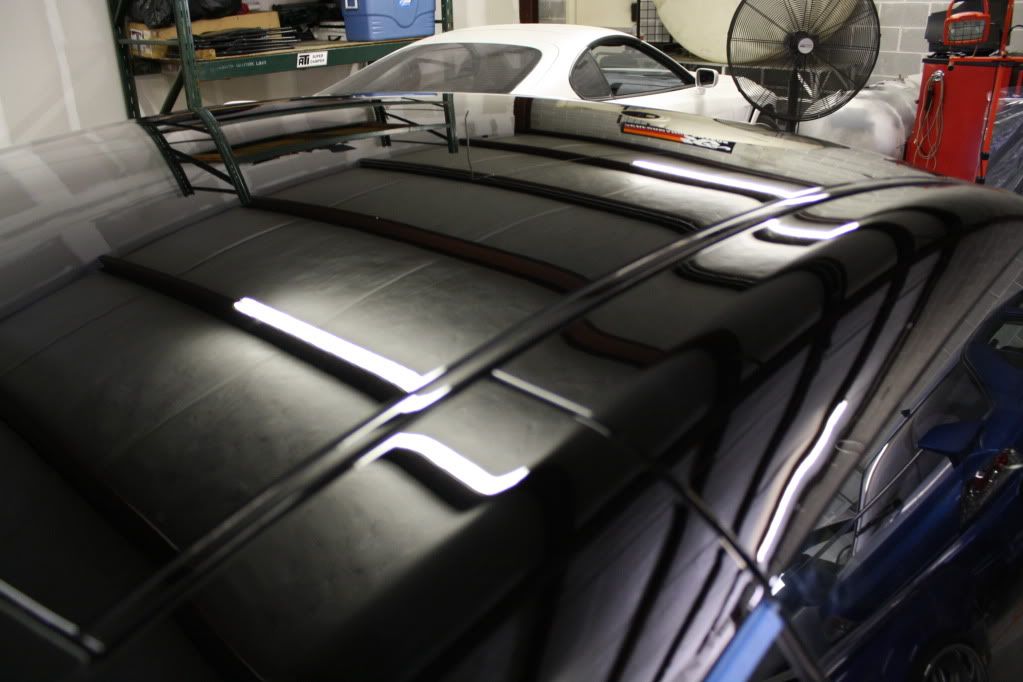
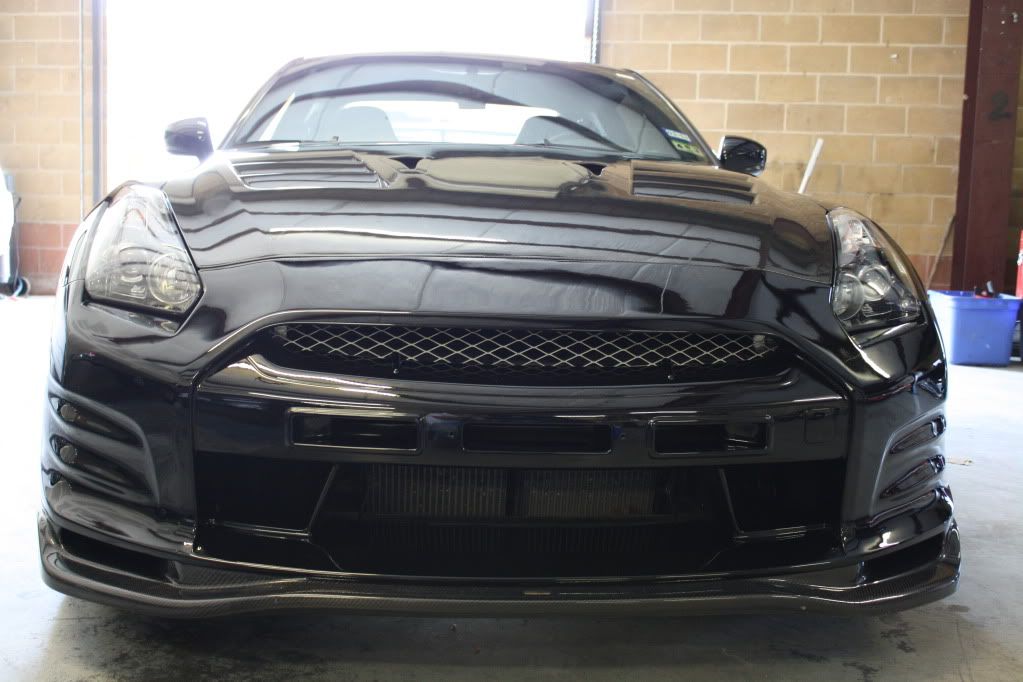
Nasty scrape on the hood


Ok enough of this. BATH TIME!
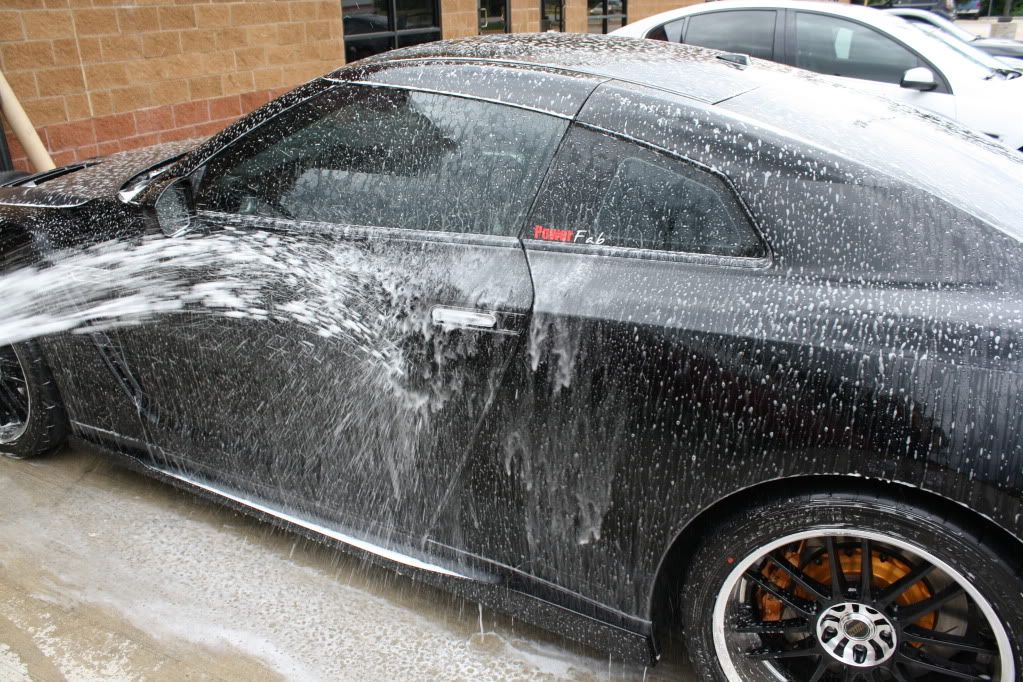
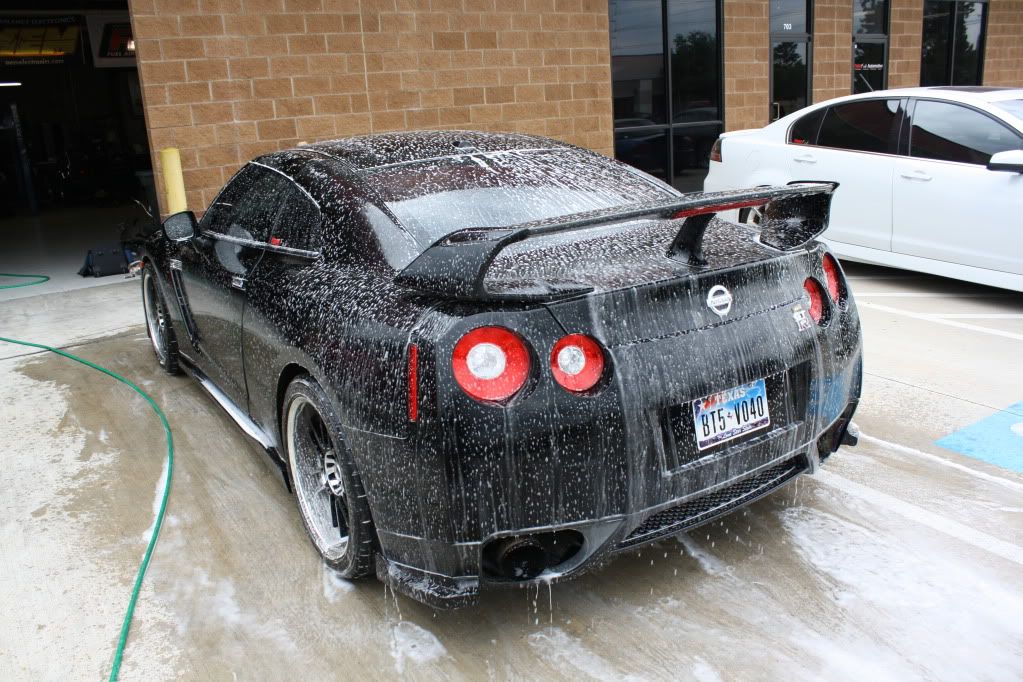
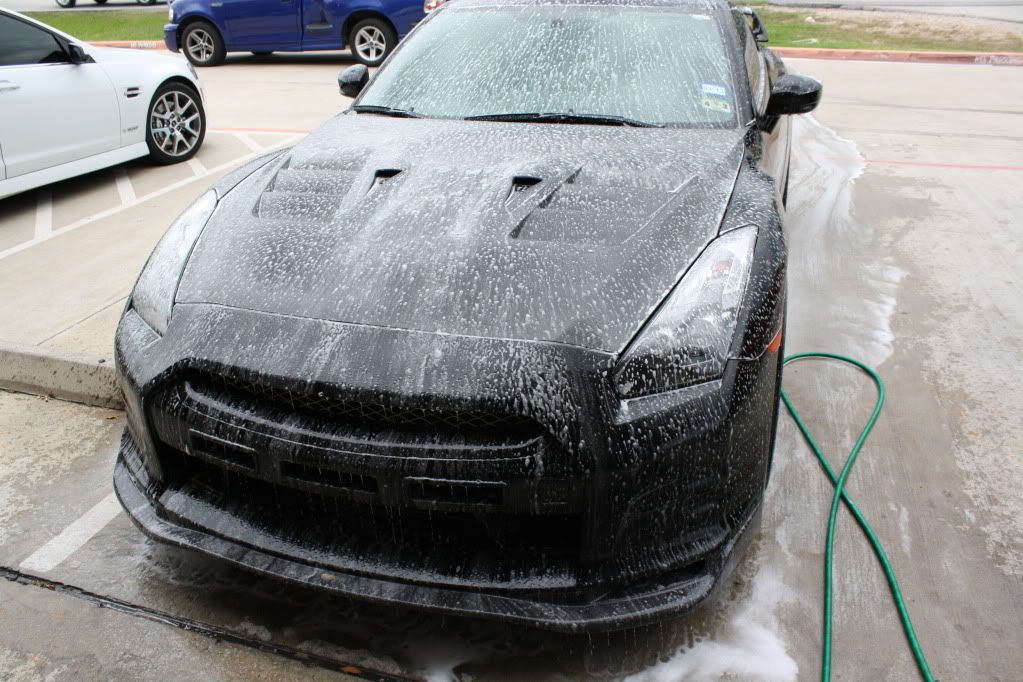
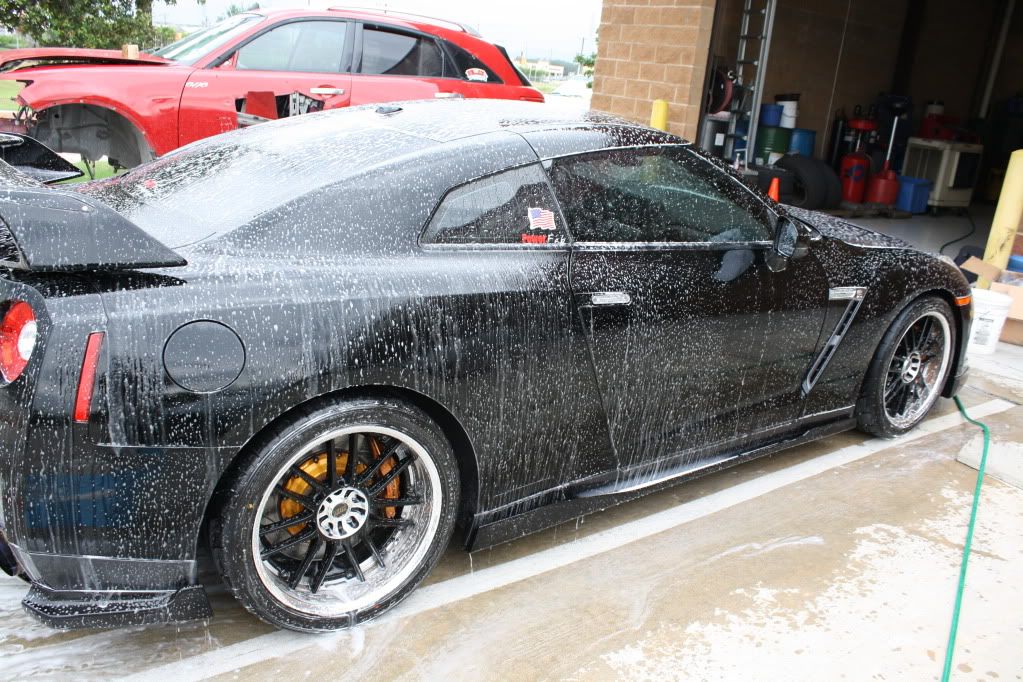
I started by hosing it down with a foam gun and Detailer's Pro Series Extreme Foam Formula.
I will be playing around with the settings on the foam gun as I get more time with it, but this seemed more like a sud gun than foam lol, although it did make quite a difference that I did not expect. The hands-on wash took dramatically less time than I'm normally used to.

Once the foam had a chance to pull off the heavier debris, it was time for a hand wash. I went after the body with PoorBoys' Super Slick Suds and Dodo Juice's mind blowing sheepskin washmit. The washmit is by far a fantastic investment and quite frankly the single softest thing I've ever washed a vehicle with. Get ready for a workout, though, as it holds a TON of solution and gets to feeling heavy very quickly.
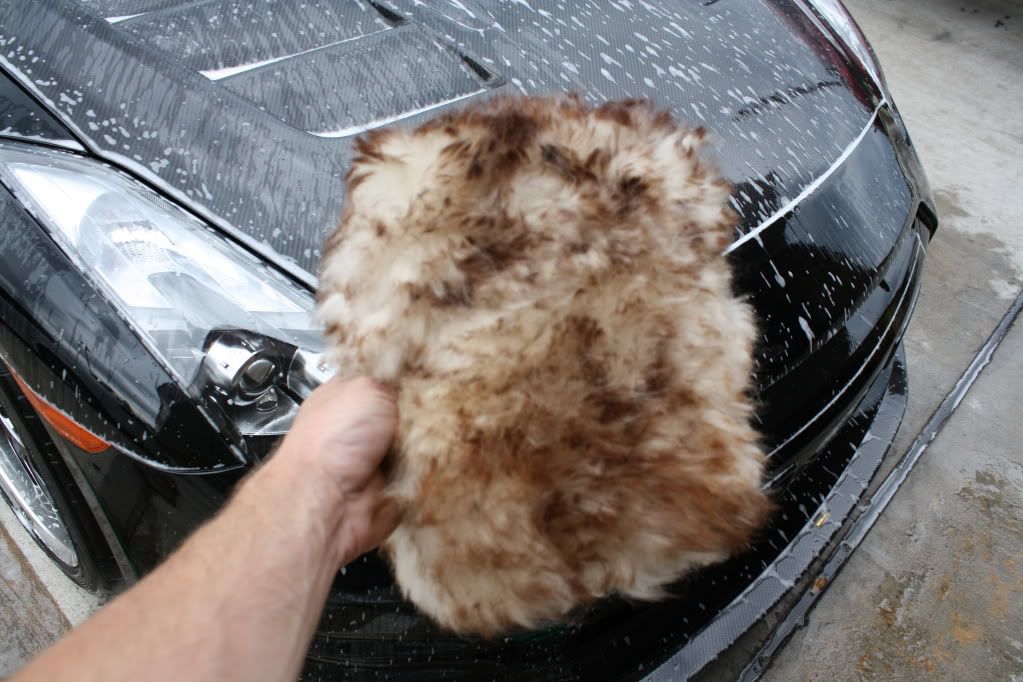
Now I see why they referred to it as the "wookie's fist." This thing is a monster. My wife's shih-tzu is terrified of it. I love to chase him around the house after I've dried and brushed it.
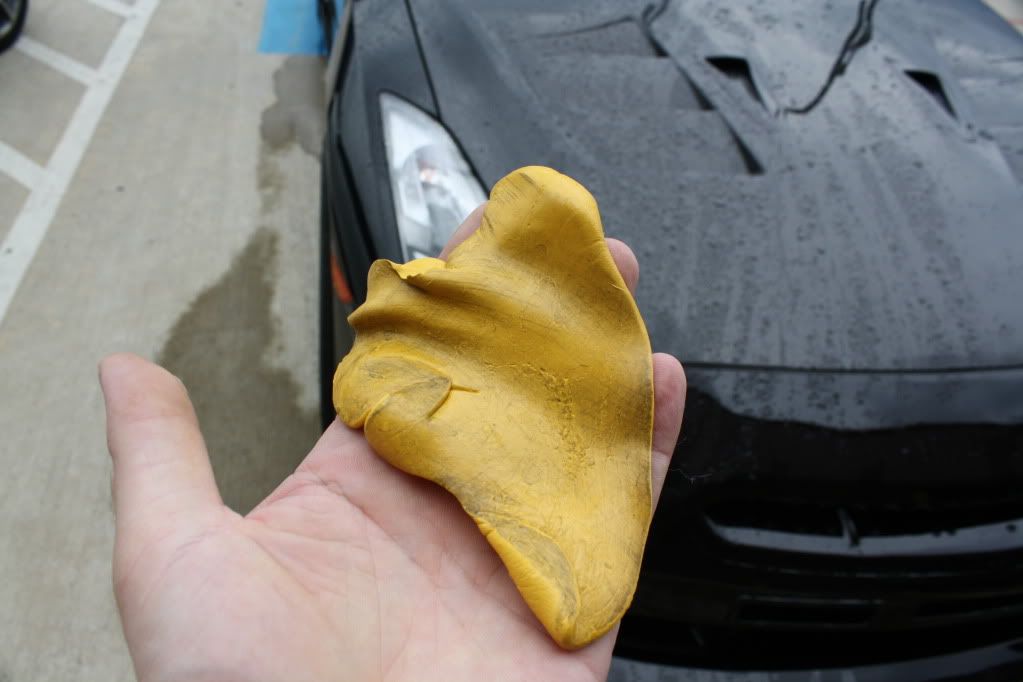
After the bath, it was time to give it a once-over with Griots Garage clay. This is different than the Blue Coral purple clay I normally use which is extremely dense and aggressive. I found it to be just *slightly* more aggressive than Megs blue that I've used before which is softer and more pliable, and gives great feedback to your hand when trying to locate surface contaminants.

I've been detailing for about six years now with literally thousands of cars under my buffer (shop and independent experience combined) and most of what I have applied to the cars I work on is experience picked up from the paint and body side of our business. Myself and my Makita 9227C (my third rotary and still my favorite) have about a million miles together and lately I've been finding myself in a precarious situation where I just can't get that "upper echelon" finish out of her. I guess you could say I was developing an eye for my work that outgrew my rotary, even though every customer I've worked with probably wouldn't know the difference. So I decided to take the plunge and step it up a few notches.
For the past few months, I've spent a lot of time researching different products and machines to build onto my collection to see what would work best for me, and be easily maintainable as a mobile service when necessary. I want to offer more in-depth detail solutions and while I'm still very proud of what I can do with a rotary and the other supplies in my stable, I wanted something... more.
After a purchase and several large boxes from Autogeek I was ready to take things to the next level.
My next phase was finding a worthy test subject.
Thanks to Jeremy and John at PowerFab Automotive, a local Houston performance shop, it was an easy issue to handle.
I've detailed their GTR previously, and while it doesn't seem like two years have passed since then, a lot can happen as you will no doubt notice. This might be my first post, but I've lurked these forums for a while and found that you folks like pictures.
I'll get right to it then.
Supplies used:
Autogeek foam gun (Water hose adapter style)
Detailer's Pro Series Super Foam Formula
Poorboy's Super Slick Suds
Dodo Juice Supernatural Washmit (wookie's fist)
Griots Garage yellow claybar
Detailer's Pro Series Wheel Cleaner
Daytona Speedbrush duo (large and small)
Detailer's Pro Series Super Foam Formula used with speedbrushes in bucket
(Generic wheel lug cleaning tool does not work with most aftermarket wheels with tight clearances, FYI)
Waffle Weave Ultimate Guzzler by Cobra
Brinkman Dual Xenon flashlight
Generic Dual Halogen Tripod
Makita Rotary 9227C
3M Perfect-It Rubbing Compound
3M Perfect-It Machine Polish
Lake Country 6" VC White
Lake Country 6" White Braided Wool
Flex XC 3401 Orbital
Menzerna Intensive Polish
Menzerna Final Finish
XMT Pad Conditioning spray
XMT Pad Cleaning Solution
Lake Country CCS White
Lake Country CCS Black
Blackfire Wet Diamond Sealant
Dodo Juice Hard Candy Wax
Dodo Juice Rainforest Rub
Blackfire Tire Gel
Meguiars Instant Detailer
Invisible Glass Cleaner
Various assortment of brushes and microfiber towels
3M Painters tape
Overall, she didn't look too bad with overcast skies. A little dull, a little dirty. Some scratches in the carbon fiber gel coating. It DOES see track time, so this is to be expected.
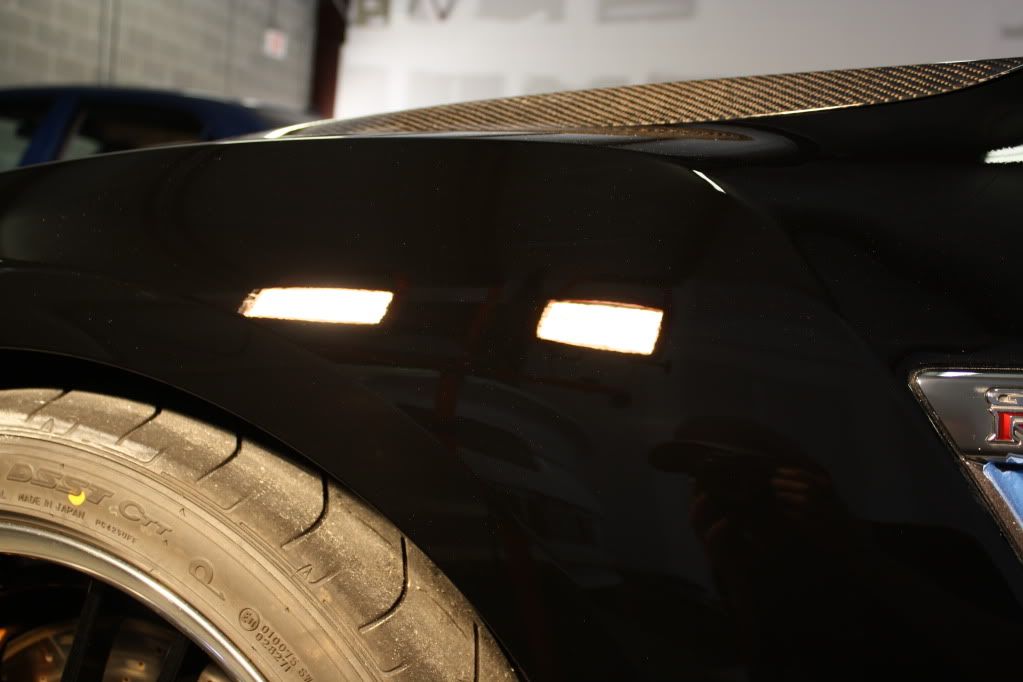
Nasty scrape on the hood
Ok enough of this. BATH TIME!
I started by hosing it down with a foam gun and Detailer's Pro Series Extreme Foam Formula.
I will be playing around with the settings on the foam gun as I get more time with it, but this seemed more like a sud gun than foam lol, although it did make quite a difference that I did not expect. The hands-on wash took dramatically less time than I'm normally used to.
Once the foam had a chance to pull off the heavier debris, it was time for a hand wash. I went after the body with PoorBoys' Super Slick Suds and Dodo Juice's mind blowing sheepskin washmit. The washmit is by far a fantastic investment and quite frankly the single softest thing I've ever washed a vehicle with. Get ready for a workout, though, as it holds a TON of solution and gets to feeling heavy very quickly.
Now I see why they referred to it as the "wookie's fist." This thing is a monster. My wife's shih-tzu is terrified of it. I love to chase him around the house after I've dried and brushed it.
After the bath, it was time to give it a once-over with Griots Garage clay. This is different than the Blue Coral purple clay I normally use which is extremely dense and aggressive. I found it to be just *slightly* more aggressive than Megs blue that I've used before which is softer and more pliable, and gives great feedback to your hand when trying to locate surface contaminants.


") I've been hearing a lot of good things about Opti coat 2.0 and I'd like to give that a shot.
I've been hearing a lot of good things about Opti coat 2.0 and I'd like to give that a shot.
")