Tato
New member
- Nov 27, 2013
- 2,157
- 0
Dear Friends,
This weekend I had the pleasure to work on a 2011 Citroën AIRCROSS.
The car was very swirled and beaten, but luckily I was able to dial-in a procedure in order to restore it to a good condition - took a lot of time and effort, but was done. :buffing::buffing:
Let's take a look!
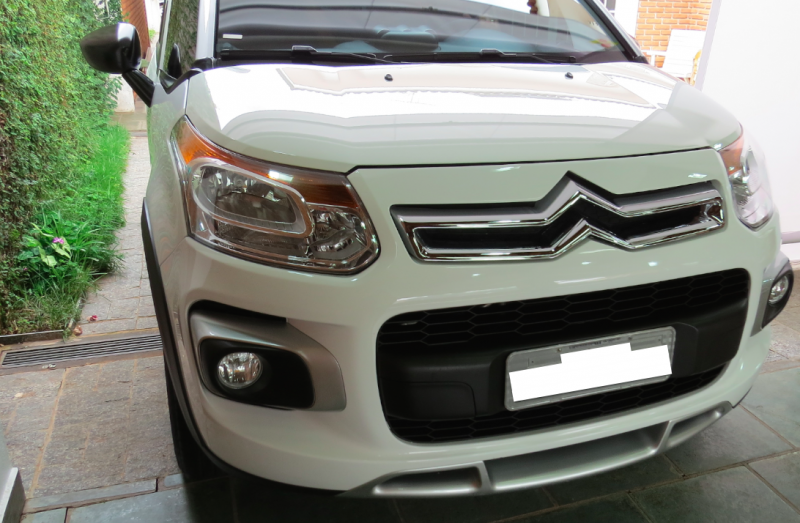
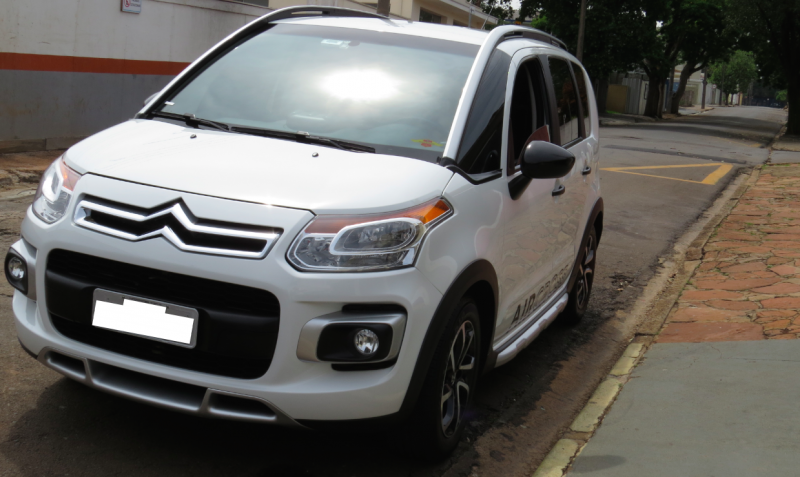
Car Arrived, not so bad from distance, right?

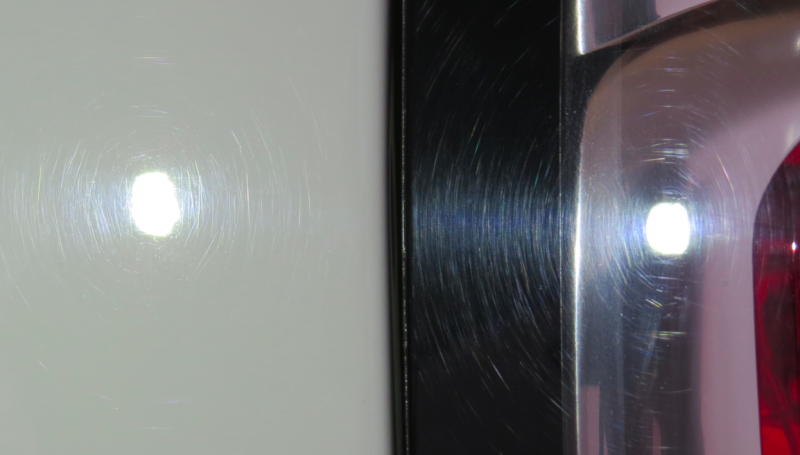
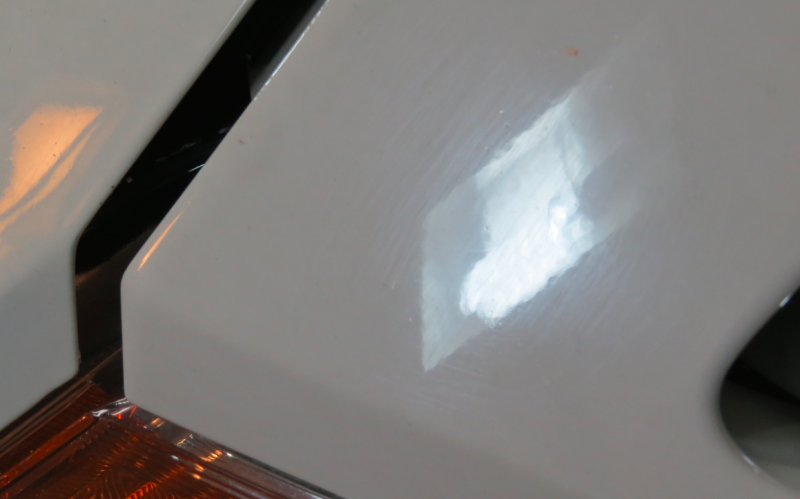
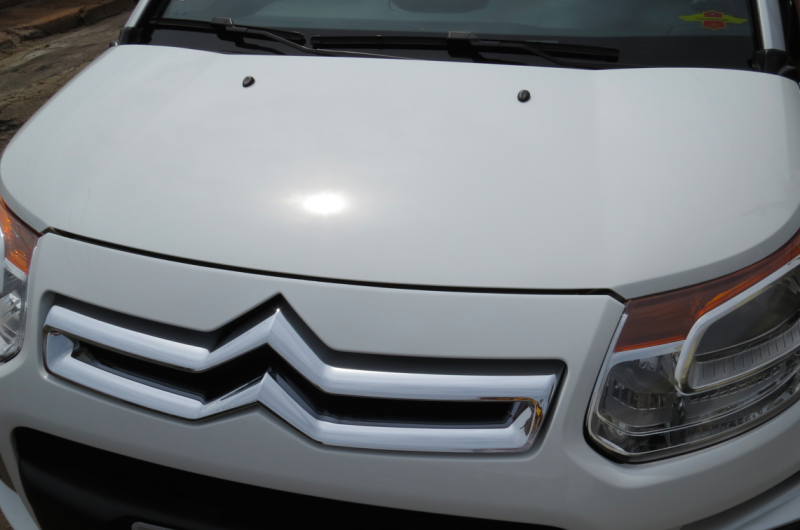
Getting closer, you may notice how scrubbed the paint was.


The Wheels were not only dirty but also scrubbed,

And washing alone was not going to be enough to make them look properly.
BEFORE:

AFTER (washed, decontaminated, polished (PF2500), and coated with Pinnacle Black Label Wheel Coating, 2 coats / 1 day apart.

Engine bay was also needing some attention

BEFORE:

AFTERs:


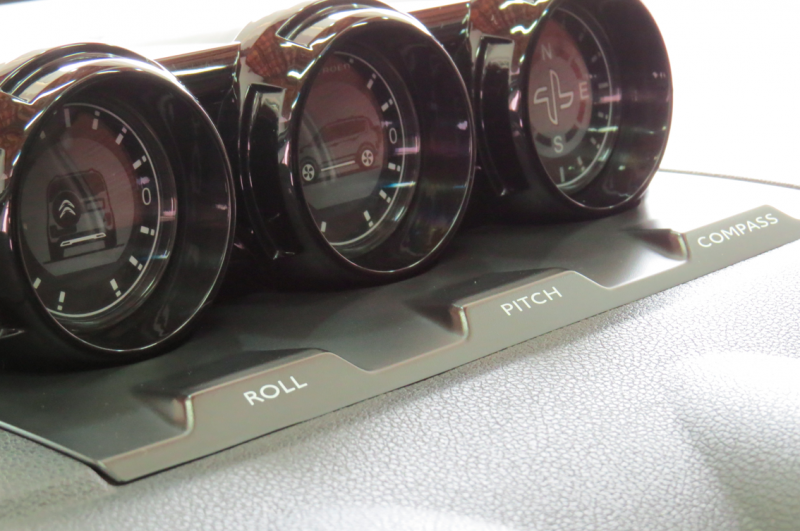
Interior
Although I don't have many pictures (interior was done by third-party very talented detailer who doesn't like to take pictures while working) - (read: My beloved wife!)


AFTERs:


To achieve a nice and clean interior, the steamer was used on all surfaces, then it was entirely retouched using dedicated cleaner (read carpet, upholstery, plastic, etc) for spotless look.

Some parts needed polishing as well, done by hand using a MF towel and PF2500 from Menzerna.
BEFORE:

AFTER: (not the best angle compared to above, but the only I have)

BEFORE:

AFTER:
---
Exterior
After former and intensive wash, I was left with huge amount of contamination.

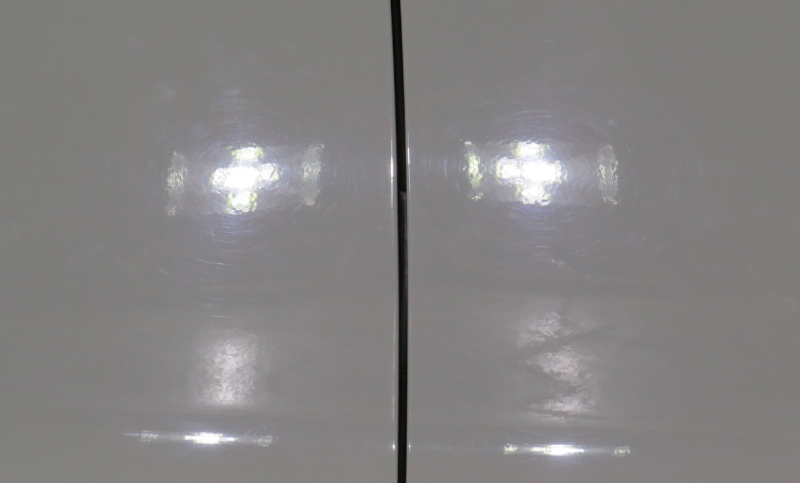
Notice dark spots over the whole surface... Notice paint condition under proper light:


Definitively not a candidate for wash and wax in my book...

Working the exterior alone is really difficult to get some pics... The bellow is an example of the action of Iron-X decontamination over the spots shown before:

Nanoskin medium grade Mitt was used later for complete decontamination. CarPro Spotless was used on Glass for water spot removal.
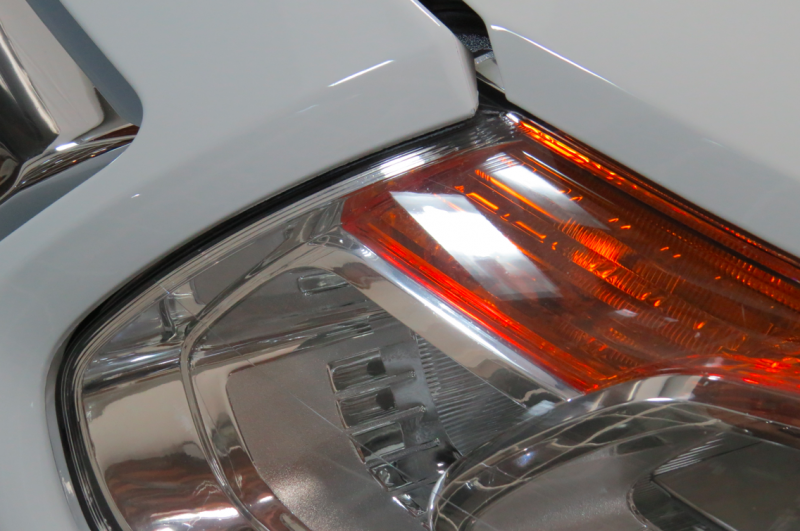
Some Detailing
BEFORE:
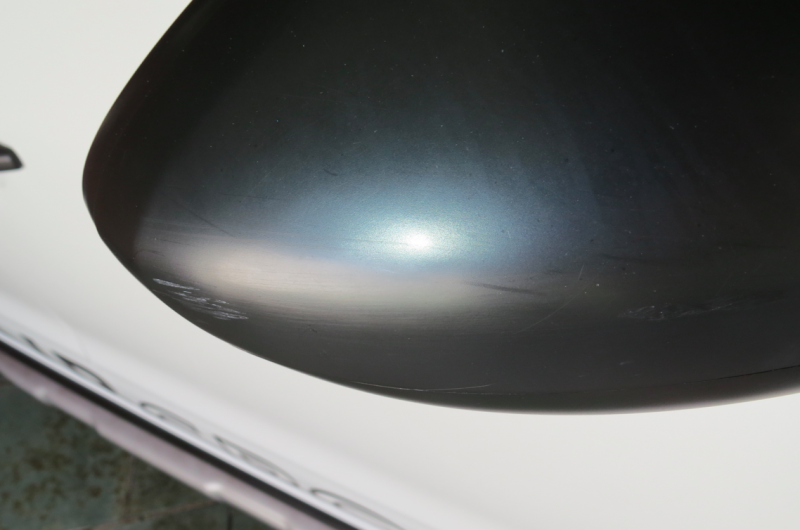
Rearview mirror casing was suffering from the elements,

AFTER:


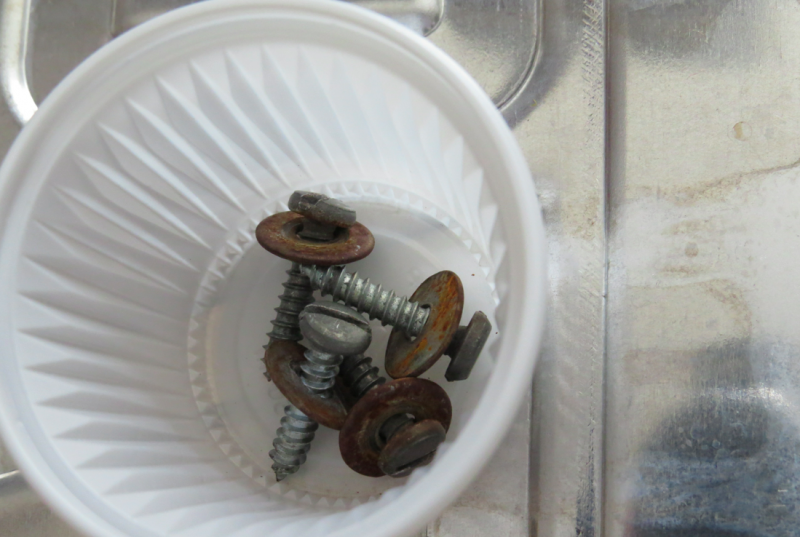
License plate bolts and washers (those shows like a sore thumb on a just detailed car):
BEFORE:
AFTER: washers switched, bolts restored, and tied for varnish application.

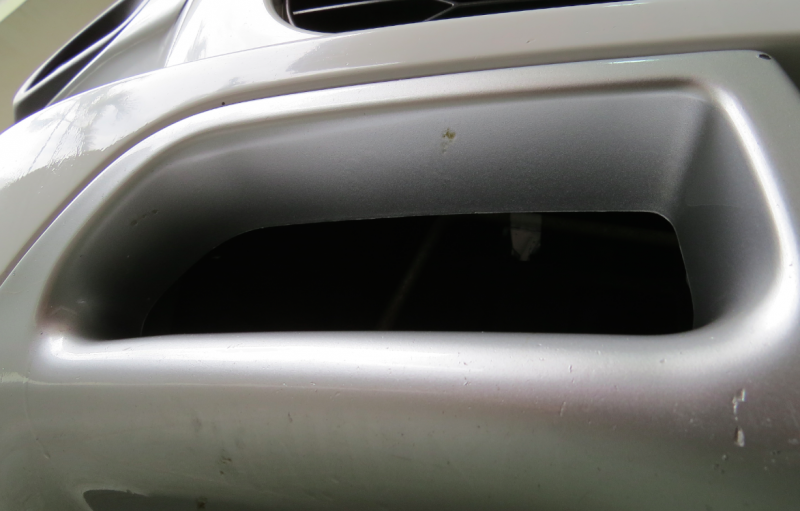
Lower parts, BEFORE:
AFTER:

BEFORE:

AFTER:

BEFORE:

AFTER:

This weekend I had the pleasure to work on a 2011 Citroën AIRCROSS.
The car was very swirled and beaten, but luckily I was able to dial-in a procedure in order to restore it to a good condition - took a lot of time and effort, but was done. :buffing::buffing:
Let's take a look!
Car Arrived, not so bad from distance, right?
Getting closer, you may notice how scrubbed the paint was.
The Wheels were not only dirty but also scrubbed,
And washing alone was not going to be enough to make them look properly.
BEFORE:
AFTER (washed, decontaminated, polished (PF2500), and coated with Pinnacle Black Label Wheel Coating, 2 coats / 1 day apart.
Engine bay was also needing some attention
BEFORE:
AFTERs:
Interior
Although I don't have many pictures (interior was done by third-party very talented detailer who doesn't like to take pictures while working) - (read: My beloved wife!)
AFTERs:
To achieve a nice and clean interior, the steamer was used on all surfaces, then it was entirely retouched using dedicated cleaner (read carpet, upholstery, plastic, etc) for spotless look.
Some parts needed polishing as well, done by hand using a MF towel and PF2500 from Menzerna.
BEFORE:
AFTER: (not the best angle compared to above, but the only I have)
BEFORE:
AFTER:
---
Exterior
After former and intensive wash, I was left with huge amount of contamination.
Notice dark spots over the whole surface... Notice paint condition under proper light:
Definitively not a candidate for wash and wax in my book...
Working the exterior alone is really difficult to get some pics... The bellow is an example of the action of Iron-X decontamination over the spots shown before:
Nanoskin medium grade Mitt was used later for complete decontamination. CarPro Spotless was used on Glass for water spot removal.
Some Detailing
BEFORE:
Rearview mirror casing was suffering from the elements,
AFTER:
License plate bolts and washers (those shows like a sore thumb on a just detailed car):
BEFORE:
AFTER: washers switched, bolts restored, and tied for varnish application.
Lower parts, BEFORE:
AFTER:
BEFORE:
AFTER:
BEFORE:
AFTER:


 icture: !


