RaskyR1
New member
- Apr 14, 2008
- 3,733
- 0
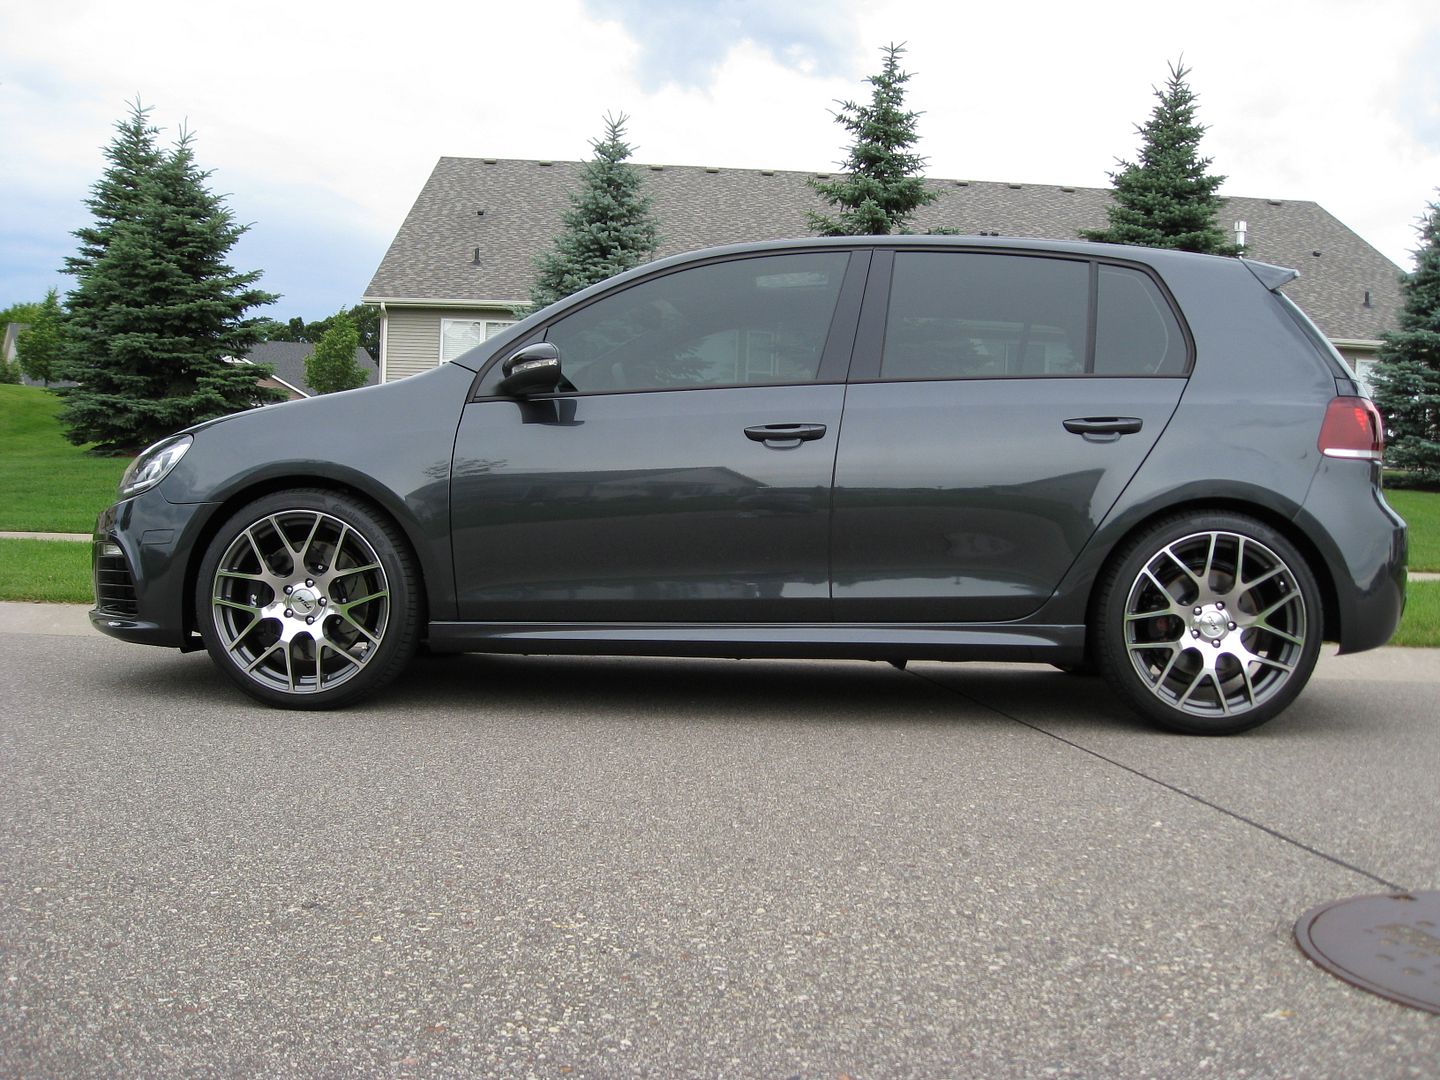
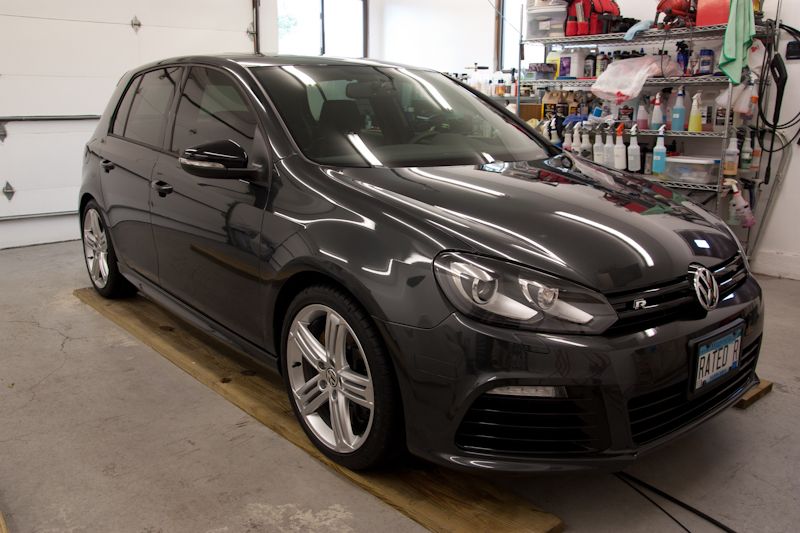
2012 Golf R, Prep and Opti-Guard application.
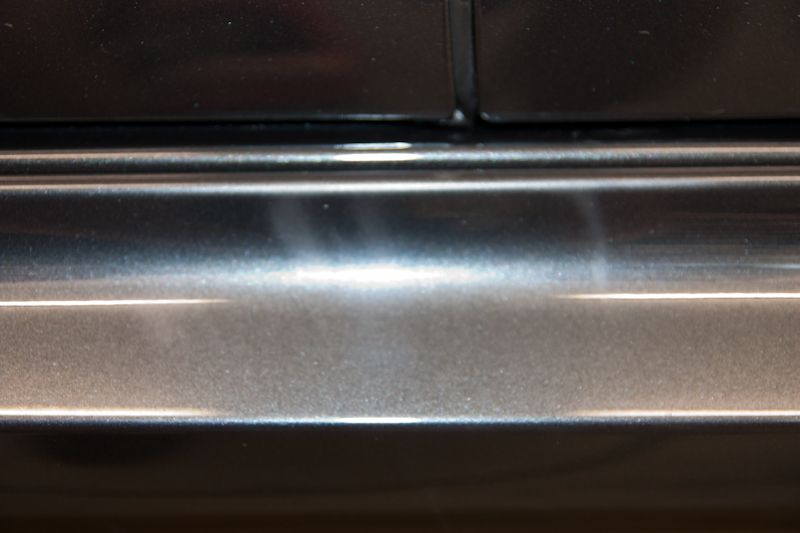
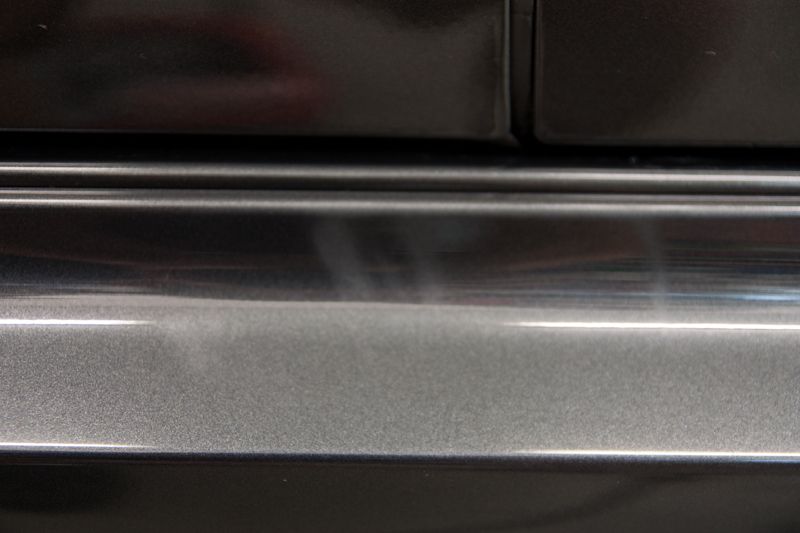
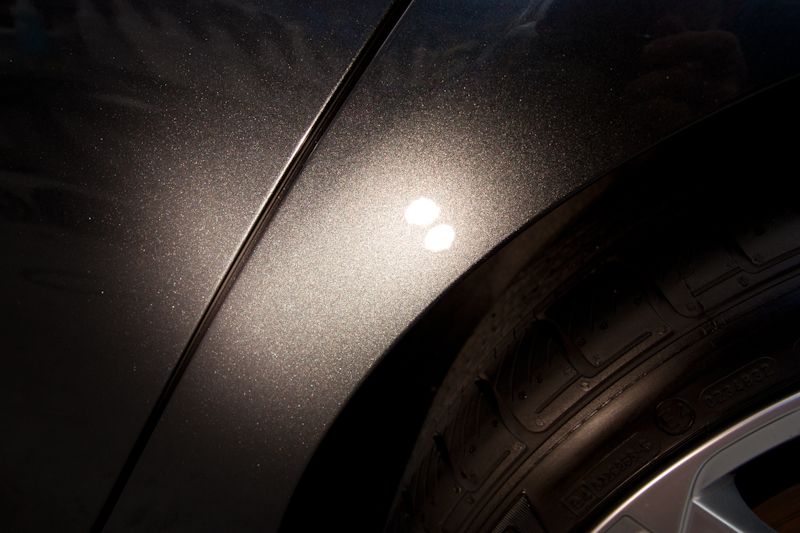
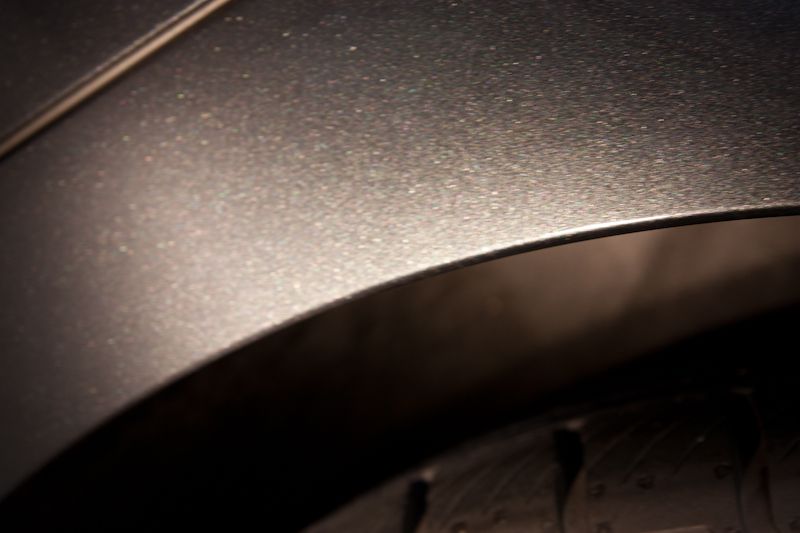
New Golf R in for Opti-Guard treatment. Overall the paint was in great shape with only the B pillars and a few areas needing considerable amounts of correction. There was some very odd marks on this car however which I've never seen on a new car before. They looked like abrasion marks almost like what you see back in the days when owners put vinyl bras on the front of there car and they flapped in the wind, slowly abrading the paint. One area behind the front wheel was all they way down to the primer and it was in the same location on all 4 wheel wells. The lower side spoilers also had the marks in several areas. I was able to remove them in most areas...if anyone else has seen this on new Golf R's let me know.
Justin came in to help out on this one too.
Process:
Wash - Foamed with OPC/CGCW followed by 2BM wash and CGCW
Wheels - P21S Gel and various brushes
Tires - OPC, dressed with Hyper Dressing 3:1
Paint prep - Nanoskin towel and Glide s lube, Nanoskin fine pad on glass.
Spot correction step - D300/M105 mix on the GG6 with Megs MF cutting pads
Finishing Step - 106fa via DA and crimson LC pads
Protection - Optimum Opti-Guard
Before


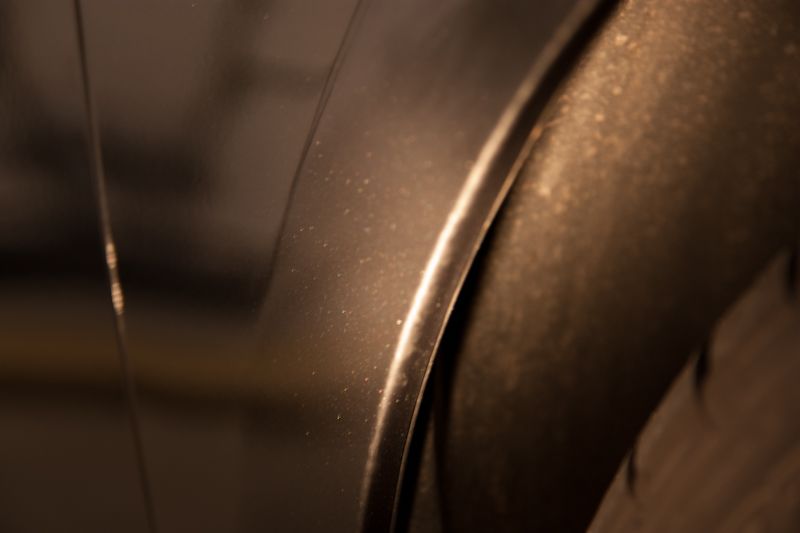
Drivers side rear wheel well marks
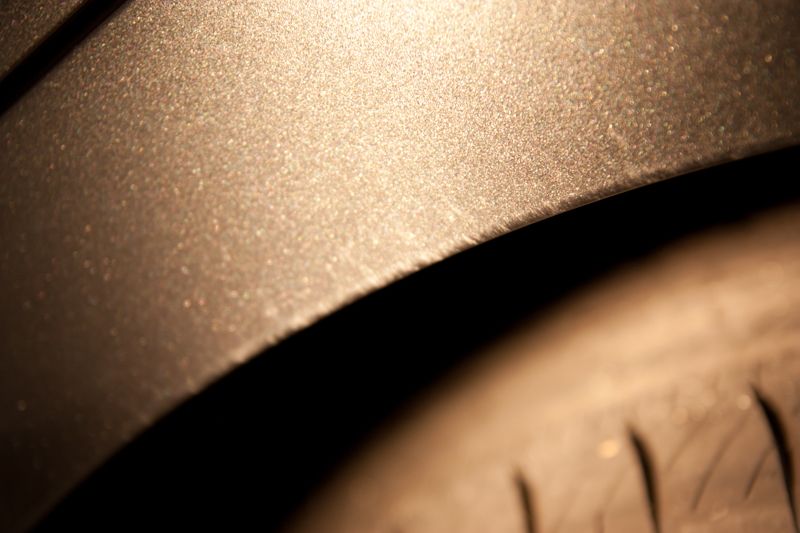
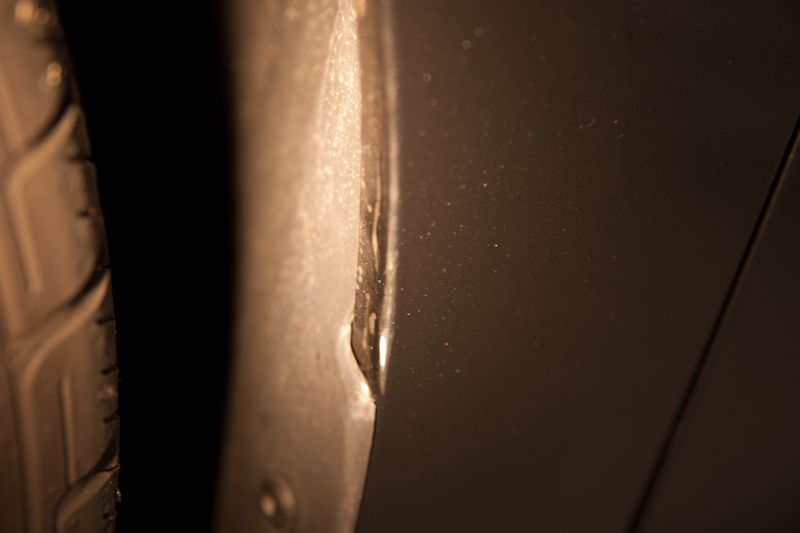
Drivers side front wheel well...you can see where paint had been abraded through
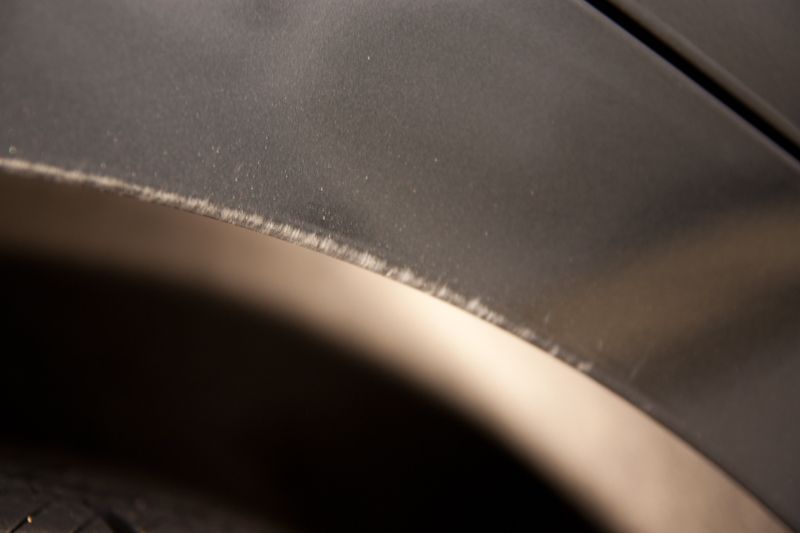
passenger side front
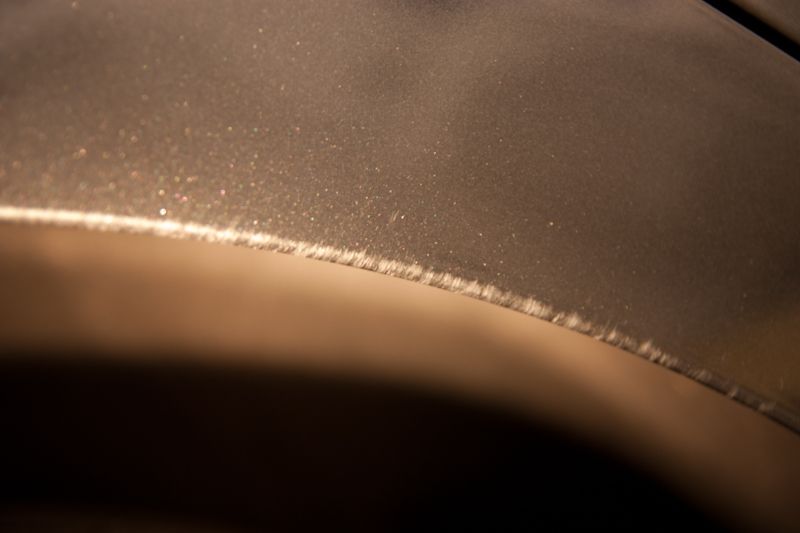
passenger side rear
Side spoiler....hard to get this one in pics
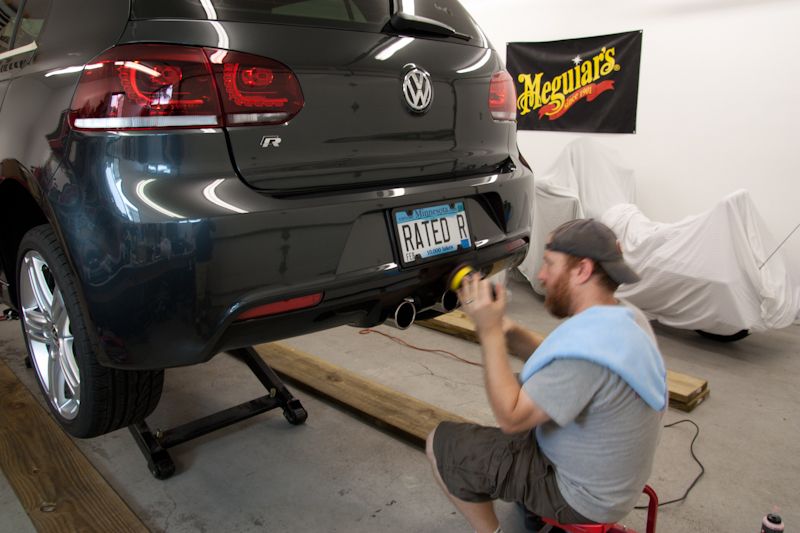
Justin going to town on the back
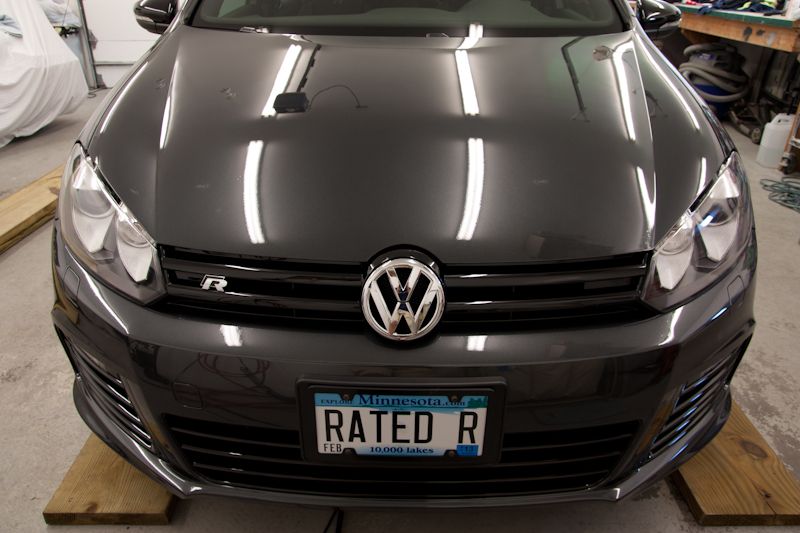
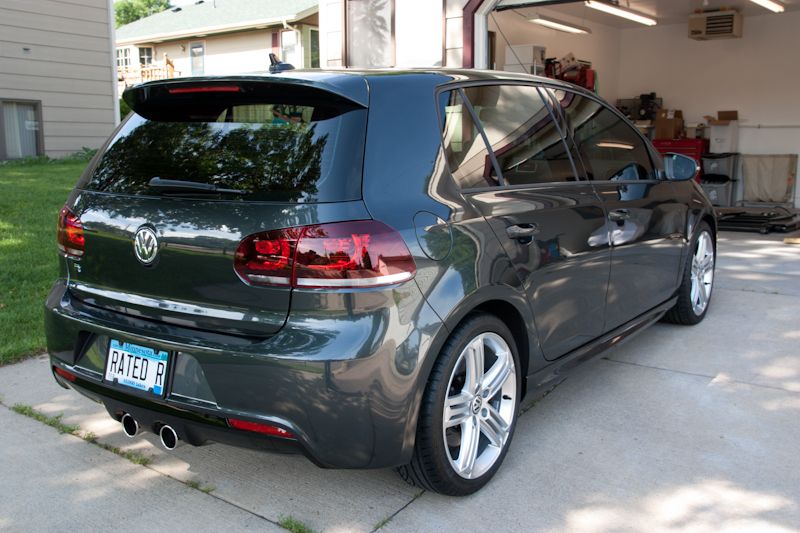
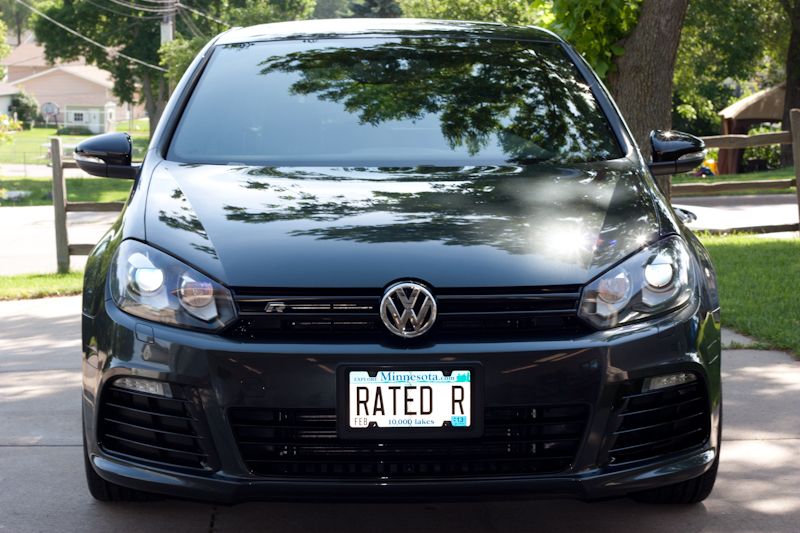
Owners plates suit this car well IMO!")
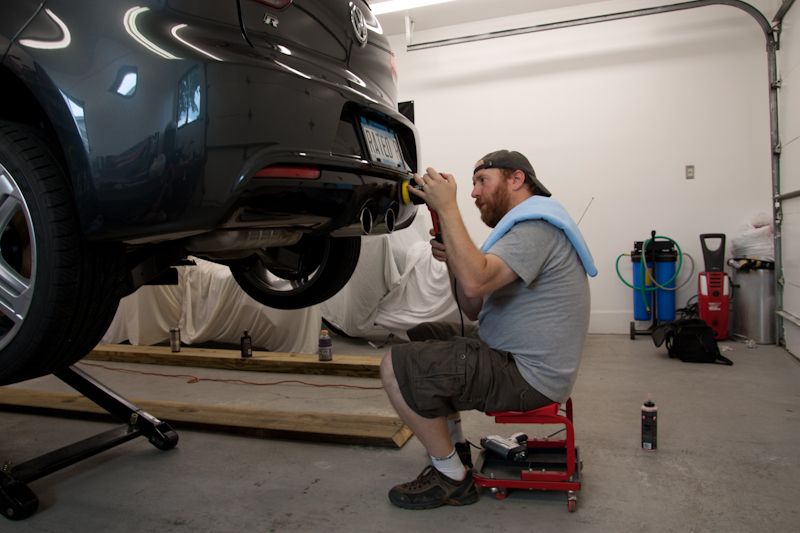
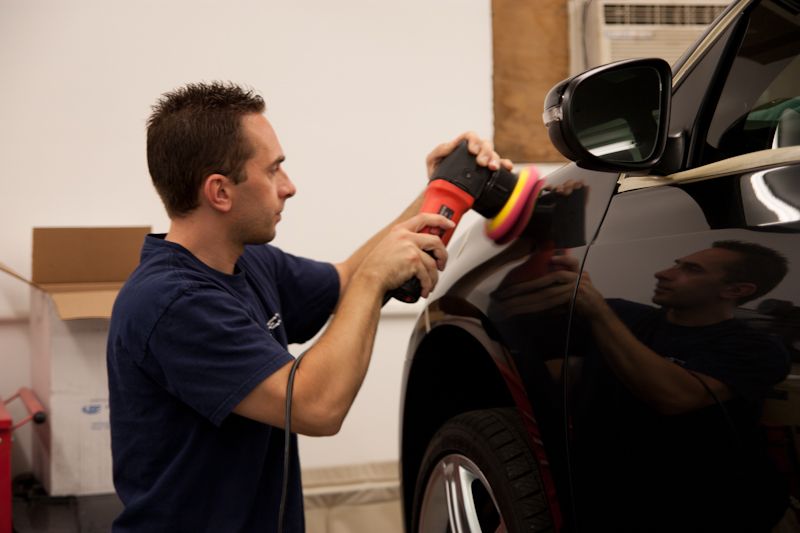
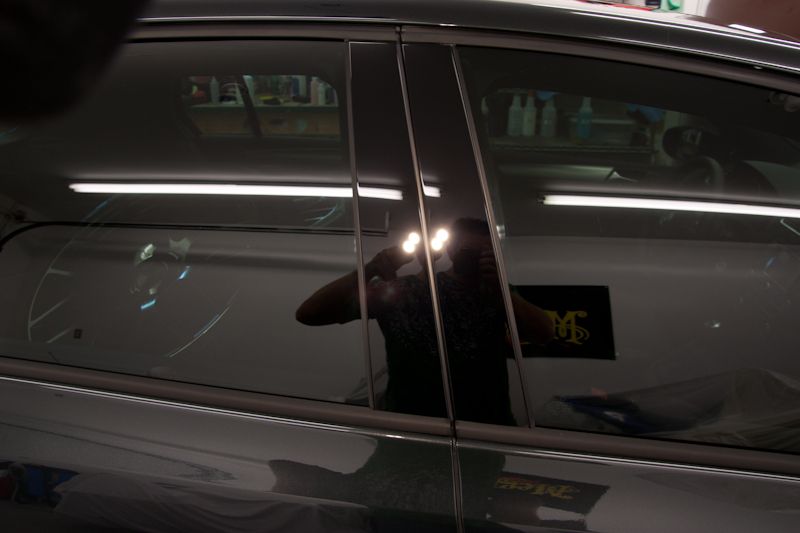
Me working on the front
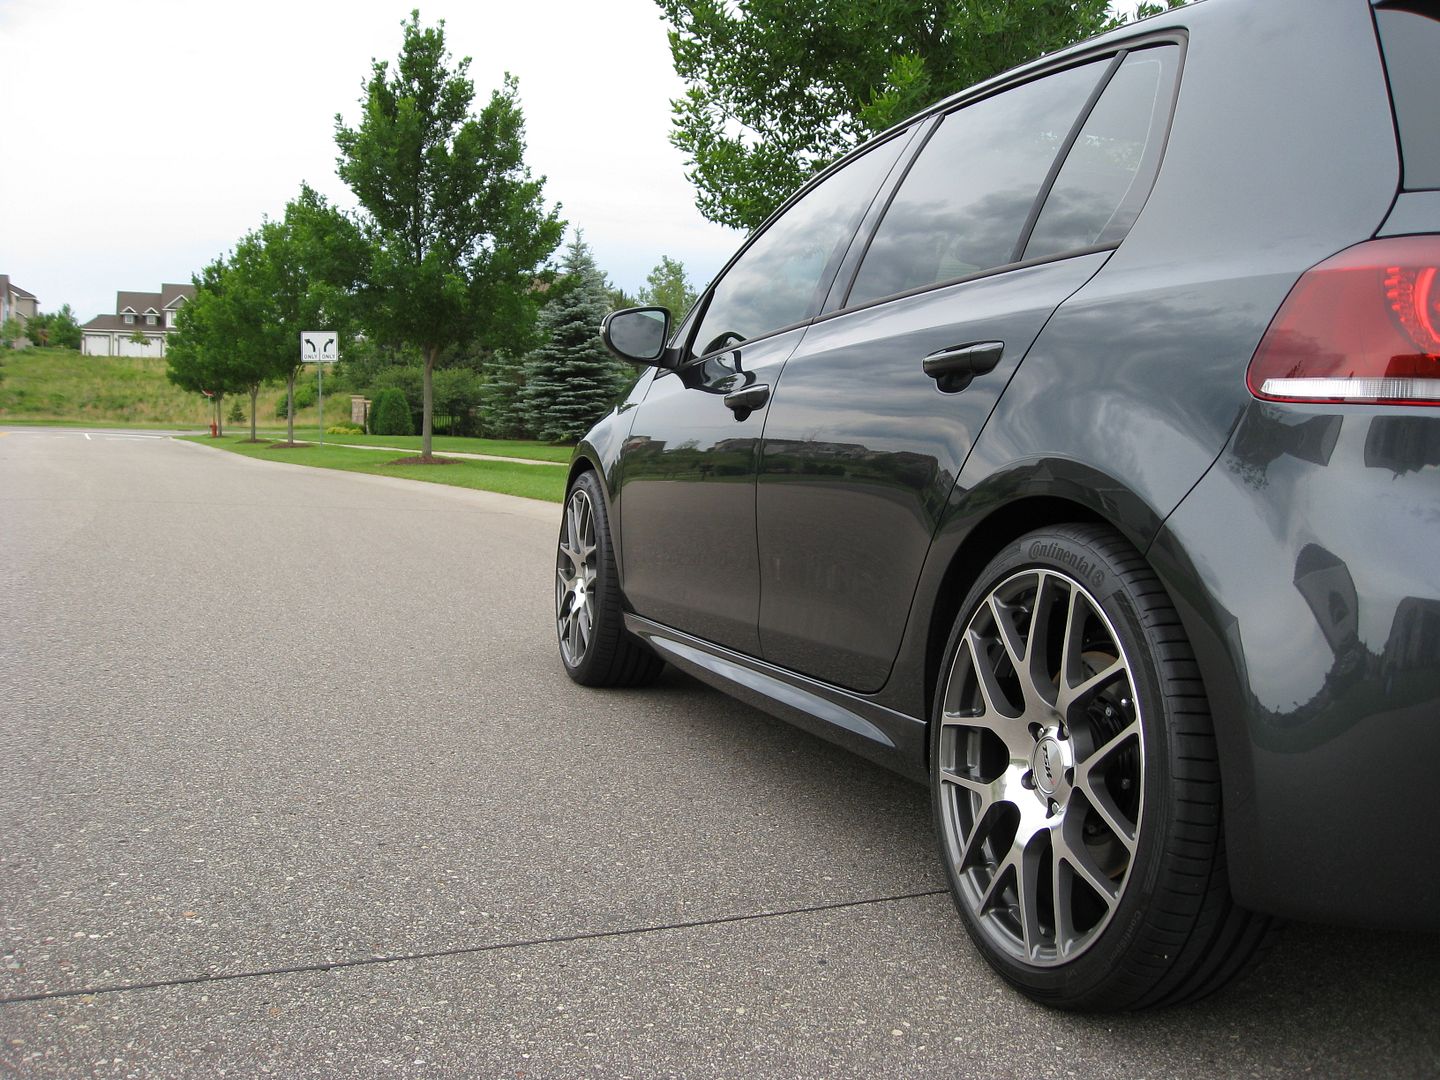
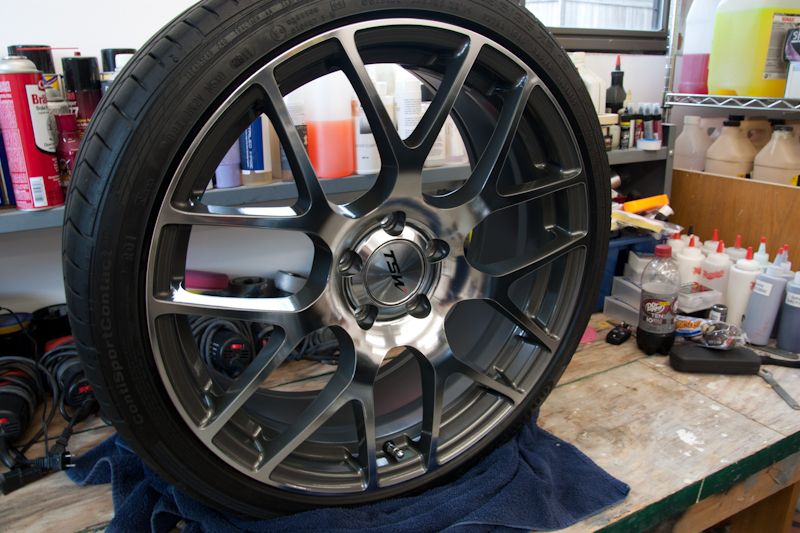
We also coated the owner new set of wheels for him....love these wheels!
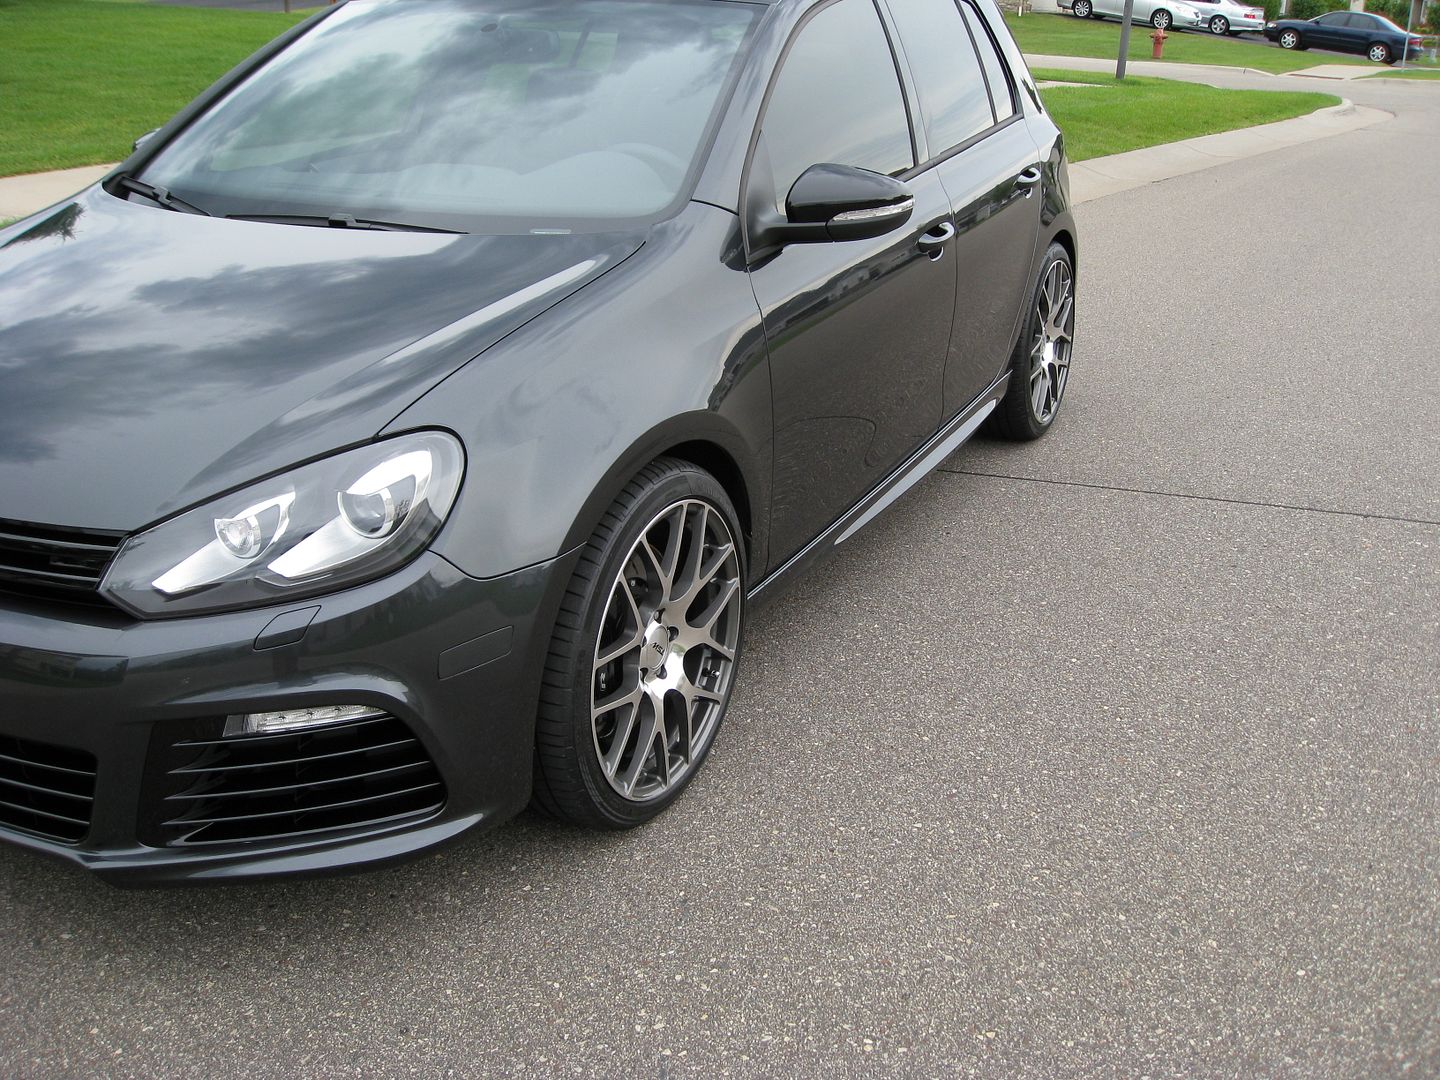
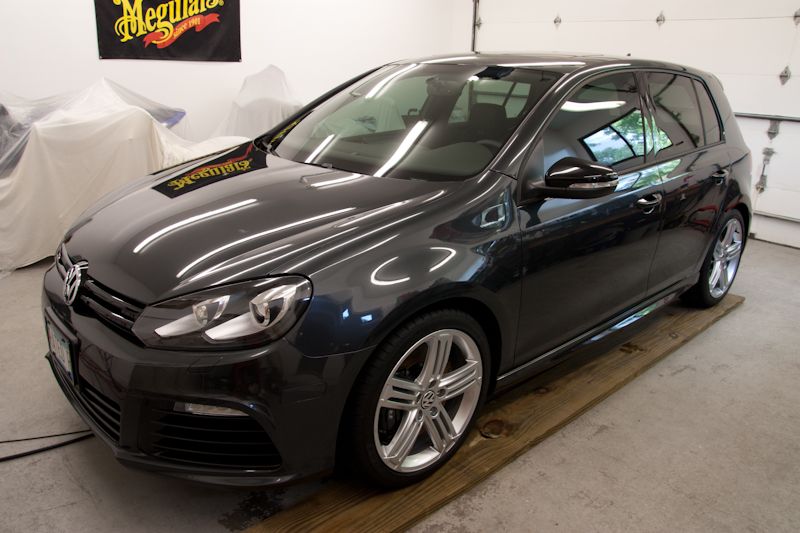
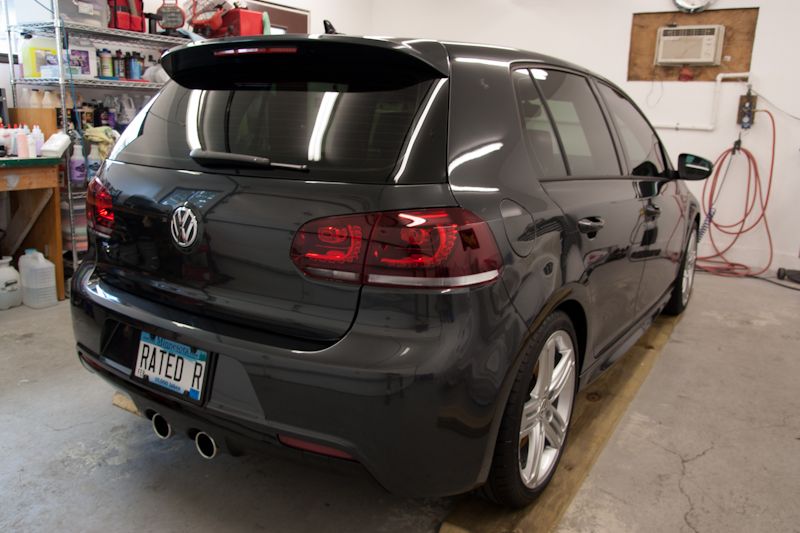
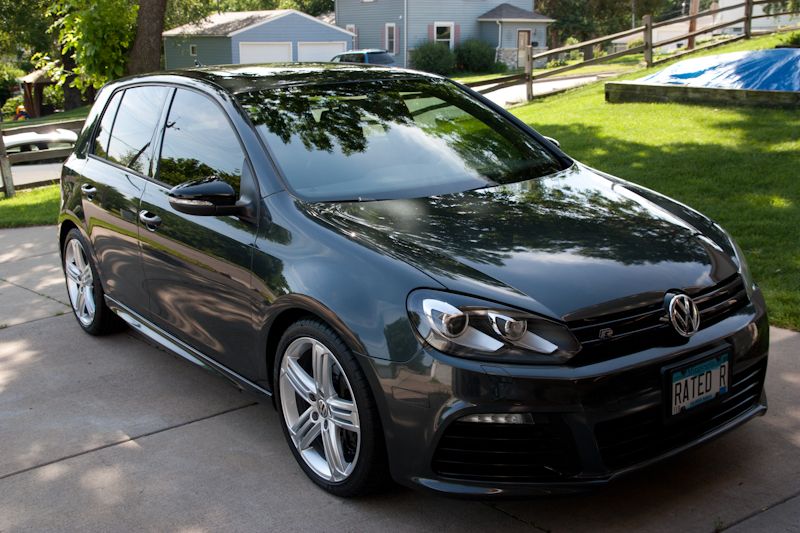
Finished pics

Scuffs removed


Thanks for looking,
Rasky
New Golf R in for Opti-Guard treatment. Overall the paint was in great shape with only the B pillars and a few areas needing considerable amounts of correction. There was some very odd marks on this car however which I've never seen on a new car before. They looked like abrasion marks almost like what you see back in the days when owners put vinyl bras on the front of there car and they flapped in the wind, slowly abrading the paint. One area behind the front wheel was all they way down to the primer and it was in the same location on all 4 wheel wells. The lower side spoilers also had the marks in several areas. I was able to remove them in most areas...if anyone else has seen this on new Golf R's let me know.
Justin came in to help out on this one too.
Process:
Wash - Foamed with OPC/CGCW followed by 2BM wash and CGCW
Wheels - P21S Gel and various brushes
Tires - OPC, dressed with Hyper Dressing 3:1
Paint prep - Nanoskin towel and Glide s lube, Nanoskin fine pad on glass.
Spot correction step - D300/M105 mix on the GG6 with Megs MF cutting pads
Finishing Step - 106fa via DA and crimson LC pads
Protection - Optimum Opti-Guard
Before
Drivers side rear wheel well marks
Drivers side front wheel well...you can see where paint had been abraded through
passenger side front
passenger side rear
Side spoiler....hard to get this one in pics
Justin going to town on the back
Owners plates suit this car well IMO!
Me working on the front
We also coated the owner new set of wheels for him....love these wheels!
Finished pics
Scuffs removed
Thanks for looking,
Rasky
")