Tato
New member
- Nov 27, 2013
- 2,157
- 0
Dear Friends,
This week I had the pleasure to work on a beautiful 2013 BMW 328i. After inspecting the vehicle with customer we agreed on a full detail (in and out), paint polishing and coating.
To meet the needs I've invested my time in cleaning and decontaminating the vehicle first, then performed a 3-step polishing and finally coated all surfaces with Pinnacle Black Label series of coatings (Wheel, Glass and Paint) whetter they fitted.
The decontamination step consisted in a formal wash using Meguiar's Hyper Wash + CG Bug Tar Wash followed by Iron-X, Tar-X, Spotless, and finally a claying step to get the paint squeaky clean, smooth and free of contaminants, ready for polishing.
The polishing step was performed using Rupes 21, Meguiar's Xtra Cut Microfiber Discs and Menzerna SHC300 for the first cut, followed by Flex 3401, LC Hybrid foam pads and SHC300 or PF2500 and SF4000 to accomplish the polishing and finishing steps.
I've decided on this setup based on test spot results which revealed the paint on this car to be on the 'very' hard side, that associated with neglected condition put me on an intensive polishing routine.
Let's see the pictures,
Here's how it arrived,

And how it was delivered:

Paint was tacky and picky, feeling like 40 grit
I risk saying no one ever took proper care of this engine bay:

With credits to my dearest friend Sonus Trim / Motor Kote for dressing after total cleanup.

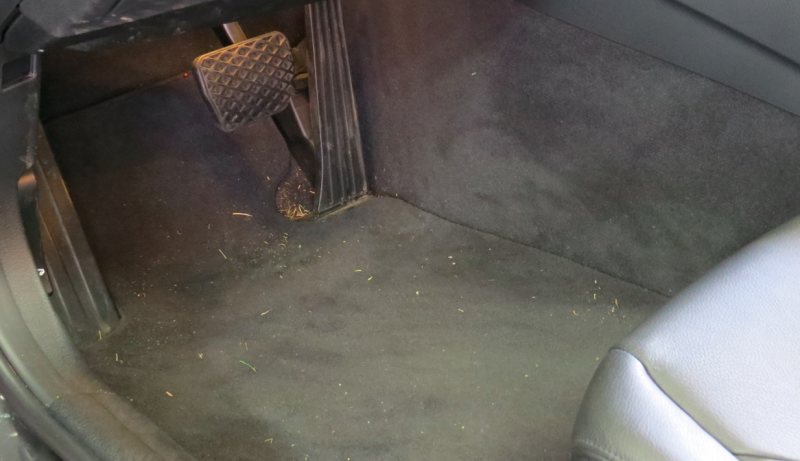
Interior also needed some love, (although I don't have many detailed pictures - work was performed by my Co-Worker)
Before:
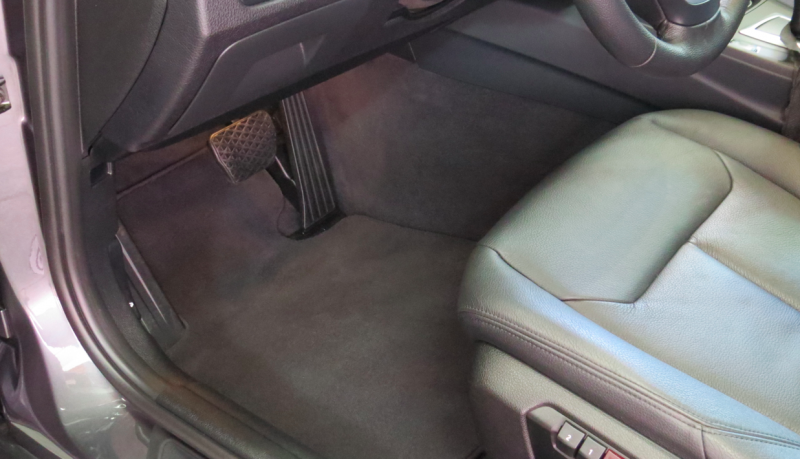
After:
Before:

After:

General view (cleaned, steamed, leather cared and all interior plastic protected using 303 Aerospace Protectant):

Then we tackled the Wheels,
Before:

After being washed, decontaminated / tar removal and coated with PBL Wheel Coating. Tire dressed using Sonax Tire Gel

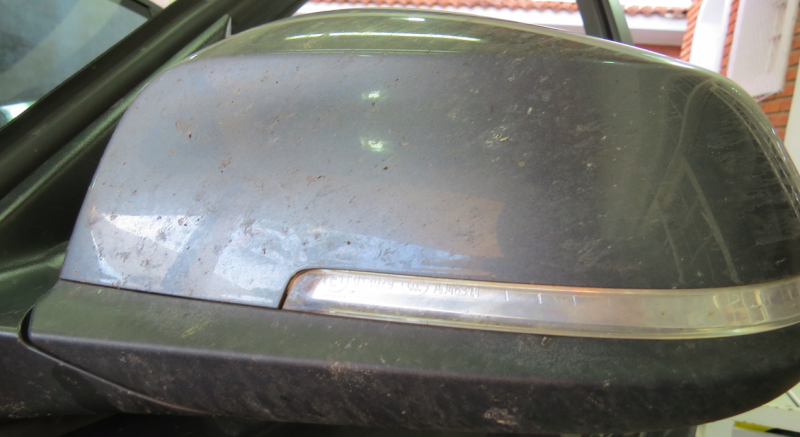
Paint was so dirty it was looking matte finished,

Bugs also played a role,

TOGWA too!

Here and there, mostly on every cranny


Well, I'll stop the TOGWA series here because I'd spend an entire workday just to capture the pictures where it existed.

This picture from Glass may show how much embedded dirty was presented

After washing, I've performed an extensive decontamination step. Here you can observe Iron-X in action


From dirty, stained, swirled (not shown on pic) and old looking
To a much improved condition:

Although looks simple, it took several hours to achieve the desired results throughout the entire vehicle.
Here's what I was left after decontamination step:
Stain on pillars

Fender

Roof

I frequently try to inspect the paint using different light conditions:

After:

After, from another light source:

More on the roof, without any direct lighting, notice how defects were showing up:

Swirl finder light:

And Gone:

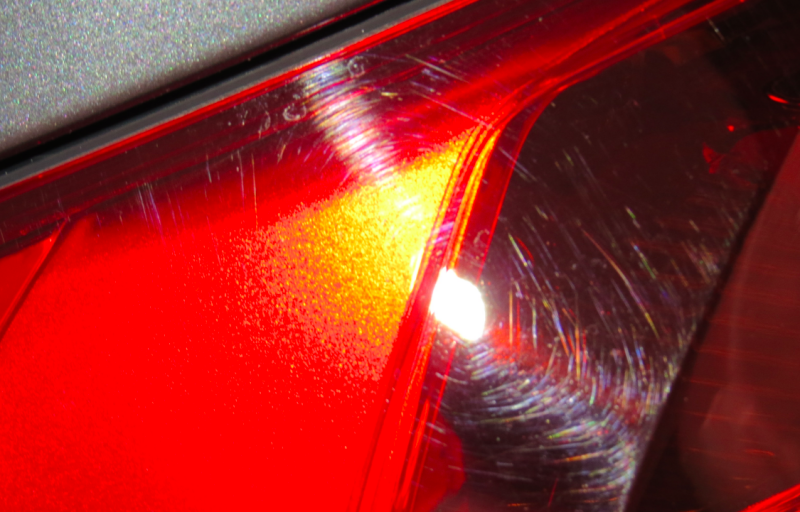
Taillamp Before:


After:

Before:
Afters:


Going down, I'd stop the TOGWA series up above but he insisted ahahah

Exhaust tips, before (do I need to say?!)

After, needed a Dremel tool to work my polish since it was really, really slow to be performed by hand

I've polished the whole car and left the hood to the end.
How it looked after washing and thorough decontamination:

Here's what I've started with:

In very bad shape, although this paint color is very 'good' in hiding minor defects like swirls and holograms.

Here's what I ended up with:

Inspected using the swirl finder light:

And reinspected with customer under the sun, hope he enjoyed the view:


Ready to shine again on the road:

To end, I'm repeating the second picture from this thread for you to watch it after seeing some of what was done:
----------------
Thank you very much for watching!
Please, feel free to leave comments, critics, suggestions, questions, you're always welcome.
Although I could only capture and share part of what was done, I really wish you to enjoy watching as much I've enjoyed working on this one.
Kind Regards.
This week I had the pleasure to work on a beautiful 2013 BMW 328i. After inspecting the vehicle with customer we agreed on a full detail (in and out), paint polishing and coating.
To meet the needs I've invested my time in cleaning and decontaminating the vehicle first, then performed a 3-step polishing and finally coated all surfaces with Pinnacle Black Label series of coatings (Wheel, Glass and Paint) whetter they fitted.
The decontamination step consisted in a formal wash using Meguiar's Hyper Wash + CG Bug Tar Wash followed by Iron-X, Tar-X, Spotless, and finally a claying step to get the paint squeaky clean, smooth and free of contaminants, ready for polishing.
The polishing step was performed using Rupes 21, Meguiar's Xtra Cut Microfiber Discs and Menzerna SHC300 for the first cut, followed by Flex 3401, LC Hybrid foam pads and SHC300 or PF2500 and SF4000 to accomplish the polishing and finishing steps.
I've decided on this setup based on test spot results which revealed the paint on this car to be on the 'very' hard side, that associated with neglected condition put me on an intensive polishing routine.
Let's see the pictures,
Here's how it arrived,
And how it was delivered:
Paint was tacky and picky, feeling like 40 grit
I risk saying no one ever took proper care of this engine bay:
With credits to my dearest friend Sonus Trim / Motor Kote for dressing after total cleanup.
Interior also needed some love, (although I don't have many detailed pictures - work was performed by my Co-Worker)
Before:
After:
Before:
After:
General view (cleaned, steamed, leather cared and all interior plastic protected using 303 Aerospace Protectant):
Then we tackled the Wheels,
Before:
After being washed, decontaminated / tar removal and coated with PBL Wheel Coating. Tire dressed using Sonax Tire Gel
Paint was so dirty it was looking matte finished,
Bugs also played a role,
TOGWA too!
Here and there, mostly on every cranny
Well, I'll stop the TOGWA series here because I'd spend an entire workday just to capture the pictures where it existed.
This picture from Glass may show how much embedded dirty was presented
After washing, I've performed an extensive decontamination step. Here you can observe Iron-X in action
From dirty, stained, swirled (not shown on pic) and old looking
To a much improved condition:
Although looks simple, it took several hours to achieve the desired results throughout the entire vehicle.
Here's what I was left after decontamination step:
Stain on pillars
Fender
Roof
I frequently try to inspect the paint using different light conditions:
After:
After, from another light source:
More on the roof, without any direct lighting, notice how defects were showing up:
Swirl finder light:
And Gone:
Taillamp Before:
After:
Before:
Afters:
Going down, I'd stop the TOGWA series up above but he insisted ahahah
Exhaust tips, before (do I need to say?!)
After, needed a Dremel tool to work my polish since it was really, really slow to be performed by hand
I've polished the whole car and left the hood to the end.
How it looked after washing and thorough decontamination:
Here's what I've started with:
In very bad shape, although this paint color is very 'good' in hiding minor defects like swirls and holograms.
Here's what I ended up with:
Inspected using the swirl finder light:
And reinspected with customer under the sun, hope he enjoyed the view:
Ready to shine again on the road:
To end, I'm repeating the second picture from this thread for you to watch it after seeing some of what was done:
----------------
Thank you very much for watching!
Please, feel free to leave comments, critics, suggestions, questions, you're always welcome.
Although I could only capture and share part of what was done, I really wish you to enjoy watching as much I've enjoyed working on this one.
Kind Regards.
")
 rops:
rops: