2013 Ford Ranger in Blue: Full detail, 2-step Polish + PBL coatings

Tato

New member
Joined
Nov 27, 2013
Messages
2,157
Reaction score
0
Dear Friends,

This week I had the pleasure to work on this beautiful 2013 Blue Ford Ranger in metallic blue. After explaining my process to customer, we agreed on a 2-step polish and full PBL coating.

It was an extensive detail, so I'll let the pictures do a little talk.

Hope you enjoy watching as much as I enjoyed working on this one.

Ready? Go!:buffing:

Car arrived at morning, and from distance, you cannot see much of it's real state:
RANG13-1.png


After scheduling, I've instructed customer to not wash the car before bringing it to me. It was very dirt, however, I was not willing to face more damage than what was already instilled:
RANG13-2.png


Driver's visibility was a bit compromised by all the dust:
RANG13-3.png


A thick layer of contaminants was installed over the whole vehicle's finish
RANG13-4.png


This picture shows the lower part of front bumper:
RANG13-5.png


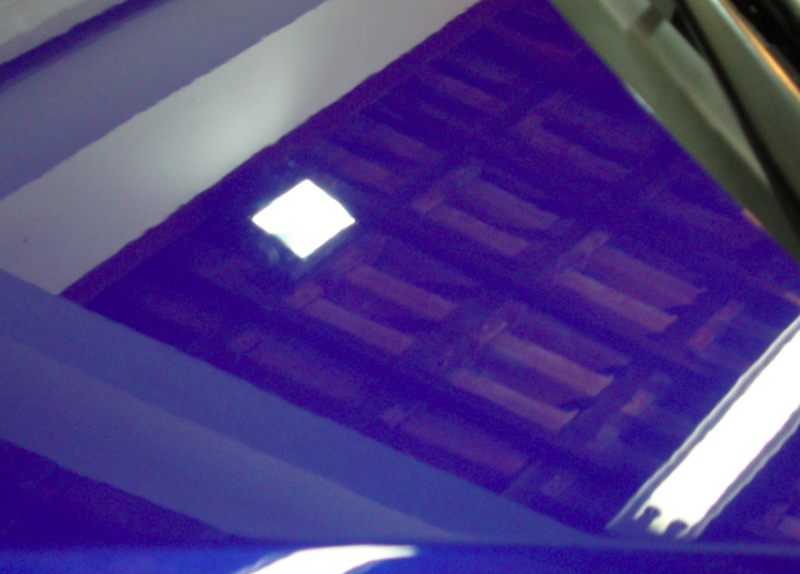
Random shots of the hood:
RANG13-6.png


RANG13-6b.png


Passenger's door, asking for help


Here are some scratches that were concerning my customer
RANG13-7b.png


and here:
RANG13-7d.png


RANG13-7e.png


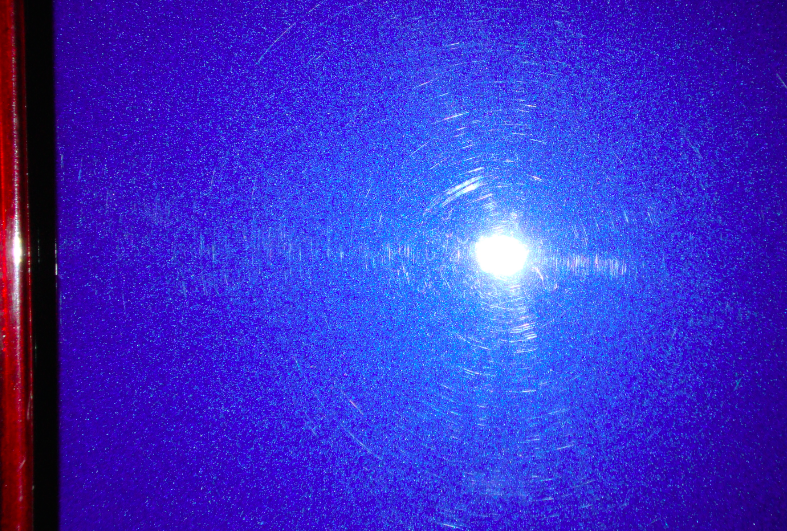
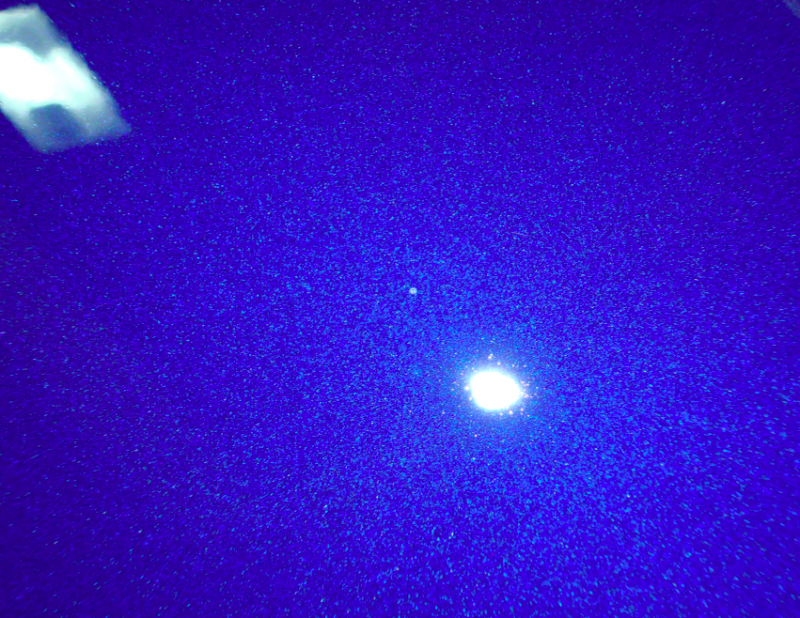
Overall paint condition was hazy and swirled
RANG13-7c.png


Driver's side rear condition:
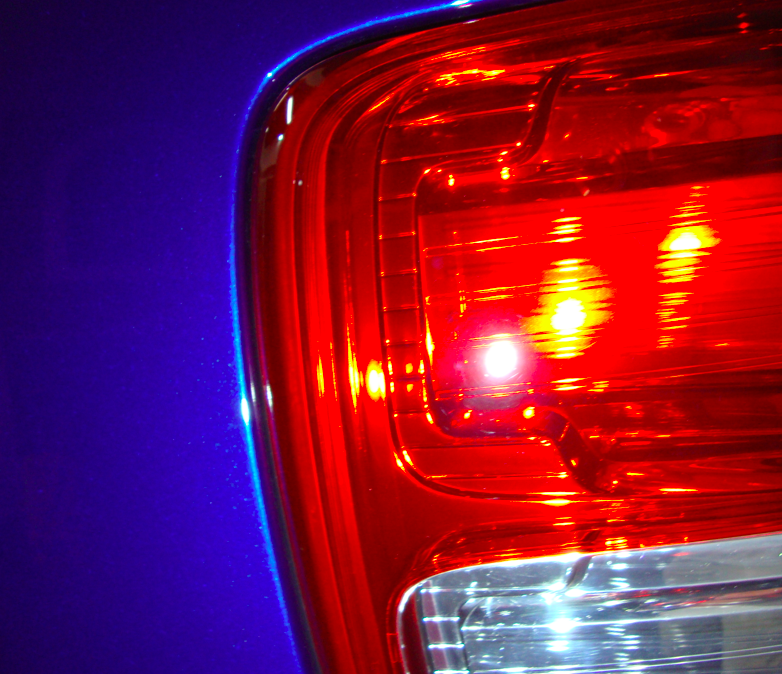

Rear lamp, swirled


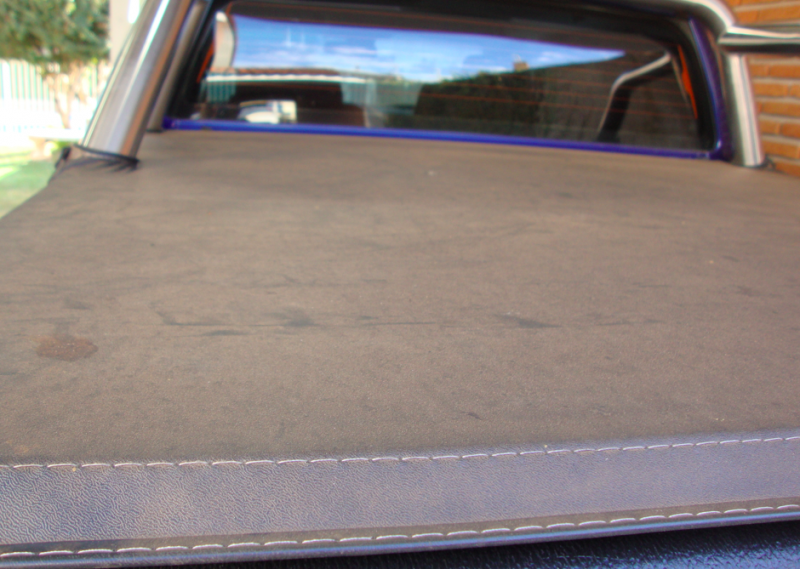
Vinyl cover embedded dirt
RANG13-8b.png


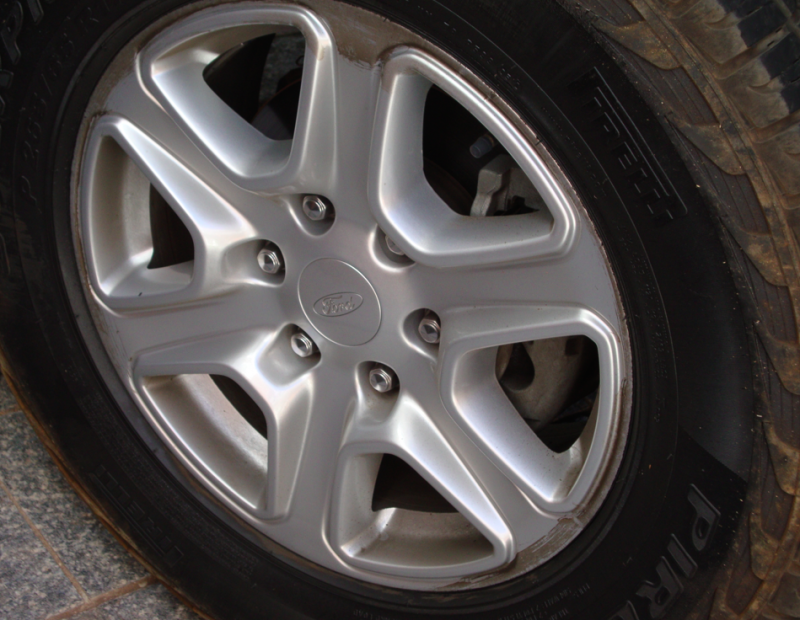
Ford's LOGO also beaten
RANG13-9a.png


Trunk also need some care:
RANG13-9b.png


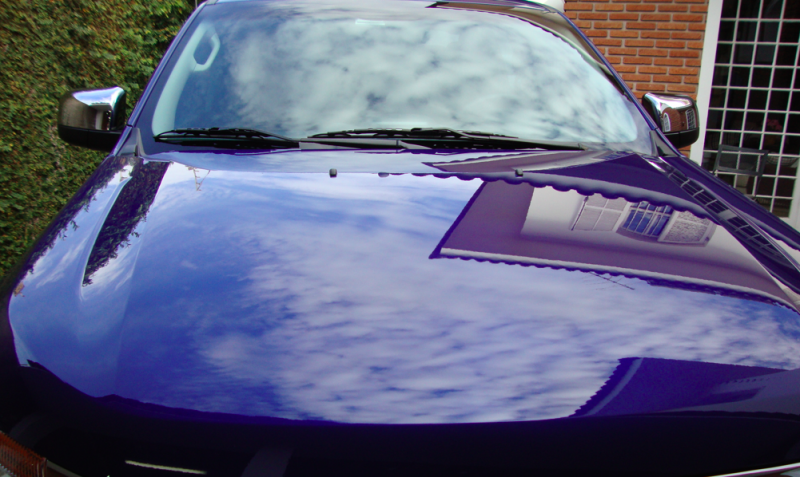
This picture summarize the overall condition of vehicle's front
RANG13-10.png


Full inspection revealed swirls covering and hindering the whole finish
RANG13-12.png


Glass presented hard water spots that looked really ugly
RANG13-14.png


In advance, an after shot of the glass after polishing (please, ignore polish dust particles, car was fully washed again after detail)


Interior inspection:
Stain on seats
RANG13-18.png


RANG13-19.png


Interior overall condition:
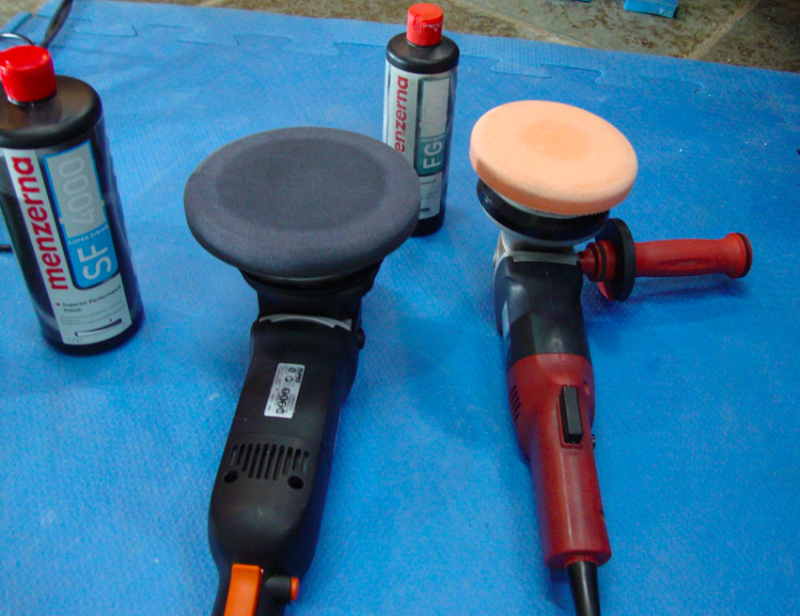
RANG13-20.png


Into the work:

Brake dust was not a main concern regarding the wheels, however embedded dust and tar...
RANG13-16.png


RANG13-16a.png


After degreasing and washing the wheels, it was time to further access the tar contamination
RANG13-16b.png


During process:
RANG13-16c.png


After
RANG13-16d.png


Spare tire was also evaluated and detailed - Before:
RANG13-17a.png


After


Car was thoroughly washed using Meg's Hyper Wash and decontaminated using nanoskin medium grade wash mitt.
RANG13-21.png


Now I could look further to real paint condition, and I was not happy with what I was seeing...
RANG13-22.png


Clean, decontaminated, but still swirled
RANG13-23.png


More stains, on driver's door upper part
RANG13-26.png


Front detailed to start directing the transformation:
RANG13-27a.png


Yes, you can polish your Ford's Logo to a near flawless condition!
RANG13-27b.png
 
Polishing Setup

After dialing some test spots, I was able to fine tune a combination in an attempt to improve car's condition to it's best.

I've used Flex 3401 polisher paired with 5" orange hybrid pad and FG400 from Menzerna for my cutting step, followed by Rupes 21, 6.5" black hybrid pad and SF4000 for my finishing step.
RANG13-28a.png


Passenger's side, before:
RANG13-28b.png


During (natural 50/50 shot):
RANG13-29.png


After:
RANG13-30.png


50/50 is now 100%
RANG13-31.png


Hood improvements after the cutting phase:
RANG13-33a.png


Refined:
RANG13-33b.png


RANG13-34.png


RANG13-33c.png


RANG13-33e.png


Swirls literally kicked out:
RANG13-35.png


Trunk Lid, before:
RANG13-37a.png


After:


Rear Logo also polished to a flawless:
RANG13-36.png


Handles (customer's main concern - not anymore!)


This scratch played a trick on me. Initially looking like an easy task, I've decided (after heavy polishing and light feather sanding) to leave it there - considered too deep to be safely removed.


Door Pillar, looks great?


Driver's side rear after, what do you think?
RANG13-44.png


Taillamp, cut and finished:


Front...
RANG13-46.png


... to back, I was starting to really enjoy what was going on. Look at this glow:
RANG13-47.png


Details, crevices, corners, polished by hand using FG400 and a MF applicator
RANG13-50b.png


Vinyl cover, after dedicated vinyl cleaner application, further coated as well
RANG13-50c.png


Always I can I try to make small repairs to customer's vehicle. This time I made a simple repair to a plastic cover:

Before: Loose and broken


After: Glued and reinforced to avoid further failure


Trunk, detailed
RANG13-50f.png


Have you noticed this rubber was loose on last picture? One more simple, yet effective repair:
RANG13-50g.png


Interior Work

Although I don't have many pictures regarding the extensive interior detail, I can only say it was properly cleaned with safe chemicals at first, and fully steamed to raise the bar a day after.


Seat stains removed using Mothers Upholstery cleaner, and steam cleaned a day later:
RANG13-52.png


RANG13-53.png


Everything protected using 303 Aerospace,
RANG13-54.png


Final Finish
After entire detail inside and out, the car was brought outside for the last wash prior coating application.

RANG13-57.png


RANG13-58.png


RANG13-59.png


Delivery

The car was coated using PBL Surface coating (wheels, glass, paint, metal, and everything else), and cured overnight.

Customer arrived early in the morning to see how his 'big blue' was looking like. I'm glad and happy because his reaction surpassed my expectations. I hope I've exceeded his as well.

Here he is (cut from the picture to preserve privacy) driving his Brand New Ford Ranger.


I've asked him to park the car on the street so I could take some few sun pictures that would allow me to finish this thread.

Here you are, the finished product of my work:

RANG13-63b.png


RANG13-63a.png


RANG13-66a.png


RANG13-66b.png


RANG13-67.png


RANG13-69.png


What I really enjoyed about this paint color is that it may show a different tonality relative to the angle you look at it.

Here, it looks darker (and gleaming):
RANG13-70.png


And from this side, vivid blue.
RANG13-71.png


Ready to go!

Thankfully, customer signed up for a monthly maintenance program, and I'll do my best to keep this car looking properly detailed for a very long time!

Unfortunately, I could not capture every aspect of this extensive detail, including extensive hand polishing on crevices and all details where it was possible. However, I'm looking forward for you to enjoy this thread with what I have to show.

Comments, critics, suggestions, questions... always, ALWAYS! very welcome.

Thanks a lot for watching,

Kind Regards.
 
Outstanding job Tato, what a transformation! :dblthumb2:
 
Beautiful job! I love threads like this. It shows me what to aspire to.
 
Great work! That is a really nice transformation. I like the way the paint turned out and the fact that you do small repairs. Way to go :props:

I also really like the new Ranger. I wish Ford sold it in NorthAmerica.
 
Great work Tato. I love those Rangers. Our country is full of those specially the Mitsubishi ones, I can't recall the name exactly. Once amazing turn around and yes, that is one beautiful color and you made it glow like it should.
 
What was the reason for using the Flex for the heavy compounding and the Rupes for the final polish?
 
Wow Rafael! What an amazing transformation on that blue Ranger! You and your wife really poured your hearts and souls into this and it truly shows! That blue paint has such a crisp pop to it now! Glad to hear you scheduled him for routine maintenance.

You really have come a long way and your work speaks for itself. Keep up the incredible dedication to your work my friend.

Nice to see your new garage lighting reflecting in your pictures. Especially the afters. Now its time for a DSLR.

Keep it up buddy. :props:

-Mike
 
Outstanding job Tato, what a transformation! :dblthumb2:

Thank you very much Frank!

Beautiful job! I love threads like this. It shows me what to aspire to.

Thank you for kind words.

Awesome job truck is beautiful

Thank you for comment, and yes, truck looks really good!

Great work! That is a really nice transformation. I like the way the paint turned out and the fact that you do small repairs. Way to go :props:

I also really like the new Ranger. I wish Ford sold it in NorthAmerica.

Thanks for chiming in. Always I can do small repairs I will do it. Another thing I may do (and did it on this car as well) is touch up license plate numbers and remove oxidation from license plate screws (really straightforward process). I do this to keep everything matched at the end. Try it, you will notice those small details makes huge difference in the end!

Great work Tato. I love those Rangers. Our country is full of those specially the Mitsubishi ones, I can't recall the name exactly. Once amazing turn around and yes, that is one beautiful color and you made it glow like it should.

Thank you Francisco. You know the amount of admiration I have regarding what you do. I'm glad reading this input from you.

What was the reason for using the Flex for the heavy compounding and the Rupes for the final polish?

Hi. It's not the only way to do it, but it's turning out the way I do it. Having both tools ready to work and switching between them from time to time makes me get there faster.

The forced rotation of 3401 makes it my favorite tool for correction. That's because I can work on curves and concavities, follow the whole vehicle complex design and guarantee even cut at the end (I'm very adapted using 3401).

The Rupes 21 is a tool with a huge throw, which means it can cover larger areas at a time. I also like the fact it's very gentle tool (at speed 3!) and offers wonderful finishing results due it's action.

Hope I've answered your question. If not, please, feel free to ask more.

Kind Regards.
 
Wow Rafael! What an amazing transformation on that blue Ranger! You and your wife really poured your hearts and souls into this and it truly shows! That blue paint has such a crisp pop to it now! Glad to hear you scheduled him for routine maintenance.

You really have come a long way and your work speaks for itself. Keep up the incredible dedication to your work my friend.

Nice to see your new garage lighting reflecting in your pictures. Especially the afters. Now its time for a DSLR.

Keep it up buddy. :props:

-Mike

Thank you very much Michael, I really appreciate your kind words. I'll pass your words to my wife and I'm pretty sure she'll be glad hearing from you.

I forgot to mention before, cutting step using Menzerna and Hybrids on 3401 was done using Smack's technique, one of the best inventions since sliced bread!

Great job! How did you clean the bed of the truck?

Thank you Oceans05! The bed of truck was vacuumed at first to avoid all that dust turning into a mess. Then, it was done using a conventional wash, blowed dry, cleaned with dedicated plastic / vinyl cleaner (Meg's #39) and wiped at the end of work using Ultima WW+ to keep it protected and easier to clean until next wash. I'll add more if I remember something else. Hope that helps.

Kind Regards.
 
That blue is amazing, amazing work Rafael! I see the your new garage setup is complete :dblthumb2:
 
:dblthumb2:Fantastic job and nice truck. I hated that ford stop sales of the Ranger in the US.
 
Nice work, I to wish ford still made the ranger I owned 3 of them before my 150, with a tacoma in between. :buffing:
 
That blue is amazing, amazing work Rafael! I see the your new garage setup is complete :dblthumb2:

Thank you very much James. My Garage is 70% complete, more to come in near future! I'll let you know.

:dblthumb2:Fantastic job and nice truck. I hated that ford stop sales of the Ranger in the US.

Thank you for comments.

Nice work, I to wish ford still made the ranger I owned 3 of them before my 150, with a tacoma in between. :buffing:

Thanks a lot!
 
Menzerna does it again, with a little help from Tato...LOL, Great job and fantastic color and results.

HUMP
 
Those Global Rangers look awesome. Great job Tato. Thanks so much for the detailed writeup.
 
Good Lord Raphael! This is AWESOME! I agree with Mike that you should get a nice DSLR. Charge a small surcharge on those details you always undercharge on and call it the DSLR fund LOL!
 
Back
Top