Tato
New member
- Nov 27, 2013
- 2,157
- 0
Dear Friends,
This week I had the pleasure to work on a 2013 VW Golf Sportline. The car was very neglected but during evaluation I could see huge potential for a full refinishing work.
I'll let the pictures do the talk, and I hope you enjoy watching!
START
Car arrived, let's take a look:

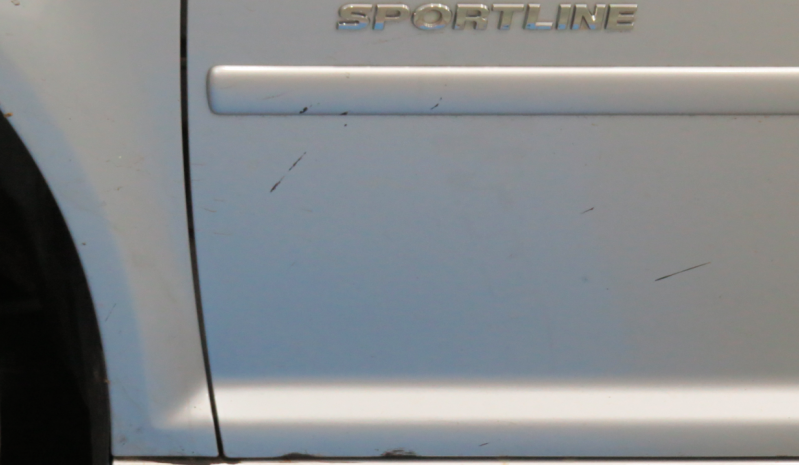
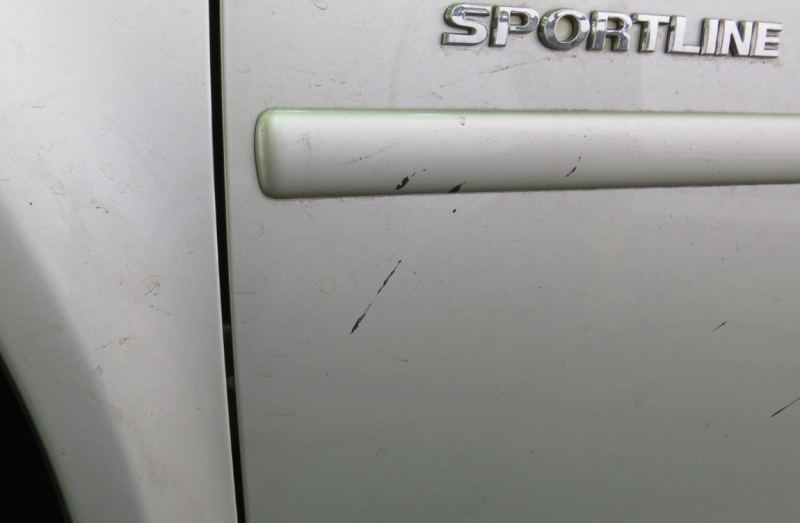
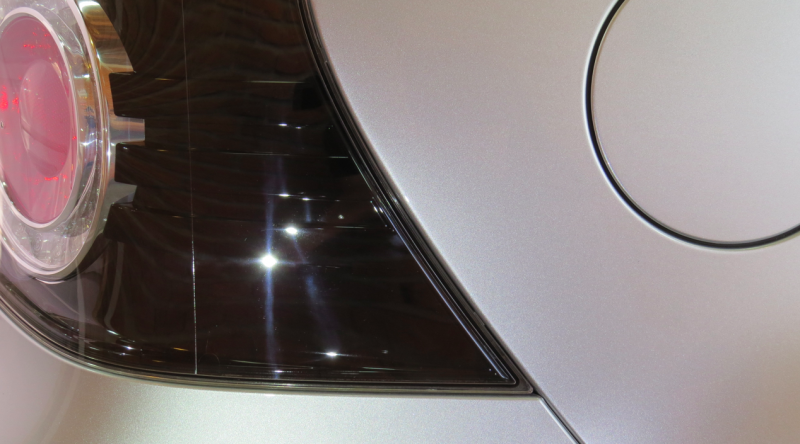
Getting closer so you can see the real condition of the vehicle

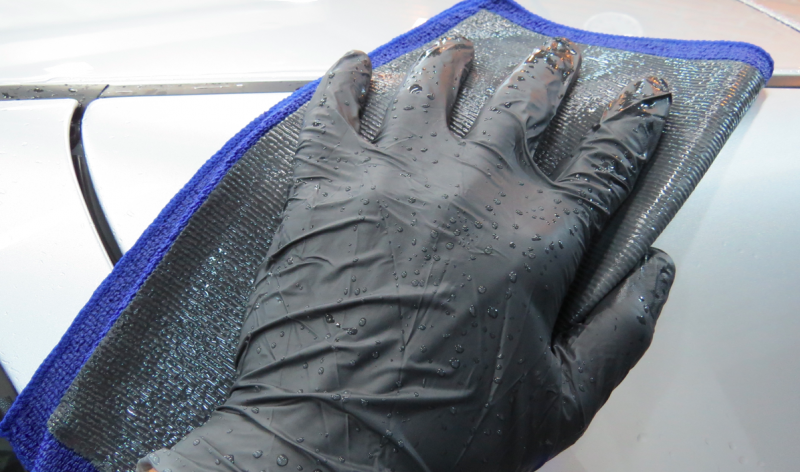
Embedded contaminants made the car look much older than it actually is


Inside and out,

Mostly everywhere

Let's start looking at some results.
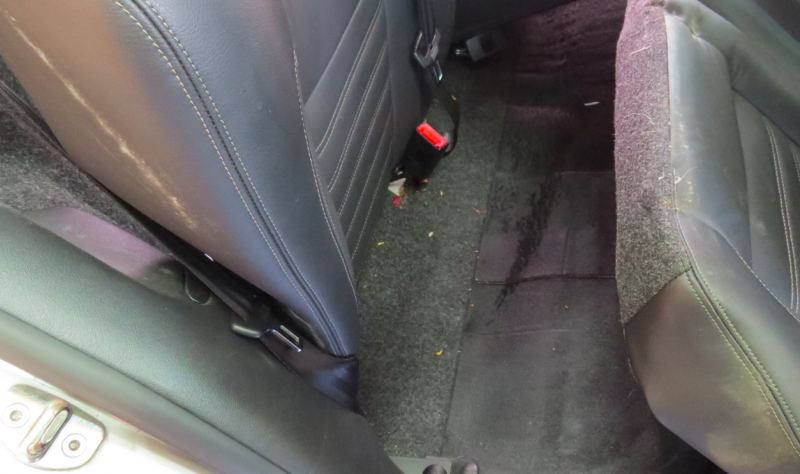
BEFORE

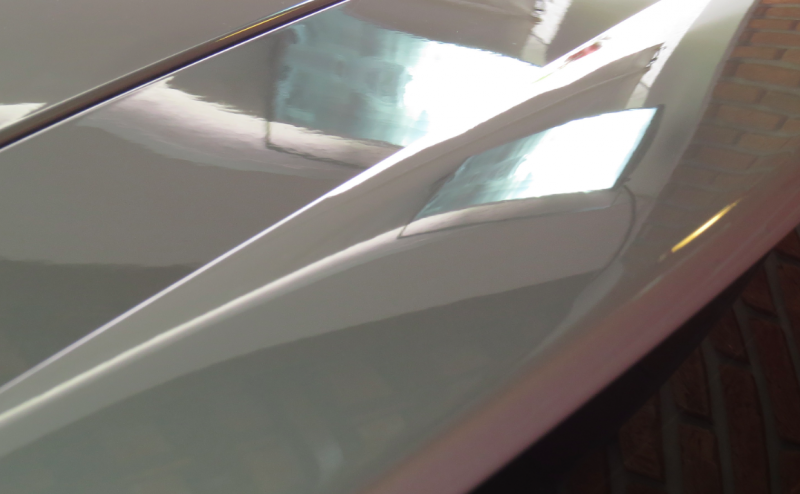
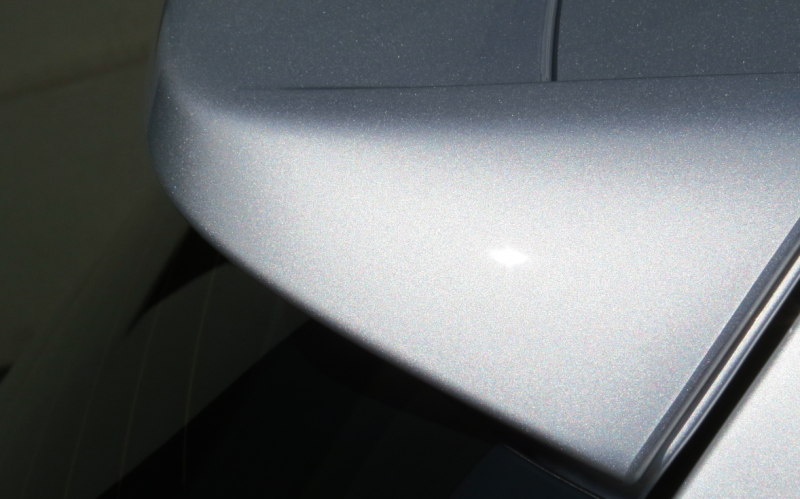
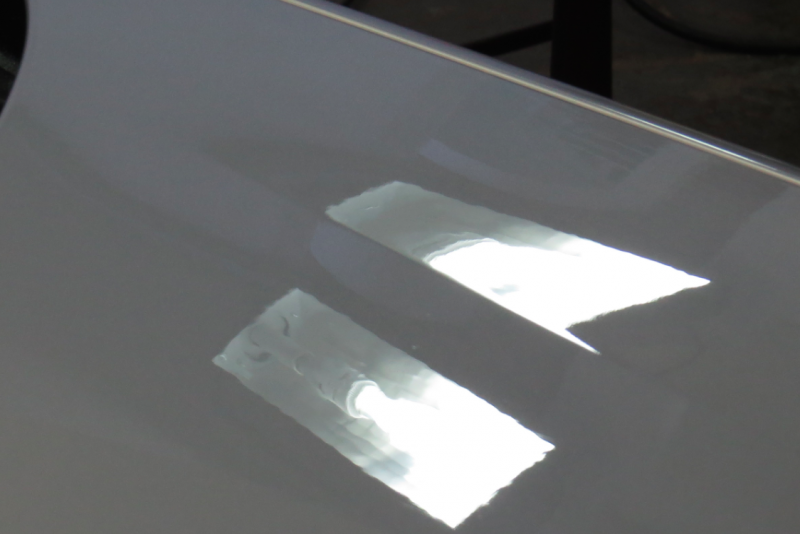
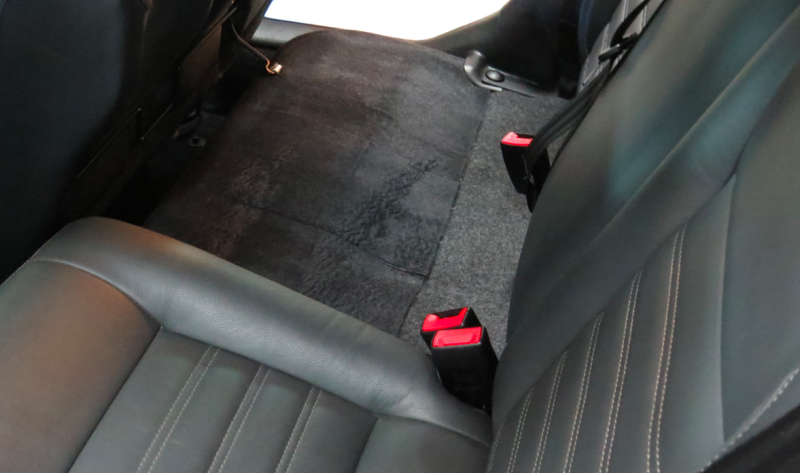
AFTER

BEFORE

AFTER

More on this subject:

Tacky!

The lack of proper rubber cleaning and care was causing that ugly staining on painted metal in contact with it:


After cleaning the rubber seals, I degreased interior of doors using a tar remover, then hand polished every inch of it:

I've worked Menzerna PF2500 with a Microfiber Applicator to achieve acceptable results.

Put some passion under that pad, and move it at speed of light... The literal definition of 'Elbow Grease!'

Sweat, but worth it

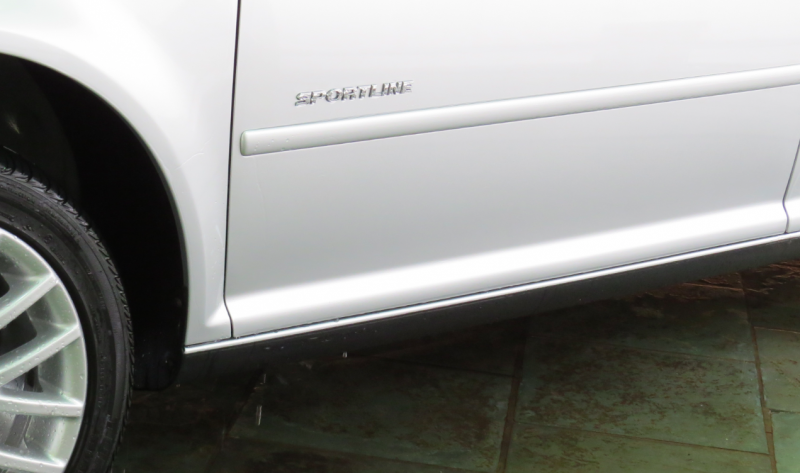
Finished results on driver's side:

Passenger's side
BEFORE

AFTER

BEFORE

AFTER

BEFORE

AFTER

ENGINE / BAY Detailing
This part wasn't very dirty because customer had already cleaned it recently
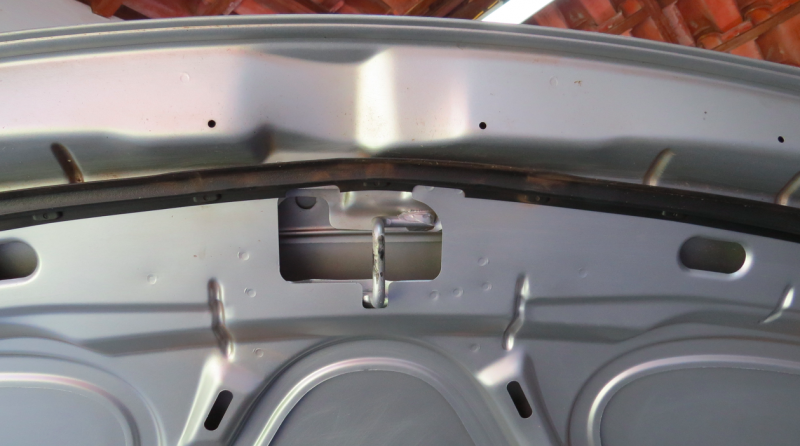
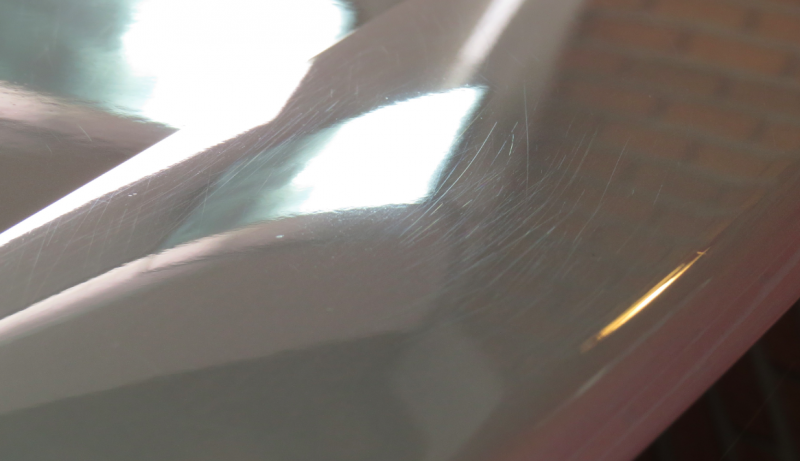
However, he used improper cleaning material, causing a lot of scratches under the hood.

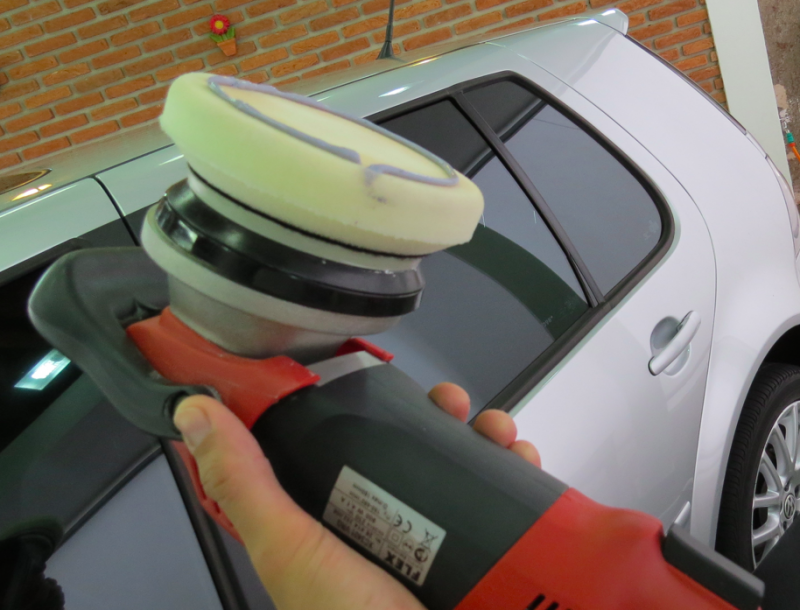
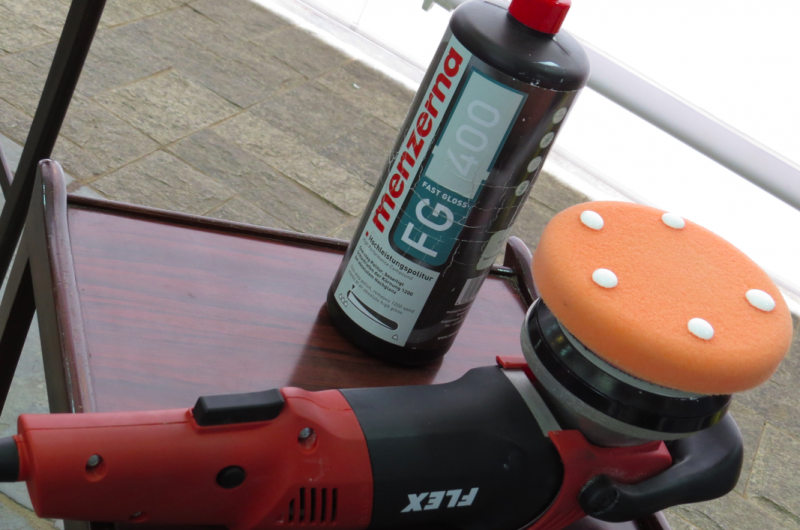
To improve this part I've polished under the hood both by machine and by hand. Here are some pictures of the process which consisted of a 2 step polishing (PF2500@orange pad / by hand, SF4000@white pad / by hand).

Finishing by machine

Improving the results by hand polishing

BEFORE

AFTER

A microfiber towel was also used to polish some parts

After polishing, I've wiped everything with Eraser then coated using Pinnacle Black Label Surface Coating

Although customer cleaned engine recently, it still could get some improvement.
BEFORE


DURING - Giving it a shine

AFTER Cleansing Step

AFTER Conditioning Step (Sonus Trim&Motor Kote)

Closer:

Exhaust tips in need of some love:

Done:

This week I had the pleasure to work on a 2013 VW Golf Sportline. The car was very neglected but during evaluation I could see huge potential for a full refinishing work.
I'll let the pictures do the talk, and I hope you enjoy watching!
START
Car arrived, let's take a look:
Getting closer so you can see the real condition of the vehicle
Embedded contaminants made the car look much older than it actually is
Inside and out,
Mostly everywhere
Let's start looking at some results.
BEFORE
AFTER
BEFORE
AFTER
More on this subject:
Tacky!
The lack of proper rubber cleaning and care was causing that ugly staining on painted metal in contact with it:
After cleaning the rubber seals, I degreased interior of doors using a tar remover, then hand polished every inch of it:
I've worked Menzerna PF2500 with a Microfiber Applicator to achieve acceptable results.
Put some passion under that pad, and move it at speed of light... The literal definition of 'Elbow Grease!'
Sweat, but worth it
Finished results on driver's side:
Passenger's side
BEFORE
AFTER
BEFORE
AFTER
BEFORE
AFTER
ENGINE / BAY Detailing
This part wasn't very dirty because customer had already cleaned it recently
However, he used improper cleaning material, causing a lot of scratches under the hood.
To improve this part I've polished under the hood both by machine and by hand. Here are some pictures of the process which consisted of a 2 step polishing (PF2500@orange pad / by hand, SF4000@white pad / by hand).
Finishing by machine
Improving the results by hand polishing
BEFORE
AFTER
A microfiber towel was also used to polish some parts
After polishing, I've wiped everything with Eraser then coated using Pinnacle Black Label Surface Coating
Although customer cleaned engine recently, it still could get some improvement.
BEFORE
DURING - Giving it a shine
AFTER Cleansing Step
AFTER Conditioning Step (Sonus Trim&Motor Kote)
Closer:
Exhaust tips in need of some love:
Done:


")
 rops:
rops: 
")