The owner of this beautiful vehicle called me over the weekend on a reference from a friend of mine. We discussed what he wanted done to the vehicle and he chose one of my detail packages that included correction, interior and an engine bay cleaning. I would have to say that I'm completely beat after this detail totaling just over 30 hours . Hope everyone enjoys as I have quite a few photos.
Process
Wash/clay
-Two bucket wash w/ heavy mix of dawn
-DP Extreme Auto foam/heavy Dawn mix via AG Foam cannon
-Red LC wash mitt
-Dried with LC HD WW towels
-Pinnacle Clay bar
-Pinnacle clay lube
Interior
-1z Cockpit Premium
-Aerospace 303
-Stoners glass cleaner
-P21s TAW for floor mat cleaning
-Shop vac
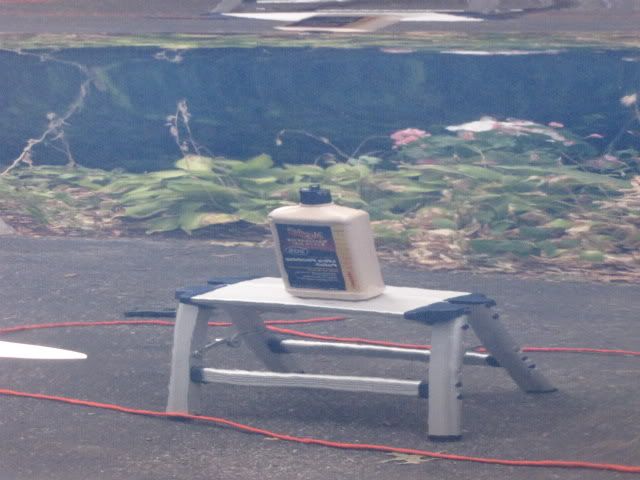
Engine Bay
-P21s TAW for cleaning
-Combination of CD2 and Aerospace 303
Wheels/Tires
-Various Brushes w/ P21s Wheel Gel
-Meg's Gold class tire gel
-Wheel wells received some Aerospace 303
Correction
-PCXP 7424
-Megs 105 w/ LC Orange pad (2 Passes)
-Megs 205 w/ LC White pad (2 Passes)
-Spot buffed with LC Yellow foamed wool and M105 for some deep RIDs
LSP
-Black Fire Wet Diamond Paint Sealant
-Pinnacle Souverän
-Exterior metal polished w/ Mothers.
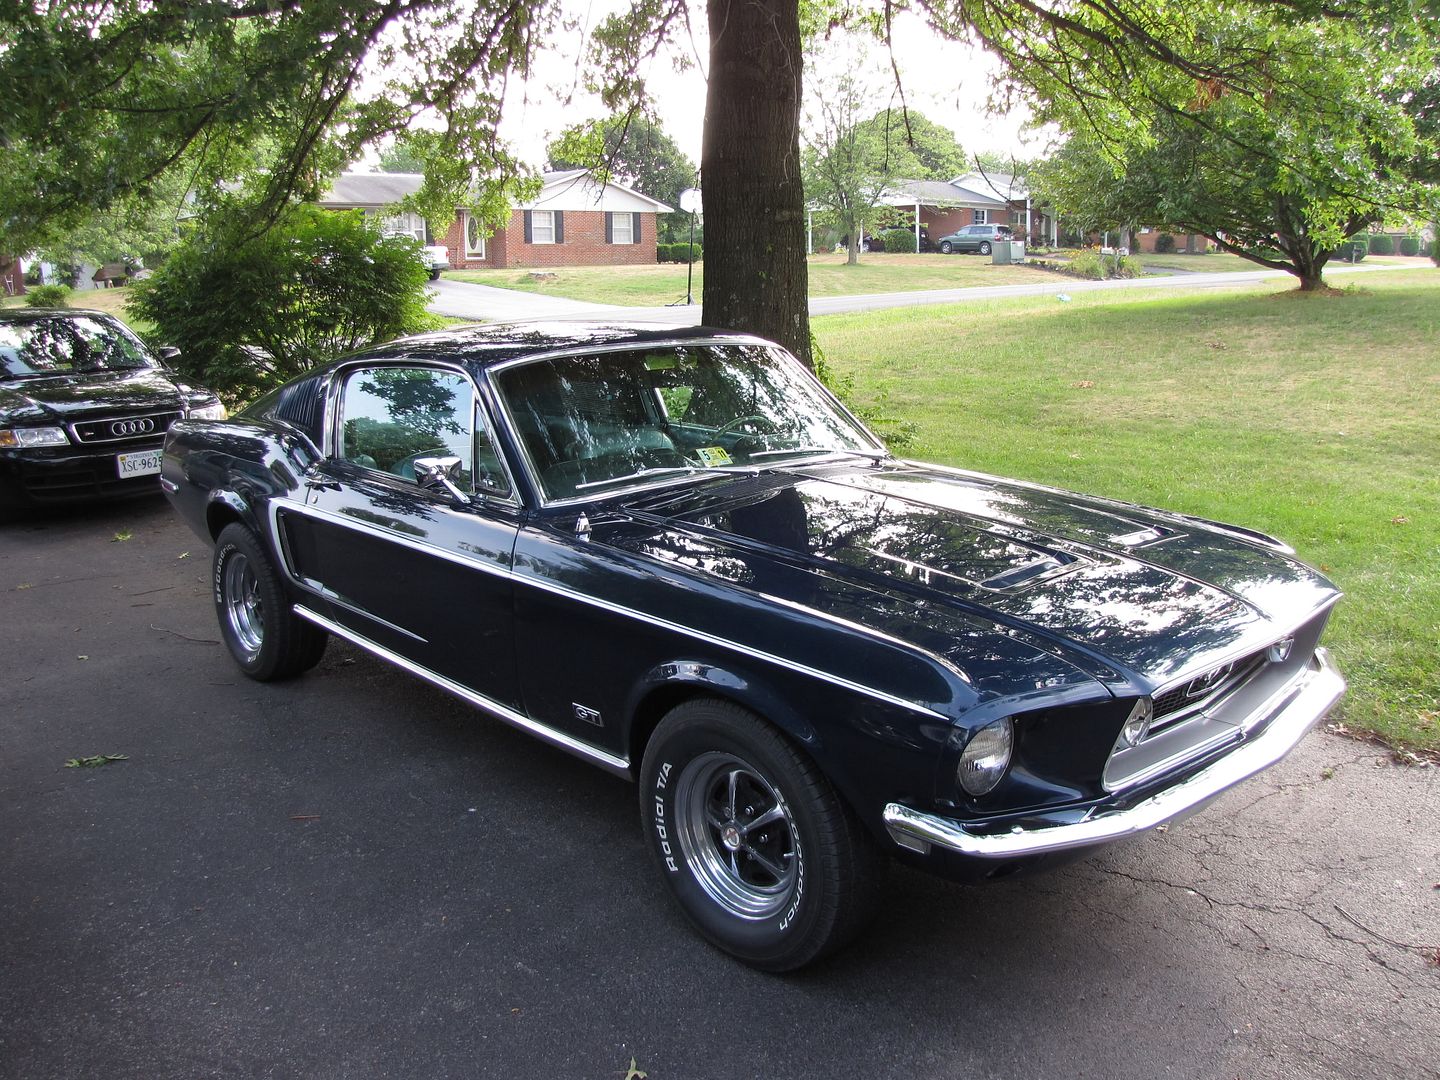
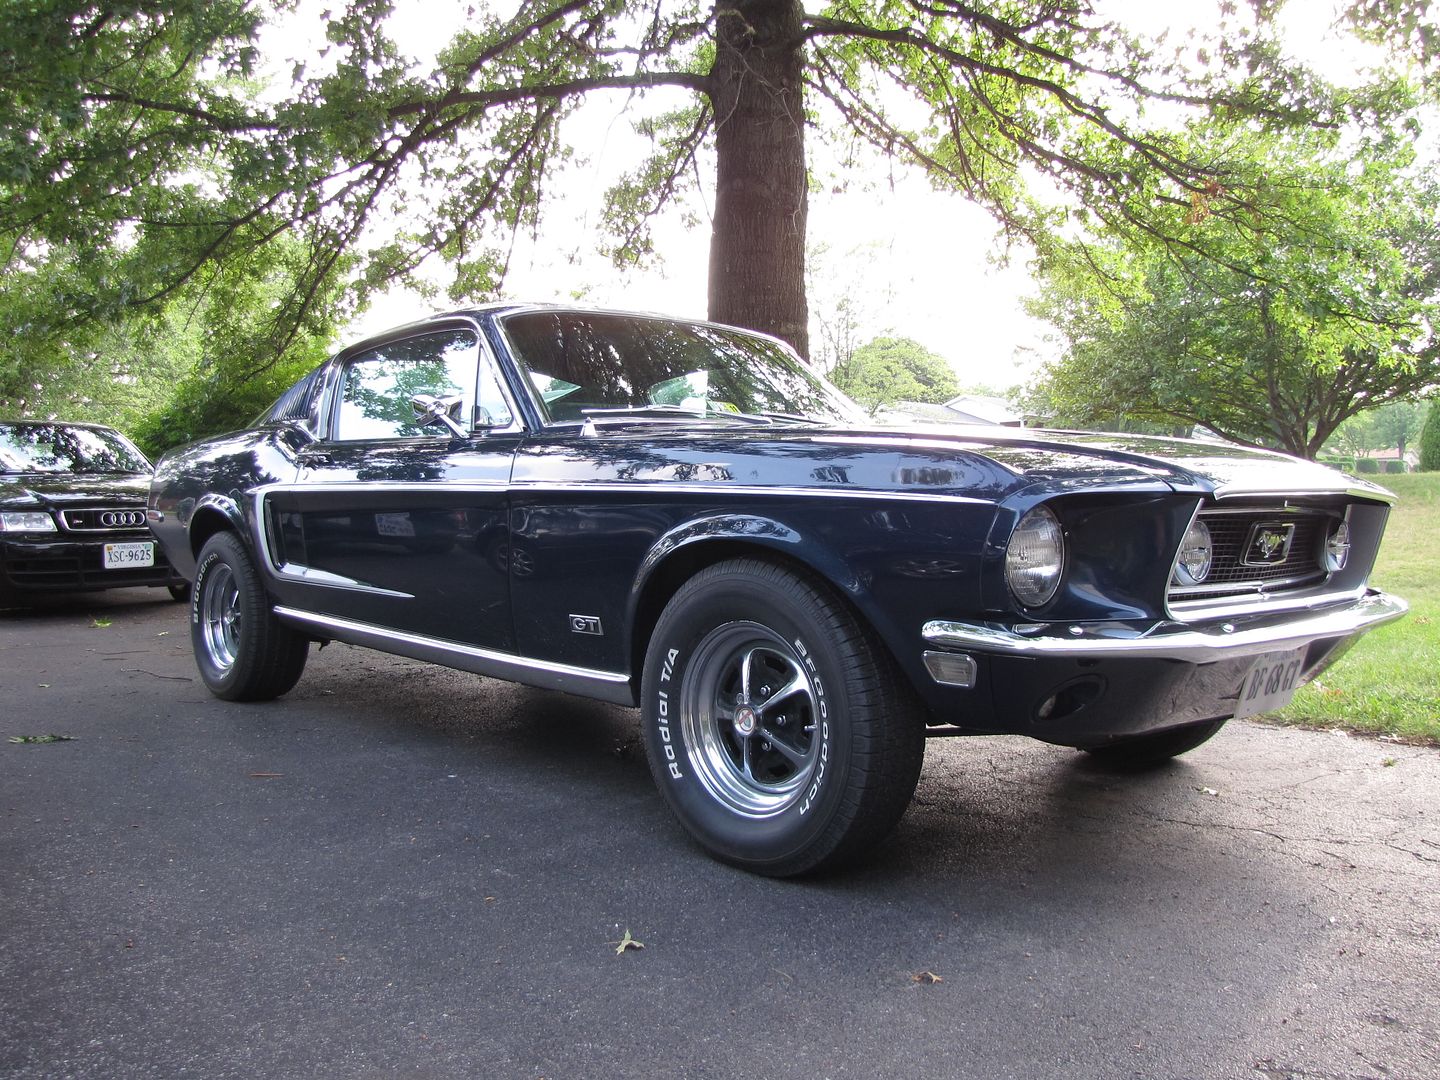
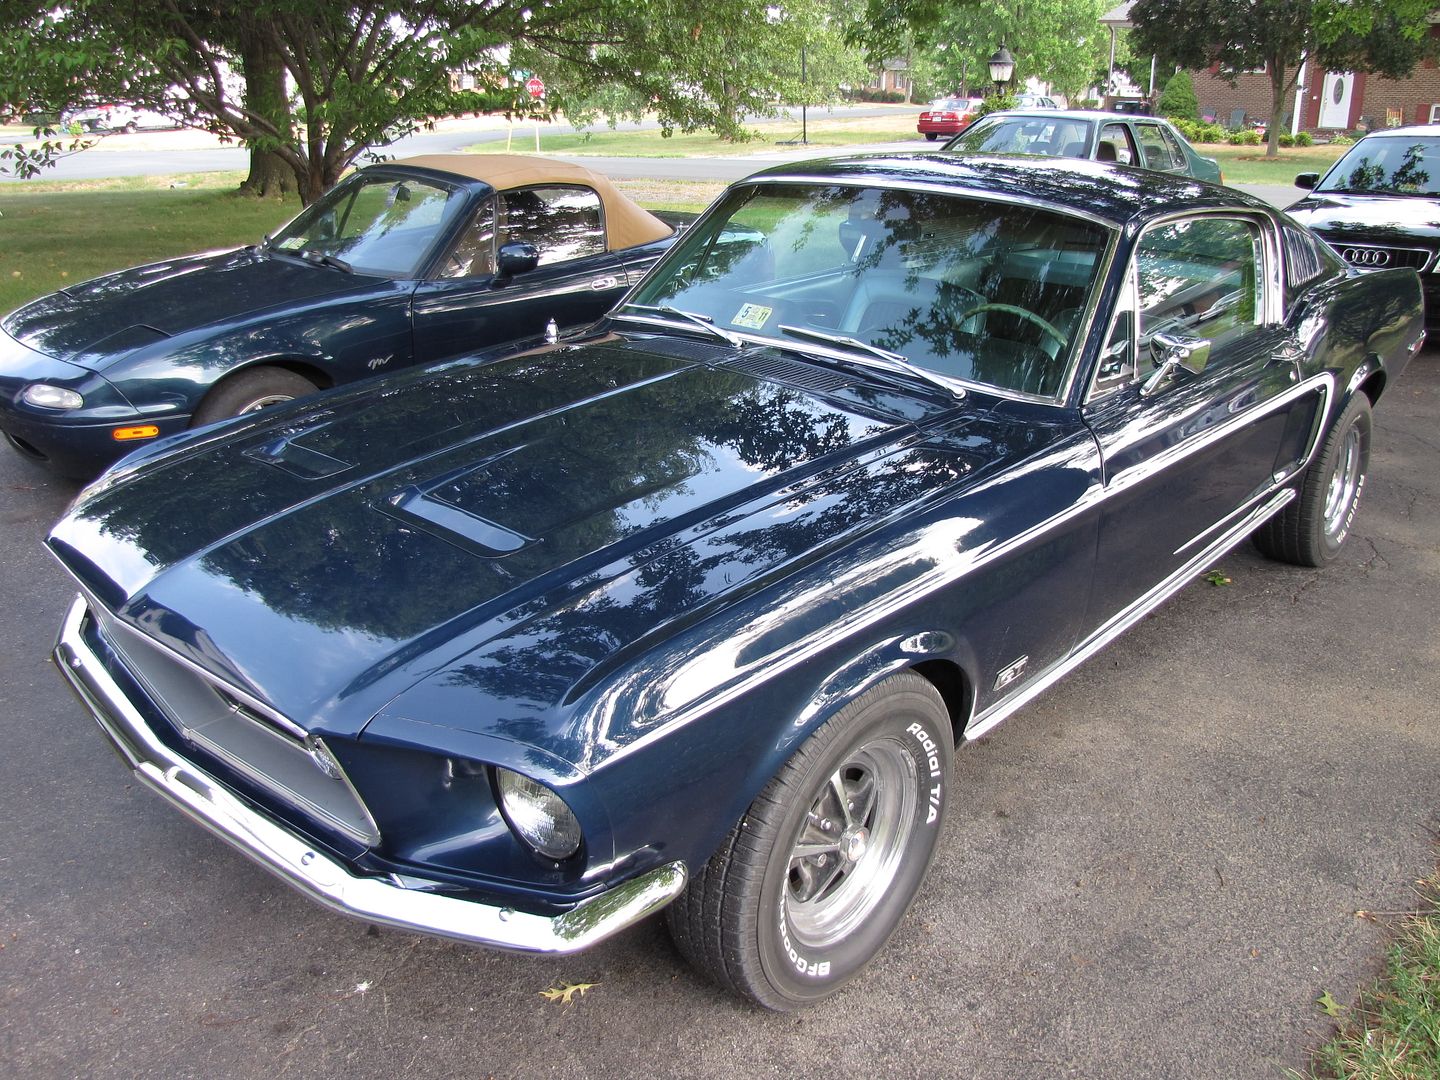
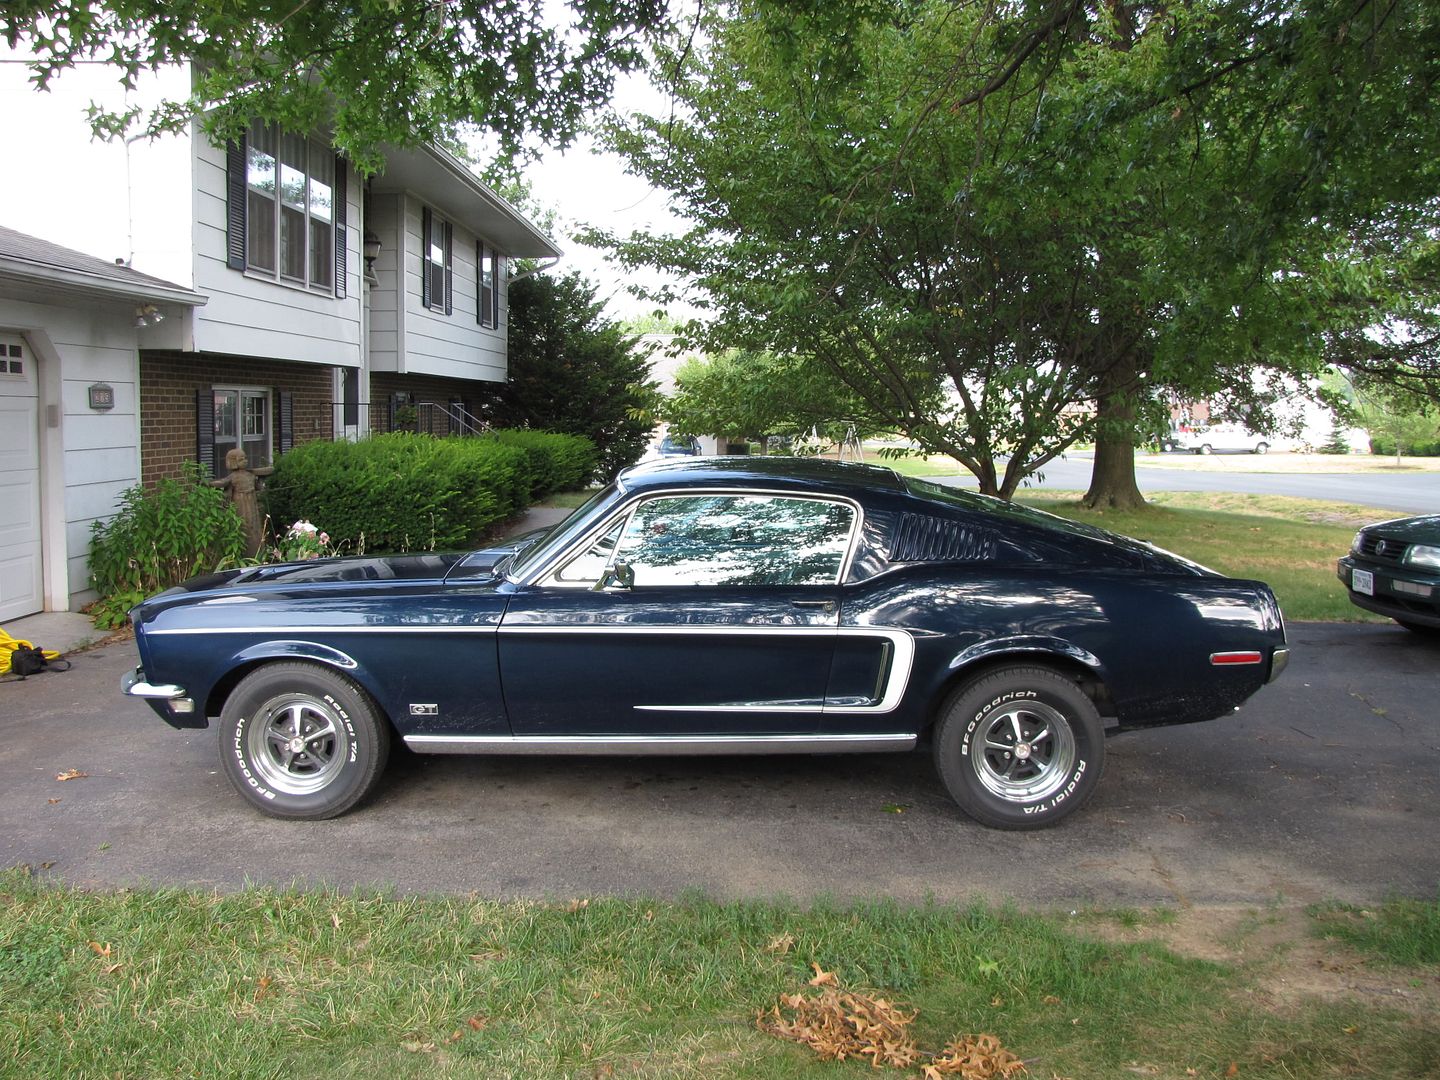
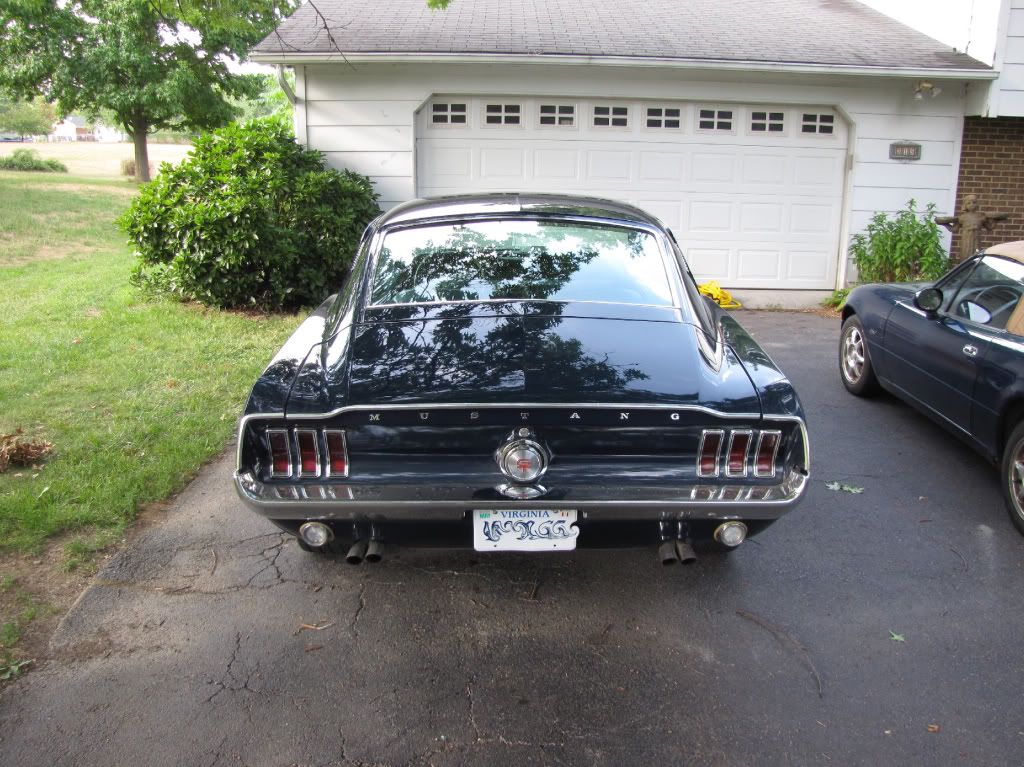
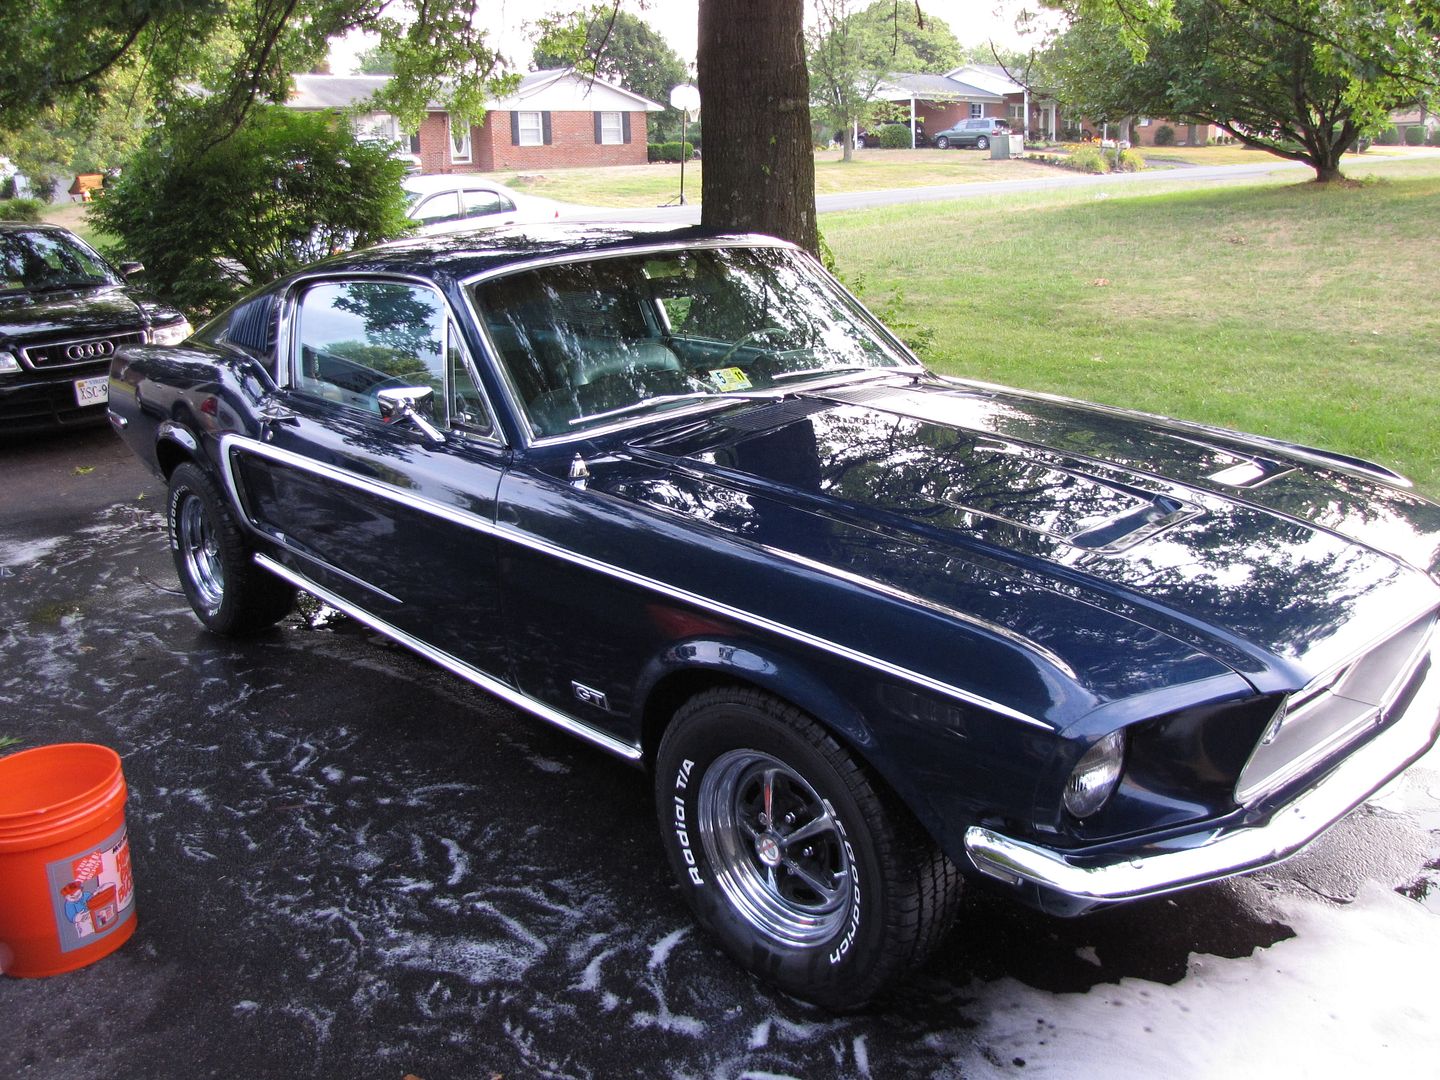
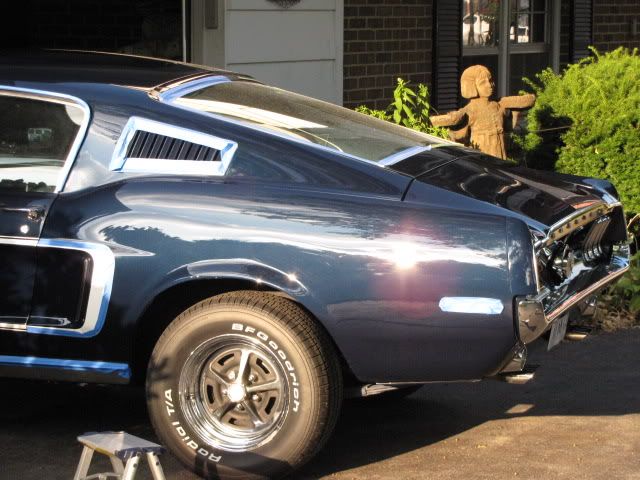
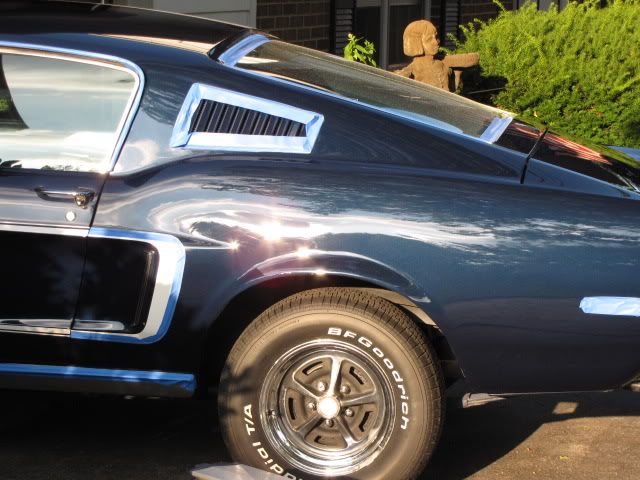
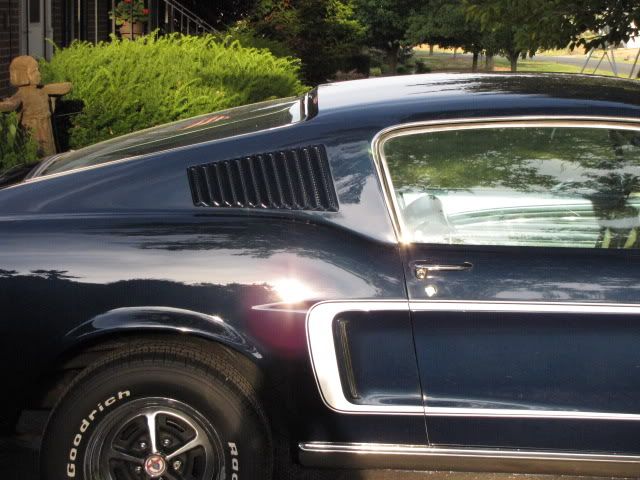
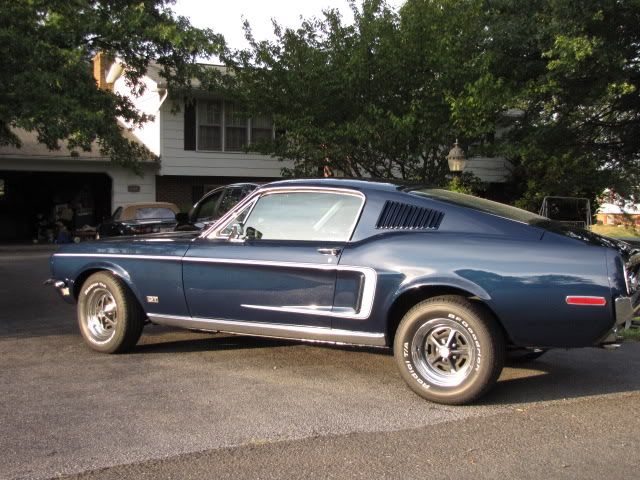
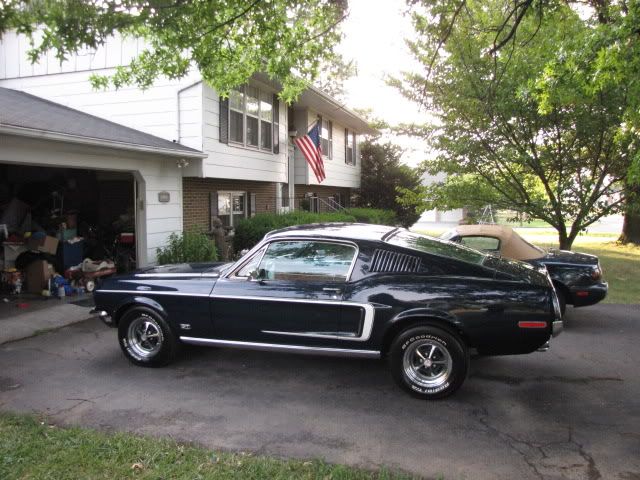
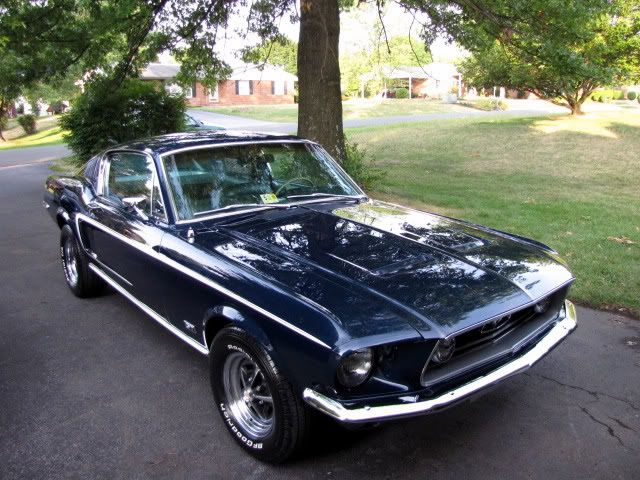
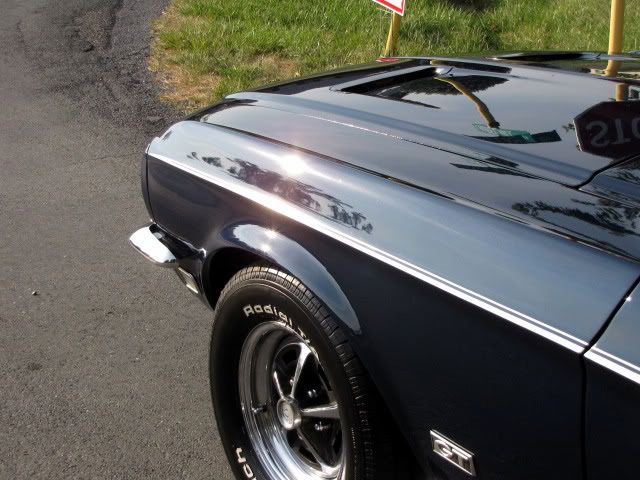
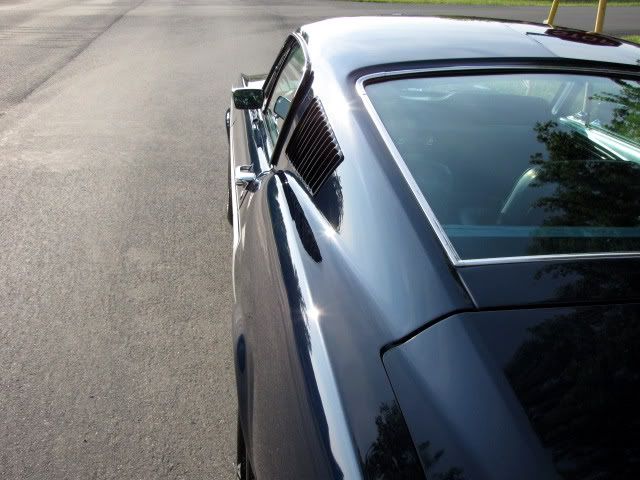
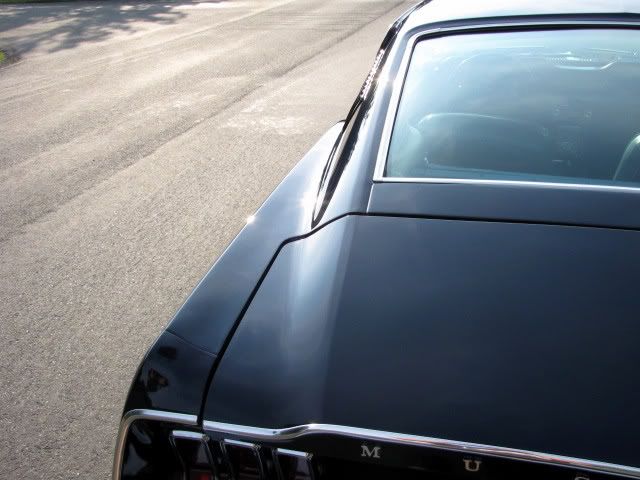
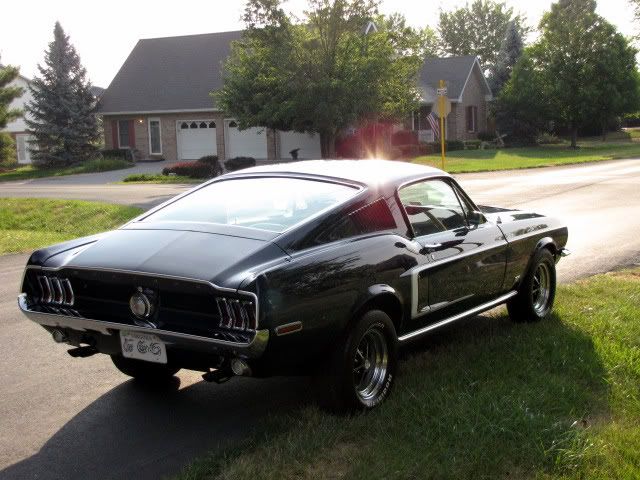
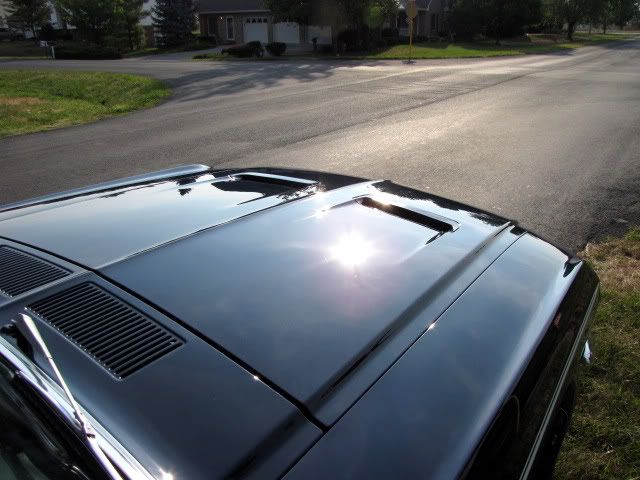
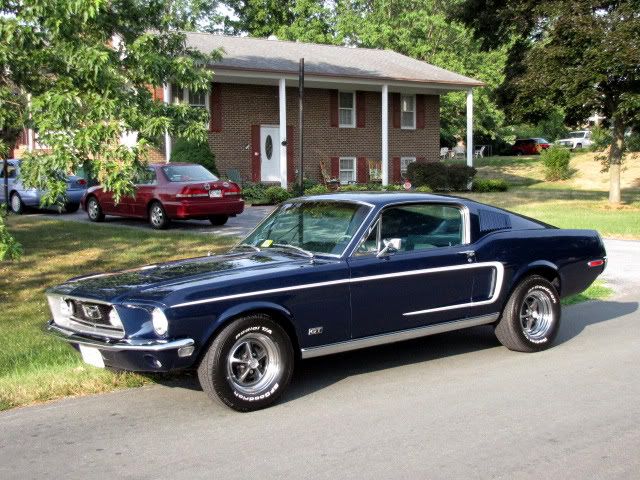
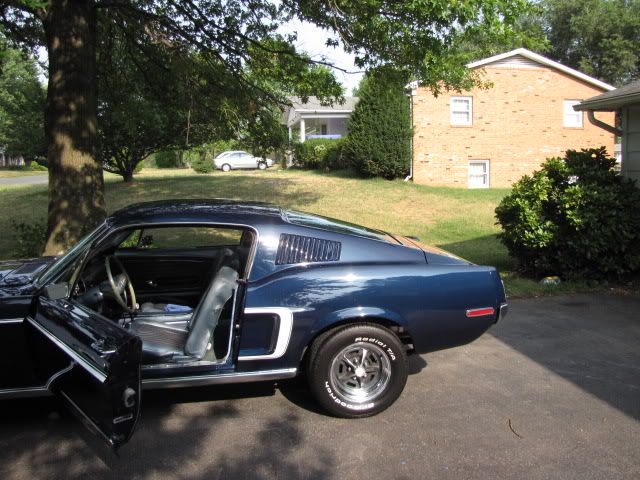
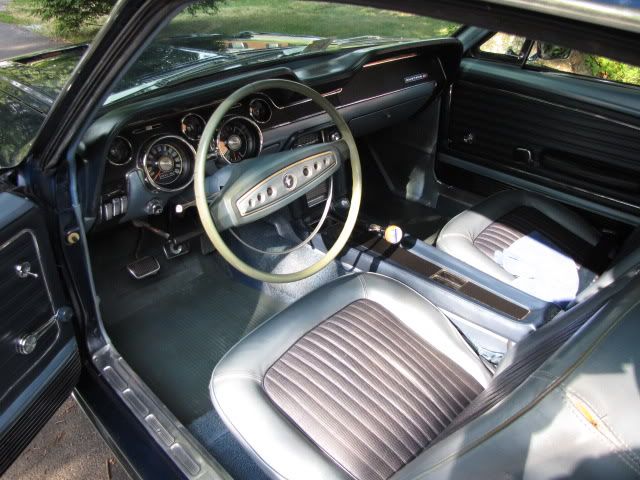
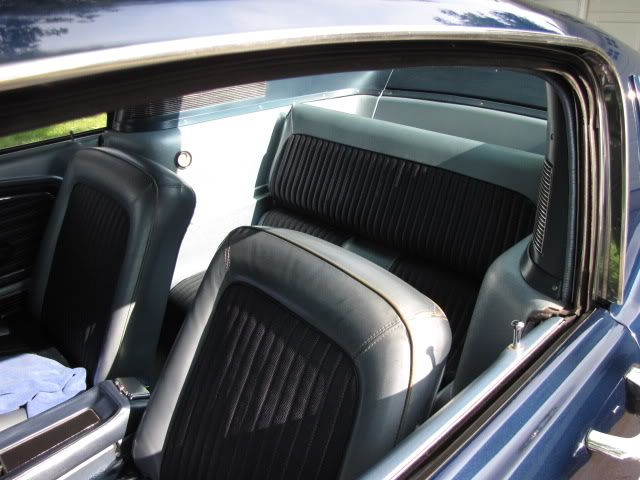
When I picked up the vehicle I was happy to see that the car was fairly clean and in decent condition. It was resprayed at one time in its life to a very nice metallic blue. Interior was completely stock and looked fantasitc for its age. Here are some pics of when I picked the car up and got it to the garage.
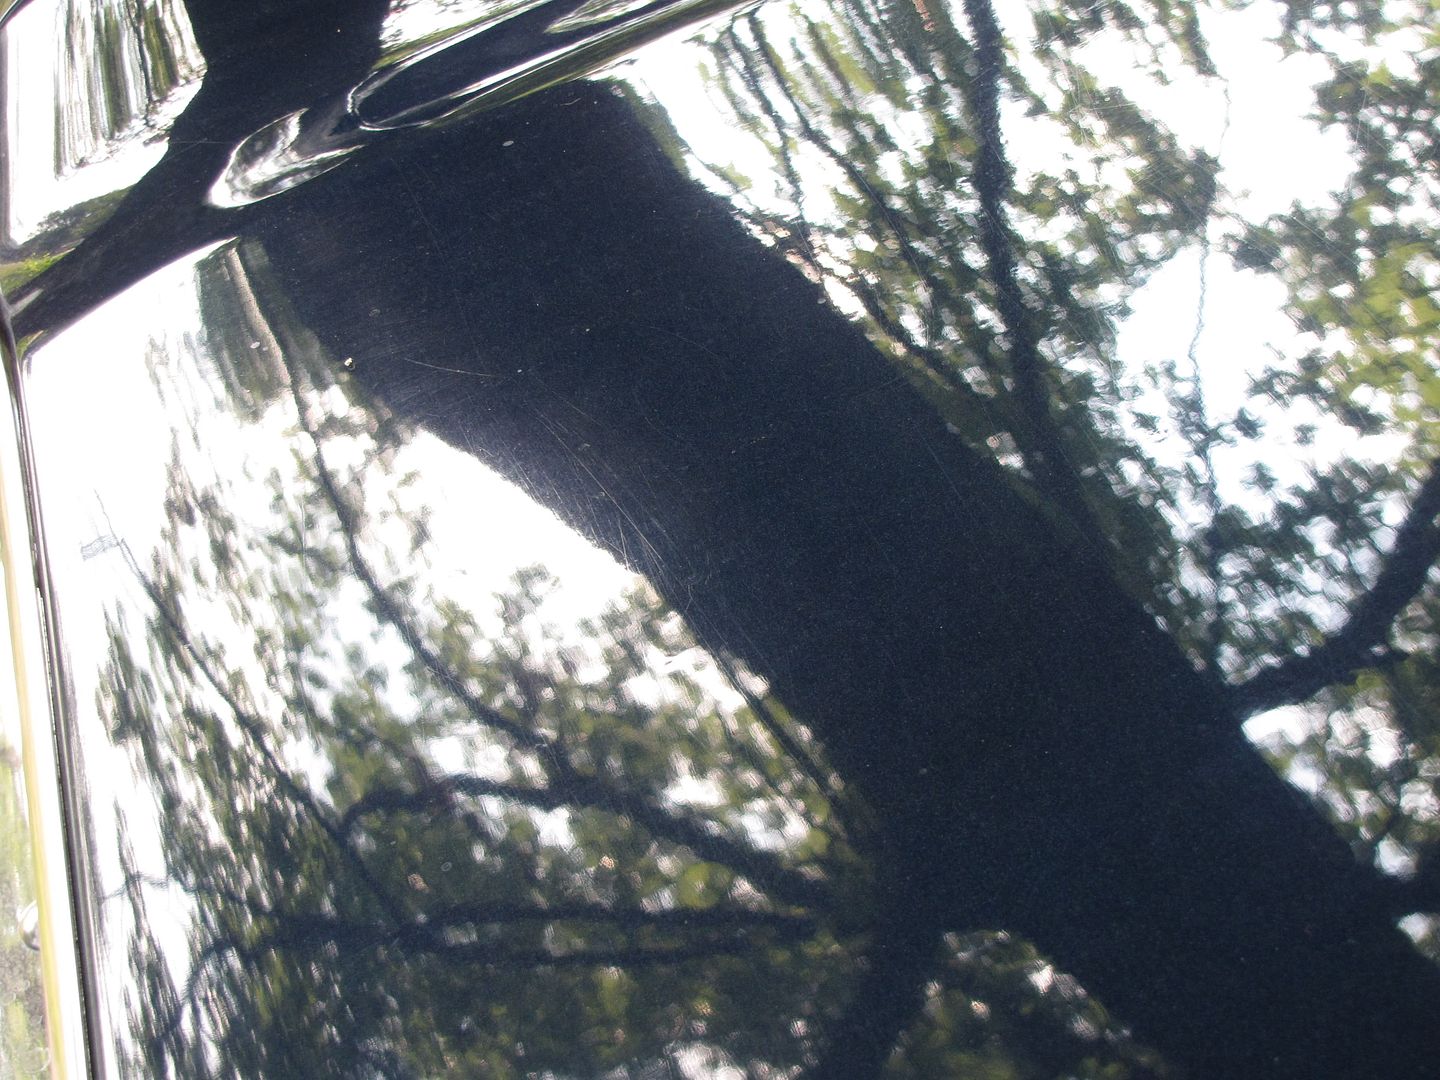
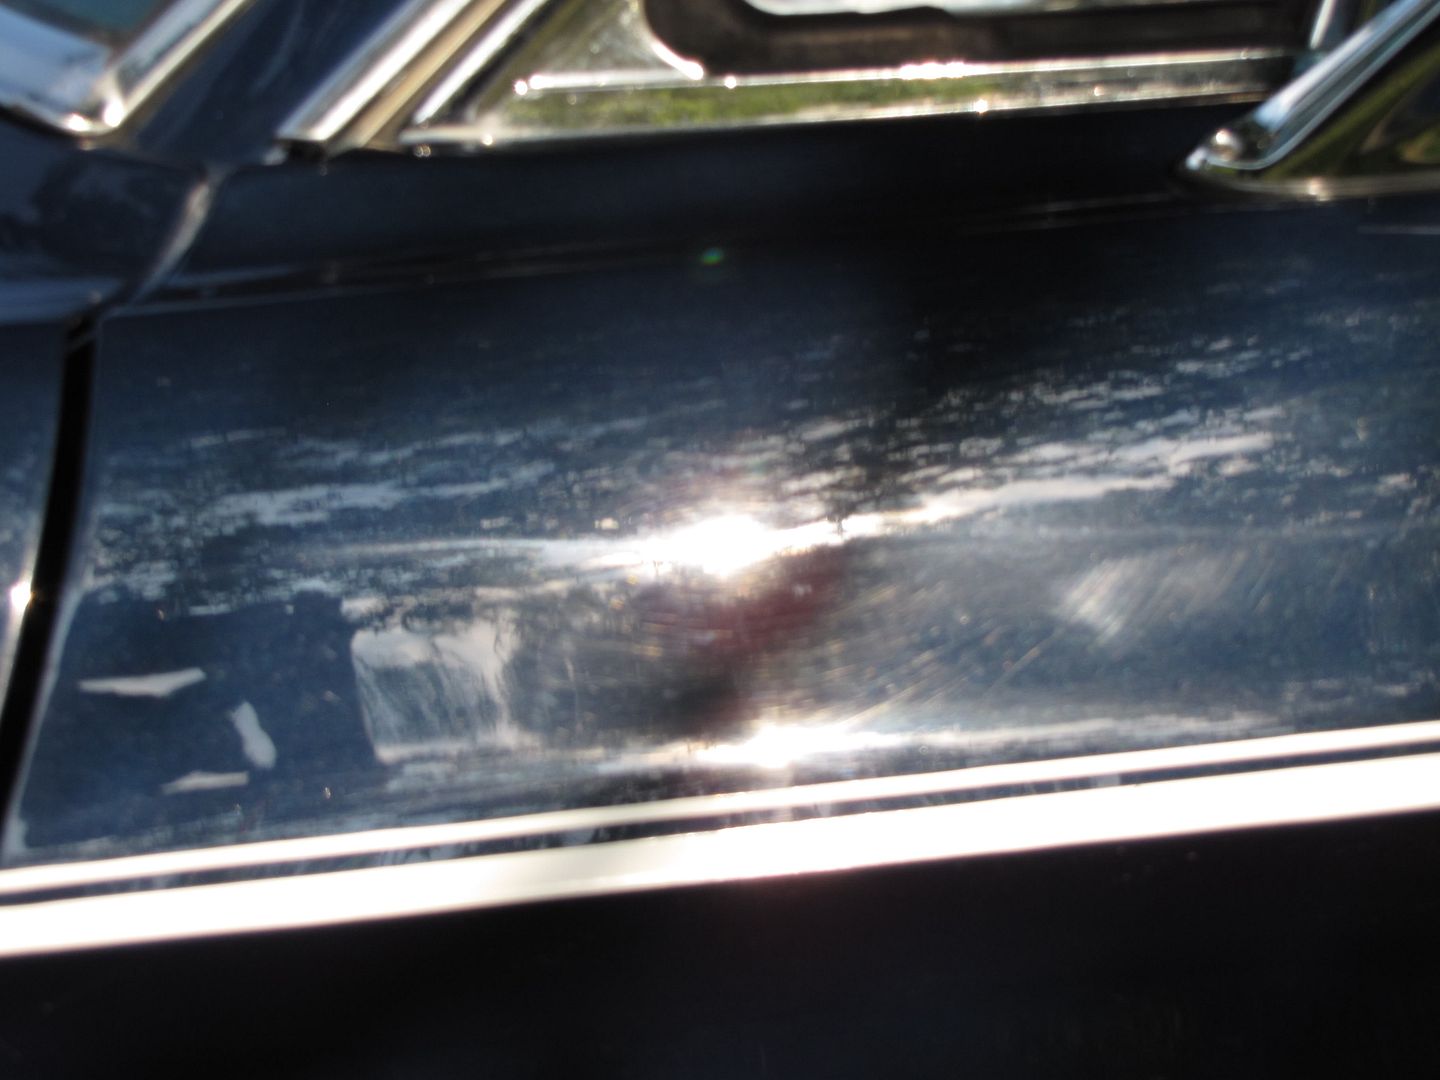
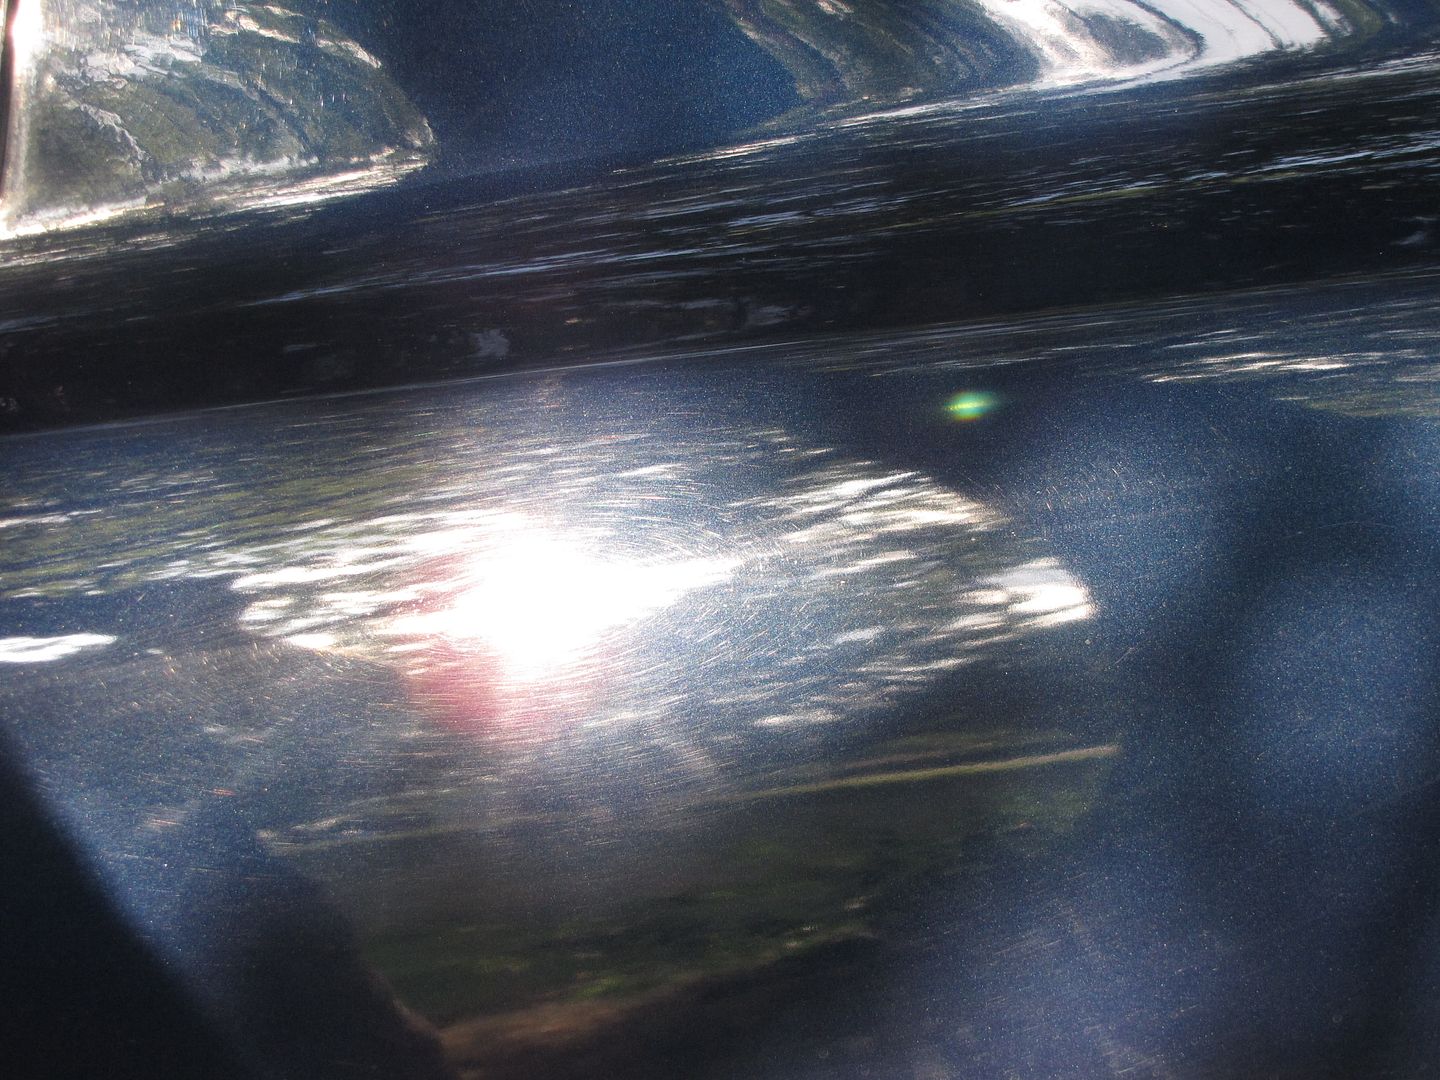
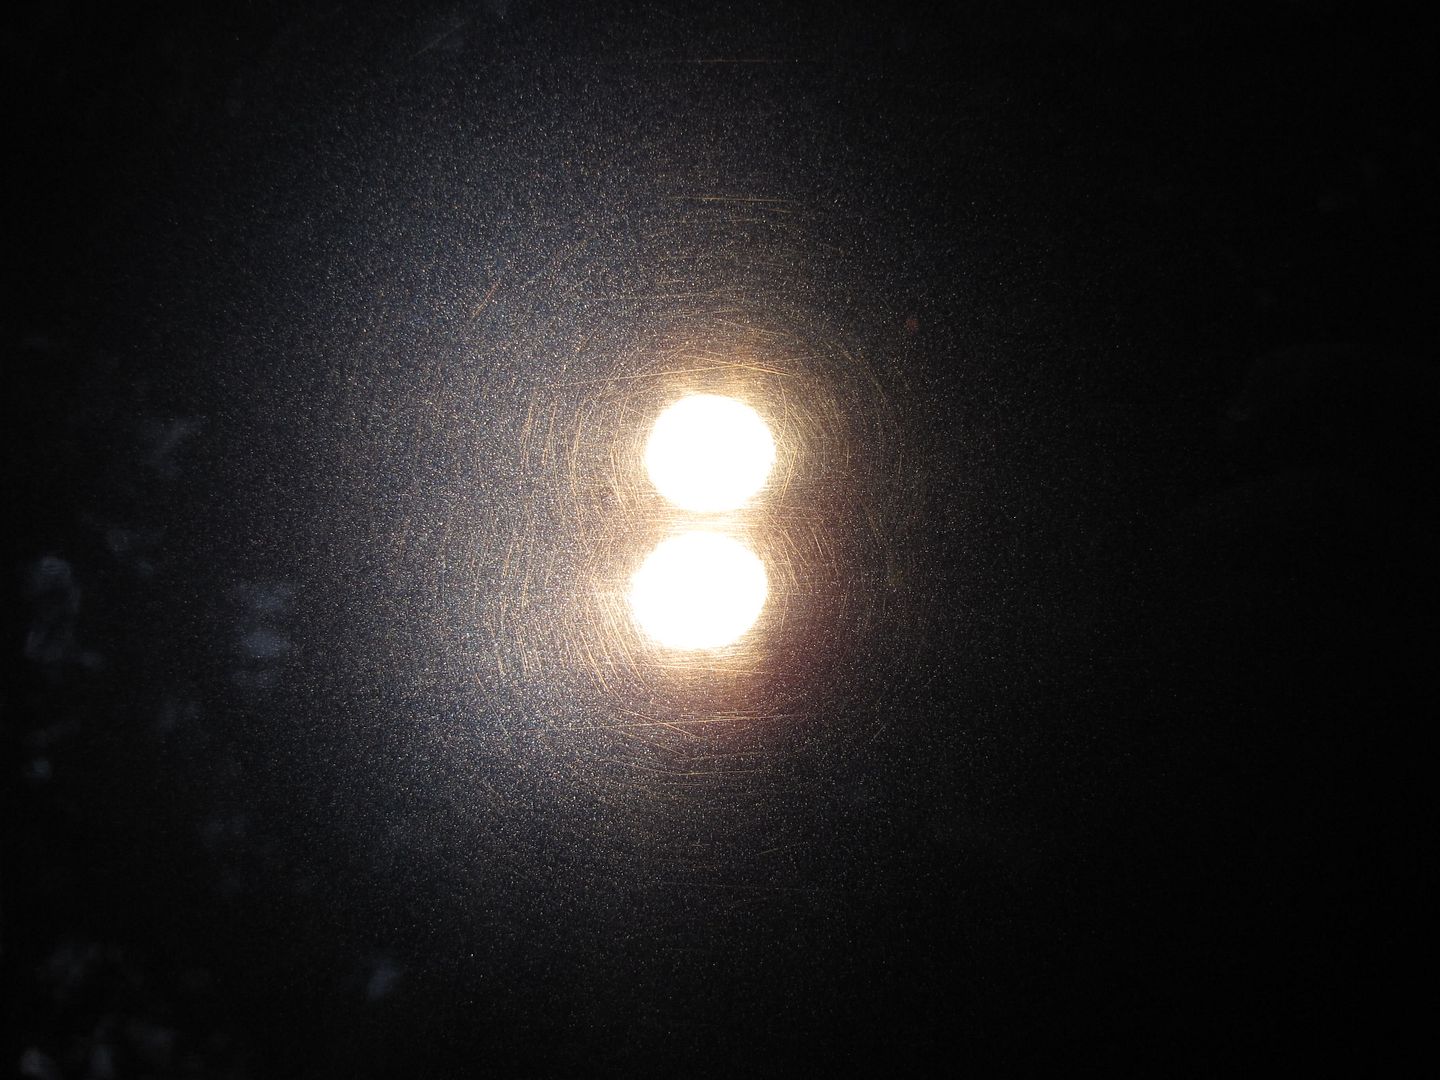
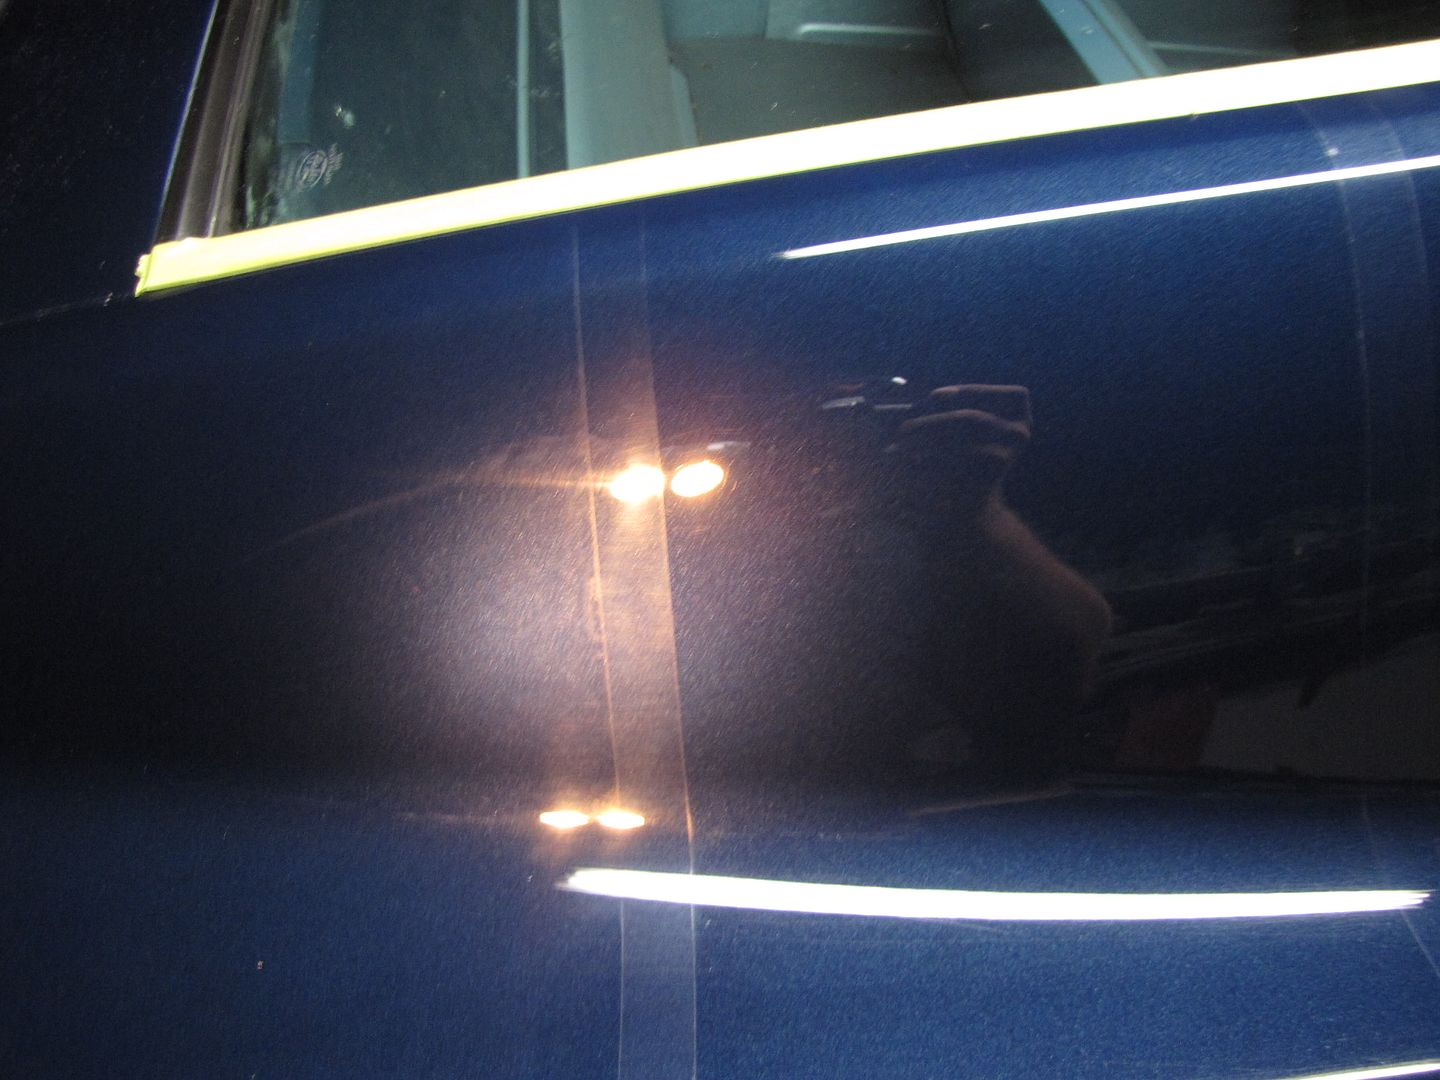
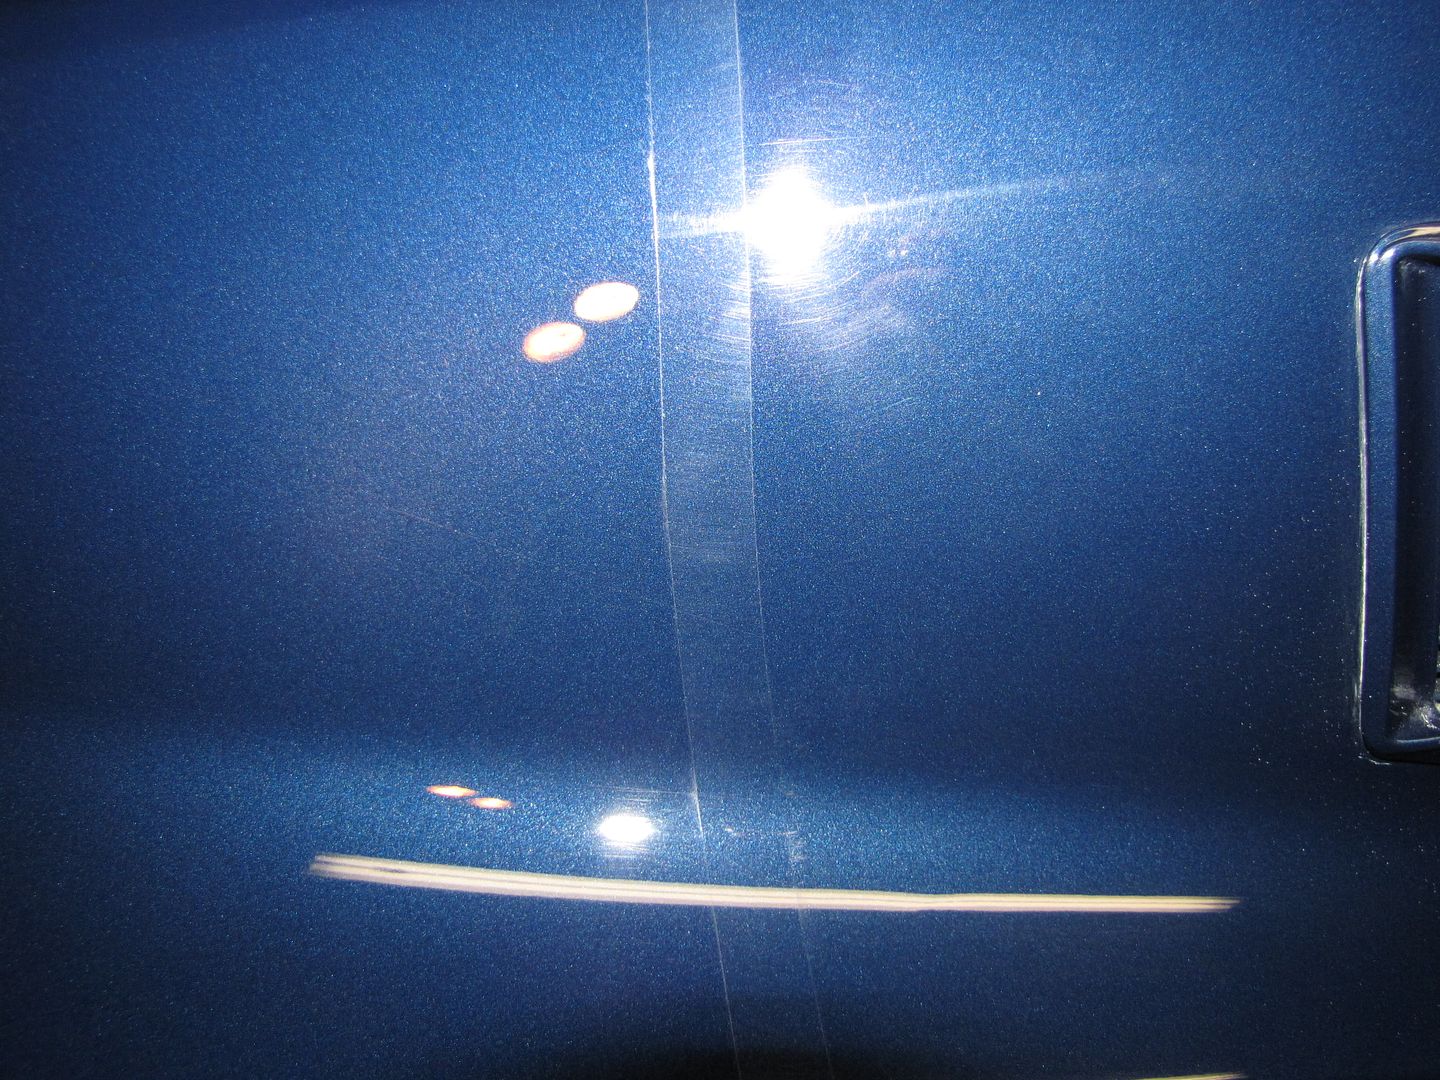
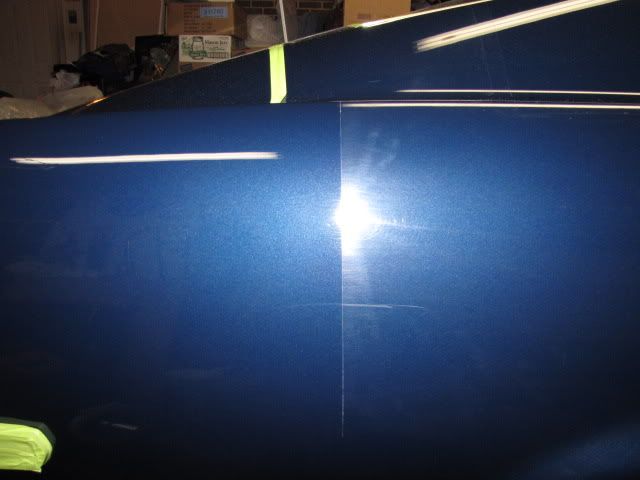
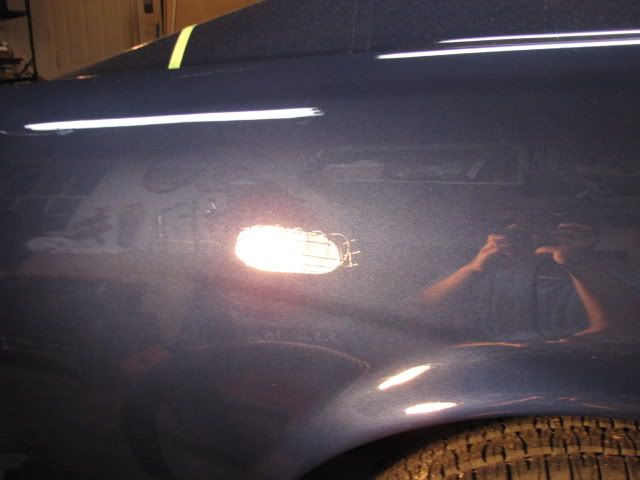
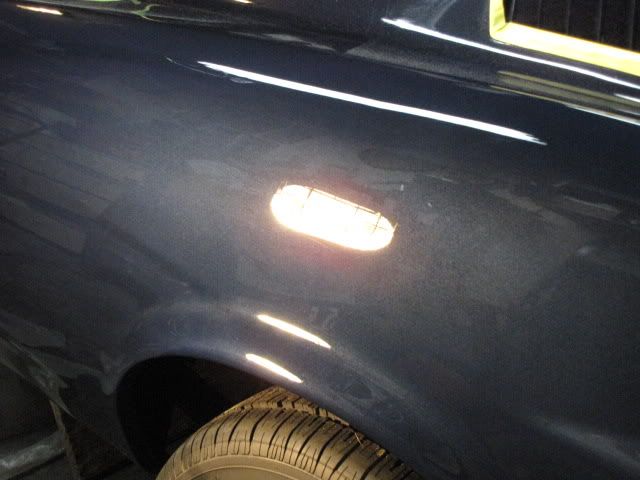
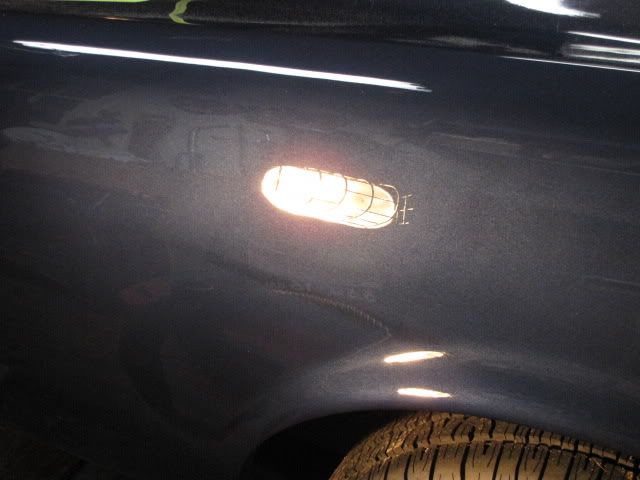
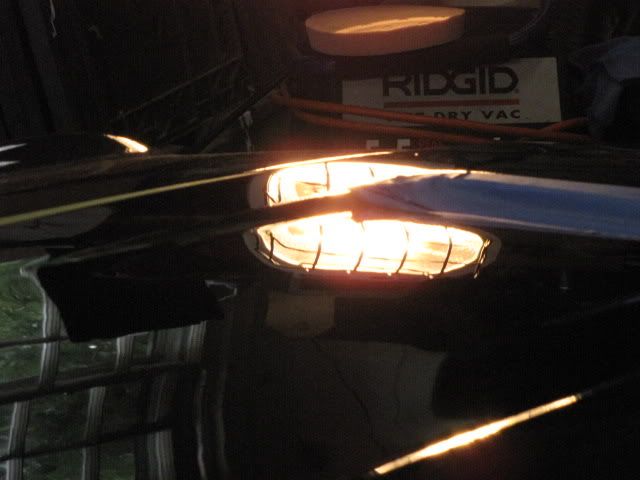
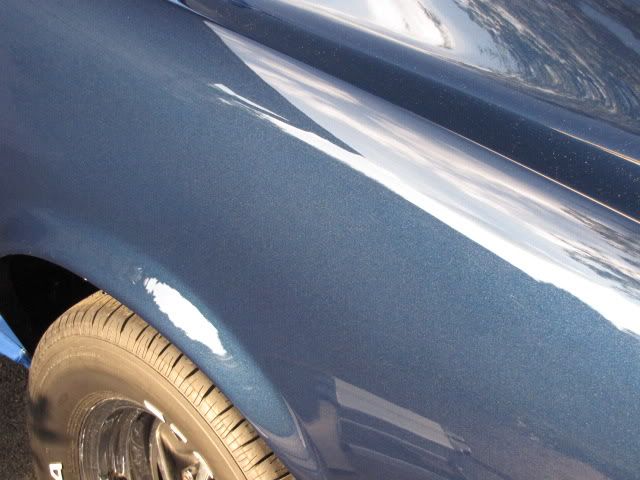
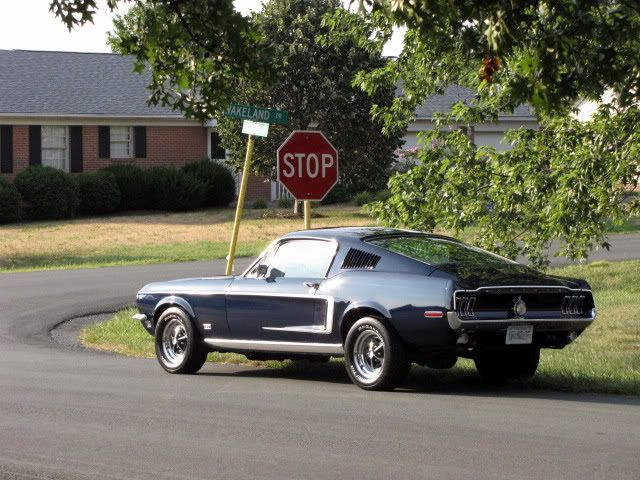
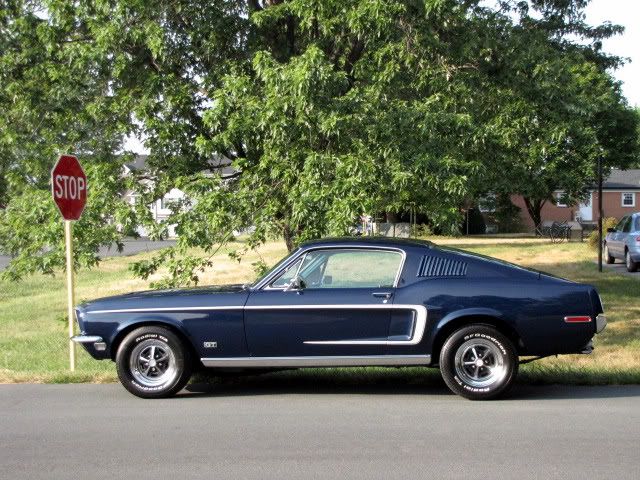
After seeing the car in the sun I saw a good amount of swirls and what looked to be like deep scratches or RIDS. Little did I know that once the inital swirls were removed that these deeper RIDs were all over the place and I knew then this was going to be a rough one to polish.
Here you can see if you look close some of these deeper scratches I am referring too. I thought that the trunk lid was the only place these were but boy was I wrong.
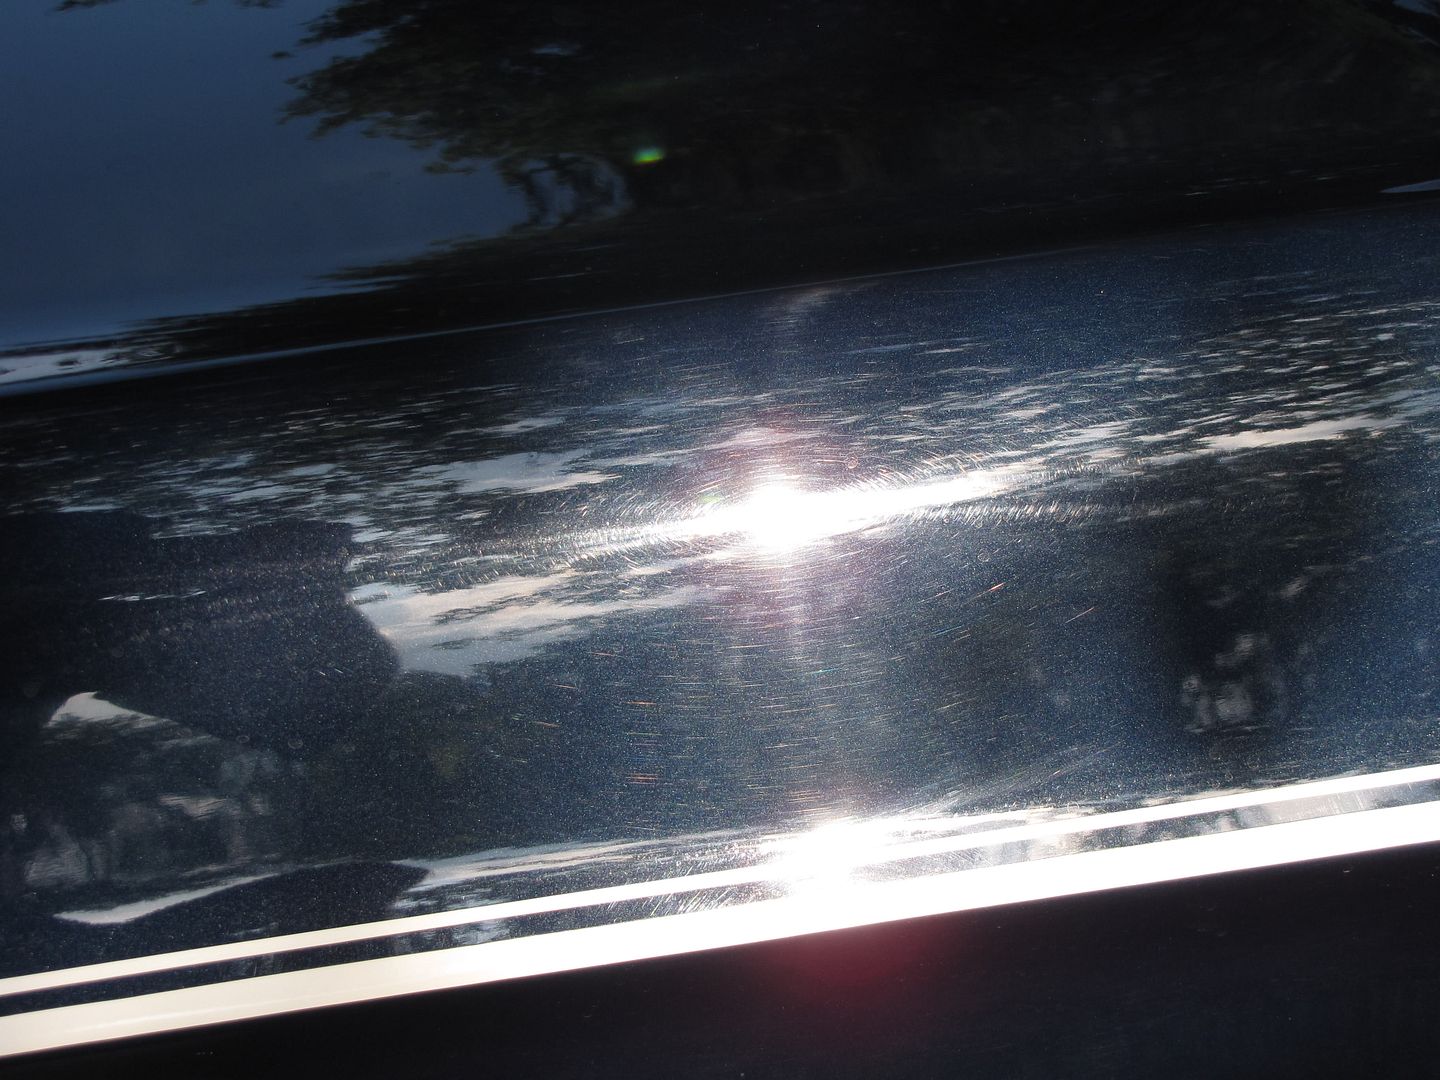
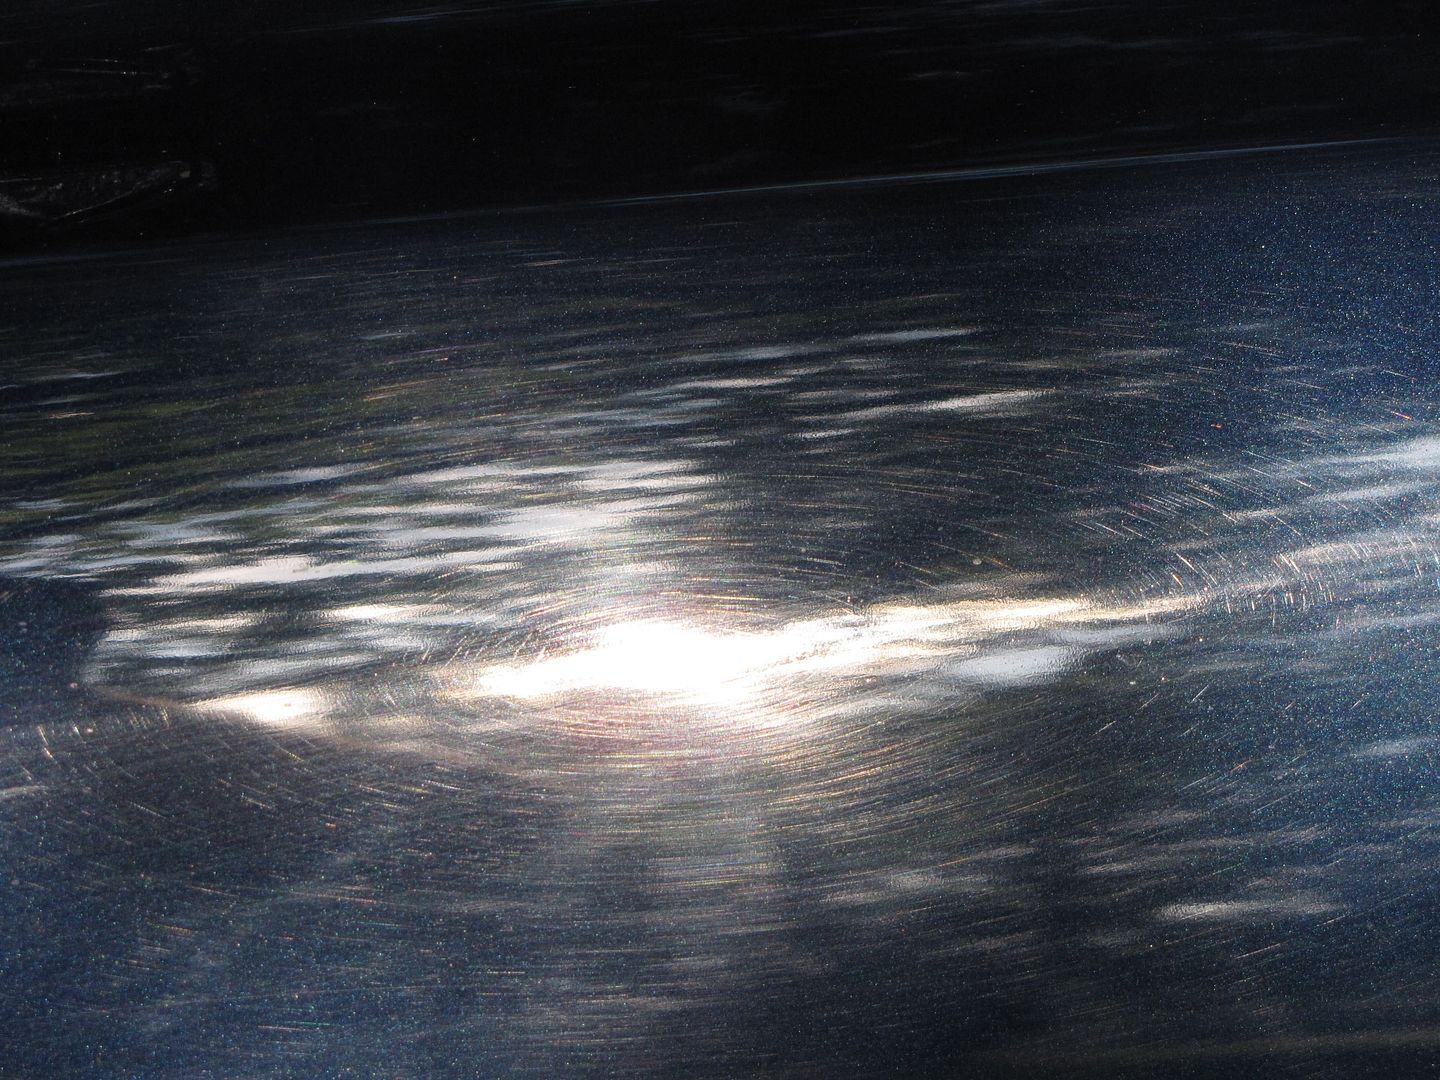
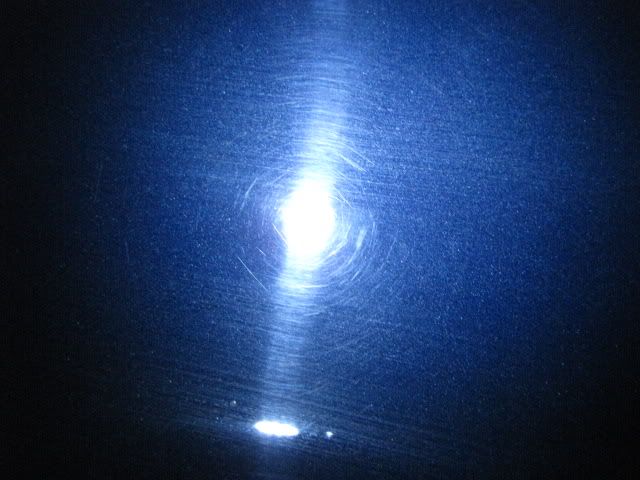
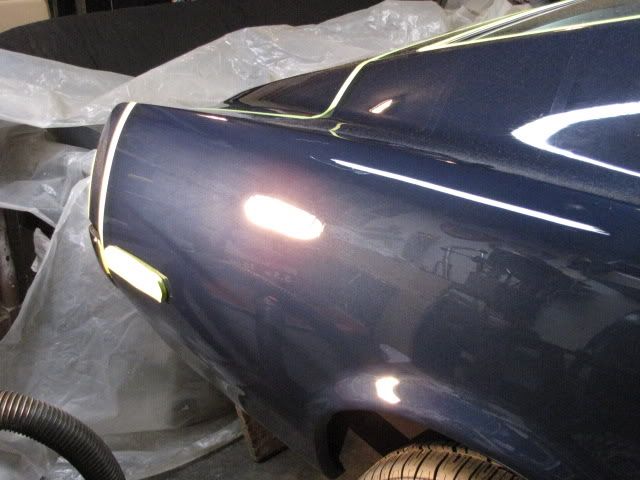
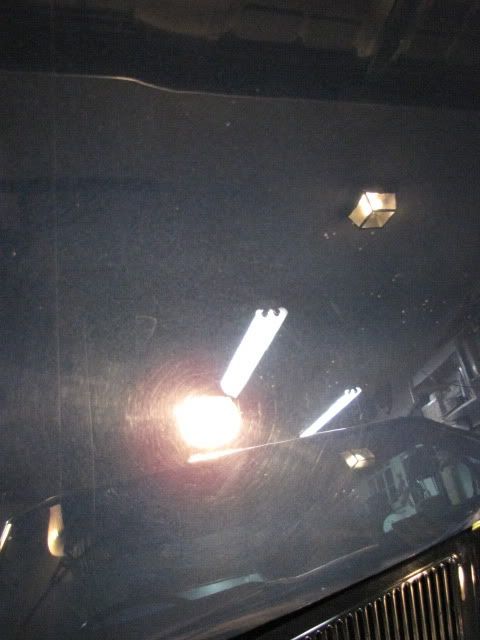
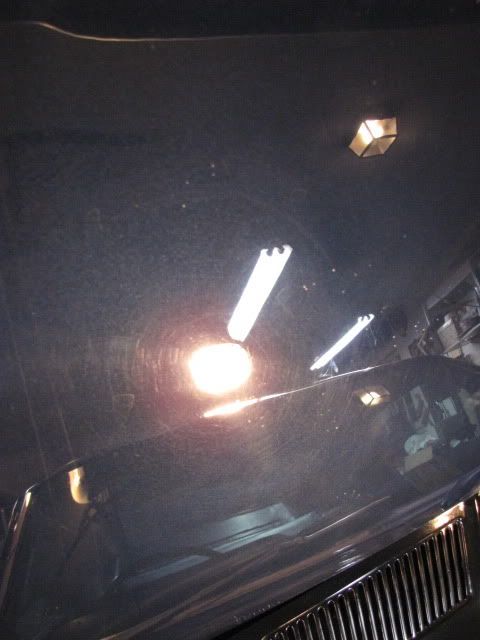
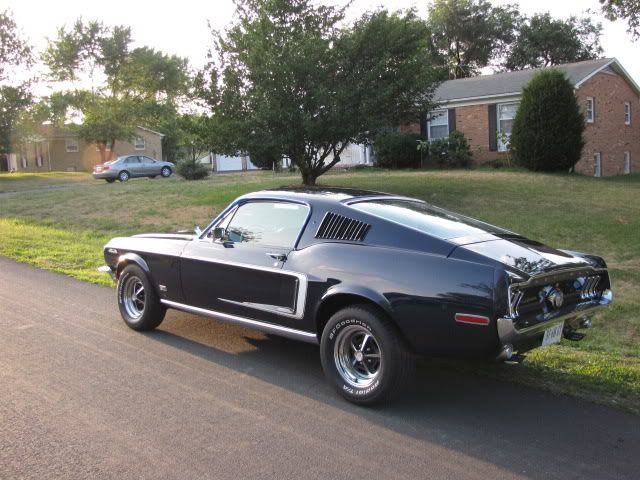
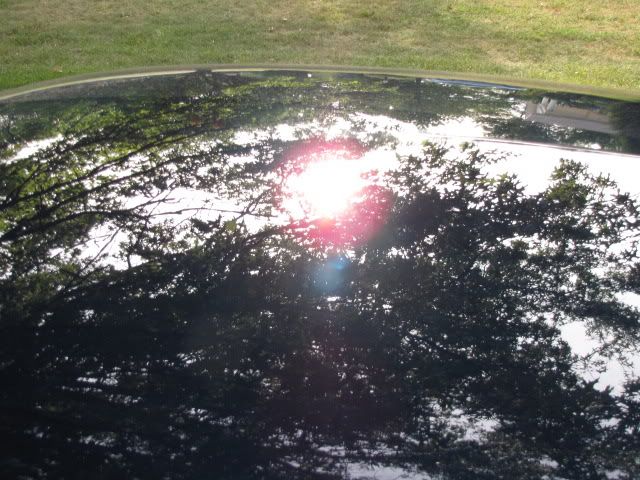
A few sun pics through the trees showing some swirls.
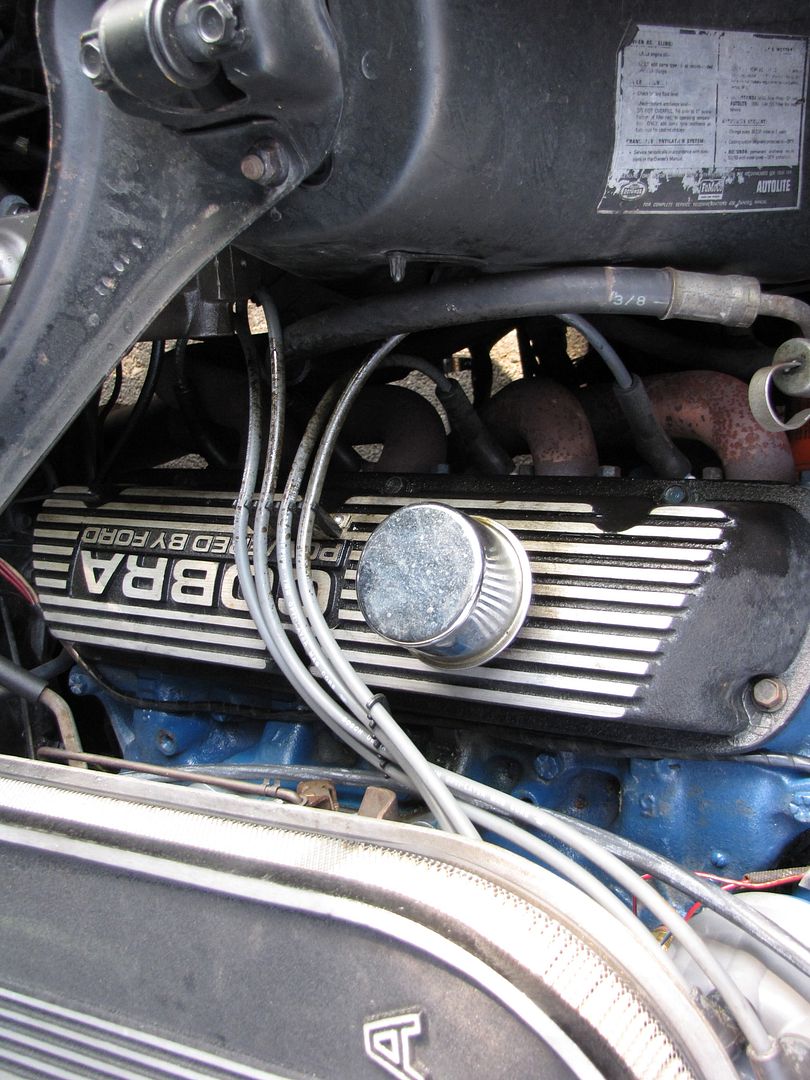
Some shots of the dirty bay

I washed the bay very carefully but did not take any during process pics of this. After the bay was completed I then moved onto the decontamination of the paint surface.
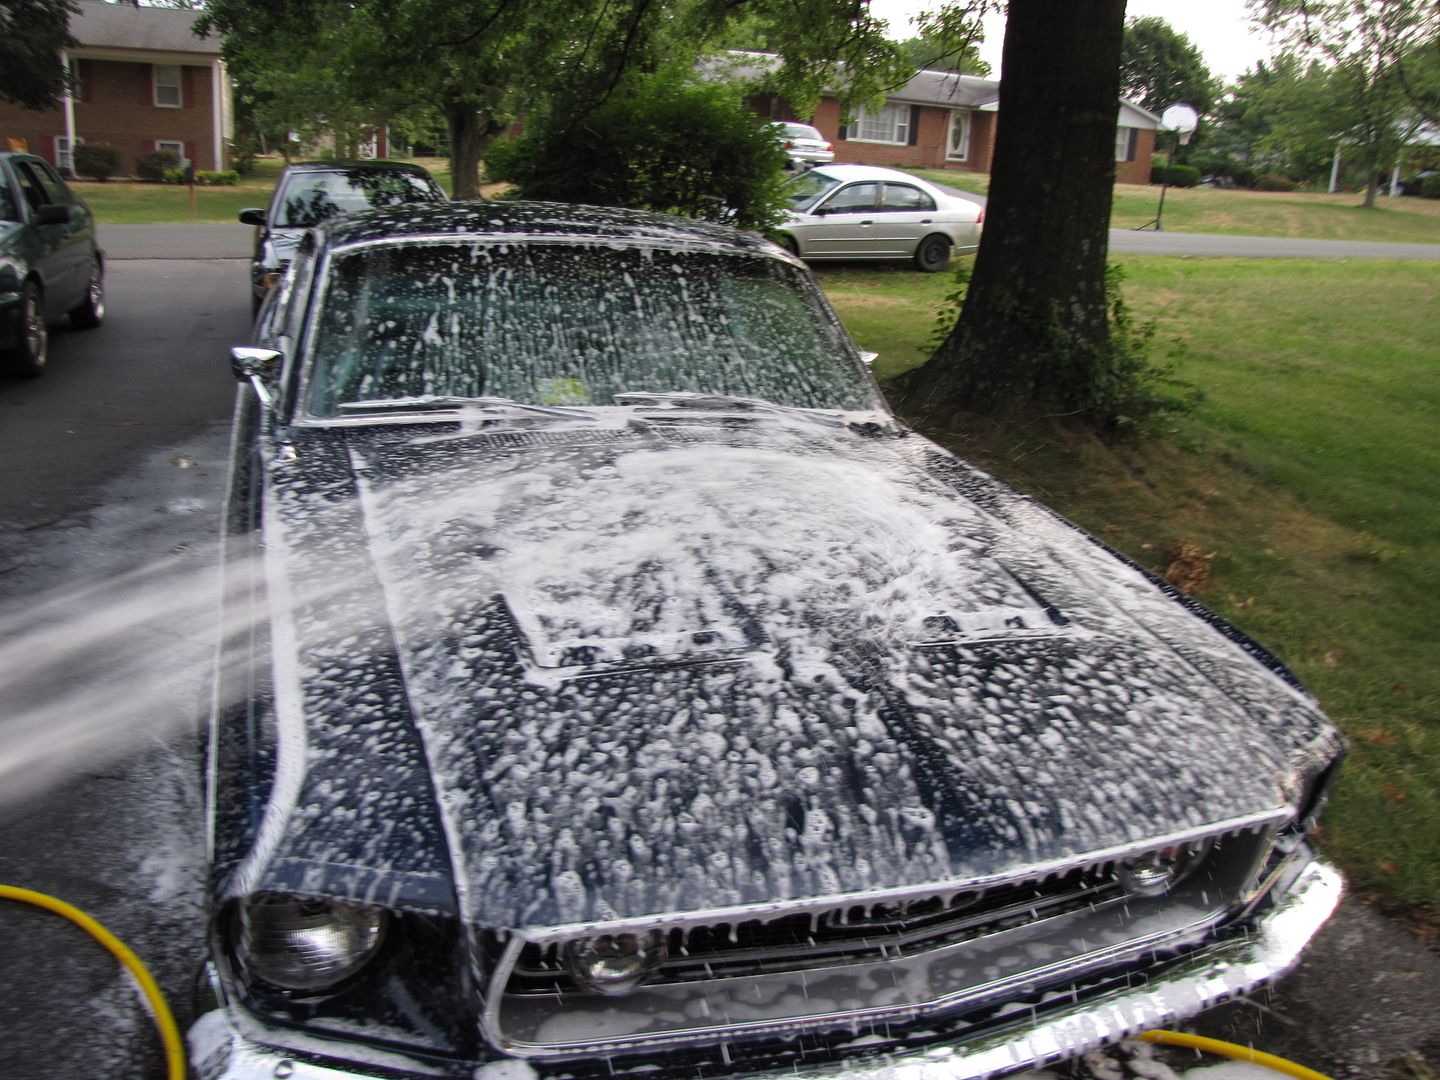
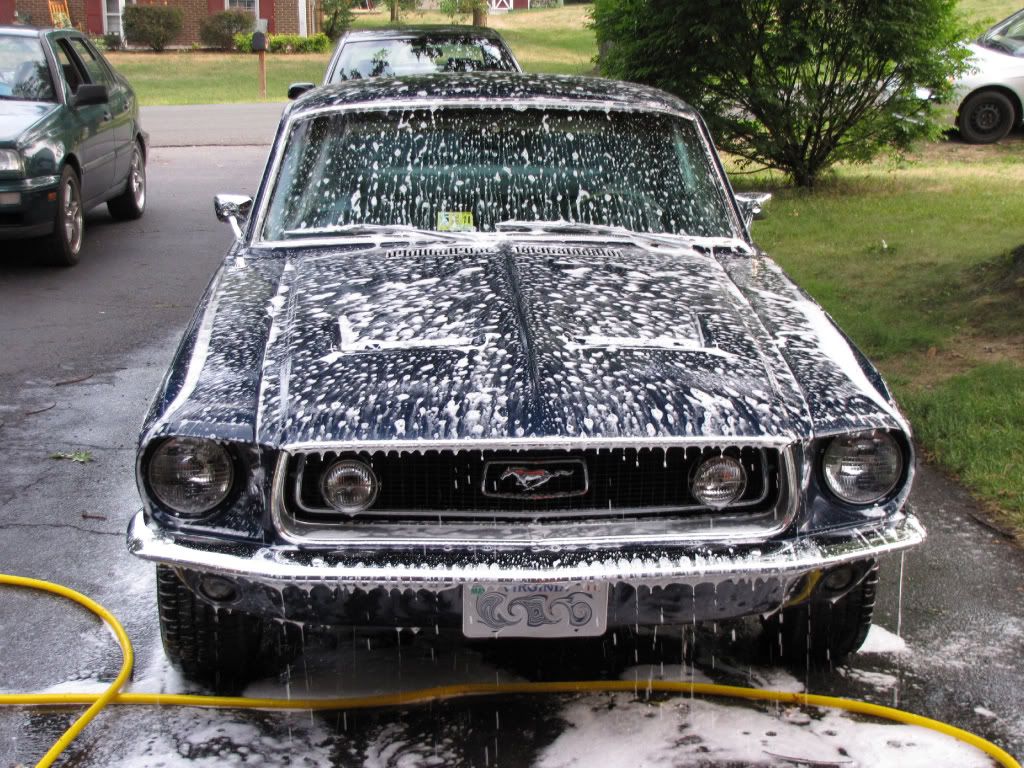
Foaming the car with my AutoGeek foam cannon
Foam mix dwelling
After rinse and Dry w/ LC WW HD drying towels
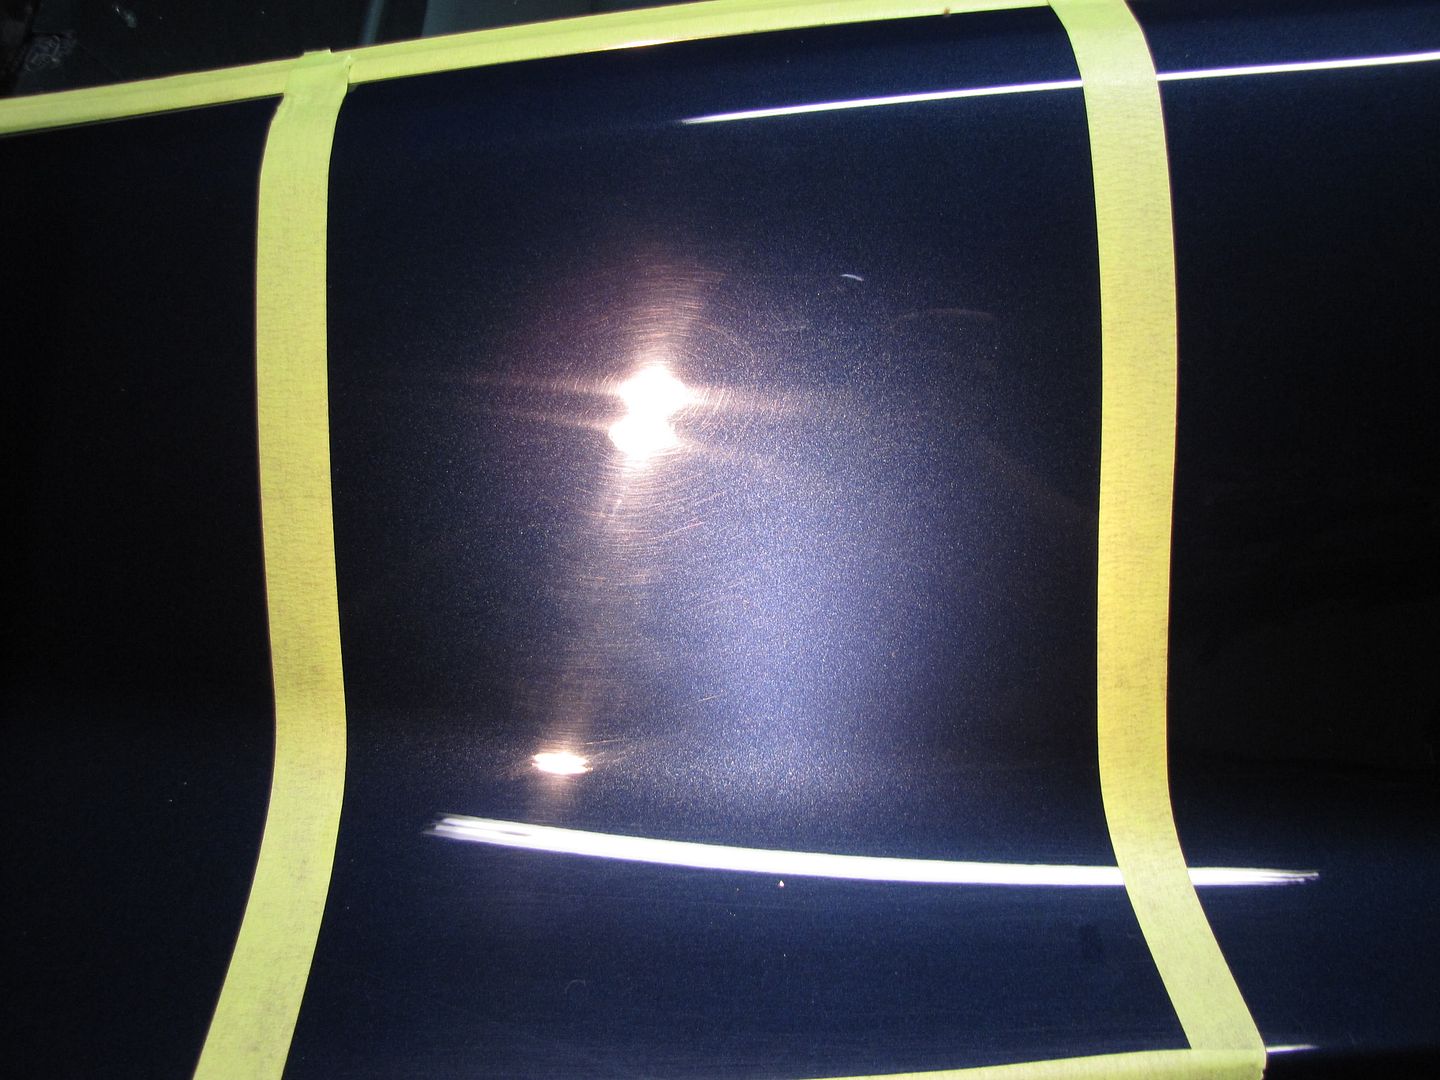
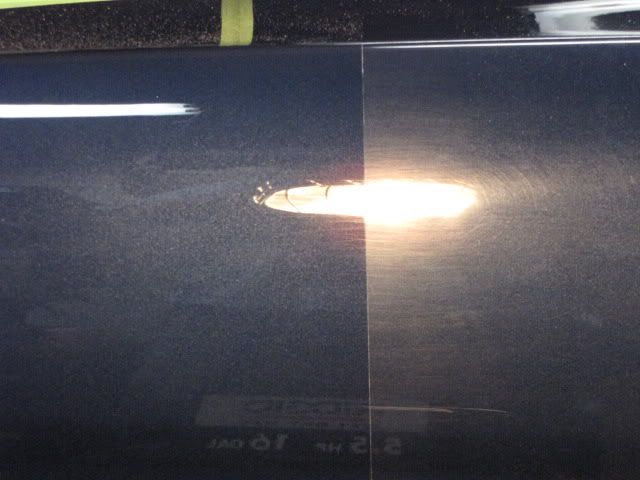
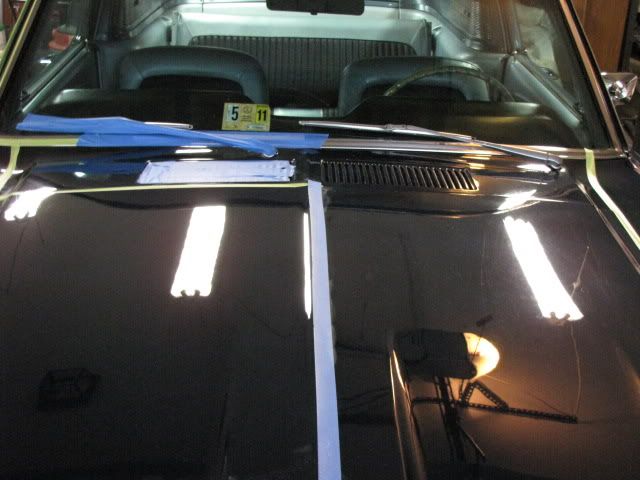
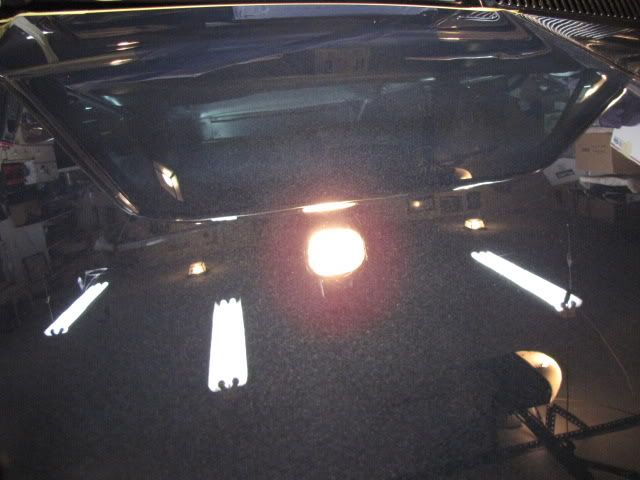
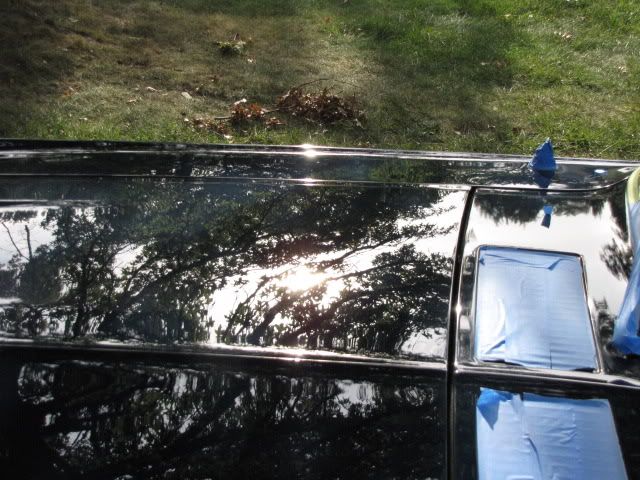
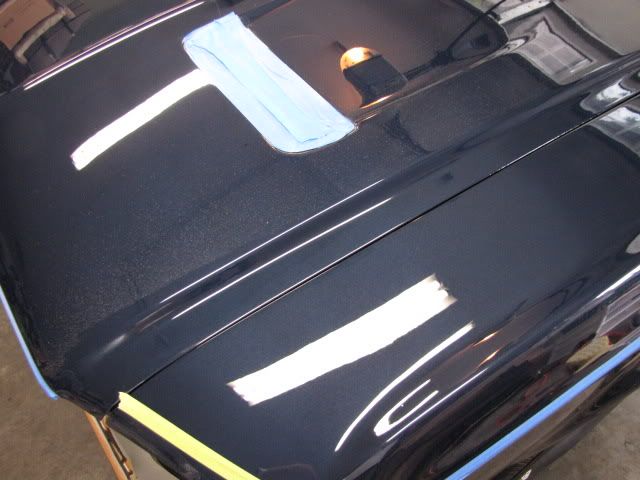
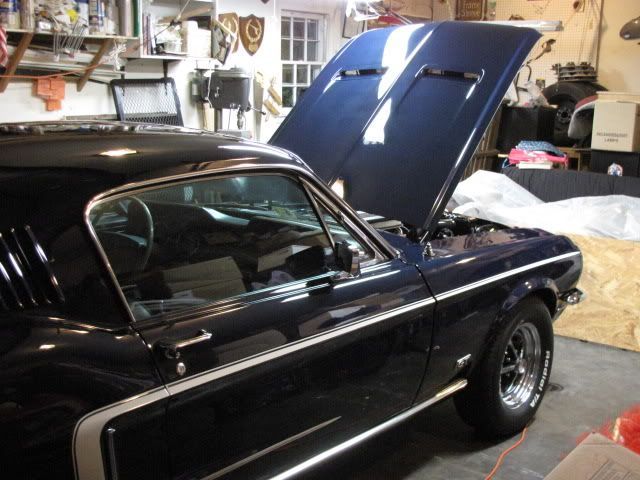
By this time it was getting dark out on the first day of the detail so I brought the car into the garage and put it under various lighting to see what I was working with. I taped the car up to get ready for the next day of polishing and also did a little test spot to see what my process would be for polishing.


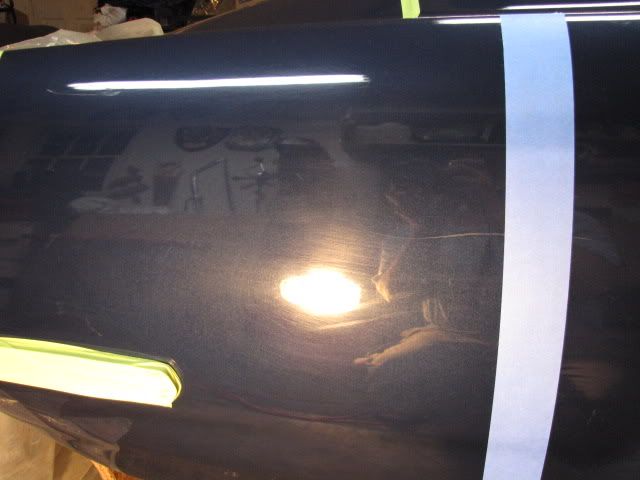
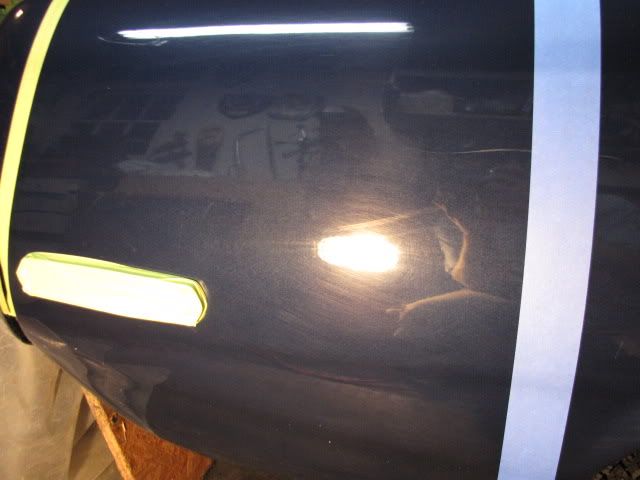
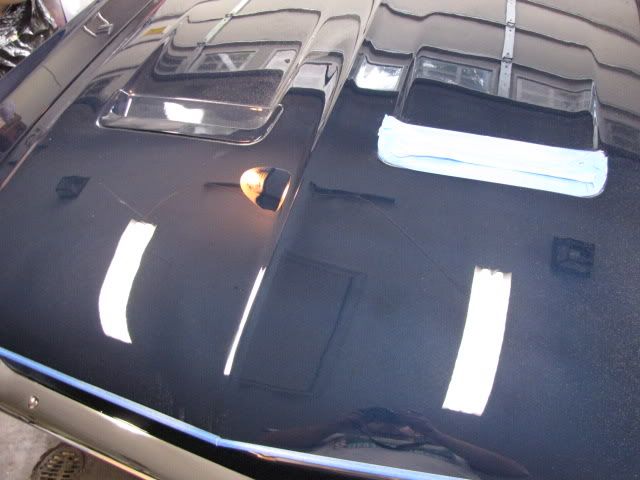
Here is my test area. I started out with a white pad and 205 and saw some pretty big changes but it was only removing light surface swirls and wasn’t touching the RIDS. I stepped it up to orange on 105 and saw great improvement and a lot of the RIDS in this area were removed. I had to spot compound with a LC Yellow foamed wool to remove some of the deep RIDS on quite a bit of the car.
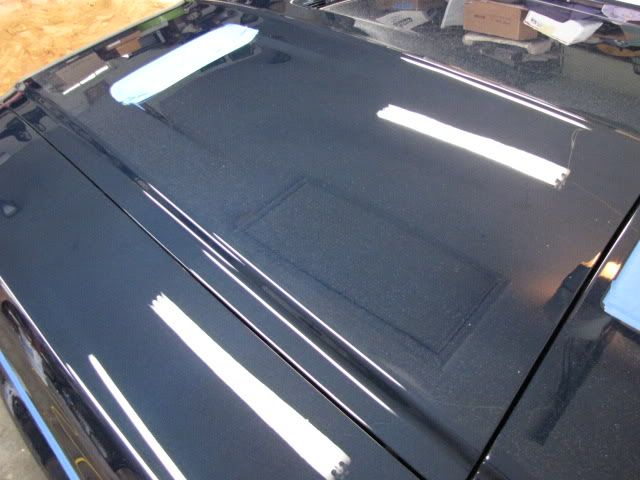
Test section before.
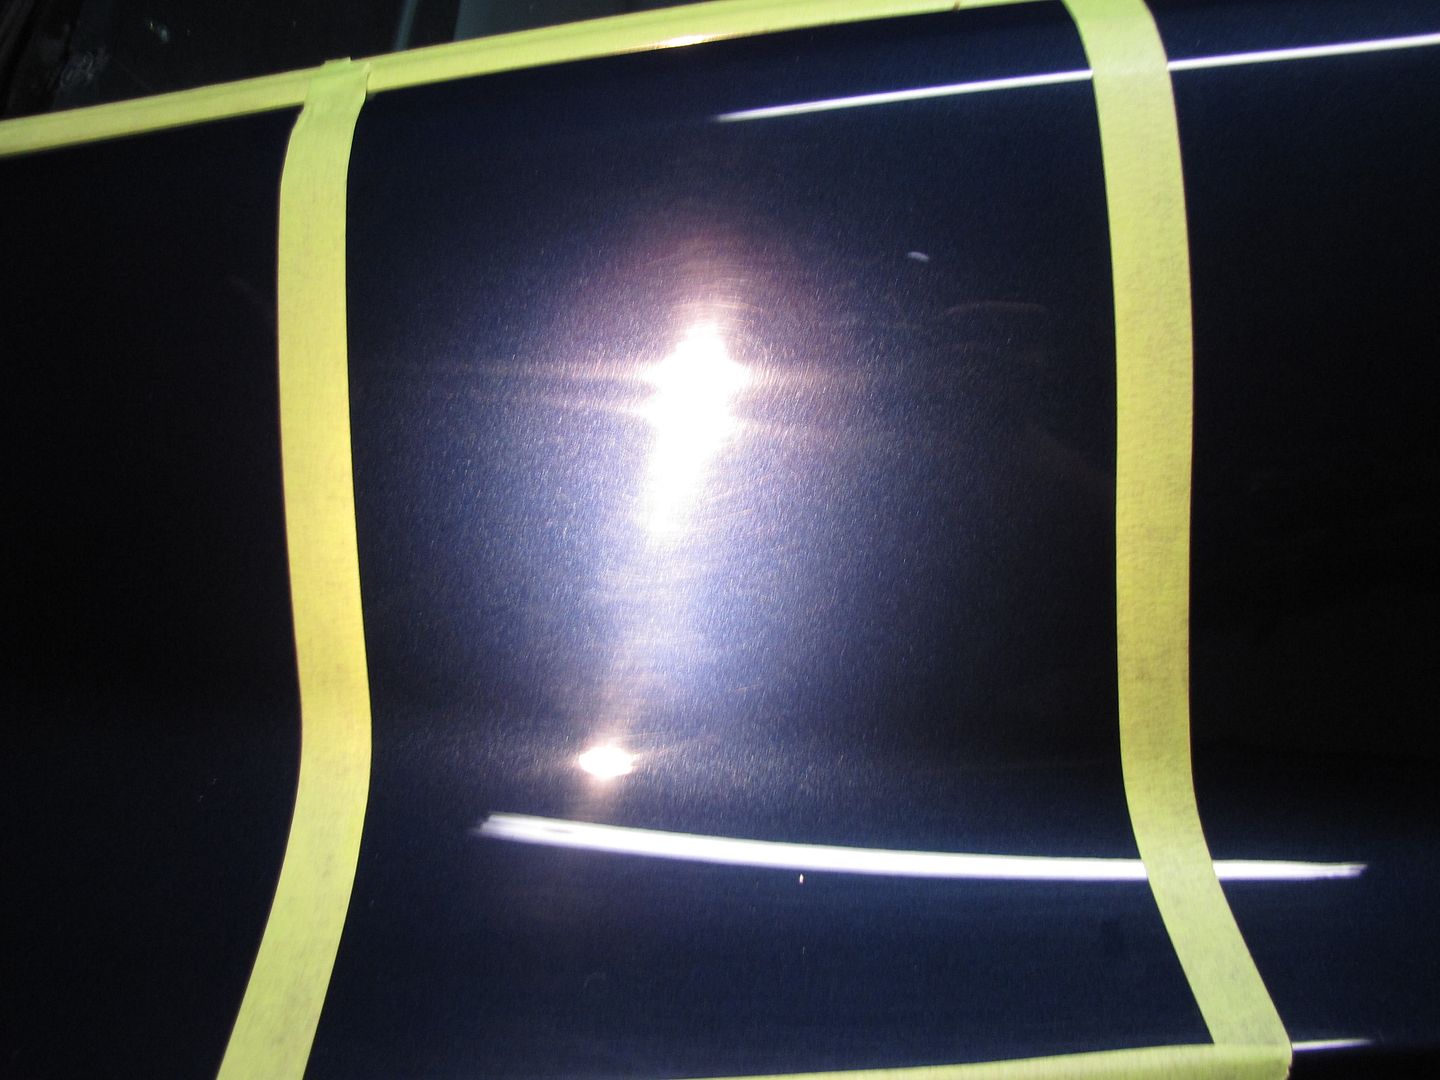
After

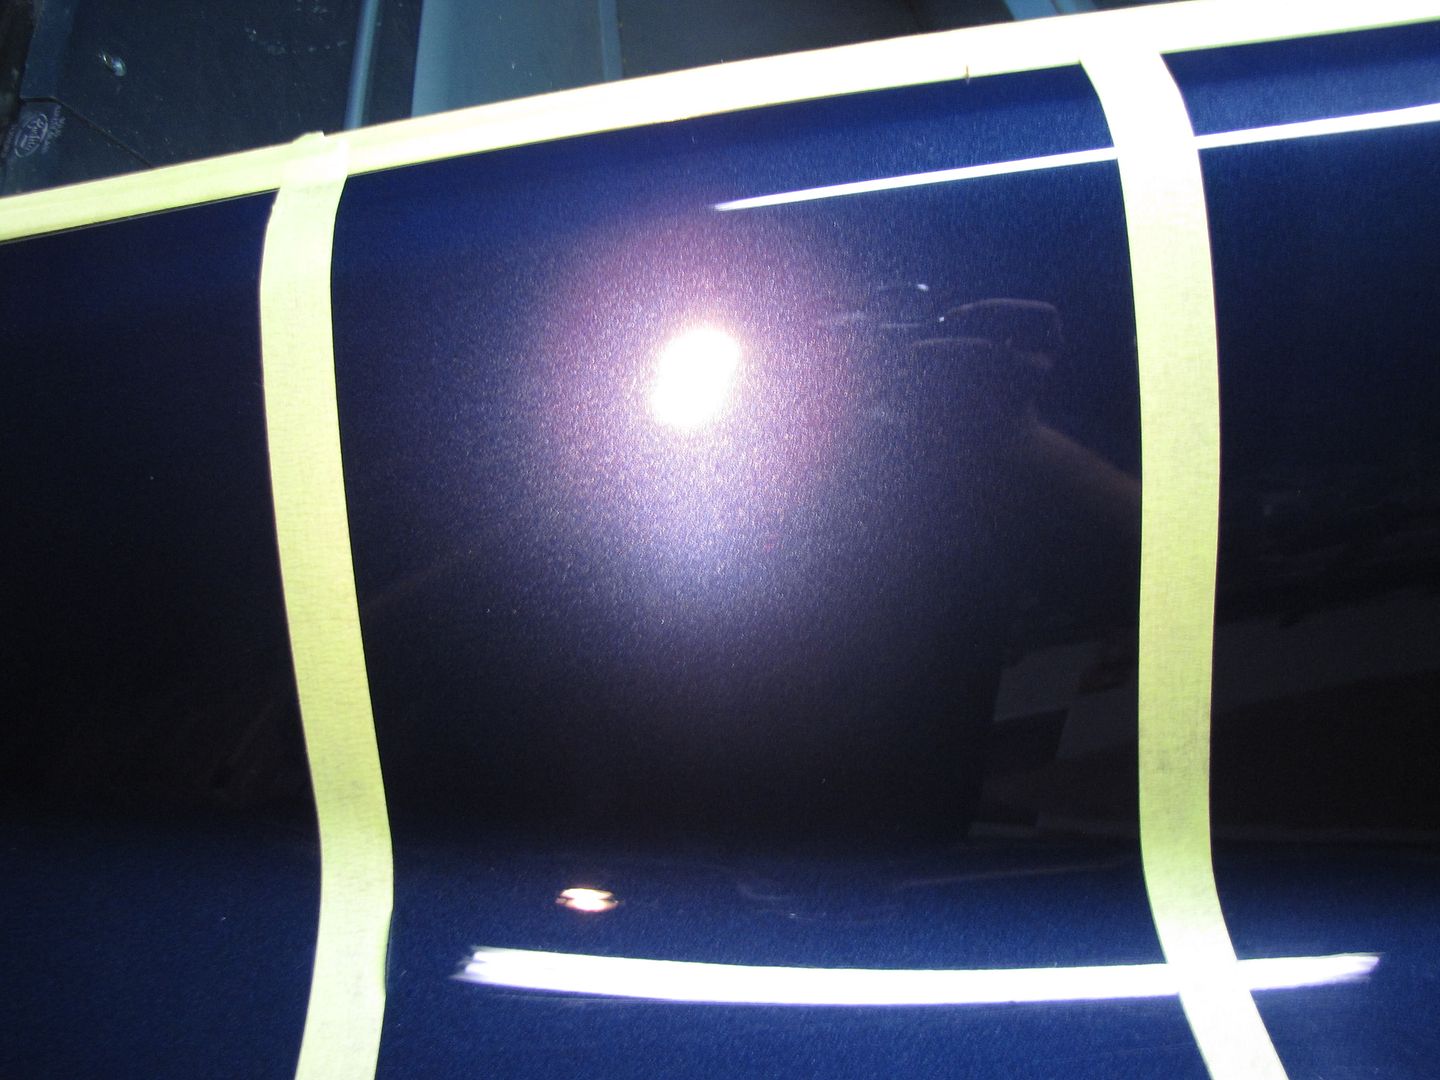
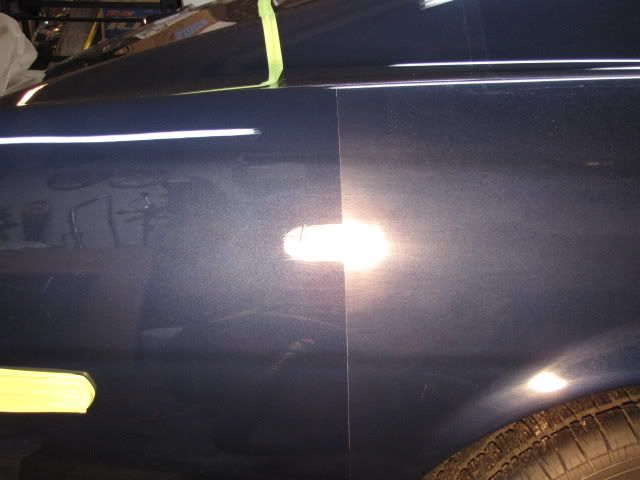
A few 50/50 of the test section.


Process
Wash/clay
-Two bucket wash w/ heavy mix of dawn
-DP Extreme Auto foam/heavy Dawn mix via AG Foam cannon
-Red LC wash mitt
-Dried with LC HD WW towels
-Pinnacle Clay bar
-Pinnacle clay lube
Interior
-1z Cockpit Premium
-Aerospace 303
-Stoners glass cleaner
-P21s TAW for floor mat cleaning
-Shop vac
Engine Bay
-P21s TAW for cleaning
-Combination of CD2 and Aerospace 303
Wheels/Tires
-Various Brushes w/ P21s Wheel Gel
-Meg's Gold class tire gel
-Wheel wells received some Aerospace 303
Correction
-PCXP 7424
-Megs 105 w/ LC Orange pad (2 Passes)
-Megs 205 w/ LC White pad (2 Passes)
-Spot buffed with LC Yellow foamed wool and M105 for some deep RIDs
LSP
-Black Fire Wet Diamond Paint Sealant
-Pinnacle Souverän
-Exterior metal polished w/ Mothers.
When I picked up the vehicle I was happy to see that the car was fairly clean and in decent condition. It was resprayed at one time in its life to a very nice metallic blue. Interior was completely stock and looked fantasitc for its age. Here are some pics of when I picked the car up and got it to the garage.
After seeing the car in the sun I saw a good amount of swirls and what looked to be like deep scratches or RIDS. Little did I know that once the inital swirls were removed that these deeper RIDs were all over the place and I knew then this was going to be a rough one to polish.
Here you can see if you look close some of these deeper scratches I am referring too. I thought that the trunk lid was the only place these were but boy was I wrong.
A few sun pics through the trees showing some swirls.
Some shots of the dirty bay
I washed the bay very carefully but did not take any during process pics of this. After the bay was completed I then moved onto the decontamination of the paint surface.
Foaming the car with my AutoGeek foam cannon
Foam mix dwelling
After rinse and Dry w/ LC WW HD drying towels
By this time it was getting dark out on the first day of the detail so I brought the car into the garage and put it under various lighting to see what I was working with. I taped the car up to get ready for the next day of polishing and also did a little test spot to see what my process would be for polishing.
Here is my test area. I started out with a white pad and 205 and saw some pretty big changes but it was only removing light surface swirls and wasn’t touching the RIDS. I stepped it up to orange on 105 and saw great improvement and a lot of the RIDS in this area were removed. I had to spot compound with a LC Yellow foamed wool to remove some of the deep RIDS on quite a bit of the car.
Test section before.
After
A few 50/50 of the test section.


 rops:
rops:")