AjNavo61490
New member
- Oct 29, 2007
- 548
- 0
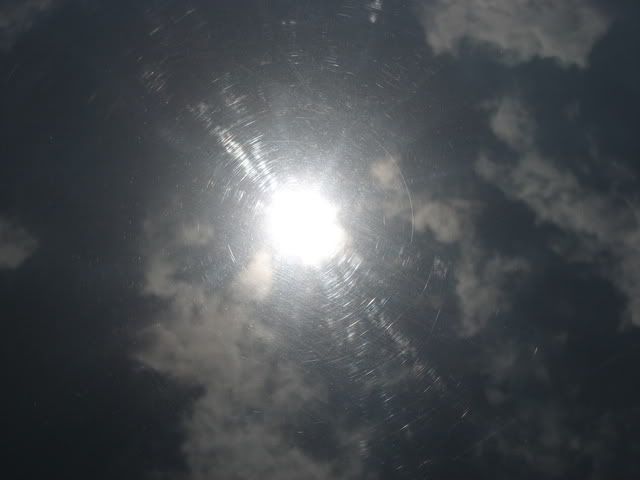
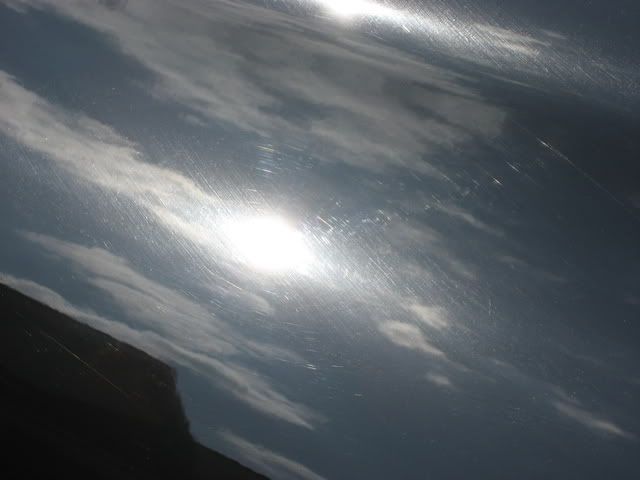
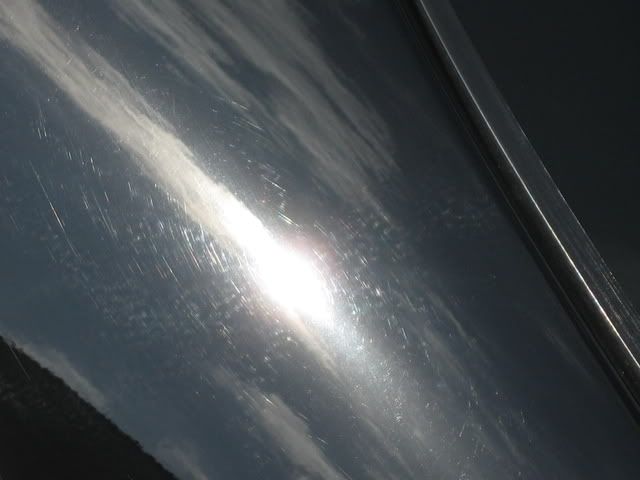
[FONT="]After having one month of my maintenance plan, the owner of this beautiful 2008 Mercedes CL550 decided to bring out the best in it. He opted for swirl removal, which also included scratch removal (wetsanding), paint touch-up, protection for paint, glass, and wheels, and a concours interior. I told him it would easily be a 2-day job, he told me no problem and that he would just take his Tahoe for the time being (has to be nice having two cars for yourself).
Day One
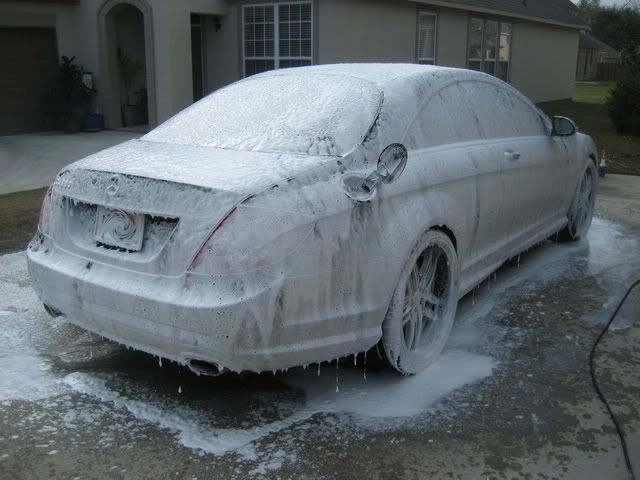
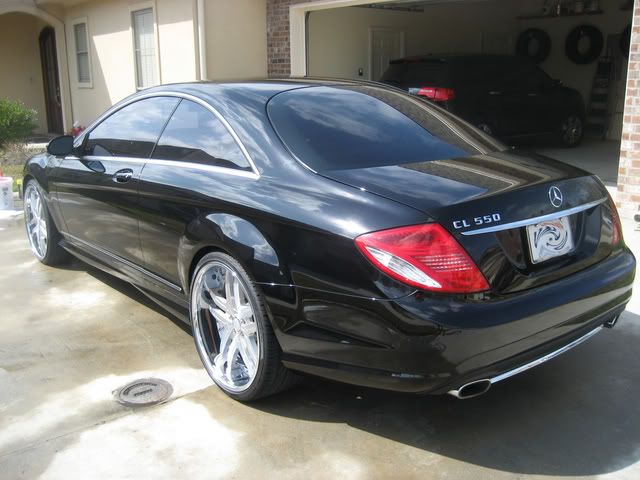
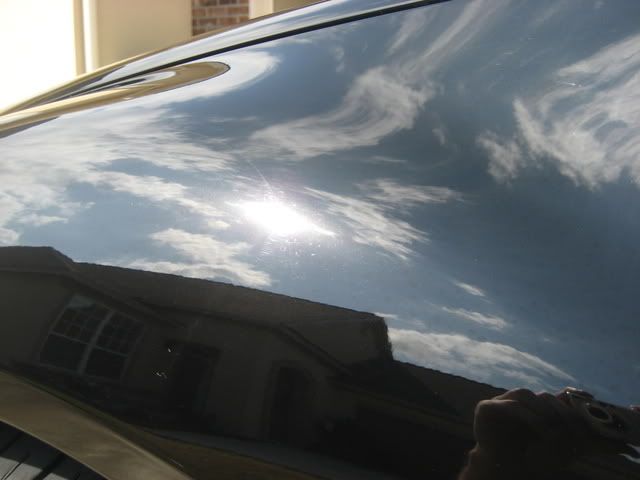
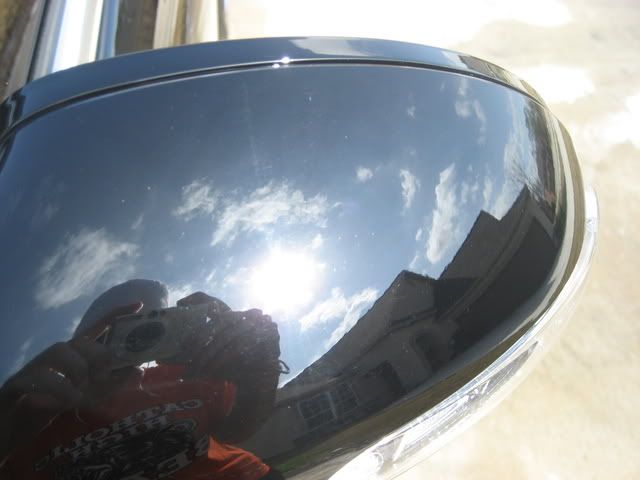
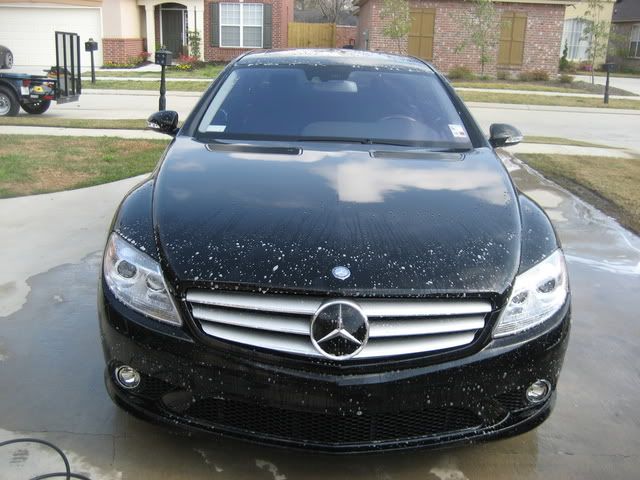
This is what the car looked like upon arrival.

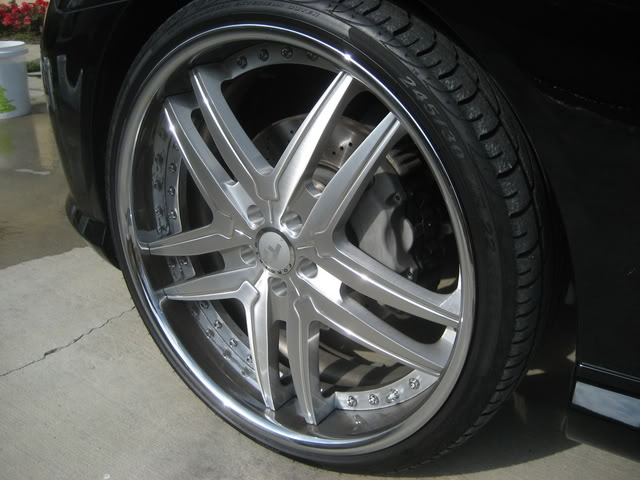
Last wash was last Saturday, so it wasn't too dirty. The only real bad part of the car were the wheels. It takes a lot of braking power to stop this 4700 lb. monster, so it gives off its fair share of brake dust.
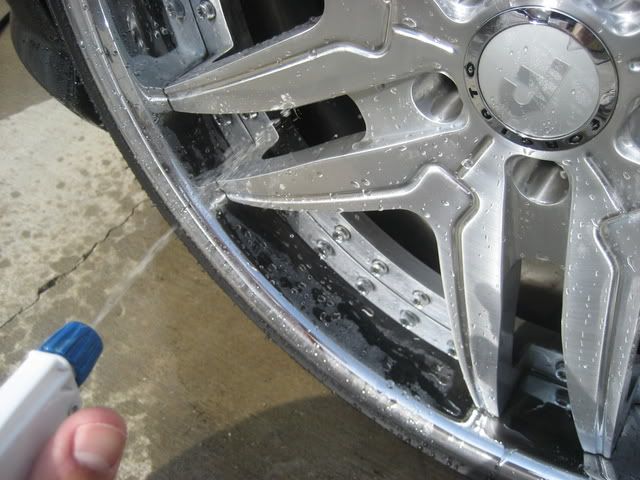
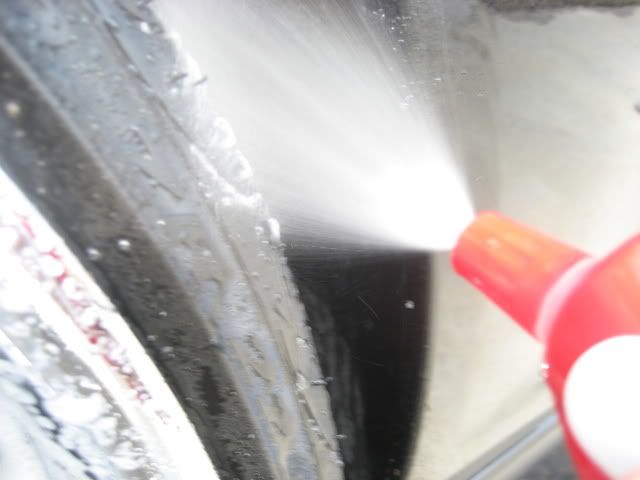
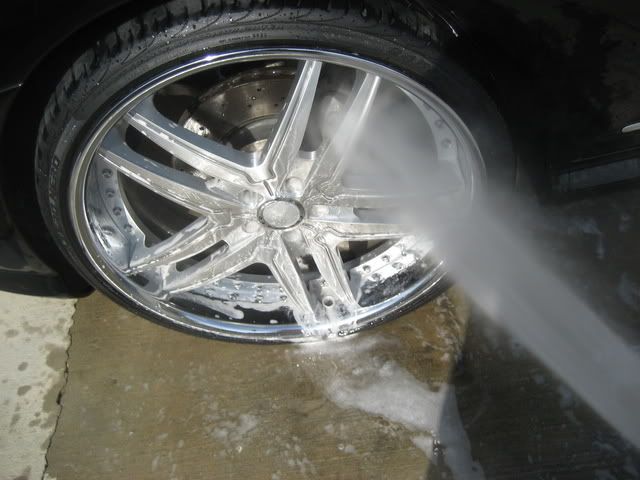
I first rinsed the wheel, tire, and wheel well.

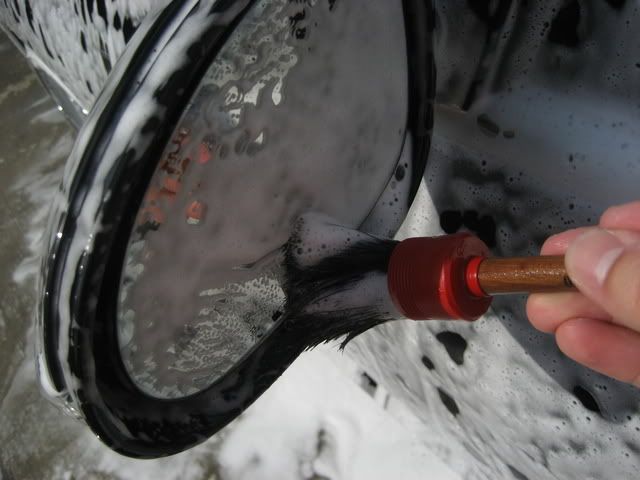
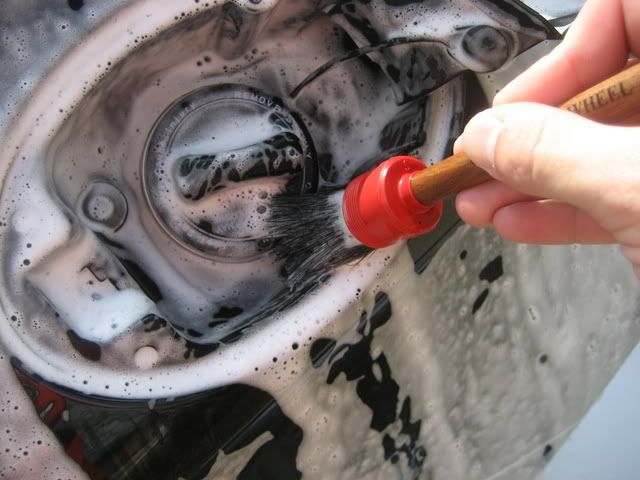
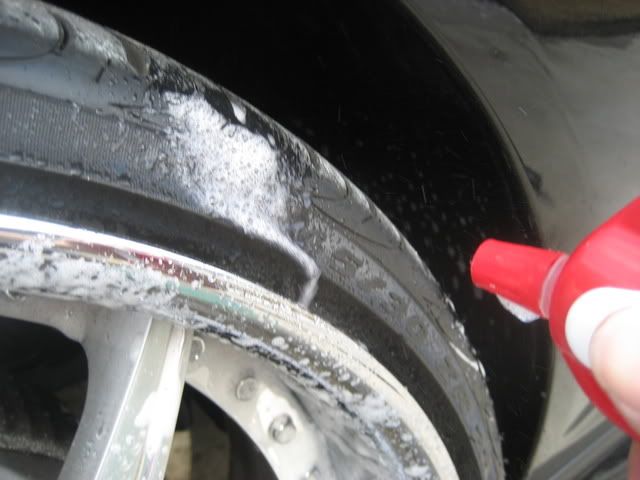
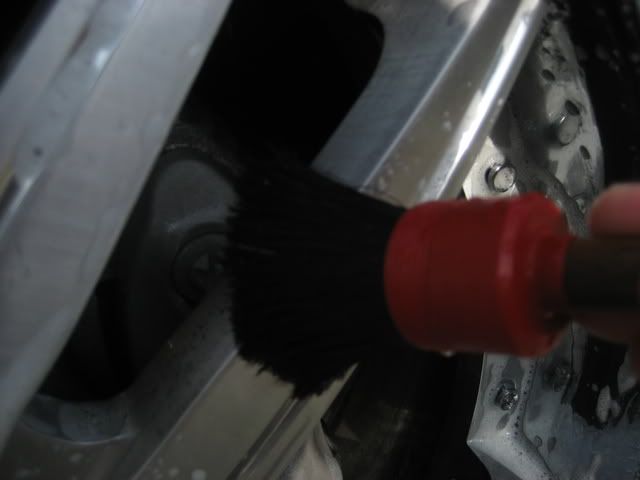
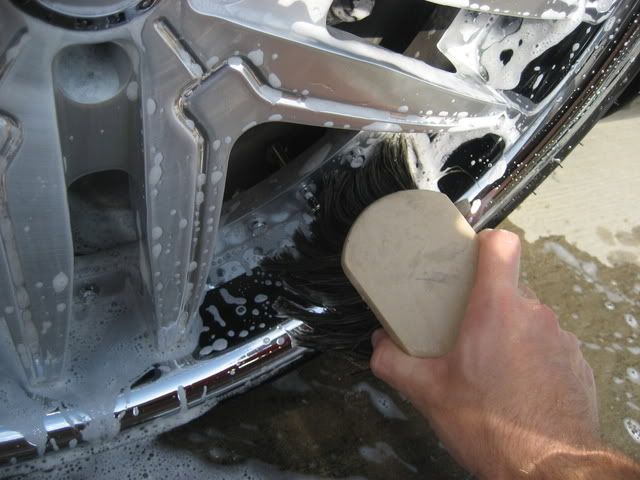
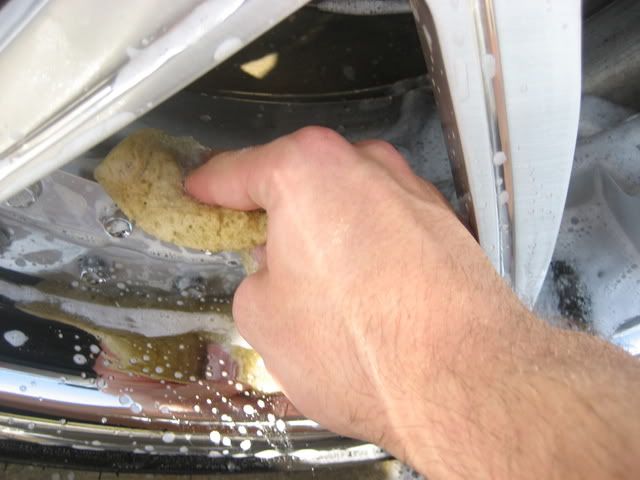
Next, I soaked the wheel in P21S Wheel Gel and the tire and wheel well got Meg's APC 4:1.
After allowing about 30 seconds for dwell time, I agitated with an assortment of brushes and sponges then rinsed.


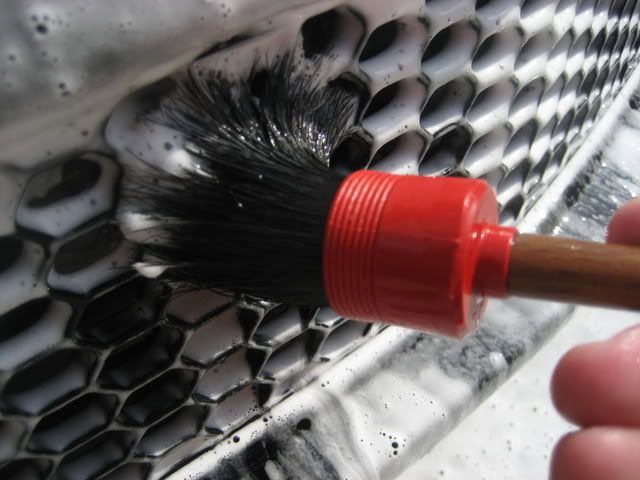
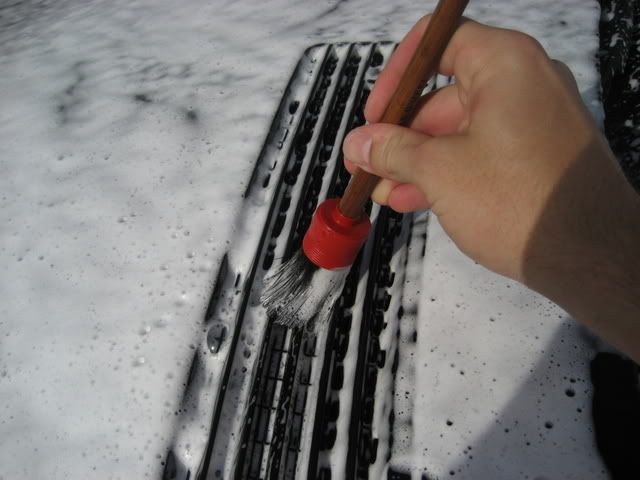
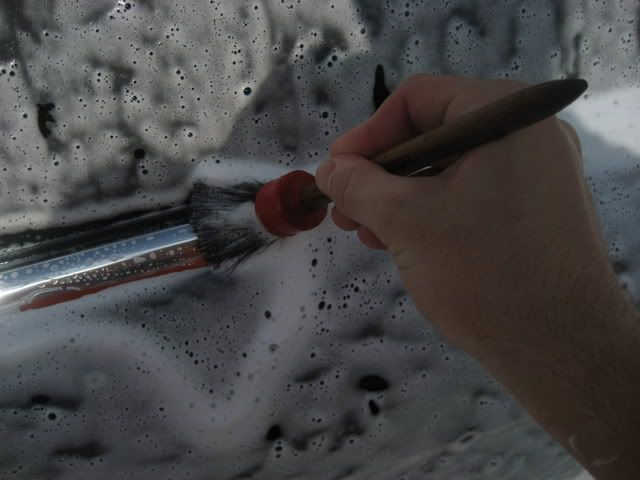
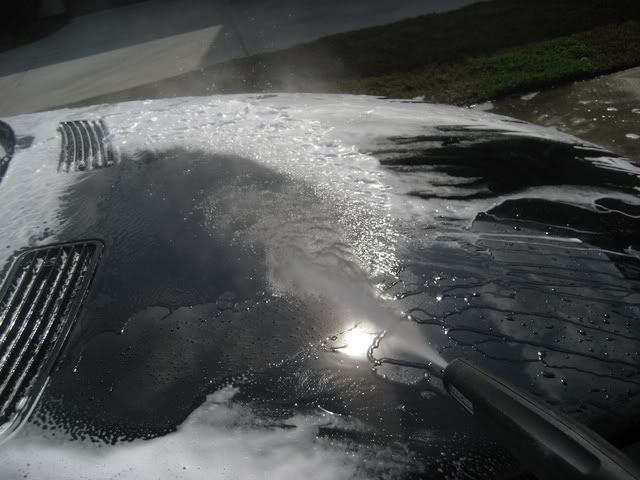
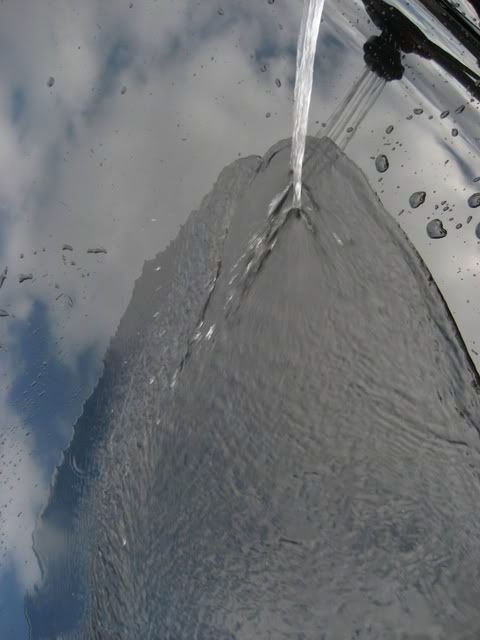
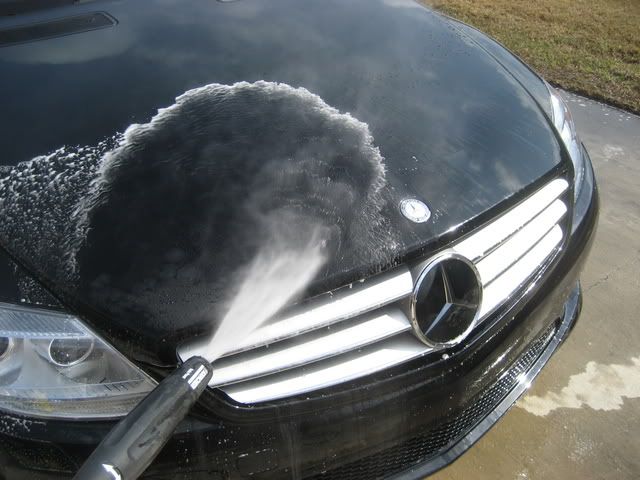
My next step was bug removal off the front end. I first rinsed the area then applied Surf City Road Trip Grime Destroyer 1:1 to the hood, bumper, fenders, mirrors, A-pillars, and roof. I allowed that to sit for about 30 seconds to start breaking down the bug splatter.
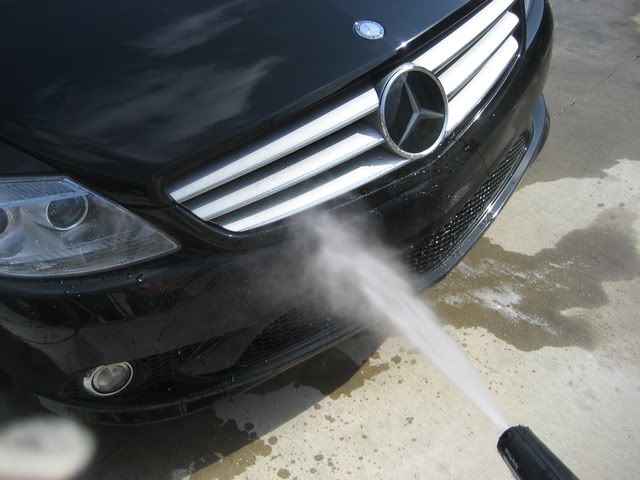
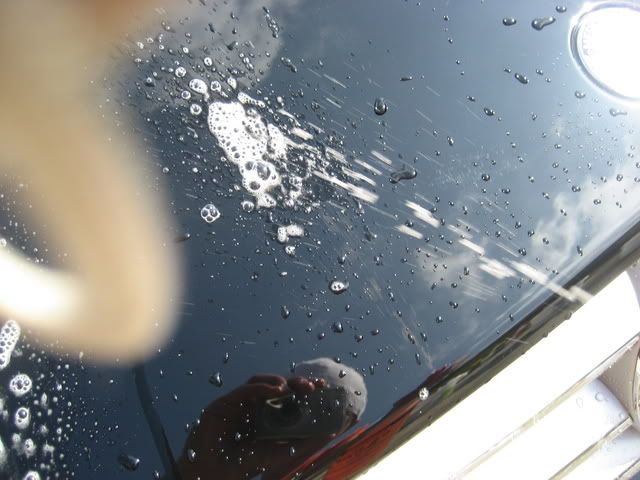
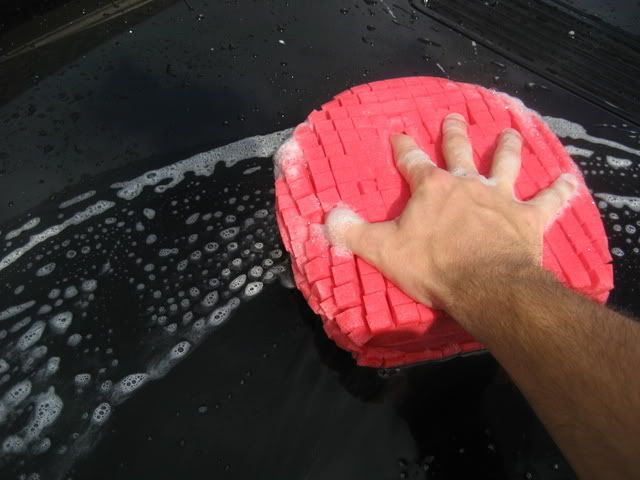
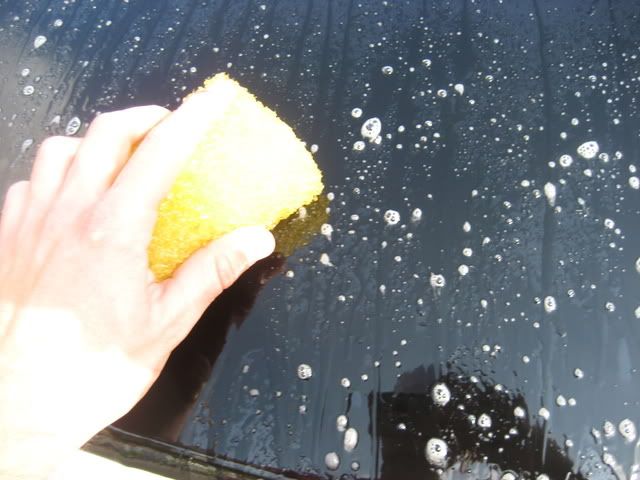
I then used a saturated Pinnacle Safe Scrub Bug Sponge to lightly agitate the areas then rinsed for a nice, bug free front end.
[/FONT]
Day One
This is what the car looked like upon arrival.
Last wash was last Saturday, so it wasn't too dirty. The only real bad part of the car were the wheels. It takes a lot of braking power to stop this 4700 lb. monster, so it gives off its fair share of brake dust.
I first rinsed the wheel, tire, and wheel well.
Next, I soaked the wheel in P21S Wheel Gel and the tire and wheel well got Meg's APC 4:1.
After allowing about 30 seconds for dwell time, I agitated with an assortment of brushes and sponges then rinsed.
My next step was bug removal off the front end. I first rinsed the area then applied Surf City Road Trip Grime Destroyer 1:1 to the hood, bumper, fenders, mirrors, A-pillars, and roof. I allowed that to sit for about 30 seconds to start breaking down the bug splatter.
I then used a saturated Pinnacle Safe Scrub Bug Sponge to lightly agitate the areas then rinsed for a nice, bug free front end.
[/FONT]