solageral
New member
- Nov 6, 2015
- 4
- 0
Hello guys and girls, I would like to share with you this method that I use to prime my pads before DA polishing or compounding. I've never seen anyone else doing this before, so I named it "The Pasta Roller Method" Im the MAN
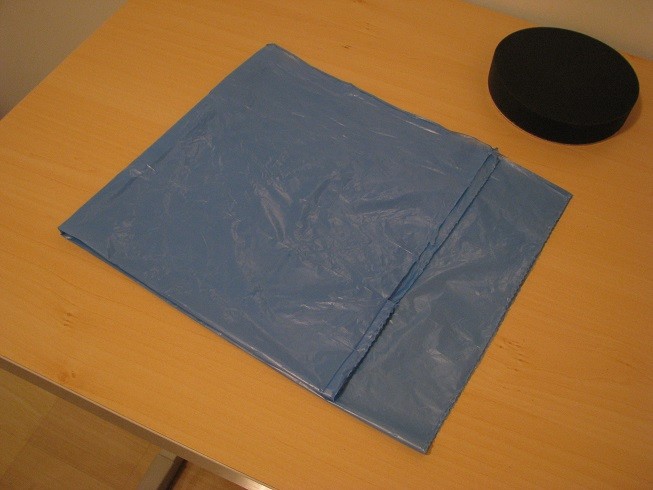
It's very simple. All you will gonna need is a plastic bag, a tube and a flat surface. Here I'm using a trash bag and cardboard tube.

First, open the plastic bag over your table, workbench, etc.

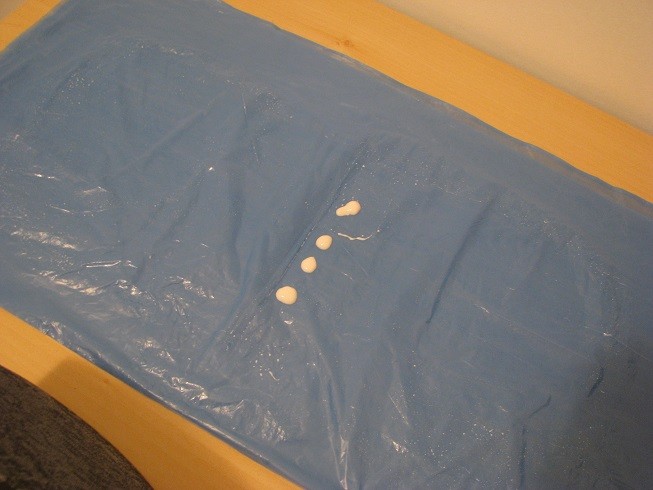
Then, add some product in the center of the bag. You don't need very much to prime the pad this way, you can use less than in the traditional circle or X pattern priming methods.

Just put a stripe, the length should be close to the pad diameter (in this case, 6").

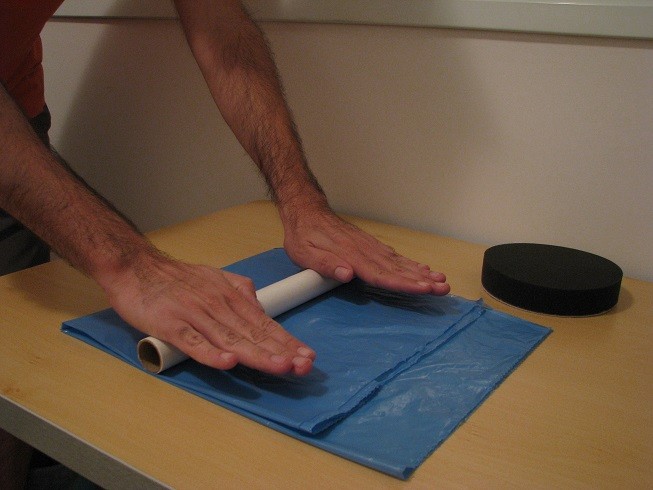
Now, fold the bag close to the stripe.

And it's time to roll out the pasta! Im the MAN

You don't need to spread the product all over the bag, just try to cover an area similar to the pad area.
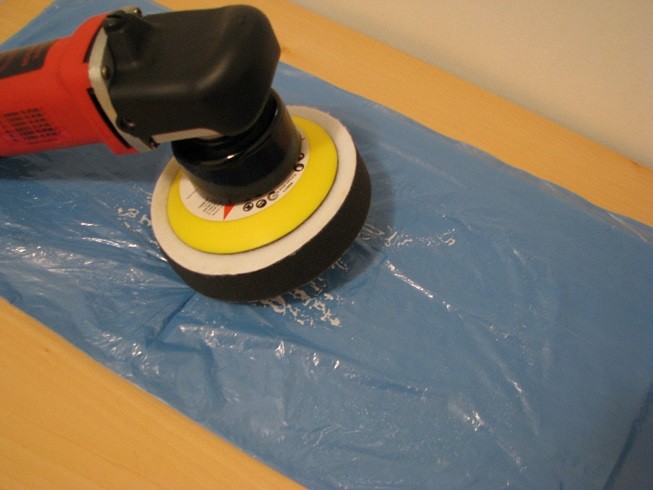
Now, unfold the bag. And this is what you get.

Push the pad against the plastic bag several times, "cleaning" the plastic bag with the pad.


And here it is: the pad is primed, and the product is homogeneously distributed over the working surface of the pad.

Notice that the product is concentrated where it should be, in the surface. In the other priming methods (circle or X pattern), when you spread the product with your finger or pressing the pad against the paint, you push the product deep inside the pad, saturating it in a region that is not going to contribute efficiently to you work and will make the cleaning of the pad more difficult.

I not only prime my pads this way, but I also add product during the buffing process with the same technique.


In my experience, this technique reduces the dust of the compounding step, prevent splitting and makes the pad easier to clean on the fly. But is also easier to dry buff if you do no pay attention. If you are going to try it, please let me know and leave your feedback.
PS.: Sorry for any typo, grammar error, etc...
Best regards,
It's very simple. All you will gonna need is a plastic bag, a tube and a flat surface. Here I'm using a trash bag and cardboard tube.
First, open the plastic bag over your table, workbench, etc.
Then, add some product in the center of the bag. You don't need very much to prime the pad this way, you can use less than in the traditional circle or X pattern priming methods.
Just put a stripe, the length should be close to the pad diameter (in this case, 6").
Now, fold the bag close to the stripe.
And it's time to roll out the pasta! Im the MAN
You don't need to spread the product all over the bag, just try to cover an area similar to the pad area.
Now, unfold the bag. And this is what you get.
Push the pad against the plastic bag several times, "cleaning" the plastic bag with the pad.
And here it is: the pad is primed, and the product is homogeneously distributed over the working surface of the pad.
Notice that the product is concentrated where it should be, in the surface. In the other priming methods (circle or X pattern), when you spread the product with your finger or pressing the pad against the paint, you push the product deep inside the pad, saturating it in a region that is not going to contribute efficiently to you work and will make the cleaning of the pad more difficult.
I not only prime my pads this way, but I also add product during the buffing process with the same technique.
In my experience, this technique reduces the dust of the compounding step, prevent splitting and makes the pad easier to clean on the fly. But is also easier to dry buff if you do no pay attention. If you are going to try it, please let me know and leave your feedback.
PS.: Sorry for any typo, grammar error, etc...
Best regards,