This R8 arrived a little dusty, but before I got right into decontamination & washing. I took some time planning the correction process of this car to make sure I have it done in a timely manner.
The customer initially wanted to enjoy a very well kept car, and was looking for a permanent coating that will help resist scratching, and bead water for the life of the paint. Perfect for CeramicPro 9H.
So here we go…
Upon arrival it was a little dusty, nothing major. The delivery company told us it was detailed two weeks before locally with a light paint correction package. Being a car with only 3,500 miles I couldn’t possible image how bad the paint could be.
Front fins had major scratches…


Plenty of left over tape all on various edges of the car. This is the best to tell if any paint correction occurred in the paint’s past.


Plenty of deep down dust and compound to further support the hypothesis

Carbon Fiber bits had swirling still

The protection of the paint was pretty saddening too. 2 weeks after a “major” detail. The areas I tested were the level areas on all four wheel arches.


This little area is under my list of “most missed spot by other detailers.” The under side of the convertible top where it rests on the a bump stop. This shows heavy water staining and swirling, a great place to measure your paint since it should be the least polished.

As expected.

Nasty Tire dressing, I don’t know any professional product when applied correctly does this…

Under the tire wells.

Does detail, never opens engine bay…. WOW. This might be a blessing because it saves me time fixing other areas.

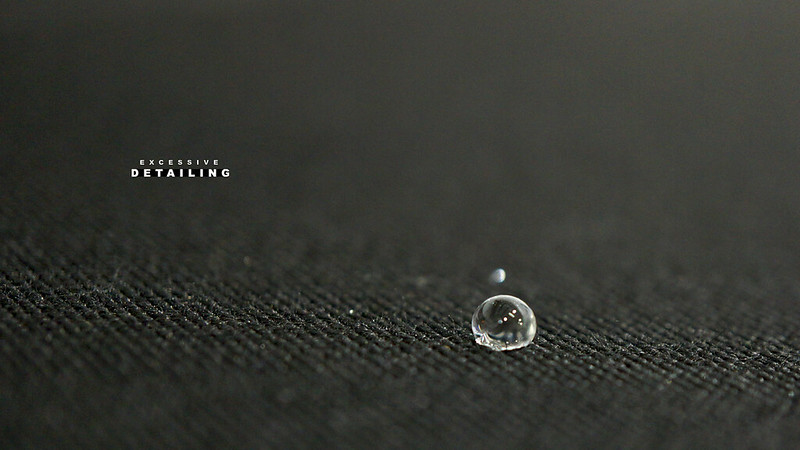
The convertible top was luckily never touched or protected either with the last detail. This made it very easy to clean and prep for our textile coating. To test I sprayed 78 degree 7.2 pH Reverse Osmosis water.


Moving on to the Interior. The leather was heavily saturated in leather dressing and not beading very well. I opted to not use CeramicPro leather because the customer likes the plush, grippy feel of fresh leather.

High shine compared to the lighter red inside the creases from body oils and high traffic. Obviously never touched. I had originally scheduled time for leather relaxing but we were short on time.

More carbon scratches from a never driven car.

With the interior treated with our Micro Vacuum and Signature Conditioning package. The interior was left to bake in the sun and get dirty. I did a quick APC white down to remove heavy stains and oils. After that autoglym leather shampoo on a PC with a bristle head. R.O. wipe down and air dry for one day while the top bakes too.
Connolly hide food was then applied generously.

We started the detail with the interior. For a few reasons:
1. Leather feeding will take a few days, so as we fed the leather we had it taped up so we can apply more throughout the process
2. The fabric top needed multiple coats we did it early to ensure full strength at delivery
3. In order to buff all panels the car had to be slightly open, leaving all the windows down and with compound you can expect a mess. So we complete sectioned off the top half of the car.
4. I spent about a day with my team mate wet sanding the car.
Prepping the soft top with a quick vacuum and double IPA wipe down and dry.


Time to tape her up!


Not much to show for sanding. Just lots of milky water and paper haha. I really wanted to use wet sanding to ensure all coatings were removed and to lighten orange peeling in areas where I noticed it was too severe.
1500 grit spot sanding on heavily peeled areas
2000 grit TRIZ on a 3M air DA on the entire car, followed by 5000 grit TRIZ for good measure.
Double Sided wool on my new FLEX made quick work of the 5000 grit, the level process was effortless.


Porter Cable on smaller areas.


After compounding.


I wanted to find a pad combination that will take out marring while leaving the best finish. I reached for the flex but I wanted something that would use less pressure to accomplish my finish. After such a heavy compounding I didn’t want to over work the paint and risk lifting from heat!
RUPES with green compound worked perfectly
After the the RUPES, we finally bring it outside for a wash.
The wash is done later because after our sanding and compounding the fresh surface would be perfect to accept Brake Dust Treatment on the paint. This also cuts our dwell time for Heavy Enzyme Washing because the surface is practically contamination free. The risk of scratching would be highest here, and thats why we continued with a White CCS and M205. We left the car tapped up to prevent splashing.

LSP with Meg’s M205 on a white CCS pad and FLEX Rotary. The car was wrapped up for the night to let the paint rest before we coat it the next morning.
The customer initially wanted to enjoy a very well kept car, and was looking for a permanent coating that will help resist scratching, and bead water for the life of the paint. Perfect for CeramicPro 9H.
So here we go…
Upon arrival it was a little dusty, nothing major. The delivery company told us it was detailed two weeks before locally with a light paint correction package. Being a car with only 3,500 miles I couldn’t possible image how bad the paint could be.
Front fins had major scratches…
Plenty of left over tape all on various edges of the car. This is the best to tell if any paint correction occurred in the paint’s past.
Plenty of deep down dust and compound to further support the hypothesis
Carbon Fiber bits had swirling still
The protection of the paint was pretty saddening too. 2 weeks after a “major” detail. The areas I tested were the level areas on all four wheel arches.
This little area is under my list of “most missed spot by other detailers.” The under side of the convertible top where it rests on the a bump stop. This shows heavy water staining and swirling, a great place to measure your paint since it should be the least polished.
As expected.
Nasty Tire dressing, I don’t know any professional product when applied correctly does this…
Under the tire wells.
Does detail, never opens engine bay…. WOW. This might be a blessing because it saves me time fixing other areas.
The convertible top was luckily never touched or protected either with the last detail. This made it very easy to clean and prep for our textile coating. To test I sprayed 78 degree 7.2 pH Reverse Osmosis water.
Moving on to the Interior. The leather was heavily saturated in leather dressing and not beading very well. I opted to not use CeramicPro leather because the customer likes the plush, grippy feel of fresh leather.
High shine compared to the lighter red inside the creases from body oils and high traffic. Obviously never touched. I had originally scheduled time for leather relaxing but we were short on time.
More carbon scratches from a never driven car.
With the interior treated with our Micro Vacuum and Signature Conditioning package. The interior was left to bake in the sun and get dirty. I did a quick APC white down to remove heavy stains and oils. After that autoglym leather shampoo on a PC with a bristle head. R.O. wipe down and air dry for one day while the top bakes too.
Connolly hide food was then applied generously.
We started the detail with the interior. For a few reasons:
1. Leather feeding will take a few days, so as we fed the leather we had it taped up so we can apply more throughout the process
2. The fabric top needed multiple coats we did it early to ensure full strength at delivery
3. In order to buff all panels the car had to be slightly open, leaving all the windows down and with compound you can expect a mess. So we complete sectioned off the top half of the car.
4. I spent about a day with my team mate wet sanding the car.
Prepping the soft top with a quick vacuum and double IPA wipe down and dry.
Time to tape her up!
Not much to show for sanding. Just lots of milky water and paper haha. I really wanted to use wet sanding to ensure all coatings were removed and to lighten orange peeling in areas where I noticed it was too severe.
1500 grit spot sanding on heavily peeled areas
2000 grit TRIZ on a 3M air DA on the entire car, followed by 5000 grit TRIZ for good measure.
Double Sided wool on my new FLEX made quick work of the 5000 grit, the level process was effortless.
Porter Cable on smaller areas.
After compounding.
I wanted to find a pad combination that will take out marring while leaving the best finish. I reached for the flex but I wanted something that would use less pressure to accomplish my finish. After such a heavy compounding I didn’t want to over work the paint and risk lifting from heat!
RUPES with green compound worked perfectly
After the the RUPES, we finally bring it outside for a wash.
The wash is done later because after our sanding and compounding the fresh surface would be perfect to accept Brake Dust Treatment on the paint. This also cuts our dwell time for Heavy Enzyme Washing because the surface is practically contamination free. The risk of scratching would be highest here, and thats why we continued with a White CCS and M205. We left the car tapped up to prevent splashing.
LSP with Meg’s M205 on a white CCS pad and FLEX Rotary. The car was wrapped up for the night to let the paint rest before we coat it the next morning.


") Clean town means clean car!
Clean town means clean car!


 rops:
rops:


")