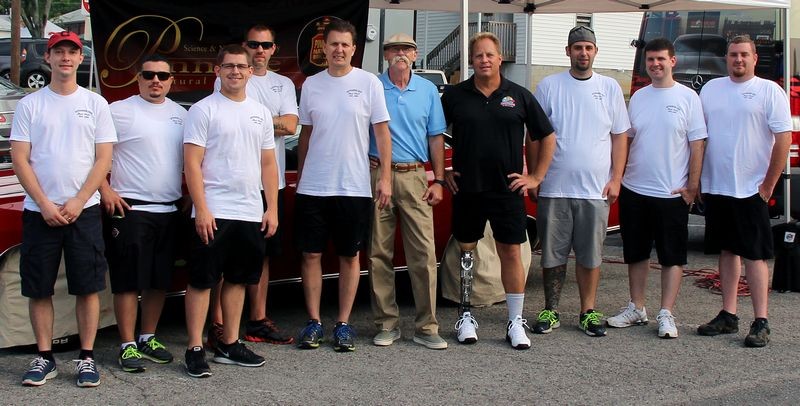
After shooting the opening segment the team jumped in went right to work.
Start with a clean surface
First up was to insure the car was clean and dust free before claying. To get the car clean we used the
Pinnacle Liquid Crystal Waterless Wash with Carnauba and the very plush
Supreme 530 Gray Microfiber Towels.
This Satellite has a matte finish wing on the back and to protect it during the buff-out and to prevent any product splatter from getting on the matte finish we covered it with a microfiber cover-up towel and a couple of smaller microfiber towels and secured these towels in place using 3M painter's tape.
Using Detailing Clay
Next we clayed the paint using
Pinnacle Ultra Poly Clay with
Pinalce Clay Lube to remove the above surface bonded contaminants. As I've documented hundreds of times on this forum, even show cars get a build-up of contaminants on the paint.
Baggie Test
We did the baggie test before claying to inspect for contaminants and our test revealed that yes, the paint was contaminated.
Here's Wendall Jarvis claying the front fender...
Fresh Air Grills
That's David aka Truetech74 taping off the fresh air grills on the hood. Before we work on any classic or muscle car with fresh air grills I always inspect the area UNDERNEATH the fresh air grill for compound and polish splatter because most people don't tape-off and cover these openings.
The problem is for most cars, there's no way to get in there and remove the splatter dots so they are there forever and they are unsightly.
I pointed these fresh are grills out to everyone and lucky for Jaine, no one has ever splatted product down behind them in the past and our team certainly wasn't going to be the first to do it.
Protecting Vinyl Graphics
Here's Billy carefully taping off the outer edges of the vinyl graphics so we didn't harm them or get polish residue jammed against the edges.
Edges, Raised Body Line & Corners
For all edges, raised body lines and sharp corners we used 3M Blue Vinyl Tape to cover and protect these.
Wheel Maskers
The tires already had a nice sheen from a tire dressing and the wheels were in great shape, so to prevent any splatter while machine buffing this Satellite 3 times we covered and protected the wheels and tires with wheel maskers.
Swirls and Scratches
Richard, the Cameraman filmed the swirls in the paint before we moved the car under the canopy. To document the condition of the paint I took these two pictures showing the swirls and scratches in Janie's Satellite.
Swirls and scratches make the pant look dull and hazy
On camera, I shared with the TV audience that when a the clear layer of paint has swirls and scratches the paint itself, where it's scratched becomes opaque or white, think of frosted glass, it's white not clear.
Thousands and thousands of swirls and scratches in the clearcoat not only make the paint hazy or cloudy looking but they block your eyes from seeing the true color under the clearcoat.
One major point about "Show Cars" is a show car should have a show car finish and as most of us know that attend car shows, all to often the coolest looking cars also have the worst looking paint. That's what Autogeek is all about, we provide both the education to show people how to address car appearance issues like swirls and scratches and we're also the world's larges online supplier of car detailing supplies with the best and friendlies customer care staff to answer your questions and make sure you get the products you need shipped right to your door.
Removing swirls
After claying the paint the next step is to remove all the swirls and this is where the most important factor is the abrasive technology used in the polish. It's the abrasives in the polish that are actually touching the paint and while your choice of pads, tools and even your technique are all important the end results starts with what's inside the bottle.
For this step we're using Pinnacle Advanced Swirl Remover which is a medium cut polish. It uses diminishing abrasives embodied in a rich lubricating oil base and the net effect is it has the ability to remove below surface defects like swirls and scratches without leaving any of it's own swirls or scratches in the process.
To the right in the below pictures is Paul using a Flex 3401 with a Lake Country CCS Orange Foam Cutting pad and Pinnacle Advanced Swirl Remover to remove all the swirls and restore a defect-free surface.
In the back is David and towards the front is Bobby, both guys are using the Flex 3401 with Lake Country CCS Orange Foam Cutting pad and Pinnacle Advanced Swirl Remover to remove all the swirls.
Here's Jason working on the back of the car and that's Chris Dasher behind him working on the side of the car.
Chris Dasher brought his own Bigfoot 21 to use on this project and here's he's using a Lake Country CCS Orange Foam Cutting pad and Pinnacle Advanced Swirl Remover to remove swirls, scratches and water spots.
After buffing Chris inspects the results to make sure the swirls are removed before moving to a new section. This is the kind of dedication to the craft that separates the Pros from the hacks in the detailing world.
")