The Critic
New member
- Dec 16, 2009
- 673
- 0
One of my good friends purchased a beater that will be used as his shop's loaner car. I offered to detail it for him so that the car will be more presentable. So, here we go...
Tools:
Rupes LHR 21ES Big Foot RO Polisher
Rupes LHR 75E Mini RO Polisher (headlights)
Brinkmann Dual-Xenon Sun Gun
Wheel Woolies - small & caliper spoke woolie
Mytee Extractor
Products:
Menzerna FG400
CarPro Reflect
Meguiars M101 (headlights)
Meguiars M205 (headlights)
Meguiars D140 Wheel Brightener
P&S Mag & Aluminum Cleaner
CarPro Iron-X spray
Nanoskin Medium Grade Wash Mitt
Optimum No Rinse diluted QD strength (used as Nanoskin lube)
Menzerna Power Lock Sealant
Blackfire Wet Diamond Sealant
Meguiars DMC6 Microfiber Cutting Disc
Rupes White Finishing Pad
Rupes Blue Microfiber Cutting Pad (headlights)
Rupes Yellow Microfiber Finishing Pad (headlights)
Various Wash Mitts and MF towels
Interior was cleaned up using APC, Mr. Clean Magic Eraser and Carpet Extractor
These wheels were a nightmare to clean. They have many spokes and I am certain that they have not been thoroughly cleaned in many years. Despite using some very strong cleaners, it took lots of scrubbing and over 20 minutes per wheel.
Before:
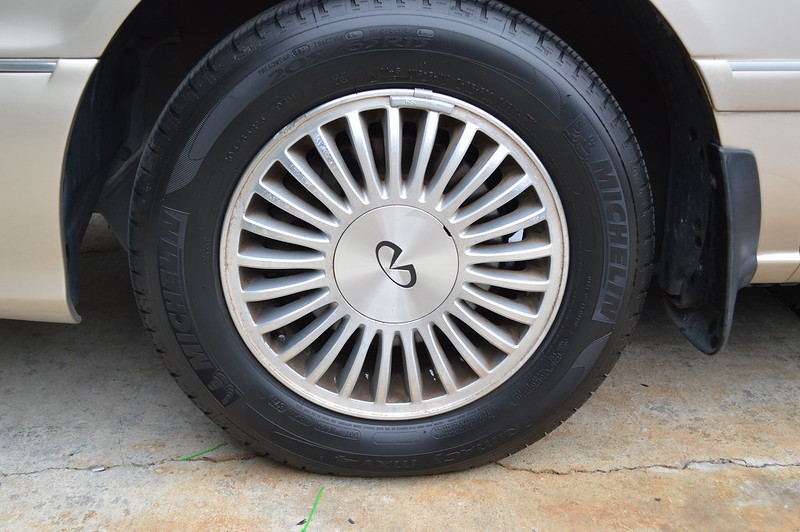
DSC_0109 by thecritic89, on Flickr
After - not perfect, but a major improvement:
DSC_0113 by thecritic89, on Flickr
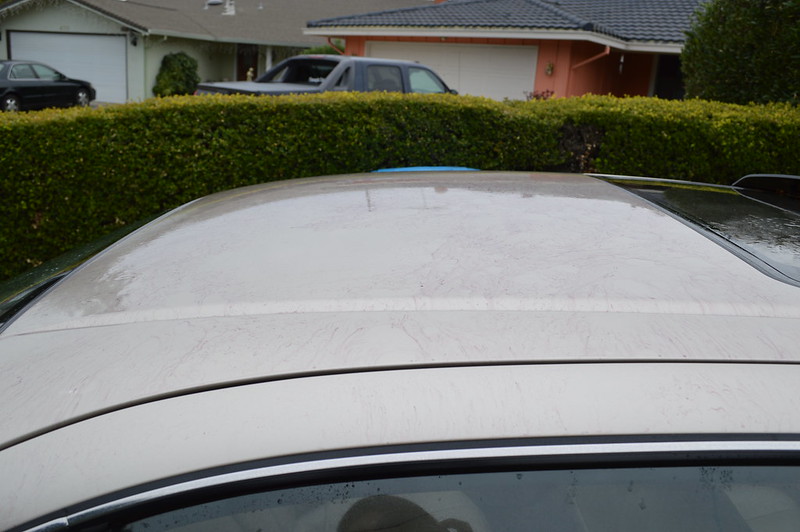
Picture of the car after tire/wheel cleaning, but before washing. Also take note of how yellow the driver's side headlight is:
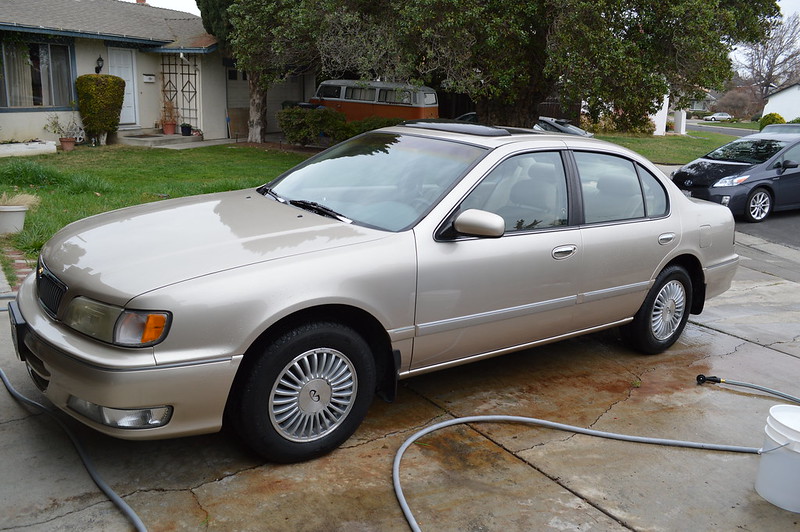
DSC_0112 by thecritic89, on Flickr
Iron-X in action:
DSC_0114 by thecritic89, on Flickr
DSC_0115 by thecritic89, on Flickr
DSC_0116 by thecritic89, on Flickr
DSC_0117 by thecritic89, on Flickr
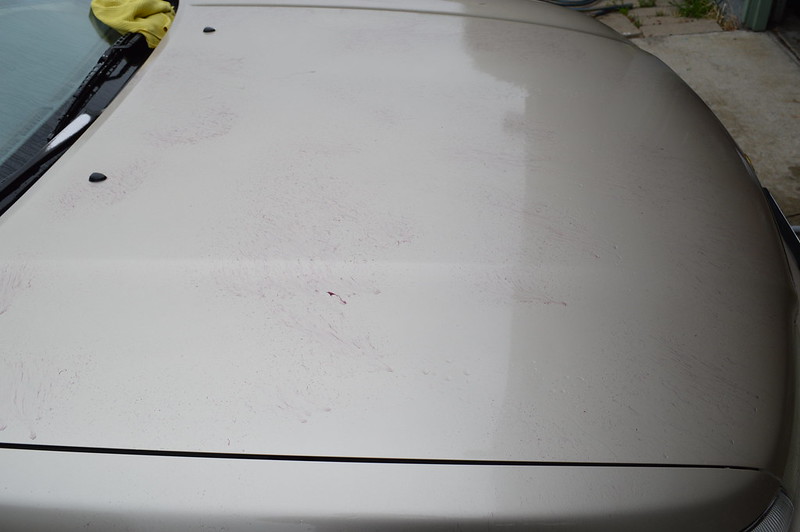
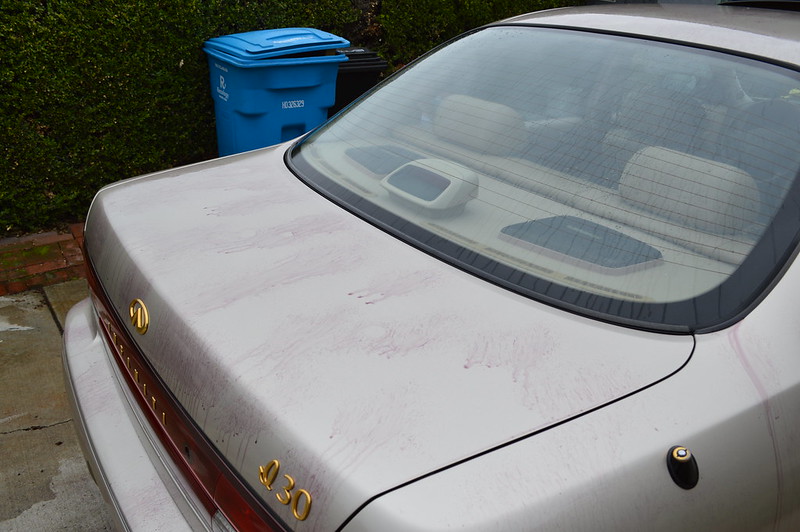
I originally hoped to do a one-step correction on this car and go home after a few more hours. But after taking a closer look, there was a moderate amount of oxidation and lots of deeper defects. In this case, a one-step would leave too much on the table from a both a gloss and a defect removal standpoint.
I decided to compound with Menzerna FG400 and a Meguiars DMC6 MF Cutting Disc, followed by CarPro Reflect on a Rupes White Pad to remove the haze.
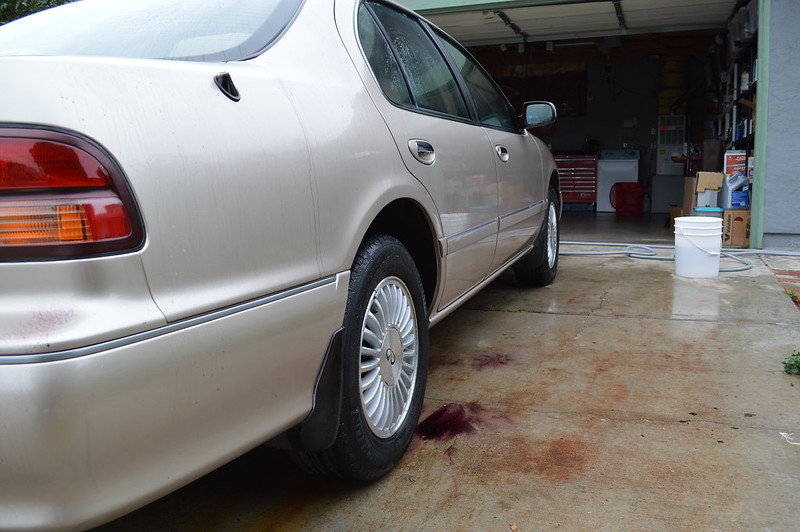
Note: this car's paint was extremely sticky and I had to soak/foam the car with a strong dilution of car wash solution after the compounding step in order to safely remove the leftover residue. It seemed like this paint just hated Menzerna products in general; even SF4000 was sticking quite badly. There was no problem at all with CarPro Reflect.
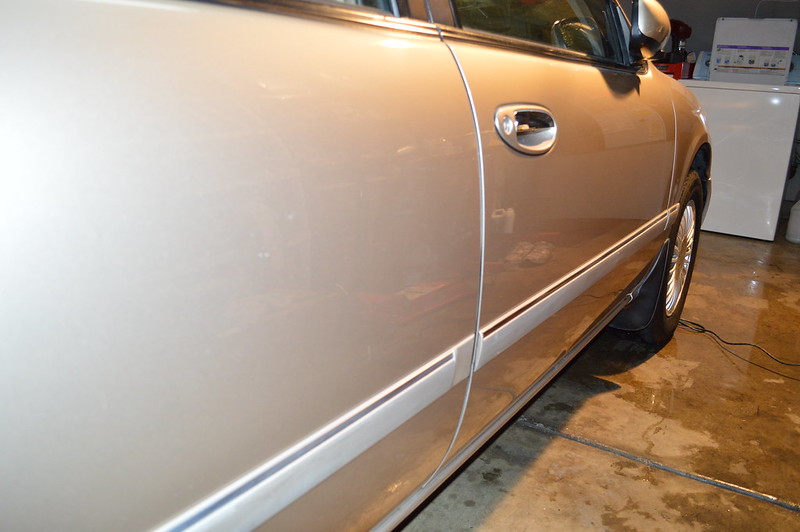
In this terrible picture, I had already compounded the entire right side of the car. I started the final polishing at the front fender and worked my way towards the rear of the car. Can you see where I stopped? I made it about 1/8 of the way into the right-rear door....can you see the haze removal?
DSC_0124 by thecritic89, on Flickr
All done after 10 hours - but anything looks good under florescent lights:
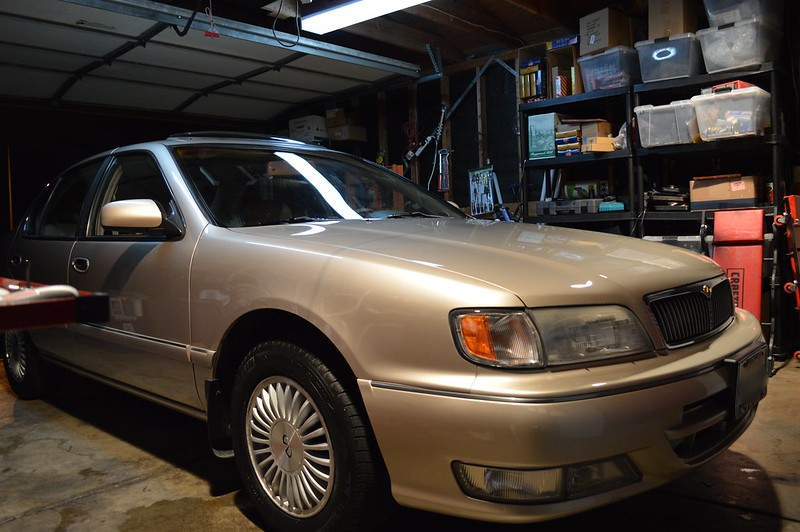
DSC_0129 by thecritic89, on Flickr
Of course, I pulled the car out of the garage and started to head home....and it started pouring. I also left the car outside overnight. Today, I decided to re-wash the car. During the initial rinse, the sealant beaded great, but after soaping down the car and doing a final rinse, the beading turned mediocre.
My hypothesis is that an immediate exposure to water prevented the synthetic paint sealant from achieving a proper bond.
So after the wash, I applied a coat of Blackfire Wet Diamond Sealant and left it to dry for 45 min before removal. Here are the final pictures:
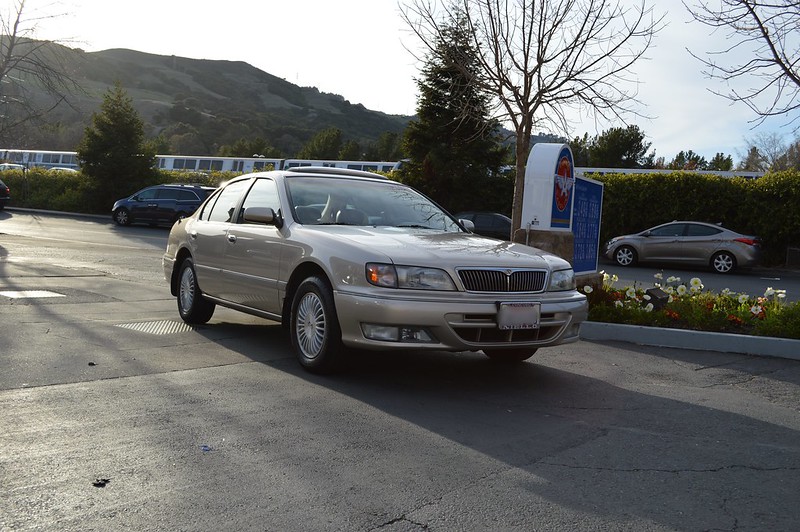
DSC_0145 by thecritic89, on Flickr
BTW - notice the significant improvement in the headlights? M101 made a huge improvement after just 60-90 seconds of compounding. That stuff is scary aggressive!

DSC_0136 by thecritic89, on Flickr

DSC_0139 by thecritic89, on Flickr
Thanks for reading, and special thanks to JSmooth for letting me use some of his tools for this car!
Tools:
Rupes LHR 21ES Big Foot RO Polisher
Rupes LHR 75E Mini RO Polisher (headlights)
Brinkmann Dual-Xenon Sun Gun
Wheel Woolies - small & caliper spoke woolie
Mytee Extractor
Products:
Menzerna FG400
CarPro Reflect
Meguiars M101 (headlights)
Meguiars M205 (headlights)
Meguiars D140 Wheel Brightener
P&S Mag & Aluminum Cleaner
CarPro Iron-X spray
Nanoskin Medium Grade Wash Mitt
Optimum No Rinse diluted QD strength (used as Nanoskin lube)
Menzerna Power Lock Sealant
Blackfire Wet Diamond Sealant
Meguiars DMC6 Microfiber Cutting Disc
Rupes White Finishing Pad
Rupes Blue Microfiber Cutting Pad (headlights)
Rupes Yellow Microfiber Finishing Pad (headlights)
Various Wash Mitts and MF towels
Interior was cleaned up using APC, Mr. Clean Magic Eraser and Carpet Extractor
These wheels were a nightmare to clean. They have many spokes and I am certain that they have not been thoroughly cleaned in many years. Despite using some very strong cleaners, it took lots of scrubbing and over 20 minutes per wheel.
Before:
DSC_0109 by thecritic89, on Flickr
After - not perfect, but a major improvement:
DSC_0113 by thecritic89, on Flickr
Picture of the car after tire/wheel cleaning, but before washing. Also take note of how yellow the driver's side headlight is:
DSC_0112 by thecritic89, on Flickr
Iron-X in action:
DSC_0114 by thecritic89, on Flickr
DSC_0115 by thecritic89, on Flickr
DSC_0116 by thecritic89, on Flickr
DSC_0117 by thecritic89, on Flickr
I originally hoped to do a one-step correction on this car and go home after a few more hours. But after taking a closer look, there was a moderate amount of oxidation and lots of deeper defects. In this case, a one-step would leave too much on the table from a both a gloss and a defect removal standpoint.
I decided to compound with Menzerna FG400 and a Meguiars DMC6 MF Cutting Disc, followed by CarPro Reflect on a Rupes White Pad to remove the haze.
Note: this car's paint was extremely sticky and I had to soak/foam the car with a strong dilution of car wash solution after the compounding step in order to safely remove the leftover residue. It seemed like this paint just hated Menzerna products in general; even SF4000 was sticking quite badly. There was no problem at all with CarPro Reflect.
In this terrible picture, I had already compounded the entire right side of the car. I started the final polishing at the front fender and worked my way towards the rear of the car. Can you see where I stopped? I made it about 1/8 of the way into the right-rear door....can you see the haze removal?
DSC_0124 by thecritic89, on Flickr
All done after 10 hours - but anything looks good under florescent lights:
DSC_0129 by thecritic89, on Flickr
Of course, I pulled the car out of the garage and started to head home....and it started pouring. I also left the car outside overnight. Today, I decided to re-wash the car. During the initial rinse, the sealant beaded great, but after soaping down the car and doing a final rinse, the beading turned mediocre.
My hypothesis is that an immediate exposure to water prevented the synthetic paint sealant from achieving a proper bond.
So after the wash, I applied a coat of Blackfire Wet Diamond Sealant and left it to dry for 45 min before removal. Here are the final pictures:
DSC_0145 by thecritic89, on Flickr
BTW - notice the significant improvement in the headlights? M101 made a huge improvement after just 60-90 seconds of compounding. That stuff is scary aggressive!
DSC_0136 by thecritic89, on Flickr
DSC_0139 by thecritic89, on Flickr
Thanks for reading, and special thanks to JSmooth for letting me use some of his tools for this car!
")