Due to the limitation of 30 images per post, I will post my work in section/chapters!
ENJOY!!
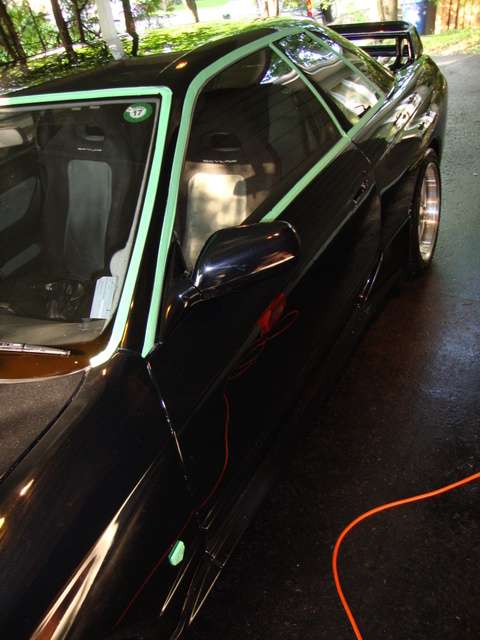
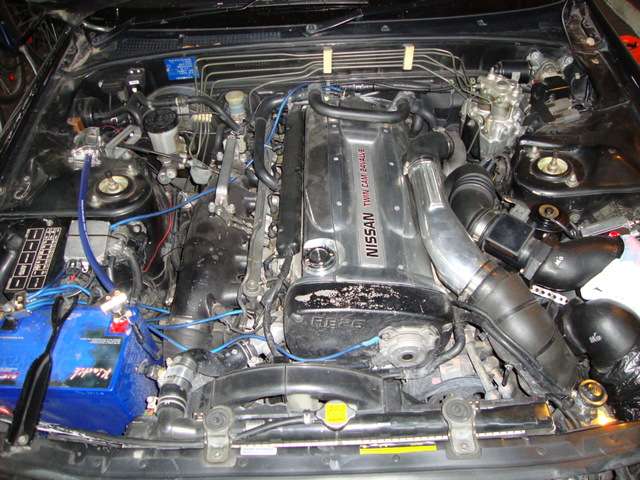
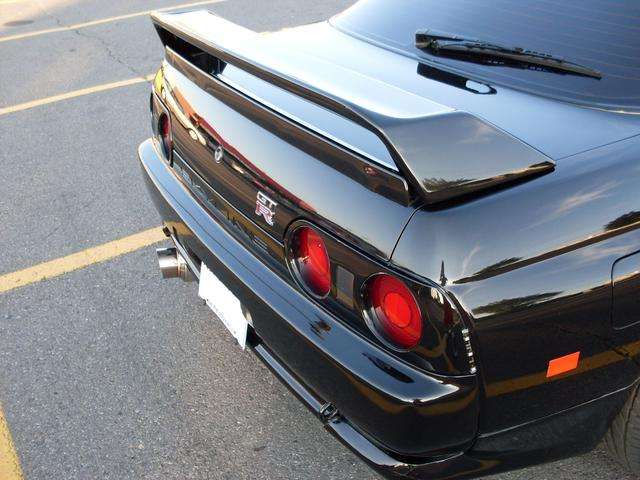
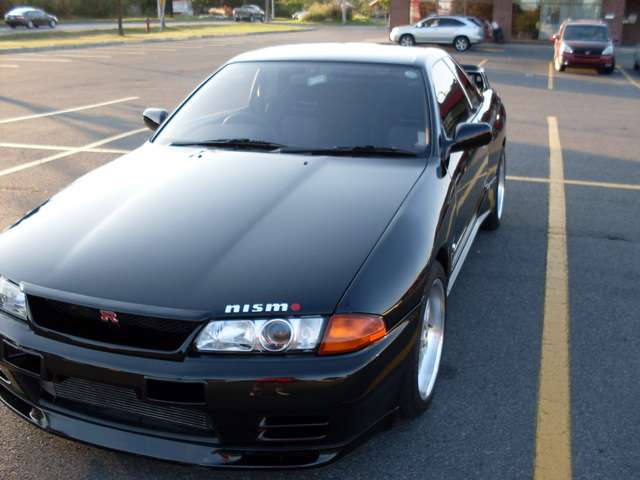
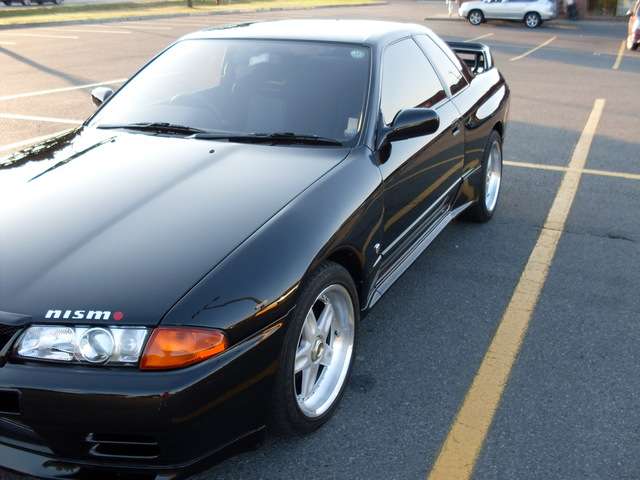
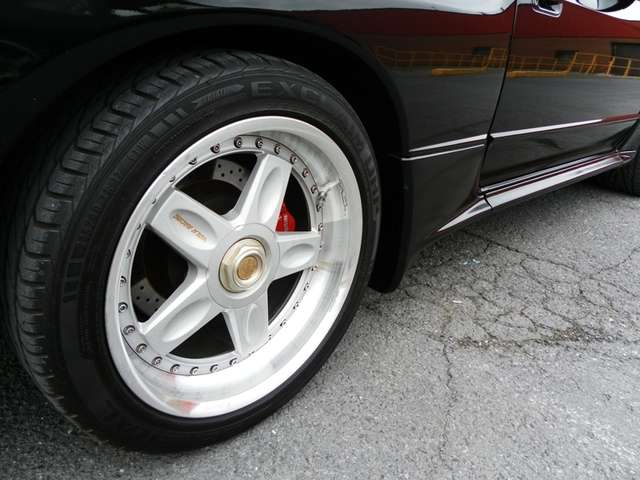
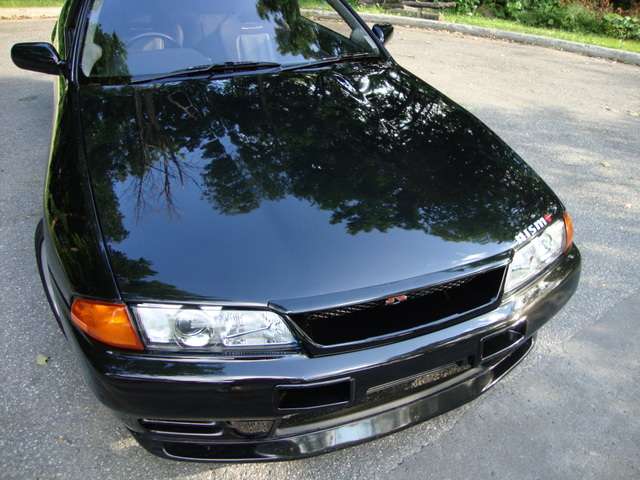
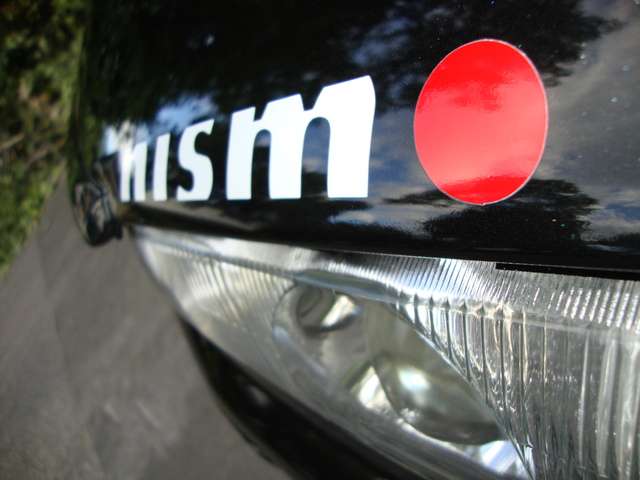
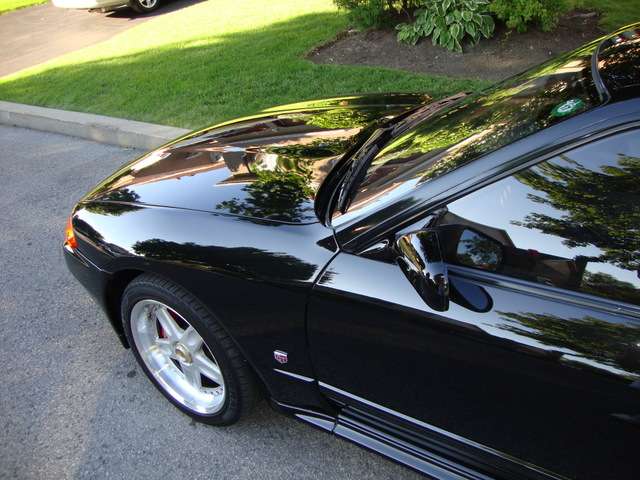
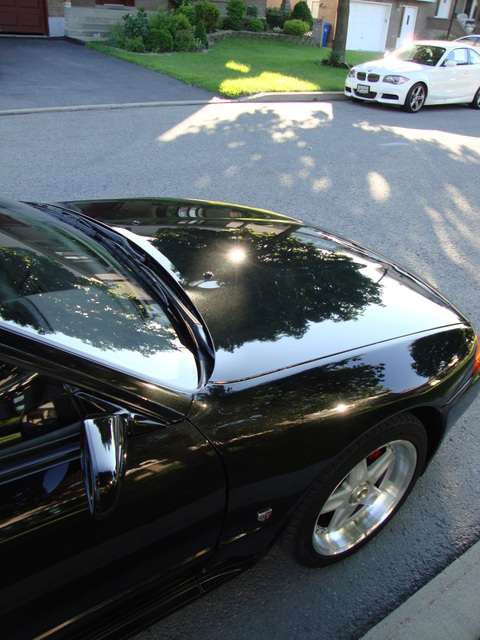
This week-end, I had the chance to work on a beautiful Skyline GTR. My goal was to put it back to its SHOWROOM condition. Time and money was not a restreint for me, the goal was to achieve a 99% correction on it.I'm very proud to show you the result on this JDM godness!
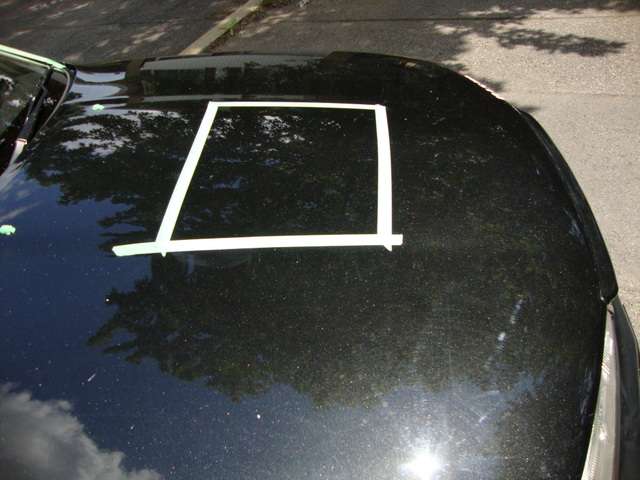
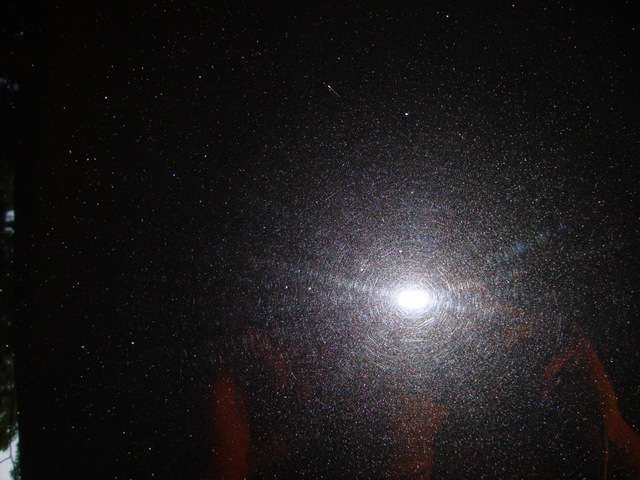
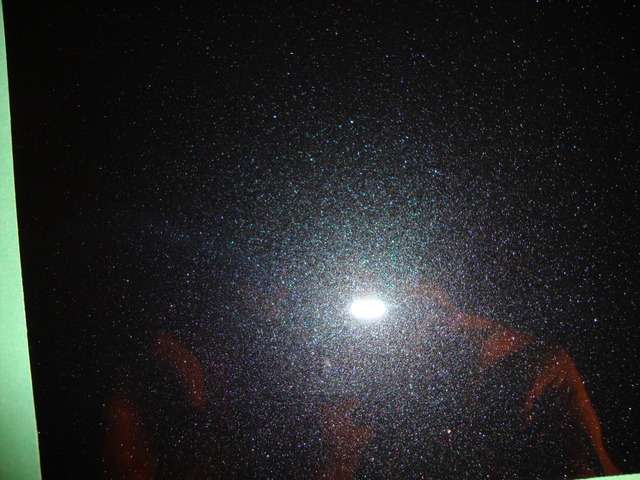
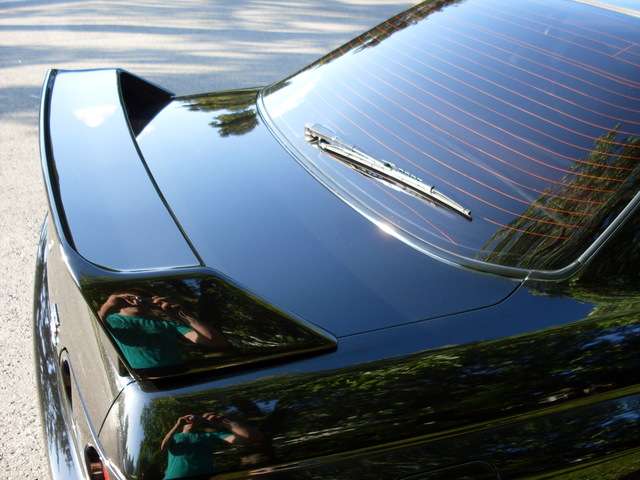
Before :

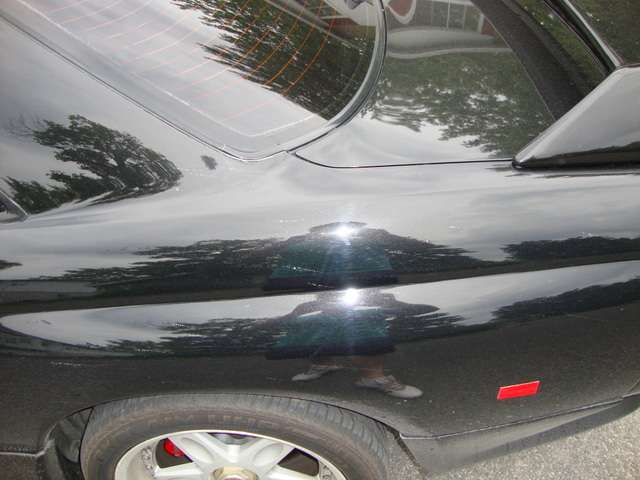
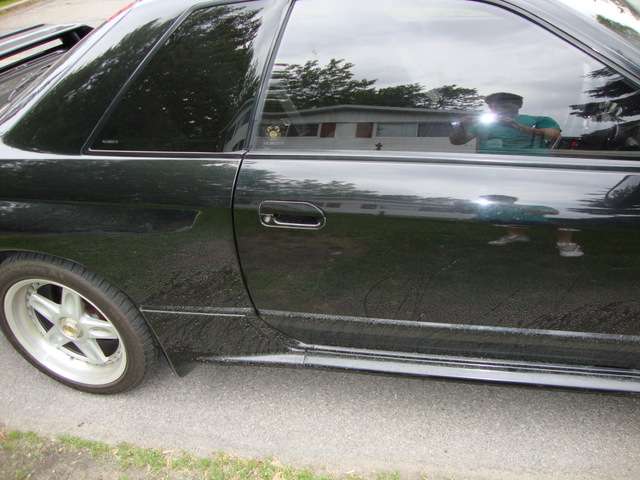
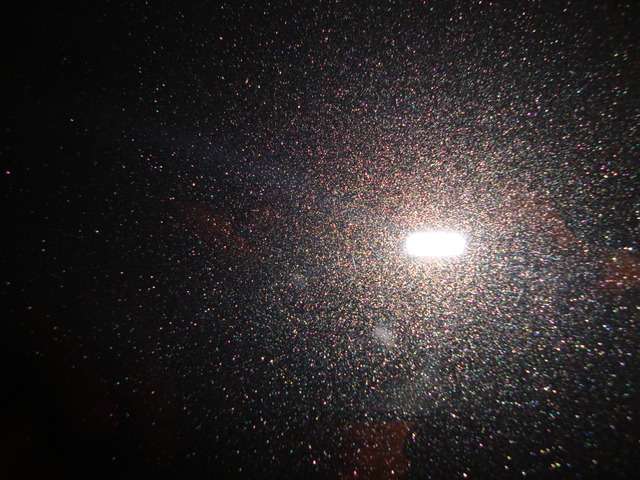
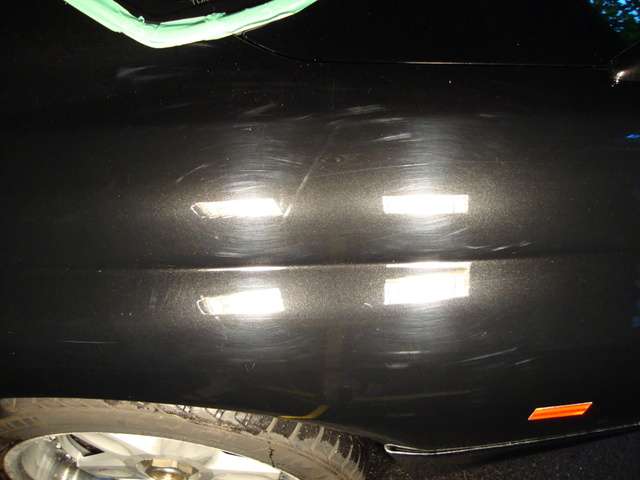
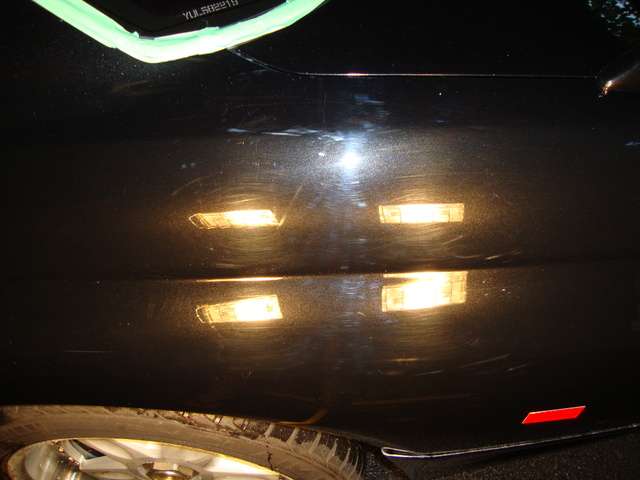
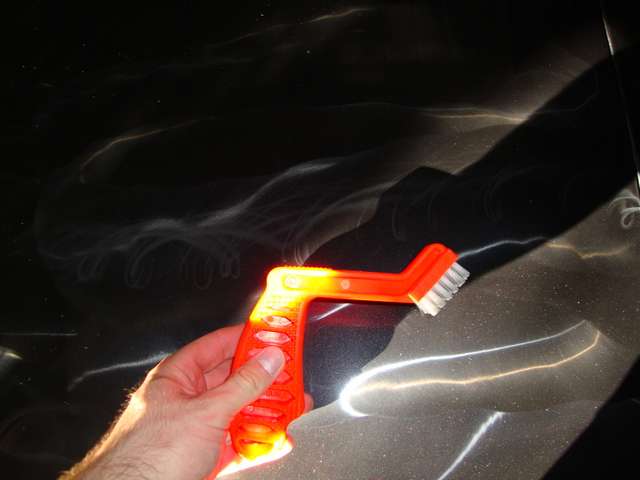
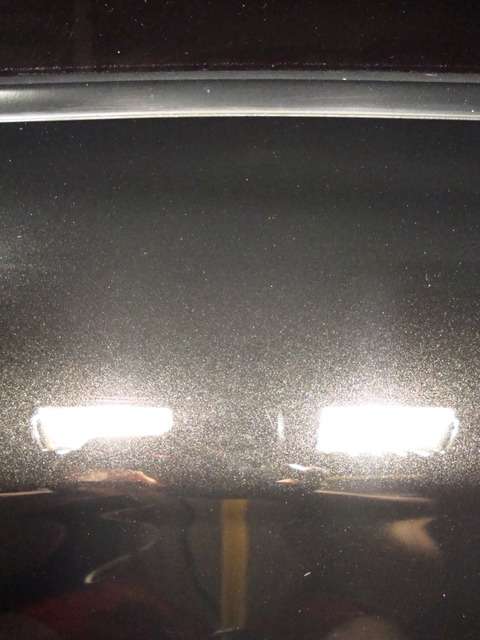
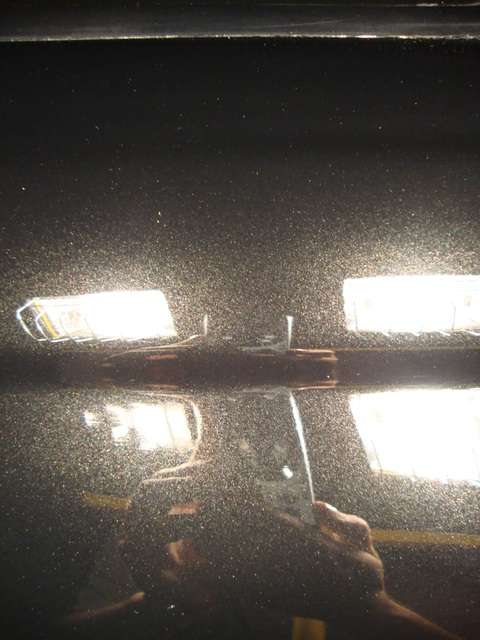
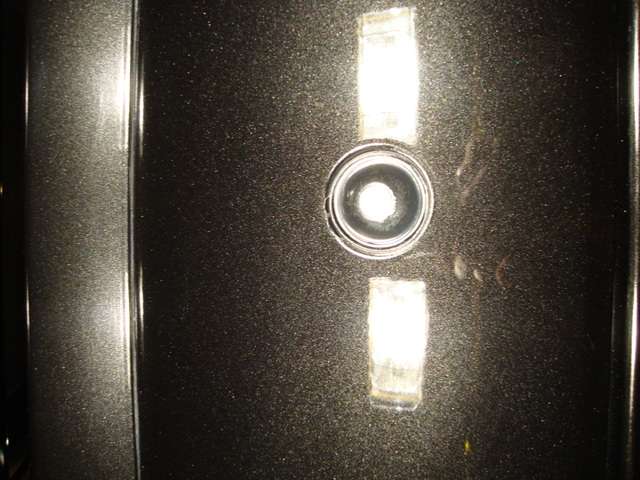
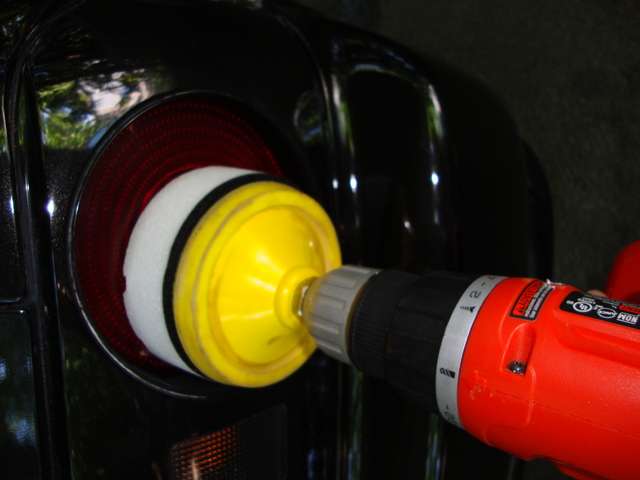
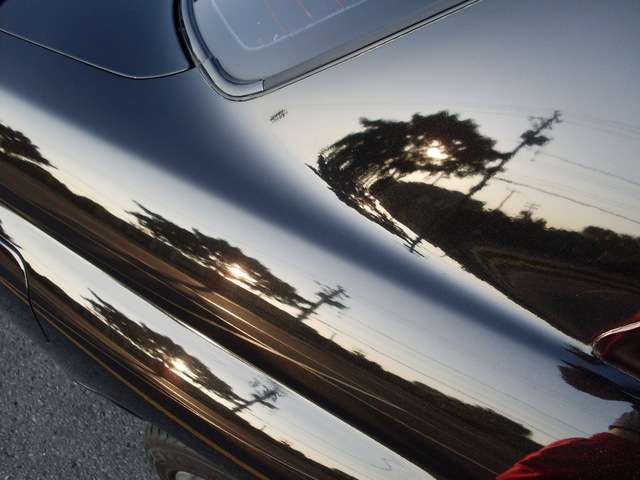
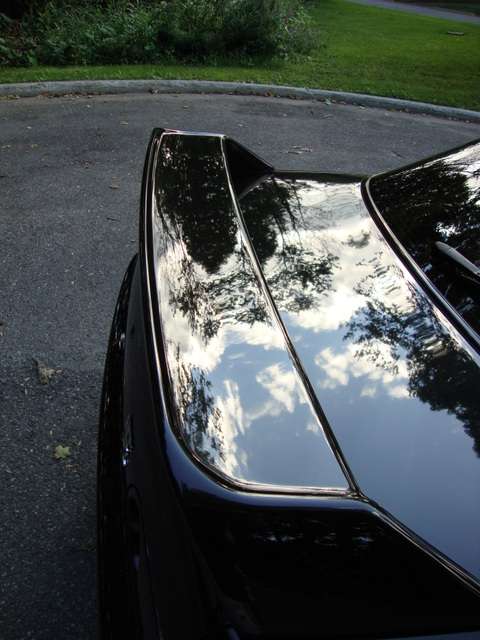
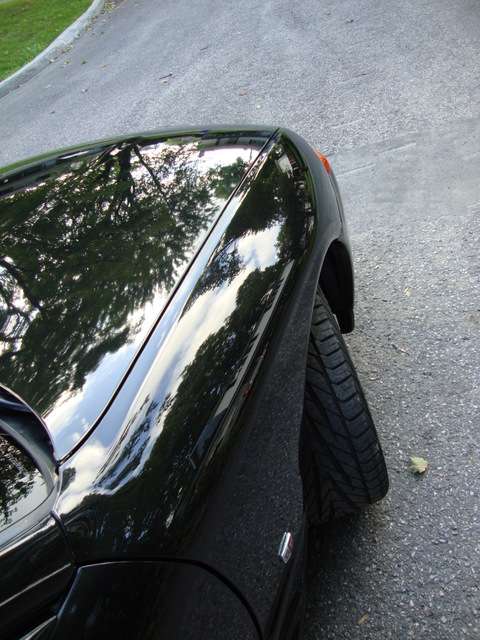
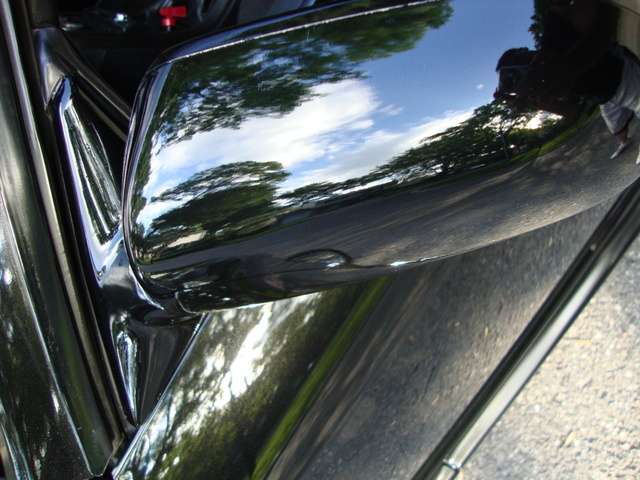
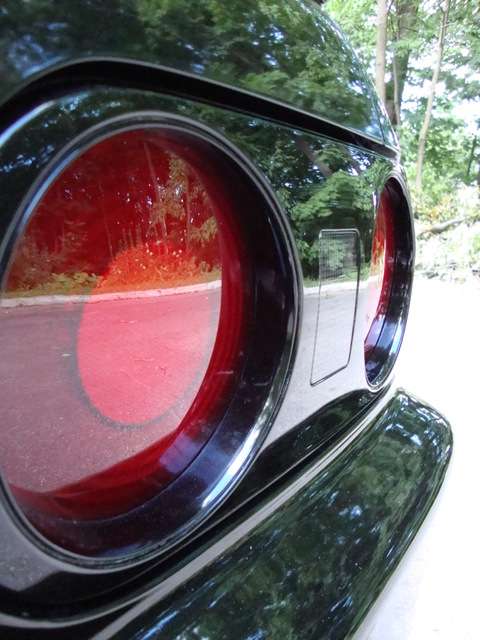
Hard to see, but there are some holograms due to the tiny swirls on the paint.
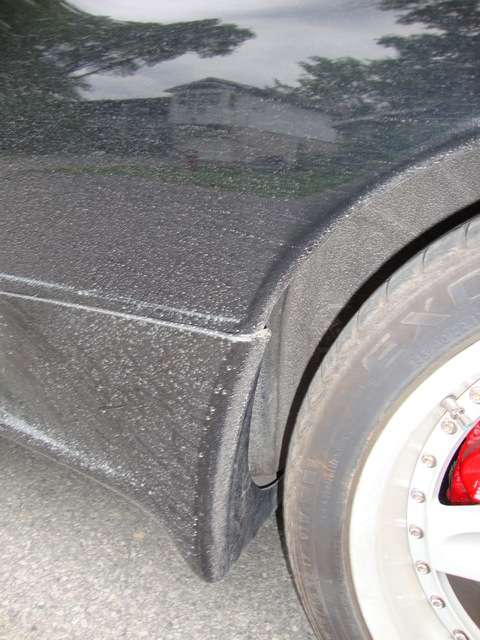
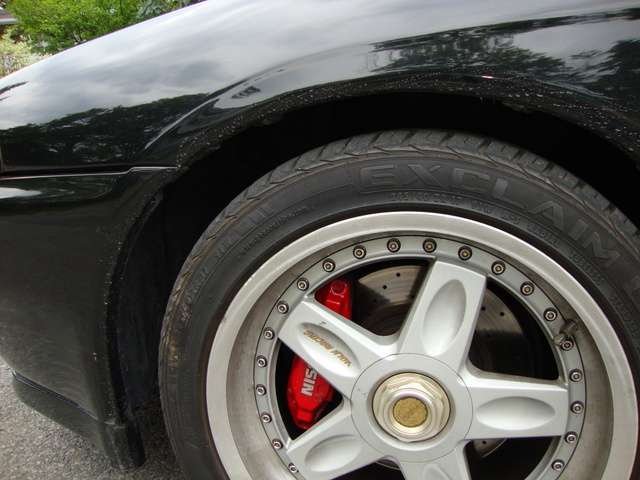
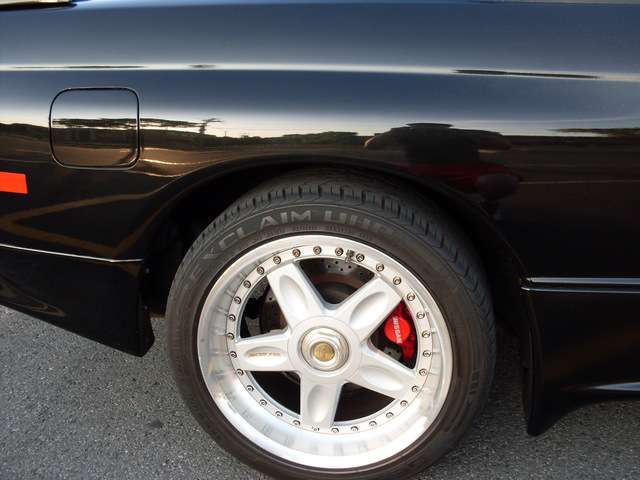
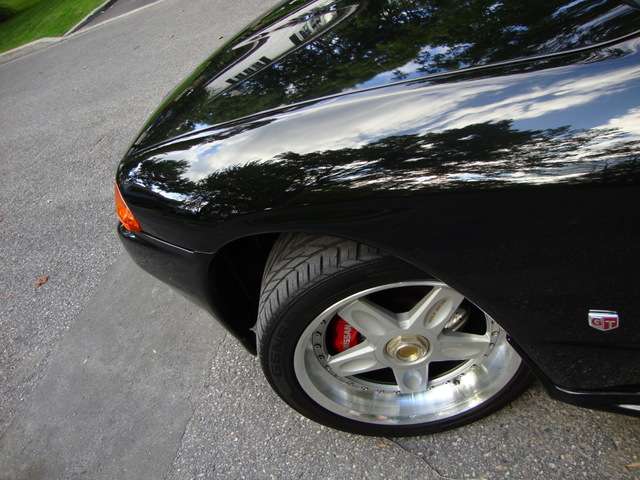
Wheel well needs detailing!
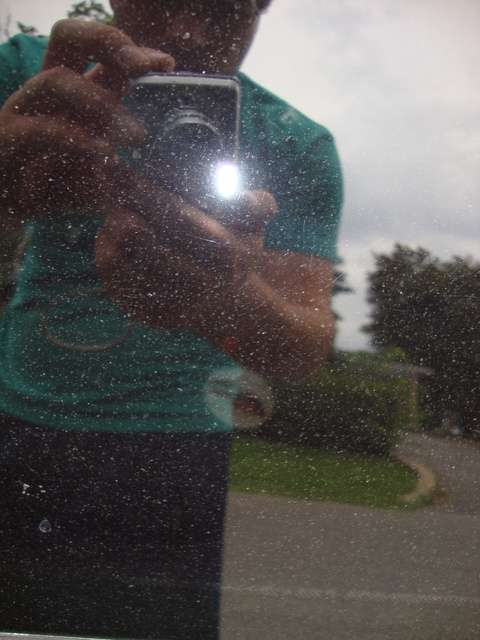
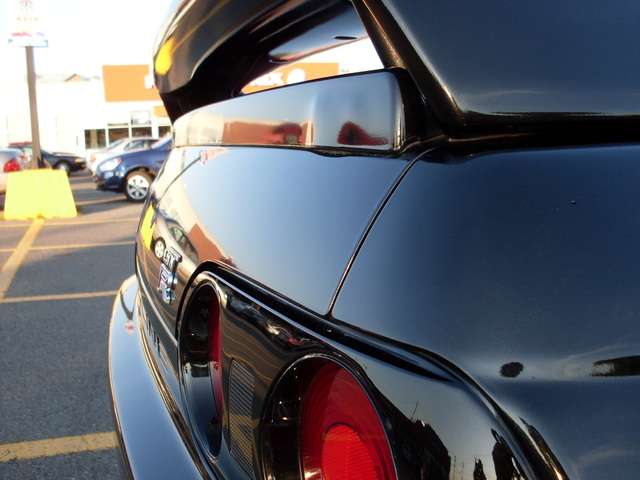
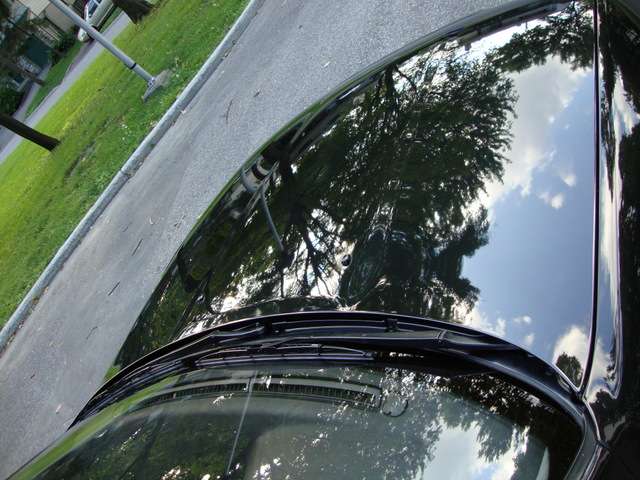
Contaminants on windows
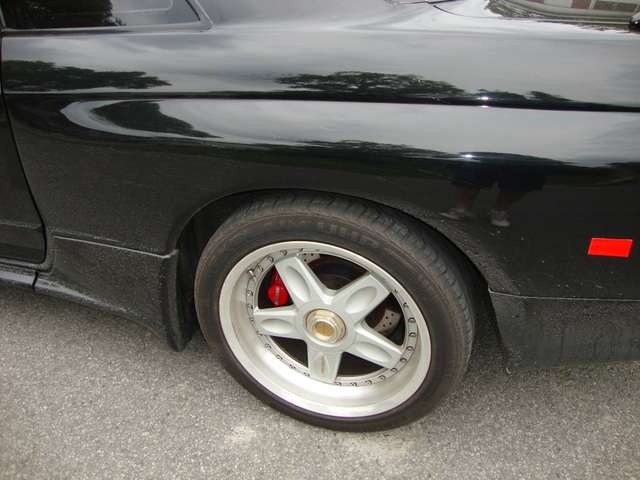
Bournish tires!

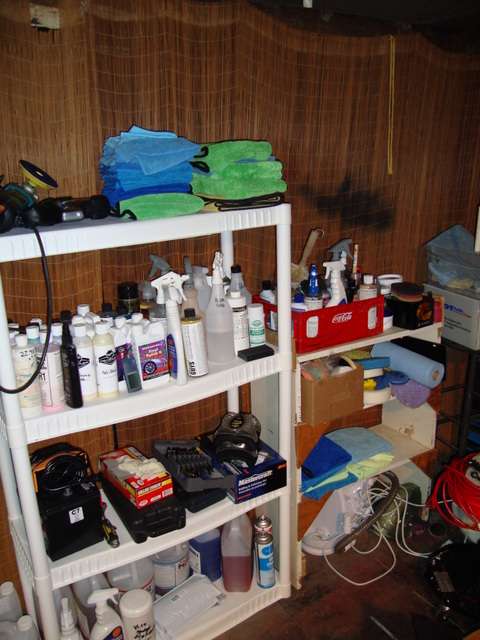
CHAPTER 1 : WASHING
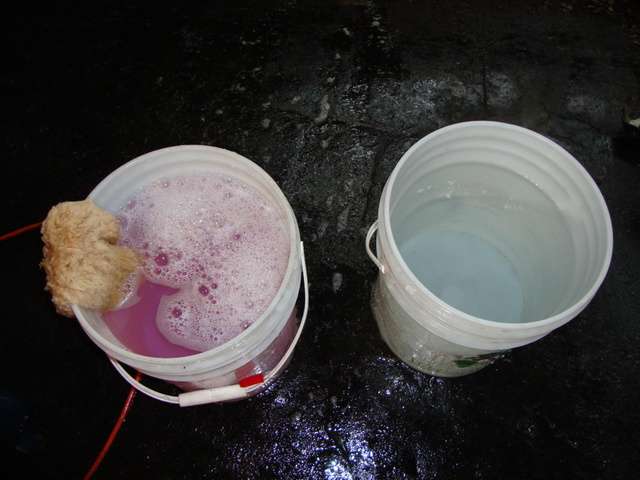
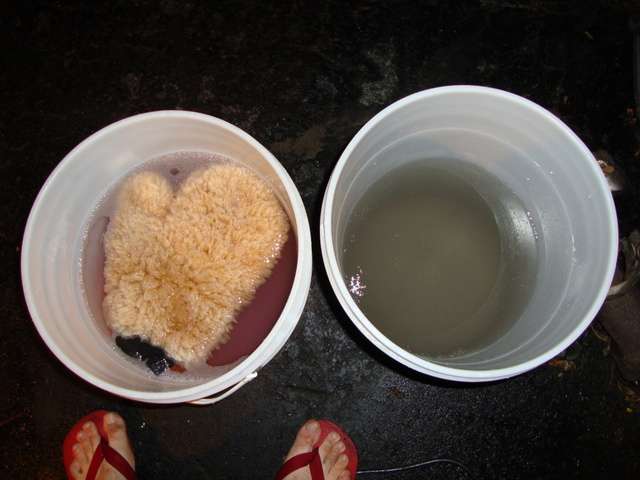
2 bucket method
Real sheapskin mitt
Meguiars Shampoo +
Distilled water to avoid water spot
MF Drying towel
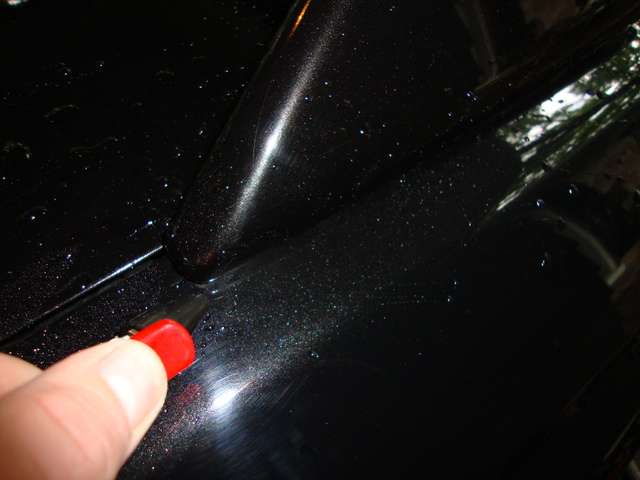
Air compressor with rubber tips for cracks/molding/mirror etc.
Meguiar’s APC+ 4:1
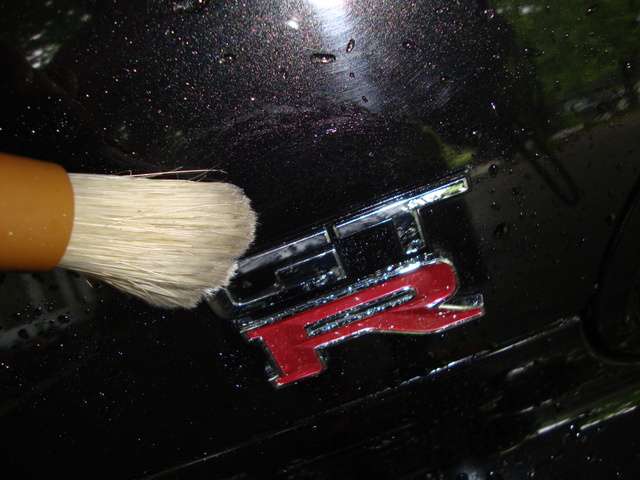
Ultra soft brush
E-Z mini Wheel brush
Did you really think I'd forget the gas door!

Usually it’s Difficult to wash tight corner on wing, not with this brush!

Drying the various crack and blowing all the debris stuck between, You’d be surprise by how much dirt a air compressor can lift from molding!
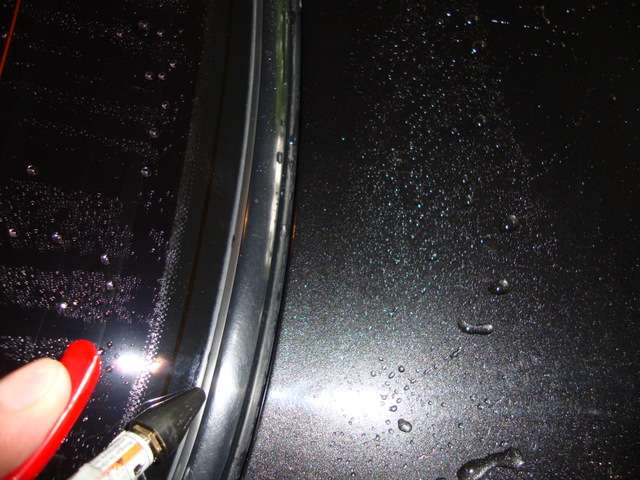
Very important to have a rubber tip to avoid scratching the paint!
See how clean one bucket is and the other is turning dark!? After I dipped my mitt in the bucket on the right, I dip it in the left bucket where there's barely any grimes so I'm less likely to scratch my paint.
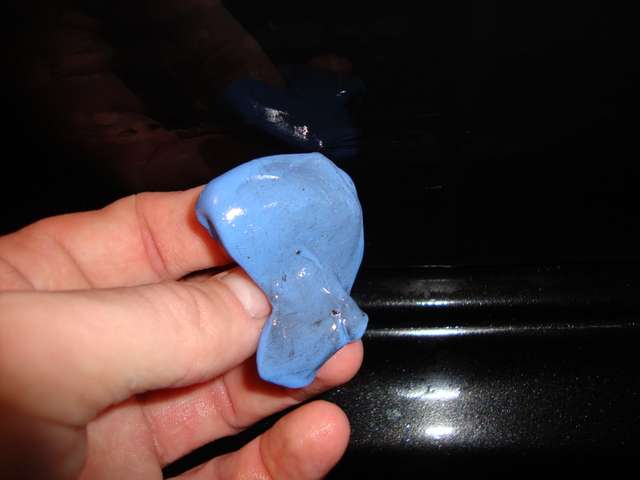
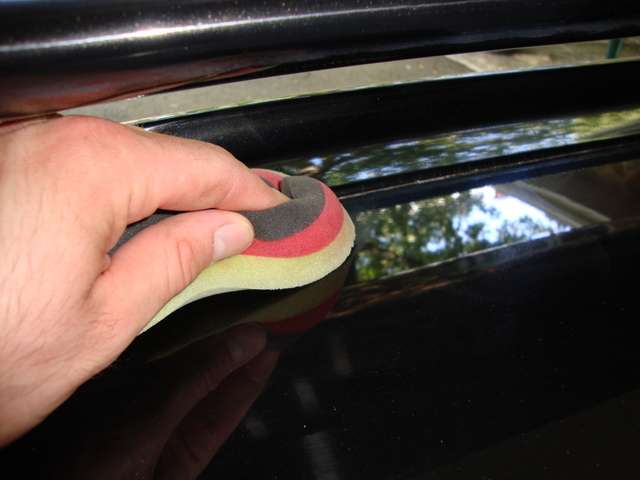
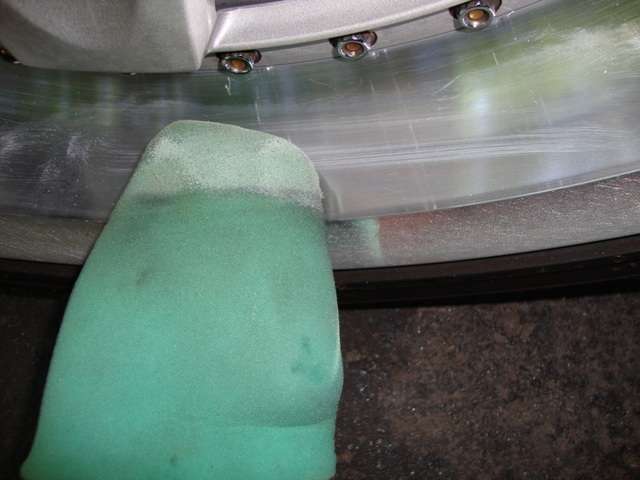
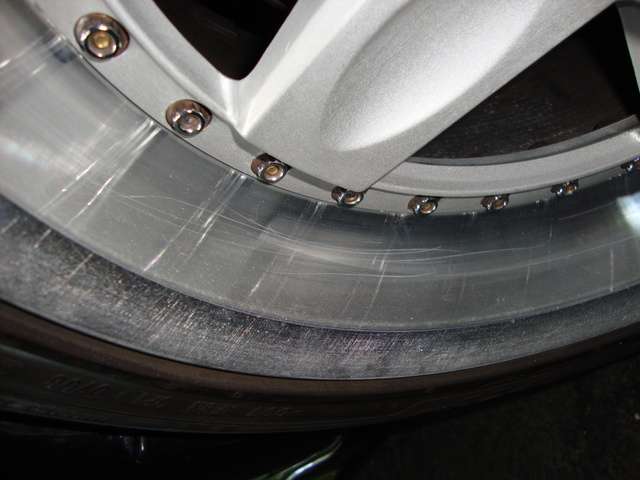
CHAPTER 2: Clay bar
This clay bar is ideal for removing paint overspray, tar, sap, road grimes and other contaminants that do not come off whith a regular wash. Rims, paint, windows, everything was clayed!
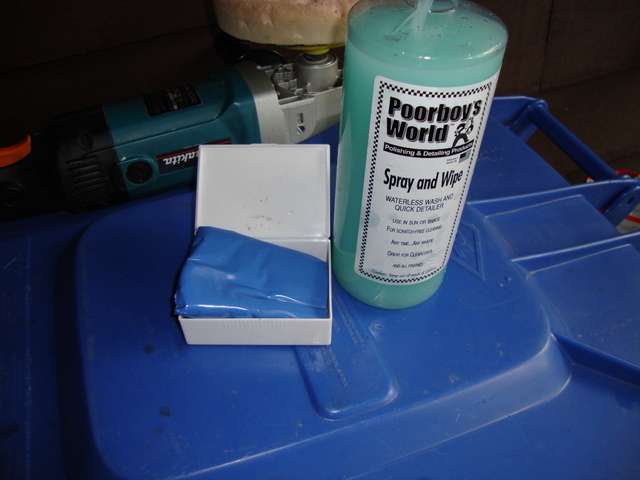
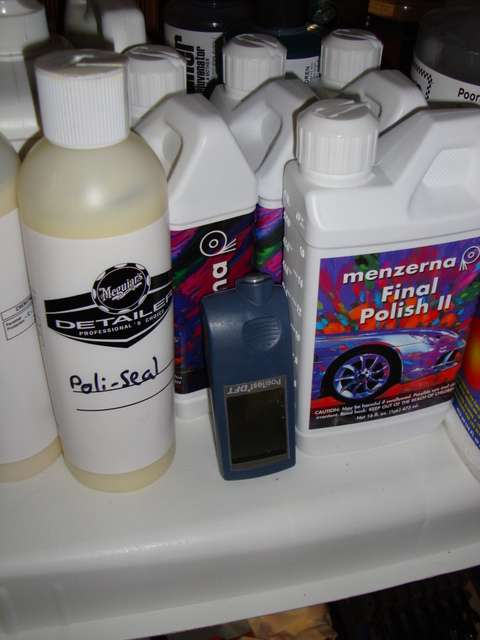
Product:
'Poorboys spray and wipe as a clay lube. Make the clay glide and smell good!
Riccardo blue clay bar
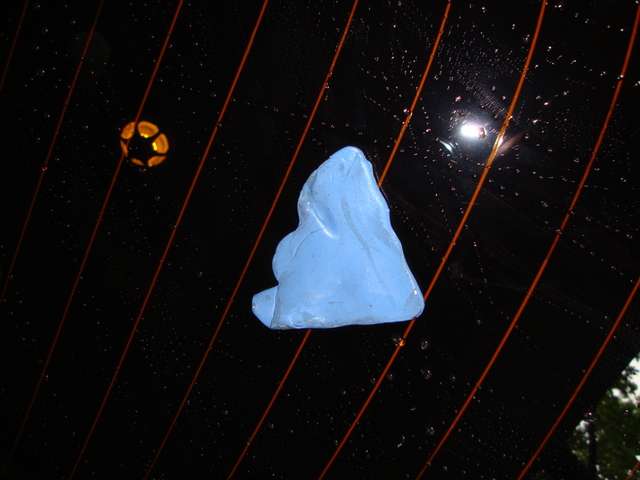
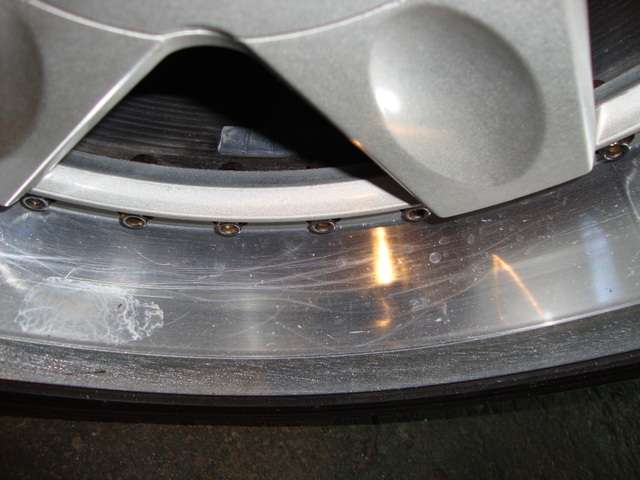
Not that bad seriously!
Not a lot of debris on windows but still, It had to be done!
ENJOY!!
This week-end, I had the chance to work on a beautiful Skyline GTR. My goal was to put it back to its SHOWROOM condition. Time and money was not a restreint for me, the goal was to achieve a 99% correction on it.I'm very proud to show you the result on this JDM godness!
Before :
Hard to see, but there are some holograms due to the tiny swirls on the paint.
Wheel well needs detailing!
Contaminants on windows
Bournish tires!
CHAPTER 1 : WASHING
2 bucket method
Real sheapskin mitt
Meguiars Shampoo +
Distilled water to avoid water spot
MF Drying towel
Air compressor with rubber tips for cracks/molding/mirror etc.
Meguiar’s APC+ 4:1
Ultra soft brush
E-Z mini Wheel brush
Did you really think I'd forget the gas door!
Usually it’s Difficult to wash tight corner on wing, not with this brush!
Drying the various crack and blowing all the debris stuck between, You’d be surprise by how much dirt a air compressor can lift from molding!
Very important to have a rubber tip to avoid scratching the paint!
See how clean one bucket is and the other is turning dark!? After I dipped my mitt in the bucket on the right, I dip it in the left bucket where there's barely any grimes so I'm less likely to scratch my paint.
CHAPTER 2: Clay bar
This clay bar is ideal for removing paint overspray, tar, sap, road grimes and other contaminants that do not come off whith a regular wash. Rims, paint, windows, everything was clayed!
Product:
'Poorboys spray and wipe as a clay lube. Make the clay glide and smell good!
Riccardo blue clay bar
Not that bad seriously!
Not a lot of debris on windows but still, It had to be done!


 rops:
rops:
")