Cosmin
Member
- Oct 31, 2009
- 742
- 0
The condition of the vehicle call compound and 2+ steps for correction , surprise... 1 step 205 did it! the car has original paint.
mission: get the paint to a better shape
i will go over the paint process:
after claybar , a test spot was done to see who`s the winner.
for my surprise DA with hex polish pad and #205 did the magic. the paint was ipa wipe down and 2 coats of duragloss105 with DA.
on the front and rear bumper the defects was worse so i step to Flex da and same pad and polish.
the car is not defect free but way better than what i start with, and for only 1 step on black is just great.
Total time 7 hours, interior included and the leather seats was clean with brush and cleaner conditioner. no shampoo or engine detail.
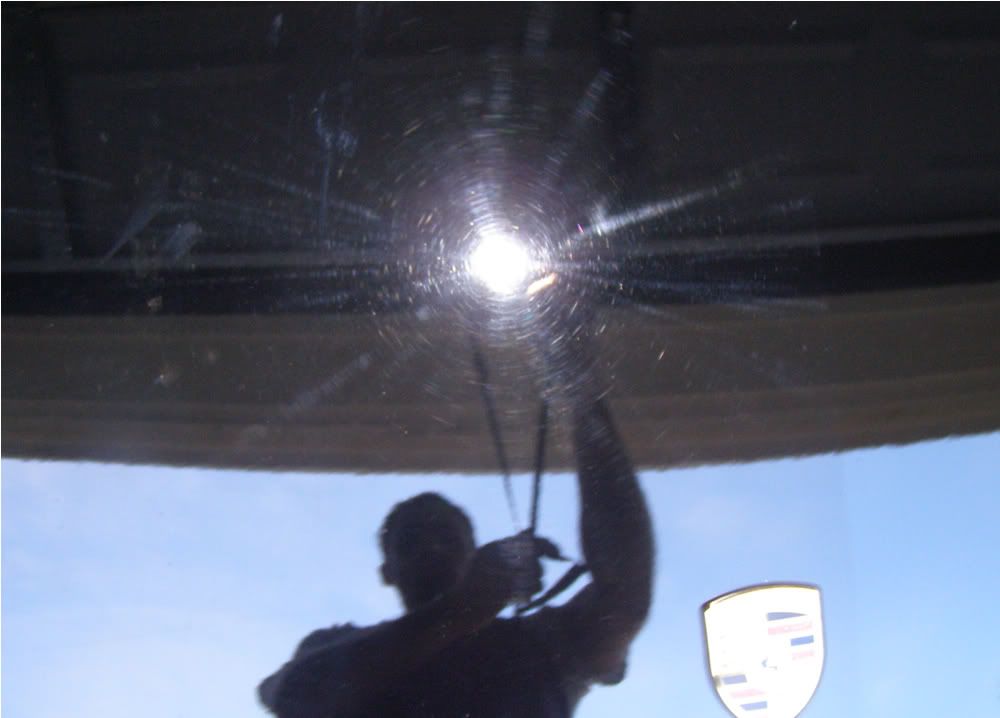
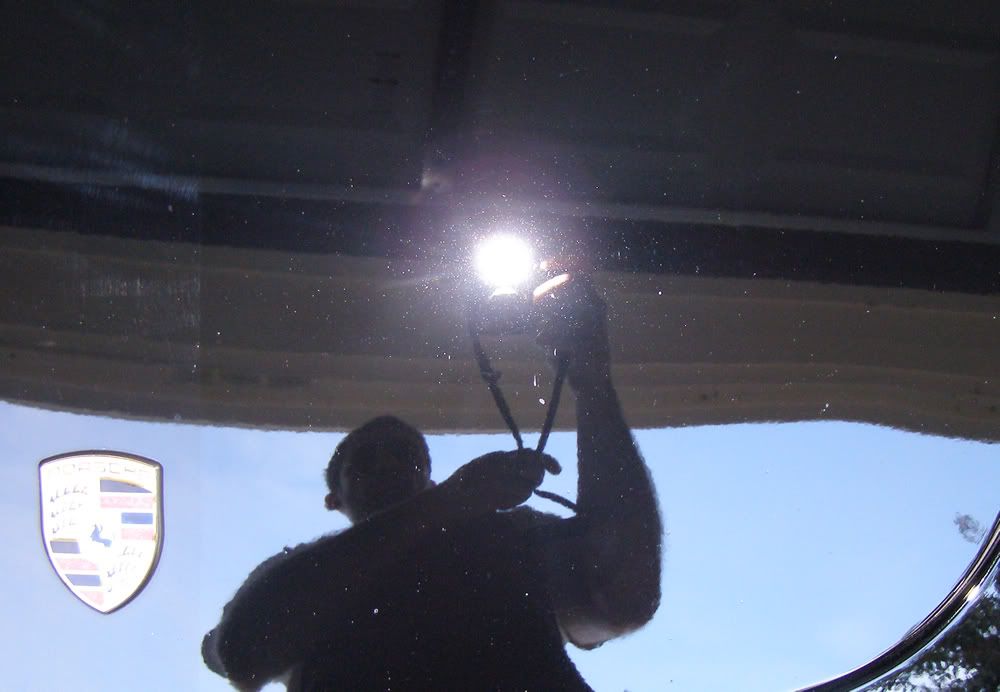
test spot , so i have an idea what should i use for correction
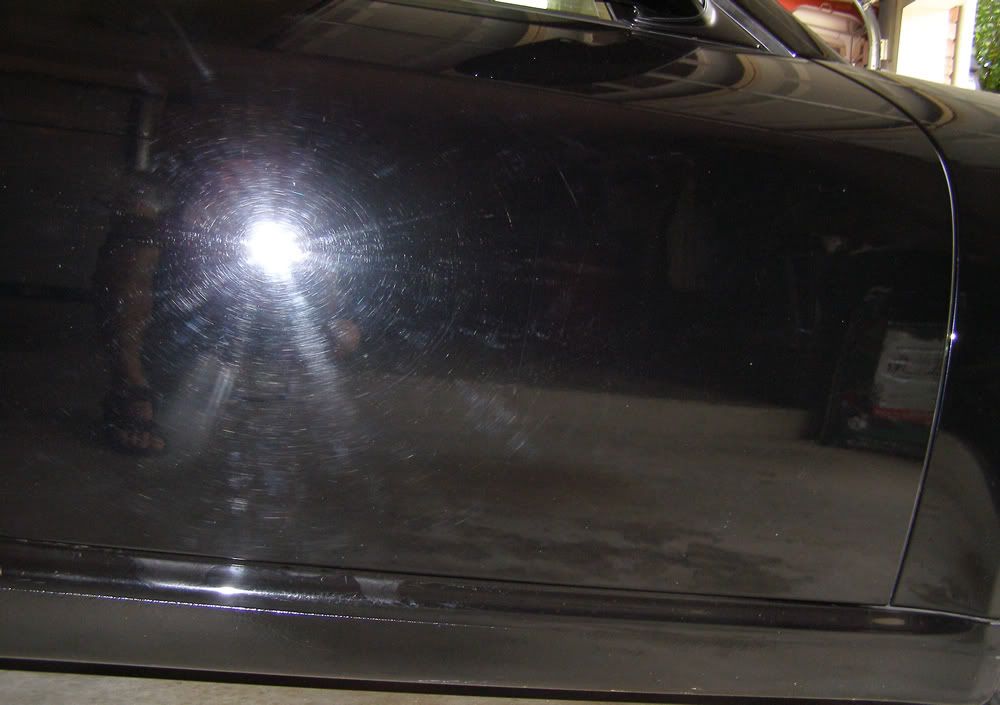
Door before:
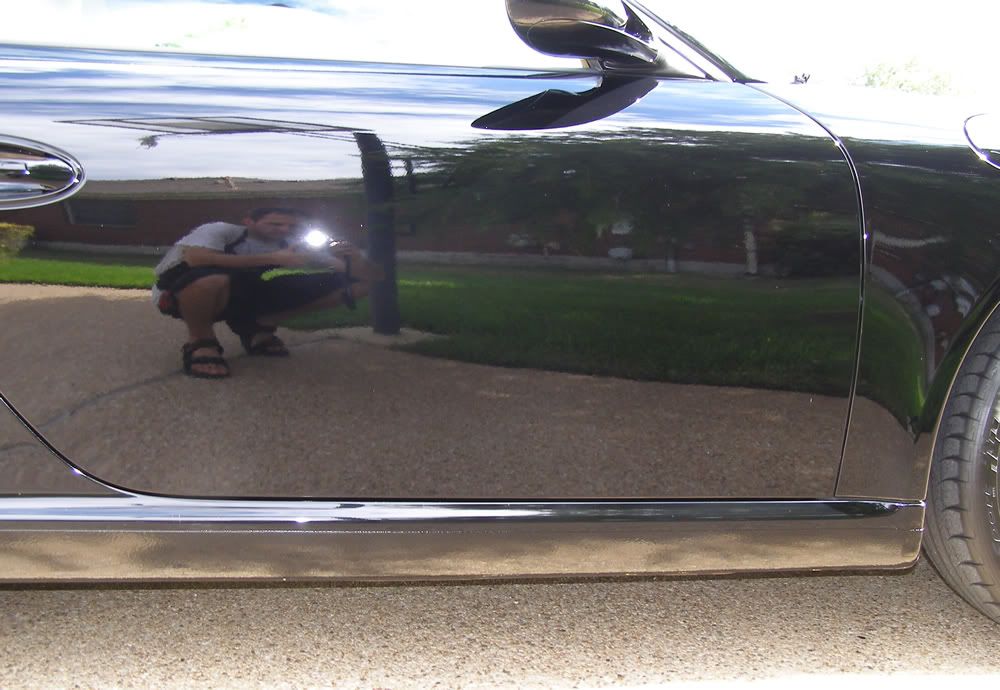
Door after:
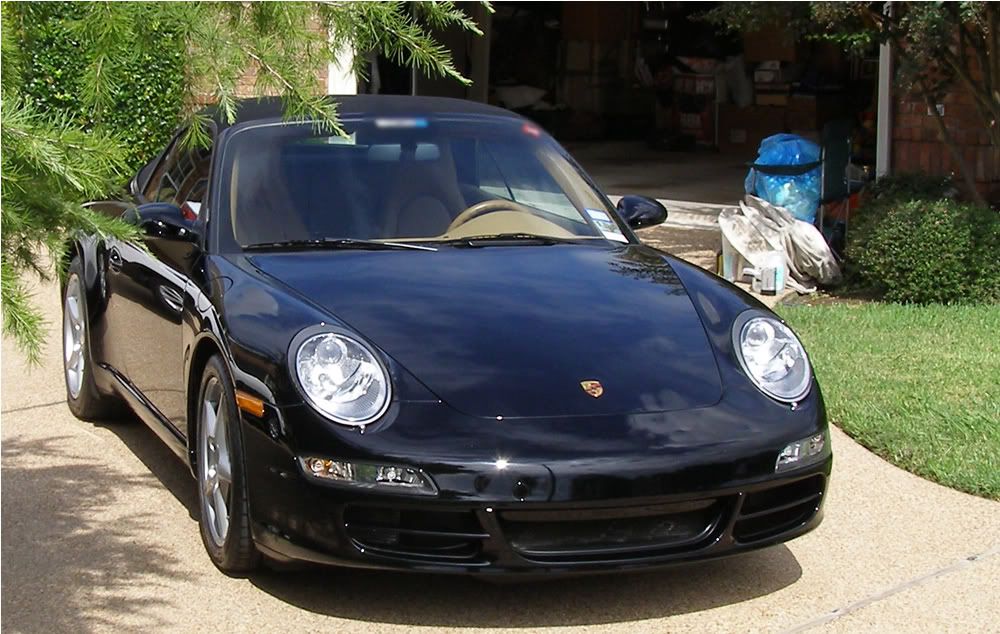
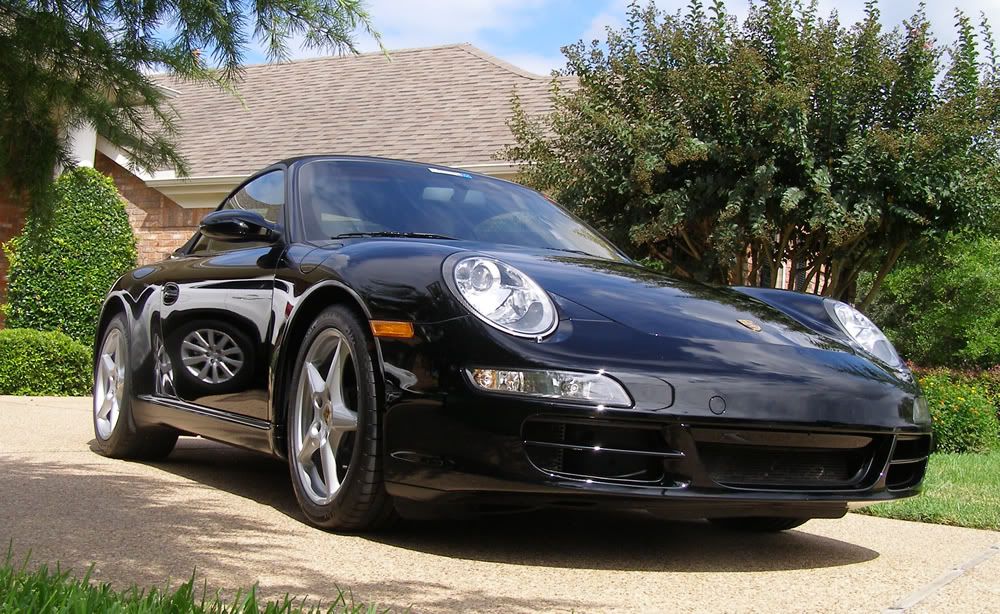
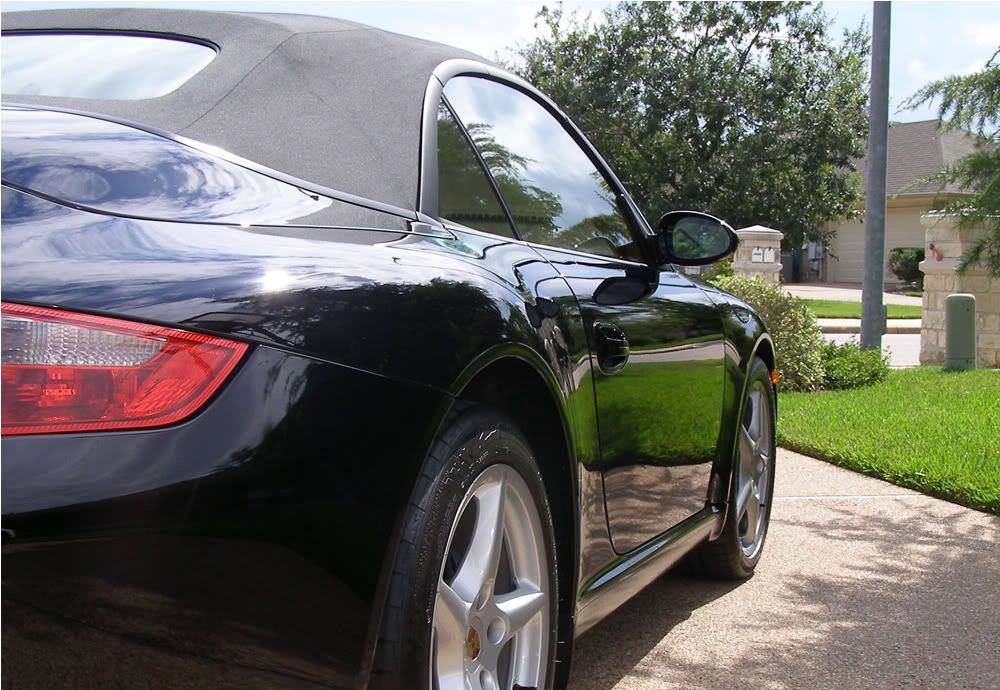
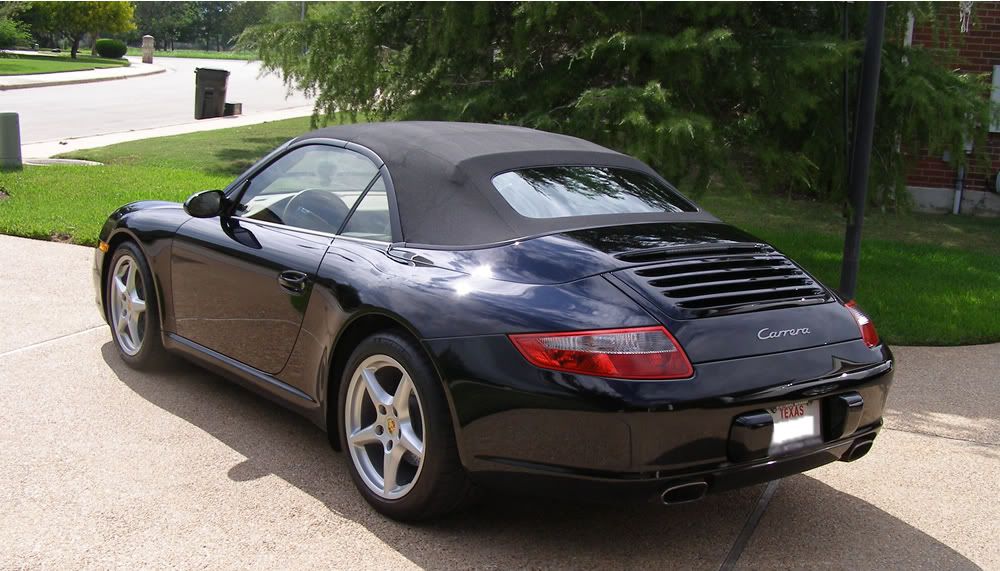
All this are AFTER:
mission: get the paint to a better shape
i will go over the paint process:
after claybar , a test spot was done to see who`s the winner.
for my surprise DA with hex polish pad and #205 did the magic. the paint was ipa wipe down and 2 coats of duragloss105 with DA.
on the front and rear bumper the defects was worse so i step to Flex da and same pad and polish.
the car is not defect free but way better than what i start with, and for only 1 step on black is just great.
Total time 7 hours, interior included and the leather seats was clean with brush and cleaner conditioner. no shampoo or engine detail.
test spot , so i have an idea what should i use for correction
Door before:
Door after:
All this are AFTER:


