lawrenceSA
New member
- Feb 7, 2012
- 1,713
- 0
A little bit of history about the car before we start.
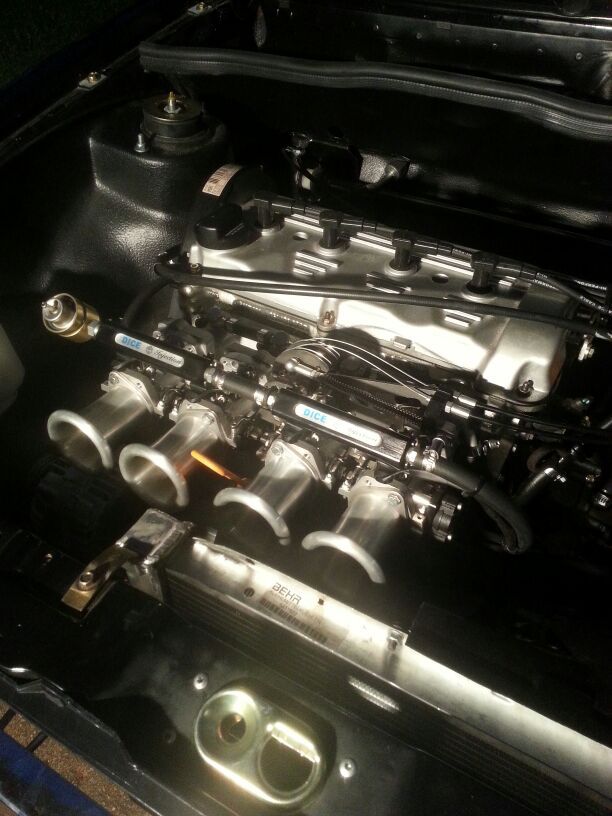
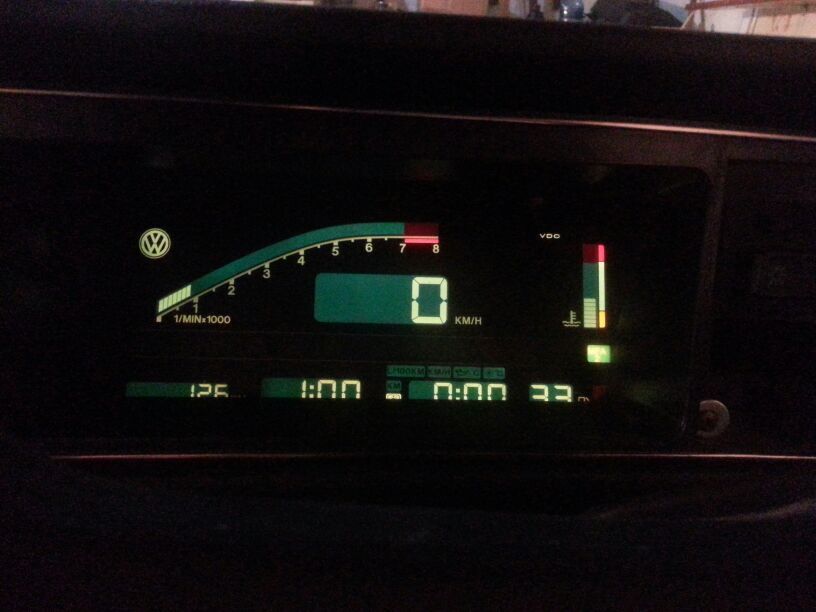
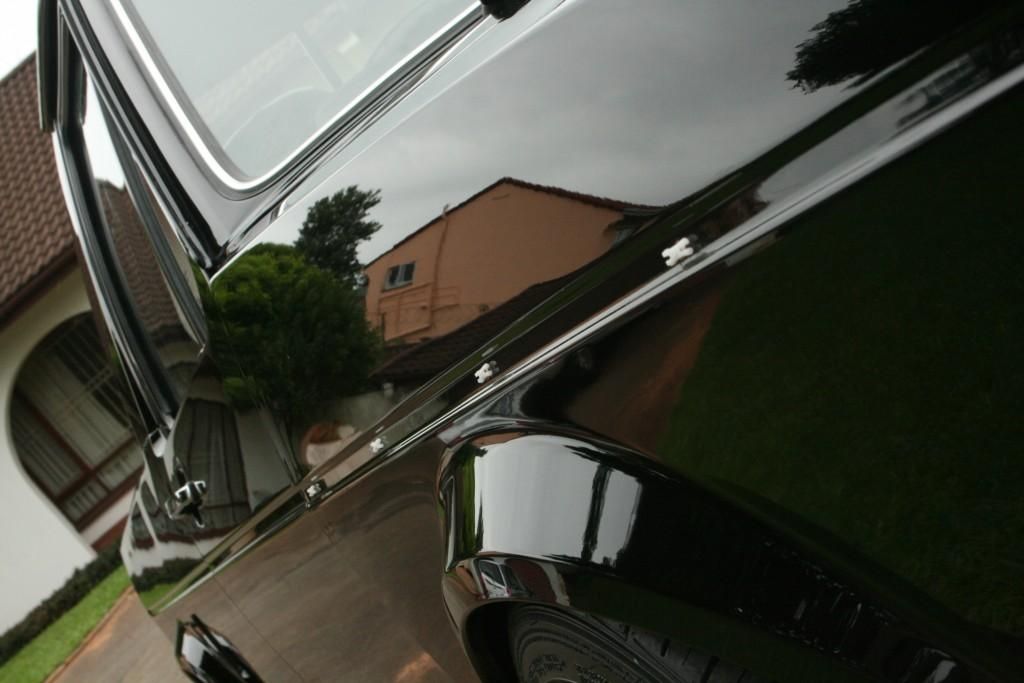
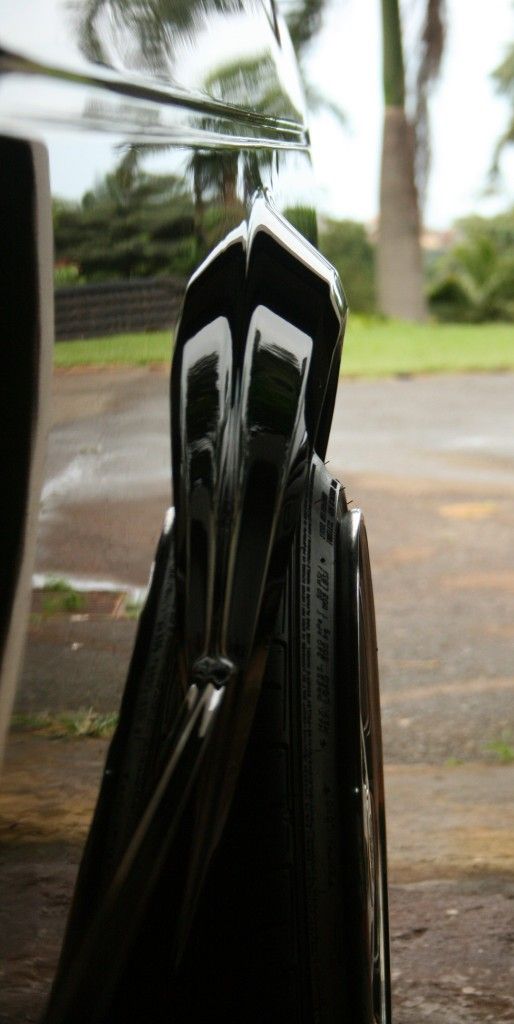
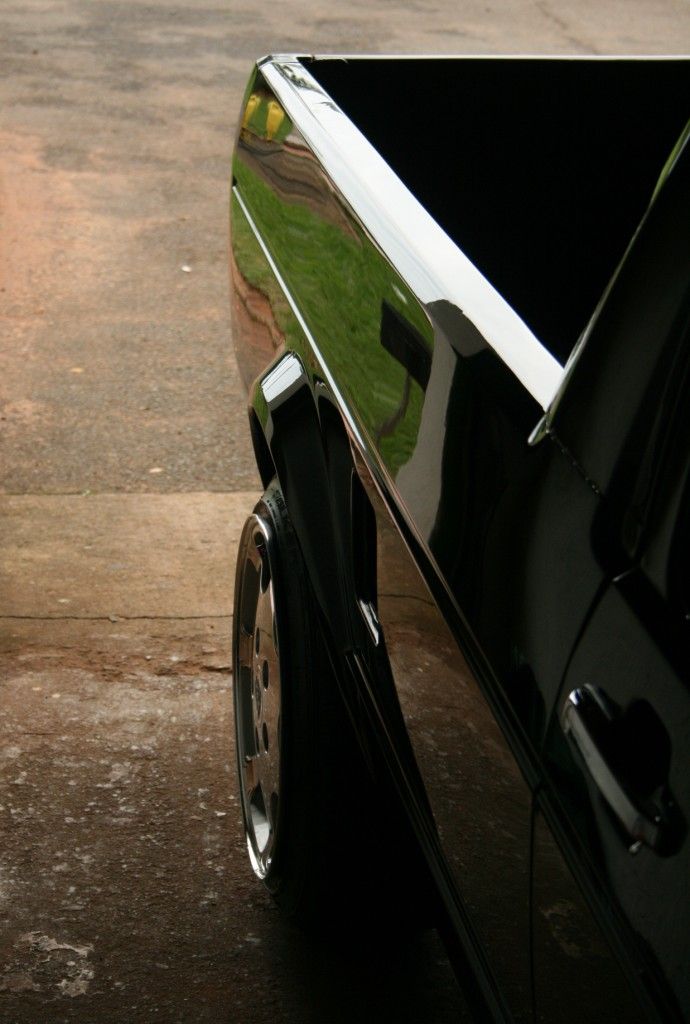
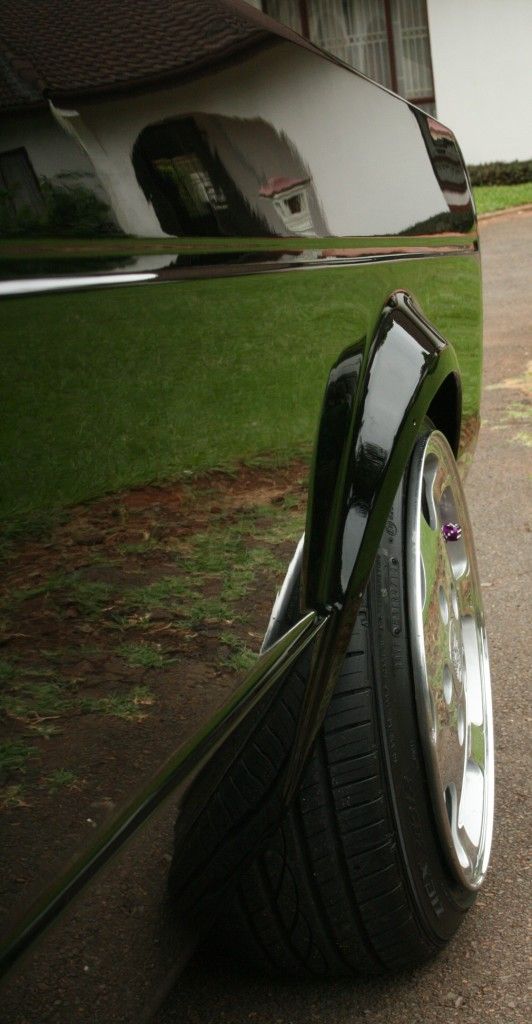
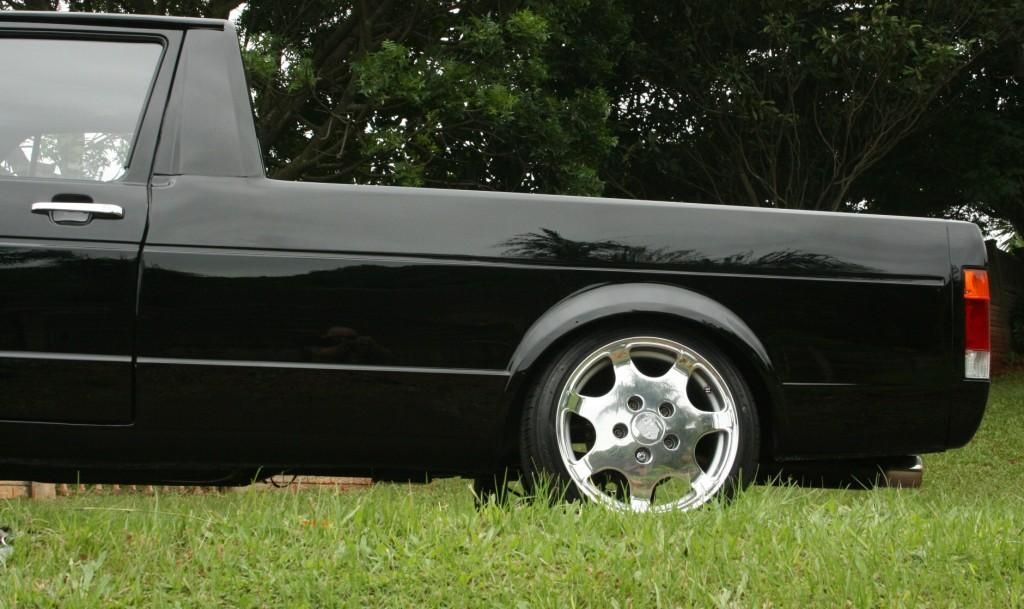
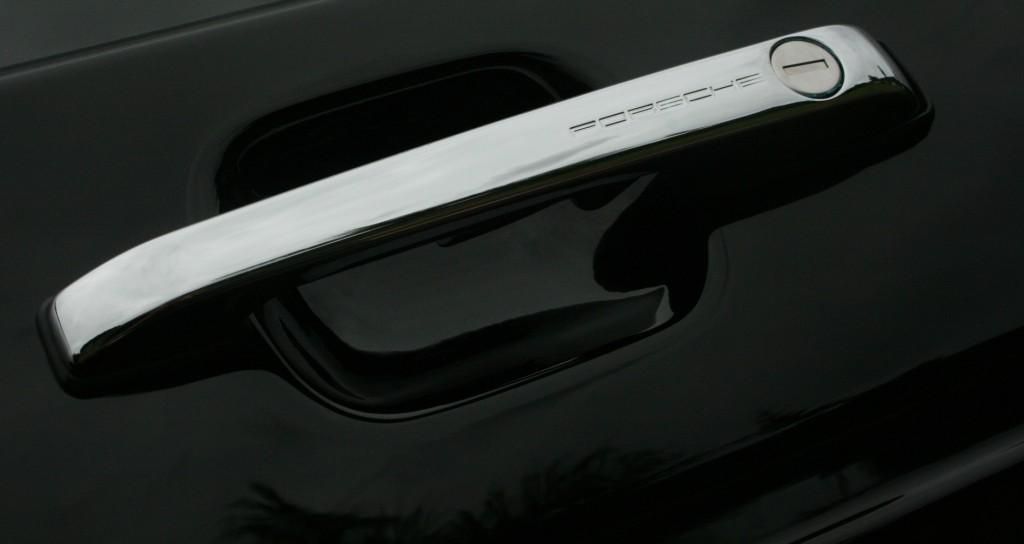
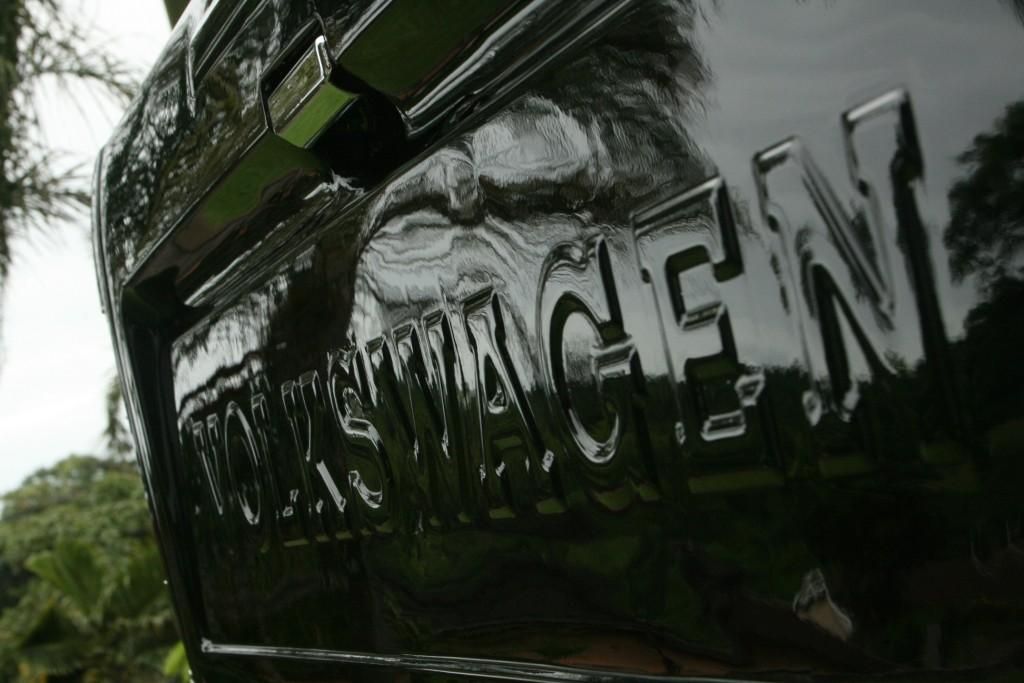
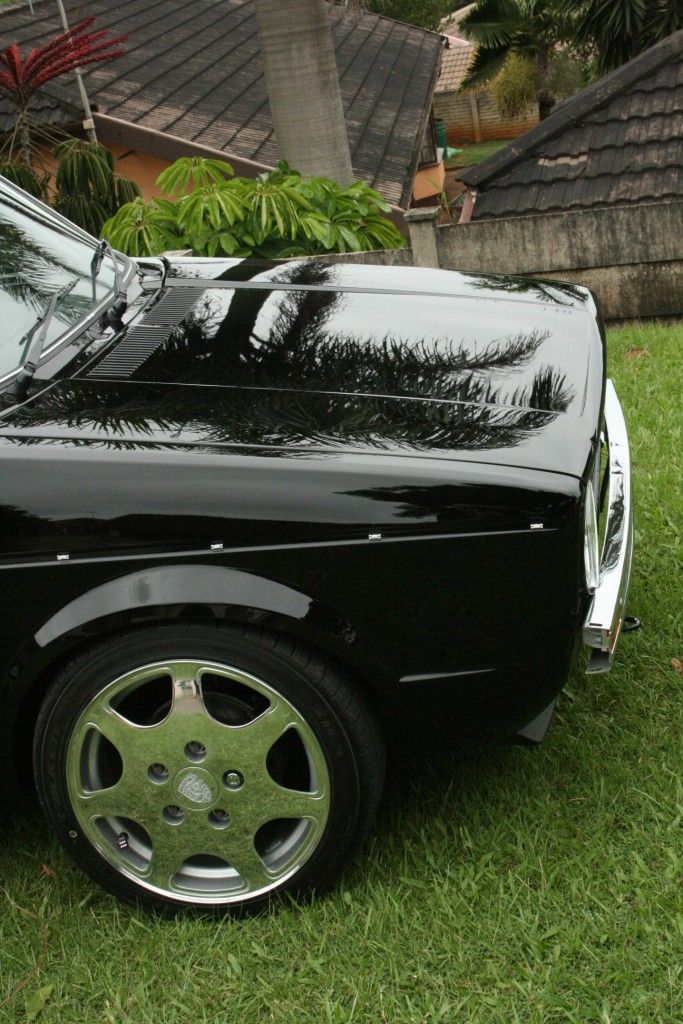
A fellow VW Club member (dbndude) has been slowly building up this 1982 VW Caddy. A 2l 16V ABF motor with VDL cams running on 45mm DICE ITB's and Dictator management was dropped into the smoothed engine bay and Porsche 944 door handles and Porsche 928 clubsport wheels fitted (16x7J front/ 16x9J rears). There are custom coilovers up front and an axle-flip for the rear is still due. The car is still very much a work in progress, with the interior and bin still needing a lot of work. One noteworthy feature on the interior is the fitment of a Digifiz dash and the Porsche Tombstone seats.
The business end
The Digifiz
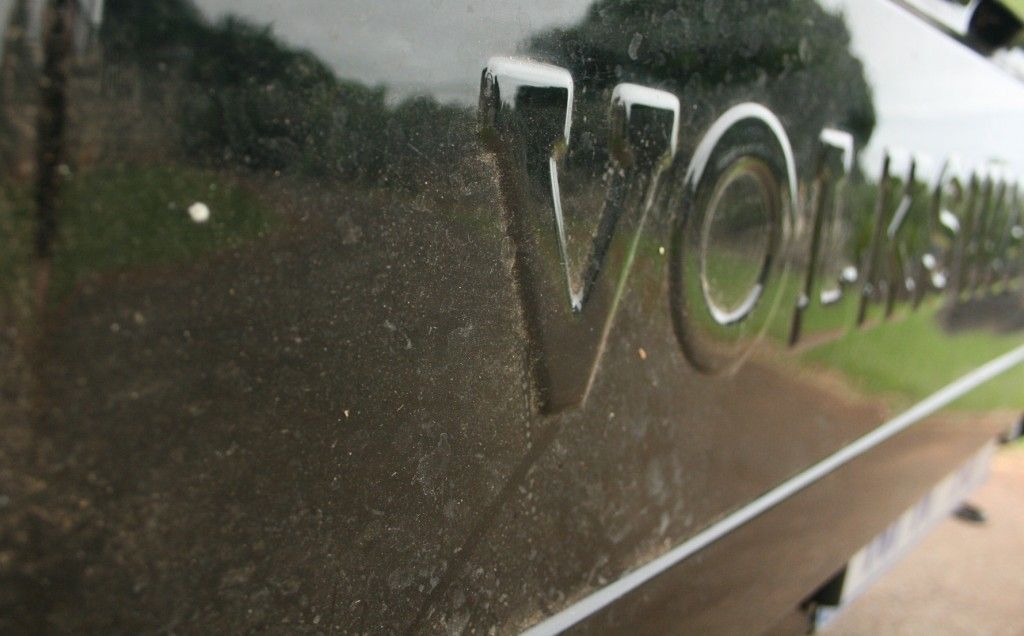
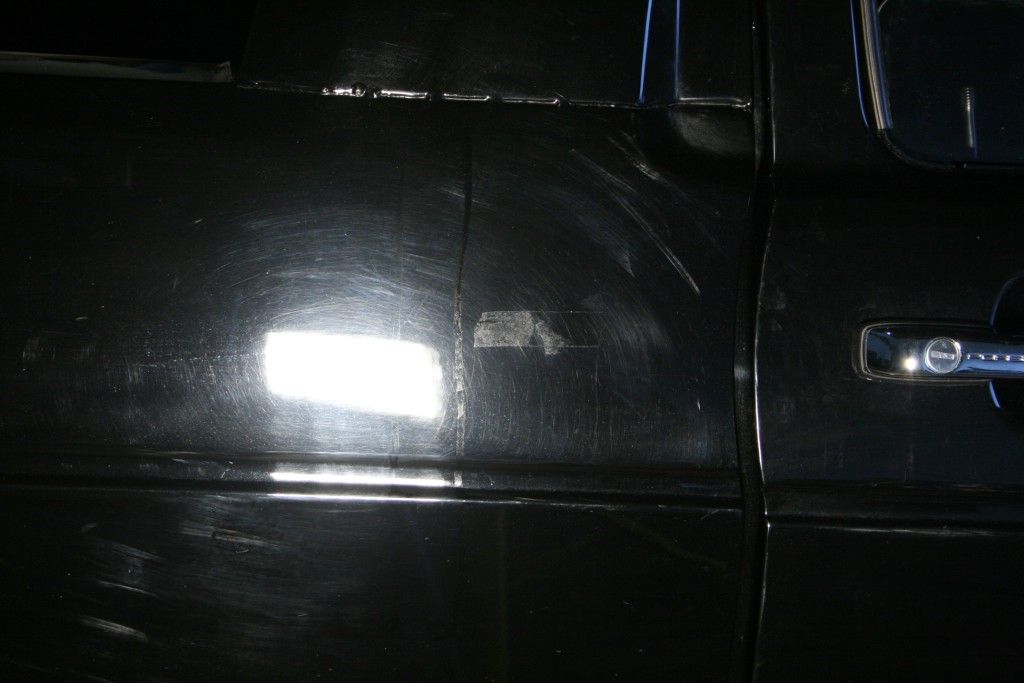
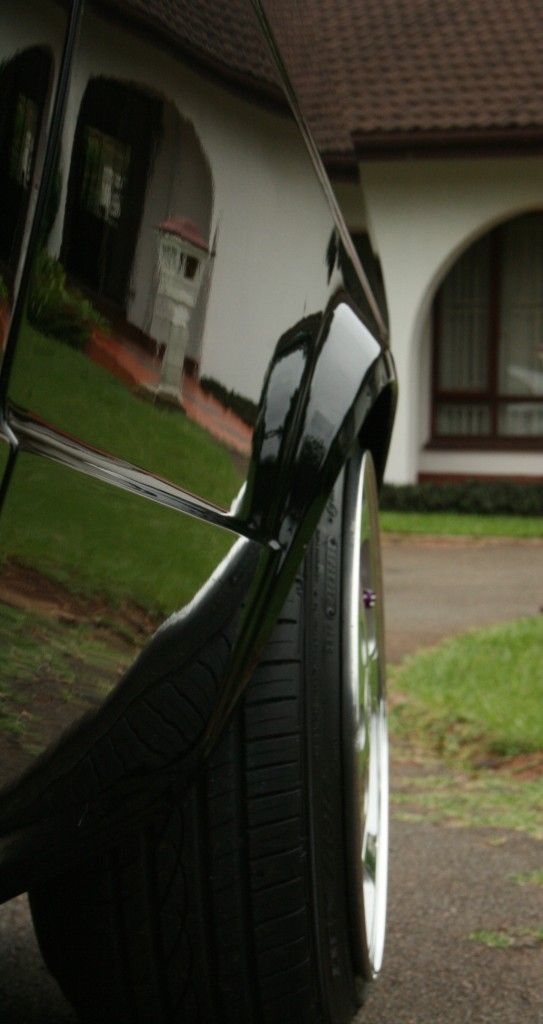
The vehicle was on the receiving end of a custom paint job in August, however due to various reasons, was kept in close proximity to where other painting was happening, with the result that the cover was absolutely covered in over-spray. Once 'back home' the vehicle was then left outside, further adding to the contamination buildup. The owner obviously wanted to then get some wax on the car and maintain the freshly painted look, however without first removing the contamination the results were less than ideal.
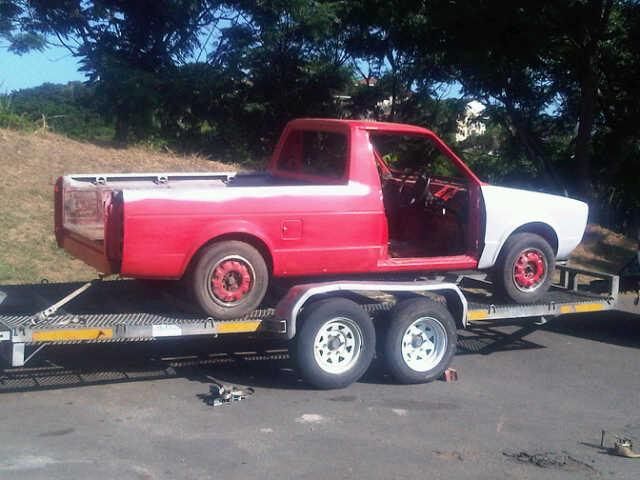
The 'before painting' look
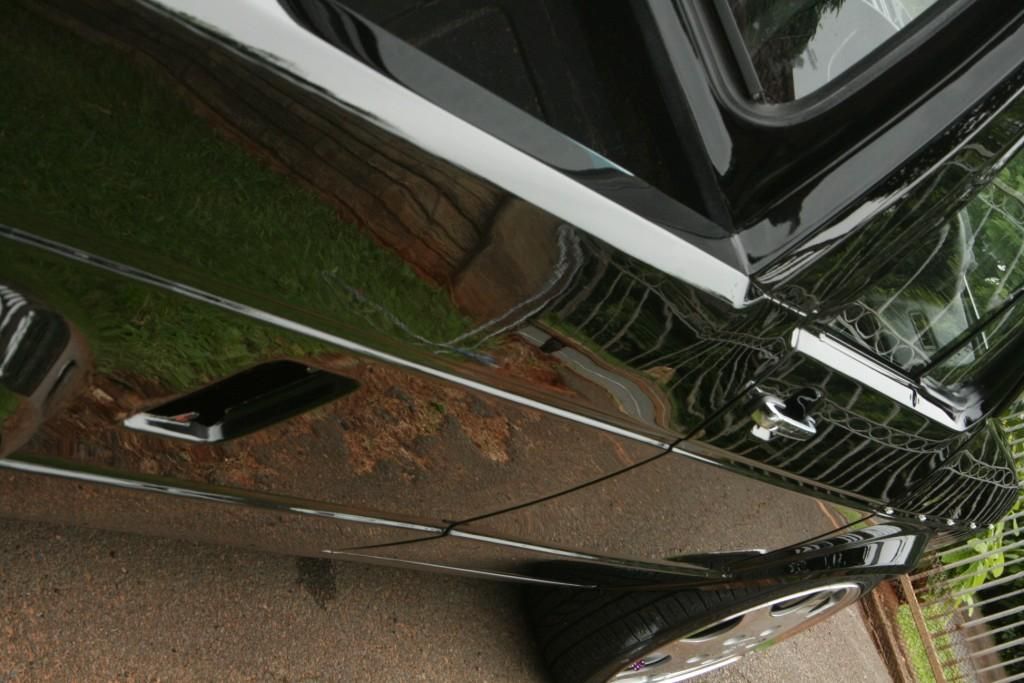
So the car was bought to me to firstly remove all the over-spray and then polish the paint and provide protection. The whole focus of this detail was therefore on the paintwork only, with the exception of washing the wheels too.
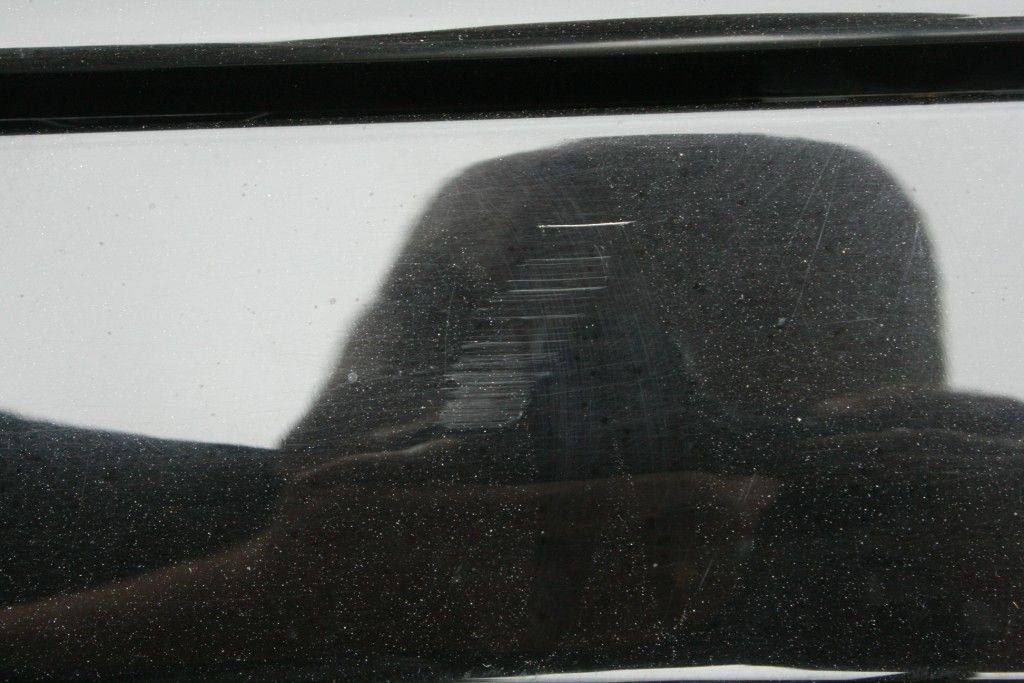
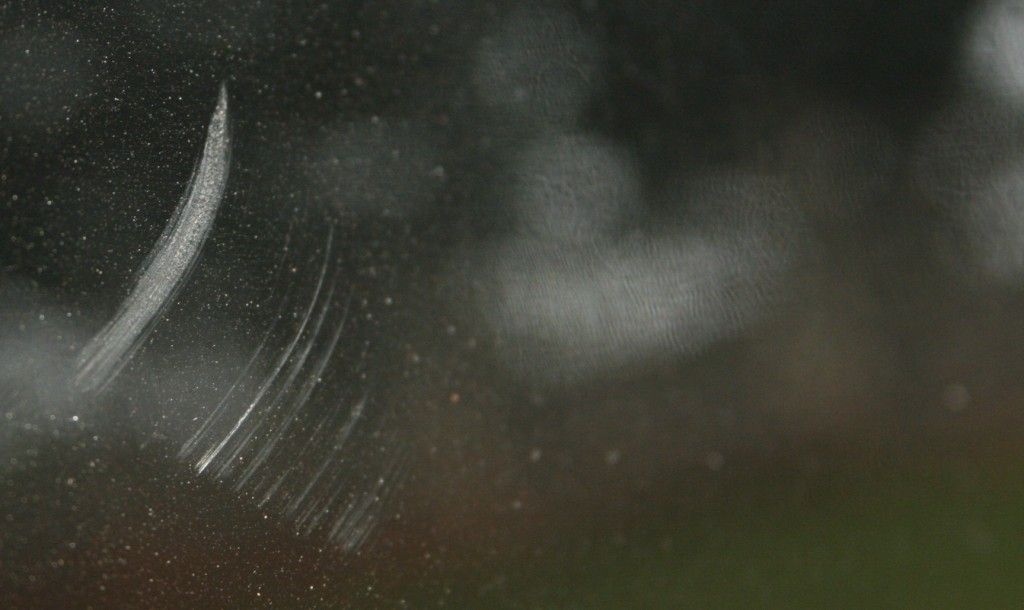
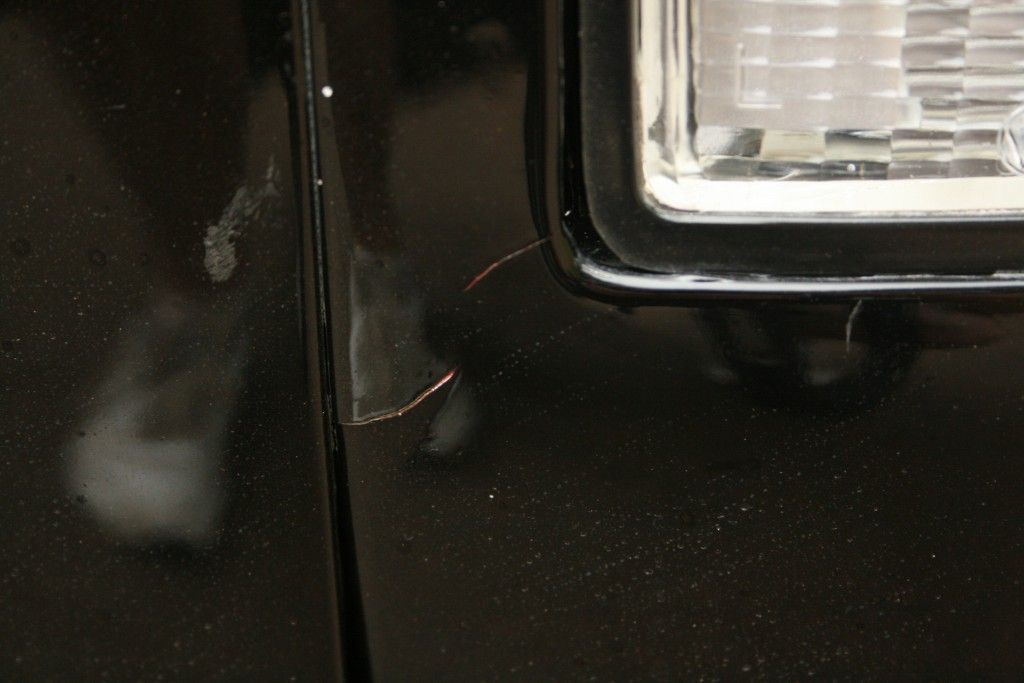
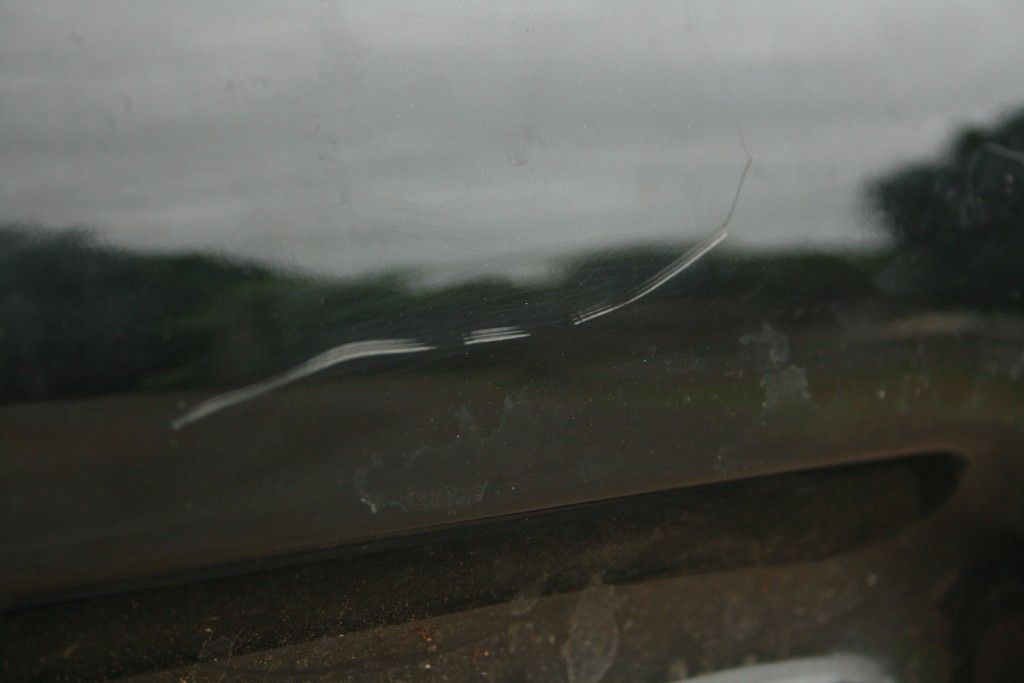
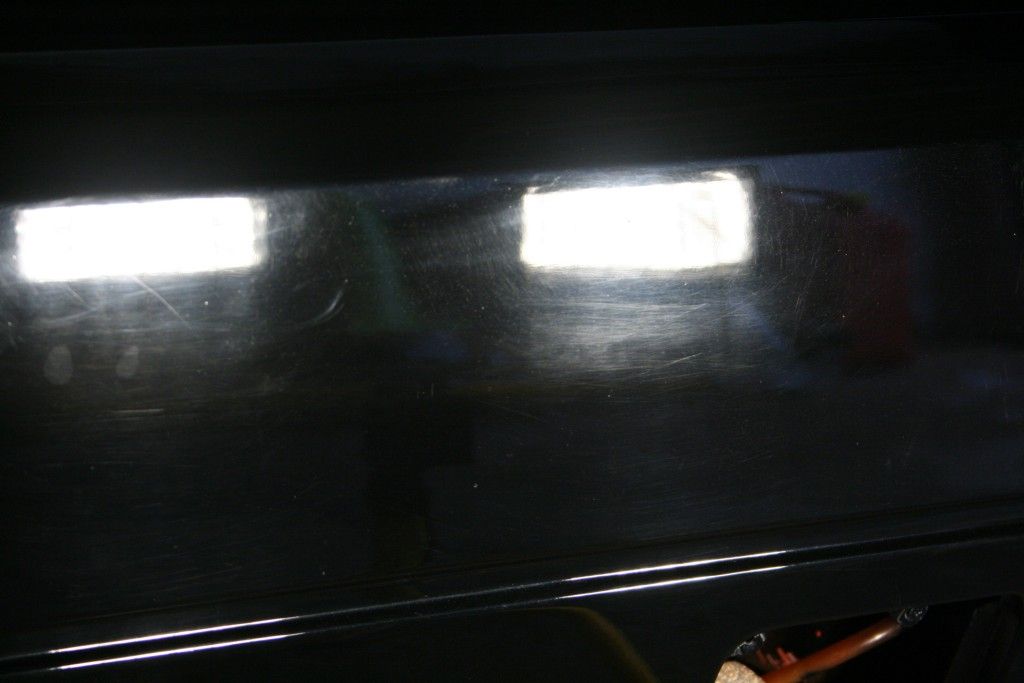
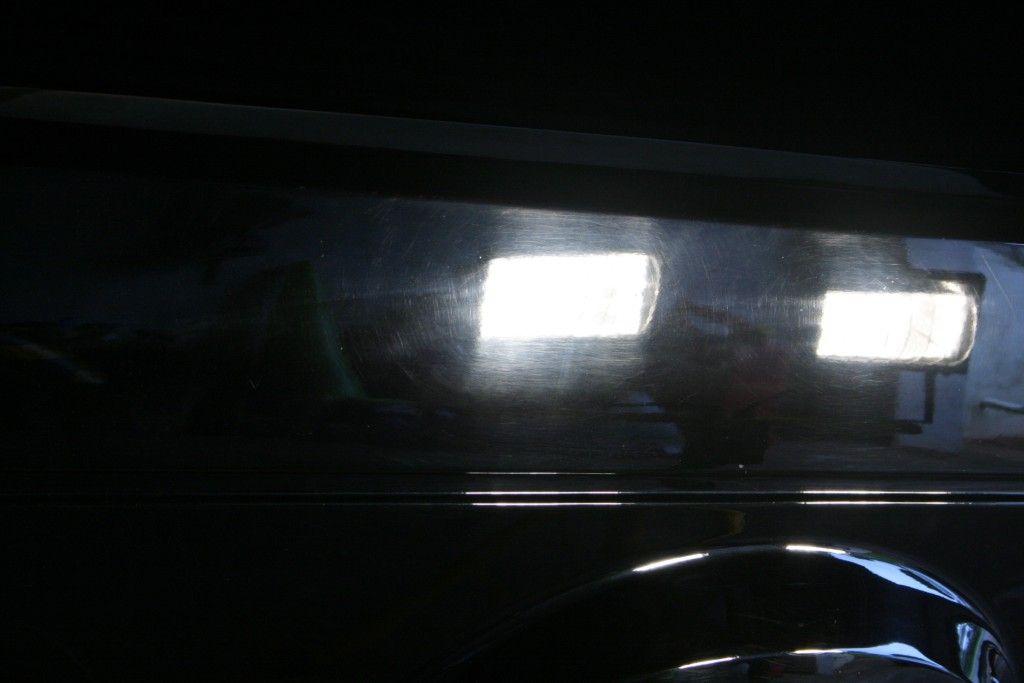
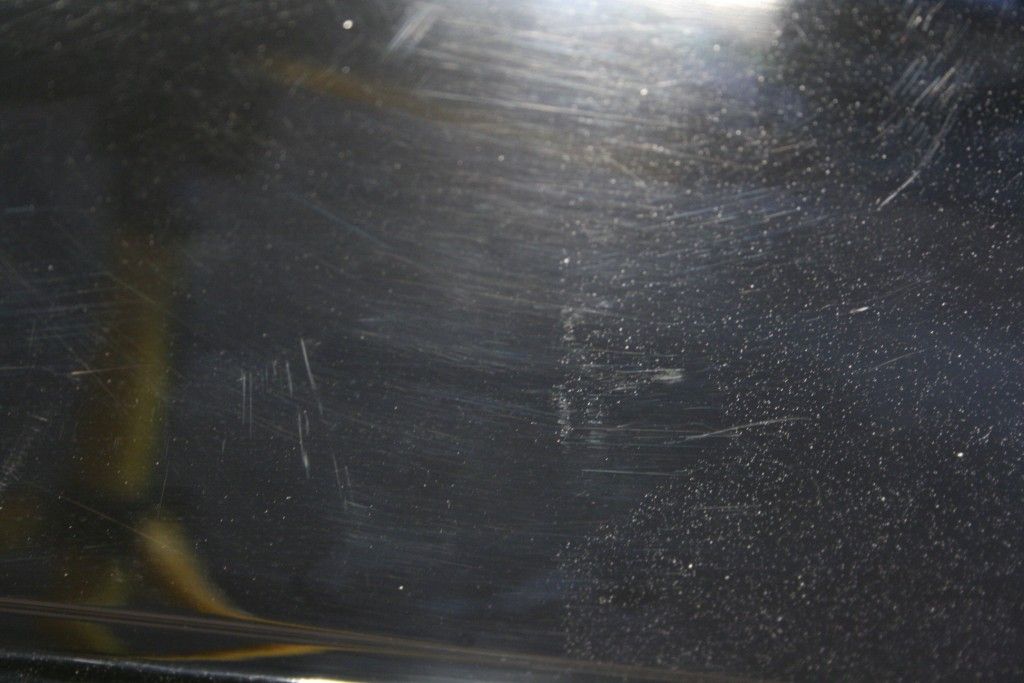
So let's get cracking....As usual the vehicle was covered in surface dirt, and there were some very obvious defects, such as swirl marks and deeper scratches.
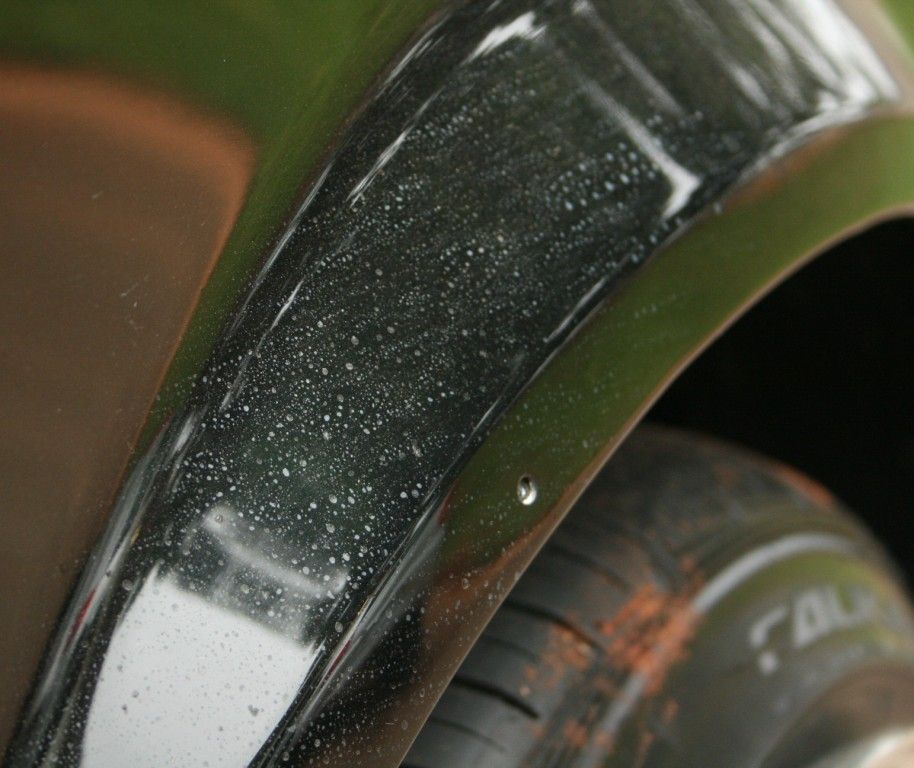
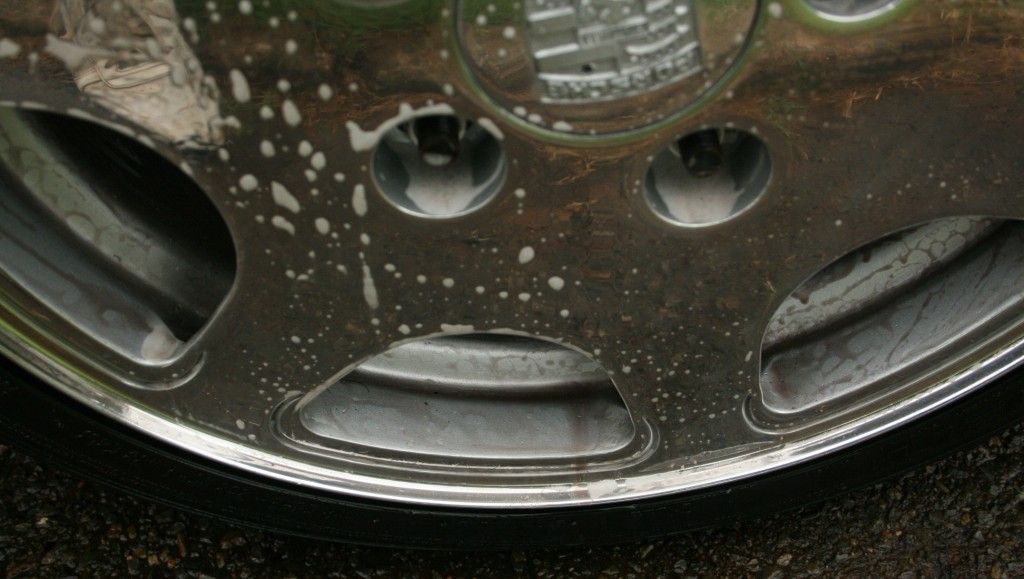
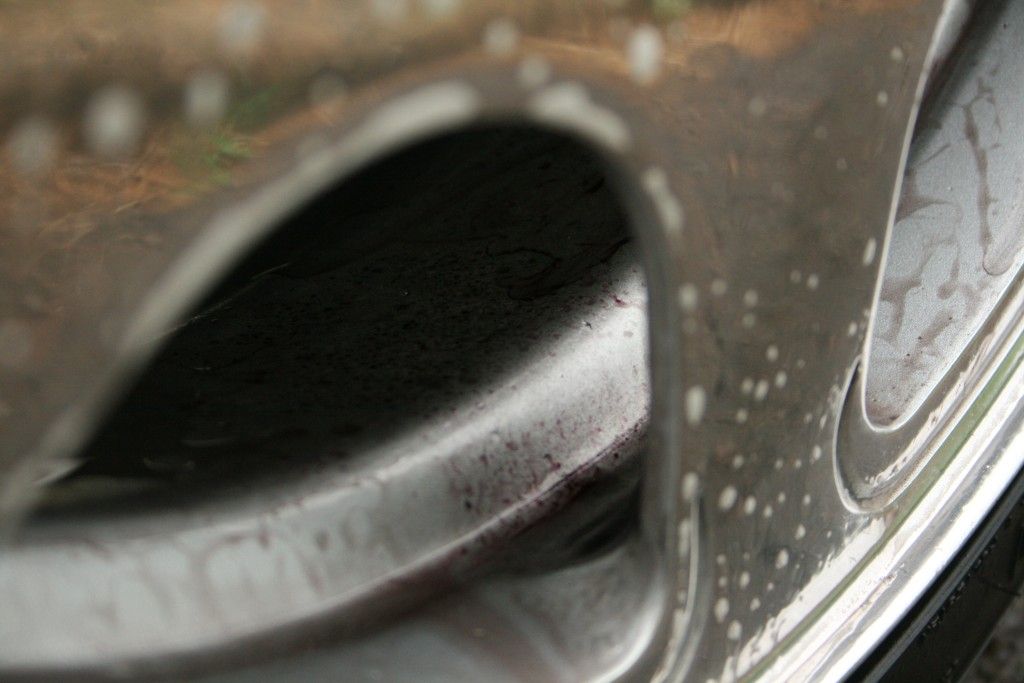
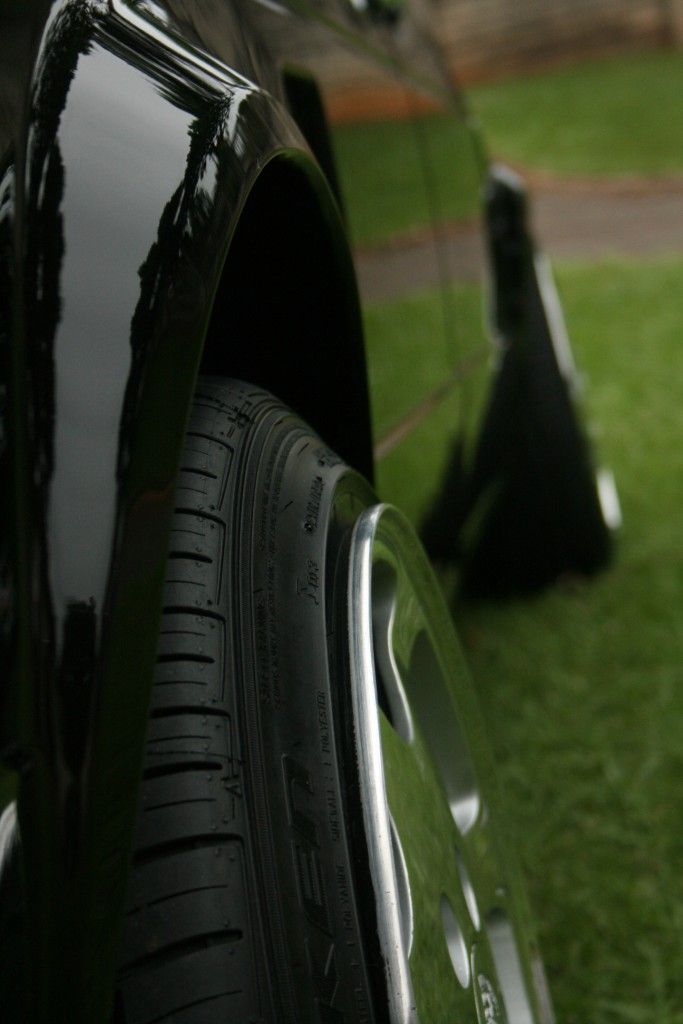
As always, the wheels were washed before anything else. Sonax Extreme Wheel Cleaner was used which released some of the iron buildup, in particular on the inside barrels. Cyclo CM30 was used to scrub the tires clean. No dressing of the tires or sealing of the wheels was performed.
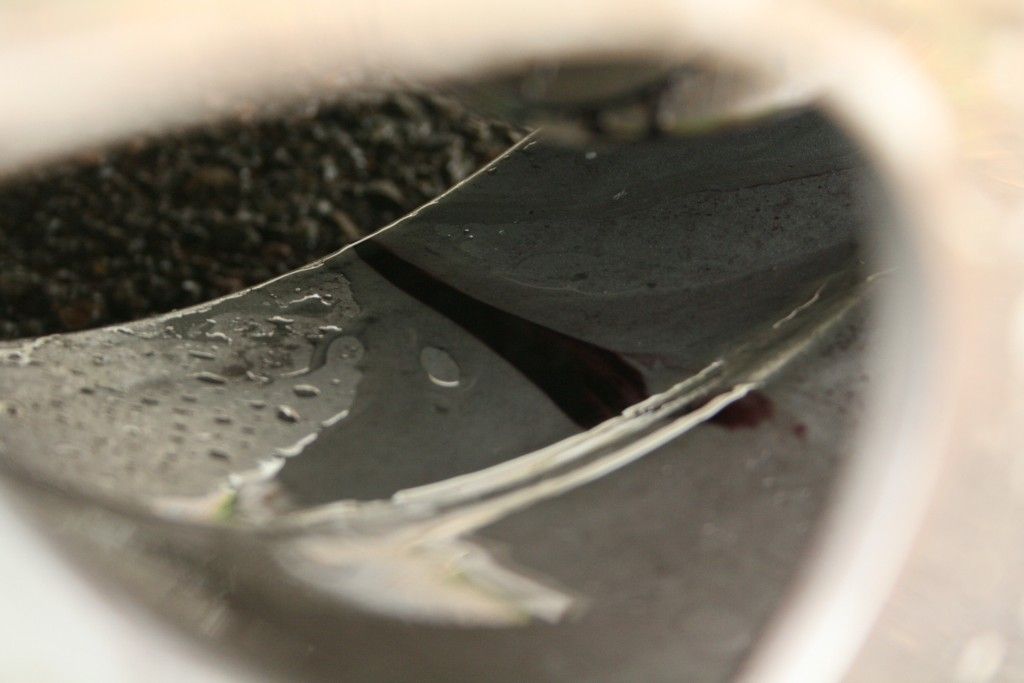
With the wheels now clean, it was time to start on the paintwork. Rinsing the vehicle off revealed some remaining protection
And so I needed to strip this off before proceeding. Chemical Guys Maxi Suds II combined with Cyclo CM30 was used in the foam cannon before the vehicle was full washed using the 2BM.
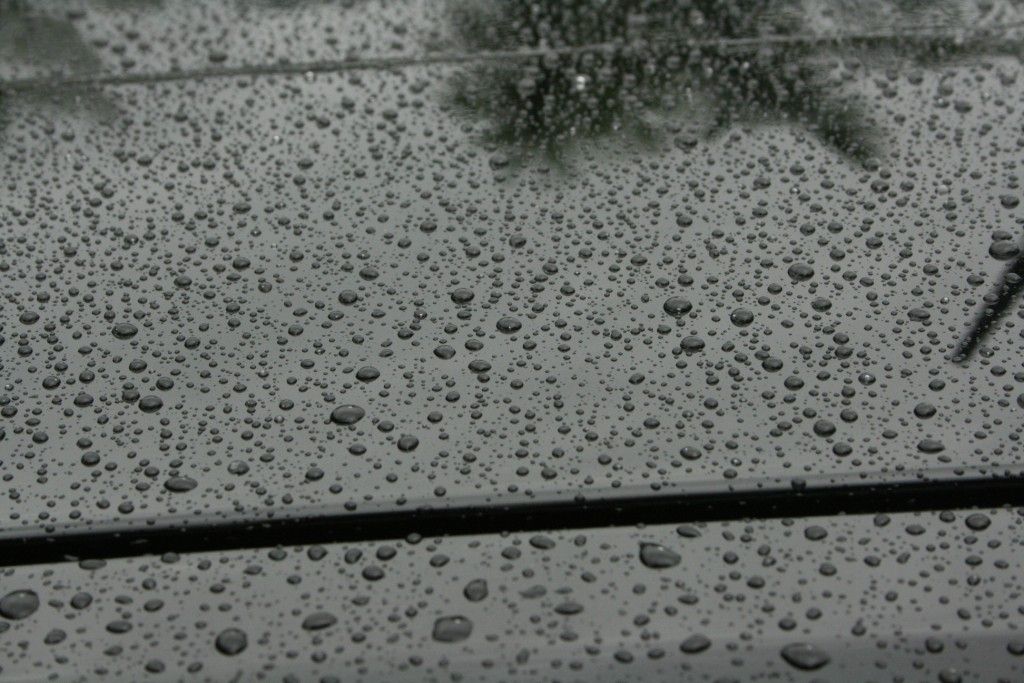
Even during the wash process it was obvious as to how desperately the car needed to be clayed - I have never encountered such rough paint before
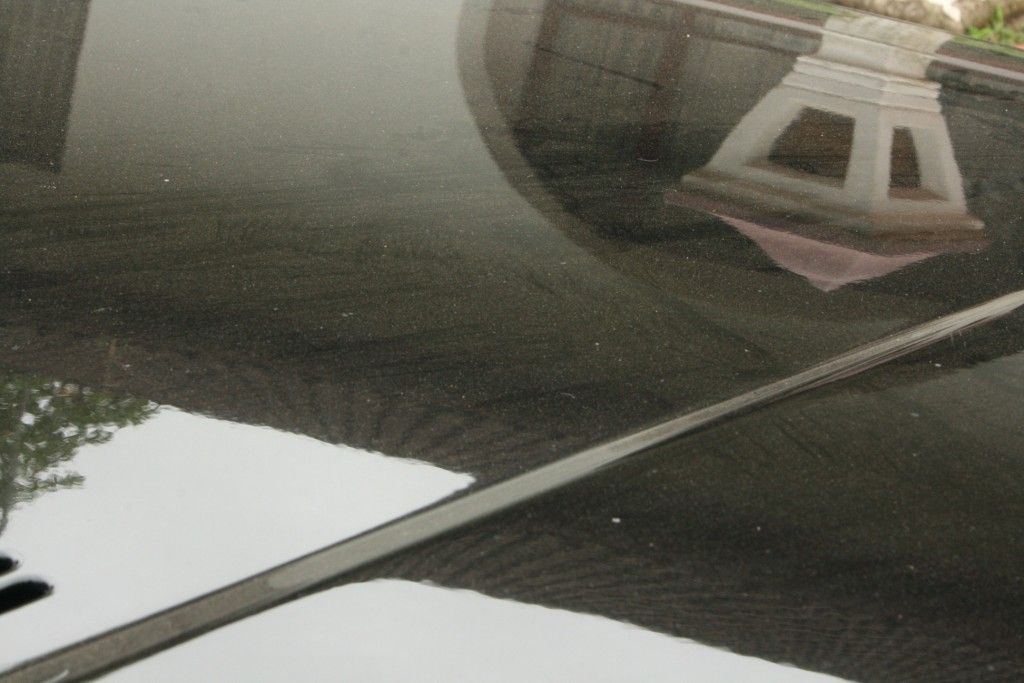
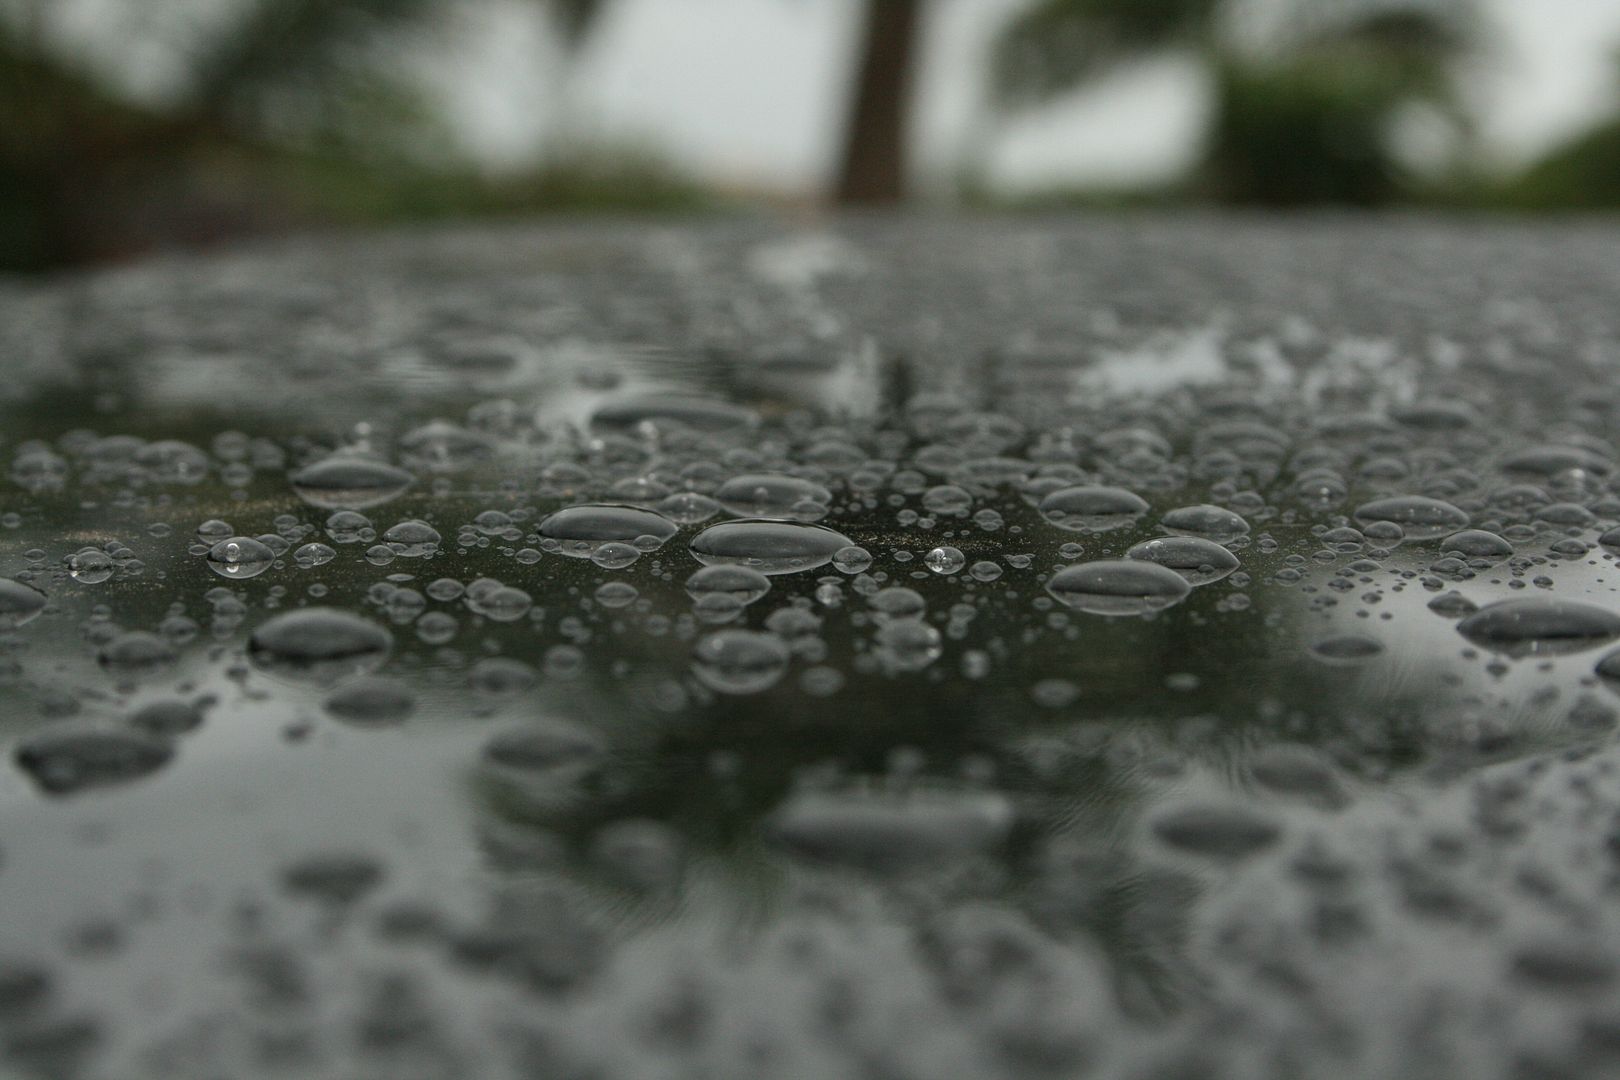
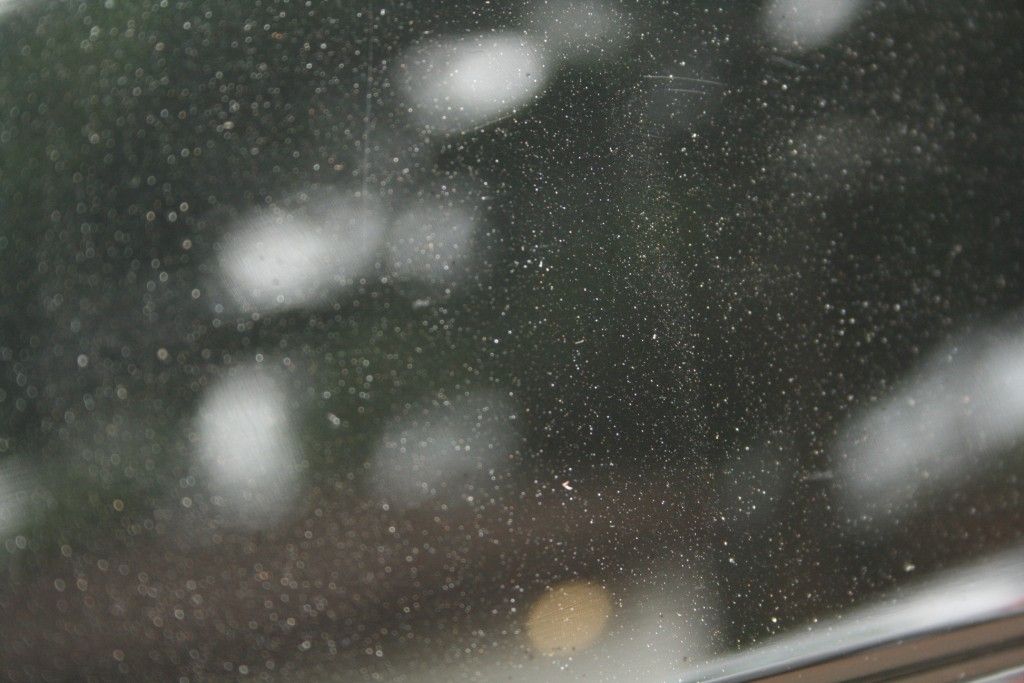
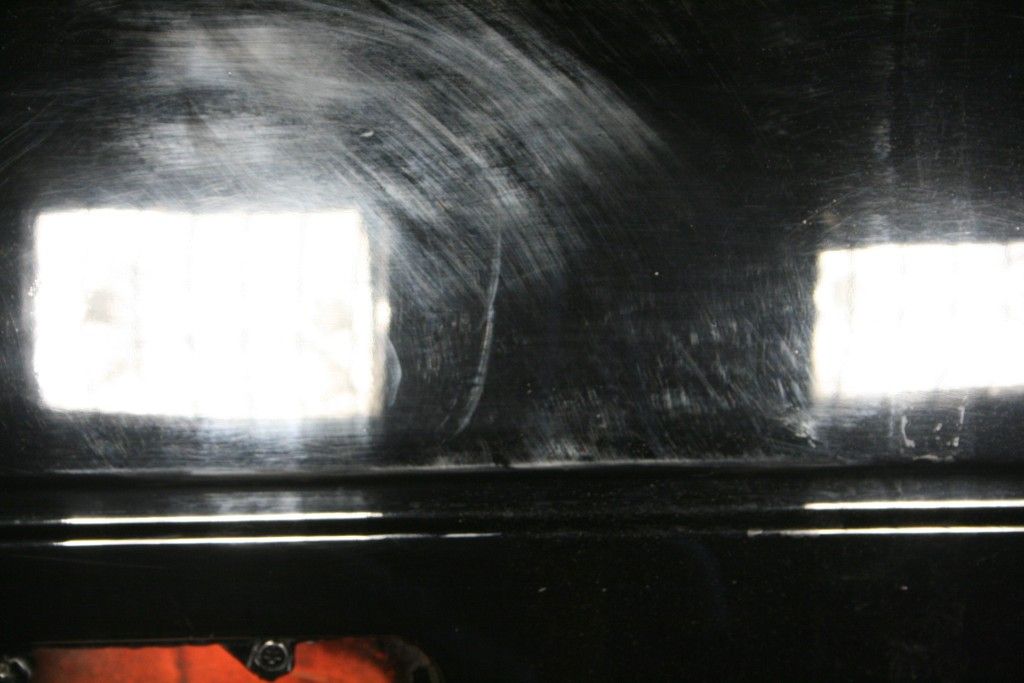
In this picture below you can clearly see all the over-spray on the car
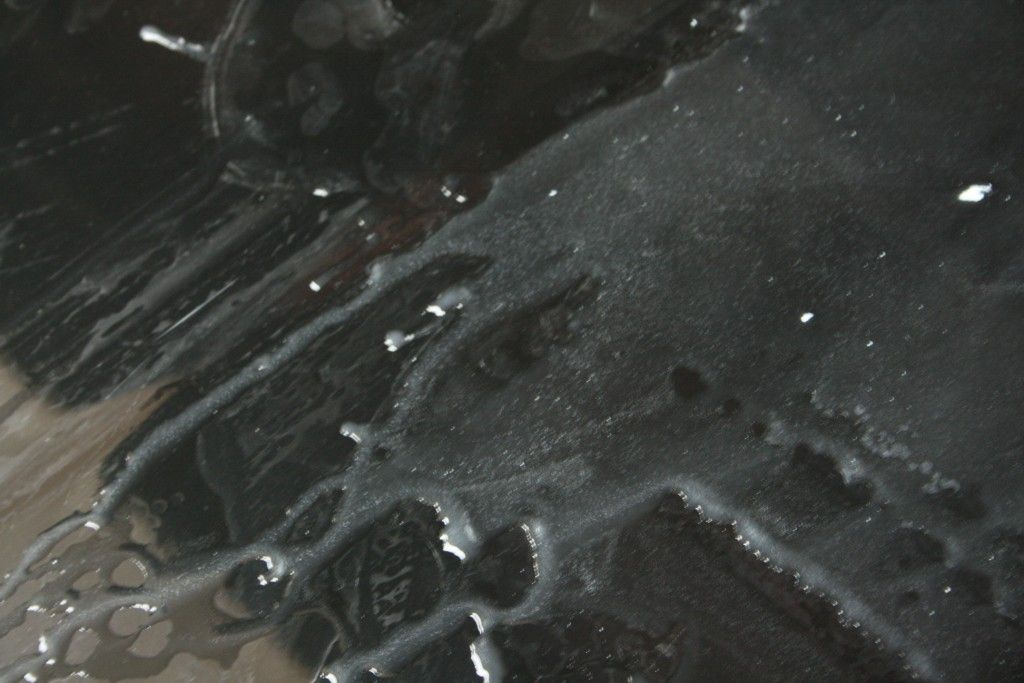
It was so bad that you can easily see the paint suspended in the clay lube following claying
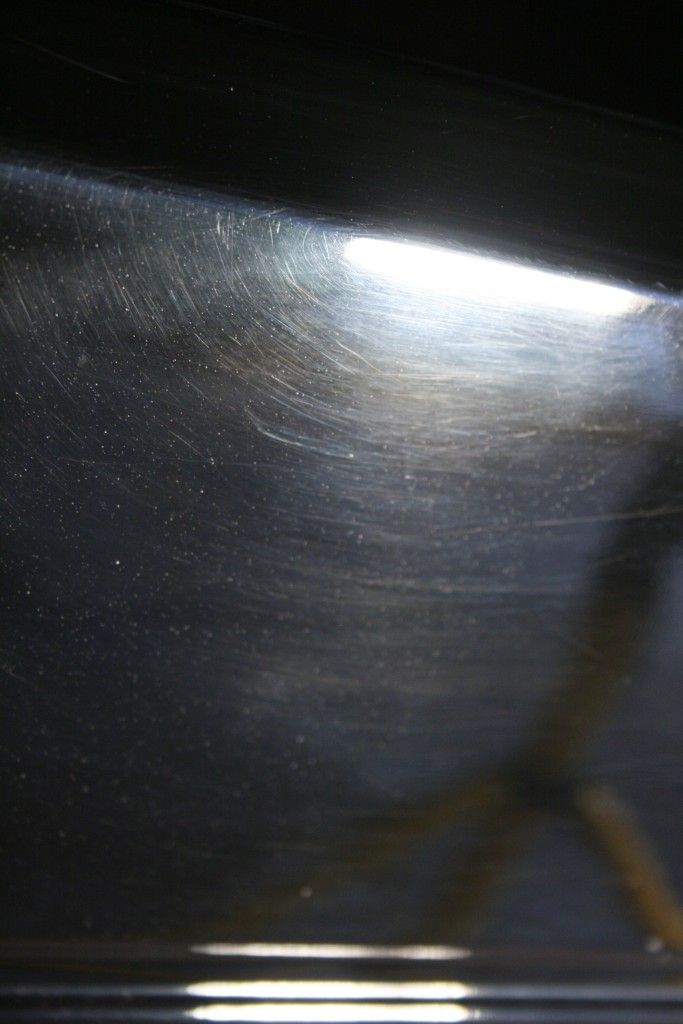
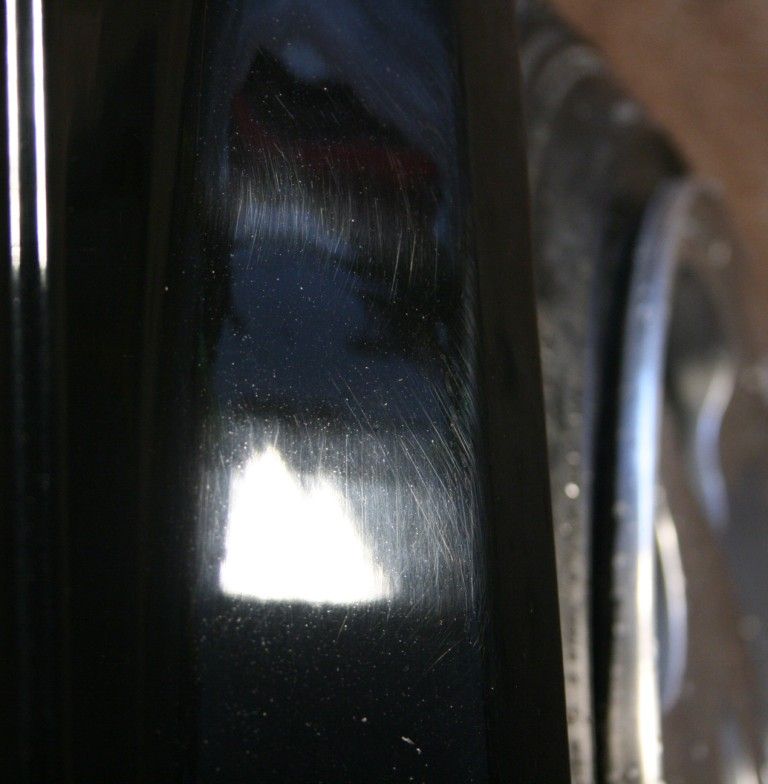
Some pics of the condition of the paint.

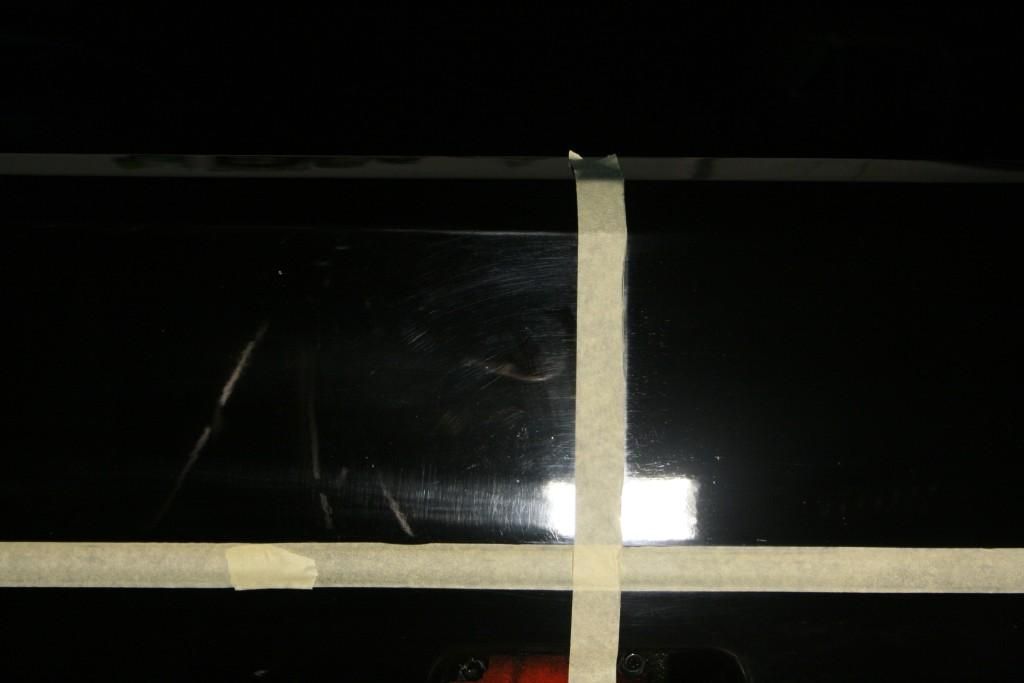
I used this section as a test spot for claying....
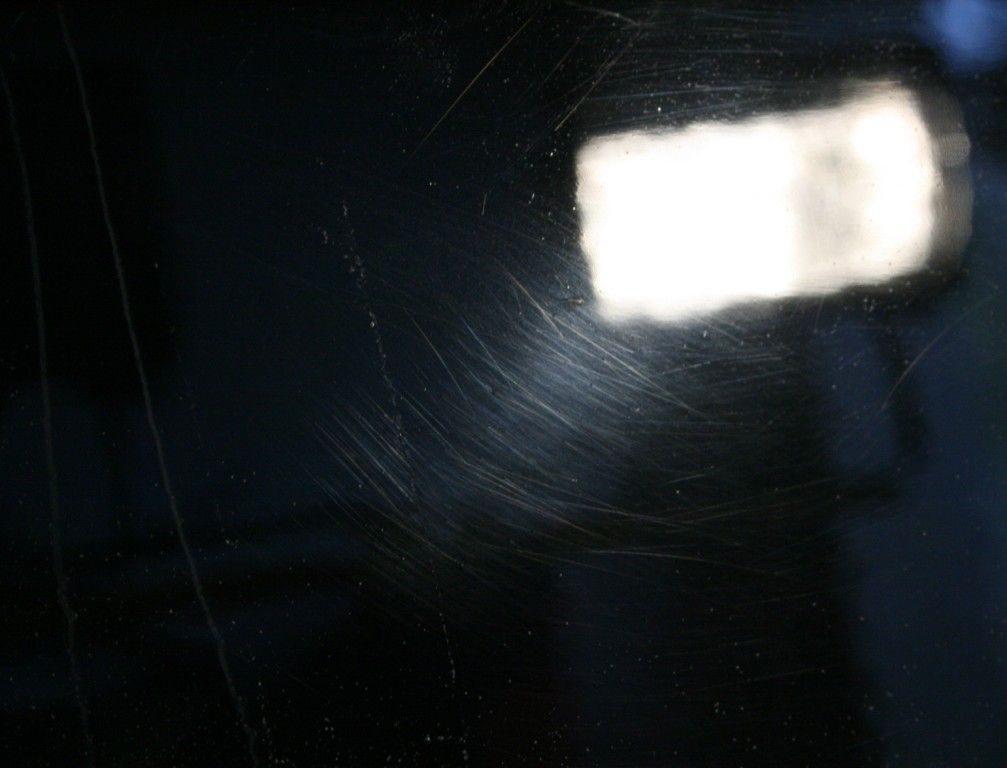
Before

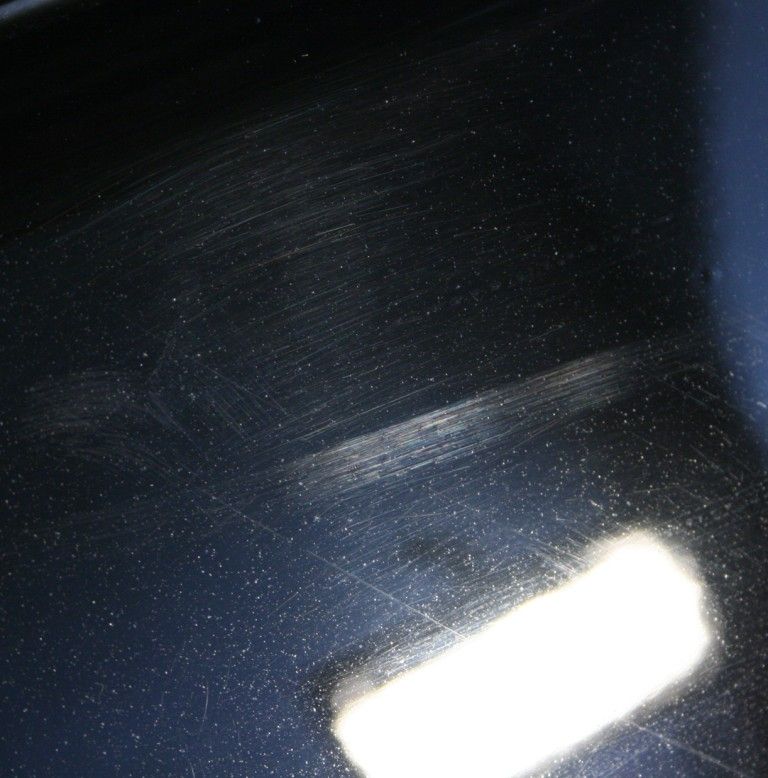
After claying with medium grade clay (notice the micromarring)
So after a full 4 hours of claying with a combination of Clay Magic Blue and Purple clay I finally had the paint contamination free.
A fellow VW Club member (dbndude) has been slowly building up this 1982 VW Caddy. A 2l 16V ABF motor with VDL cams running on 45mm DICE ITB's and Dictator management was dropped into the smoothed engine bay and Porsche 944 door handles and Porsche 928 clubsport wheels fitted (16x7J front/ 16x9J rears). There are custom coilovers up front and an axle-flip for the rear is still due. The car is still very much a work in progress, with the interior and bin still needing a lot of work. One noteworthy feature on the interior is the fitment of a Digifiz dash and the Porsche Tombstone seats.
The business end
The Digifiz
The vehicle was on the receiving end of a custom paint job in August, however due to various reasons, was kept in close proximity to where other painting was happening, with the result that the cover was absolutely covered in over-spray. Once 'back home' the vehicle was then left outside, further adding to the contamination buildup. The owner obviously wanted to then get some wax on the car and maintain the freshly painted look, however without first removing the contamination the results were less than ideal.
The 'before painting' look
So the car was bought to me to firstly remove all the over-spray and then polish the paint and provide protection. The whole focus of this detail was therefore on the paintwork only, with the exception of washing the wheels too.
So let's get cracking....As usual the vehicle was covered in surface dirt, and there were some very obvious defects, such as swirl marks and deeper scratches.
As always, the wheels were washed before anything else. Sonax Extreme Wheel Cleaner was used which released some of the iron buildup, in particular on the inside barrels. Cyclo CM30 was used to scrub the tires clean. No dressing of the tires or sealing of the wheels was performed.
With the wheels now clean, it was time to start on the paintwork. Rinsing the vehicle off revealed some remaining protection
And so I needed to strip this off before proceeding. Chemical Guys Maxi Suds II combined with Cyclo CM30 was used in the foam cannon before the vehicle was full washed using the 2BM.
Even during the wash process it was obvious as to how desperately the car needed to be clayed - I have never encountered such rough paint before
In this picture below you can clearly see all the over-spray on the car
It was so bad that you can easily see the paint suspended in the clay lube following claying
Some pics of the condition of the paint.
I used this section as a test spot for claying....
Before
After claying with medium grade clay (notice the micromarring)
So after a full 4 hours of claying with a combination of Clay Magic Blue and Purple clay I finally had the paint contamination free.


") Love that car looking for one to restore. Great job on it looks amazing.I have a MKV GTI.
Love that car looking for one to restore. Great job on it looks amazing.I have a MKV GTI.