lawrenceSA
New member
- Feb 7, 2012
- 1,713
- 0
Ok so yes...the official paint color is Bluish Black Pearl.... it is not some name that I made up for lack of knowing what the actual color is (lol)
Products used
Cyclo CM30 @ 3:1
Autofinesse Iron Out
Autofinesse Oblitarate
Optimum Opti Bond Tire Gel
Cyclo Polymer Hand Wash
Meguiars Cleaner Wax
Smart Wax Smart Dressing
ONR
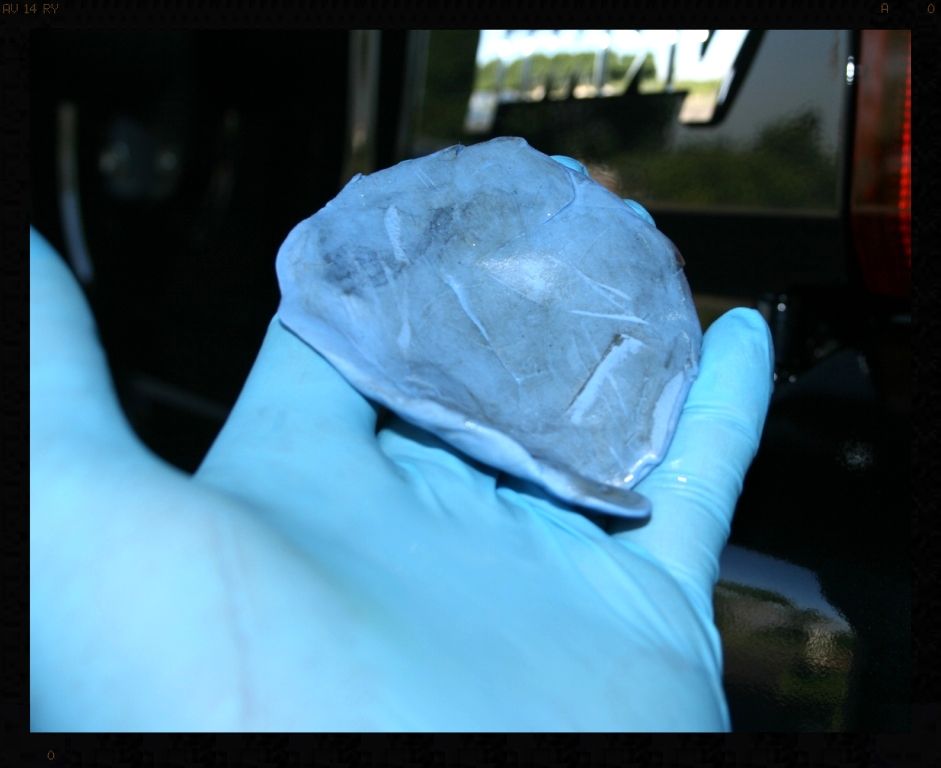
Clay Magic Blue Clay
LC Cyan Pads
LC tangerine Pads
Menzerna Black Finishing Pads
Menzerna FG400
Menzerna SF4000
Chemical Guys Black Light
Chemical Guys V7
Autoglym Fast Glass
Chemical Guys Bare Bones
Mother Aluminium and Mag Polish
Painters Tape
Foam Applicator pads
Various MF Towels
Various brushes
HP washer
Foam Cannon
PC 7424
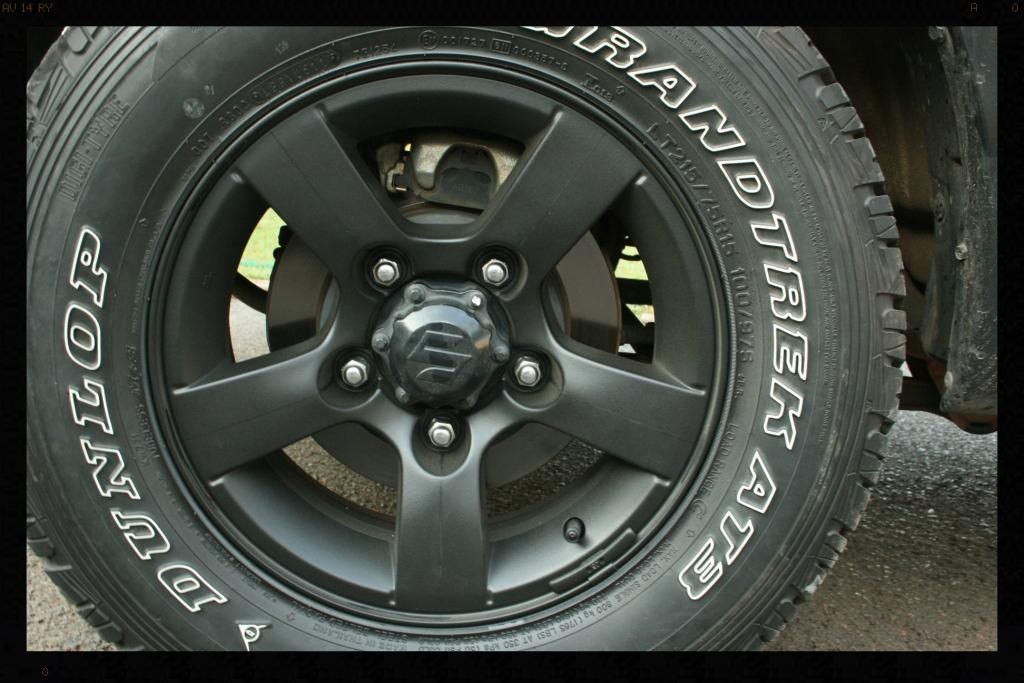
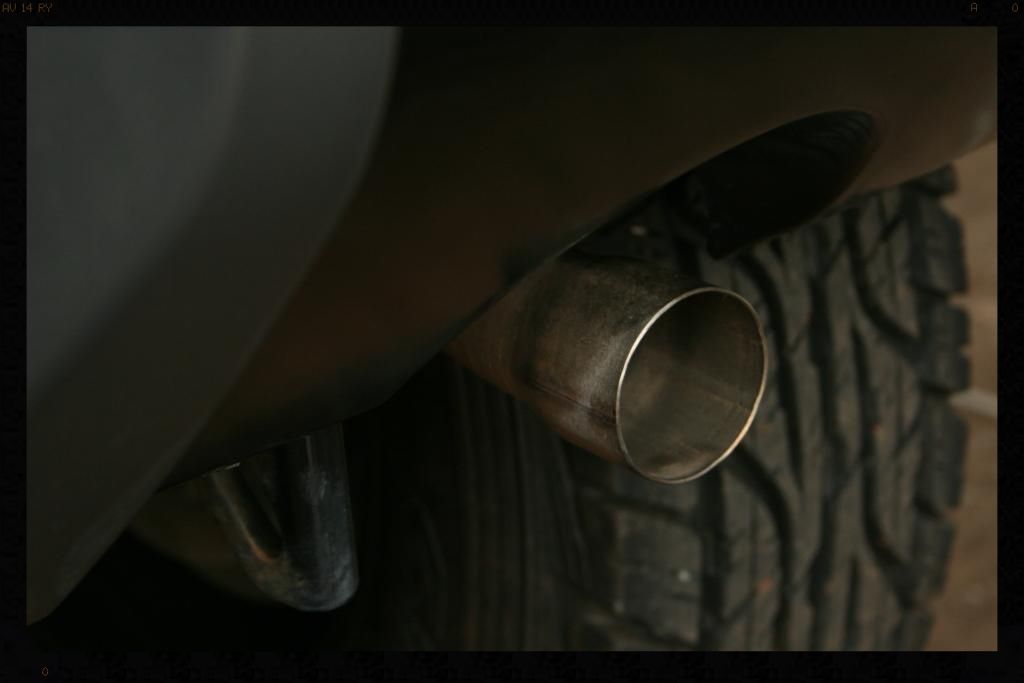
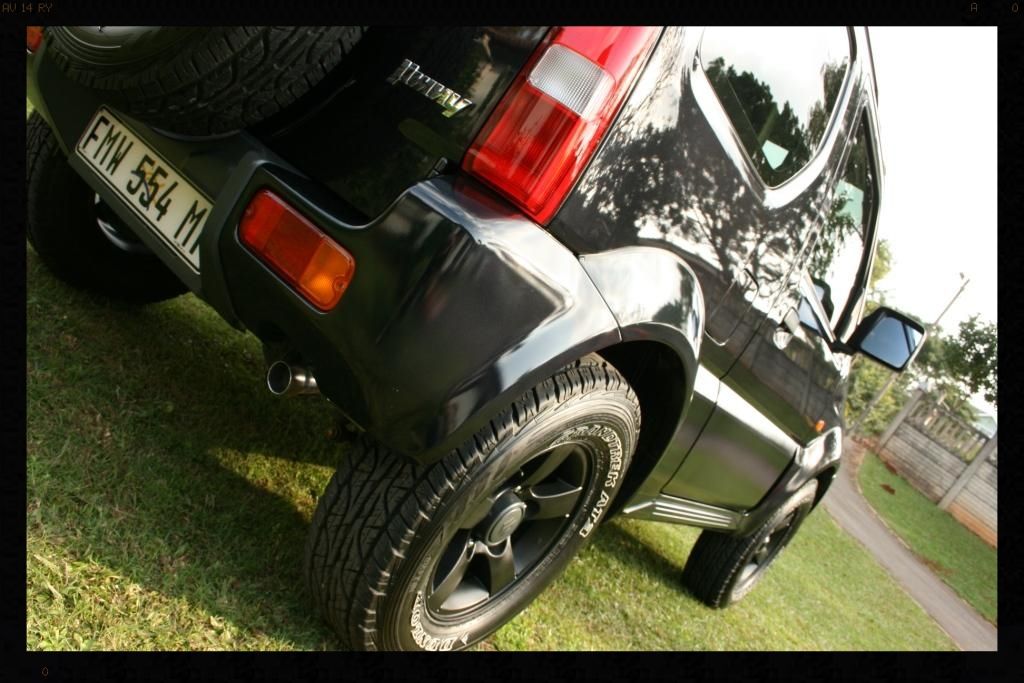
The customer had plasti-dipped his wheels the day before the vehicle arrived with me and the brief was therefore to only wash the wheels with normal 'soapy water' - I must say that after removing the spare wheel to clean it, and behind it, I certainly think the wheels look a lot better in black.
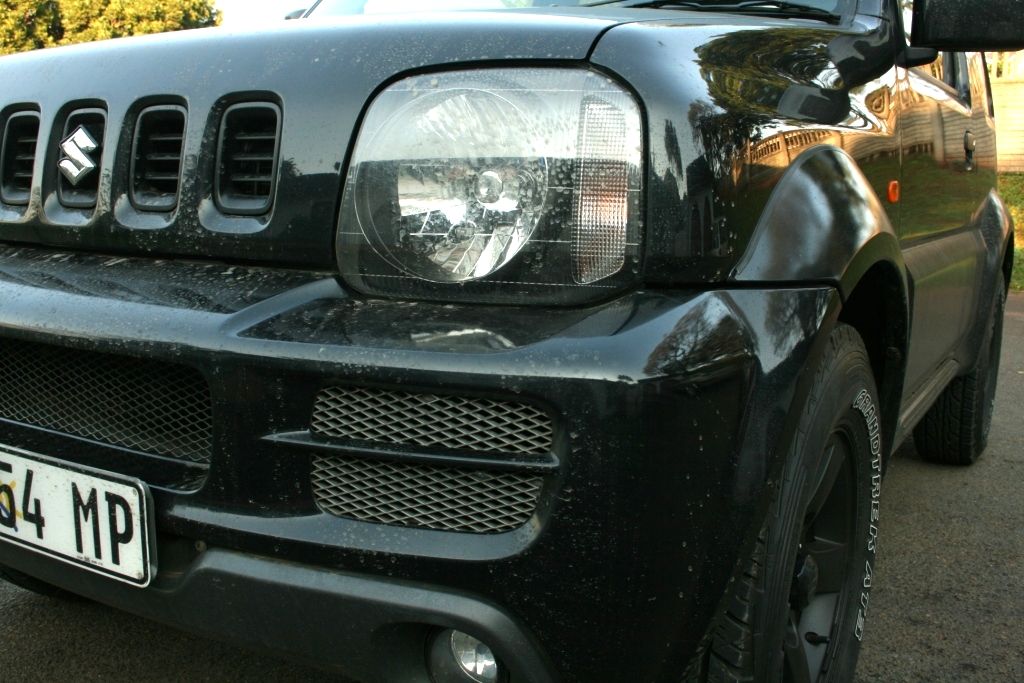
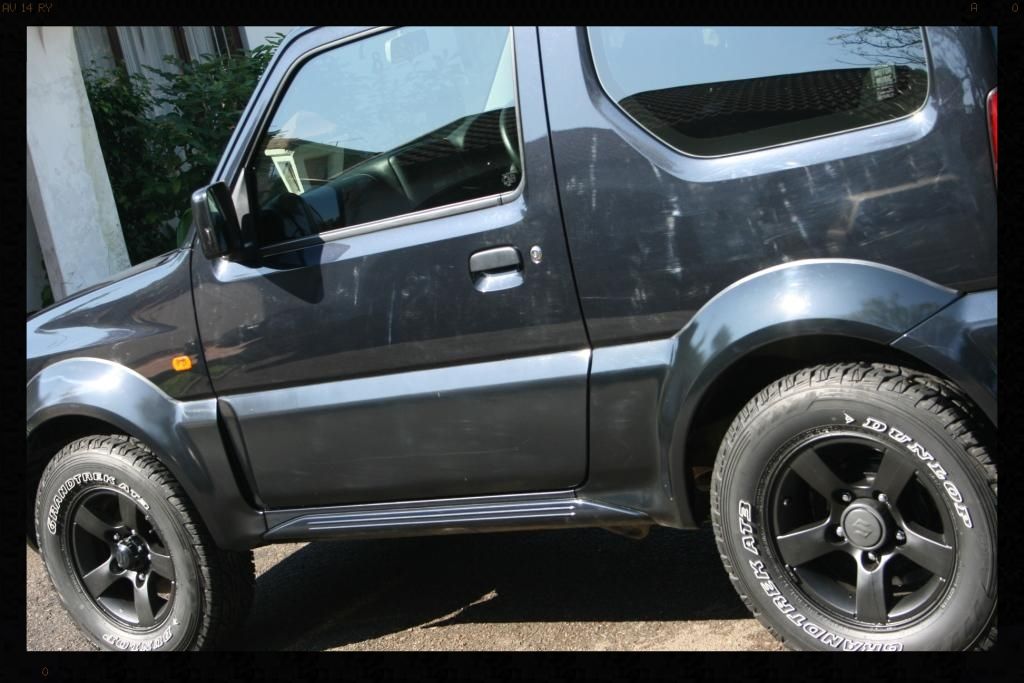
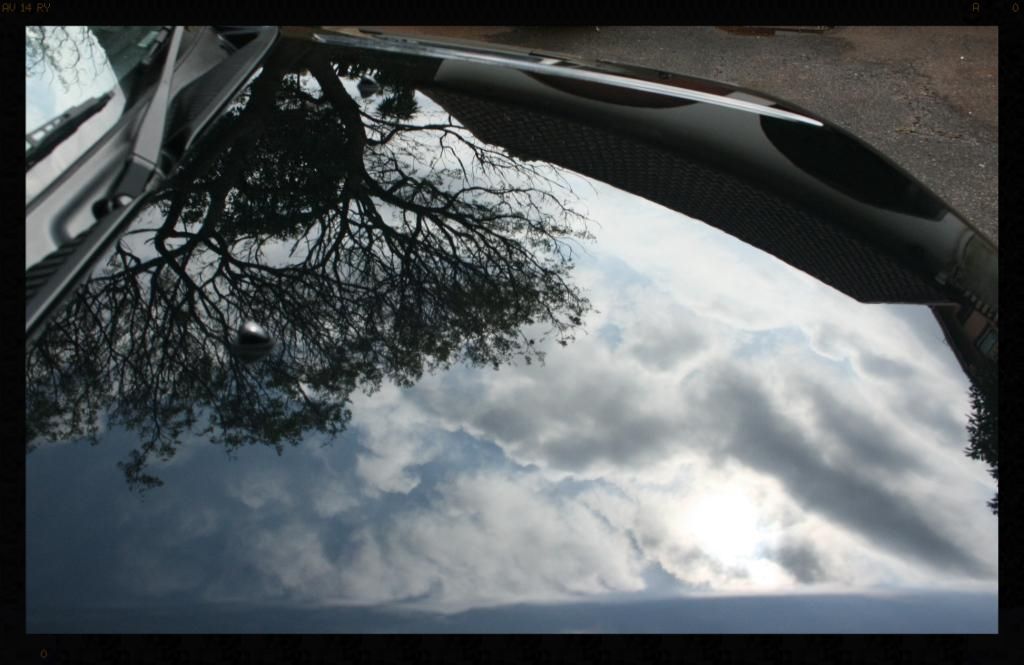
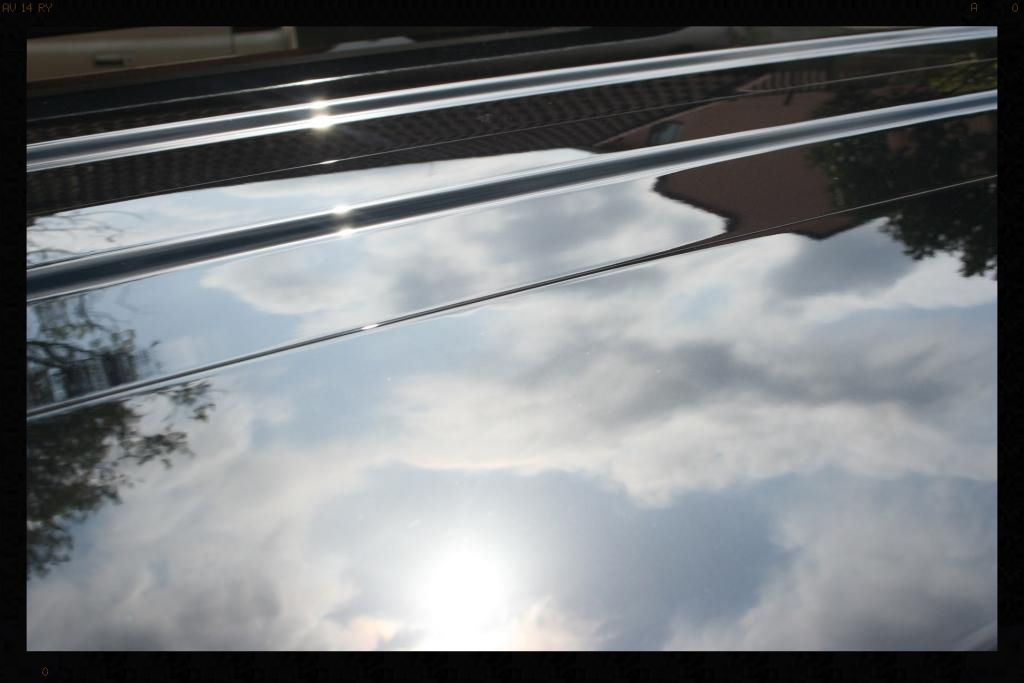
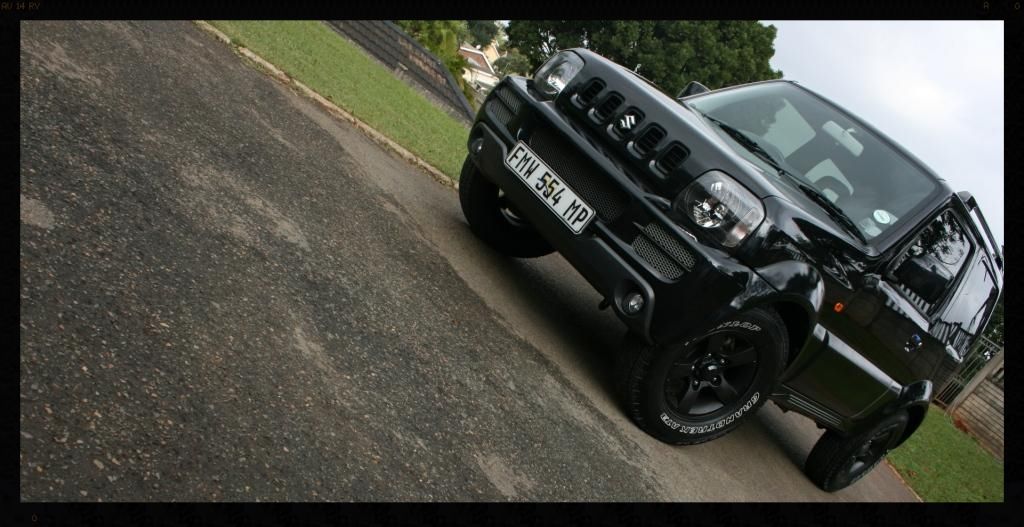
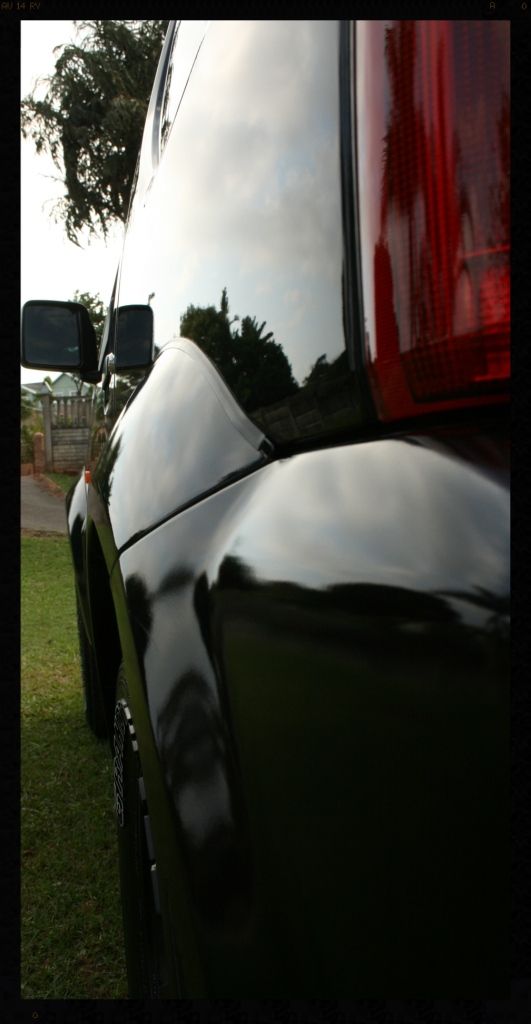
Here are some pics of how the rest of vehicle looked on arrival.
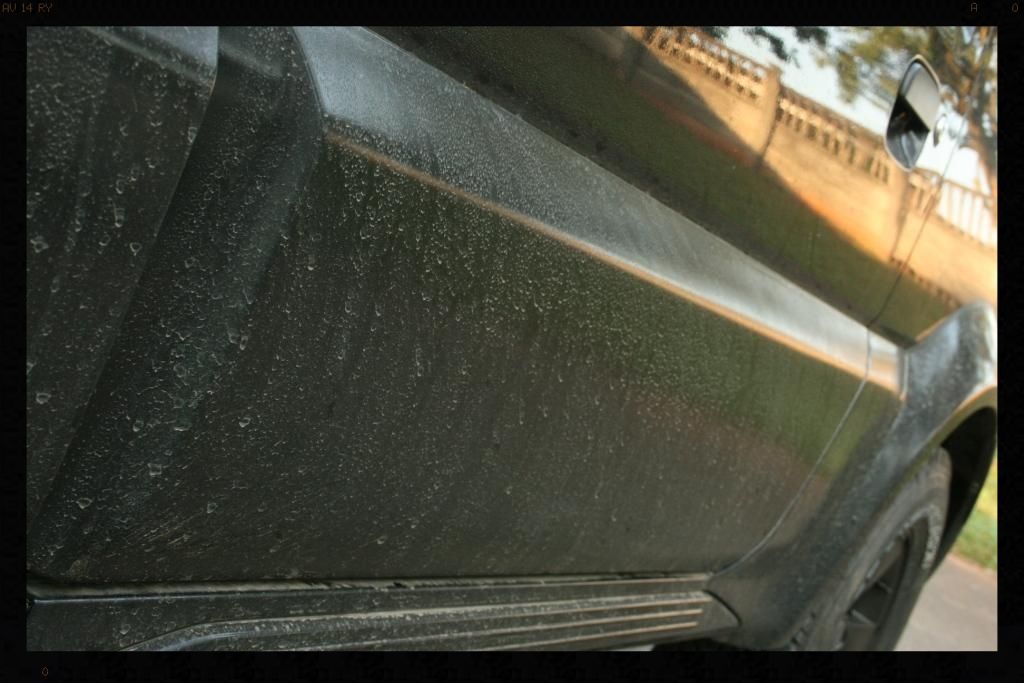
Water spots
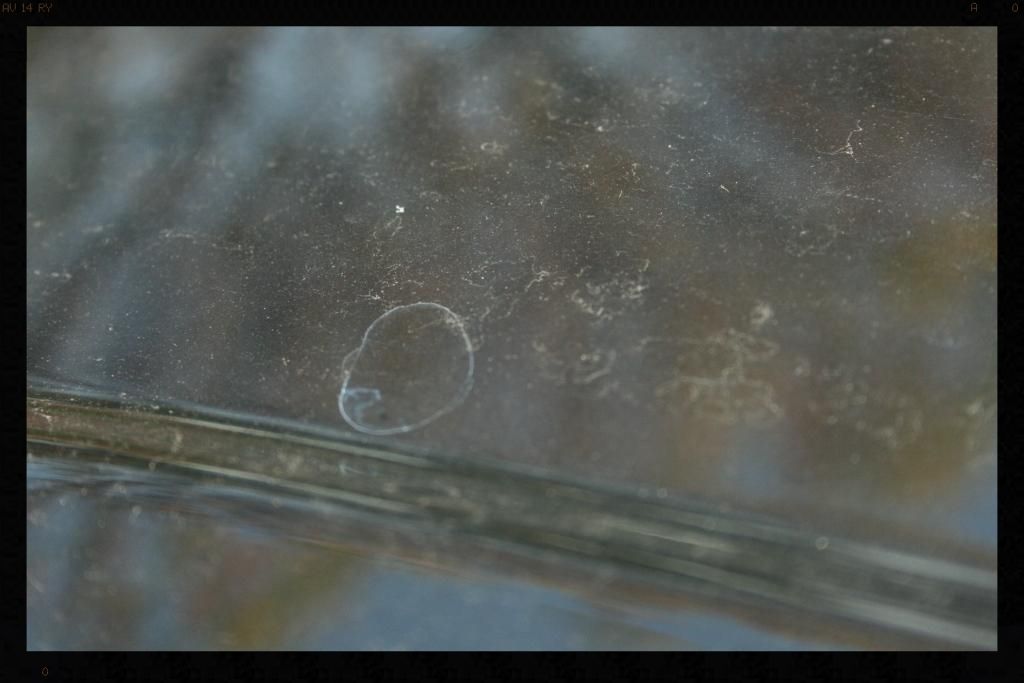
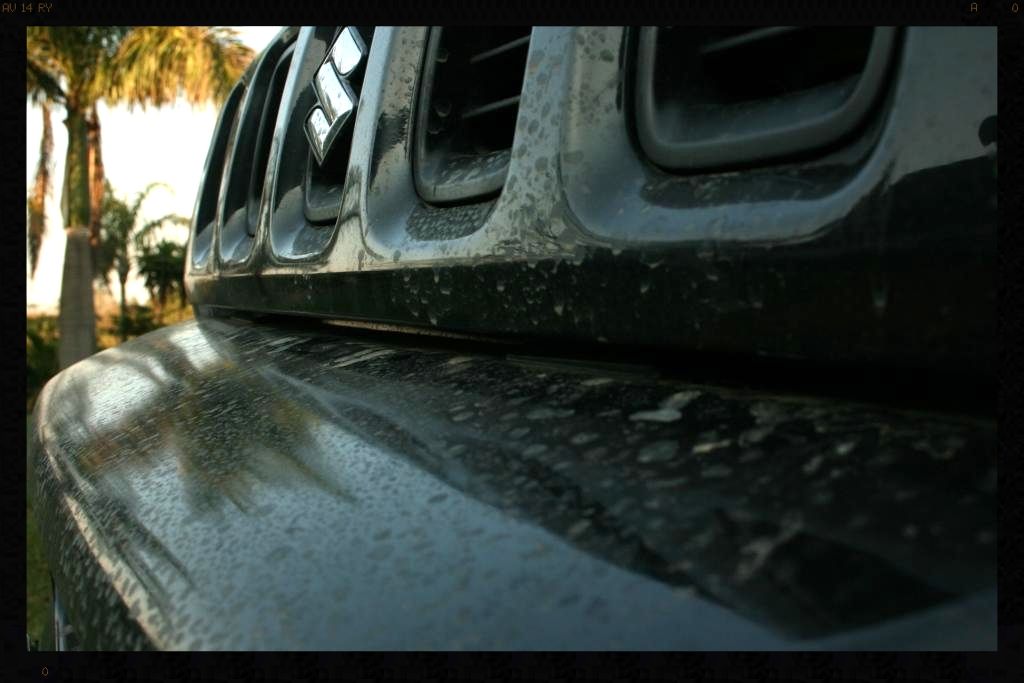
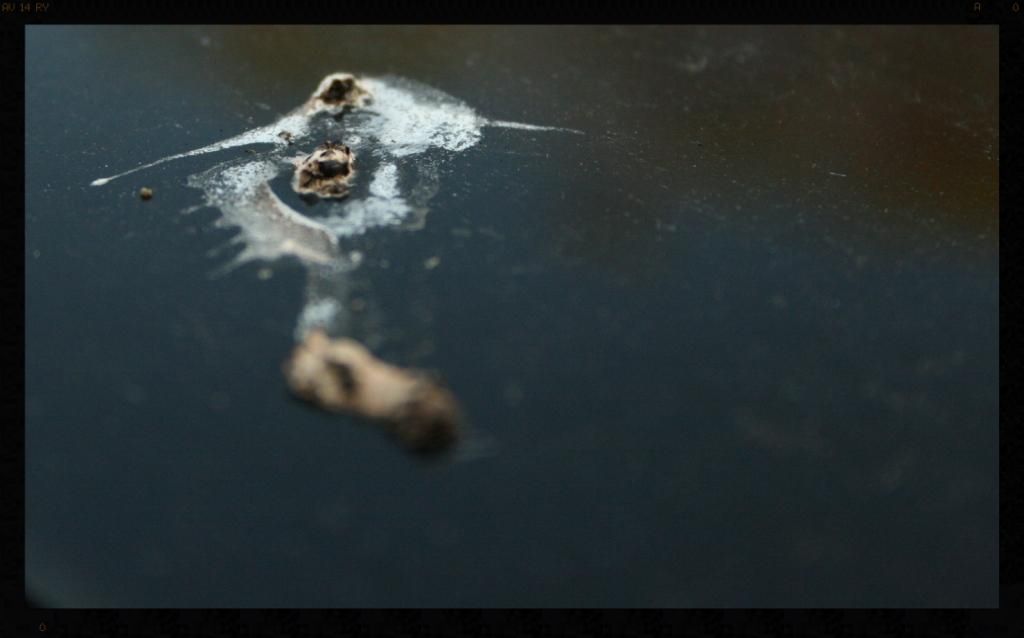
Bird Bomb You will see the damage that this does to clear coat a little later in the write up
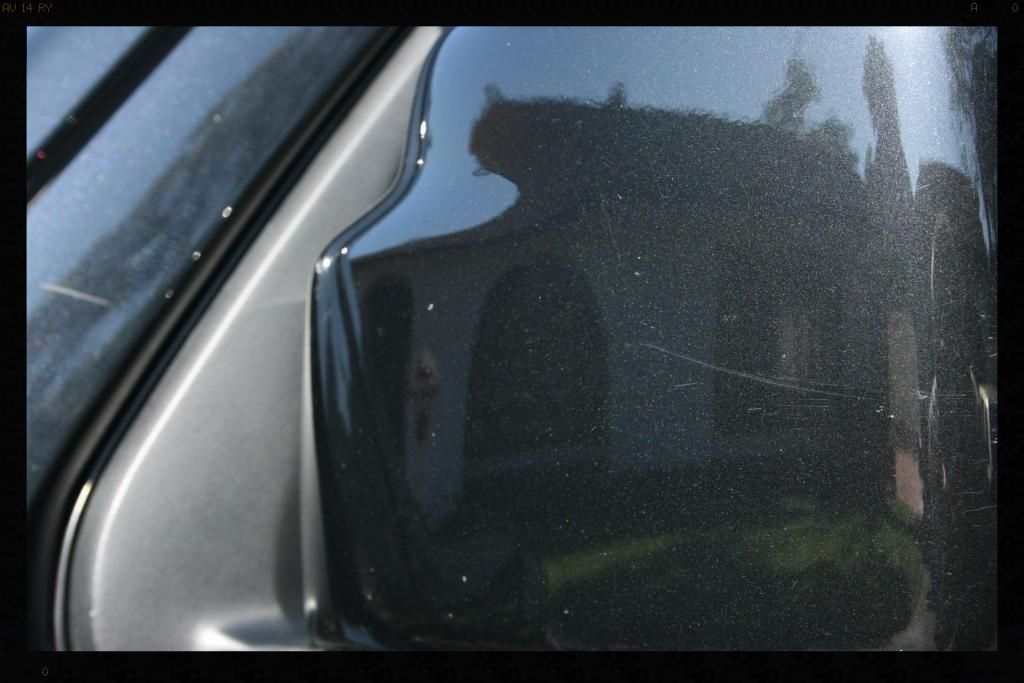
The vehicle was pre-foamed and washed, all the tar removed and a full iron decontamination completed. Any remaining contamination was removed through claying.
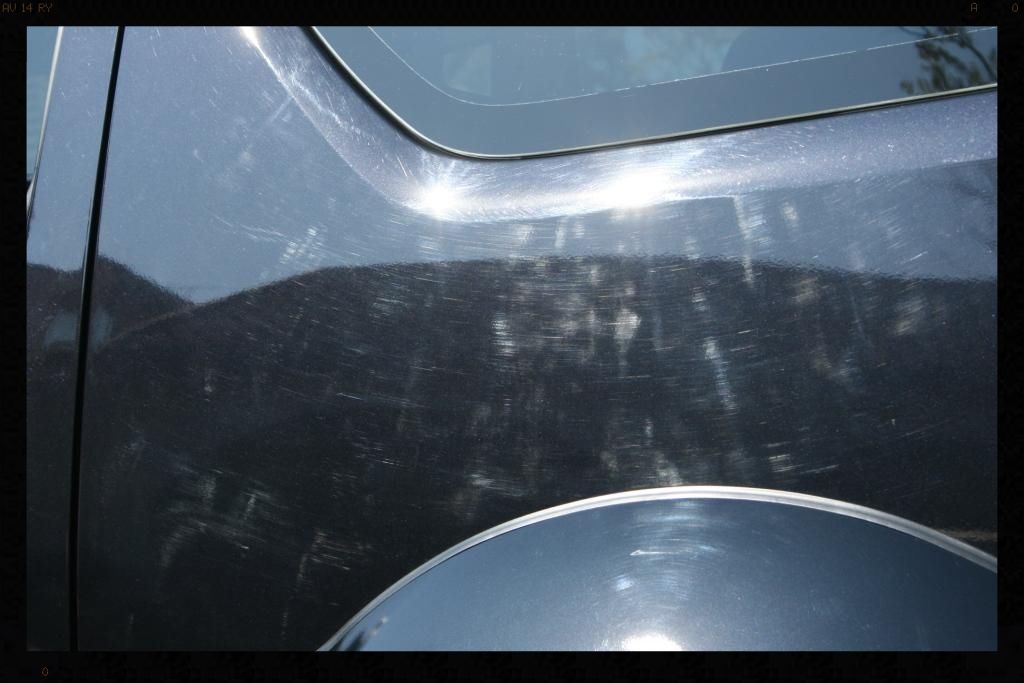
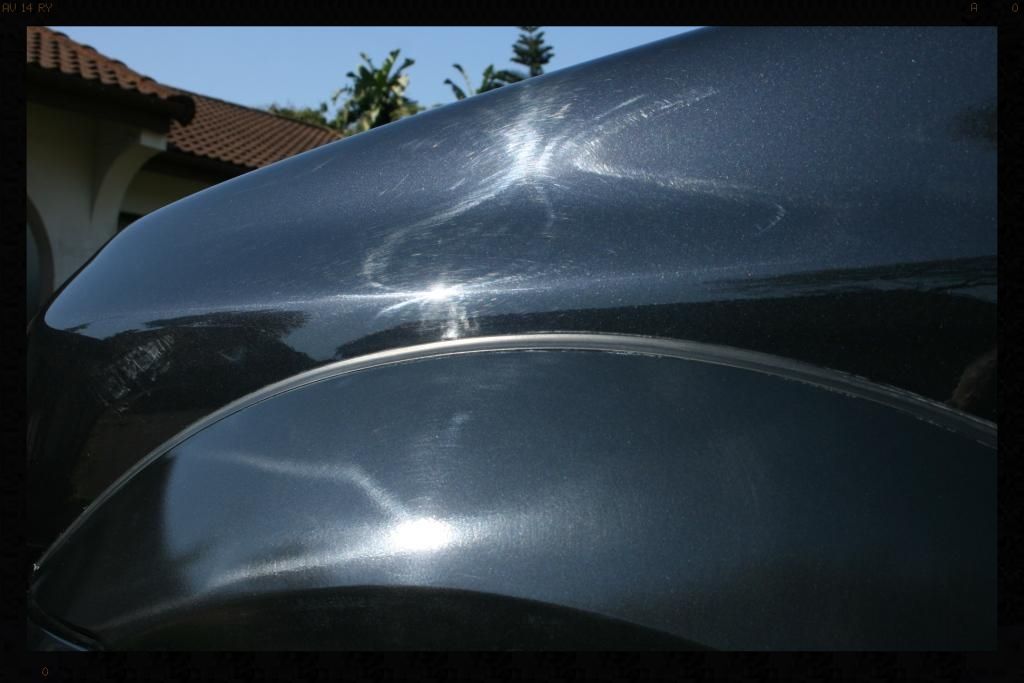
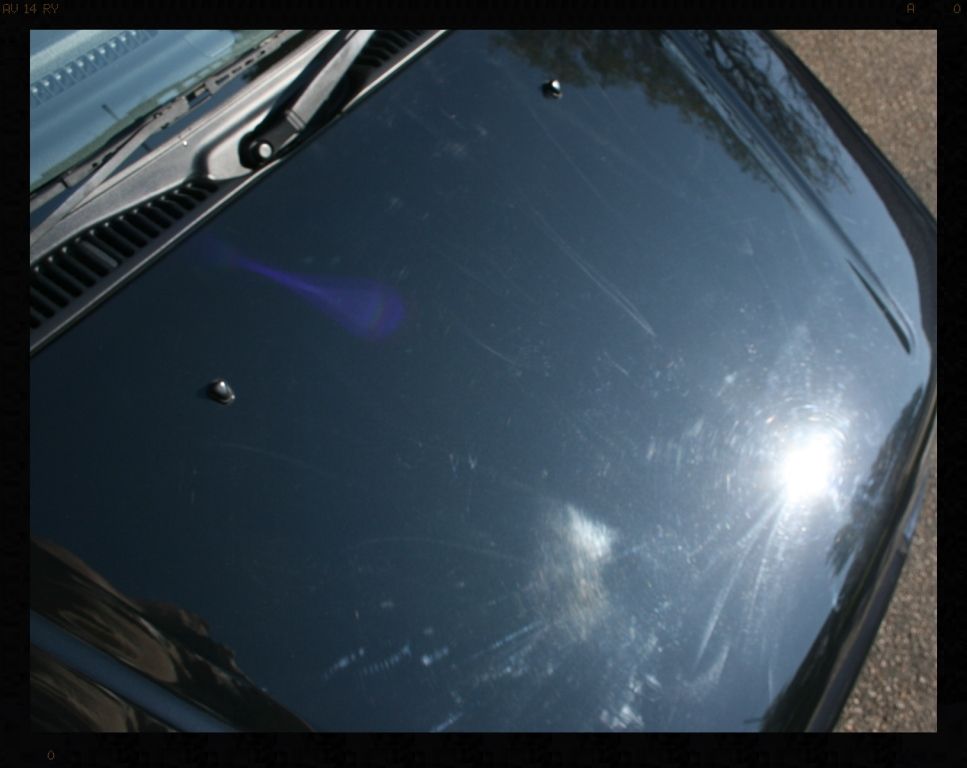
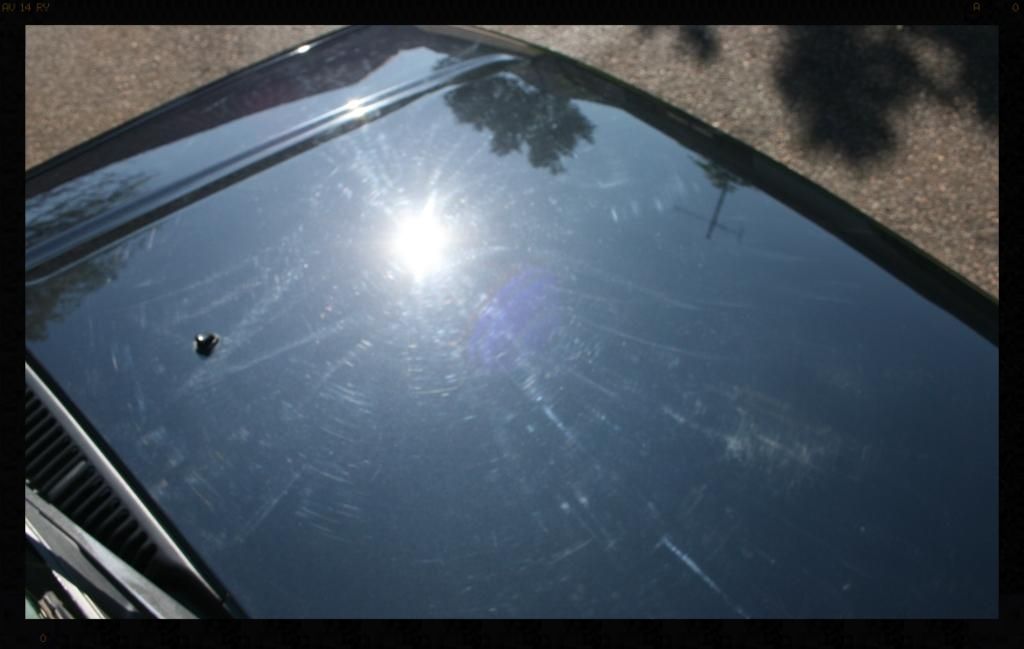
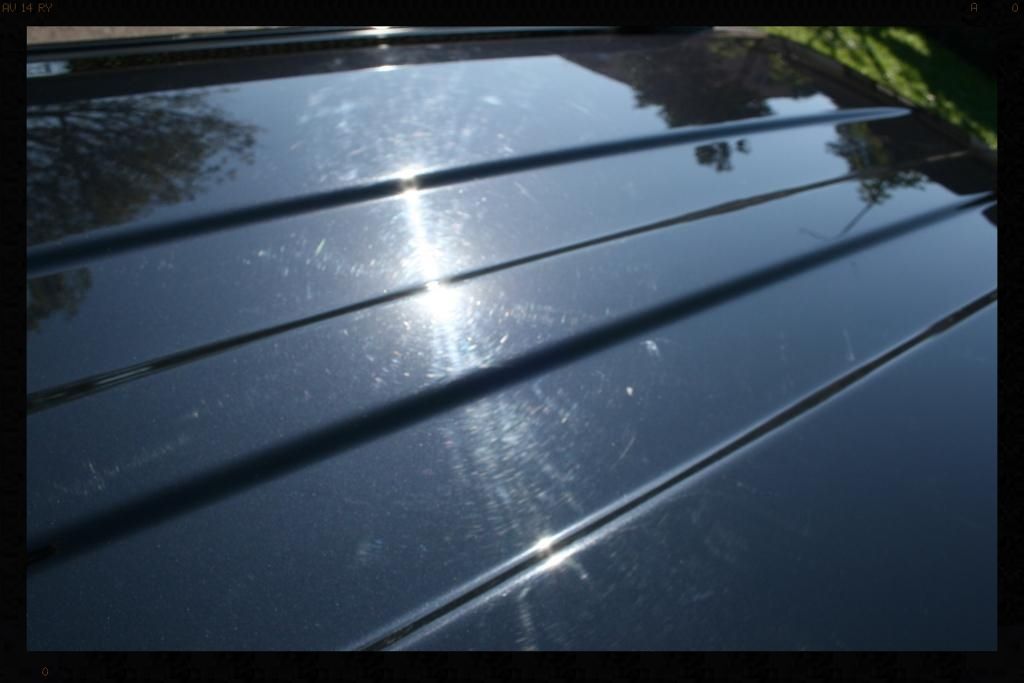
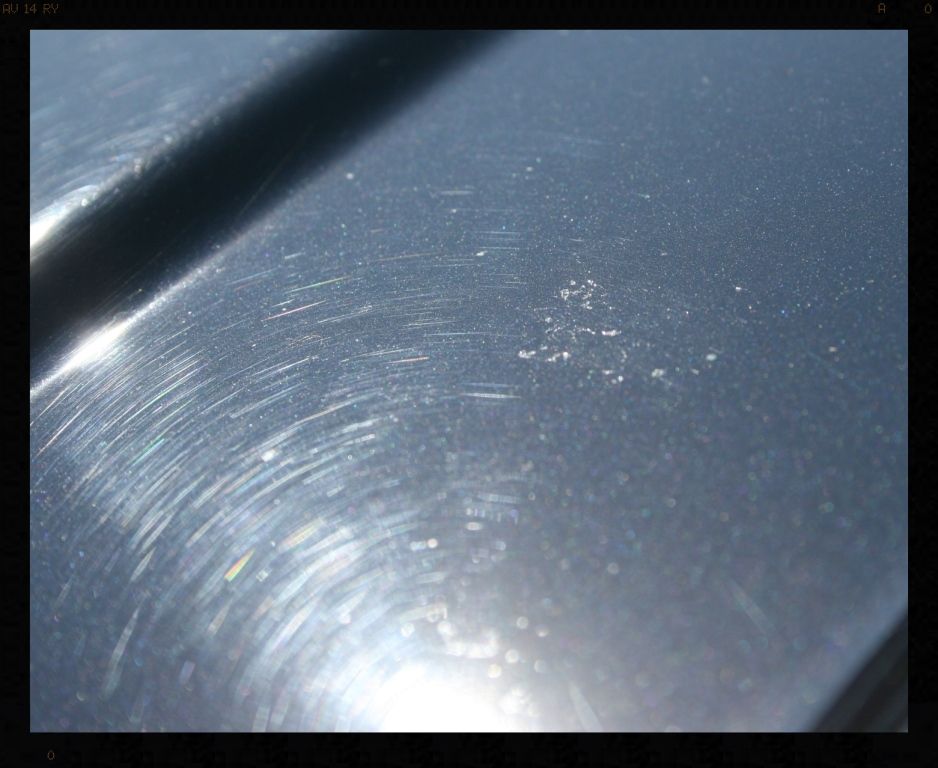
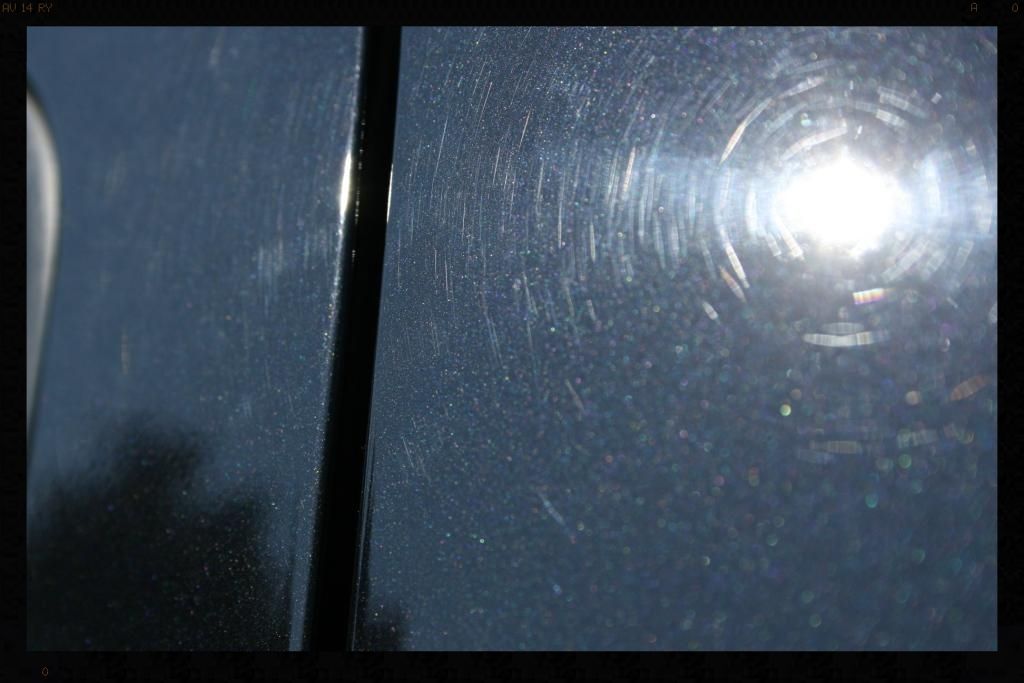
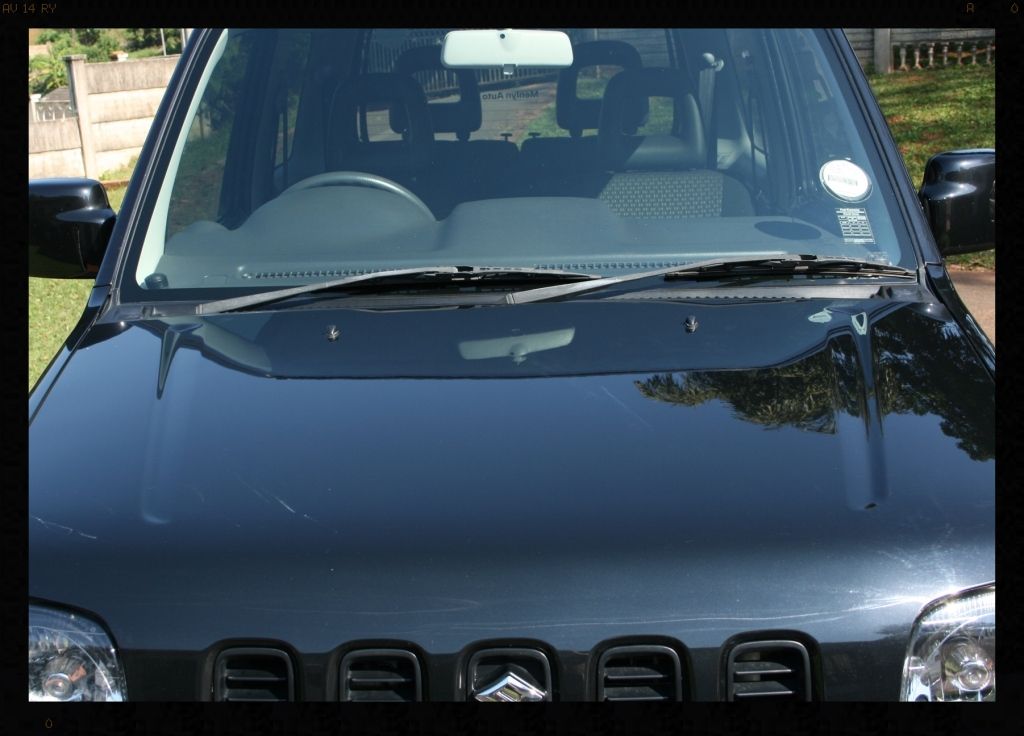
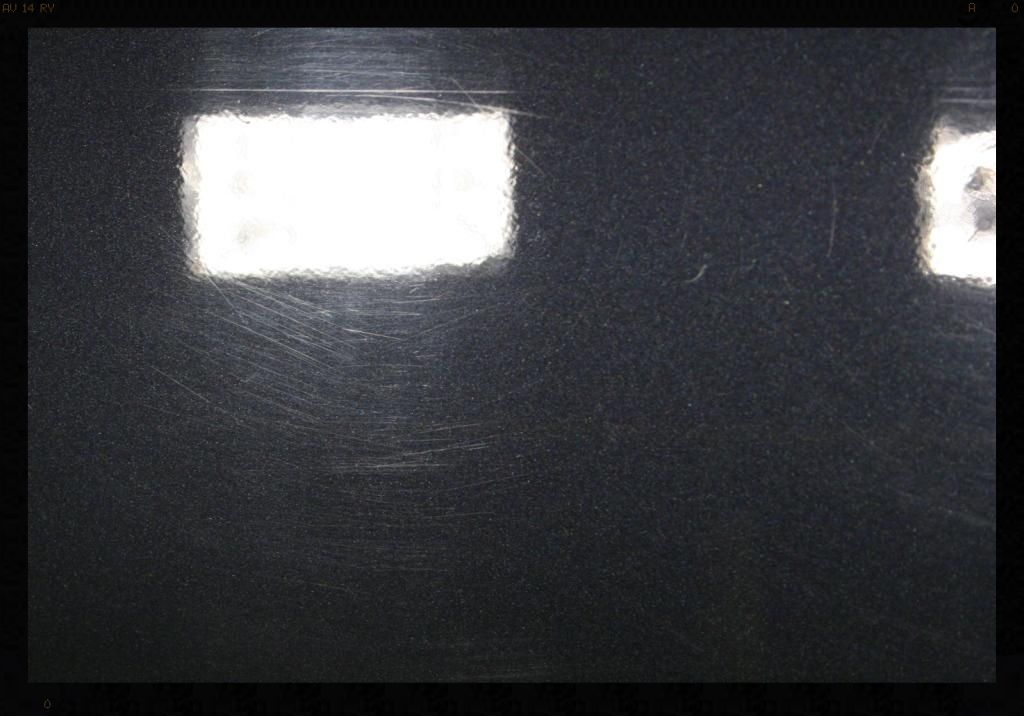
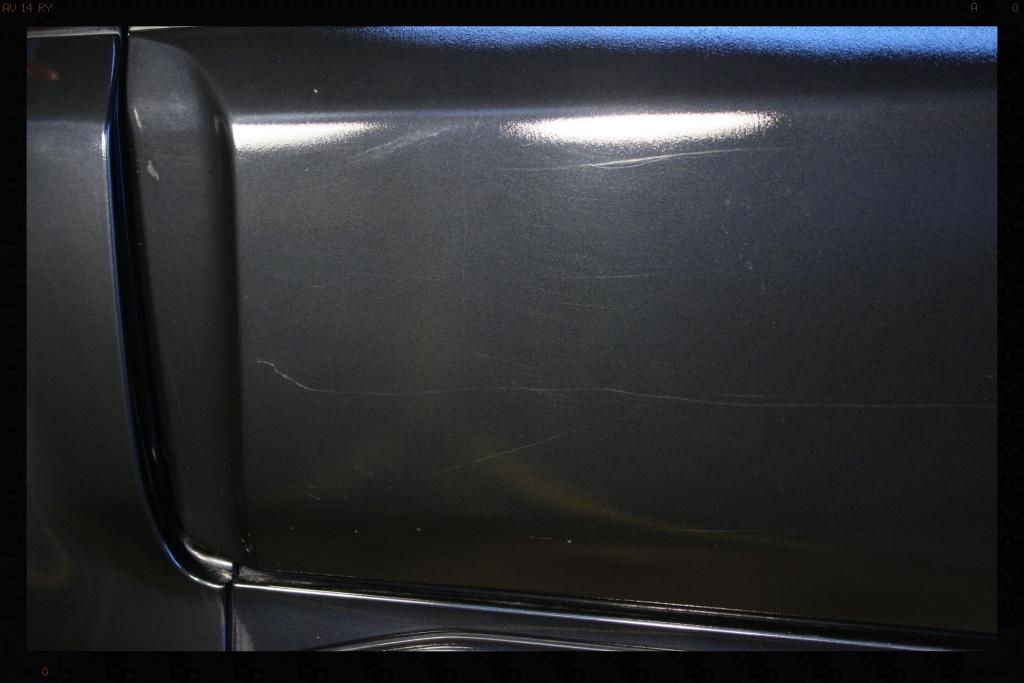
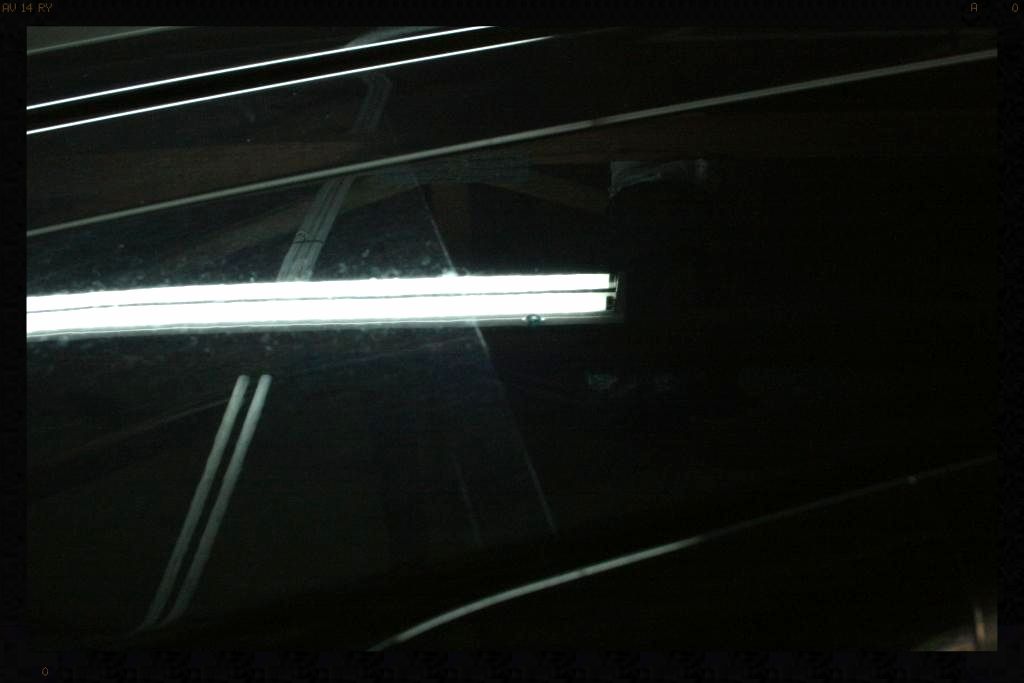
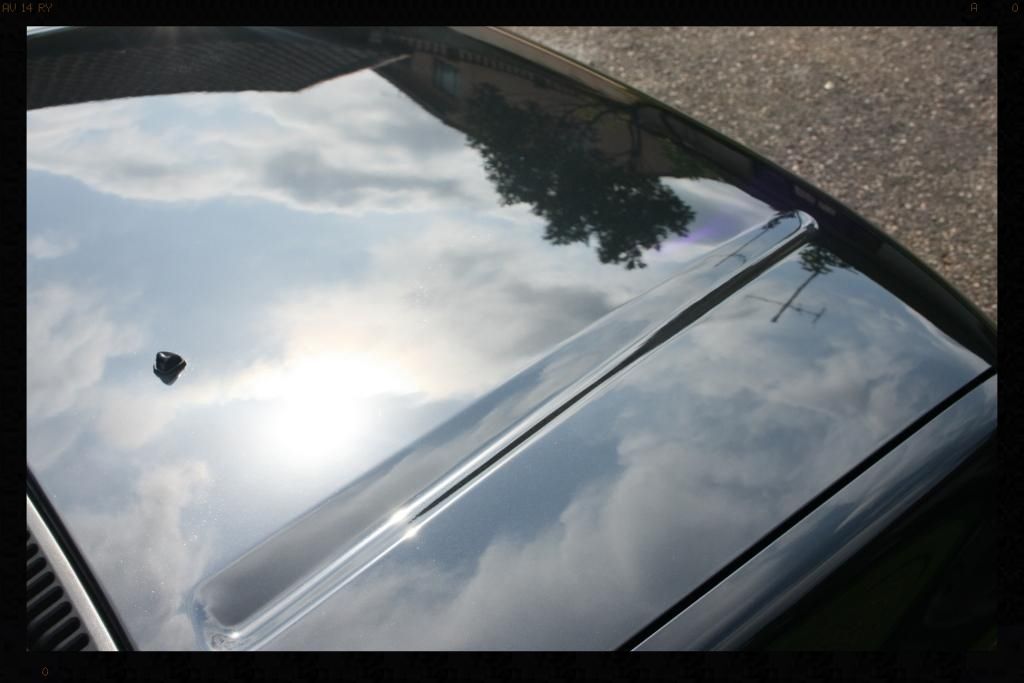
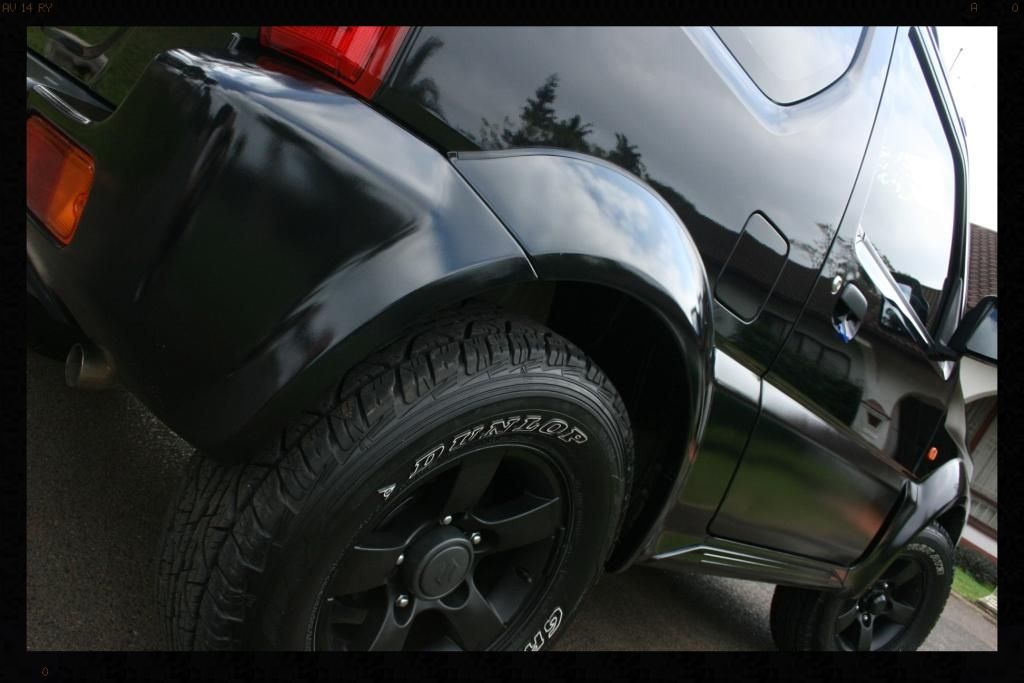
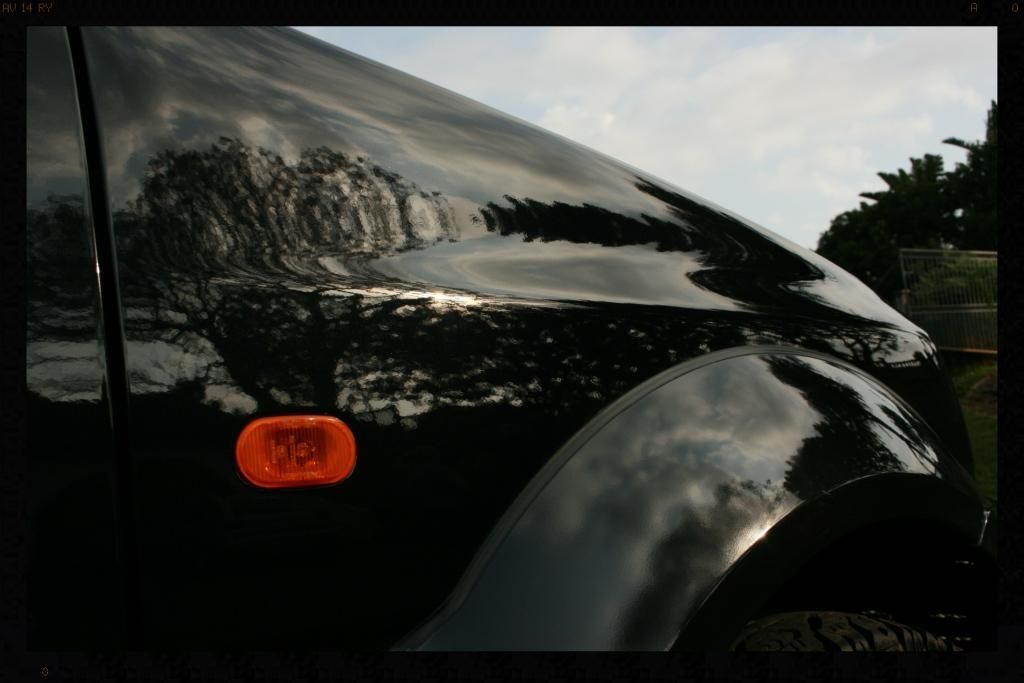
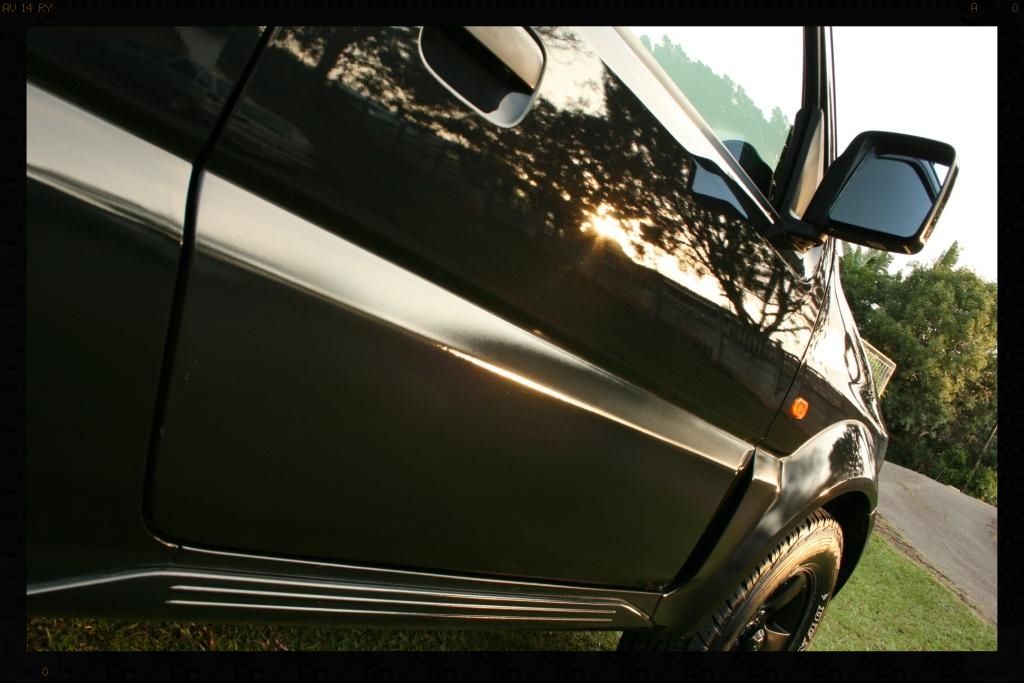
Now you are able to see just how bad the actual paintwork is.... loads of swirls, RDS and what looked like some buffer trails on the bonnet
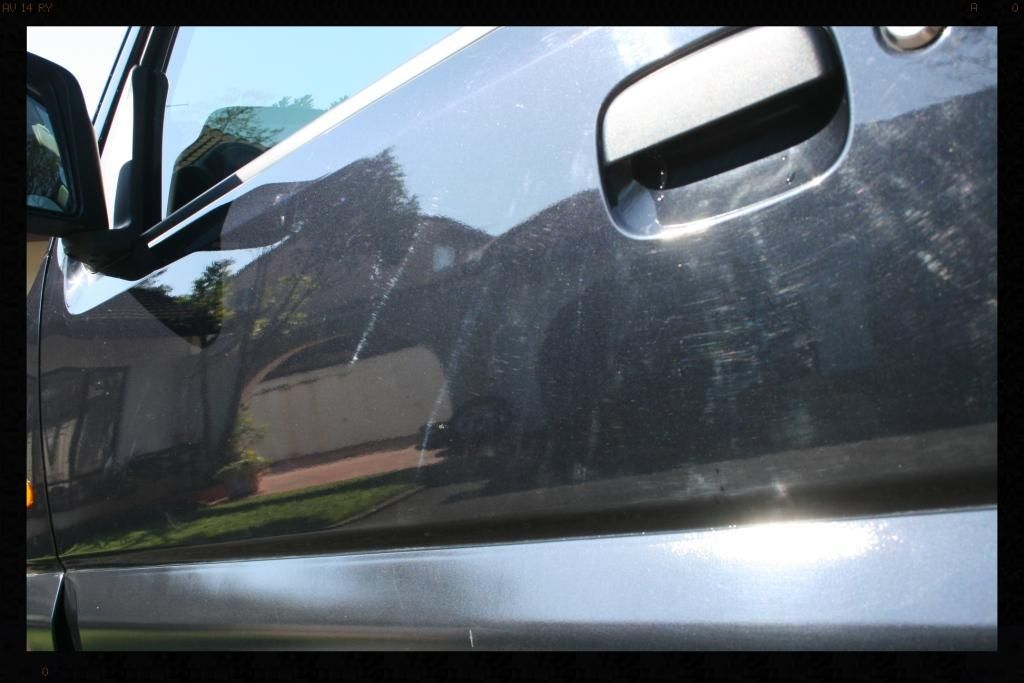
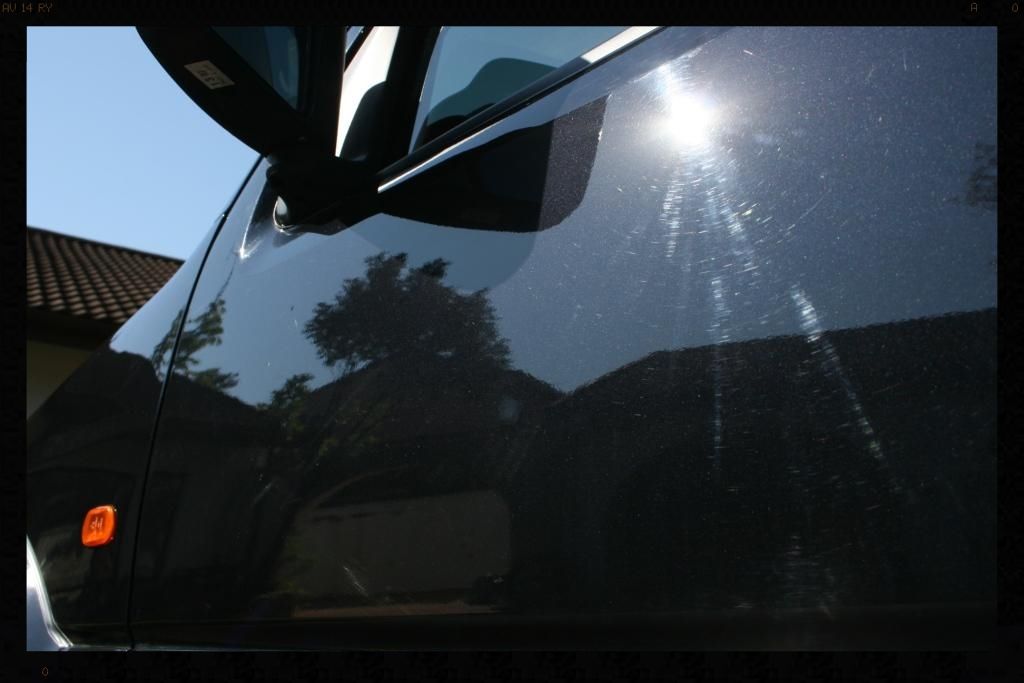
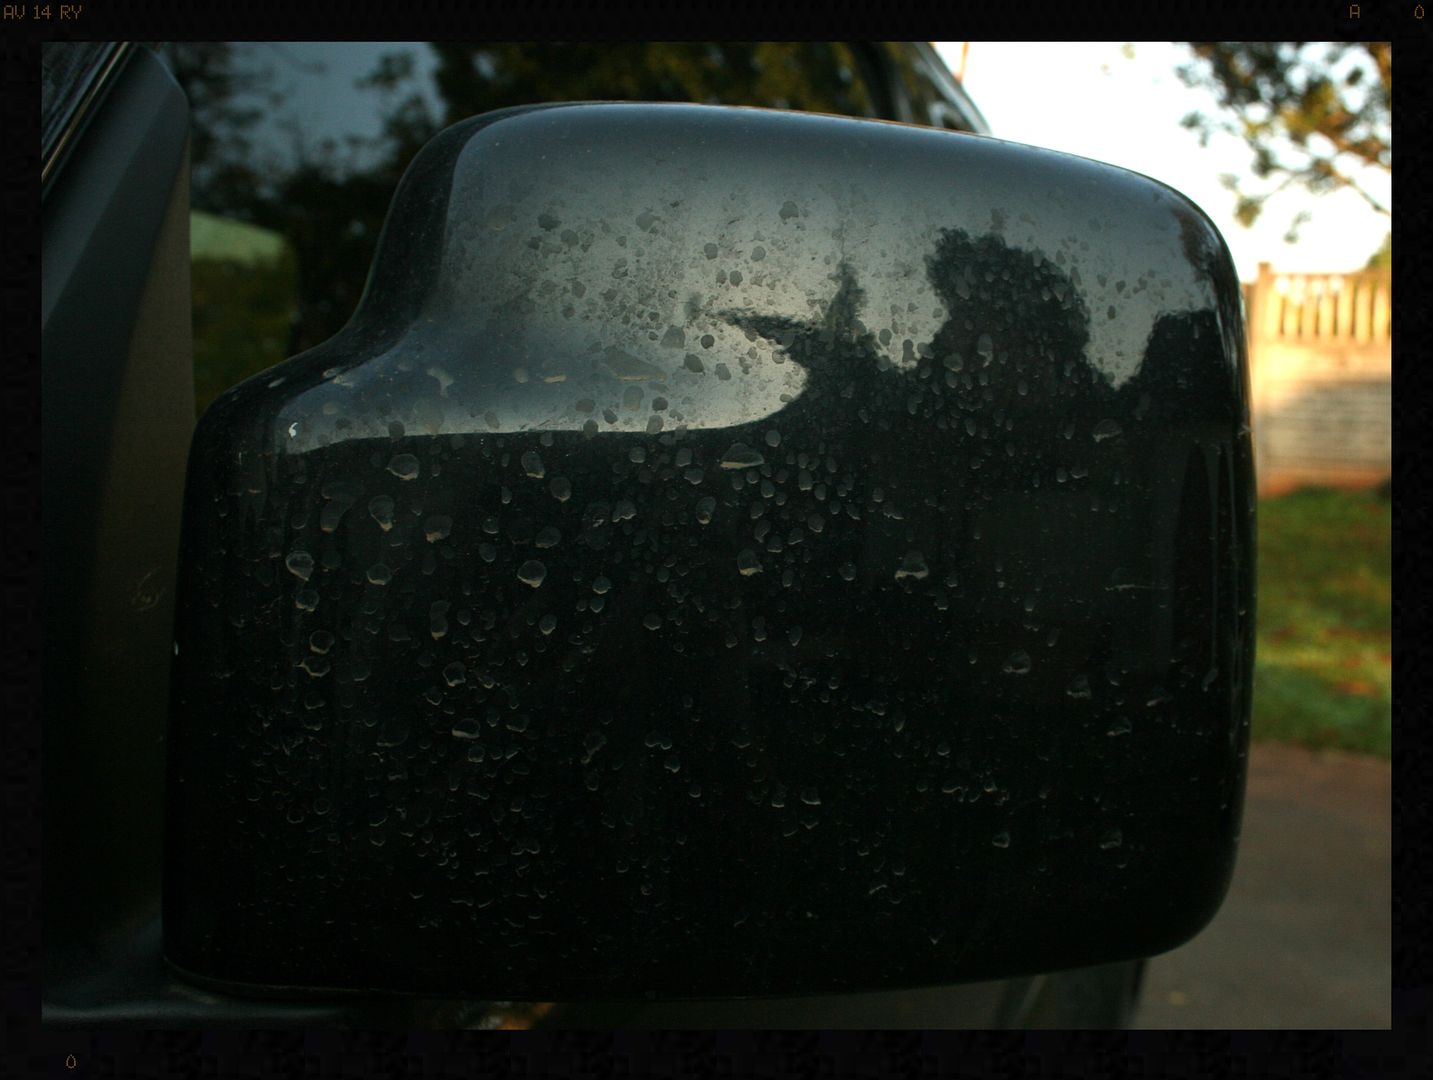
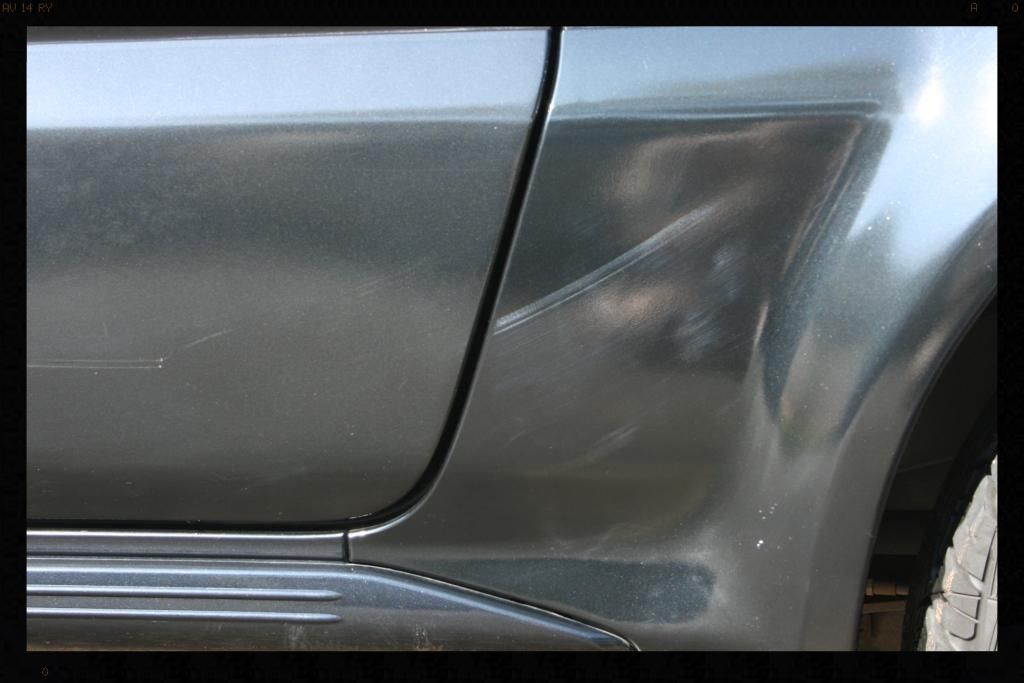
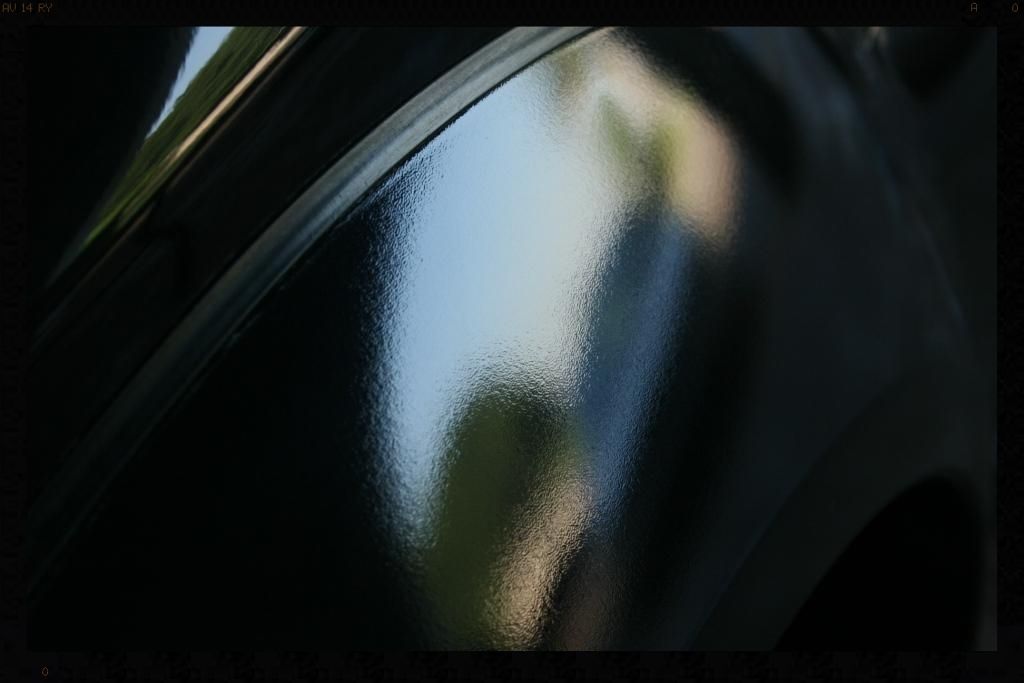
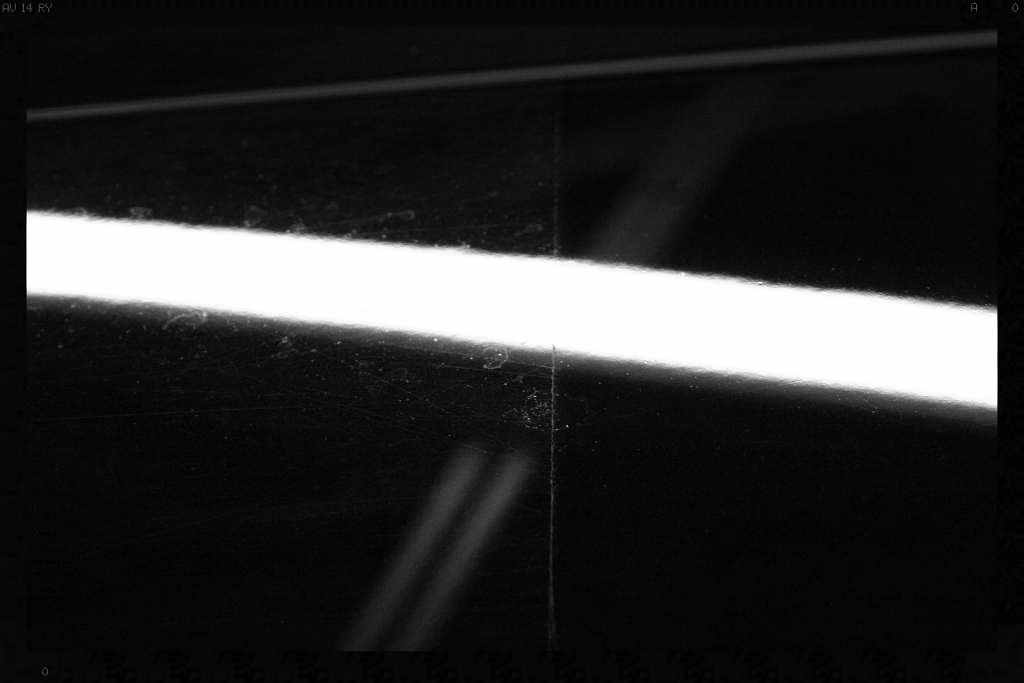
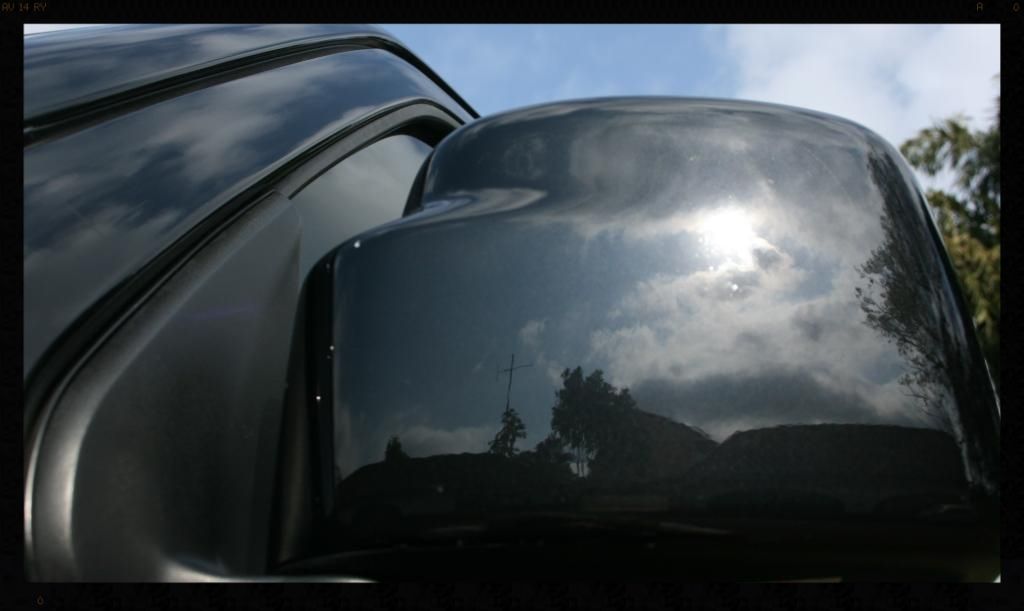
Notice the deep scratches in the mirror - you will see and after shot later where these were all removed
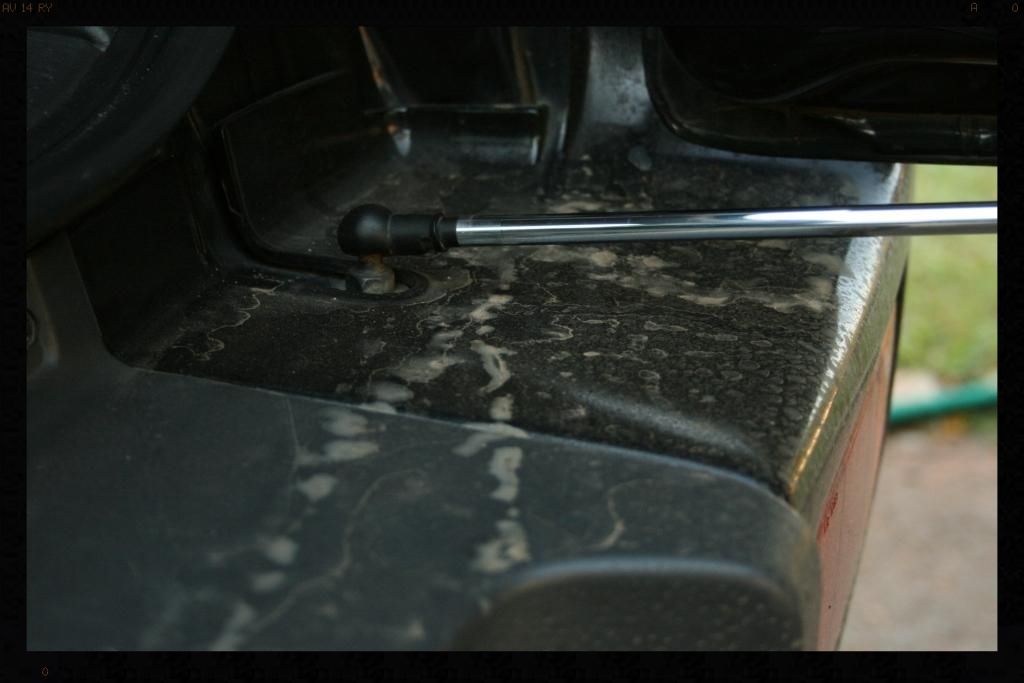
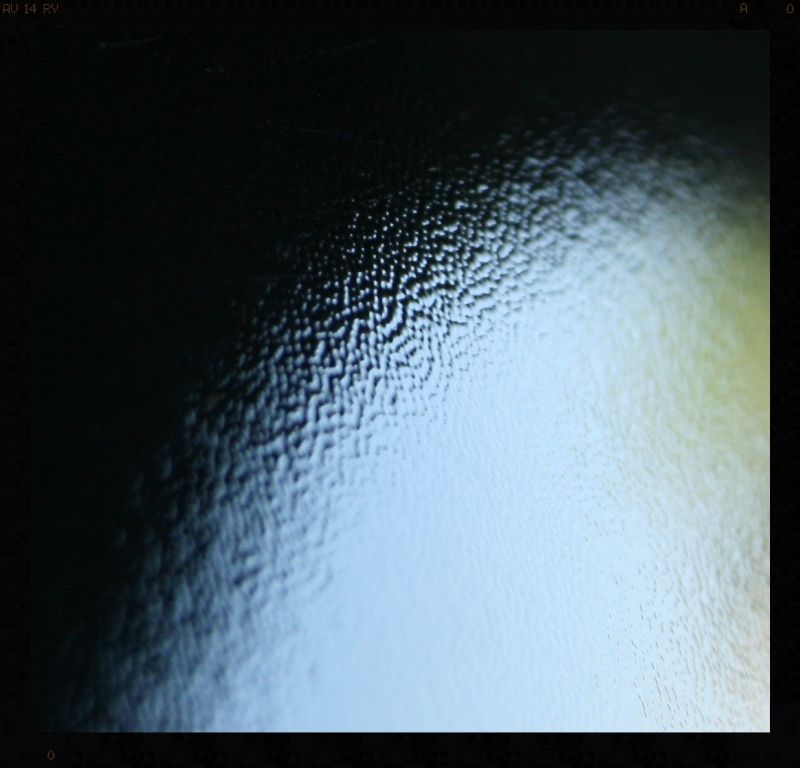
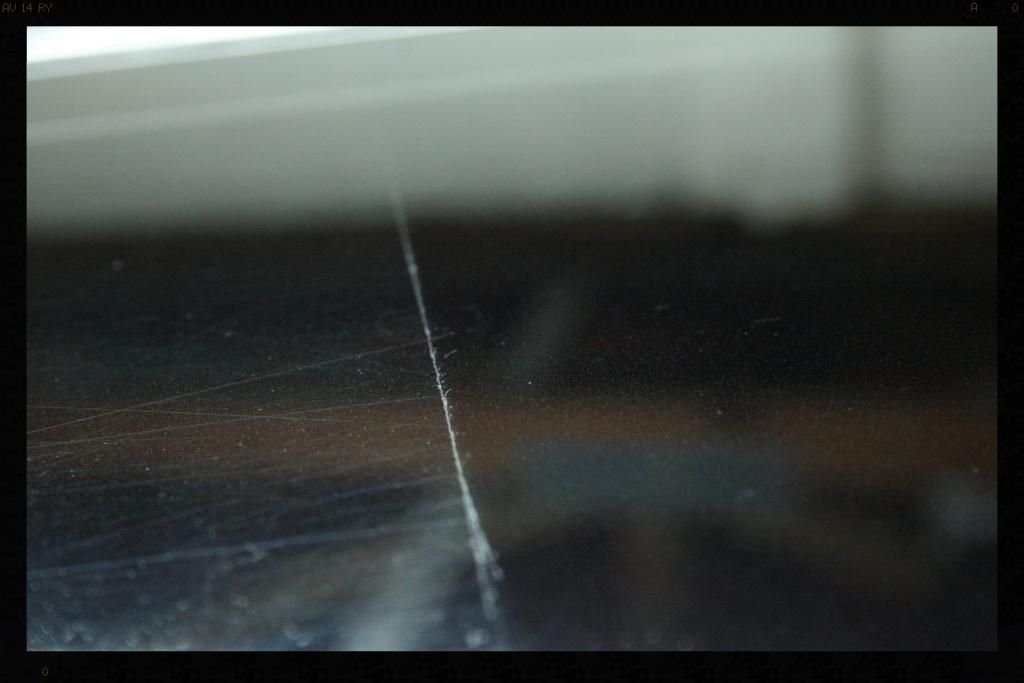
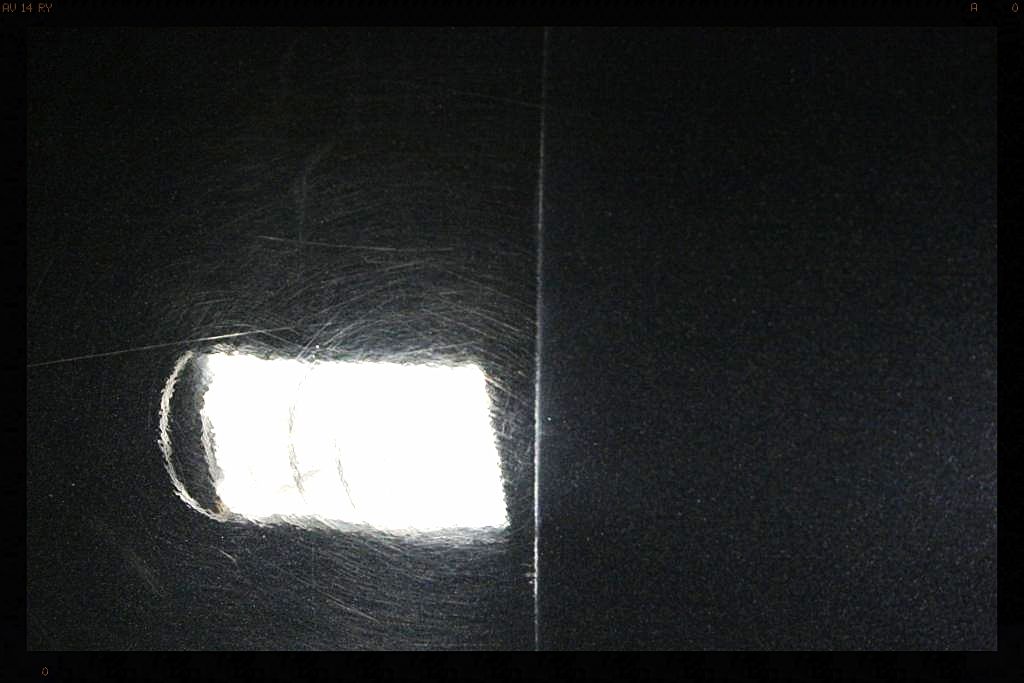
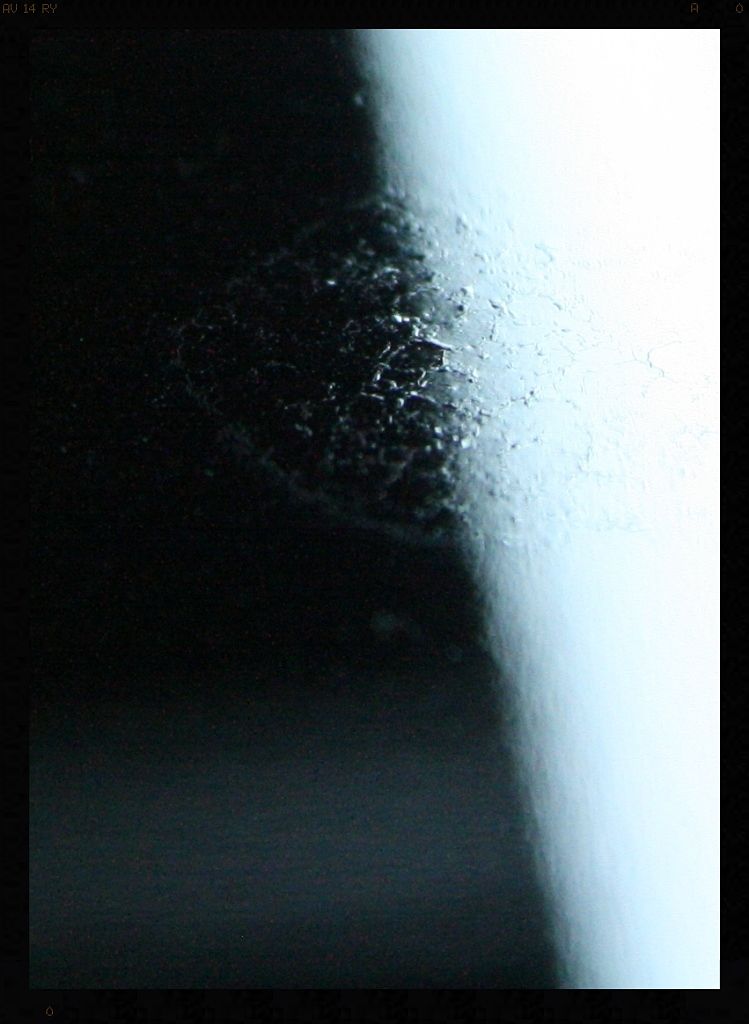
This is a picture from one of the plastic panels on the car - as you can see the finish is really not that great
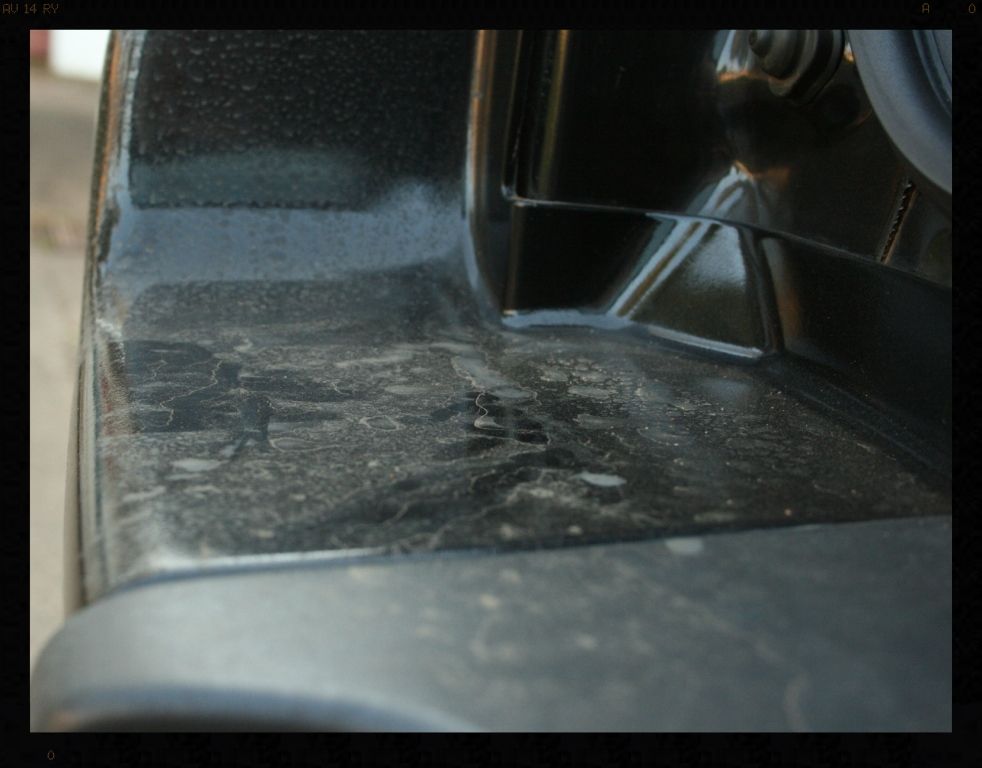
And now zoomed in really close
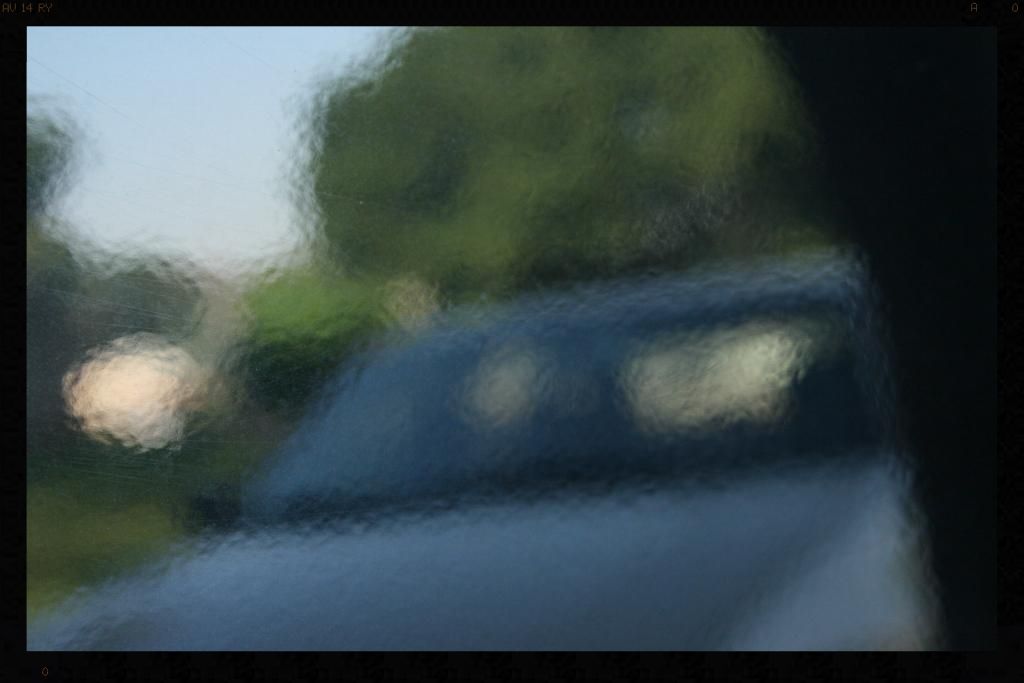
This meant that trying to polish the surface completely smooth would be impossible, resulting on a somewhat matt finish (when compared to the rest of the 'metal' panels) which is quite evident in the after shots.
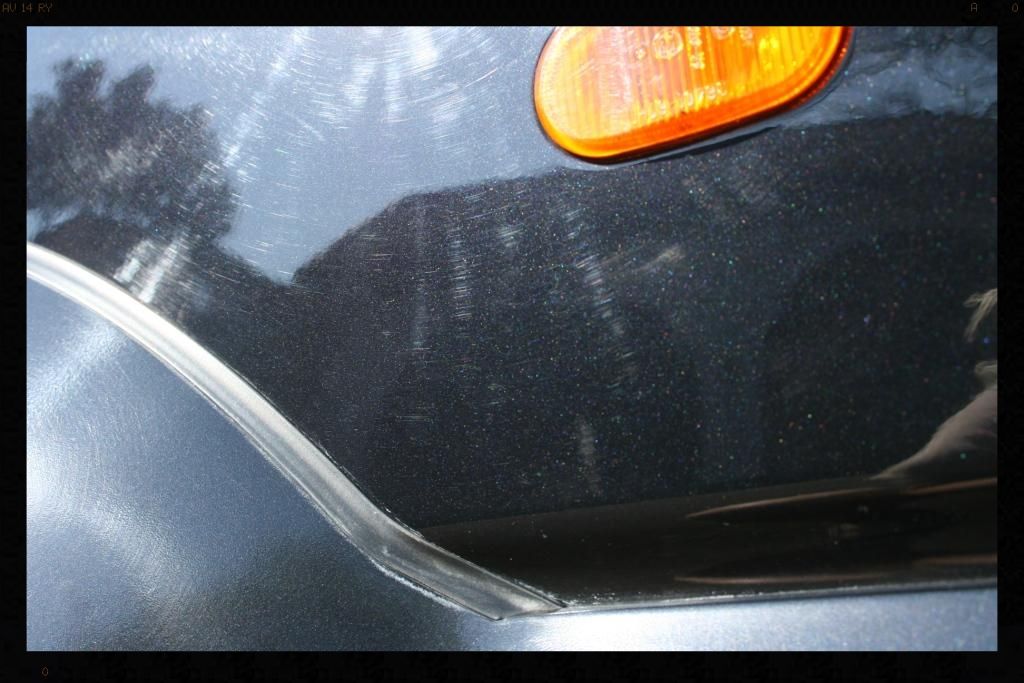
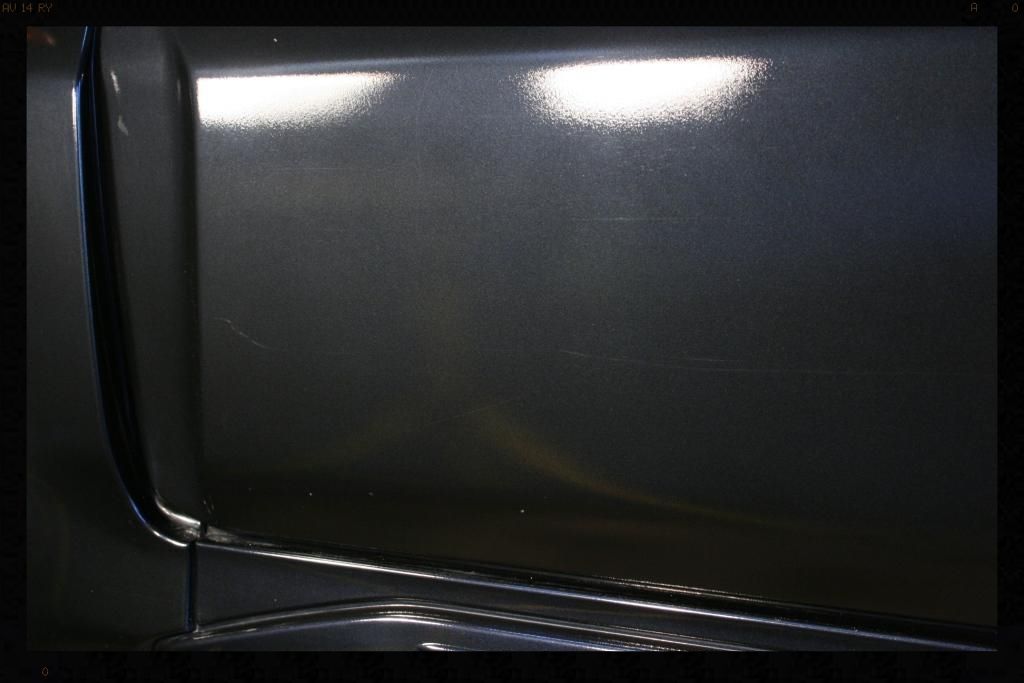
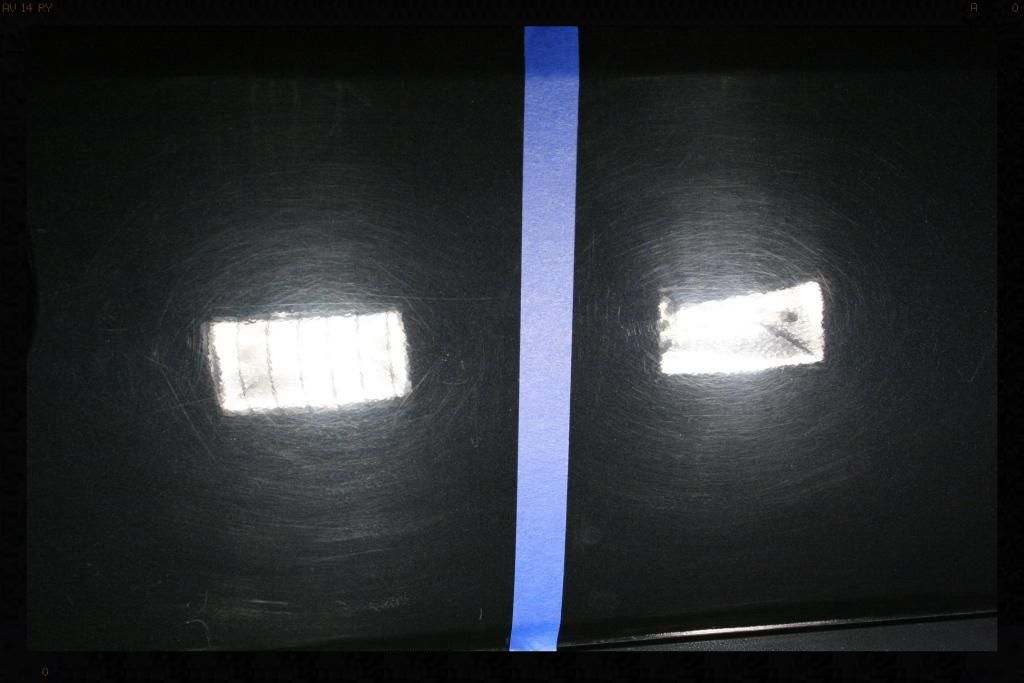
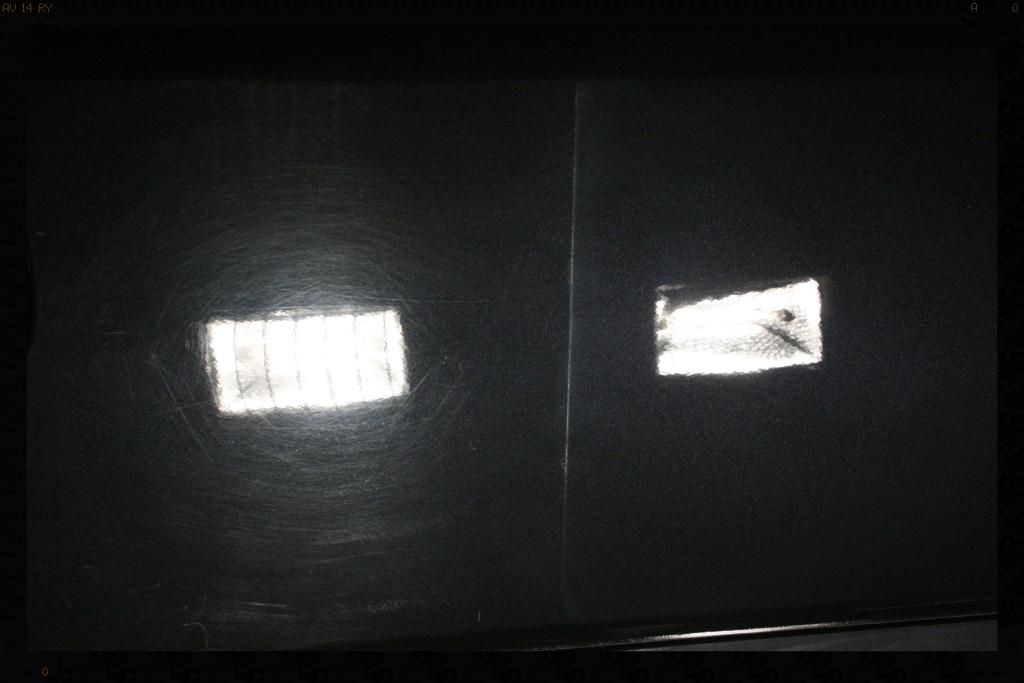
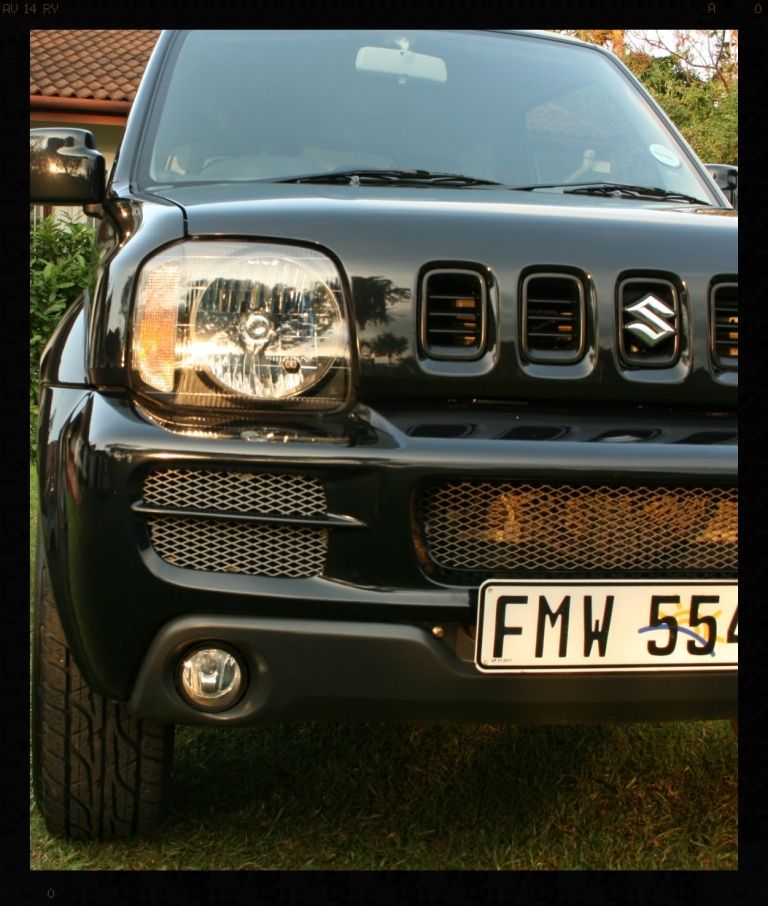
Although having said that, it is not like the painted metal surfaces were free of defect - here you can see how bad the orange peel is
Products used
Cyclo CM30 @ 3:1
Autofinesse Iron Out
Autofinesse Oblitarate
Optimum Opti Bond Tire Gel
Cyclo Polymer Hand Wash
Meguiars Cleaner Wax
Smart Wax Smart Dressing
ONR
Clay Magic Blue Clay
LC Cyan Pads
LC tangerine Pads
Menzerna Black Finishing Pads
Menzerna FG400
Menzerna SF4000
Chemical Guys Black Light
Chemical Guys V7
Autoglym Fast Glass
Chemical Guys Bare Bones
Mother Aluminium and Mag Polish
Painters Tape
Foam Applicator pads
Various MF Towels
Various brushes
HP washer
Foam Cannon
PC 7424
The customer had plasti-dipped his wheels the day before the vehicle arrived with me and the brief was therefore to only wash the wheels with normal 'soapy water' - I must say that after removing the spare wheel to clean it, and behind it, I certainly think the wheels look a lot better in black.
Here are some pics of how the rest of vehicle looked on arrival.
Water spots
Bird Bomb
You will see the damage that this does to clear coat a little later in the write up
The vehicle was pre-foamed and washed, all the tar removed and a full iron decontamination completed. Any remaining contamination was removed through claying.
Now you are able to see just how bad the actual paintwork is.... loads of swirls, RDS and what looked like some buffer trails on the bonnet
Notice the deep scratches in the mirror - you will see and after shot later where these were all removed
This is a picture from one of the plastic panels on the car - as you can see the finish is really not that great
And now zoomed in really close
This meant that trying to polish the surface completely smooth would be impossible, resulting on a somewhat matt finish (when compared to the rest of the 'metal' panels) which is quite evident in the after shots.
Although having said that, it is not like the painted metal surfaces were free of defect - here you can see how bad the orange peel is


") ...she commented on how she really grew fond of it too.
...she commented on how she really grew fond of it too.