Continued....
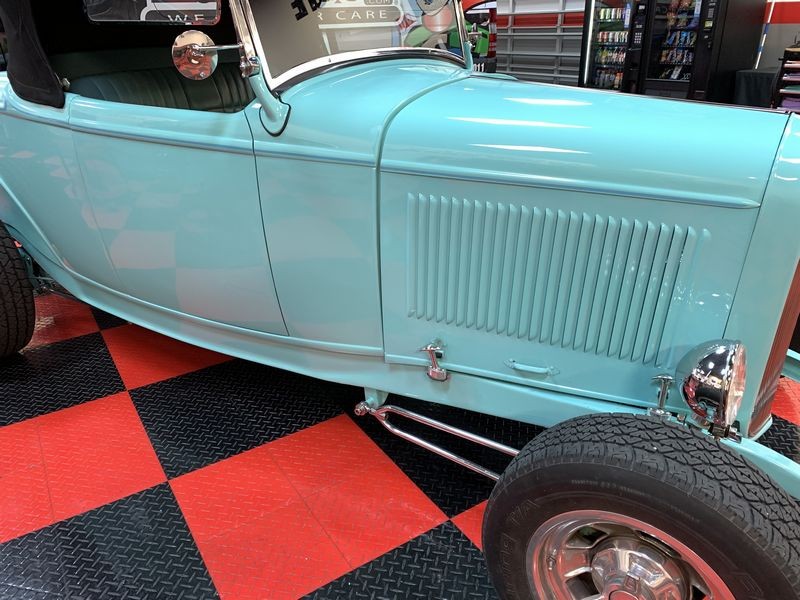
How to do paint correction to louvers
This is a real pain in the rear but - it has to be done. Basically there are 2 ways to do this and neither are fast and easy but if you take your time you can get great results either way.
1: Work by hand.
2: Work by machine
Either approach is still risky as the paint on the
EDGE of the louvers is
THIN and if you rub too hard by hand or run the buffing pad over the edge you can easily buff through or
BURN through the paint.
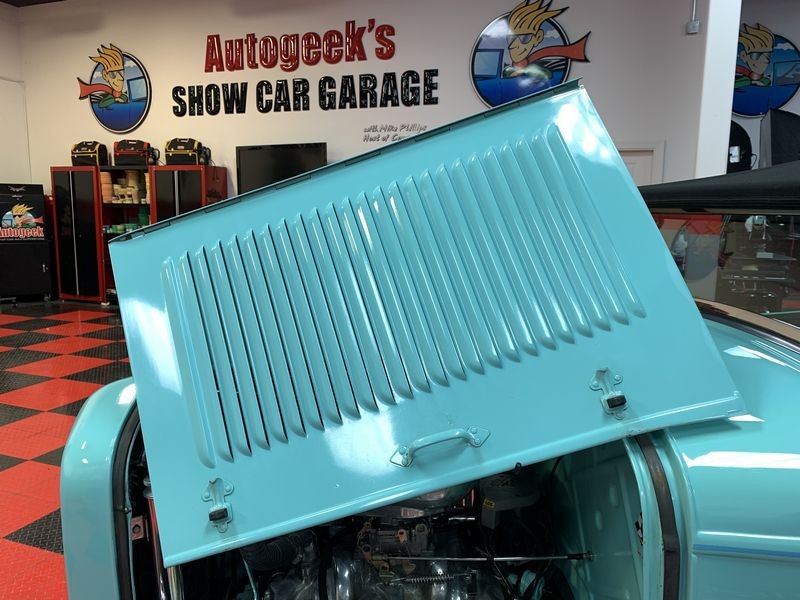
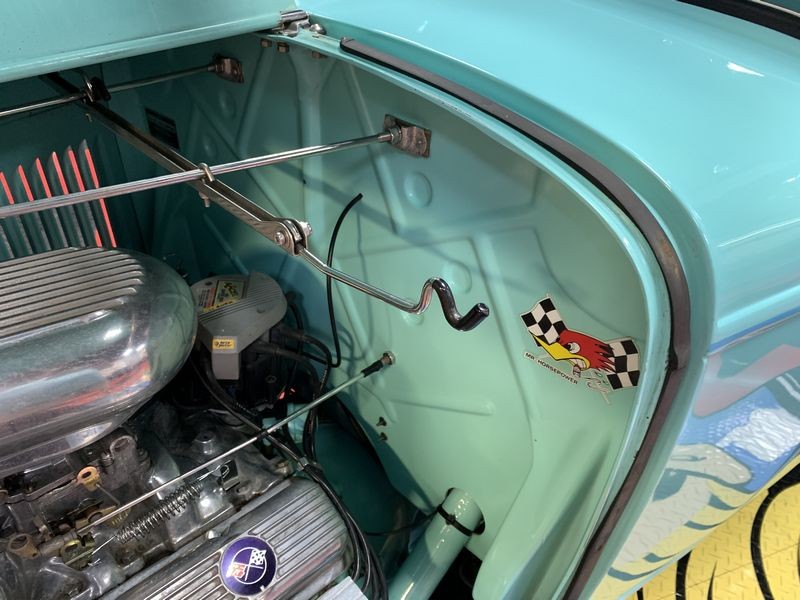
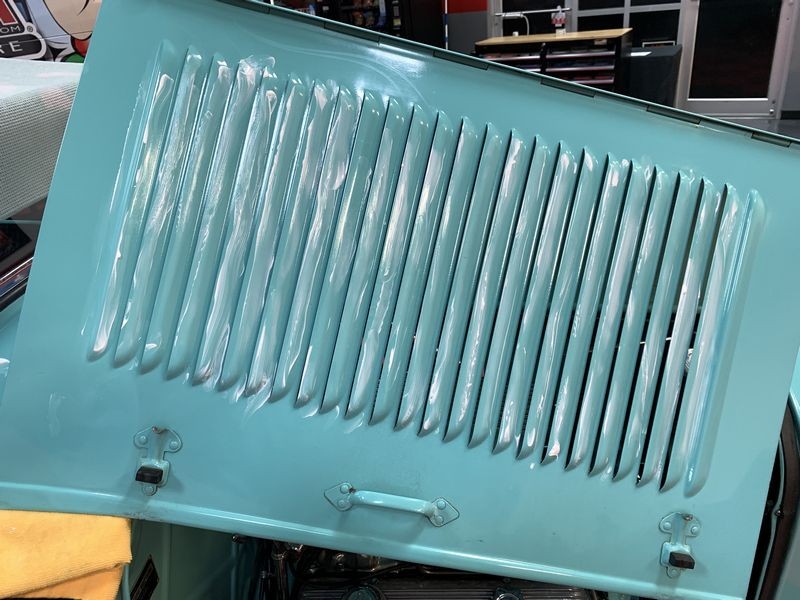
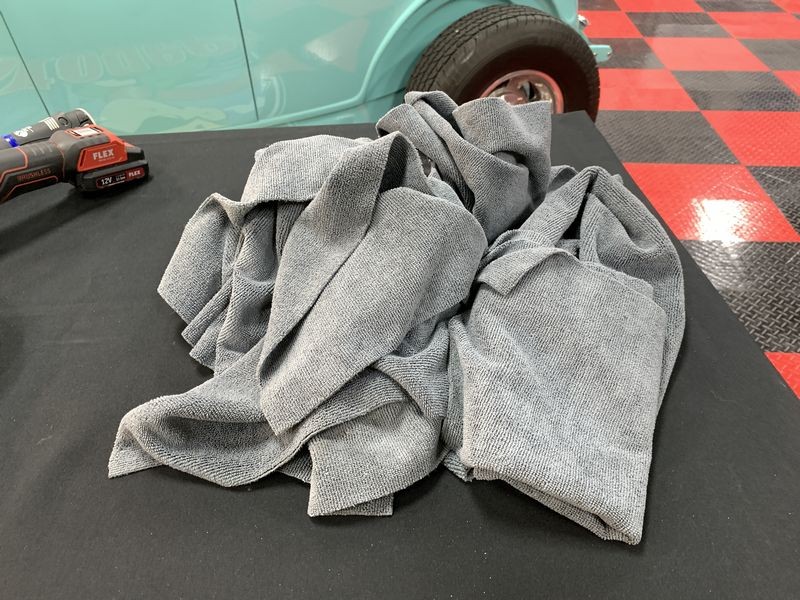
This is a folding hood holder, it holds the hood up for when you need to work on the engine.
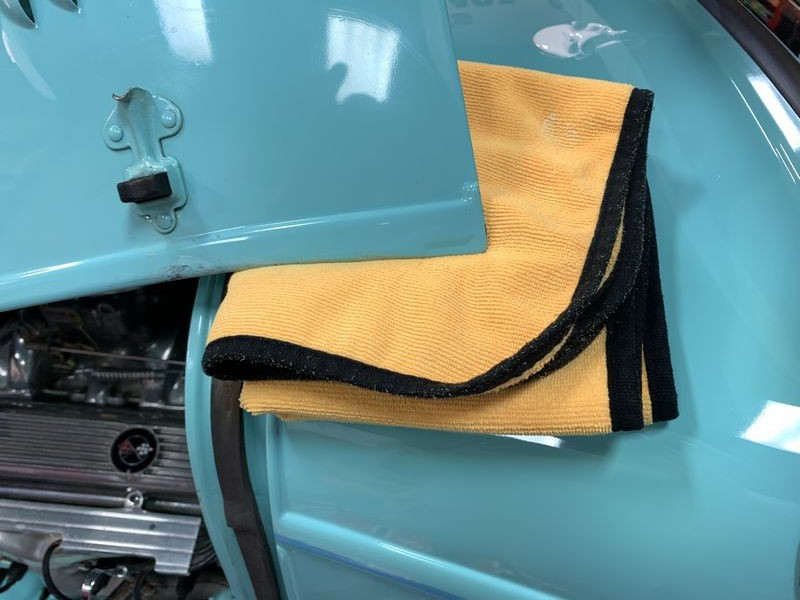
While the hood holder does hold up the hood, when working on these types of cars I also stack up a few microfiber towels between the hood and the body panel just in-case.
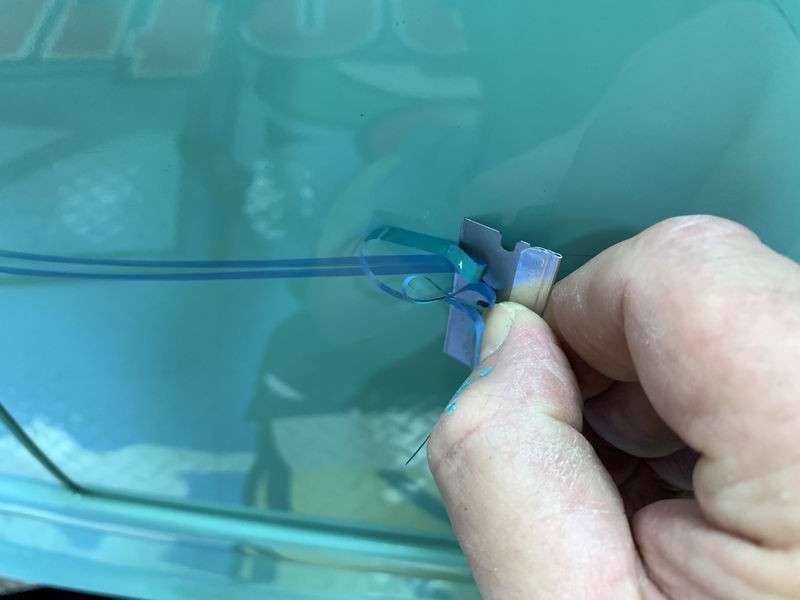
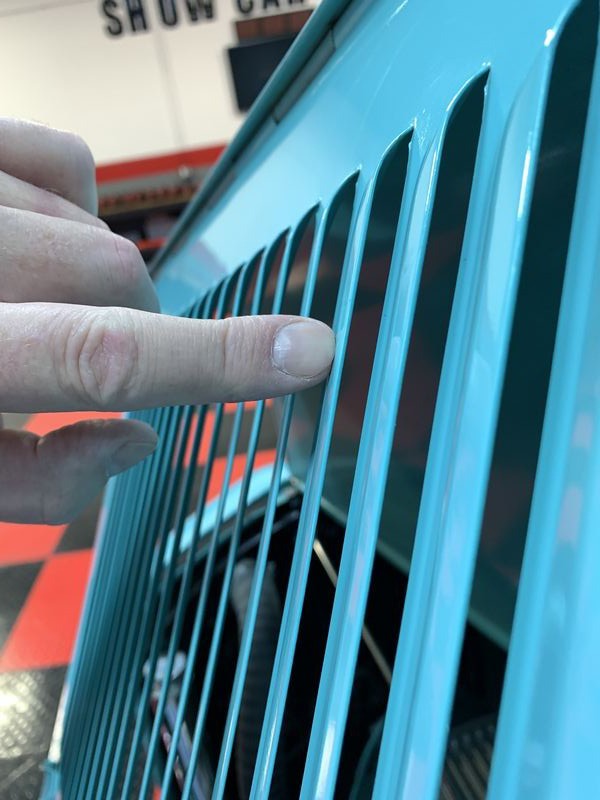
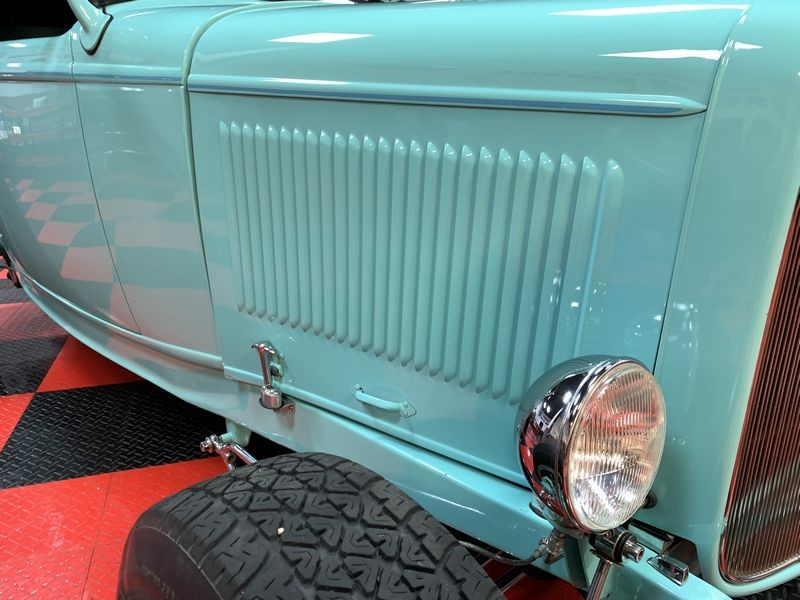
Here's the sharp, thin edge you have to be careful of when working on louvers.
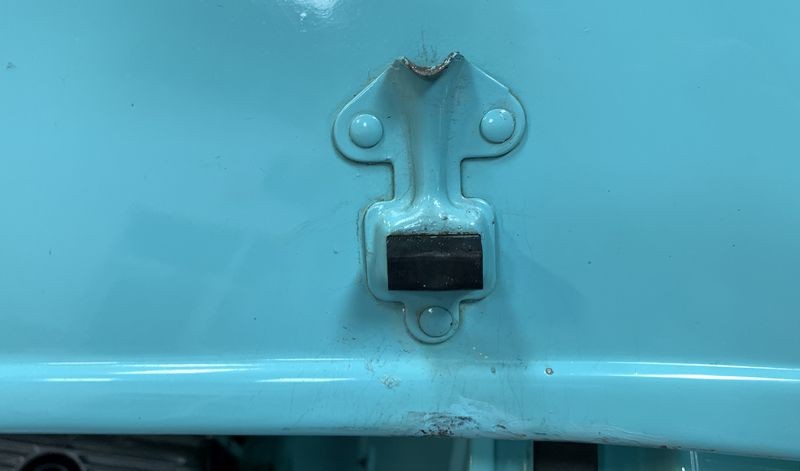
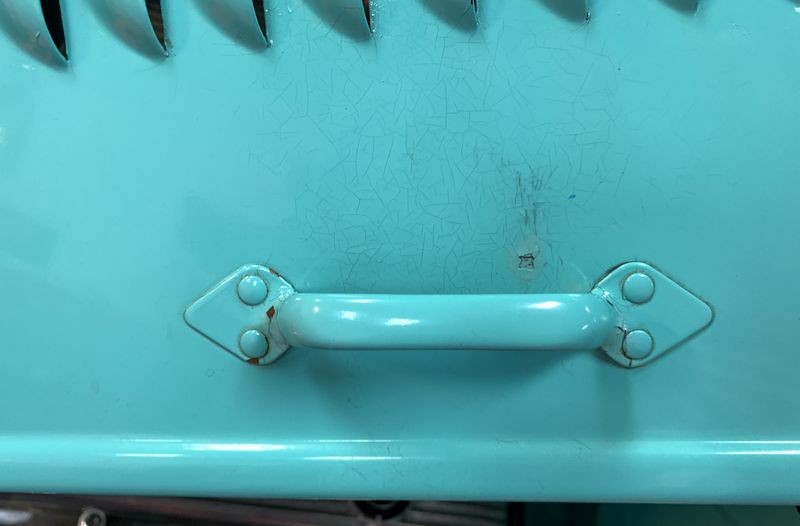
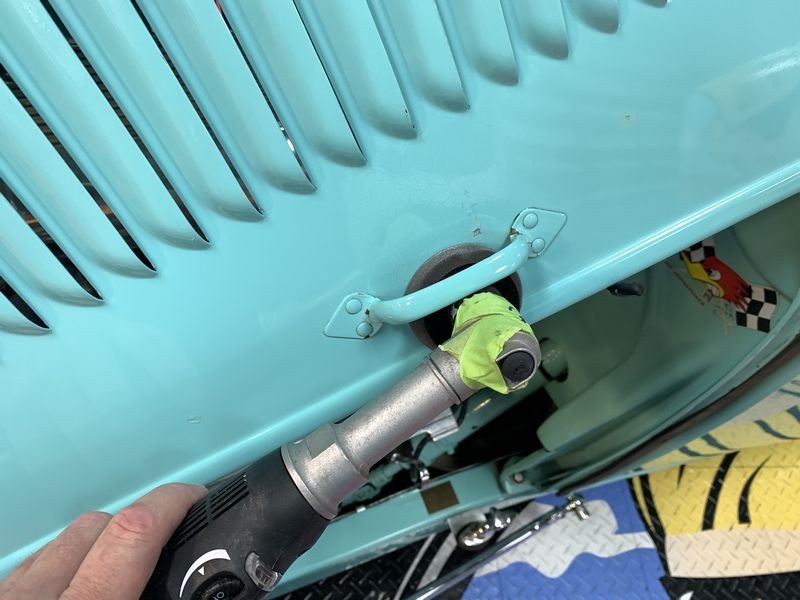
Besides the louvers there are 2 latch fittings to clean-up.
And each side of the hood panel has a handle.
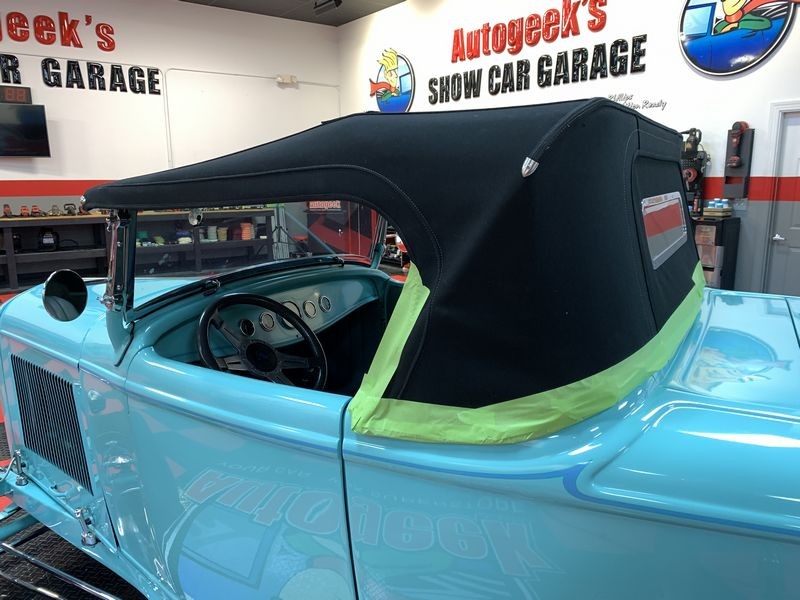
Autogeek's Cover-up Towels
Because I'll be using a rotary polisher and rotary polishers do tend to sling a little product due to centrifugal force, before starting I placed some Autogeek Cover-up Towels over the front of the canvas top just to ensure no "splatter dots" of compound or cleaner/wax sling onto the top. This not only protects the top from the splatter dots, it also protects the top from me having to SCRUB on the top with a toothbrush because there won't be anything to scrub. Scrubbing on canvas tops tends to make the top fuzzy. Not good. Also I'm lazy by nature thus you see me use these cover-up towels for a lot of my detailing projects.
Finger Painting Technique
I use the finger painting technique for all types of detailing. Here's a video I made that walks you through the process.
Mike Phillips - How to compound and seal louvers!
Here's how I use the finger painting technique for louvers.
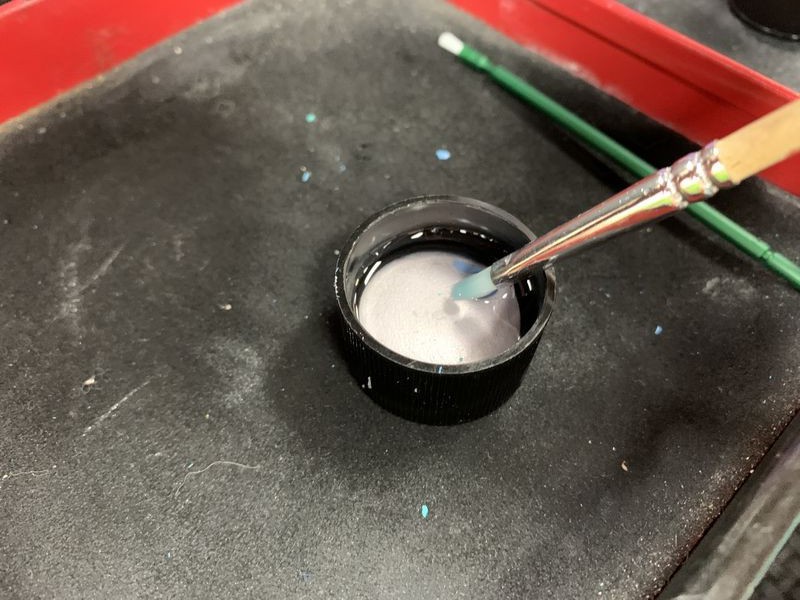
First pour out the product you're going to use onto a clean place on a nearby panel that you can draw from. Then poke your finger into the pile of product and gather some up.
Then PAINT the product onto the area you're going to work on.
Technique Tip
Coat all the louvers with product using the finger painting technique. This way it will be easy to see which louvers you've worked and which lovers still need paint correction.
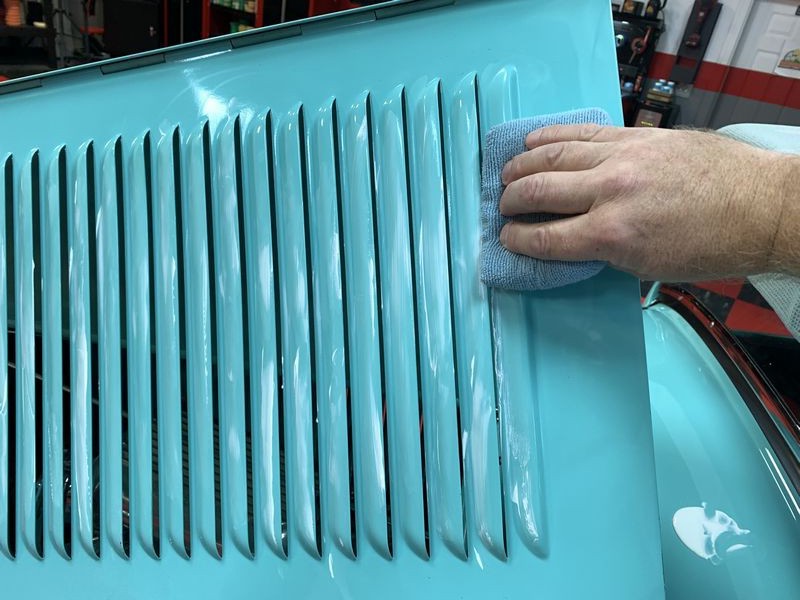
Working by hand
First apply some product to the edge of a microfiber applicator product.
Then using your fingertips press the microfiber applicator pad against the flat spot of the louver and rub like a mad-man. Be careful NOT to press against the edges.
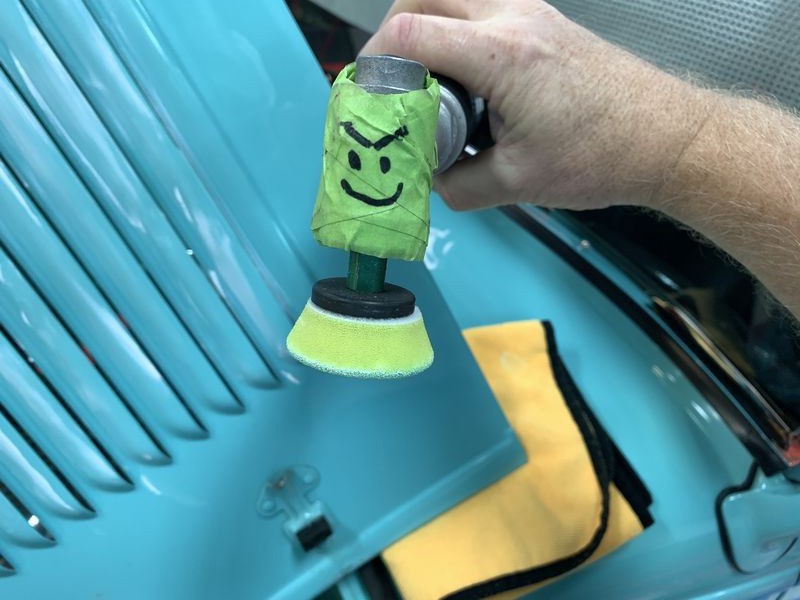
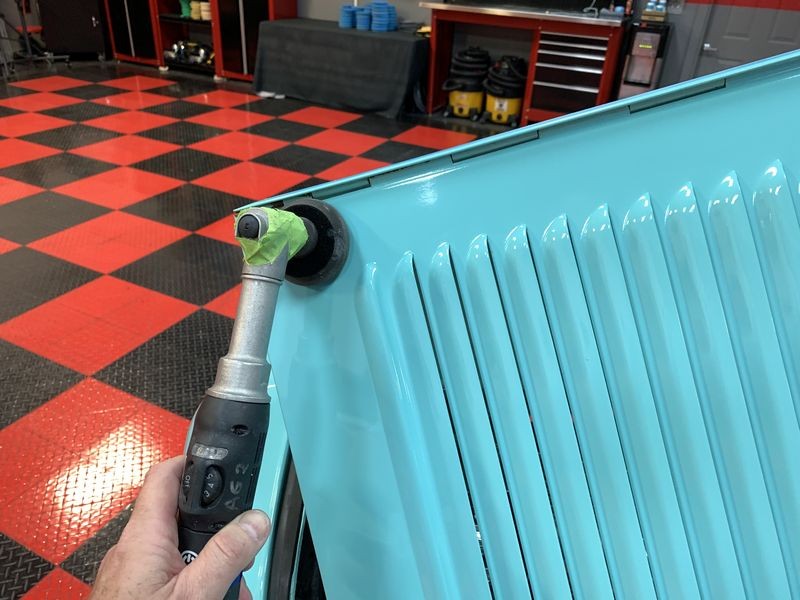
Working by machine
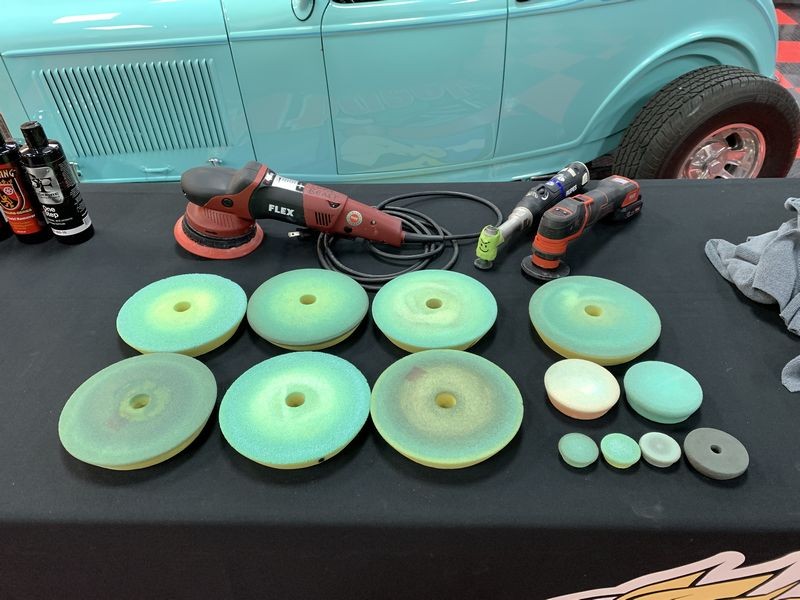
The only safe way I know how to do this via a 1" buffing pad on the RUPES Nano. I prefer the long neck but feel free to use the short neck - they will both work.
Angry Nano!
IMPORTANT
Always use both hands to hold and guide the Nano when working on intricate panels like louvers. I'm only using one hand because the other hand is taking the picture.
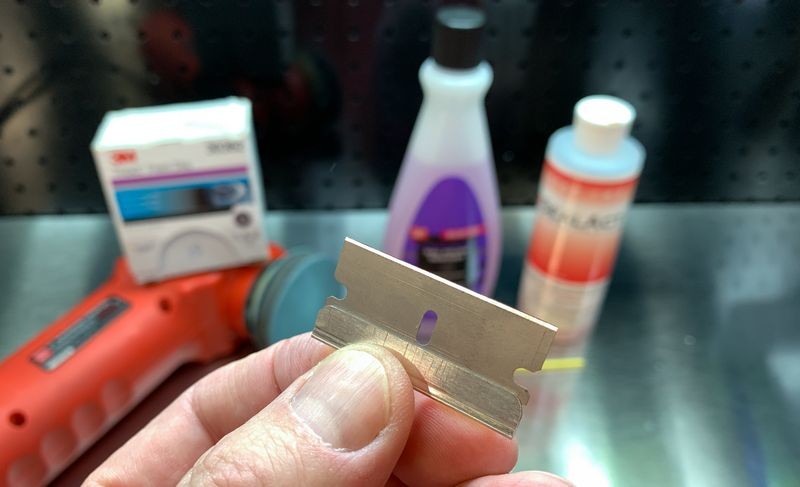
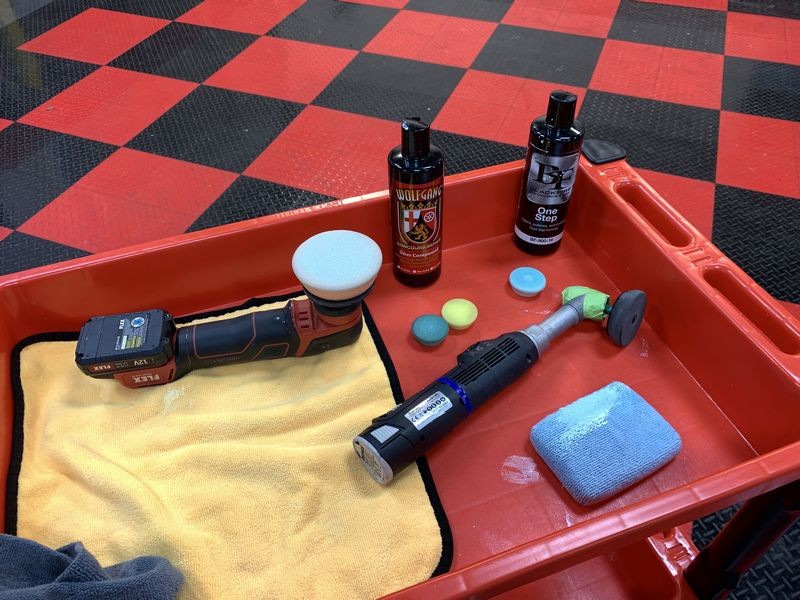
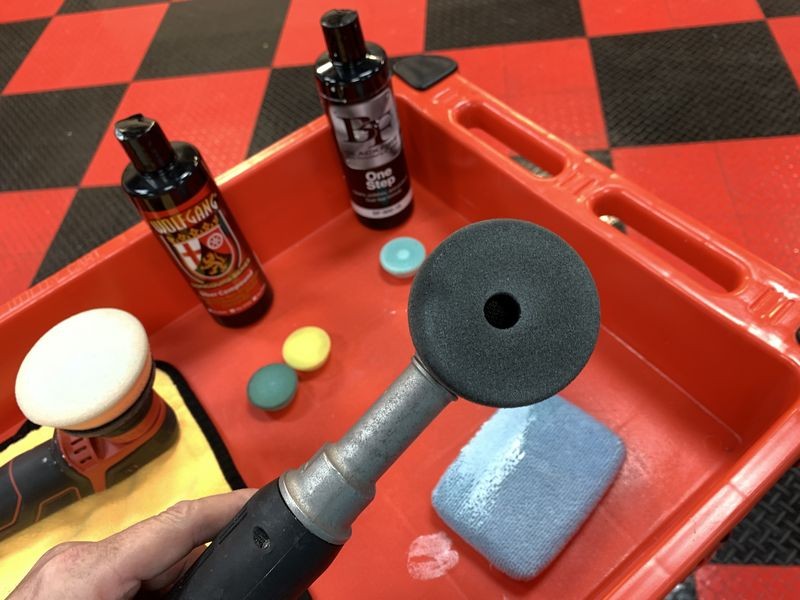
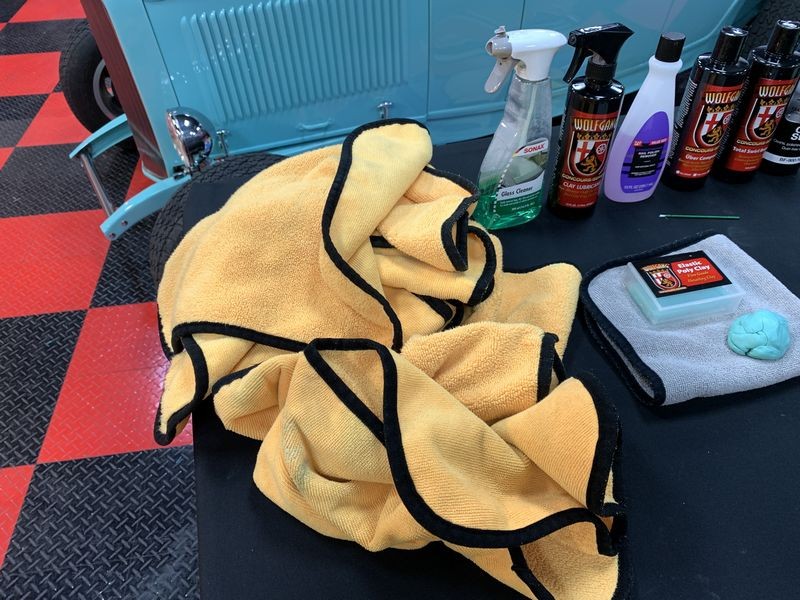
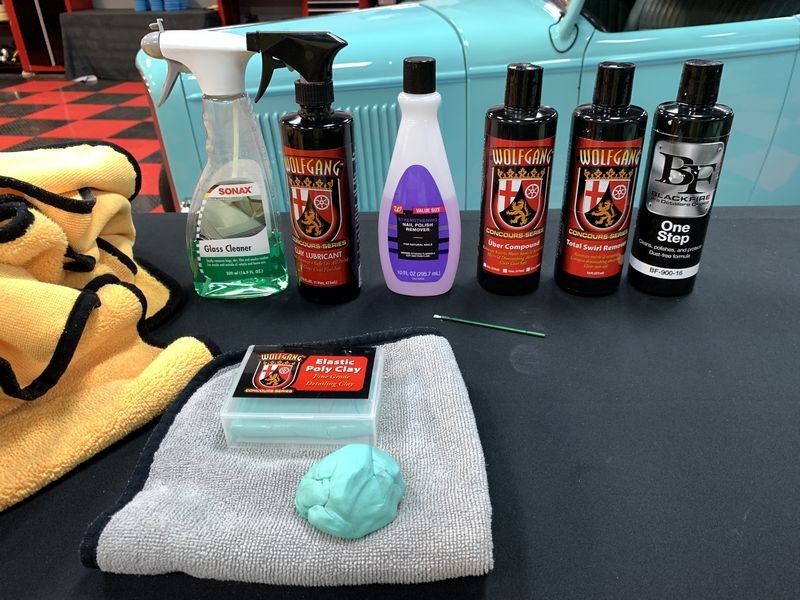
Tools used for louvers
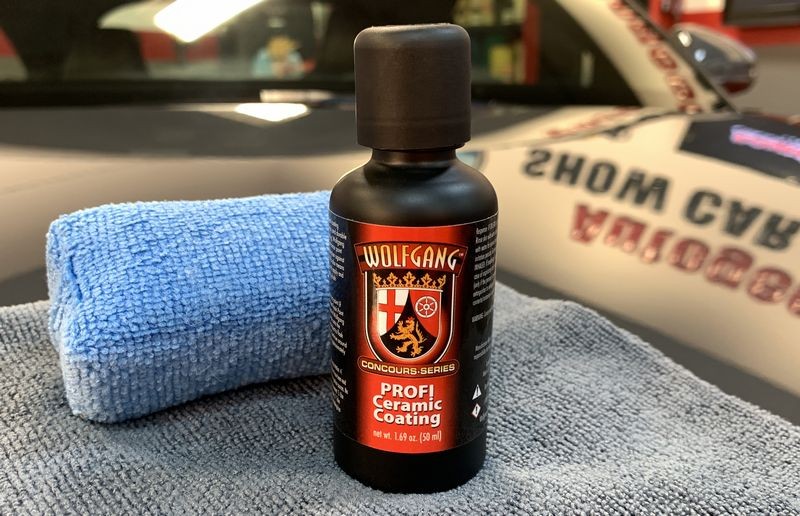
In the shot below you can see the tools, products and pad I used.
2-step approach - No coating
After compounding the louvers with the 1" yellow pads I went back over them using the BLACKFIRE One Step and the soft RUPES 1" white foam pads. When doing this, the BF One Step acts like a "polish" to refine the results from the compound and becase it has a "sealant" in it also - it seals the paint to protect it and make cleaning easier and faster plus amps-up the gloss and shine.
Breaking all the rules
Now read this and follow the rules.
DON'T USE PADS LARGER THAN 1" ON THE NANO OR THE PiXiE WHEN THE TOOL IS IN ROTARY MODE
Why?
Because the larger size of the pad means the outer edge of the pad will be spinning incredibly fast and
you can EASILY burn through paint. Yours truly has been there and done that and then had a side mirror on a Porsche repainted. Ouch.
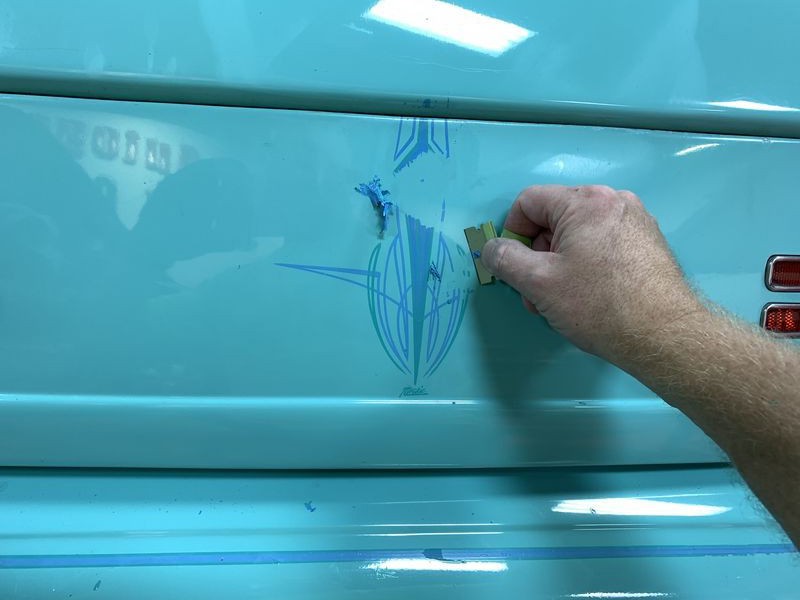
That said, I'm going to break this rule and use a 2" Griot's BOSS black foam finishing pad to do some machine work using the BLACKFIRE One Step cleaner/sealant on SPEED 1 on the Nano. Using this tool with this pad and this product will be safe with a little help from experience and a careful touch.
Done.
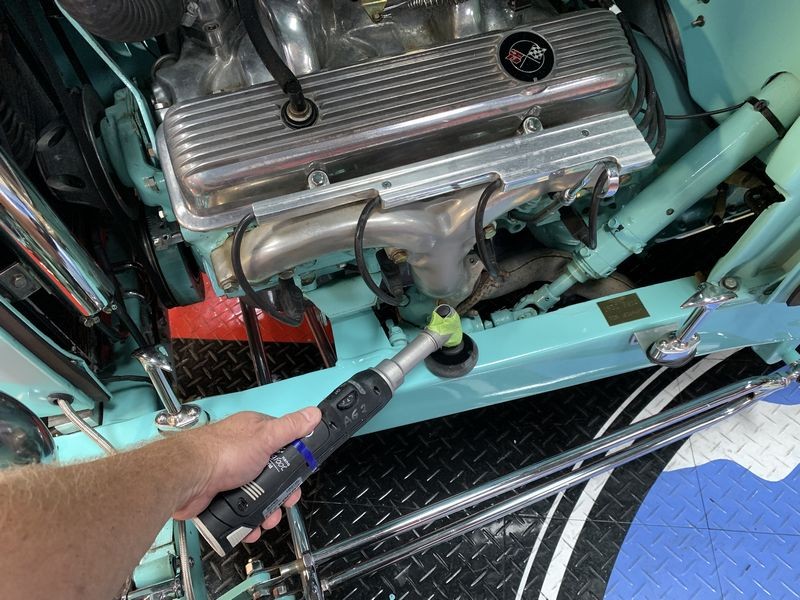
While the hood is up and did a little clean-up here and there on the frame rails.
To start out with the RUPES Nano you really need to get the full kit and that's just a tick under $600.00 - there are some minimal kits available but I don't see one with the rotary drive unit and the 1" backing plate and that's about the only way I use this tool.
Louver Paint Correction - Passenger Side
Just repeat the process to the other side.
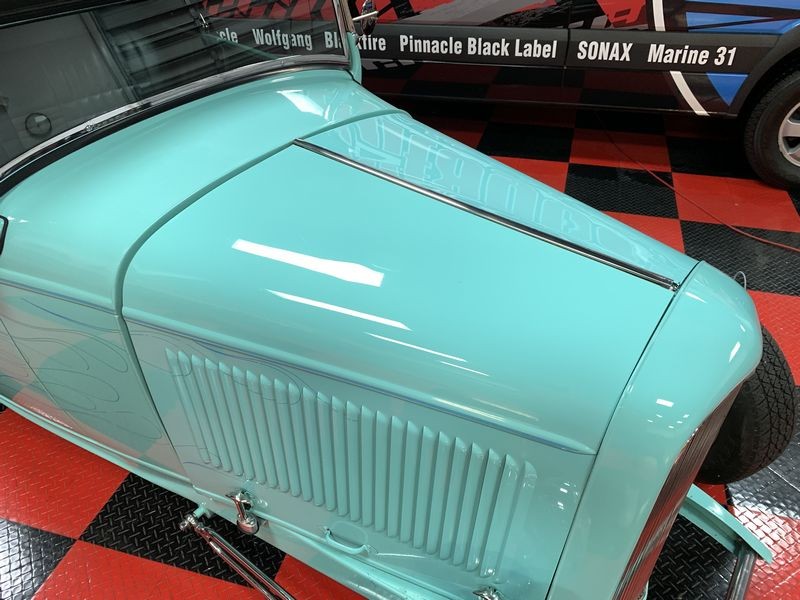
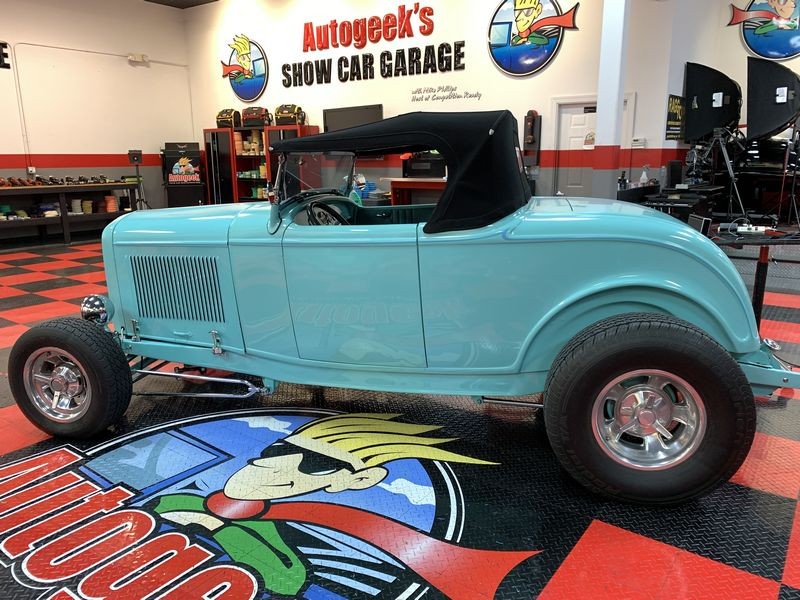
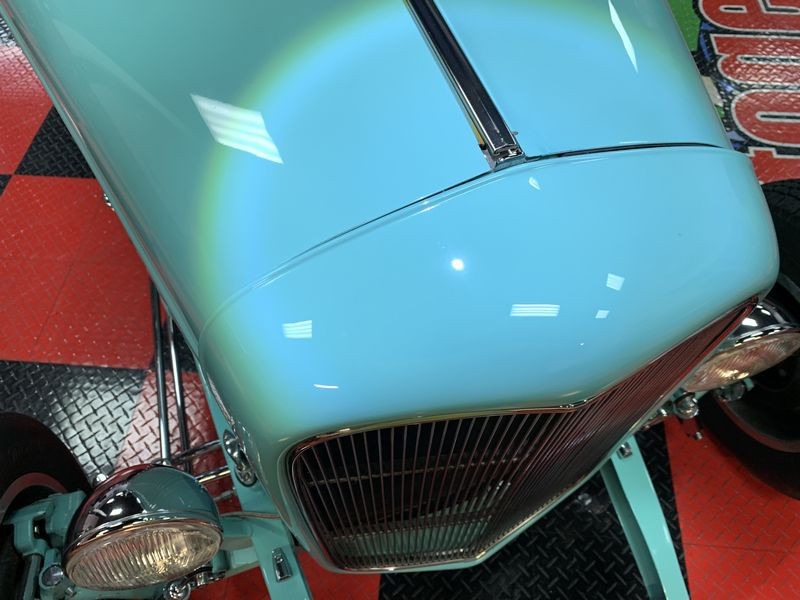
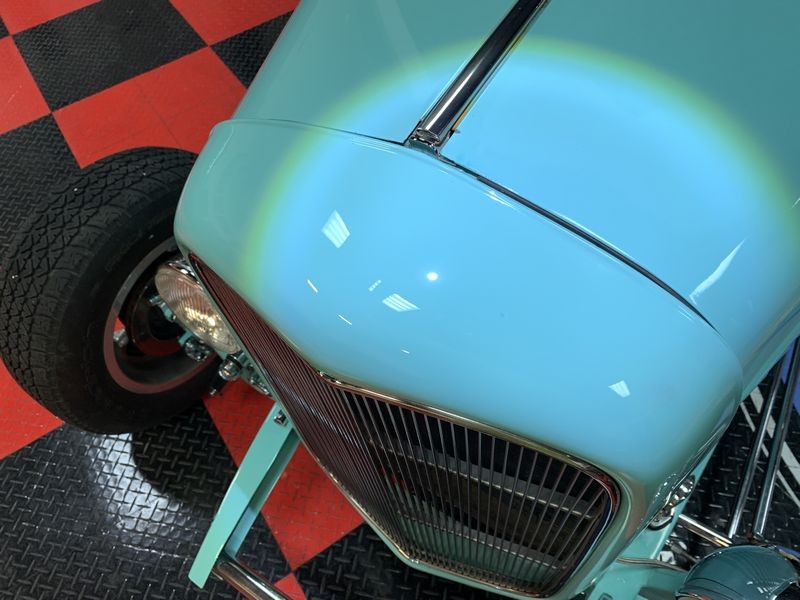
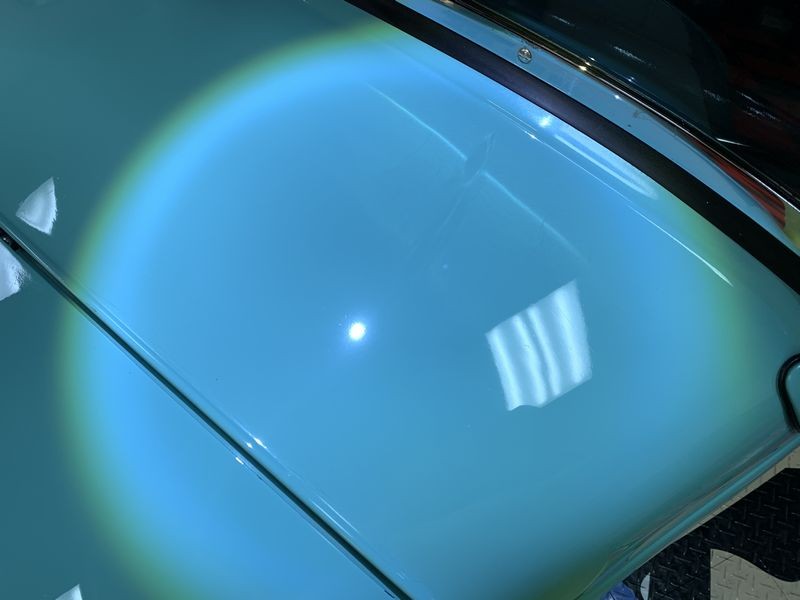
Done!
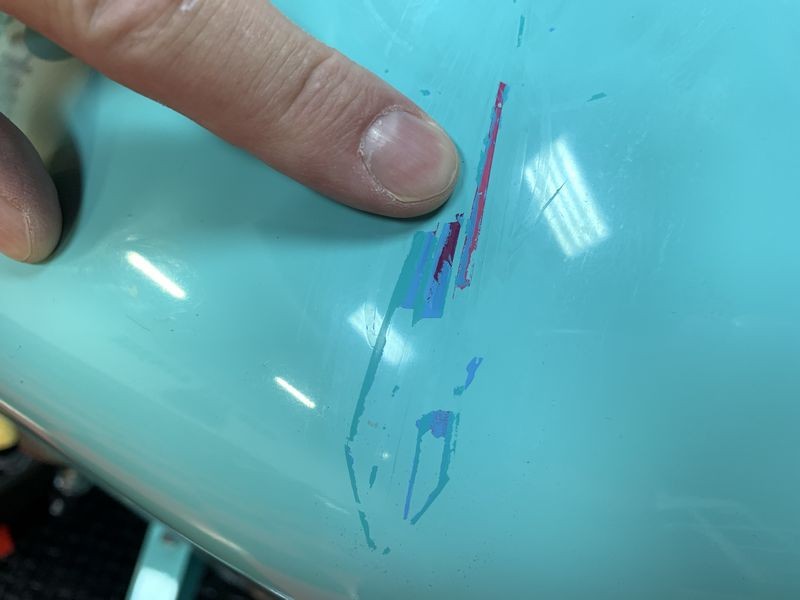
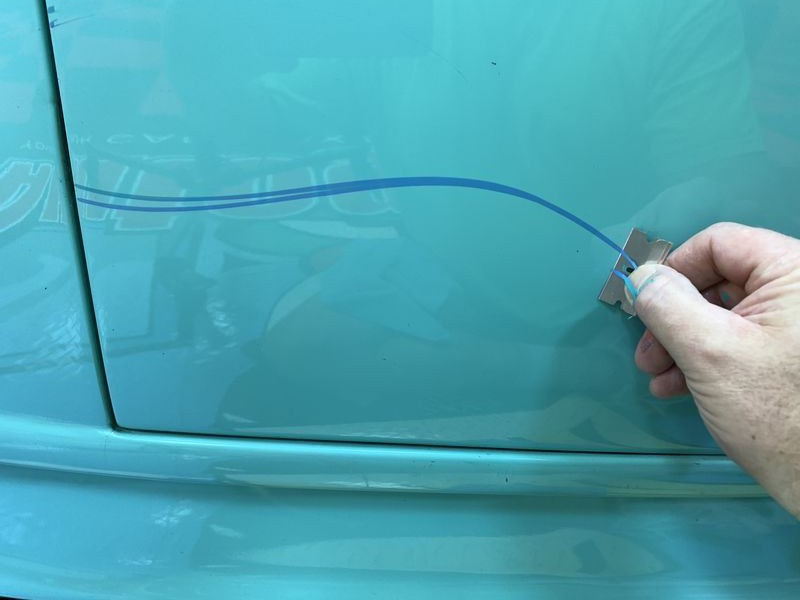
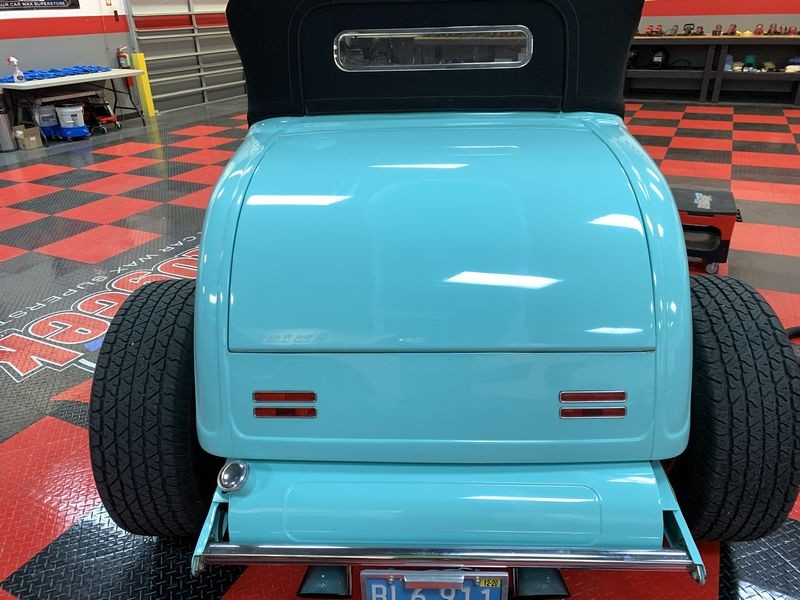
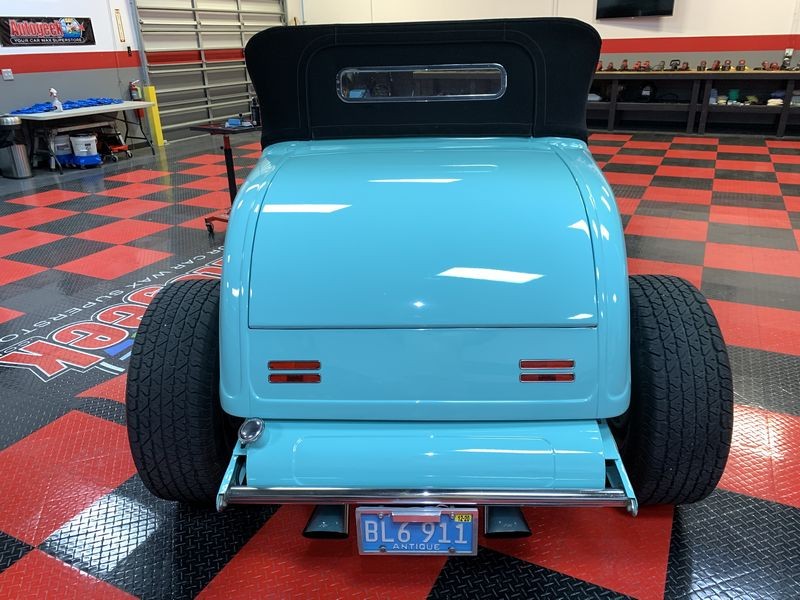
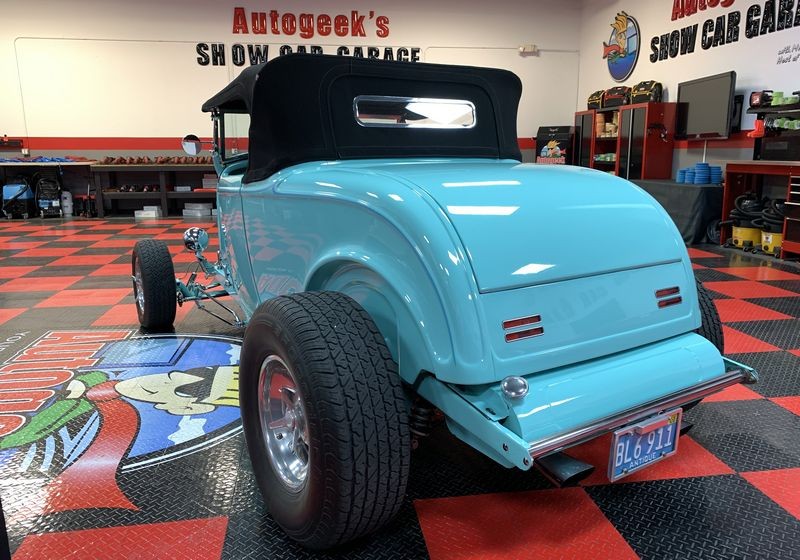
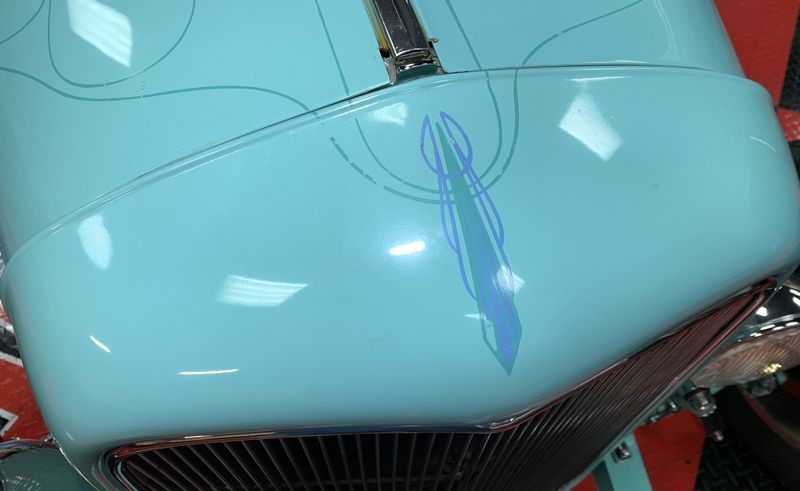
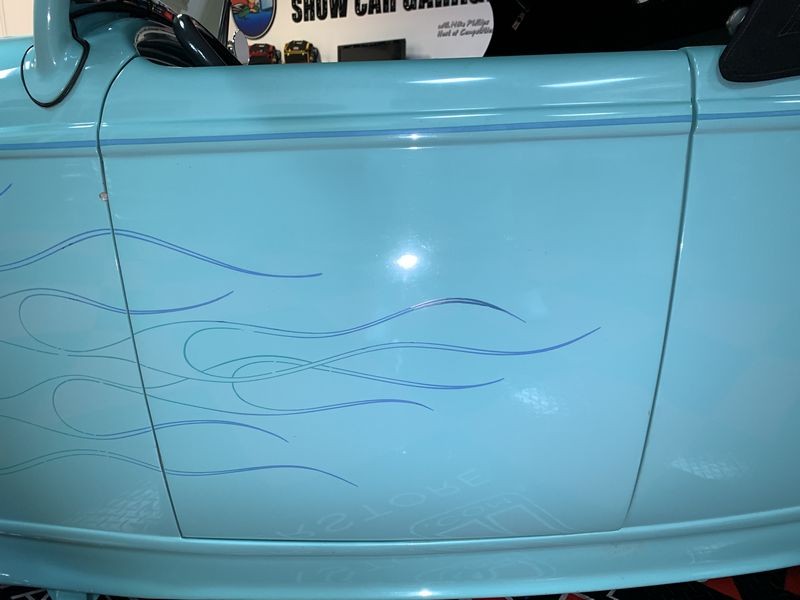
In my opinion, this car and this color of paint look so much better without the pinstripe flames.
")