Dampsanding Tools, Tips and Techniques by Mike Phillips

Re: Damp-Sanding Tools, Tips and Techniques by Mike Phillips

It would definitely make it easier to find things within the article if it were split up a bit differently (actually, if it were me I'd put a table of contents at the very top of the article with links that take you to each pertinent main section


Thank you for your feedback Charles, and the referrals and kind words. I'll do it, that is I'll make a dedicated thread with just the how-to meat.


-- probably that would be easier to do on the dampsanding.com site you also have this article parked at, but doable on the forum as well).


Ugh... you reminded me I need to finish moving the rest of the article to the site and it's kind of tedious because I have to change all the BB code to HTML code...


I'll try get to it sooner than later...


:dblthumb2:
 
I thought dampsanding.com was a poke. Hell, it is real!! Awesome. I will read the articles there again, if anything, to give Mike some hits. Of course, who else would have a site like that but Professor Phillips? Too cool for school. Next we might see thefinalwipe.com.
 
How much would you charge for a job like this? I charge around 1200-2000
 
How much would you charge for a job like this? I charge around 1200-2000


$1500.00 to $3000.00...


Good question... it can be hard to get top dollar because most customers have know idea what's involved to do it right the first time and at body shops they do a quickie job as a part of the paint job if you pay for it and it diminished the value of the price for a dedicated process performed by a professional.

Education is the key to a fair price.


Good question...


:)
 
Mike,

This has to be the most detailed, comprehensive thread I've ever read! One of the best step by step tutorials that would give even the beginner the information and courage to try this process....

This is a keeper!! :props:
 
Mike,

On the first post it reads "Also anytime you're using any electric tool around electricity you should always have the tool plugged into a GFI outlet".

It should read "...electric tool around WATER..."

Cheers!
 
Mike,

On the first post it reads "Also anytime you're using any electric tool around electricity you should always have the tool plugged into a GFI outlet".

It should read "...electric tool around WATER..."

Cheers!


Good catch, hopefully out of the approximately 10,758 words that's the only word mistake I made.

10,758 Words
154 Pictures


:)
 
Mike,

This has to be the most detailed, comprehensive thread I've ever read! One of the best step by step tutorials that would give even the beginner the information and courage to try this process....

This is a keeper!! :props:


Thanks Bobby,

It took a long time to write and a long time to take the pictures. I have to give Jason Rose credit because he supplied me with all the technical information about these sanding and finishing discs as at the time I wrote this these were brand new on the market. I try not to steal other people's work and claim it as my own although I see my work lifted all the time an no credit given..

I'm going to take this info and update it and then use it for a new project using a new car for the pictures.


At the time these were introduced I was also scheduled to teach some classes at Mobil Tech Expo and one of my classes was how to dampsand. Outside of Meguiar's internal training I'm pretty sure this was the first class on dampsanding using these new Unigrit discs.

The backing plate I'm using was still a prototype...

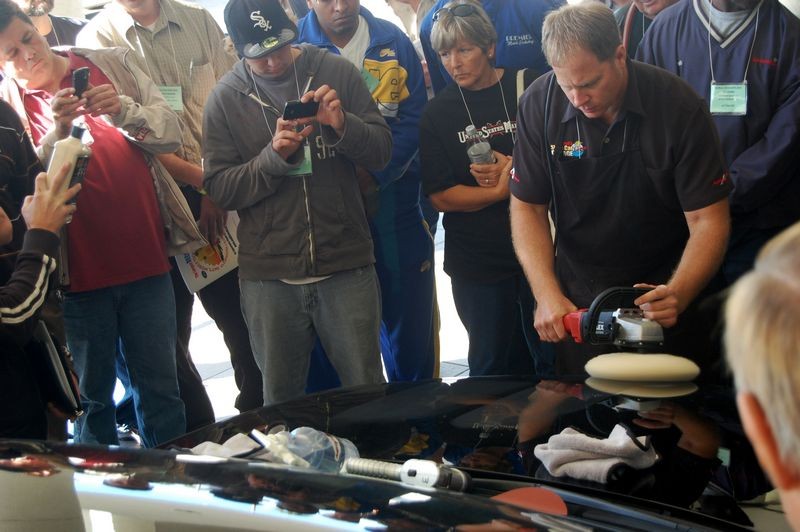
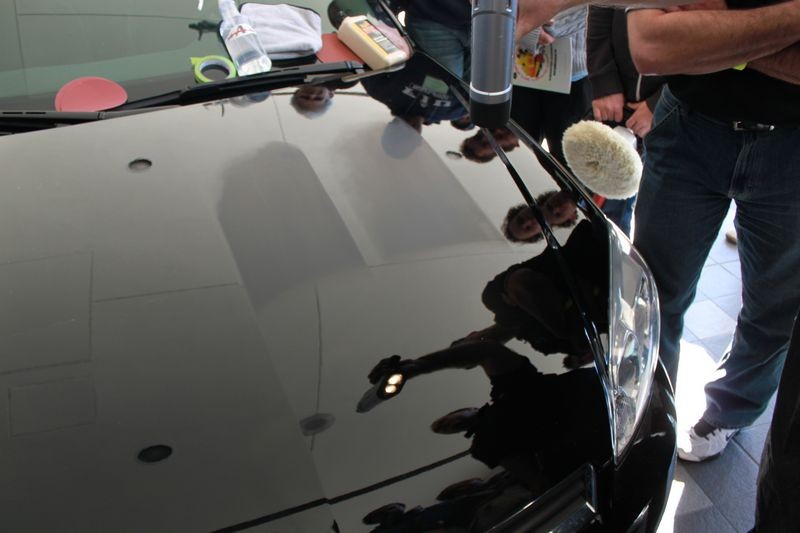
Pictures from Mobile Tech Expo 2010


In this section we sanded first with the 1500 Sanding Disc and then followed with the 3000 Foam Finishing Disc
MTE021.jpg


Buster003.jpg


Buster005.jpg


MTE052.jpg


:xyxthumbs:
 
I just dampsanded my roof and deck lid with the 3000 finishing disc. To cut through the sanding quickly (and I didn't have any tails!), I hit it with my rotary, orange compressor, and some Menzerna 1500. After two passes it was very glossy.

What should be next step - TSR on my DA or Menzerna 4500 on Rotary then final polish with DA or ???
 
What should be next step - TSR on my DA

or Menzerna 4500 on Rotary then final polish with DA or ???


Either one of those methods should work, chances are very good the TSR on a DA with a Polishing pad will remove any swirls left by the rotary step regardless of whether anyone could see any without first chemically stripping the paint.

The Menz SF4500 with a rotary buffer is pretty light but again, any swirls left by the Rotary Buffer and SI 1500 with a foam cutting pad would be shallow too...

If it were me, I would opt for the TSR with the DA and a foam polishing pad.

Is this fresh paint you're working on or factory paint?


:)
 
Mike thanks for the feedback and it really is because of your coverage of this subject that I finally made the jump and decided I could/should do this.

My paint is about 3 yrs old and is a very soft clear on a show car. It atill sands like fresh paint in my opinion. My only concern at this point is that I should have bought some 1500 discs because the 3000 didn't correct everything. So Ive had to spot wet sand with 1500 and then dampsand 3000 to get what I want. That still may prove a safer approach, definitely cheaper. But I wanted to sneak up on it until I got a feel for how much material I was removing with the dampsander. In the end, although slurry was thick, the 3000 was pretty tame.
 
In the end, although slurry was thick, the 3000 was pretty tame.

Yes, the foam backed #3000 is very non-aggressive and even more so with an interface pad.

If a person is new to wetsanding by hand or by machine it doesn't hurt to start out using the finer grits to get a feel for the process and as your comfort level increases to drop down in aggressiveness.

The biggest and most important factor when it comes to safely wetsanding is film-build or paint thickness. I'm in the camp that believes more paint is better. This reminds me I have an article on this topic to finish.


:)
 
Re: Damp-Sanding Tools, Tips and Techniques by Mike Phillips

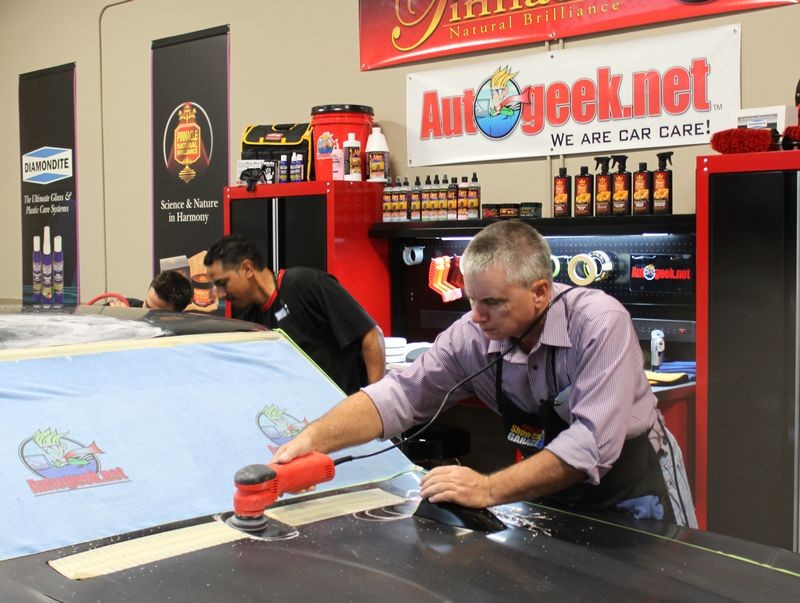
Are the blue towels to protect the windshield available on AG? I see they have the logo but can't find them.

Thanks for the kind words... polishing paint in all its dimensions is my passion, sharing with others how to do the same is my other passion...

Here's one of my favorite tools now... it makes machine sanding small defects fast and easy...

Dampsanding with 3" Griot's Garage Mini Polisher

mini3dampsanding006.jpg


:xyxthumbs:
 
Re: Damp-Sanding Tools, Tips and Techniques by Mike Phillips

Are the blue towels to protect the windshield available on AG? I see they have the logo but can't find them.


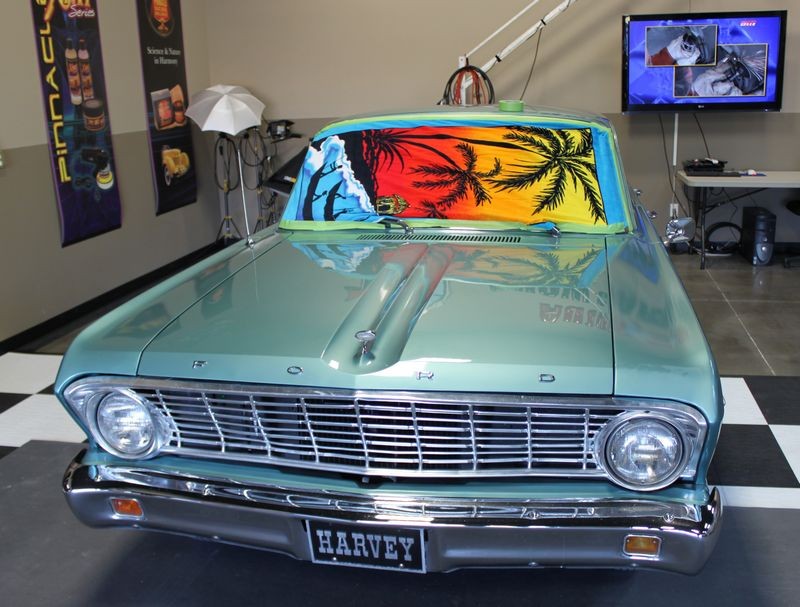
They were available but my guess is they were not popular enough to continue carrying them. They were brought in after I shared my tip called,


The Beach Towel Tip


I've always used normal beach towels because they're long enough to cover all windshields I've ever worked on. I go into depth in the above article.

About two years ago I found this Pirate Beach Towel and I LIKE using it the most because,

A. It fits the culture of South Florida

B. It matches the flag on my truck

C. It is a "Landscape" style picture whereas most Beach Towels have a "Portrait" style picture so they don't make sense when you lay them out landscape style.

Like you'll see below...

Landscape Style makes sense, like this,

Cutlass003.jpg


Portrait Style
BeachTowelTip000.jpg


The Palm Trees are sideways?
BeachTowelTip012.jpg


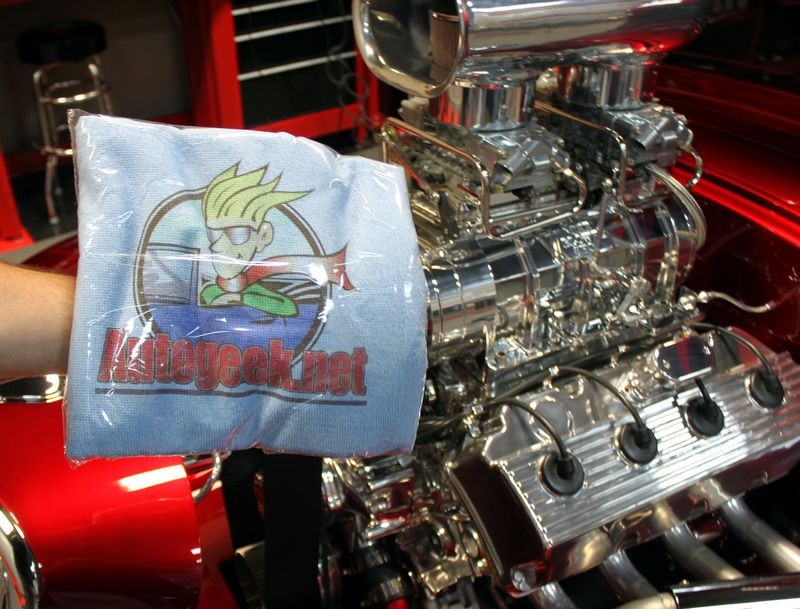
I still have some and because they are microfiber and thus soft they won't scratch, kind of important on things like this Blown Hemi Engine...


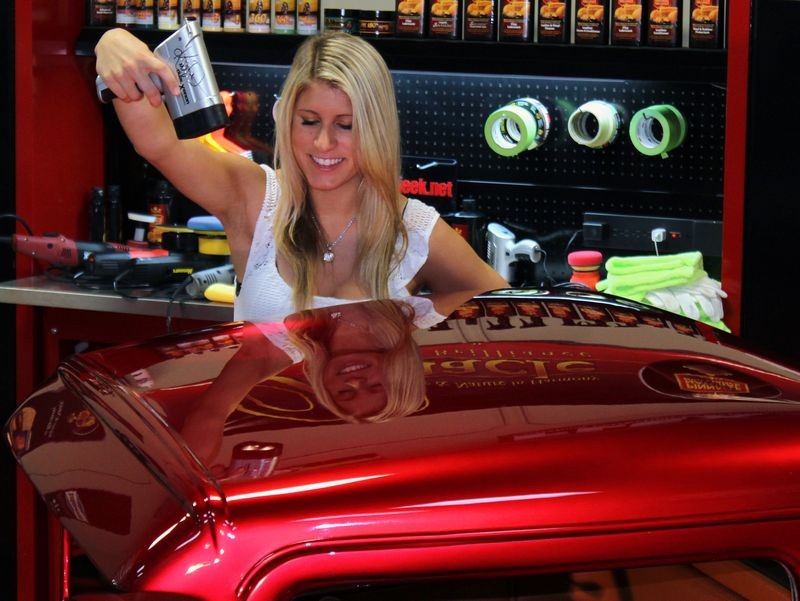
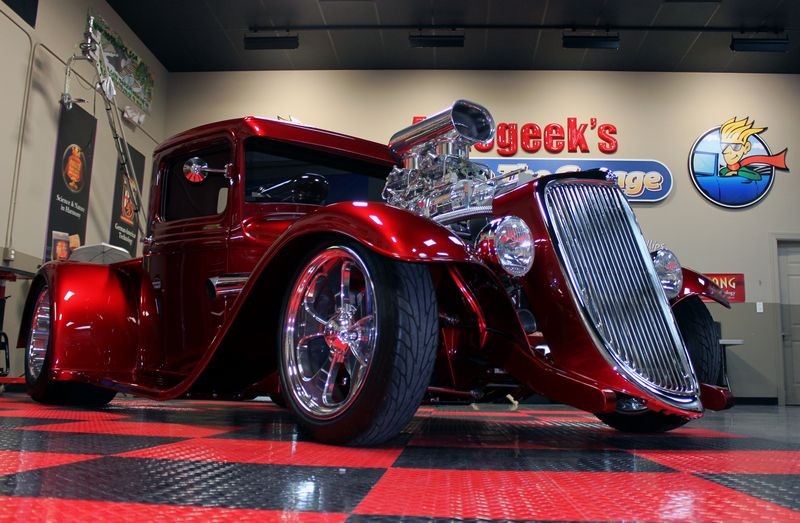
Blown 1934 Ford Pick-up - Show Car Makeover - Modeled by Kristin


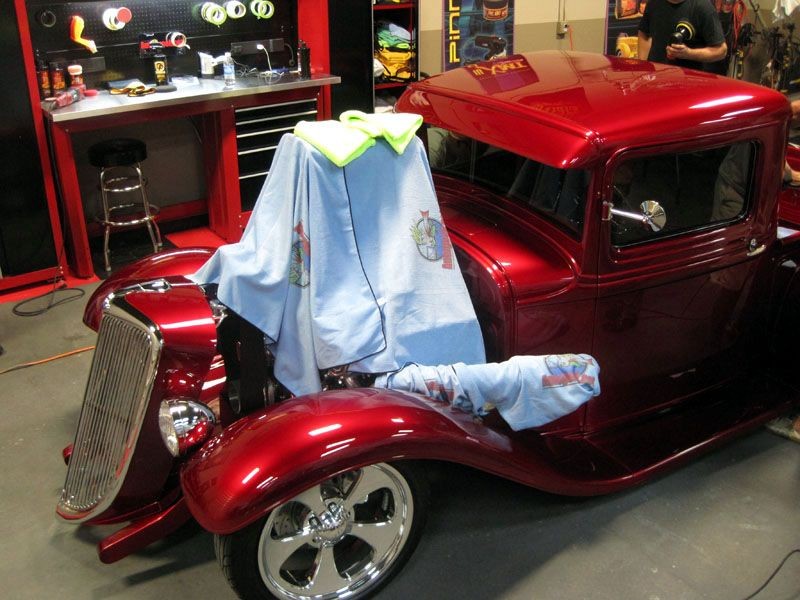
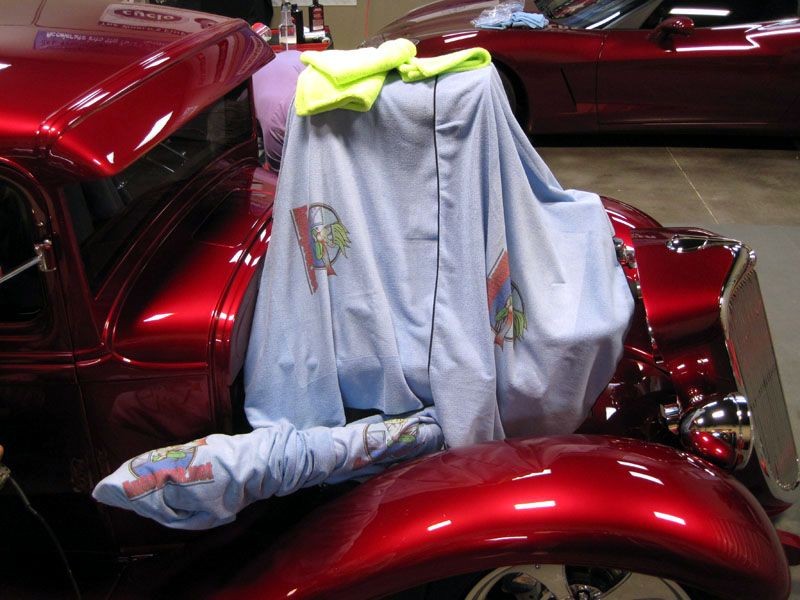
Next we cover-up all the brightwork and there's lots of it. Take my word for it, when it comes to projects like this you don't dare get polish spatter dots on the engine or in this example the exposed running gear in the truck bed. It's not professional and besides that it would take you hours to wipe the little dots of polish splatter off.

Project34024b.jpg


Project34024c.jpg


The Autogeek Cover-up Towel is made from soft microfiber and can be washed and re-used. This come in real handy for covering up anything you don't want to get compound or polish splatter dots onto so you won't have to detail these areas with a toothbrush after the the wax has been removed.

Nicks34pics001.jpg


The soft microfiber won't scratch paint or polished metals. Simple cover or wrap around components and then use a little painter's tape to secure them in place.

Nicks34pics002.jpg


Here we've covered the polished aluminum gas tank and the chrome independent rear-end...
Nicks34pics003.jpg


Kristin inspects our work using the Brinkmann Swirl Finder Light...

Project34014.jpg


Project34081.jpg


Project34078.jpg


Pirate Flag...

JimmyWithSlots003.jpg


Too much fun...


:D
 
***Bump***


Lot of members have joined since I wrote this article. If a new forum member doesn't now where to look it can be hard to find.

If you're interested in wetsanding by machine give this thread a read-through...


It will be a good primer for my next article on this topic.


:xyxthumbs:
 
which speed of a GG6 should i use for dampsanding with 3000 grit ?
 
which speed of a GG6 should i use for dampsanding with 3000 grit ?

You want to see the backing pad/sanding disc rotating no matter what, so adjust your speed accordingly but I would try the 4-5 setting. The 6 setting, at least for me is too fast.

Also, I would highly recommend using the foam interface between the backing plate and your sanding disc, you'll experience a lot smoother sanding action.


What are you working on?


:)


Thanks for the reply Mike. Ill try with the trizact 3M sanding discs as those are the only available here in Guatemala. and i 'll have to wait a bit to save more $ for my next order. I have a trunk and a hood from a toyota to practice, as the paint is really sof and thin i think it will be a good practice.

My current detailing project is a 2004 Seat Leon. it is yellow and it has been repainted with PPG Global system.

The roof will be a big challange it has just 2 coats of clear, and tons of orange peel and dust, it was repainted in a hurry as was not planned to be painted i dont care if i broke through the clear as it still will be refinish with other color. so i think it will be a good experience, still i'll be really careful with it.

i'm traveling to taiwan, so i'll post pictures the next month hopefully.

I was afraid that the GG6 was to aggressive to damp sand my car! thanks for the clarification!
 
Back
Top