Mike Phillips
Active member
- Dec 5, 2022
- 51,004
- 8
Dampsanding with 3" Griot's Garage Mini Polisher
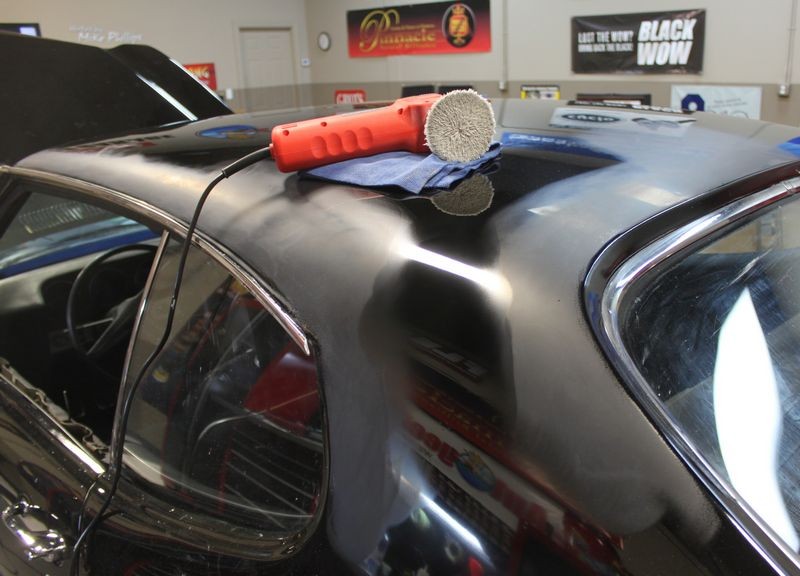
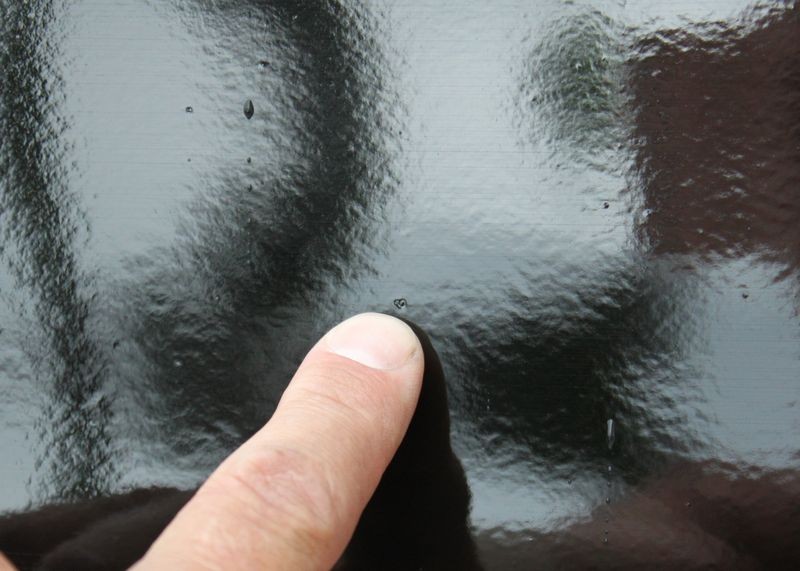
Dampsanding
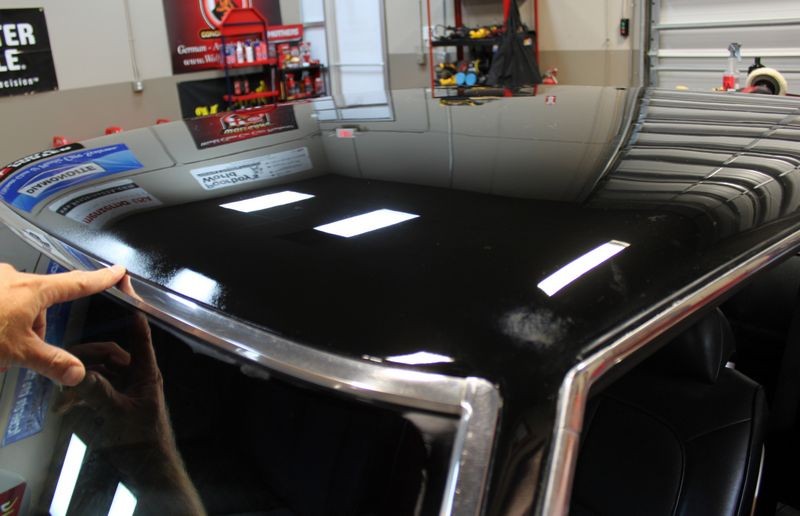
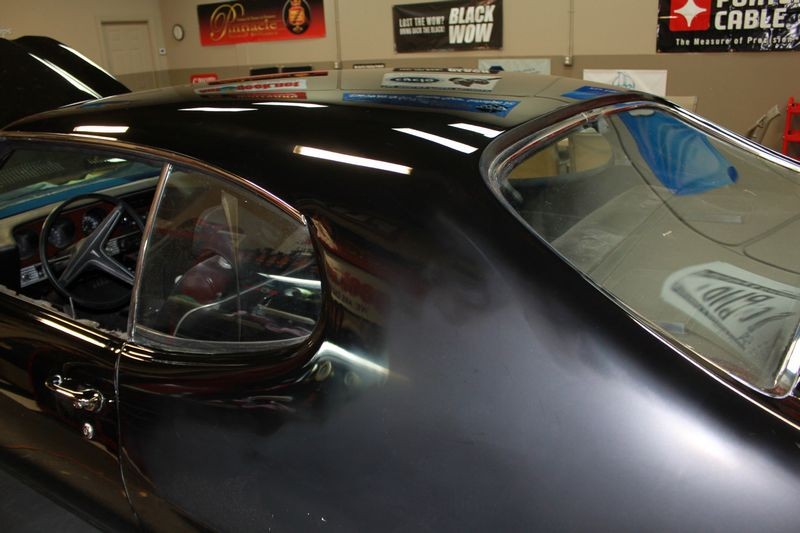
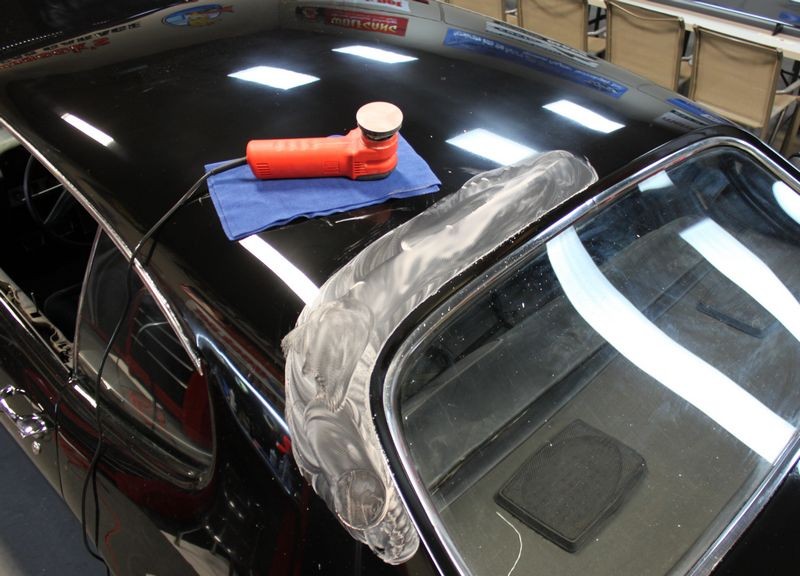
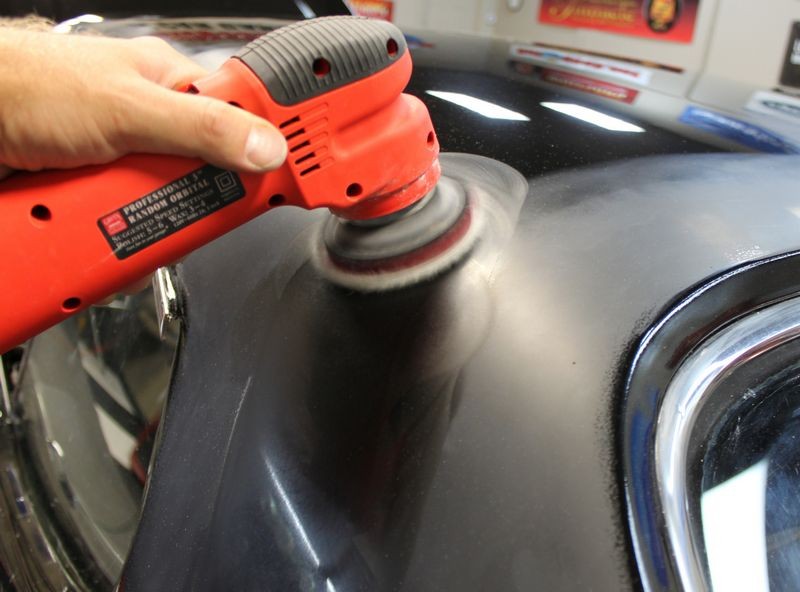
This is a match made in car detailing heaven. This mini dual action polisher works flawlessly as a 3" dampsander. It makes sanding close to edges safe and easy. It makes sanding small thin panels faster and easier.
With this combination of polisher and 3" sanding disc with an interface pad for conforming to the shape of the panel you can quickly and easily sand out a minor or small defect with surgical precision in an isolated area with only a small footprint.

Removing Sanding Marks
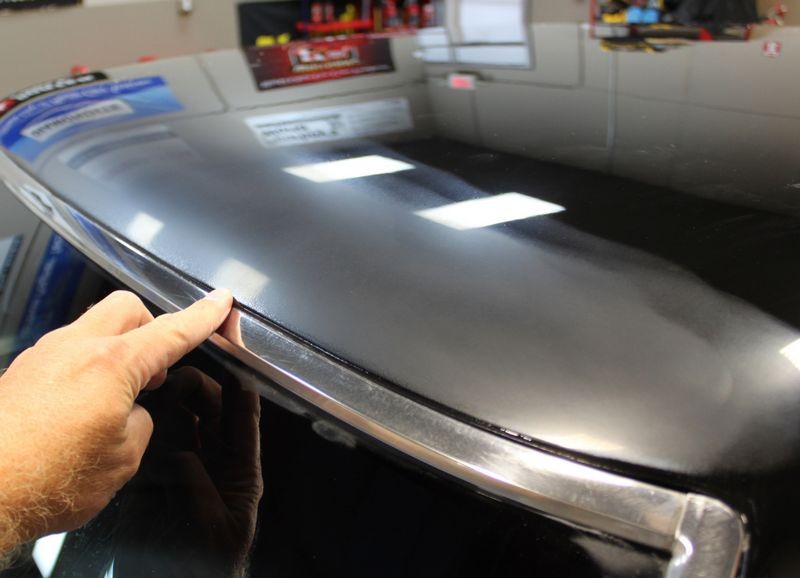
The Griot's Garage 3" Mini Polisher is also able to rotate the Meguiar's microfiber discs. This is a 3" microfiber cutting disc removing #3000 Unigrit dampsanding marks.
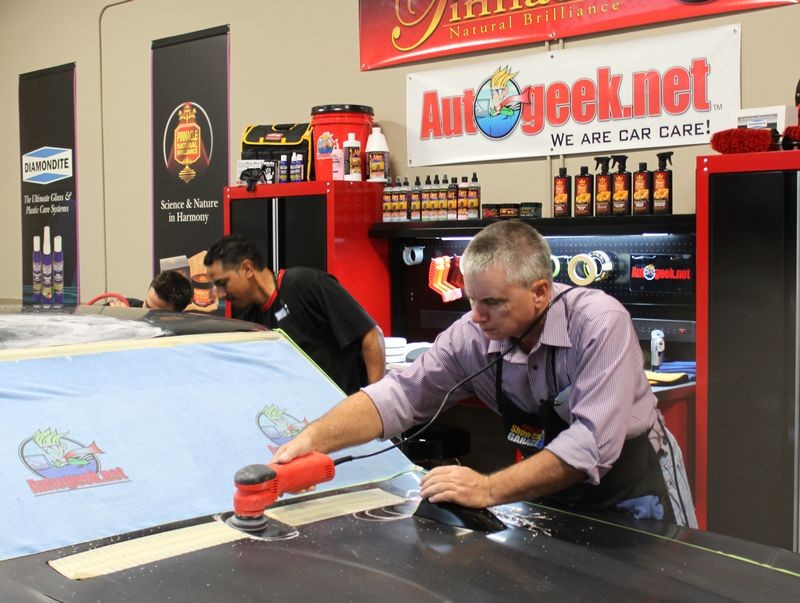
It works but it's so much faster and effective to learn how to use a rotary buffer if you're going to sand down and buff out an entire car. If you're just doing spot repair then it's doable.
on Autogeek.net
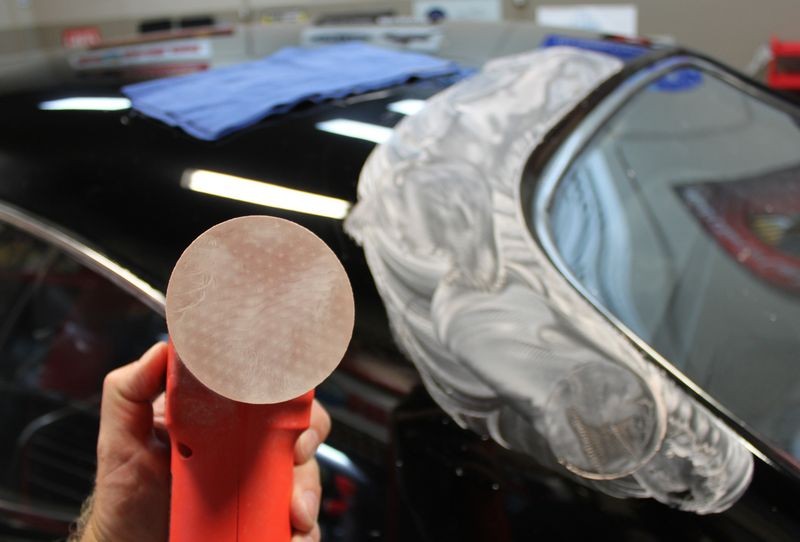
Meguiars Unigrit 3 Inch Finishing Discs
I can't recommend enough getting the Griot's Garage 3" Mini Polisher
Griot's Garage 3" Mini Polisher
Note: Make sure you get a couple of 3" Interface Pads you want this for contours and curved panels.
Dampsanding
This is a match made in car detailing heaven. This mini dual action polisher works flawlessly as a 3" dampsander. It makes sanding close to edges safe and easy. It makes sanding small thin panels faster and easier.
With this combination of polisher and 3" sanding disc with an interface pad for conforming to the shape of the panel you can quickly and easily sand out a minor or small defect with surgical precision in an isolated area with only a small footprint.
Removing Sanding Marks
The Griot's Garage 3" Mini Polisher is also able to rotate the Meguiar's microfiber discs. This is a 3" microfiber cutting disc removing #3000 Unigrit dampsanding marks.
It works but it's so much faster and effective to learn how to use a rotary buffer if you're going to sand down and buff out an entire car. If you're just doing spot repair then it's doable.
on Autogeek.net
Meguiars Unigrit 3 Inch Finishing Discs
- Meguiars Unigrit 1000 3 Inch Finishing Discs, 15 per box
- Meguiars Unigrit 3000 3 Inch Finishing Discs, 15 per box
I can't recommend enough getting the Griot's Garage 3" Mini Polisher
Griot's Garage 3" Mini Polisher
Note: Make sure you get a couple of 3" Interface Pads you want this for contours and curved panels.


")