Navigation
Install the app
How to install the app on iOS
Follow along with the video below to see how to install our site as a web app on your home screen.
Note: This feature may not be available in some browsers.
More options
Style variation
You are using an out of date browser. It may not display this or other websites correctly.
You should upgrade or use an alternative browser.
You should upgrade or use an alternative browser.
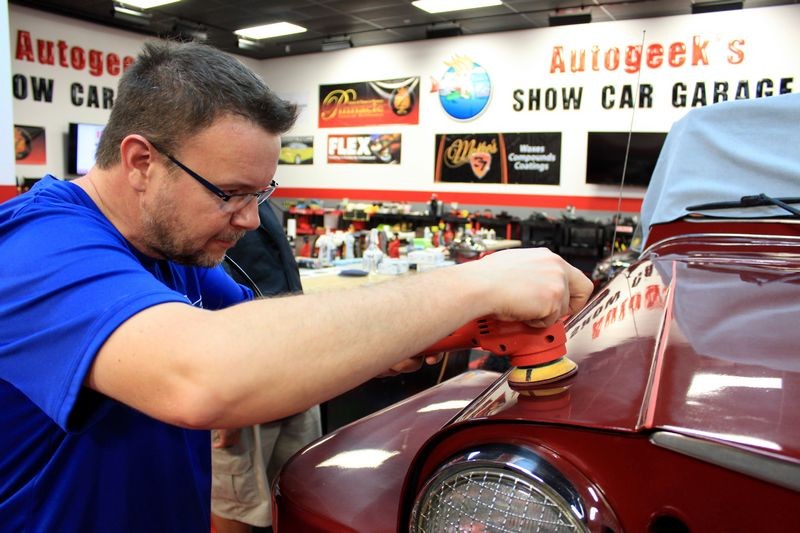
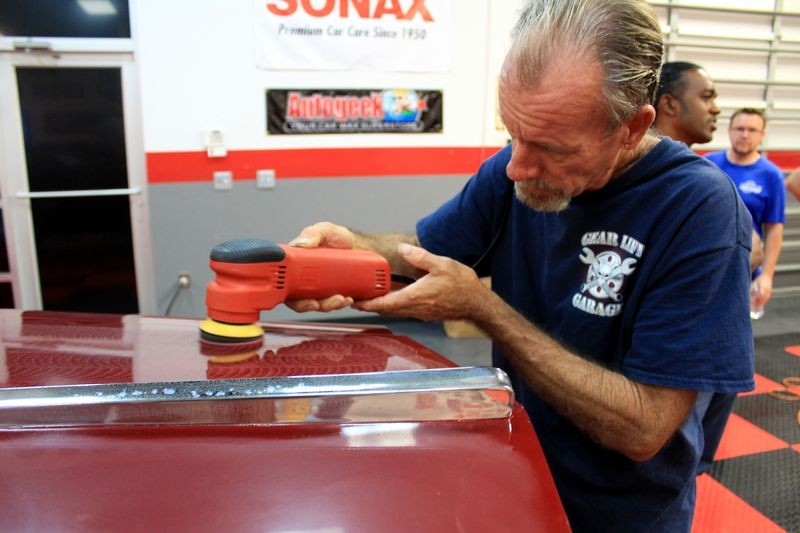
Dampsanding with 3" Griot's Garage Mini Polisher
- Thread starter Mike Phillips
- Start date
2old2change
New member
- Jan 3, 2007
- 1,269
- 0
I've noticed a lot of forum members still complain about the griots 3" polisher being underpowered.I was kept from adding one to my arsenal until I had the chance to actually use one. Did it have the power of the 6"Griots machine - no it didn't. But with the guidance of someone with a lot more patience and skill then myself , I learned the proper technique required and was amazed at the results from this machine. I now have this machine and do not regret the purchase at all. A shout out to Nick Chapman for taking the time to school me in a multiple of techniques and putting up with me for the week.  rops:
rops:
rops:Mike Phillips
Active member
- Dec 5, 2022
- 51,004
- 8
- Thread starter
- #23
A shout out to Nick Chapman for taking the time to school me in a multiple of techniques and putting up with me for the week.
Nick's a great detailer... I remember the first time I met Nick it's when he flew in from Texas to attend my Detailing 101 class and later he flew back a second time to attend my Detailing 102 Advanced class.
Been friends ever since...
")
Mike Phillips
Active member
- Dec 5, 2022
- 51,004
- 8
- Thread starter
- #24
and was amazed at the results from this machine.
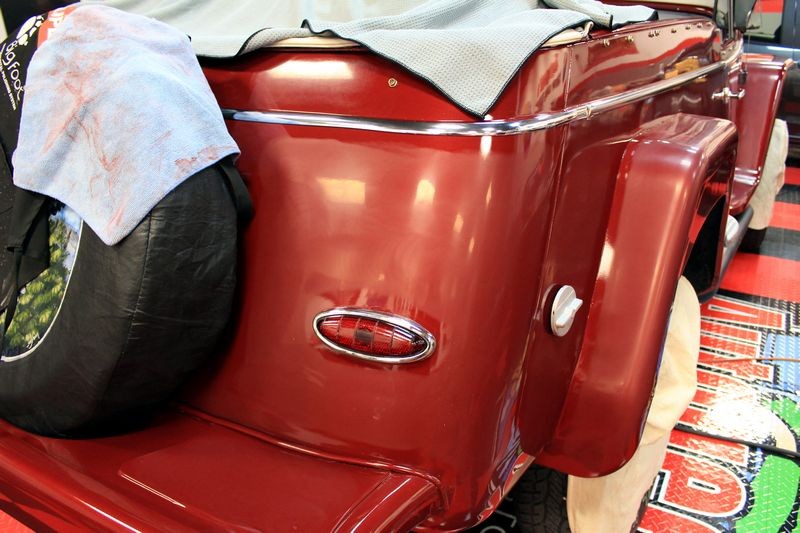
To me the Griot's Garage 3" Mini Polisher is a MUST HAVE tool.
It's a must-have for any wet sanding project because it's just too good at sanding thin panels, edging and intricate areas. Machine sanding always trumps hand sanding.
It's perfect for machine applying waxes. Again... machine application of a wax or sealant always trumps hand application.
And with good technique, the right pads and products you can use it to remove swirls and scratches, even sanding marks.
We sold one to a local guy here and he uses it to polish thei paint on his Ford T-Bucket.

With the stroke and orbit of a 3" polisher and trying to damp sand was surprising. Buffers are meant to buff and random orbital sanders to sand or mirror buff. To sand properly with a 3" sander what is needed is a 10,000 rpm sander with a 3/16 orbit tops. Also a soft interface pad. Wet Sanding and Damp Sanding are two entirely different styles. If the disc is not cleaned frequently the sanding residue cakes up quickly on the disc and transfers the residue along as you move the tool forward. This impedes the sanding process. This was evident in all of the photos where I could see the travel of the tool. Additionally overlap by 50% of disc diameter is necessary in a correct pattern which I did not see. I would be doomed from the start if I even tried this. Nuff said
Mike Phillips
Active member
- Dec 5, 2022
- 51,004
- 8
- Thread starter
- #27
I know this is an old thread, but I'm curious what compound was used on the roof of the GTO after the 1500 and 3000 grit dampsanding.
It's been 6 years since I wrote this thread recommending the use of the Griot's 3" polisher to machine wet sand, to be honest I don't remember what was used? Could have been Meguiar's M105 as back in 2011 that was probably the best cutting, nicest finishing compound on the market.
With the stroke and orbit of a 3" polisher and trying to damp sand was surprising.
Buffers are meant to buff and random orbital sanders to sand or mirror buff. To sand properly with a 3" sander what is needed is a 10,000 rpm sander with a 3/16 orbit tops. Also a soft interface pad. Wet Sanding and Damp Sanding are two entirely different styles. If the disc is not cleaned frequently the sanding residue cakes up quickly on the disc and transfers the residue along as you move the tool forward. This impedes the sanding process. This was evident in all of the photos where I could see the travel of the tool. Additionally overlap by 50% of disc diameter is necessary in a correct pattern which I did not see.
I would be doomed from the start if I even tried this.
Nuff said
Not sure what to tell you but I've been using and showing the Griot's 3" polisher as a sander for at least 6 years and it ALWAYS works great.
In fact, I can't imagine trying to work in a body shop without it becuase it's SO HANDY for machine sanding next to edges and body lines with precision.
To each their own...
:cheers:
Mike Phillips
Active member
- Dec 5, 2022
- 51,004
- 8
- Thread starter
- #28
Also just to add...
For people that are new to wetsanding by machine, also called damp sanding, the Griot's 3" sander is a GREAT way to learn becuas it has a small footprint and it's so easy to control. You can often get pad rotation on the 3 to 4 speed setting so there's no reason to push the speed dial all the way up to the 6 setting as that would be grinding, not sanding.
Case in point.... just last week I had a number of guys that had never machine sanded before, possibly never hand sanded before. So I had them learn how to machine sand using ONLY the Griot's 3" polisher.
Full write-up here,
Scuff & Buff - Wet Sanding Single Stage Metallic Paint - 1948 Willys Jeepster


:dblthumb2:
For people that are new to wetsanding by machine, also called damp sanding, the Griot's 3" sander is a GREAT way to learn becuas it has a small footprint and it's so easy to control. You can often get pad rotation on the 3 to 4 speed setting so there's no reason to push the speed dial all the way up to the 6 setting as that would be grinding, not sanding.
Case in point.... just last week I had a number of guys that had never machine sanded before, possibly never hand sanded before. So I had them learn how to machine sand using ONLY the Griot's 3" polisher.
Full write-up here,
Scuff & Buff - Wet Sanding Single Stage Metallic Paint - 1948 Willys Jeepster
:dblthumb2:
Mike.. if you have a proflomiter handy I would like to see the results of depth of scratch with such and aggressive orbit and pad.Then follow with a finer grade. Measure again but this time get the RMS.
My guess is that the scratch would be easier to pull out with the proper 3" DA with a soft interface. The DA properly equipped will leave a much finer scratch thus much easier and quicker on the remaining steps.
Deeper scratches = longer buffing time. If I had a piece of scrap with factory clear coat I would like to test this on my own as well. My 38 years in auto plants throughout the world has to be good for something.LOL!
Also with the coarser scratch I would have to believe that you are removing more clear coat.
But I'm always willing to learn something new.
Interesting topic
JKDesign
New member
- Oct 19, 2016
- 316
- 0
With the stroke and orbit of a 3" polisher and trying to damp sand was surprising. Buffers are meant to buff and random orbital sanders to sand or mirror buff. To sand properly with a 3" sander what is needed is a 10,000 rpm sander with a 3/16 orbit tops. Also a soft interface pad. Wet Sanding and Damp Sanding are two entirely different styles. If the disc is not cleaned frequently the sanding residue cakes up quickly on the disc and transfers the residue along as you move the tool forward. This impedes the sanding process. This was evident in all of the photos where I could see the travel of the tool. Additionally overlap by 50% of disc diameter is necessary in a correct pattern which I did not see. I would be doomed from the start if I even tried this. Nuff said
The Griot's 3in machine has a 5mm orbit. Most pnuematic DA sanders for the collision industry are 3/16 to 5/16 orbit. That 5mm orbit lies very close to the 3/16. 1mm=.039in, 1/16in=.0625in
JustJesus
New member
- Oct 10, 2014
- 1,294
- 0
Mike.. if you have a proflomiter handy I would like to see the results of depth of scratch with such and aggressive orbit and pad.Then follow with a finer grade. Measure again but this time get the RMS.
...
Also with the coarser scratch I would have to believe that you are removing more clear coat.
But I'm always willing to learn something new.
I did such a test, but used a paint thickness gauge. And yes, clear coat IS removed.
Here are the readings I took from my test panel. It was 3 light section passes using 1000 grit, followed by 1 section pass of 2000 grit, then followed by 1 section pass of compound. (Microns on left section, and mils on right section)

Mike Phillips
Active member
- Dec 5, 2022
- 51,004
- 8
- Thread starter
- #32
Mike.. if you have a proflomiter handy I would like to see the results of depth of scratch with such and aggressive orbit and pad.
Don't have one...
But the below is correct...
The Griot's 3in machine has a 5mm orbit.
Most pnuematic DA sanders for the collision industry are 3/16 to 5/16 orbit. That 5mm orbit lies very close to the 3/16. 1mm=.039in, 1/16in=.0625in
The Griot's 3" Polisher is NOT an aggressive sander.
It's perfect for people to learn machine sanding on and in my opinion perfect for machine sanding thin panels and close to body lines.
With the 3M Trizact and Mirka Abralon discs it's an awesome tool.
Now that my curiosity is up I am going to test both on a factory clear , measure RA and RMS. Using AO and SC. Ill look in my bag tomorrow and start the tests later this week. Ill keep you posted. Also the data supports my above claim that it could eat through the clear and it did.
JustJesus
New member
- Oct 10, 2014
- 1,294
- 0
Great test... I like data... it really did get through the clear which is what I suspected.
If you're referring to my post, burning through the clear coat was done on purpose. I was trying to see just how much force and/or passes it would take to get there. For that panel, I used WAY more downward pressure than I would in a real-world condition.
Great footage and great product with the 3" System. I have a kit for 5",6" and 3" discs , back up pads and interface pads. If interested please do contact me or take a peak. : 6? Orange Peel Kit. Damp or Dry | Donald Pavlica Fine Arts
Whitewater25
Member
- Feb 14, 2015
- 618
- 0
So I'm guessing the Rupes 75 is a bit too aggressive of orbit to do this for people who aren't used to doing it.
DaveT435
Active member
- Jun 23, 2012
- 3,982
- 0
So I'm guessing the Rupes 75 is a bit too aggressive of orbit to do this for people who aren't used to doing it.
That or it wasn't available in 2011 when this thread was started...lol
CarolinasFinestDetailing
New member
- May 30, 2011
- 1,556
- 0
So I'm guessing the Rupes 75 is a bit too aggressive of orbit to do this for people who aren't used to doing it.
Look on page 2 of this thread:
http://www.autogeekonline.net/forum...questions/75967-wet-sanding-rupes-mini-2.html
Mike explains that he has never sanded with the Mini, but has with the Duetto, which is the same stroke. He concludes that you can sand with the Mini as well.
I have sanded with the Mini as well and it cuts great.