Marc08EX
New member
- May 10, 2008
- 4,108
- 0
Wheels/Tires:
CG Citrus Wash And Gloss on wheels
Meguiar's APC on tires and wheel wells
Surf City Garage Tire Pro on tires
Swissvax Wheel brush for wheels, calipers and small crevices
EZ Detail Brush for wheel barrels
Meguiar's Ultimate Quik Wax on wheels
Wash:
CG Citrus Wash and Gloss via Foam Gun and 2BM
Meguiar's Microfiber Wash Mitt
Meguiar's Water Magnet
Metro Master Blaster
Clay:
Nanoskin Autoscrub Towel
Meguiar's Last Touch
Paint Correction:
Rupes 21ES
Meguair's G110v2 / 3" LC Backing Plate
Menzerna PF2500 / Meguiar's 5" Microfiber Cutting Discs
Meguiar's D300 / Meguiar's 3" Microfiber Cutting Discs
Rupes Quarz Gloss Medium Gel / Rupes Green Medium Pad
Pad Conditioning Brush
Craftsman 500W Halogen Lights
Brinkmann Dual Xenon Lights
LSP:
Wolfgang Fuzion
Interior:
Meguiar's Quik Interior Detailer
Vacuum
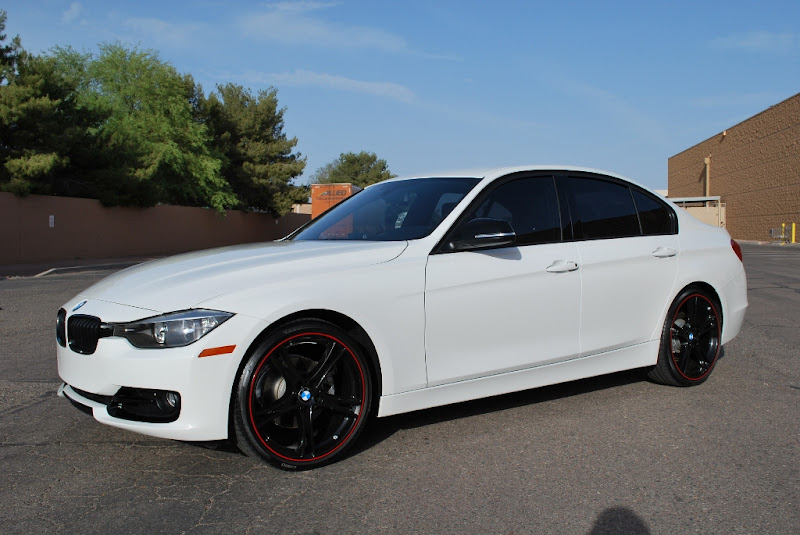
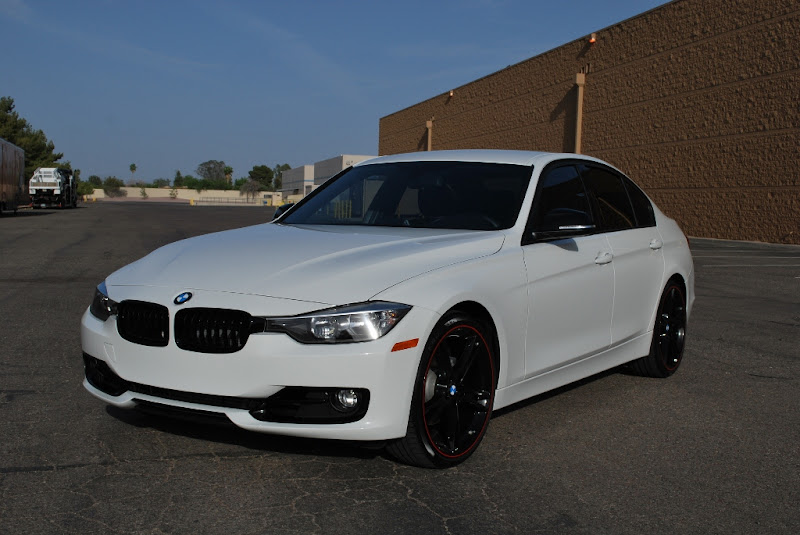
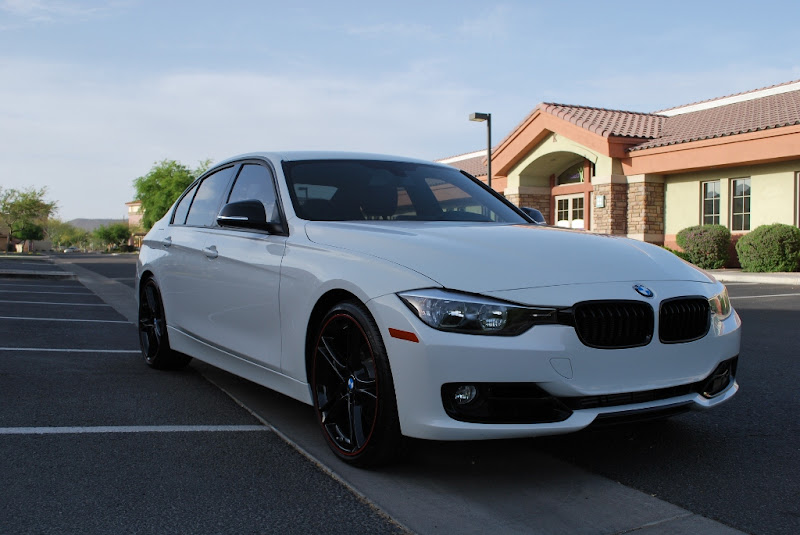
This vehicle was recently purchased and the owner wanted it refreshed. It had a ton of swirl marks and the paint was looking dull for this standards. Coincidentally, the owner is a fellow Autogeek. He usually details his own vehicles but he has more important priorities to take care of. I was honored that he chose me to do the detail for him. Knowing that he's a fellow Autogeek, I knew I have high standards to achieve. The owner chose to have a 1 step polish detail done.
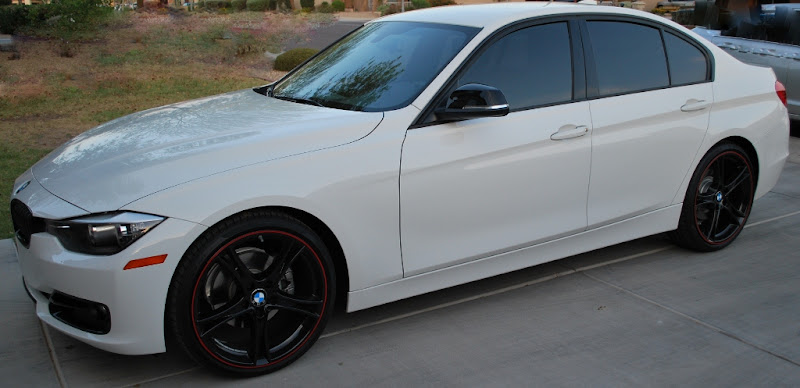
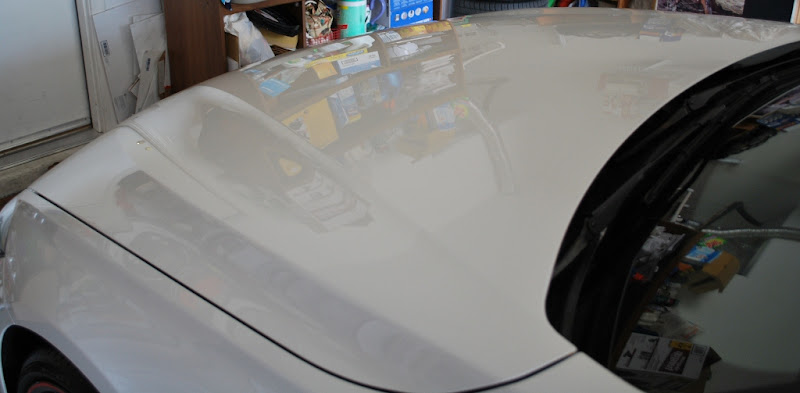
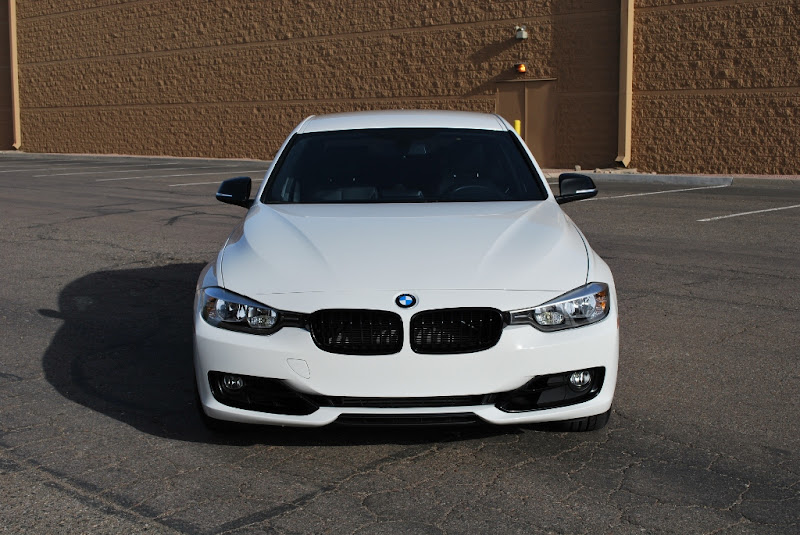
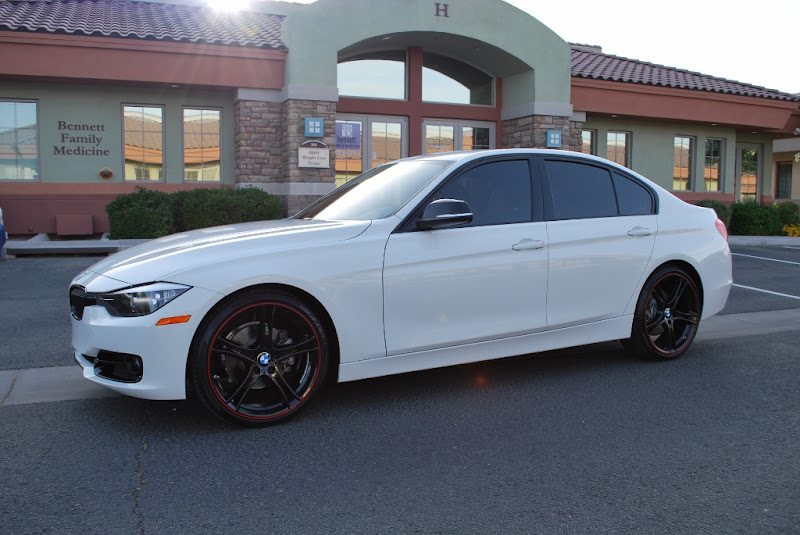
Here's a picture of the car when the owner dropped it off.
I really wanted to start the wash but the car was still hot. While waiting for the car to cool off, I decided to start cleaning up the interior. Here are some pictures of it:
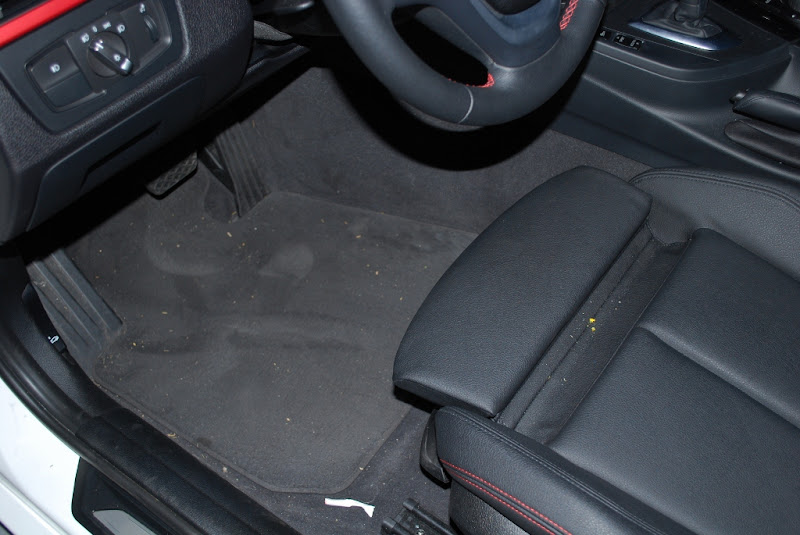
Interior Before:
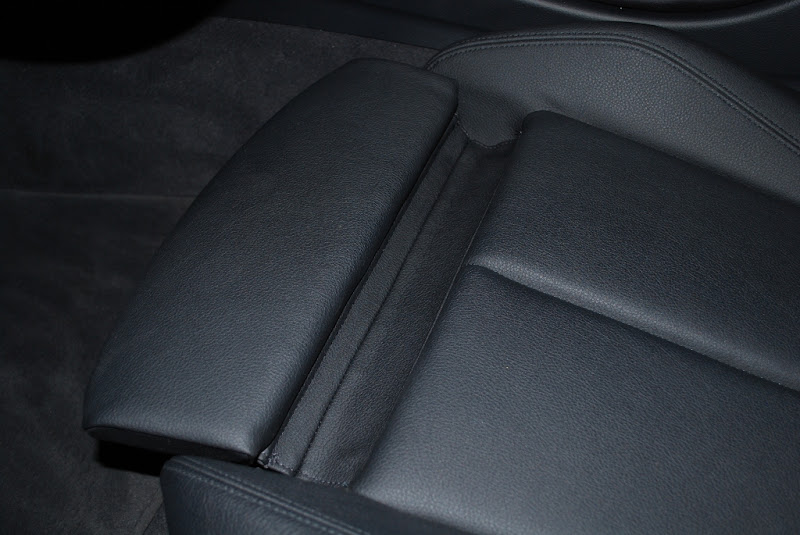
Seat Before:

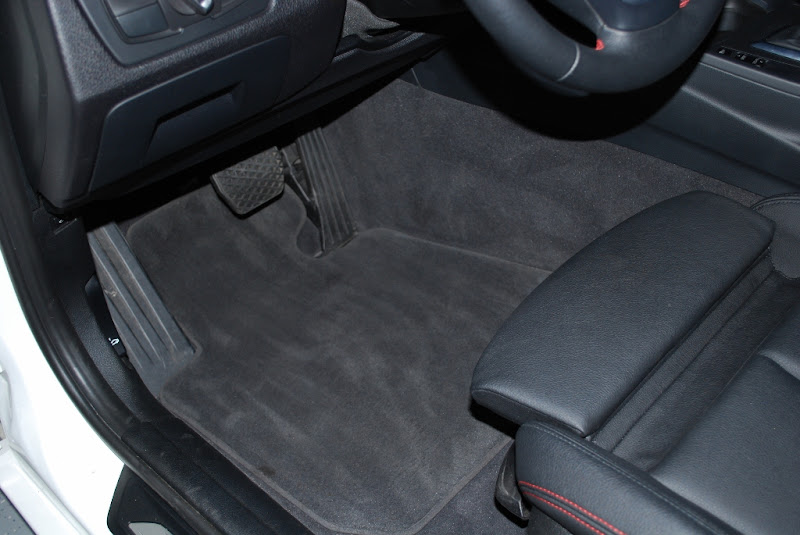
I vacuumed the whole interior. Here are some after pictures:
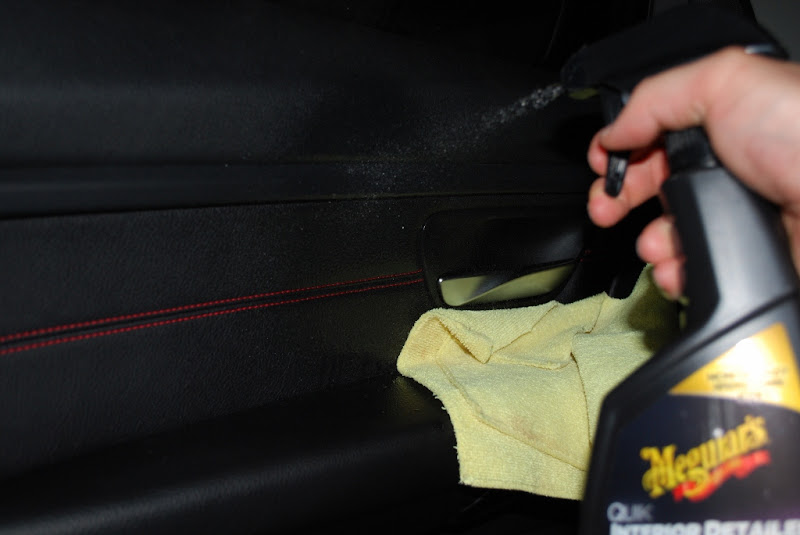
After vacuuming the cabin, I proceeded to wipe down the interior using Meguiar's Quik Interior Detailer and a clean microfiber towel. This stuff rocks!
The sun was setting really fast and it was getting dark outside. I really wanted to get the wash process started before it gets black out.
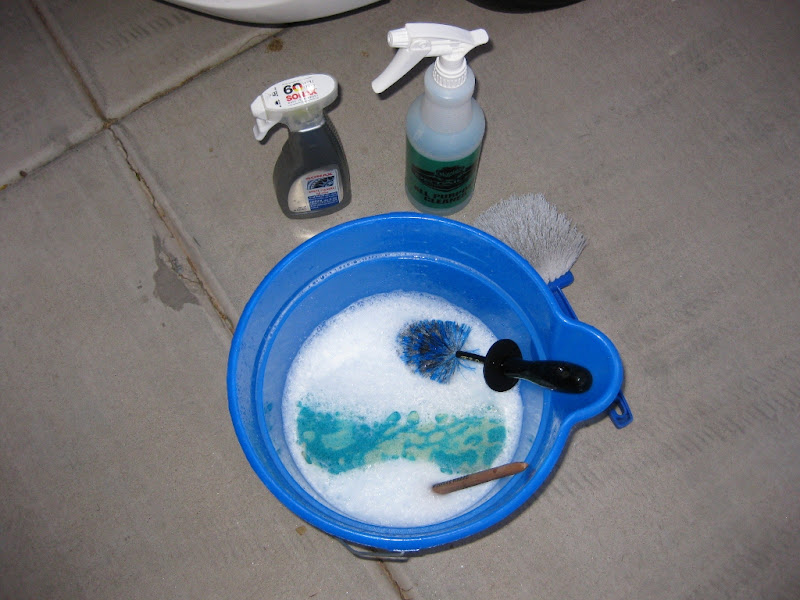
As usual, I always get started with the wheels. Here are the tools I used for this task:
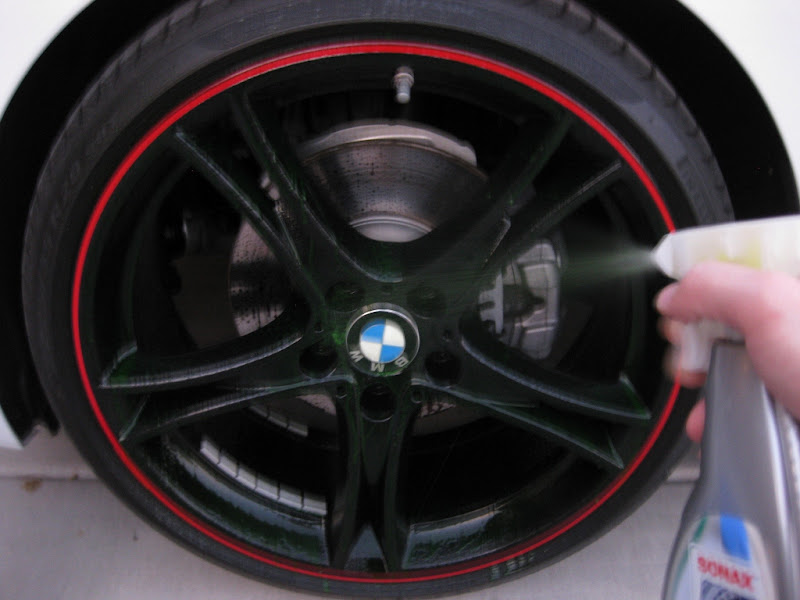
Spraying Sonax Wheel Cleaner:
Letting Sonax dwell and do its thing:

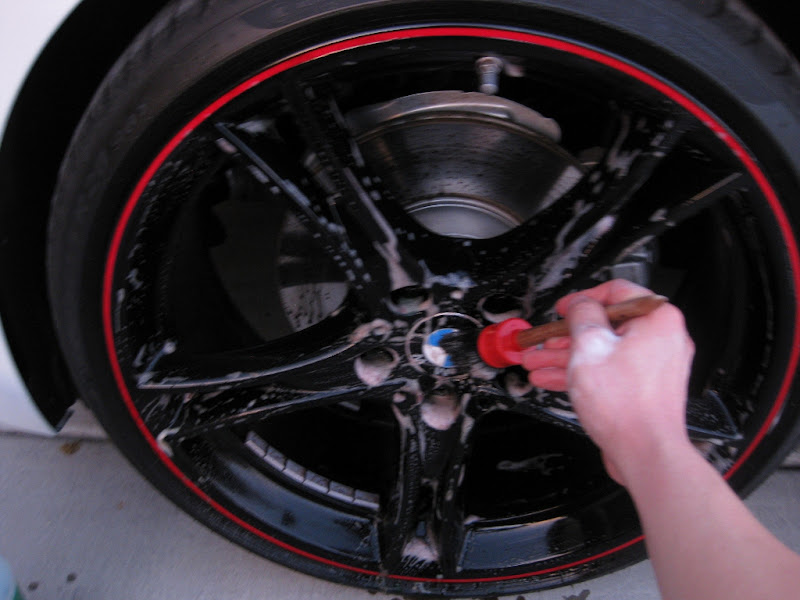
Brushing the wheel face:
Cleaning the wheel barrel:

Cleaning the tires:

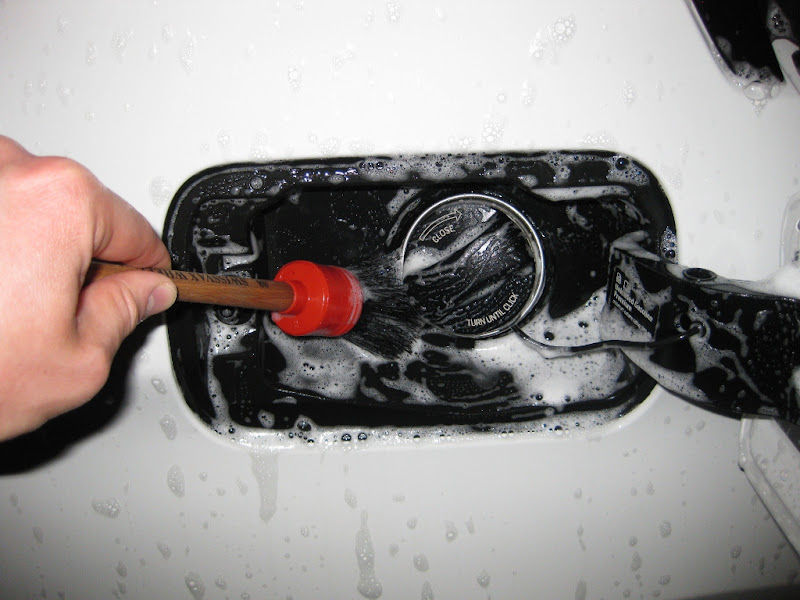
Cleaning the gas tank area:
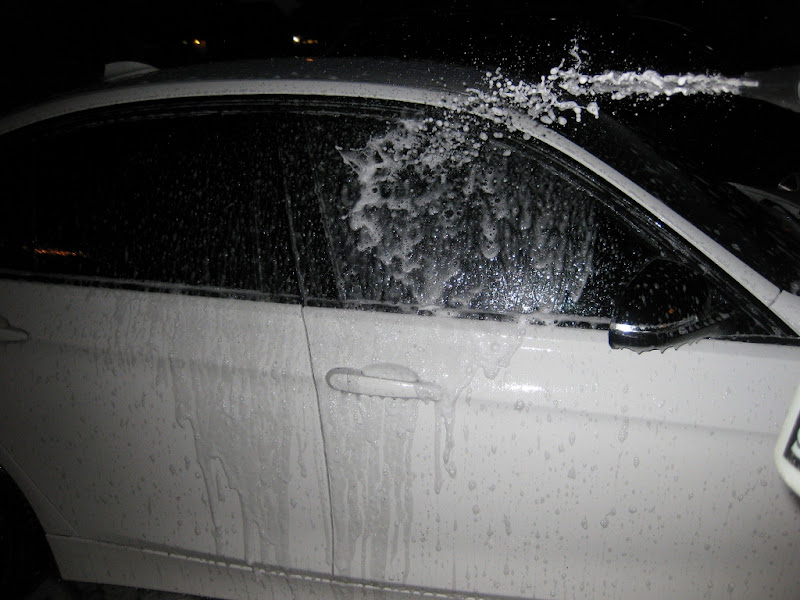
After all this was done. I foamed the car to loosen all the dirt and proceeded with a 2 bucket wash.
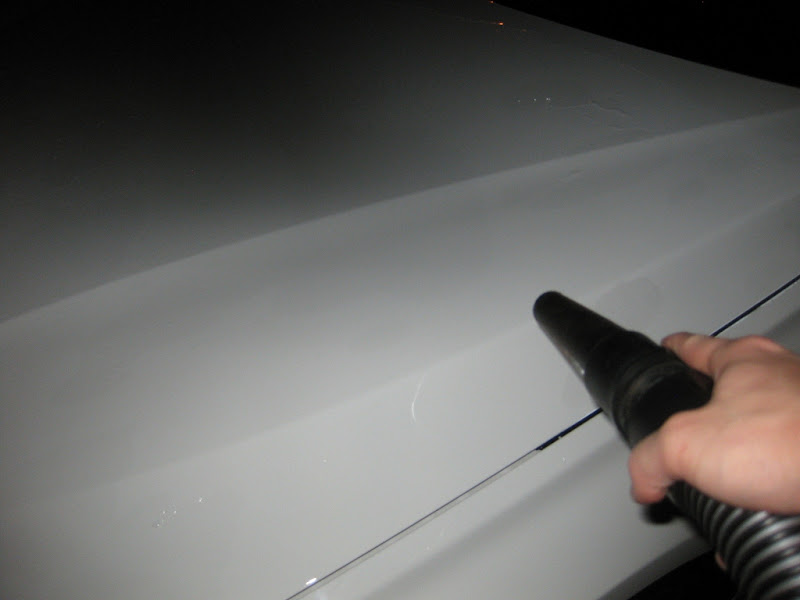
After washing the car, I used my Metro Master Blaster to dry the car as much as I can. Then I used my waffle weave drying towel to dry the remaining water.
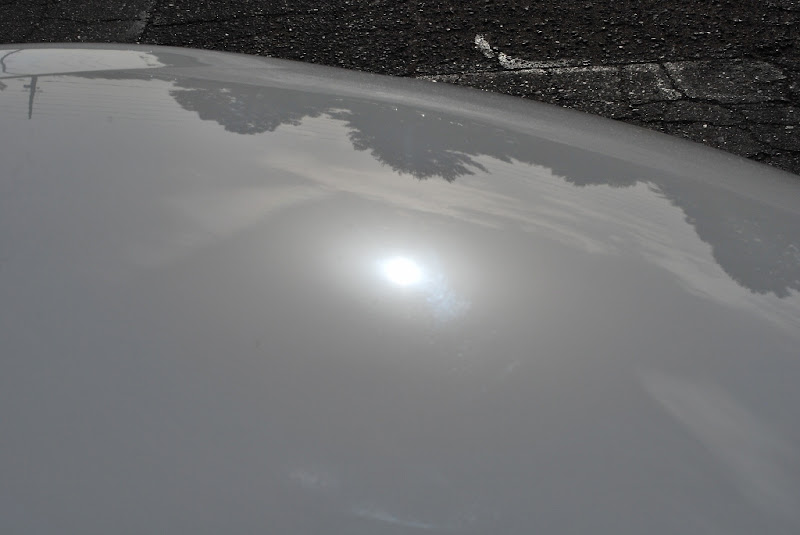
After drying the car, I inspected the paint for the presence of bonded contaminants. There wasn't much rough spots on the car but I decided to clay it anyways. For this task, I used the Nanoskin Autoscrub towen with Meguiar's Last Touch as my clay lube.

Now on to the polishing phase. The owner only wanted a 1 step polish. Since this is a German car, I wanted to switch it up and use a German polish appropriate for the car. I've heard great things about PF2500 being great for 1 step jobs so I chose this for the task. Also, I wanted to use this before it goes bad so what better time to use it than now. I elected to use my 5" Meguiar's microfiber cutting pad with my Rupes 21ES with the 5" BP installed. All the elite detailers are raving about this combo so I decided to give it a shot. Of course, I have my traditional DA (G110v2) hooked up with a 3" backing plate for those hard to reach areas.
Equipment to be used:

I was using PF2500 like how you would use D300 on the Meg's microfiber system. Prime the pad then just add 3 pea size drops per section. This in conjunction with the microfiber discs and of course the Rupes 21ES removes swirls like no other! I can literally see the swirls melt as the pad passes. It's AMAZING!!! I'll let the pictures do the talking...
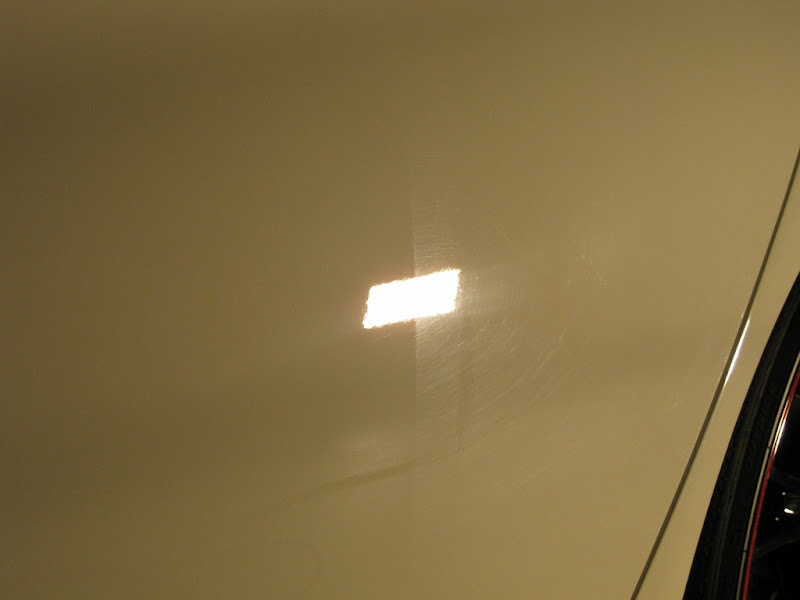
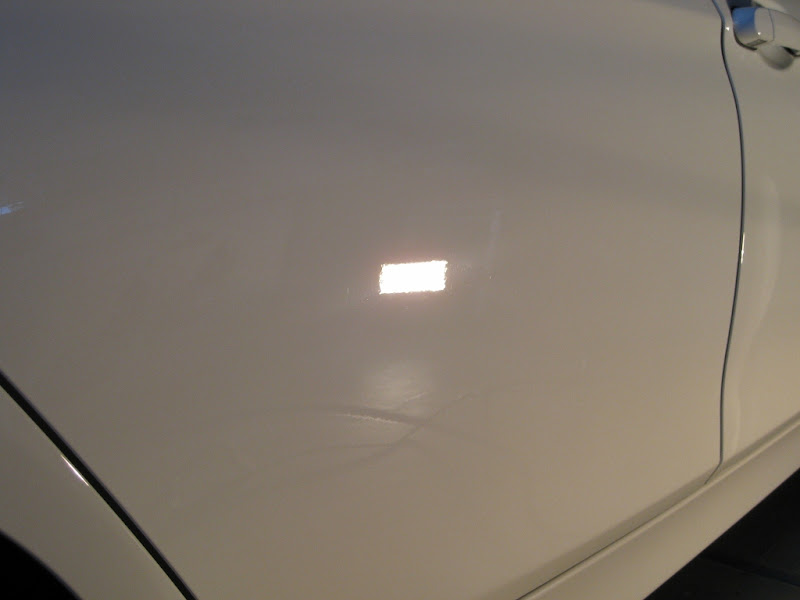
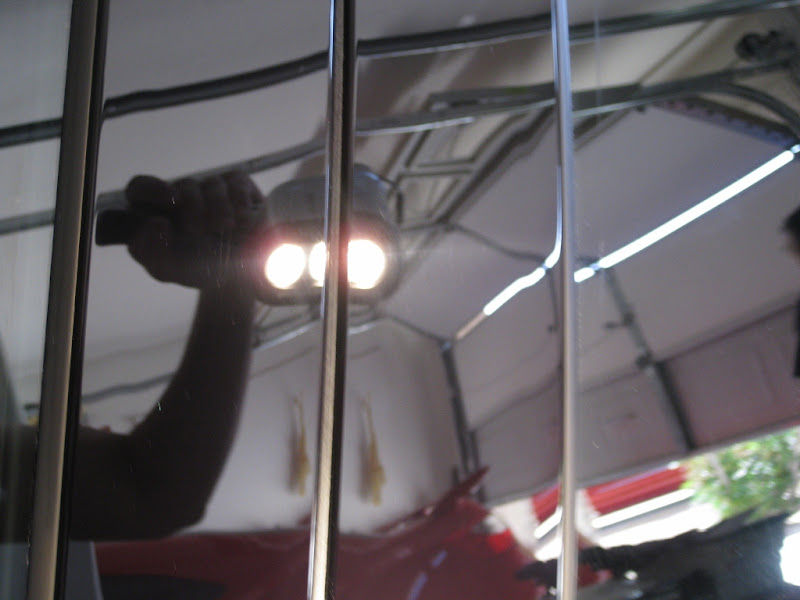
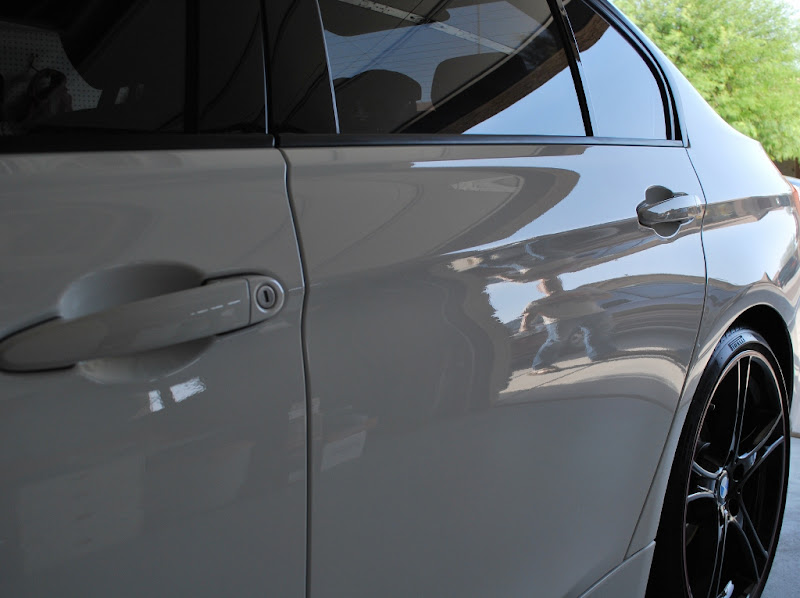
Driver Side Rear Door Before:
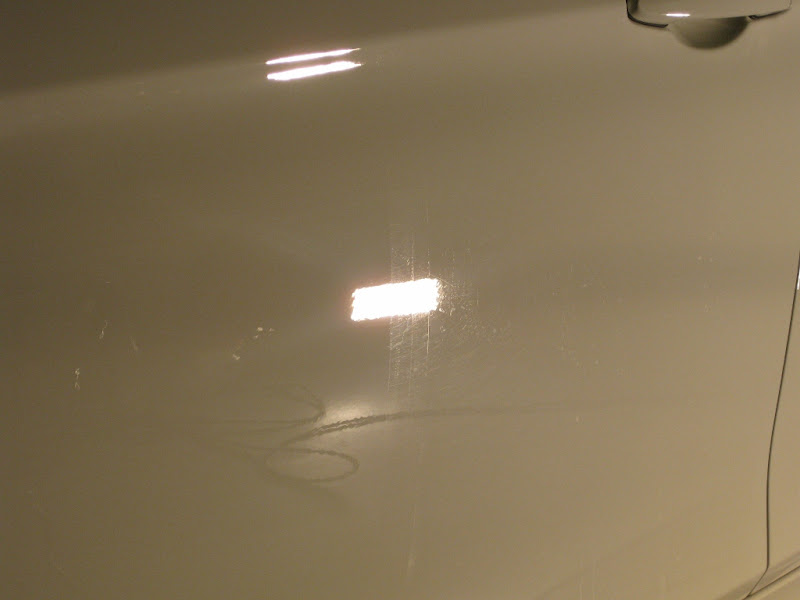
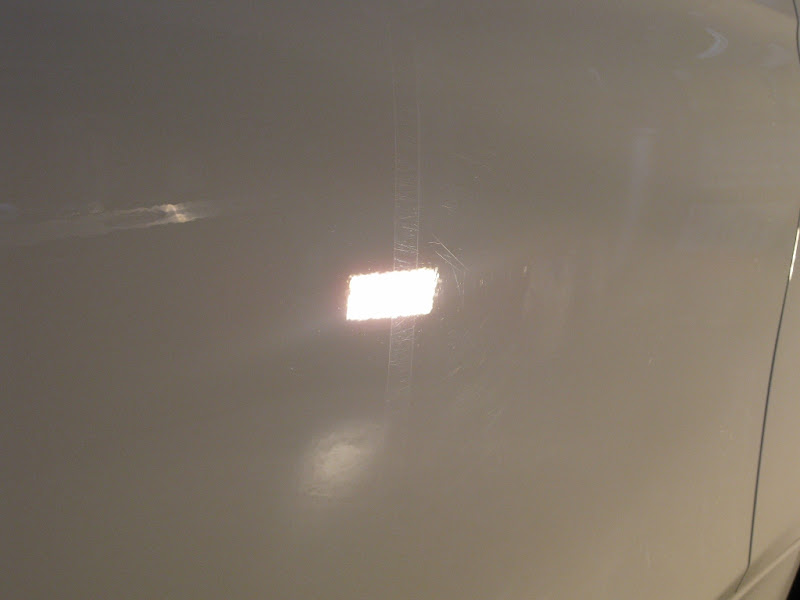
Driver Side Rear Door 50/50:
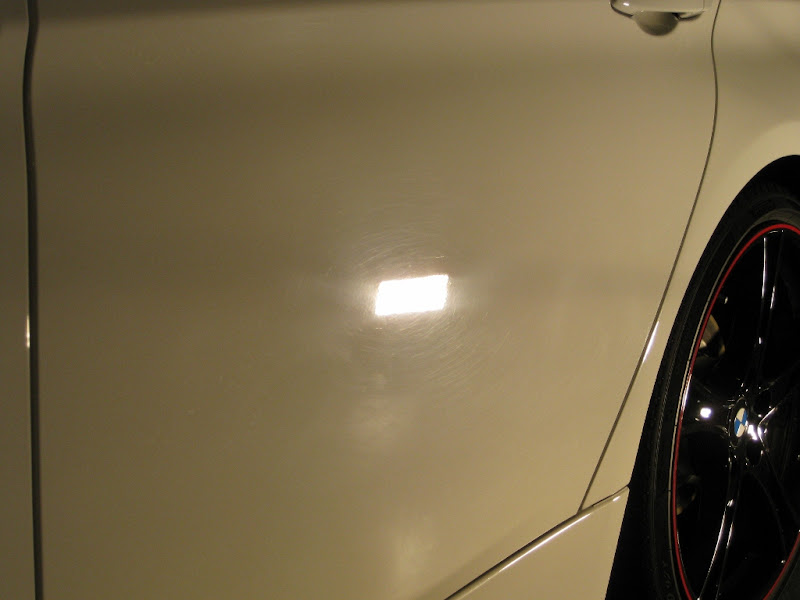
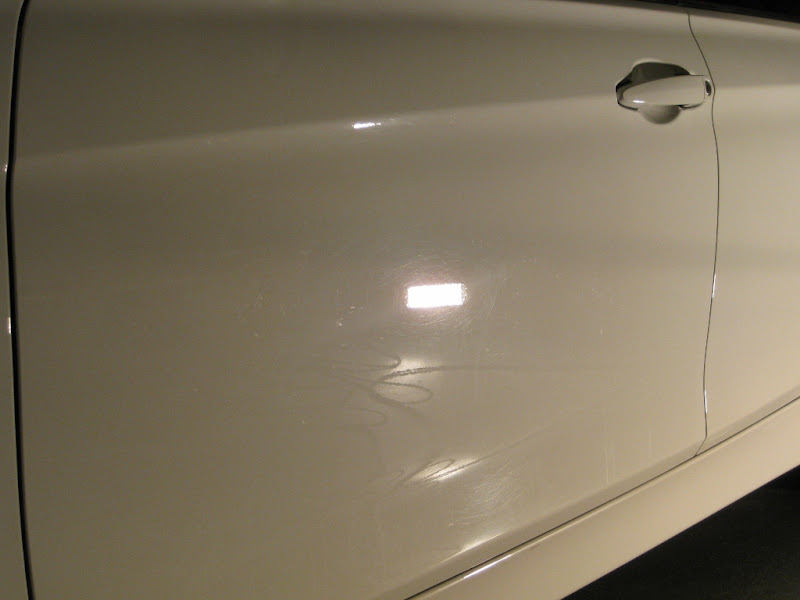
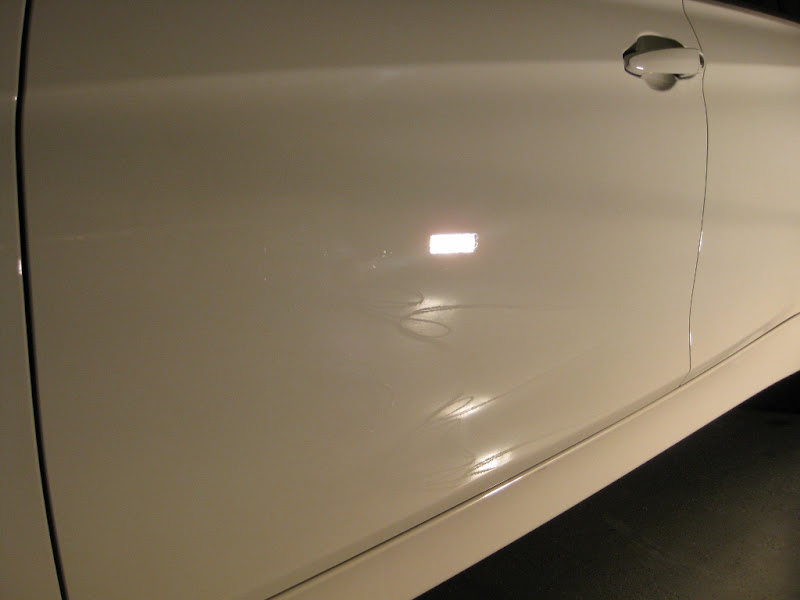
Driver Side Rear Door After:

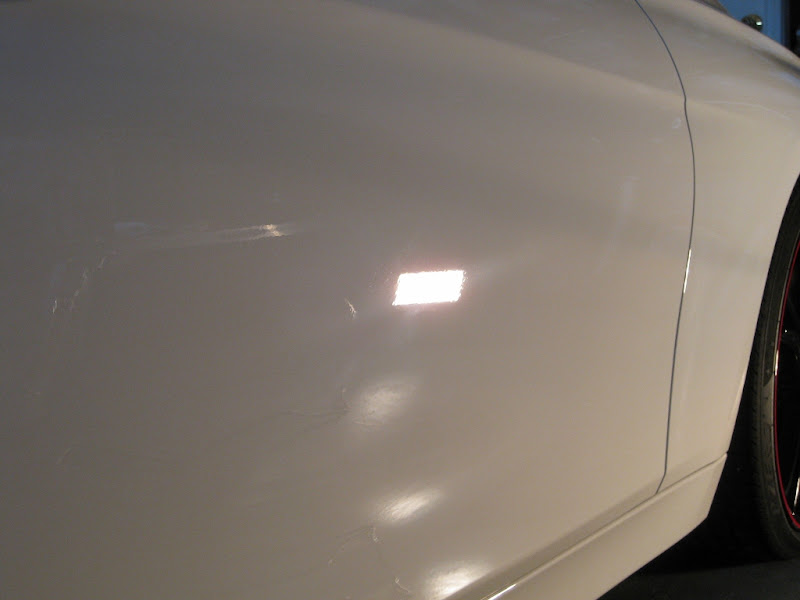
Driver Side Front Door Before:
Driver Side Front Door 50/50:
Driver Side Front Door After:
Remember to always work clean! Brush your microfiber pads after every section pass!

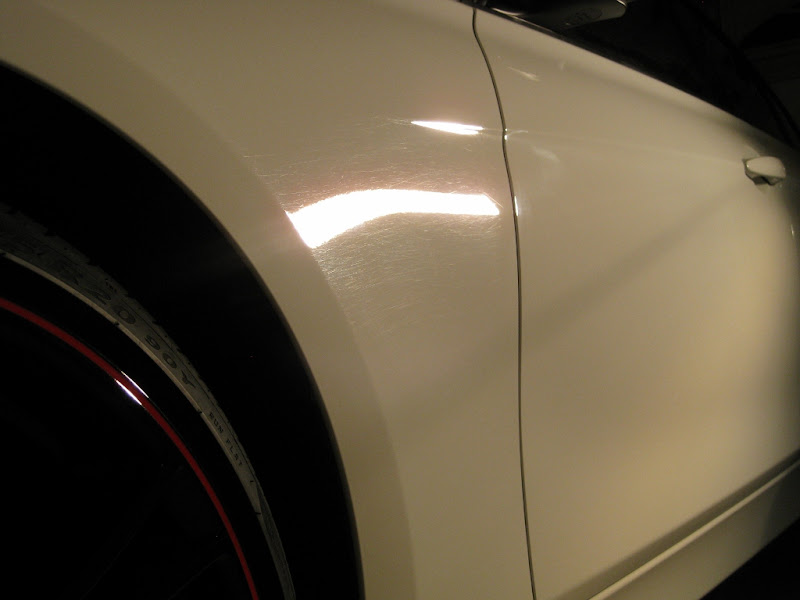
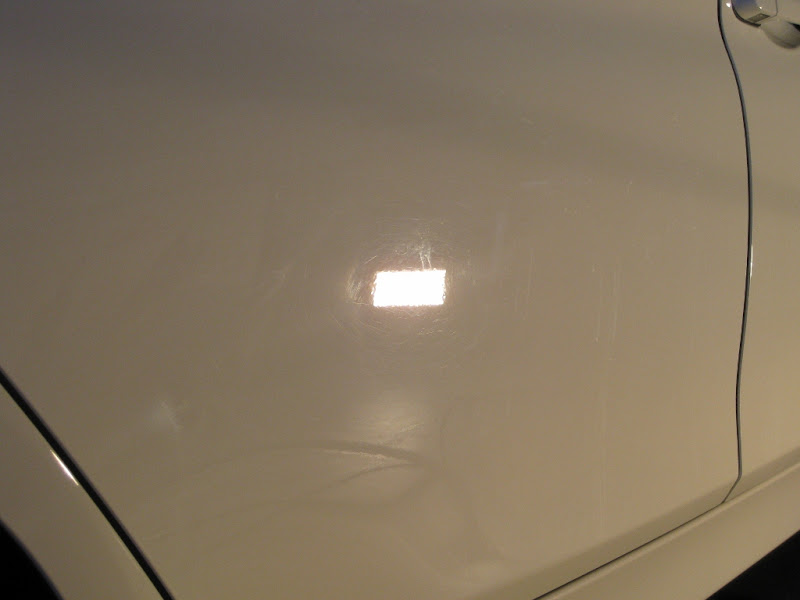
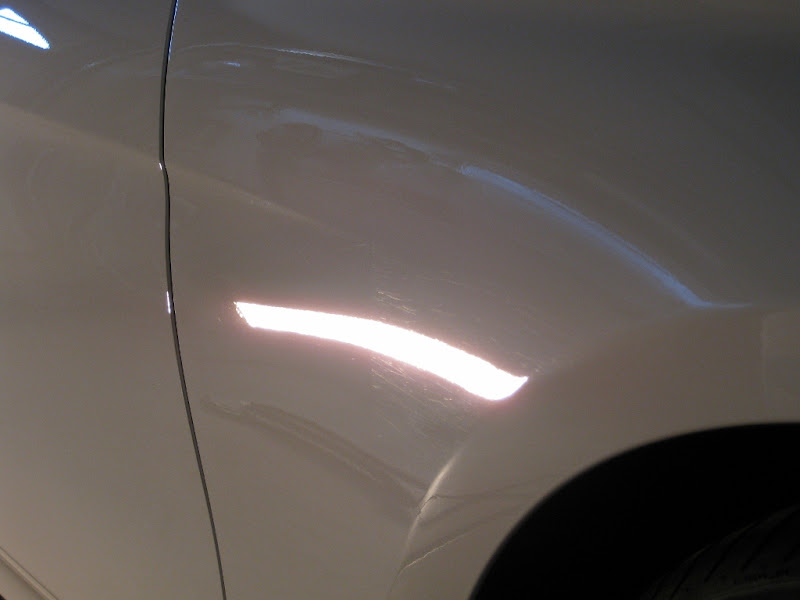
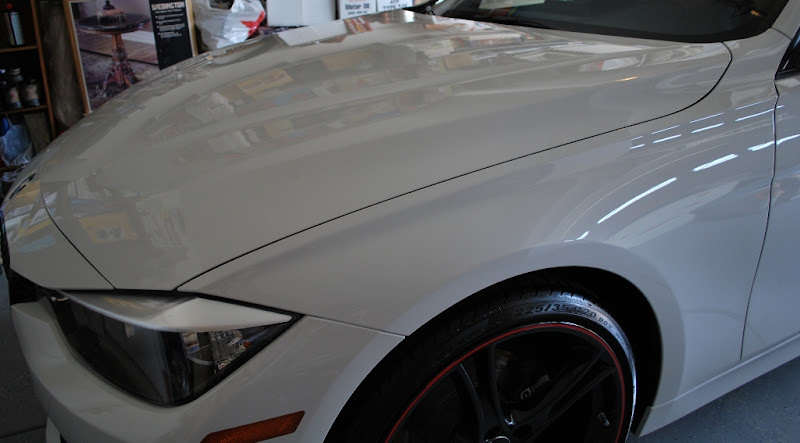
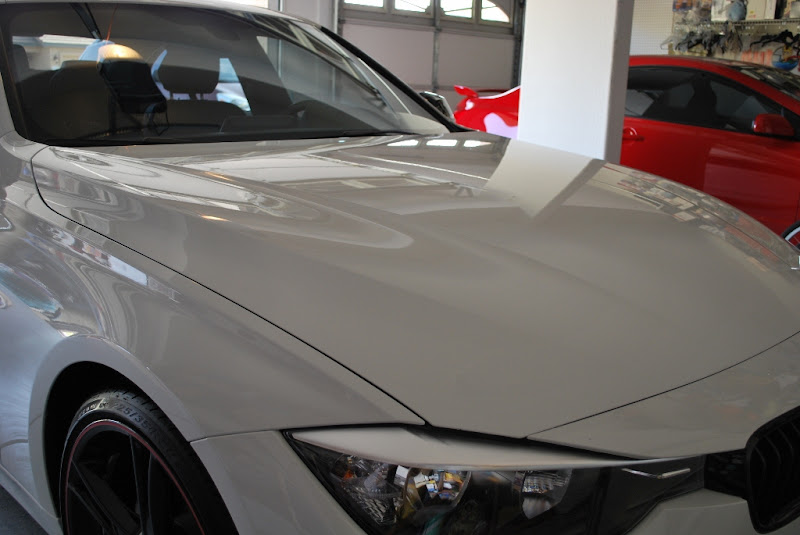
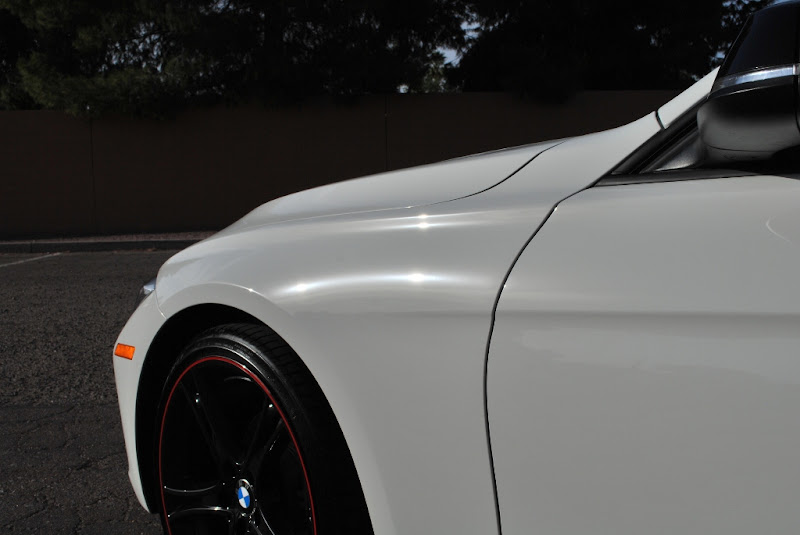
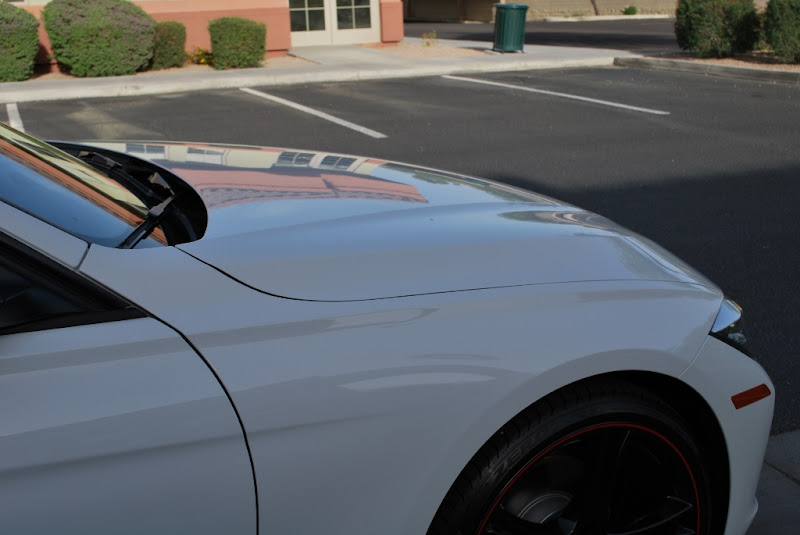
Driver Side Front Fender Before:
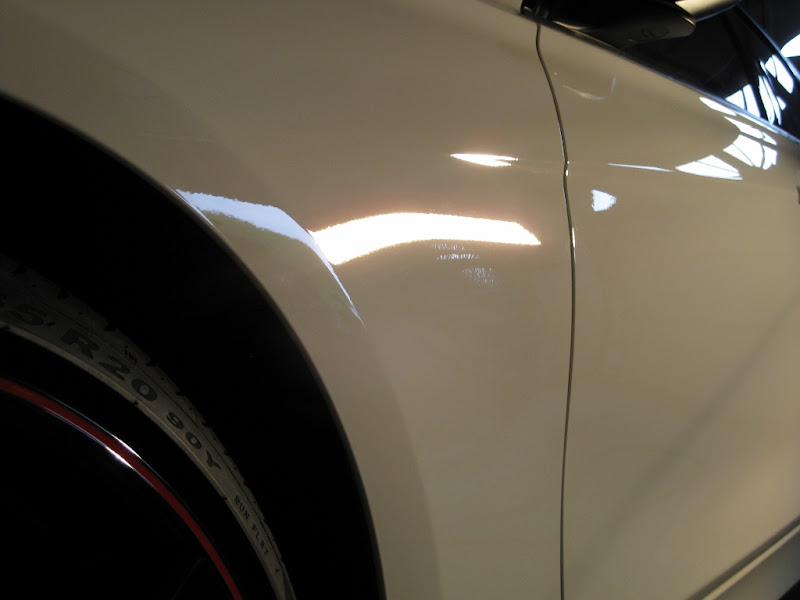
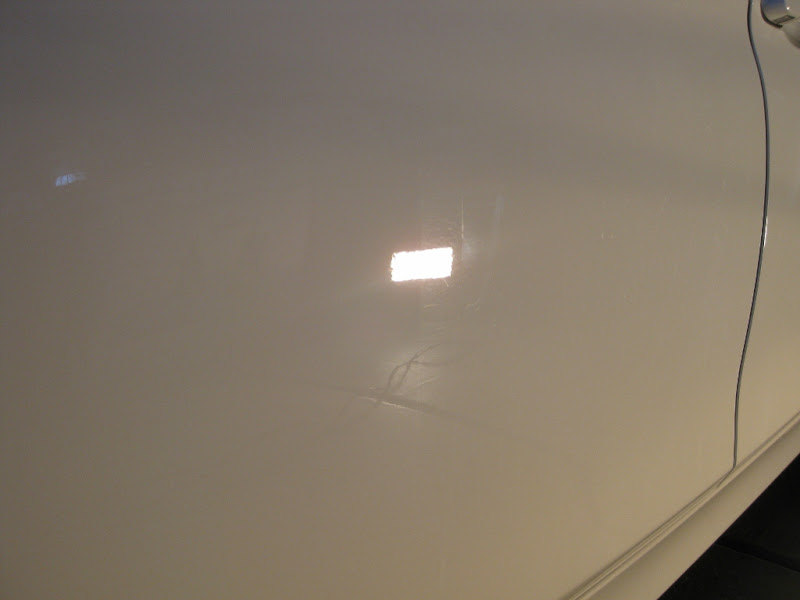
Driver Side Front Fender 50/50:

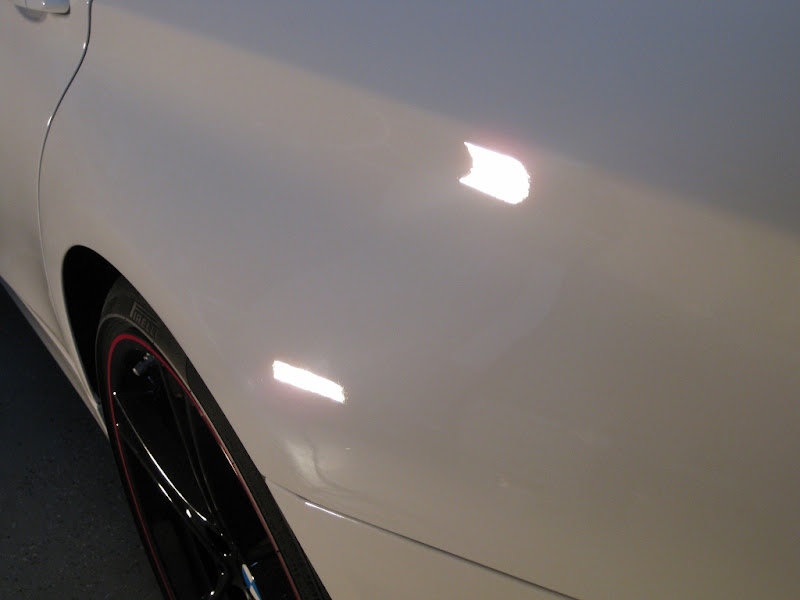
Driver Side Front Fender After:
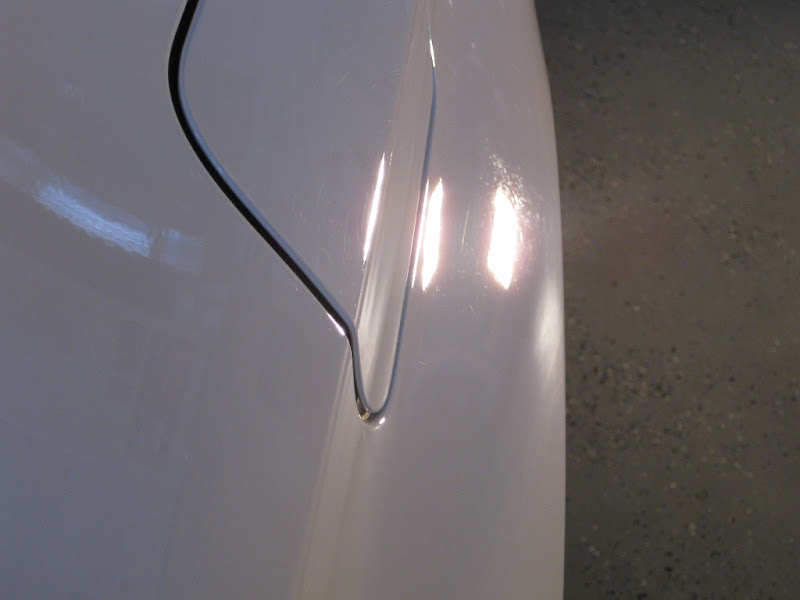
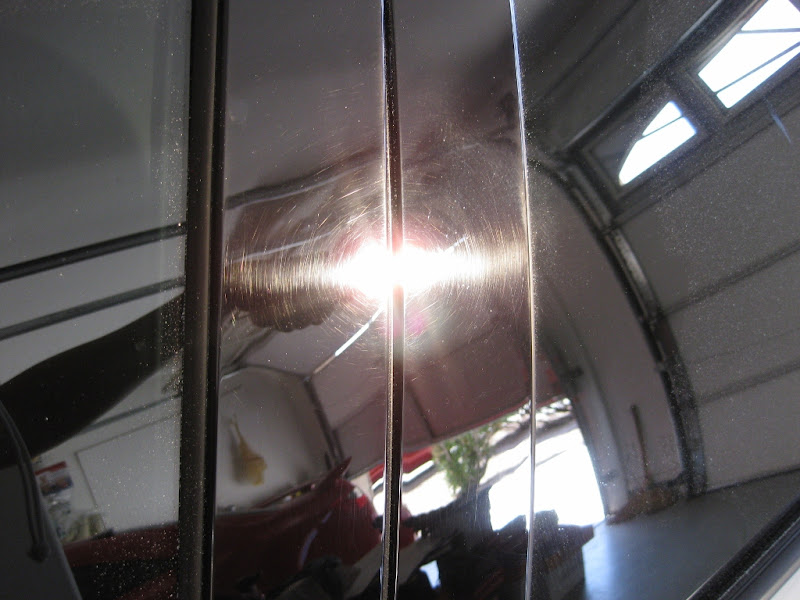
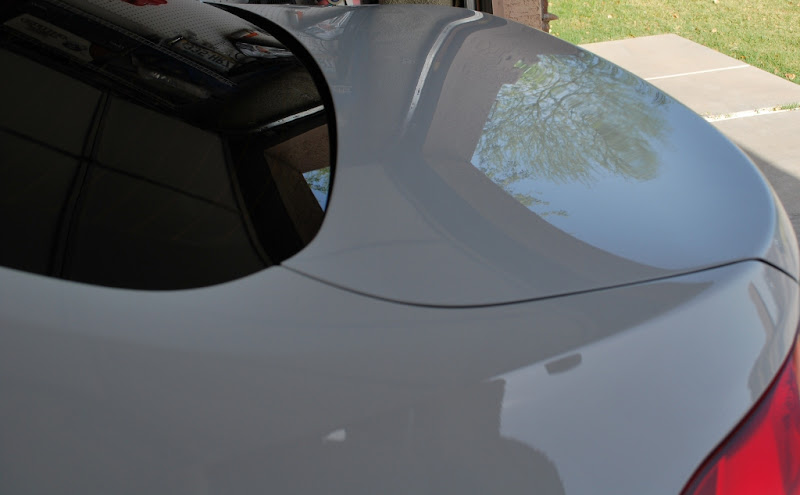
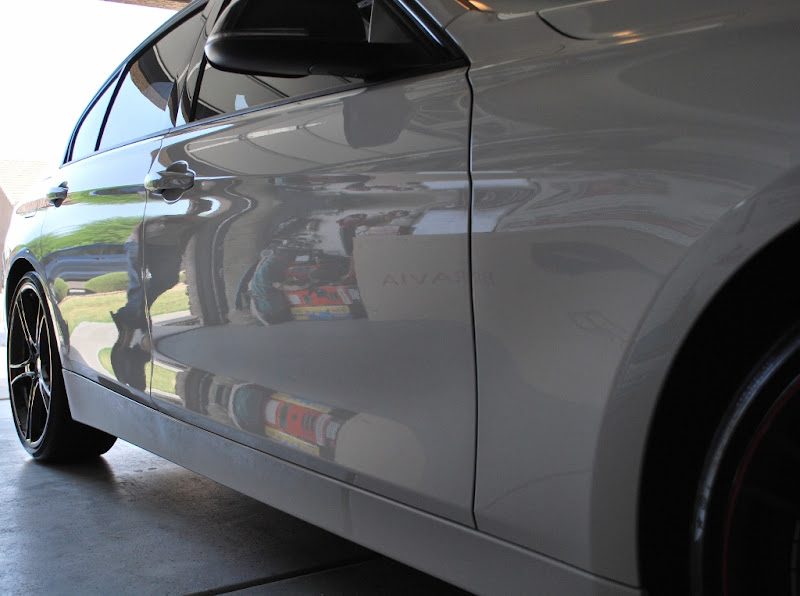
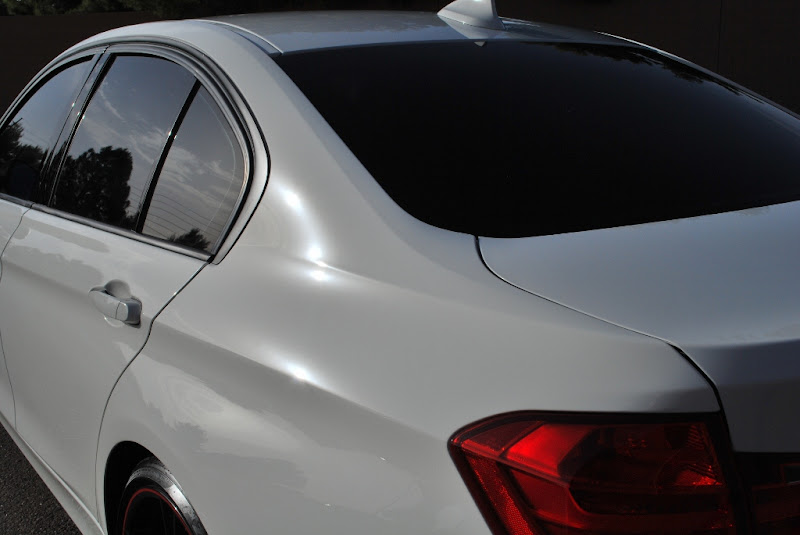
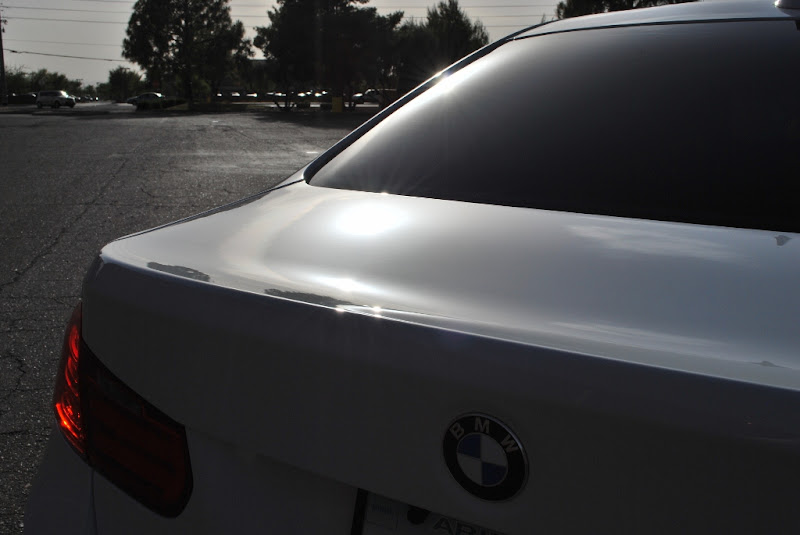
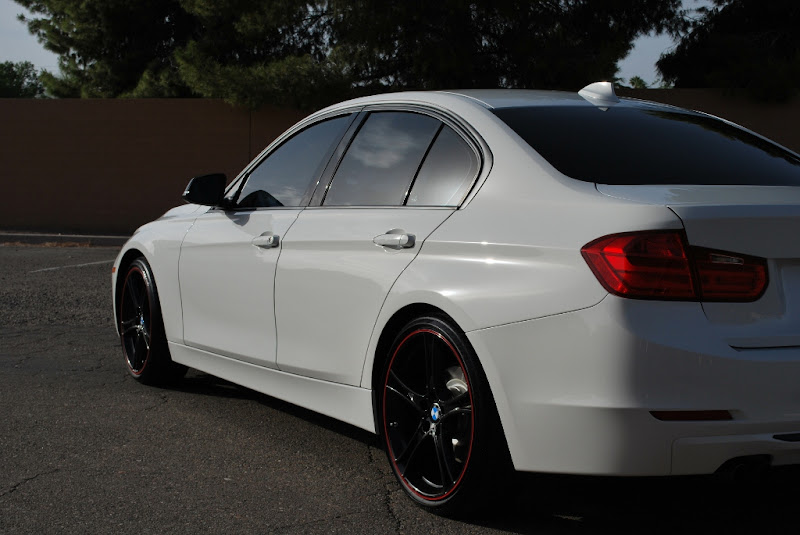
Driver Side Rear Quarter Before:

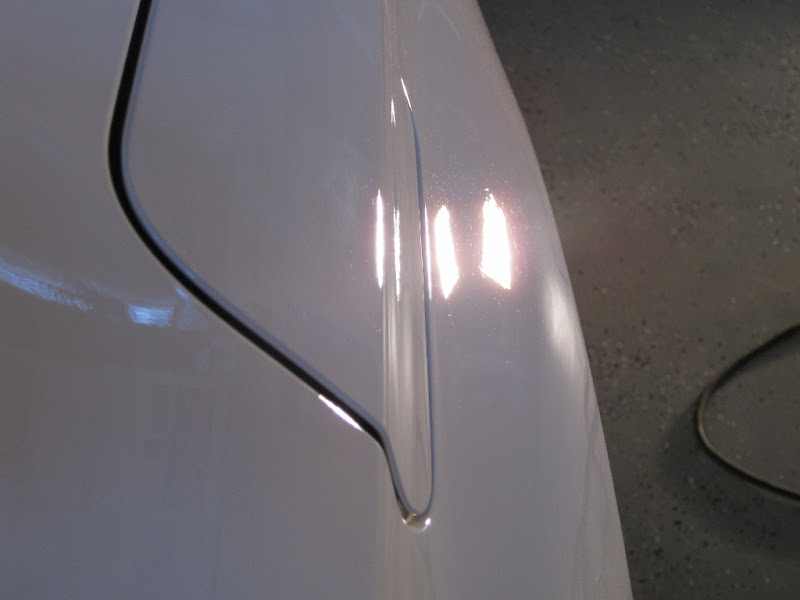
Driver Side Rear Quarter 50/50:

Driver Side Rear Quarter After:
CG Citrus Wash And Gloss on wheels
Meguiar's APC on tires and wheel wells
Surf City Garage Tire Pro on tires
Swissvax Wheel brush for wheels, calipers and small crevices
EZ Detail Brush for wheel barrels
Meguiar's Ultimate Quik Wax on wheels
Wash:
CG Citrus Wash and Gloss via Foam Gun and 2BM
Meguiar's Microfiber Wash Mitt
Meguiar's Water Magnet
Metro Master Blaster
Clay:
Nanoskin Autoscrub Towel
Meguiar's Last Touch
Paint Correction:
Rupes 21ES
Meguair's G110v2 / 3" LC Backing Plate
Menzerna PF2500 / Meguiar's 5" Microfiber Cutting Discs
Meguiar's D300 / Meguiar's 3" Microfiber Cutting Discs
Rupes Quarz Gloss Medium Gel / Rupes Green Medium Pad
Pad Conditioning Brush
Craftsman 500W Halogen Lights
Brinkmann Dual Xenon Lights
LSP:
Wolfgang Fuzion
Interior:
Meguiar's Quik Interior Detailer
Vacuum
This vehicle was recently purchased and the owner wanted it refreshed. It had a ton of swirl marks and the paint was looking dull for this standards. Coincidentally, the owner is a fellow Autogeek. He usually details his own vehicles but he has more important priorities to take care of. I was honored that he chose me to do the detail for him. Knowing that he's a fellow Autogeek, I knew I have high standards to achieve. The owner chose to have a 1 step polish detail done.
Here's a picture of the car when the owner dropped it off.
I really wanted to start the wash but the car was still hot. While waiting for the car to cool off, I decided to start cleaning up the interior. Here are some pictures of it:
Interior Before:
Seat Before:
I vacuumed the whole interior. Here are some after pictures:
After vacuuming the cabin, I proceeded to wipe down the interior using Meguiar's Quik Interior Detailer and a clean microfiber towel. This stuff rocks!
The sun was setting really fast and it was getting dark outside. I really wanted to get the wash process started before it gets black out.
As usual, I always get started with the wheels. Here are the tools I used for this task:
Spraying Sonax Wheel Cleaner:
Letting Sonax dwell and do its thing:
Brushing the wheel face:
Cleaning the wheel barrel:
Cleaning the tires:
Cleaning the gas tank area:
After all this was done. I foamed the car to loosen all the dirt and proceeded with a 2 bucket wash.
After washing the car, I used my Metro Master Blaster to dry the car as much as I can. Then I used my waffle weave drying towel to dry the remaining water.
After drying the car, I inspected the paint for the presence of bonded contaminants. There wasn't much rough spots on the car but I decided to clay it anyways. For this task, I used the Nanoskin Autoscrub towen with Meguiar's Last Touch as my clay lube.
Now on to the polishing phase. The owner only wanted a 1 step polish. Since this is a German car, I wanted to switch it up and use a German polish appropriate for the car. I've heard great things about PF2500 being great for 1 step jobs so I chose this for the task. Also, I wanted to use this before it goes bad so what better time to use it than now. I elected to use my 5" Meguiar's microfiber cutting pad with my Rupes 21ES with the 5" BP installed. All the elite detailers are raving about this combo so I decided to give it a shot. Of course, I have my traditional DA (G110v2) hooked up with a 3" backing plate for those hard to reach areas.
Equipment to be used:
I was using PF2500 like how you would use D300 on the Meg's microfiber system. Prime the pad then just add 3 pea size drops per section. This in conjunction with the microfiber discs and of course the Rupes 21ES removes swirls like no other! I can literally see the swirls melt as the pad passes. It's AMAZING!!! I'll let the pictures do the talking...
Driver Side Rear Door Before:
Driver Side Rear Door 50/50:
Driver Side Rear Door After:
Driver Side Front Door Before:
Driver Side Front Door 50/50:
Driver Side Front Door After:
Remember to always work clean! Brush your microfiber pads after every section pass!
Driver Side Front Fender Before:
Driver Side Front Fender 50/50:
Driver Side Front Fender After:
Driver Side Rear Quarter Before:
Driver Side Rear Quarter 50/50:
Driver Side Rear Quarter After:


")
 rops:
rops: