Marc08EX
New member
- May 10, 2008
- 4,108
- 0
Wheels/Tires:
Sonax Full Effect Wheel Cleaner and CG Citrus Wash And Gloss on wheels
Meguiar's APC on tires and wheel wells
Surf City Garage Tire Pro on tires
EZ Detail brush for the barrels
Swissvax Wheel brush for wheels, calipers and small crevices
Wash:
CG Citrus Wash and Gloss via Foam Gun and 2BM
Meguiar's Microfiber Wash Mitt
Meguiar's Water Magnet
Clay:
DP Clay
Meguiar's Last Touch
Paint Correction:[u/]
Flex 3401 VRG
Meguiar's G100 / 3" Backing Plates
Meguiar's M105 / LC Orange Pads
Meguiar's M205 / W8207 Pads
Grit Guard Universal Pad Washer
Craftsman 500W Halogen Lights
Brinkmann Dual Xenon Lights
LSP:
Carpro Eraser
Optimum Opti-coat 2.0
Interior:
Meguiar's Quik Interior Detailer
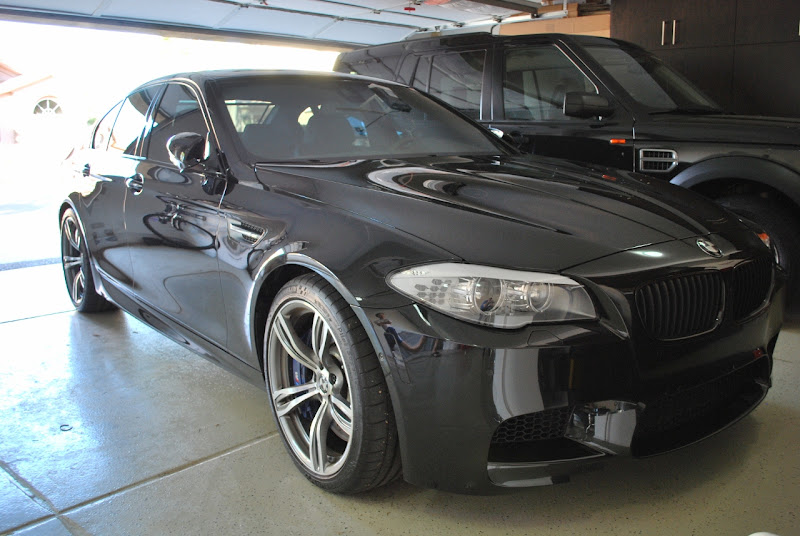
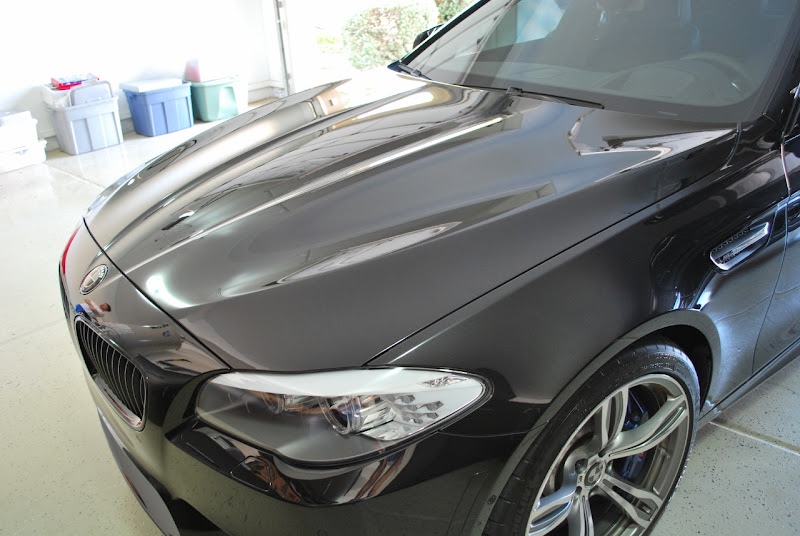
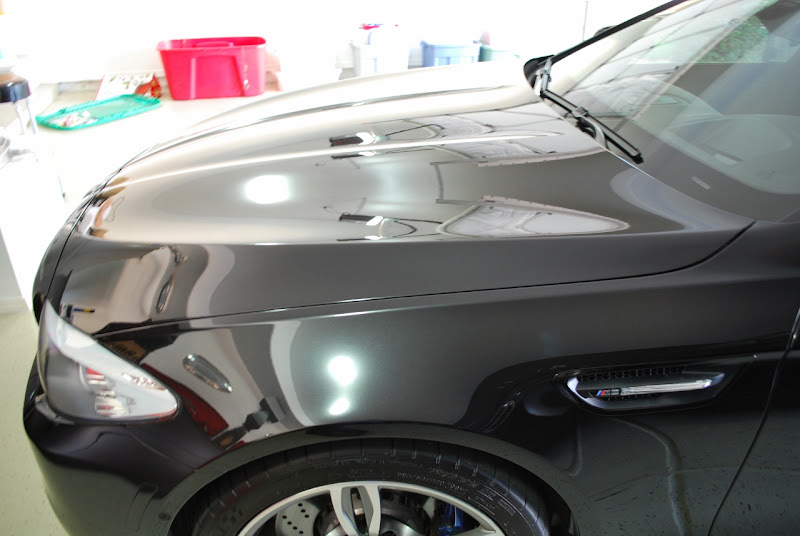
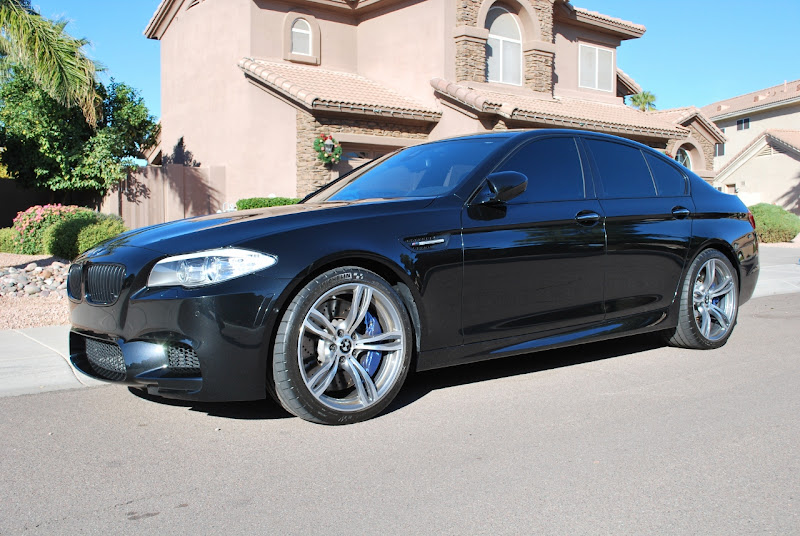
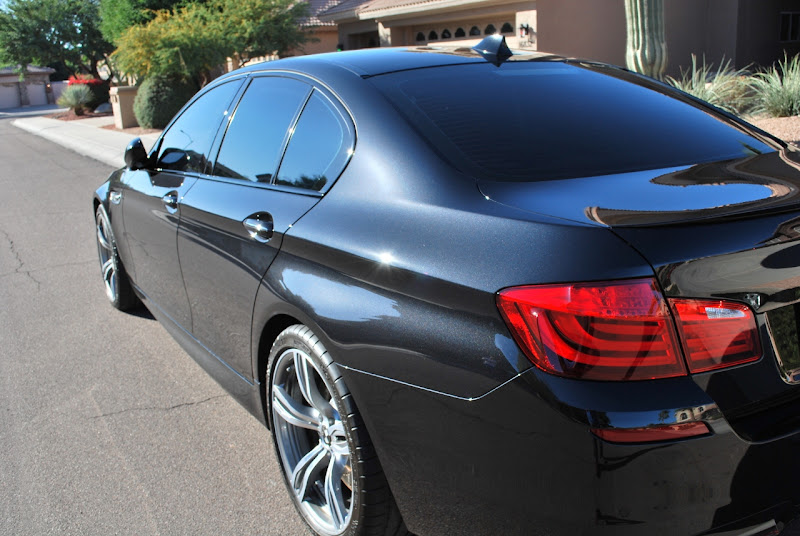
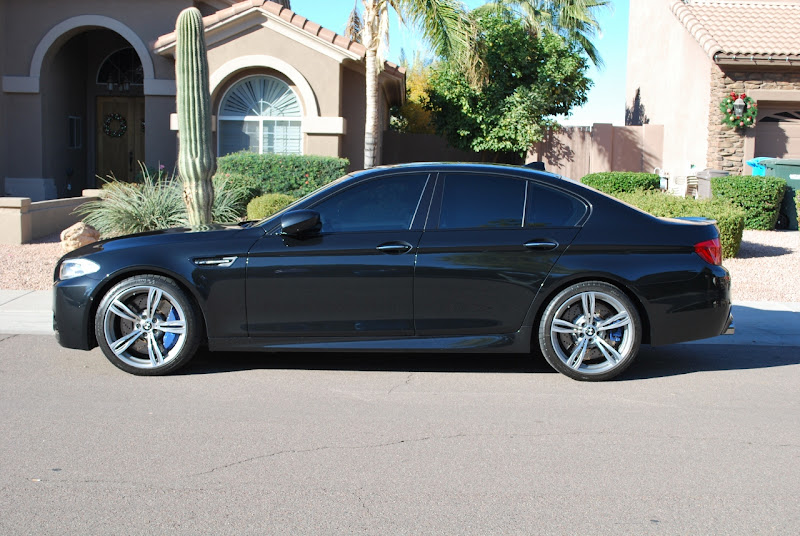
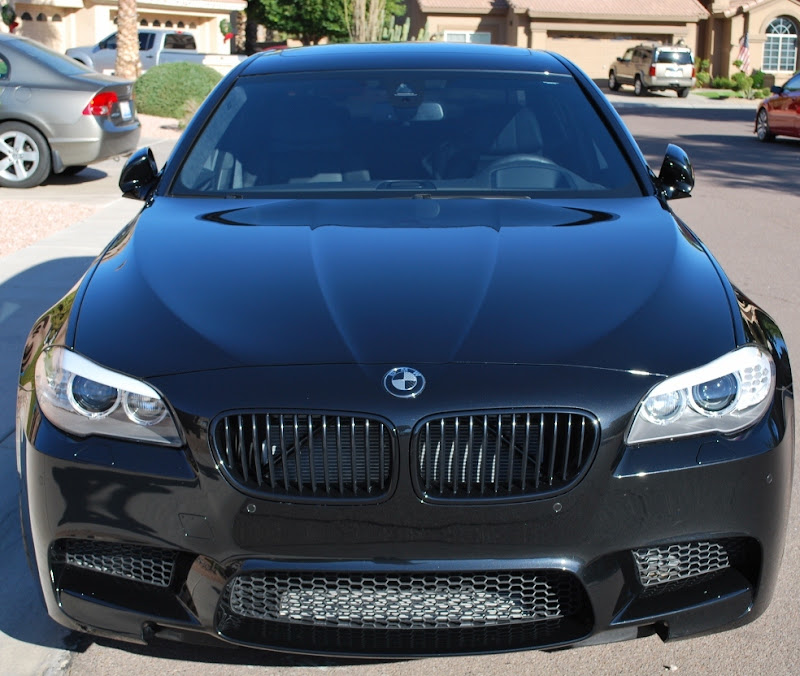
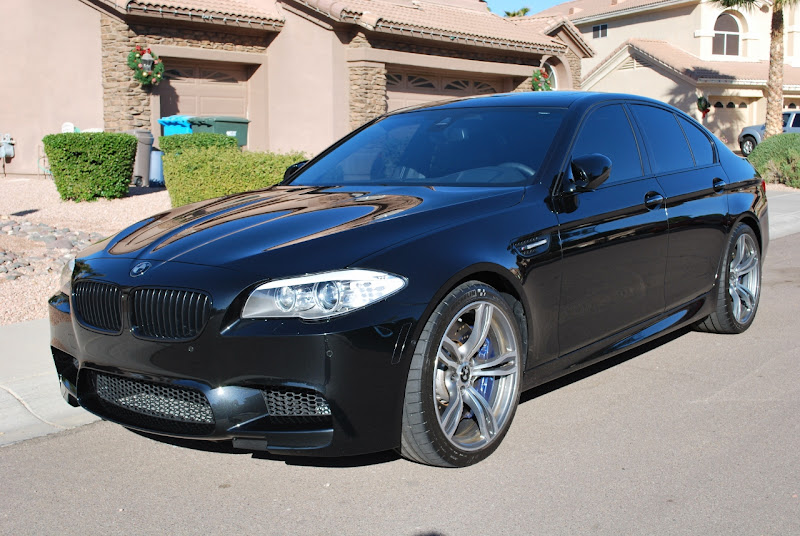
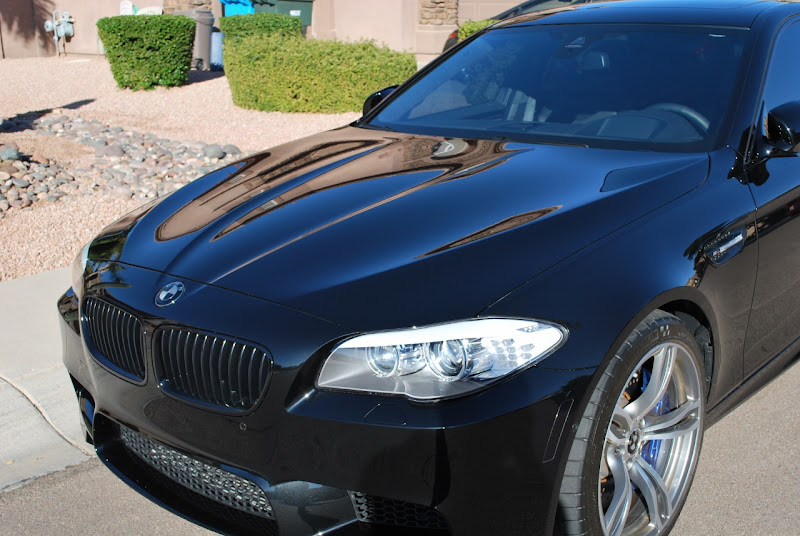
The owner of this vehicle was a return client. He contacted me a couple of weeks ago to have his new car detailed and when I asked what car is it, he said a 2013 BMW M5. I was excited to say the least. It was such an honor and a great privilege to be able to detail a car in this caliber. It's the best car I've detailed to date. So to the owners, I'd like to say thank you so much for giving me the opportunity to work my magic on your prized possesion.
Since this is a new vehicle, I mentioned that it should only need a 1 step polish because the defects shouldn't be that bad. I asked in the beginning if the car had buffer trails and thankfully it didn't have any. So a 1 step polish should be adequate and at the same time, keep the cost down. When the vehicle was delivered, I inspected the paint and it only had a few swirls throughout. The owner pointed out 2 deep scratches they wanted to take out and I told them that it shouldn't be a problem. I planned on using M205 with a W8207 Foam Polishing Pad throughout the entire car and hitting those deep scratches with M105 with a LC Orange Pad followed by the M205.
Ok enough of the talking and on to the pictures. The car was delivered at night so please excuse my before pictures. I wanted to get a head start on the detail so I can't wait for the sun to come out.
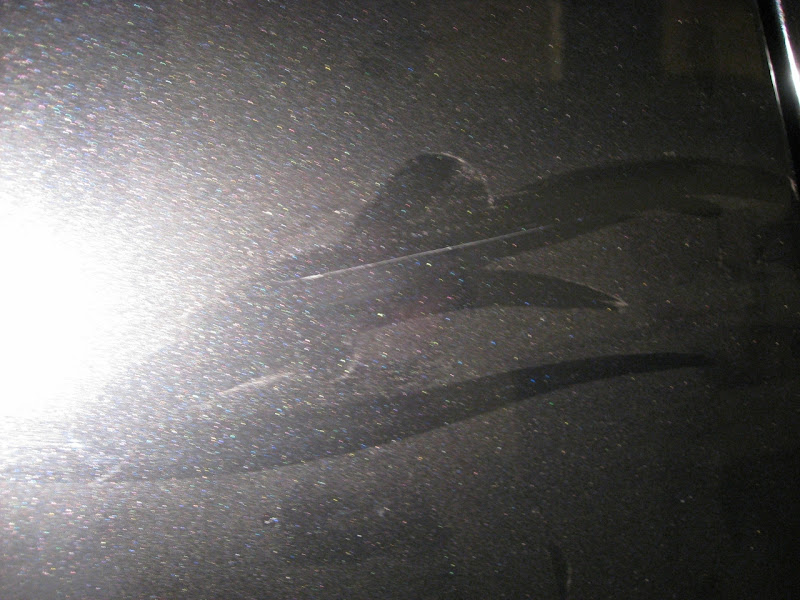
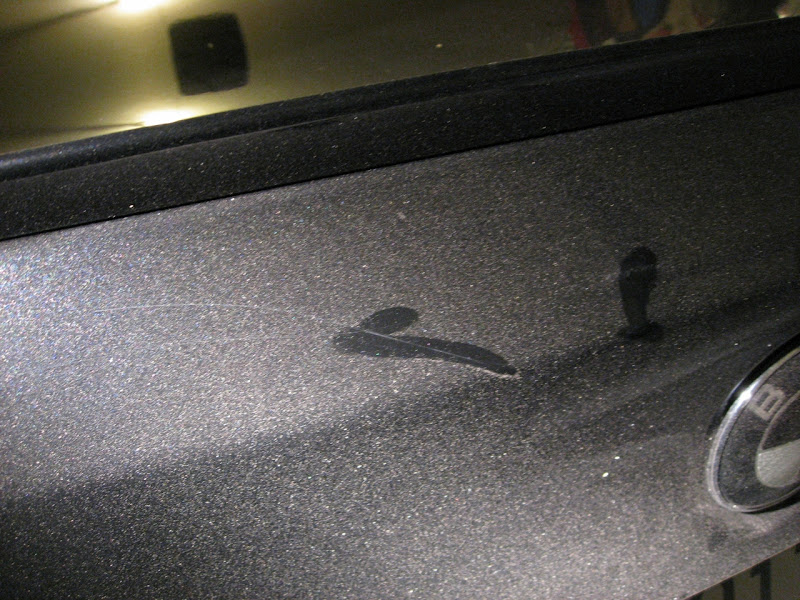
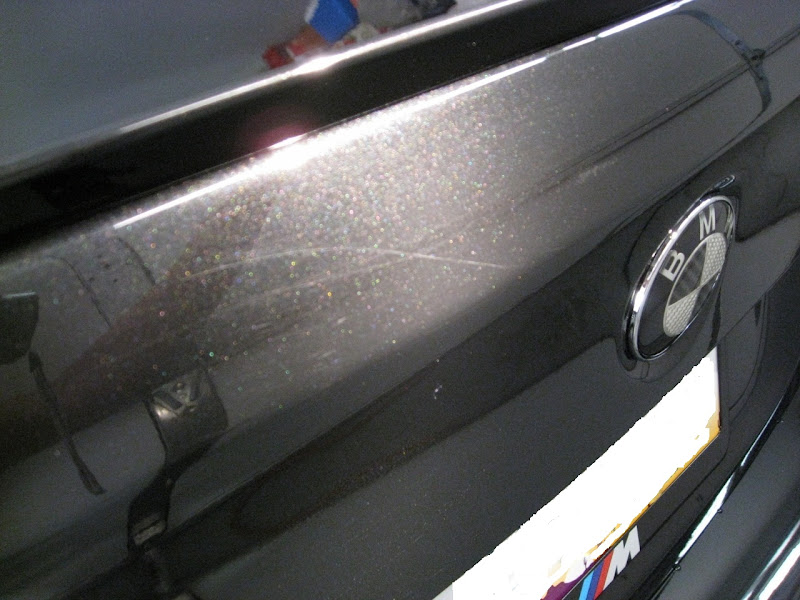
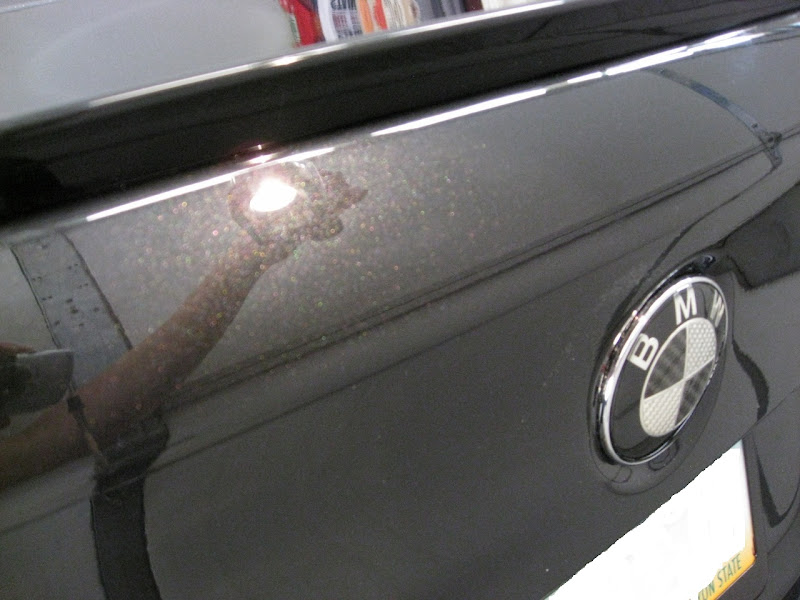
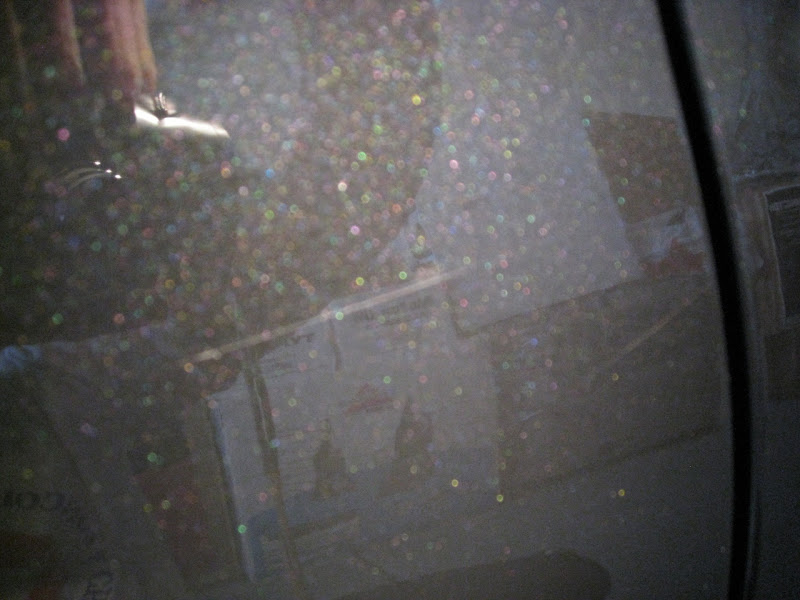
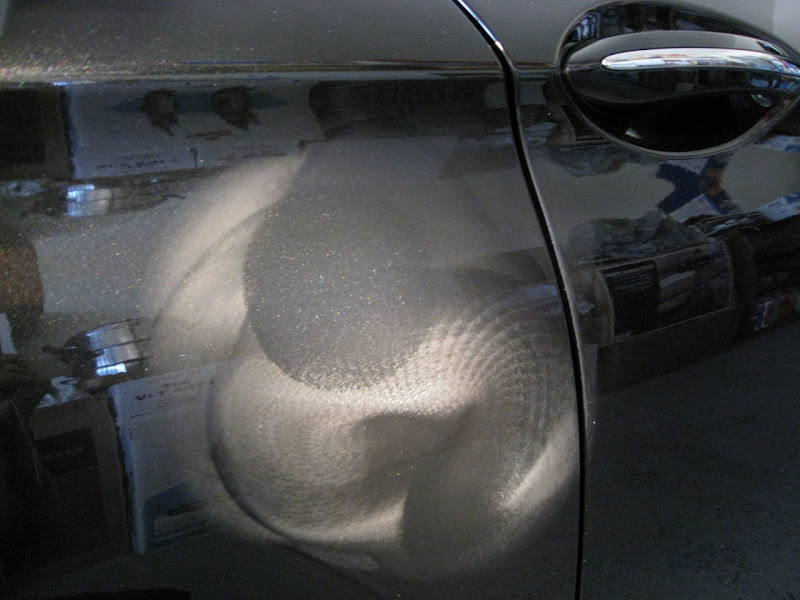
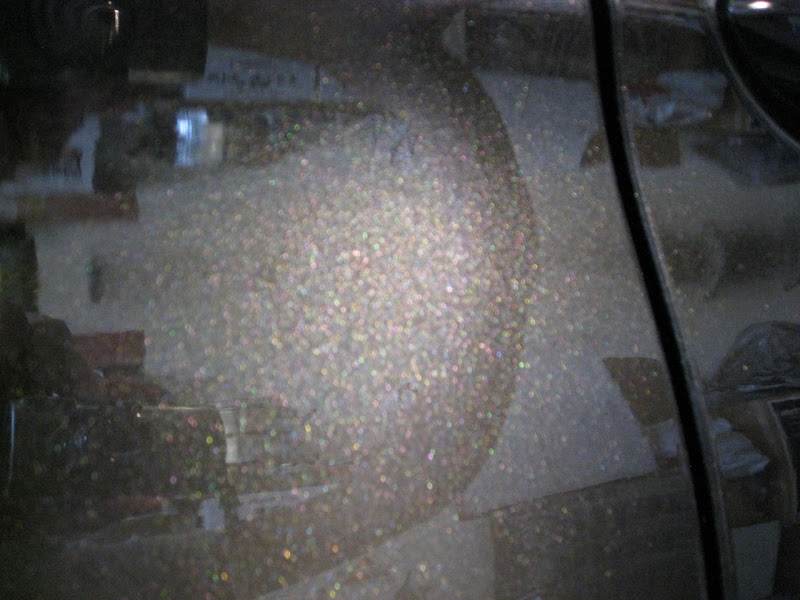
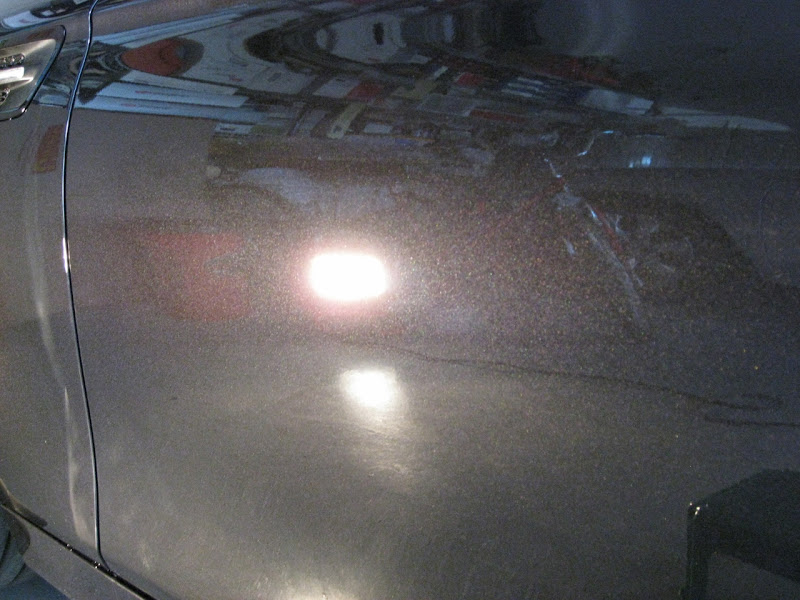
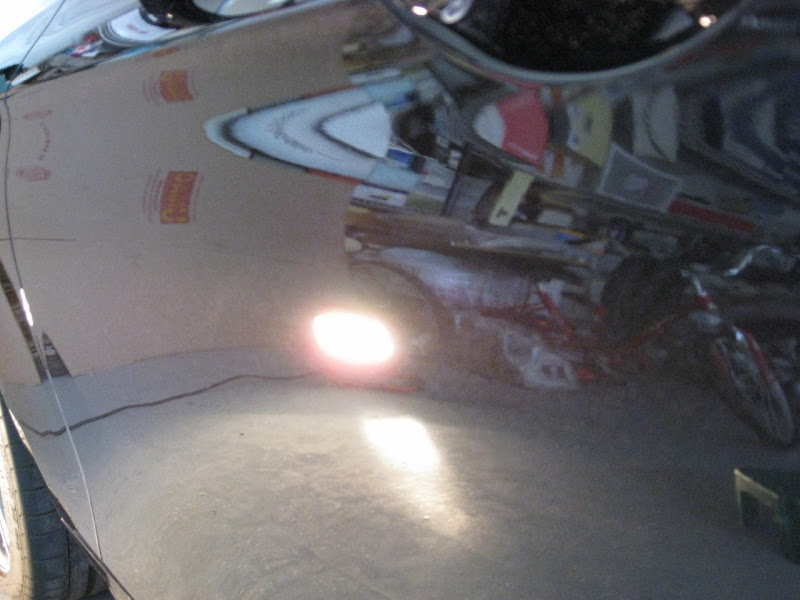
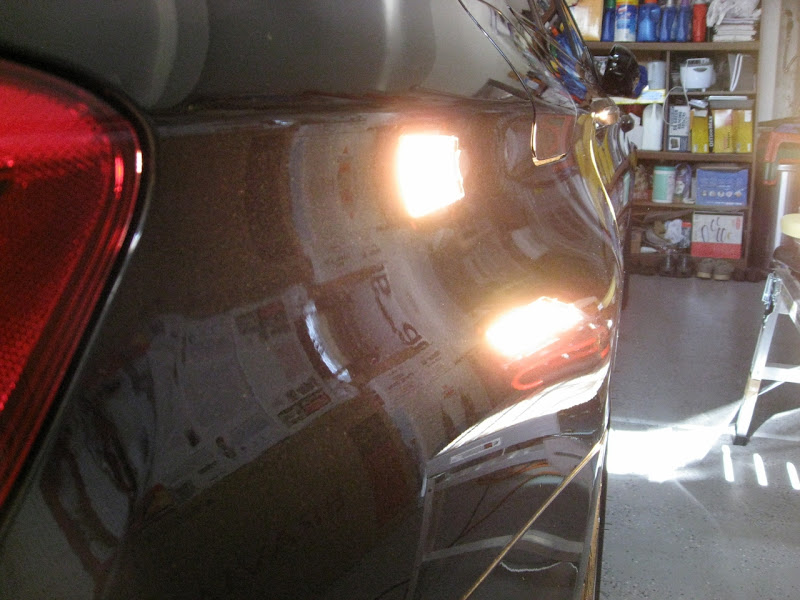
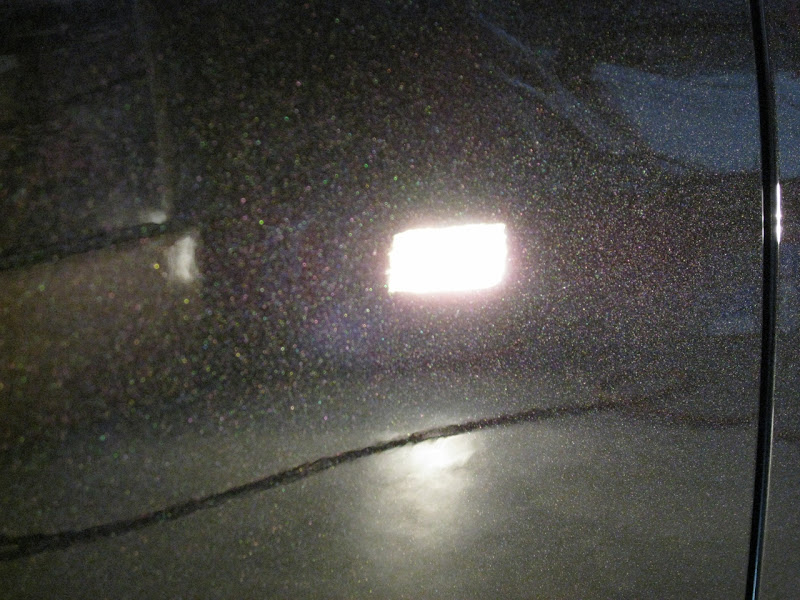
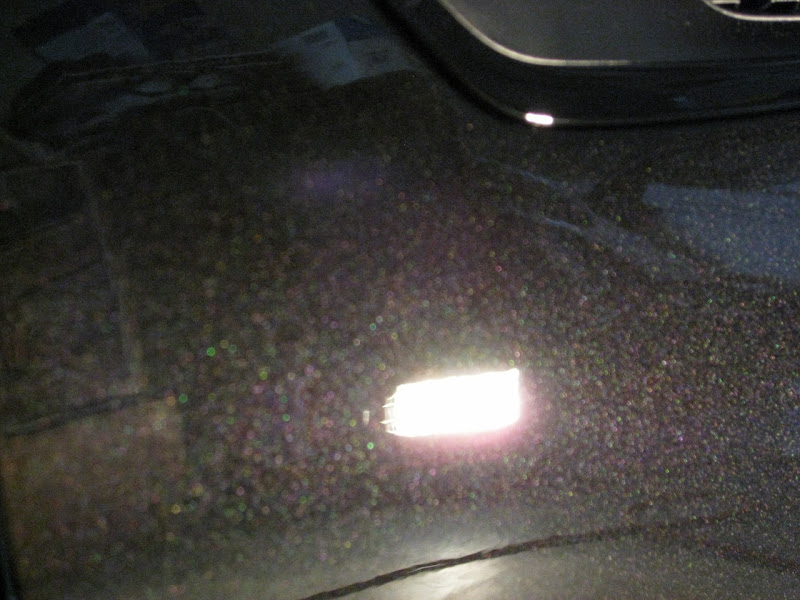
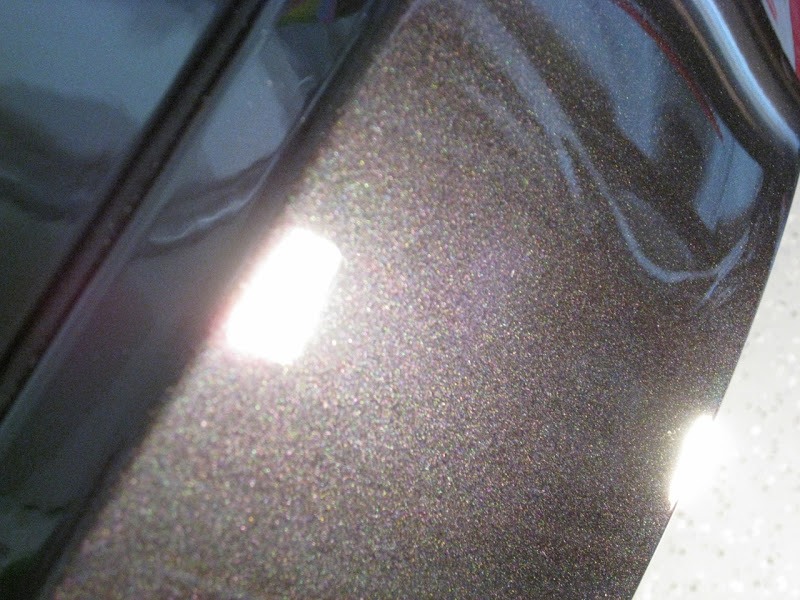
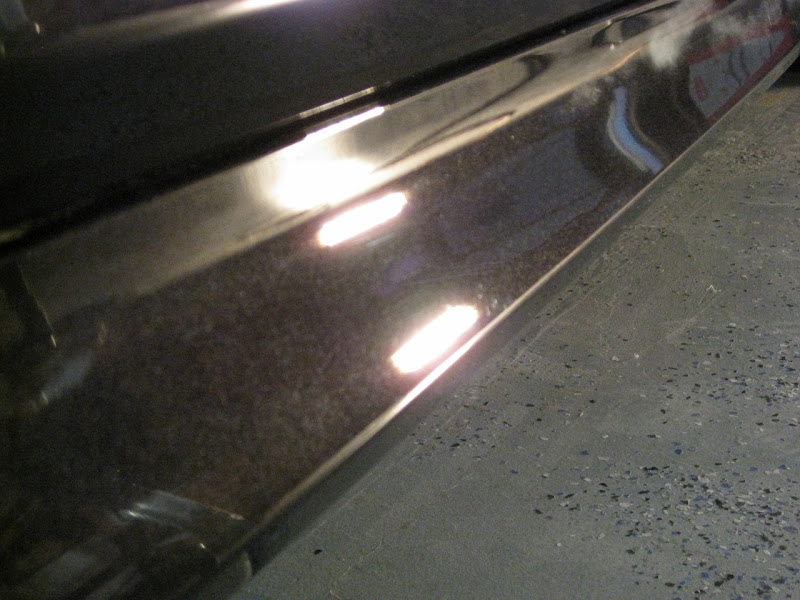
The following 2 pictures are the deep scratches the owner pointed out:
Passenger Side Rear Door:
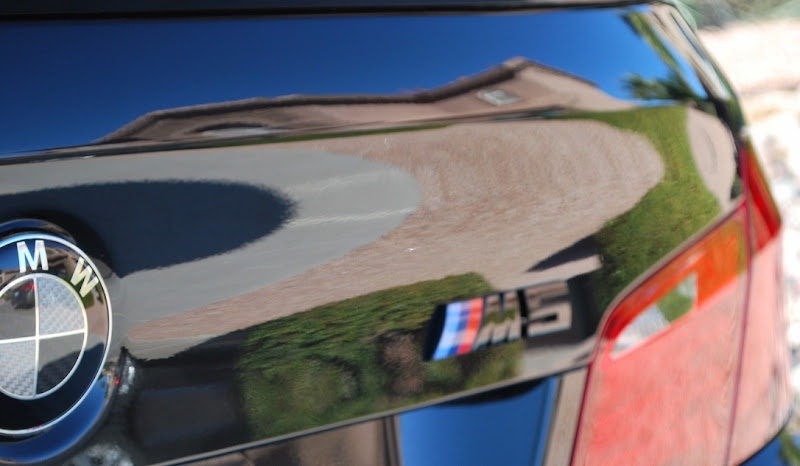
Trunk Lid:
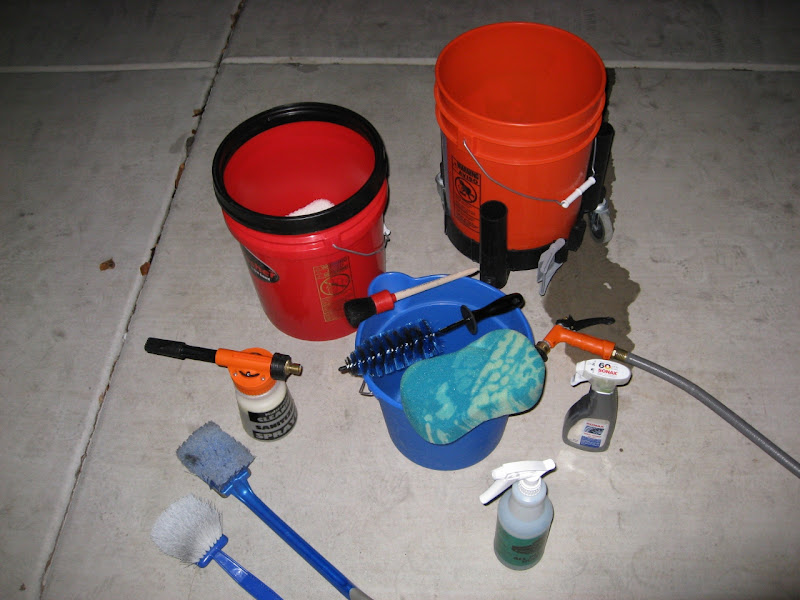
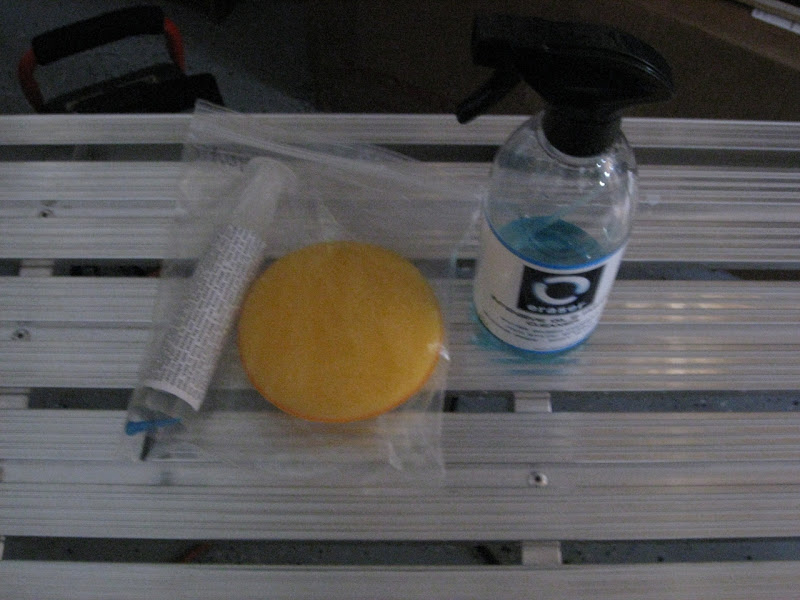
Here are the tools I had preppared for washing the car:
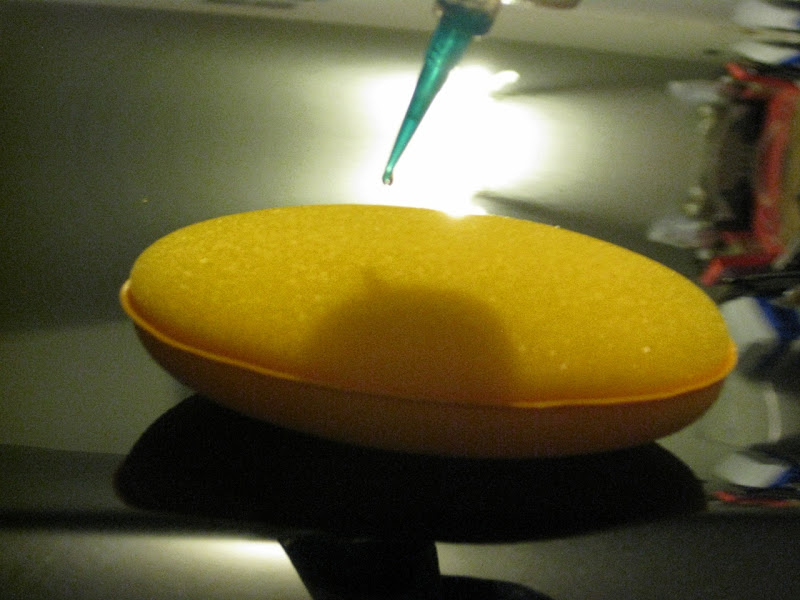
Sonax wheel cleaner being applied:

Sonax doing its thing:
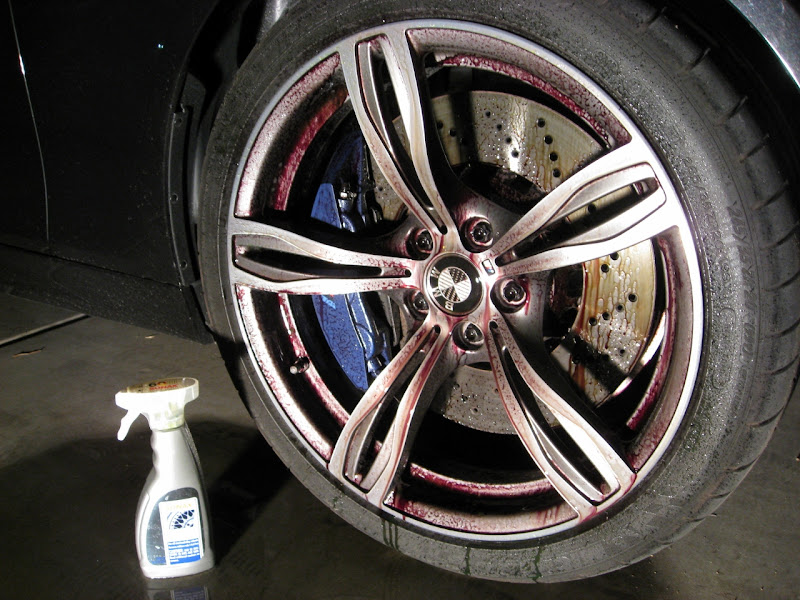
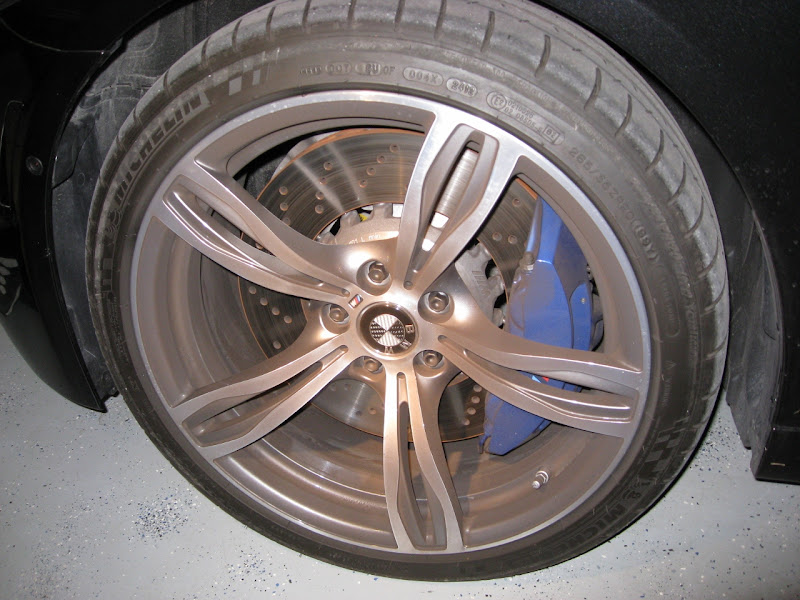
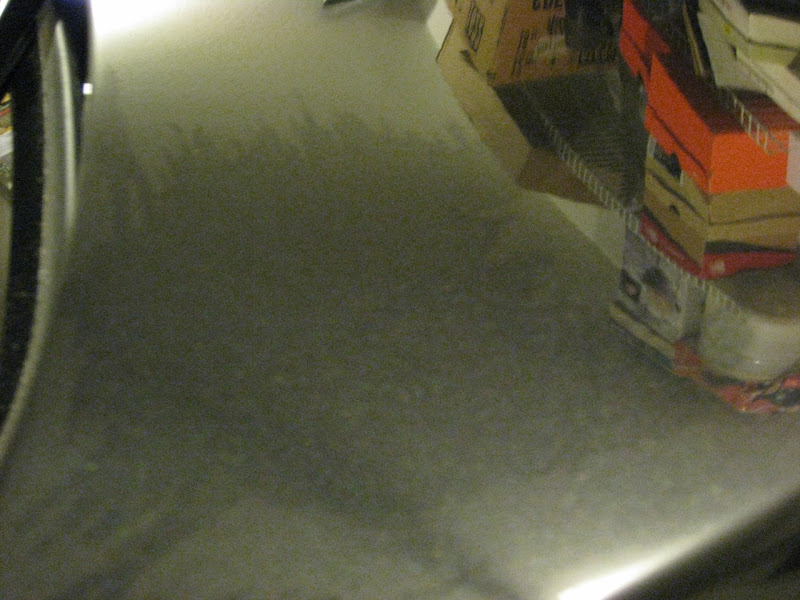
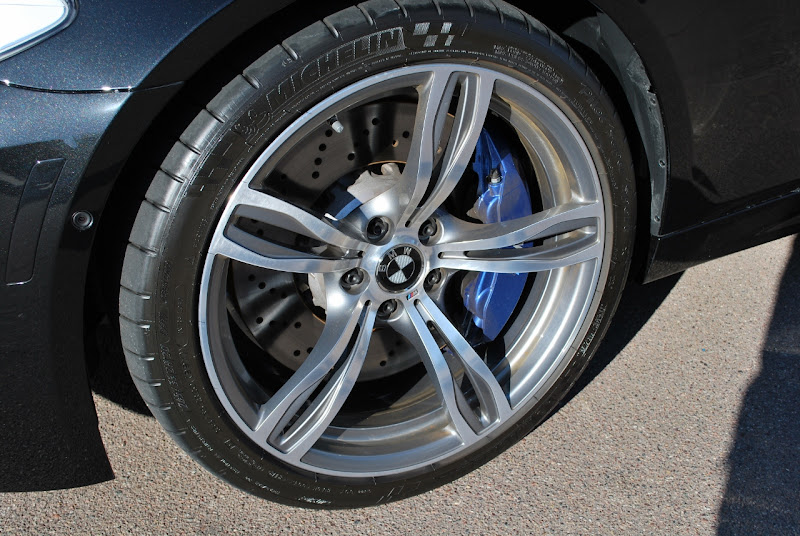
BMW's produce tons of brake dust because of its high performance brakes. It wasn't a surprise that the wheel turned out this red as a result of reactions with iron particles.
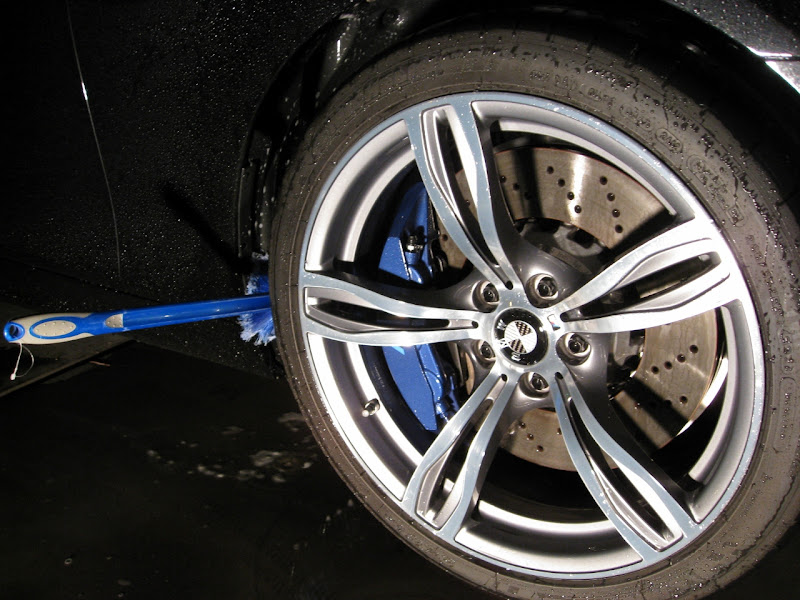
Cleaning the wheel face and crevices:
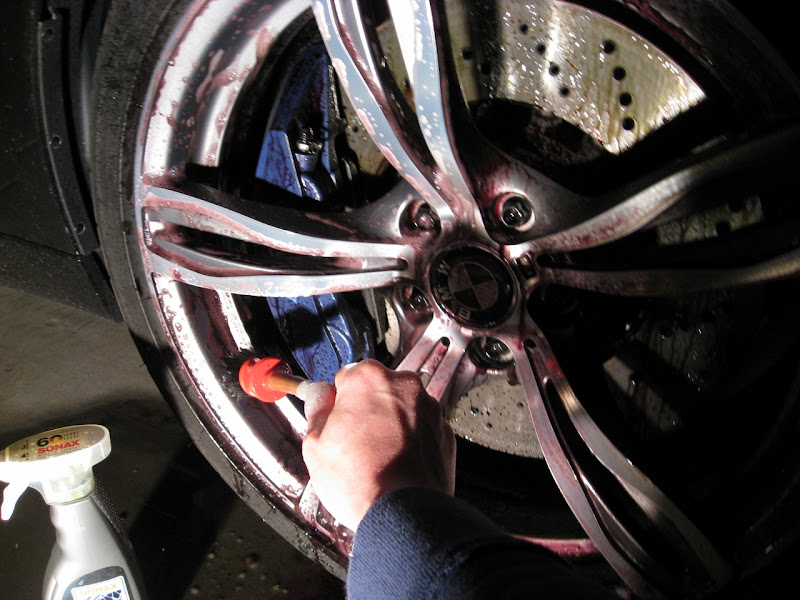
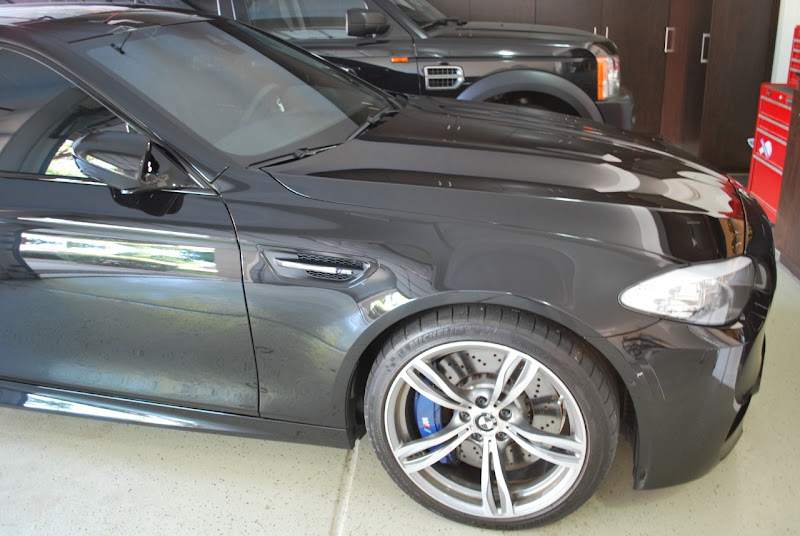
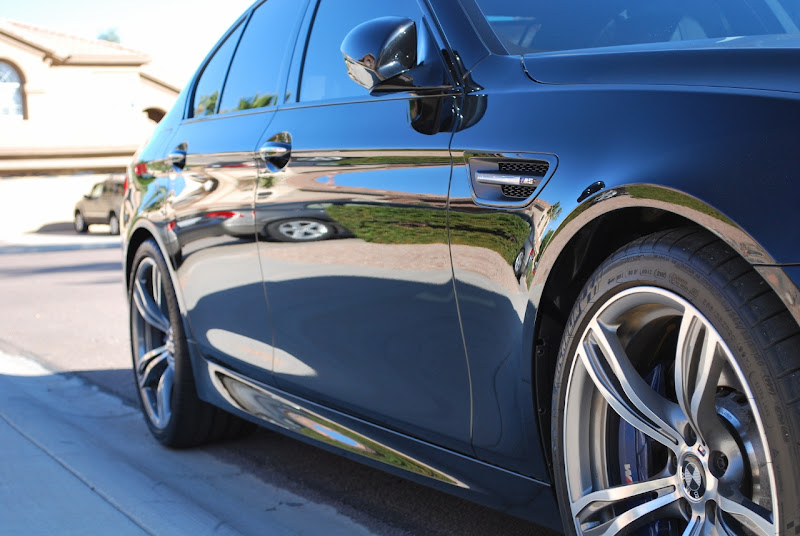
6-Pot blue brake calipers can't be forgotten:
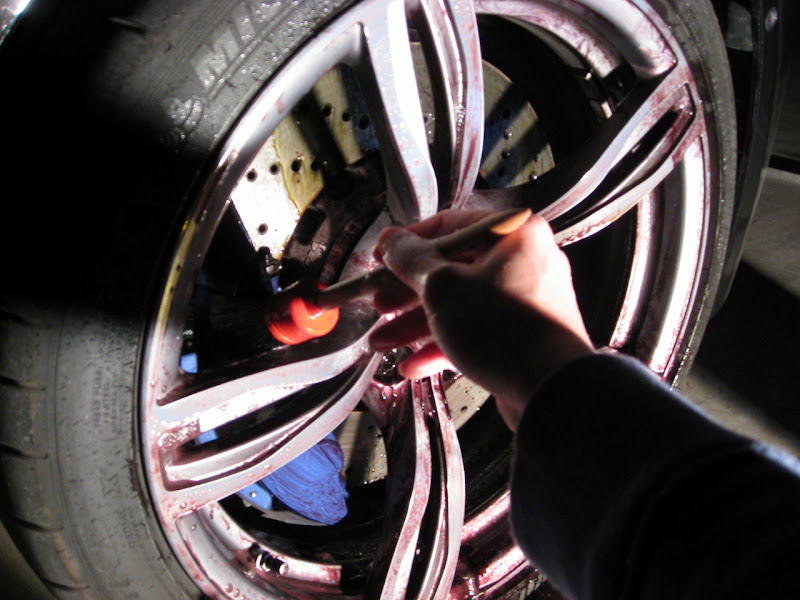
Don't you hate seeing dirty wheel barrels especially on an open wheel design like this? They need some loving too:

Cleaning the tires with APC and a tire brush:
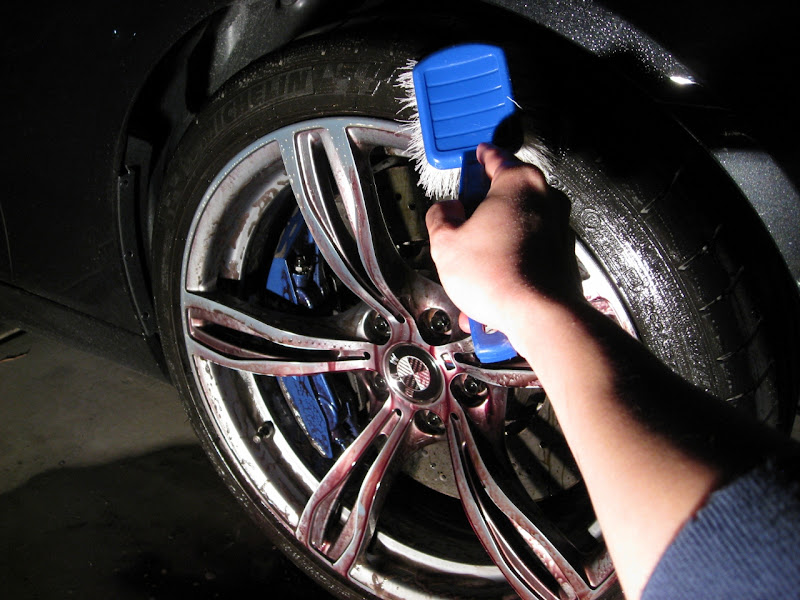
Look at all the gunk that came out of one wheel. The car only had 800 miles.

Wheel squeaky clean:
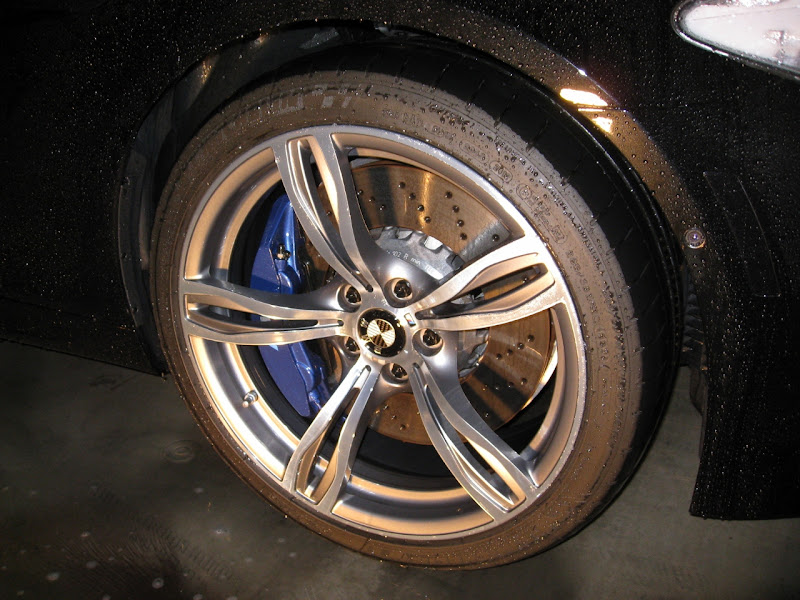
Cleaning the wheel wells.
The car's wheel gap was extremely tight so I had a hard time brushing the wells.
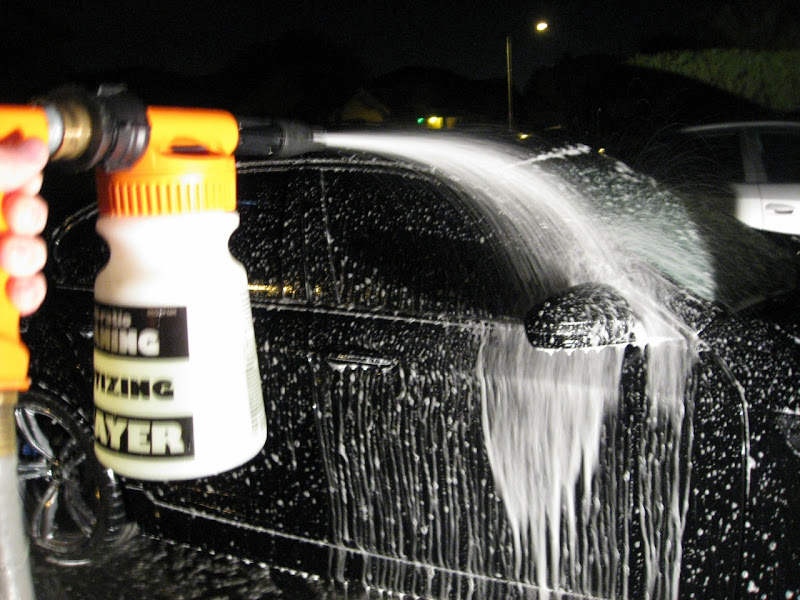
Pre-soaking the car with CG Citrus Wash and Gloss to remove loose contaminants before washing the car via the 2 bucket method:
The vehicle wasn't too contaminated but was still able to pull out some bonded contaminants.
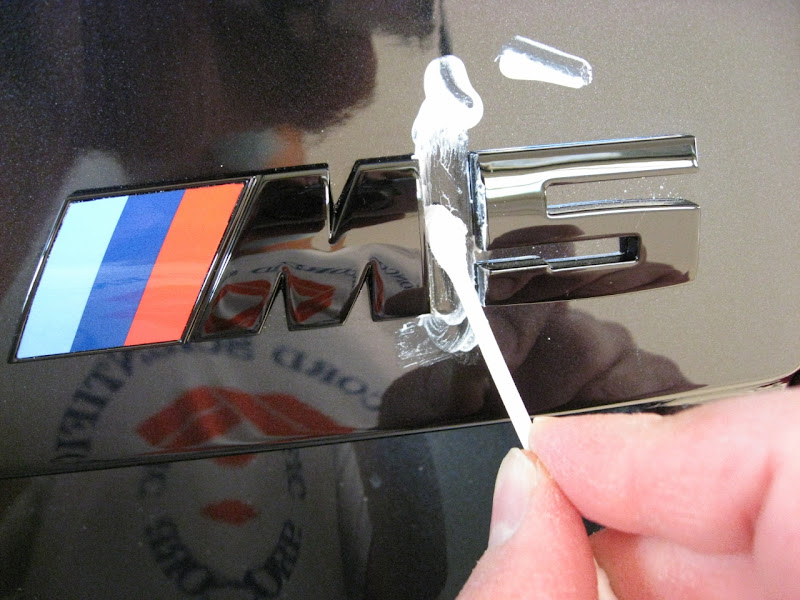
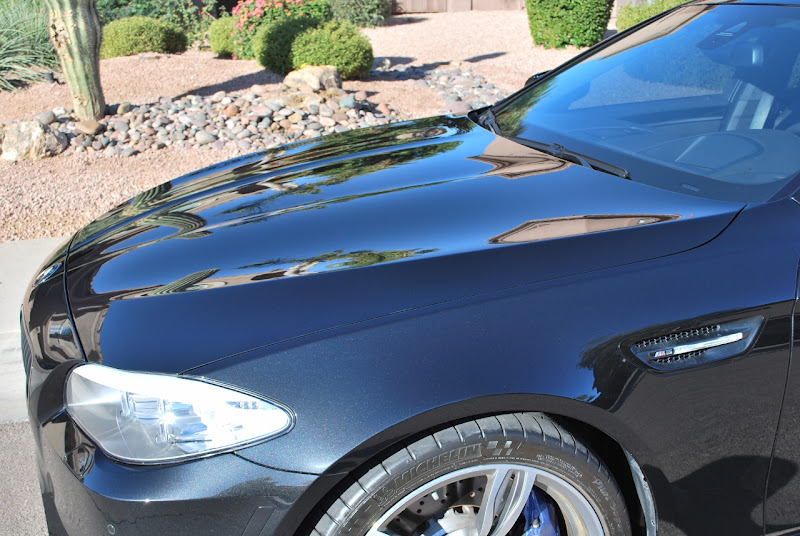
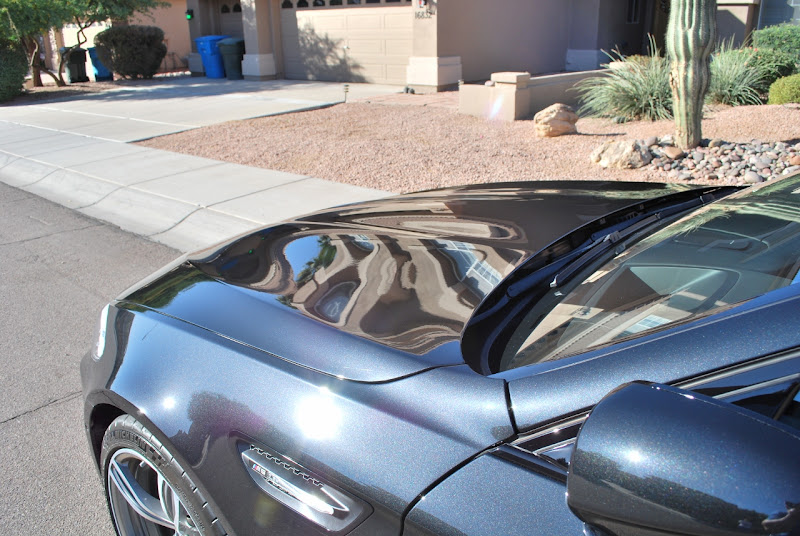
Clay after the hood:
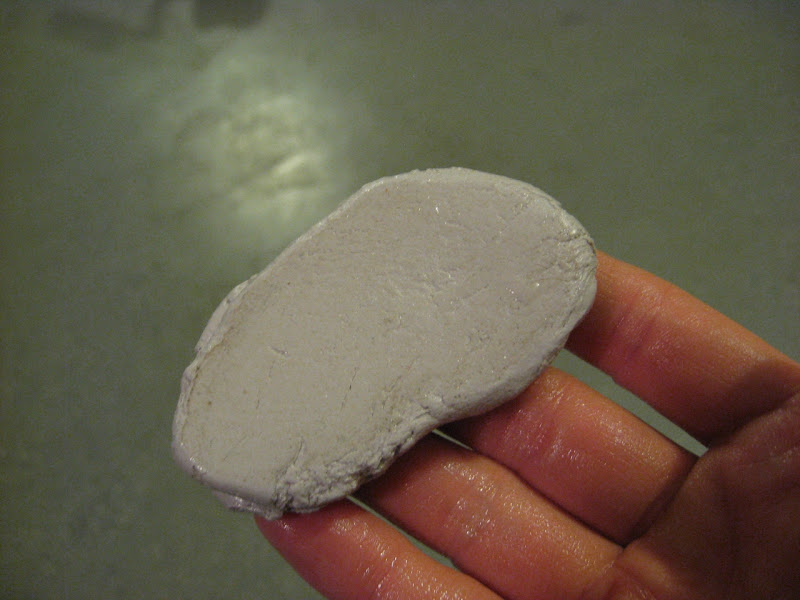
Clay after the front bumper:

I need to get with the times and use the nano scrub LOL! But I have too much clay to use up first.
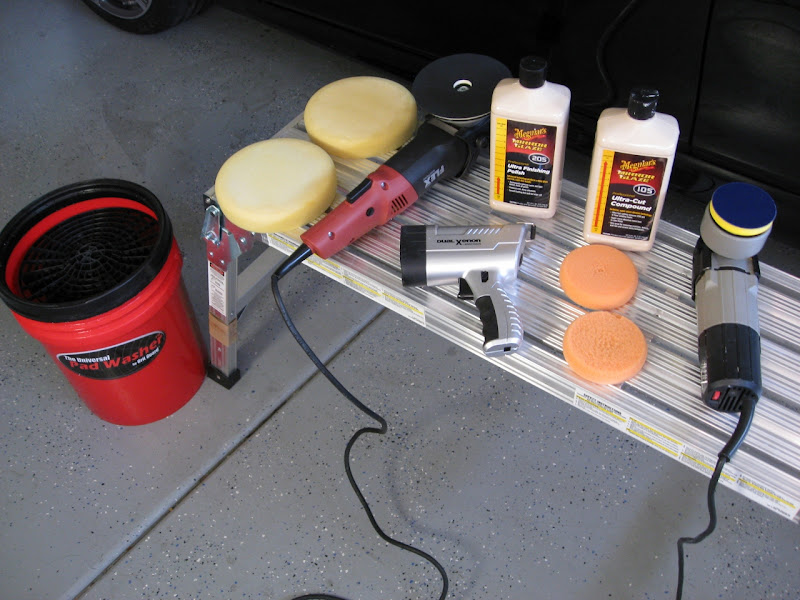
Products and tools I'll be using to polish the vehicle:
My first plan of attack was to hit the 2 areas with the deep scratches. I used my G100 with a 3" LC backing plate, combined with a 4" LC orange pad and M105. Those scratches were no match for this combo:
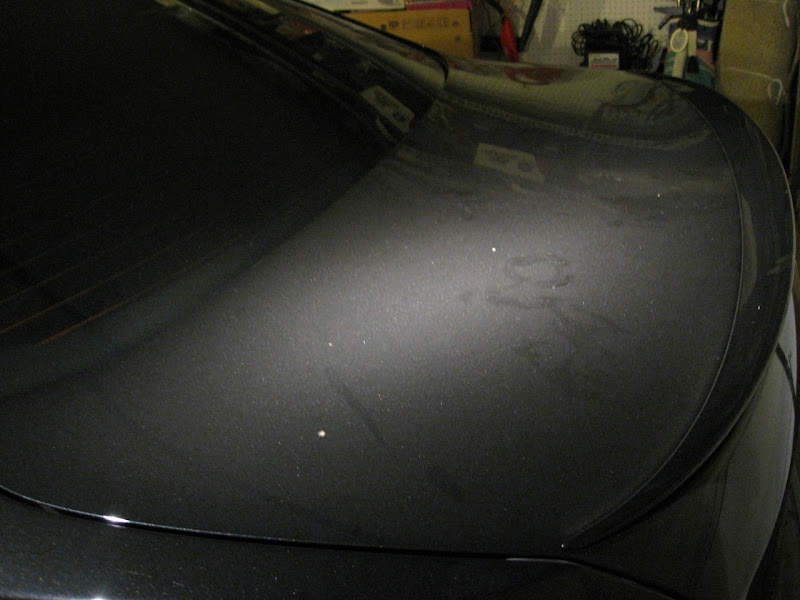
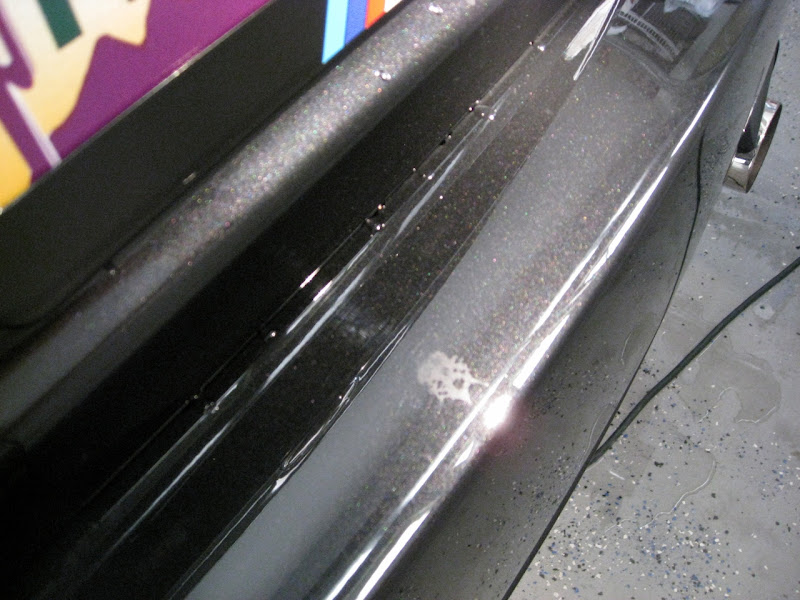
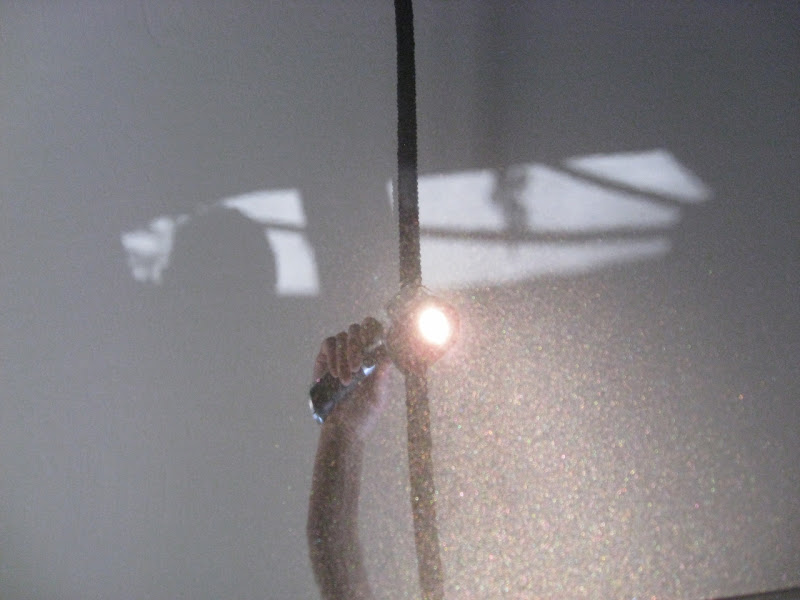
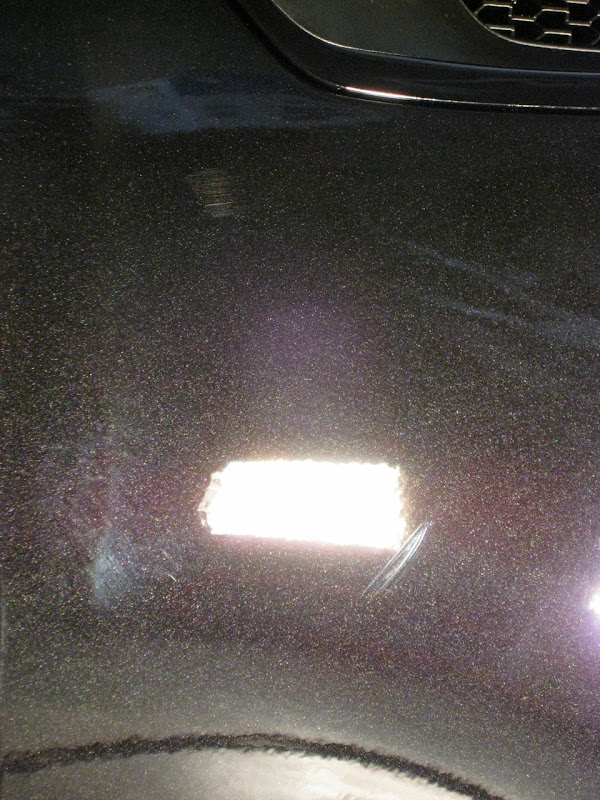
Deep scratch in the trunk before:
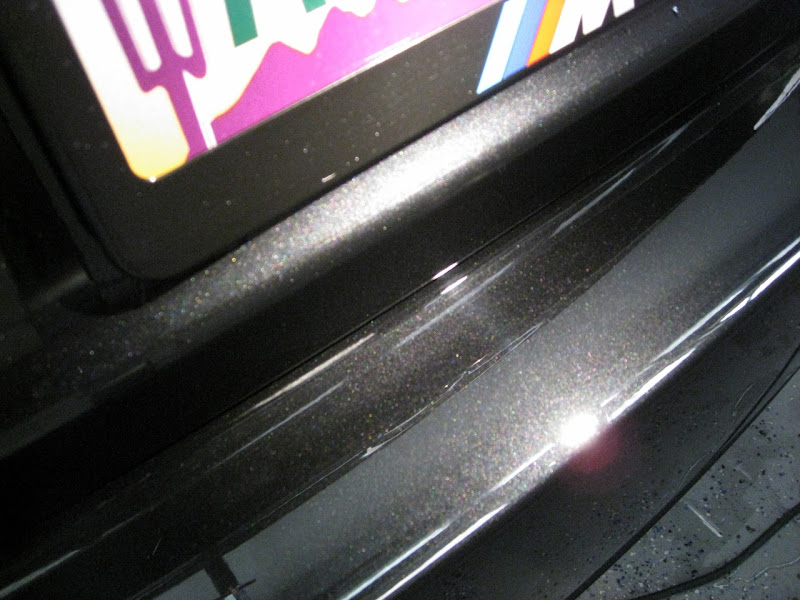
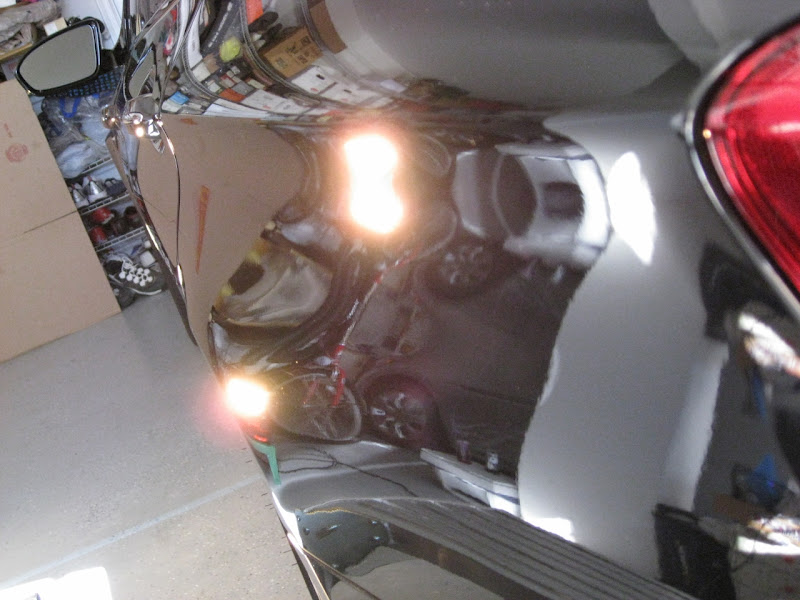
Deep scratch in the trunk after:
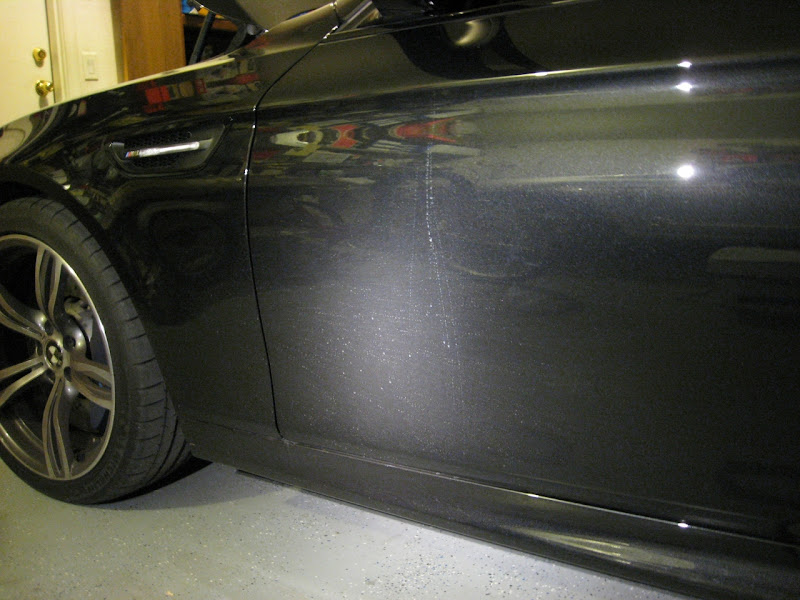
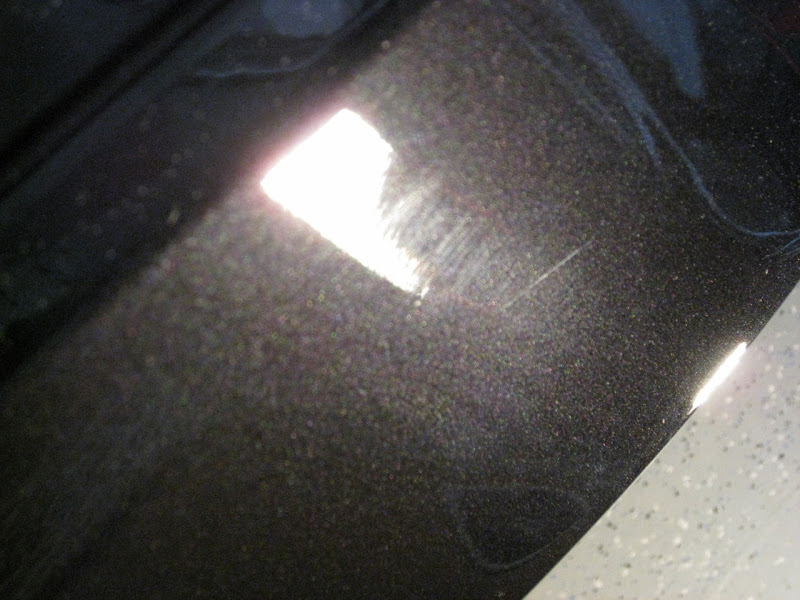
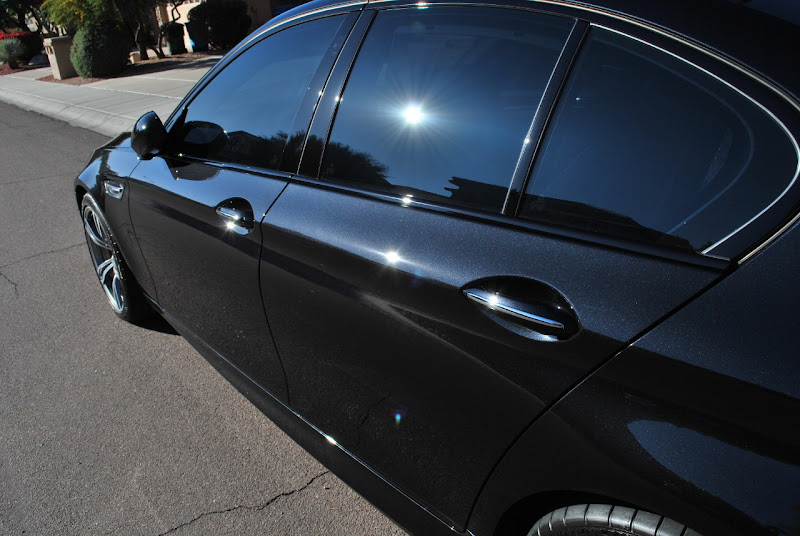
Deep scratch in the passenger side rear door before:
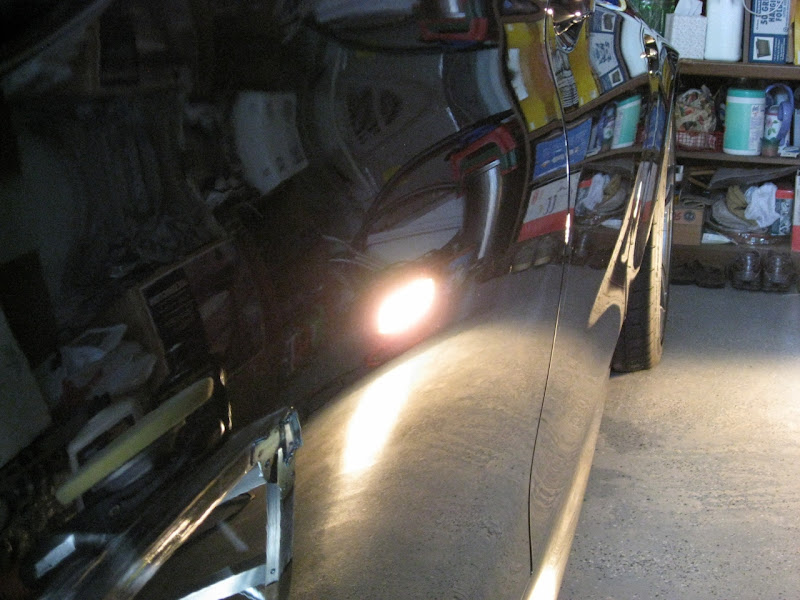
Polishing that area:

One good thing about using M105 on a new car is that the polish has a long buffing cycle. It was such a pleasure using M105 for the first time LOL!
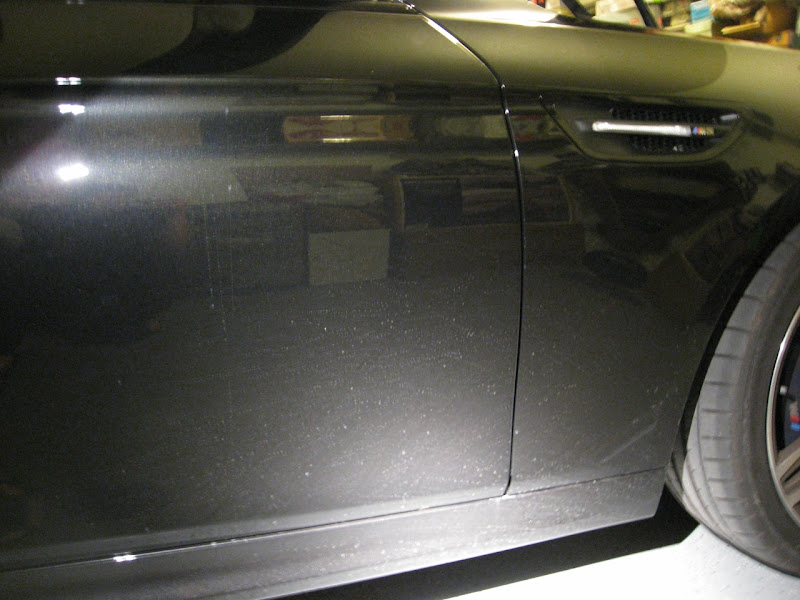
Deep scratch in the passenger side rear door GONE!!
There was a bird poo stain on the rear bumper as well.
GONE!
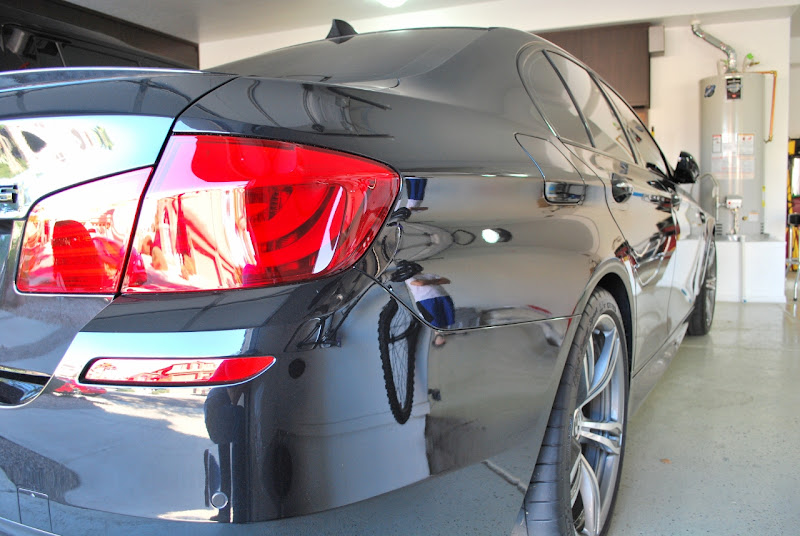
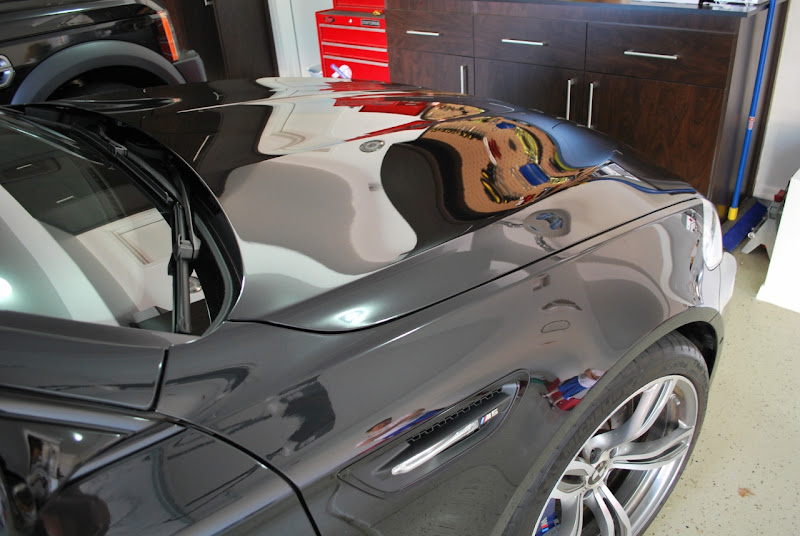
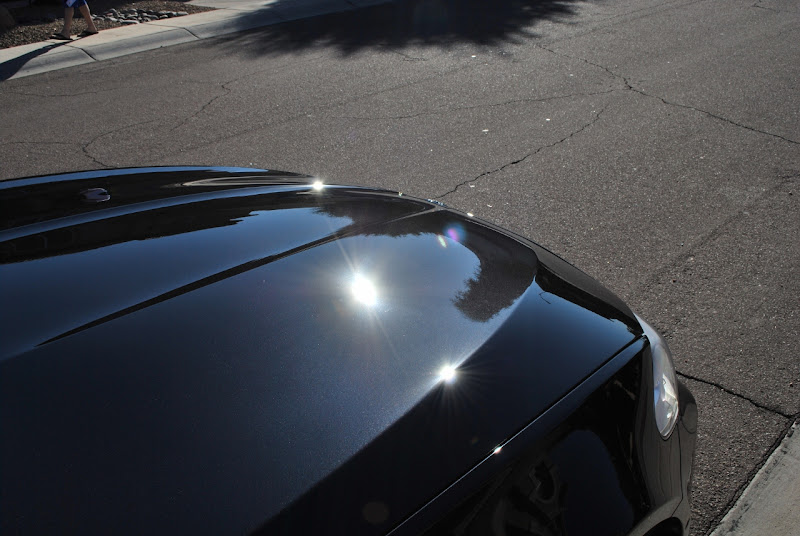
Since I was done hitting the problematic areas, I planned on using M205 with the W8207 Polishing pad to polish the entire car. However, that didn't work. The swirls weren't taken out with this combo. I also can't afford to do 2 steps to the entire vehicle because that'll just take too much time. So what I did was to a M105/M205 mix (40/60) and did the entire car. It worked so I was extremely happy. There were still some areas where I did a 2 step process because there were some RIDS that werne't taken out with the said procedure. The OCD in me wanted this car to be as perfect as possible. Sigh. I need to learn on how to draw a line between a 1 step polish and a multi-step. But it's ok. This is a phenomenal vehicle and it deserved it.
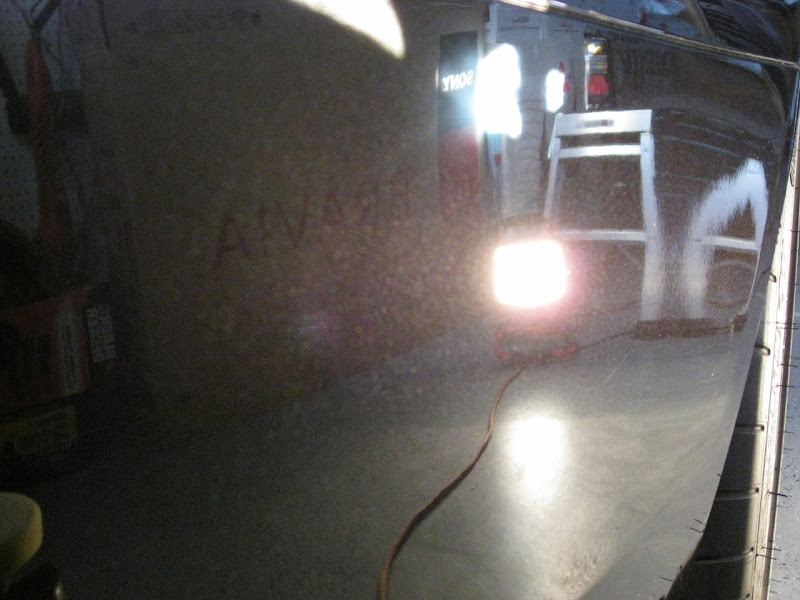
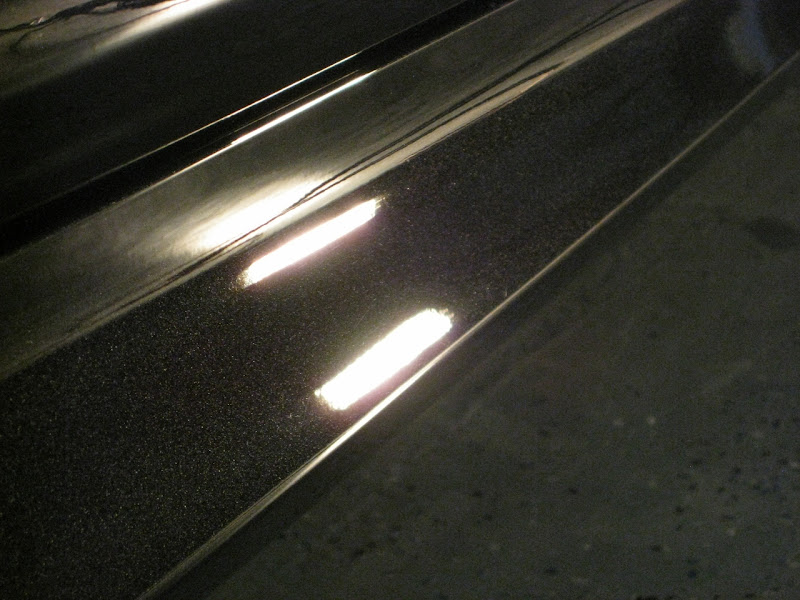
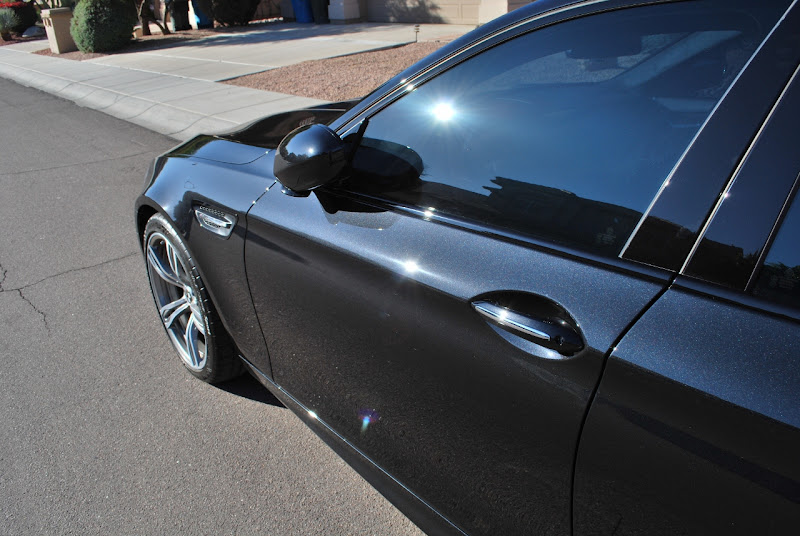
Driver side rear door before:
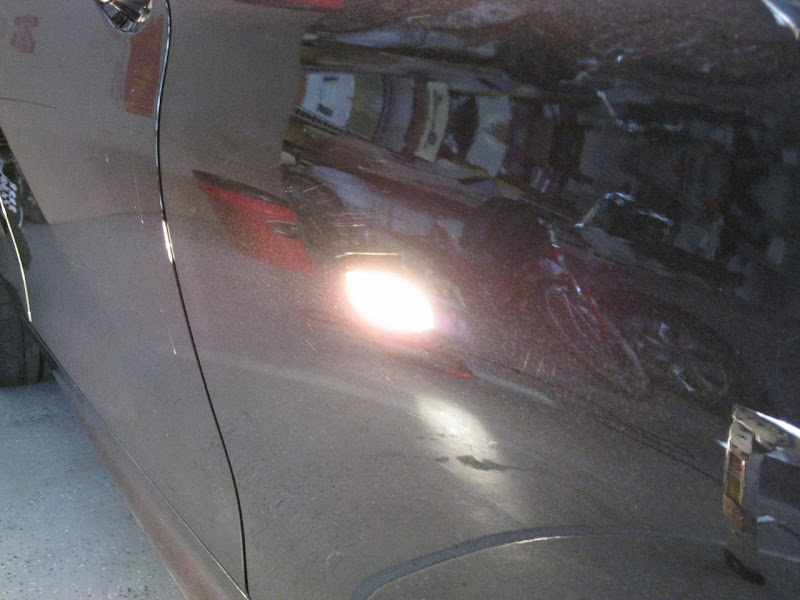
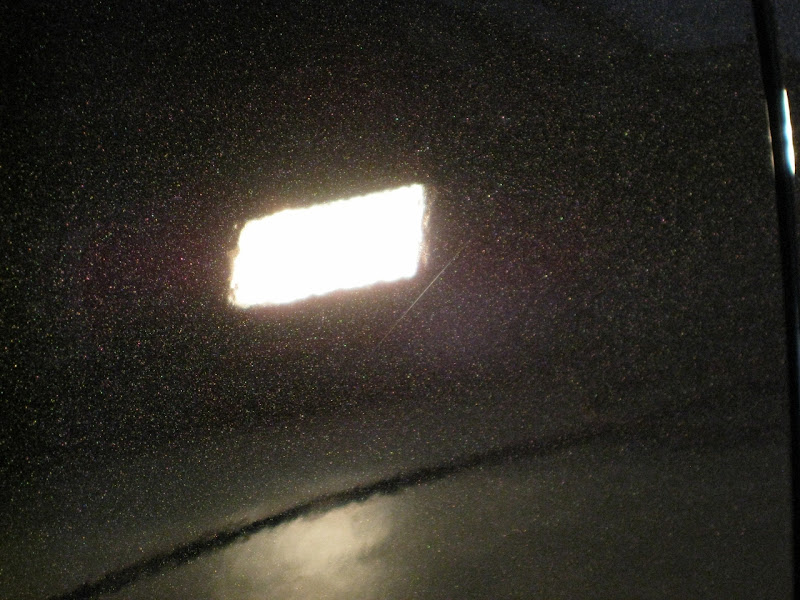
Driver side rear door after:
Sonax Full Effect Wheel Cleaner and CG Citrus Wash And Gloss on wheels
Meguiar's APC on tires and wheel wells
Surf City Garage Tire Pro on tires
EZ Detail brush for the barrels
Swissvax Wheel brush for wheels, calipers and small crevices
Wash:
CG Citrus Wash and Gloss via Foam Gun and 2BM
Meguiar's Microfiber Wash Mitt
Meguiar's Water Magnet
Clay:
DP Clay
Meguiar's Last Touch
Paint Correction:[u/]
Flex 3401 VRG
Meguiar's G100 / 3" Backing Plates
Meguiar's M105 / LC Orange Pads
Meguiar's M205 / W8207 Pads
Grit Guard Universal Pad Washer
Craftsman 500W Halogen Lights
Brinkmann Dual Xenon Lights
LSP:
Carpro Eraser
Optimum Opti-coat 2.0
Interior:
Meguiar's Quik Interior Detailer
The owner of this vehicle was a return client. He contacted me a couple of weeks ago to have his new car detailed and when I asked what car is it, he said a 2013 BMW M5. I was excited to say the least. It was such an honor and a great privilege to be able to detail a car in this caliber. It's the best car I've detailed to date. So to the owners, I'd like to say thank you so much for giving me the opportunity to work my magic on your prized possesion.
Since this is a new vehicle, I mentioned that it should only need a 1 step polish because the defects shouldn't be that bad. I asked in the beginning if the car had buffer trails and thankfully it didn't have any. So a 1 step polish should be adequate and at the same time, keep the cost down. When the vehicle was delivered, I inspected the paint and it only had a few swirls throughout. The owner pointed out 2 deep scratches they wanted to take out and I told them that it shouldn't be a problem. I planned on using M205 with a W8207 Foam Polishing Pad throughout the entire car and hitting those deep scratches with M105 with a LC Orange Pad followed by the M205.
Ok enough of the talking and on to the pictures. The car was delivered at night so please excuse my before pictures. I wanted to get a head start on the detail so I can't wait for the sun to come out.
The following 2 pictures are the deep scratches the owner pointed out:
Passenger Side Rear Door:
Trunk Lid:
Here are the tools I had preppared for washing the car:
Sonax wheel cleaner being applied:
Sonax doing its thing:
BMW's produce tons of brake dust because of its high performance brakes. It wasn't a surprise that the wheel turned out this red as a result of reactions with iron particles.
Cleaning the wheel face and crevices:
6-Pot blue brake calipers can't be forgotten:
Don't you hate seeing dirty wheel barrels especially on an open wheel design like this? They need some loving too:
Cleaning the tires with APC and a tire brush:
Look at all the gunk that came out of one wheel. The car only had 800 miles.
Wheel squeaky clean:
Cleaning the wheel wells.
The car's wheel gap was extremely tight so I had a hard time brushing the wells.
Pre-soaking the car with CG Citrus Wash and Gloss to remove loose contaminants before washing the car via the 2 bucket method:
The vehicle wasn't too contaminated but was still able to pull out some bonded contaminants.
Clay after the hood:
Clay after the front bumper:
I need to get with the times and use the nano scrub LOL! But I have too much clay to use up first.
Products and tools I'll be using to polish the vehicle:
My first plan of attack was to hit the 2 areas with the deep scratches. I used my G100 with a 3" LC backing plate, combined with a 4" LC orange pad and M105. Those scratches were no match for this combo:
Deep scratch in the trunk before:
Deep scratch in the trunk after:
Deep scratch in the passenger side rear door before:
Polishing that area:
One good thing about using M105 on a new car is that the polish has a long buffing cycle. It was such a pleasure using M105 for the first time LOL!
Deep scratch in the passenger side rear door GONE!!
There was a bird poo stain on the rear bumper as well.
GONE!
Since I was done hitting the problematic areas, I planned on using M205 with the W8207 Polishing pad to polish the entire car. However, that didn't work. The swirls weren't taken out with this combo. I also can't afford to do 2 steps to the entire vehicle because that'll just take too much time. So what I did was to a M105/M205 mix (40/60) and did the entire car. It worked so I was extremely happy. There were still some areas where I did a 2 step process because there were some RIDS that werne't taken out with the said procedure. The OCD in me wanted this car to be as perfect as possible. Sigh. I need to learn on how to draw a line between a 1 step polish and a multi-step. But it's ok. This is a phenomenal vehicle and it deserved it.
Driver side rear door before:
Driver side rear door after:


 rops:
rops: