Hi all and good evening from the UK.
This is my first post on here and I am looking for some expert advice from you guys. :xyxthumbs:
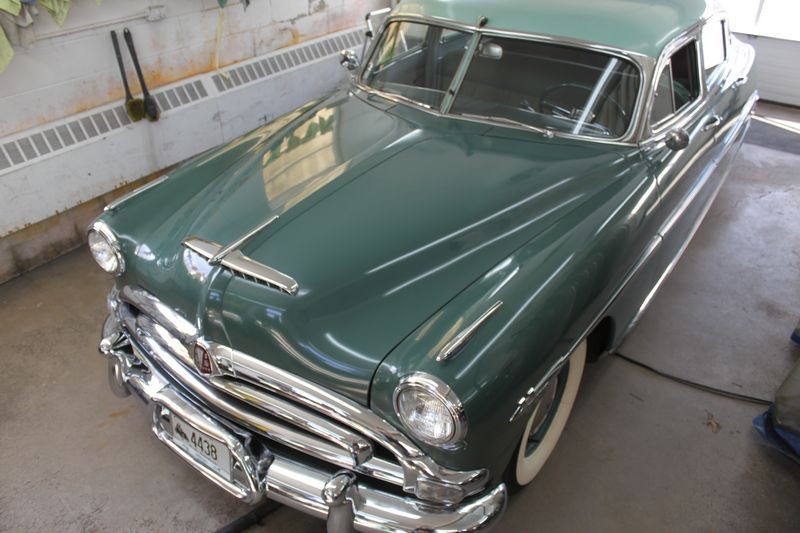
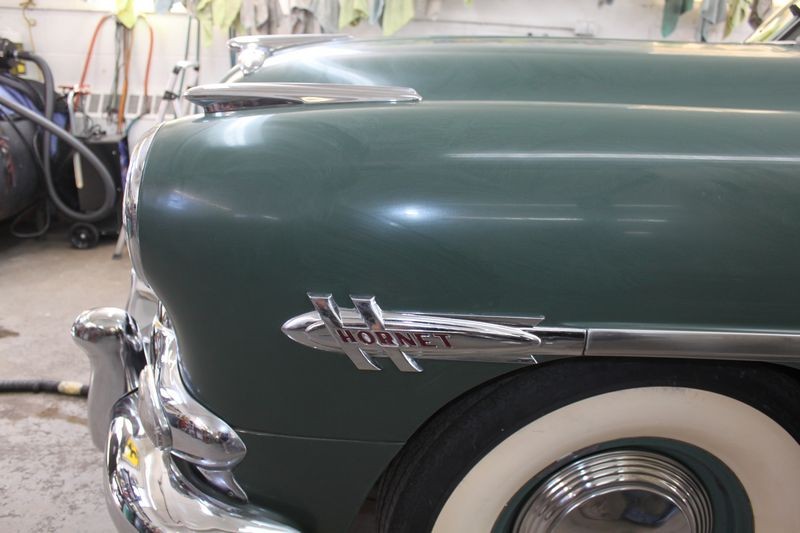
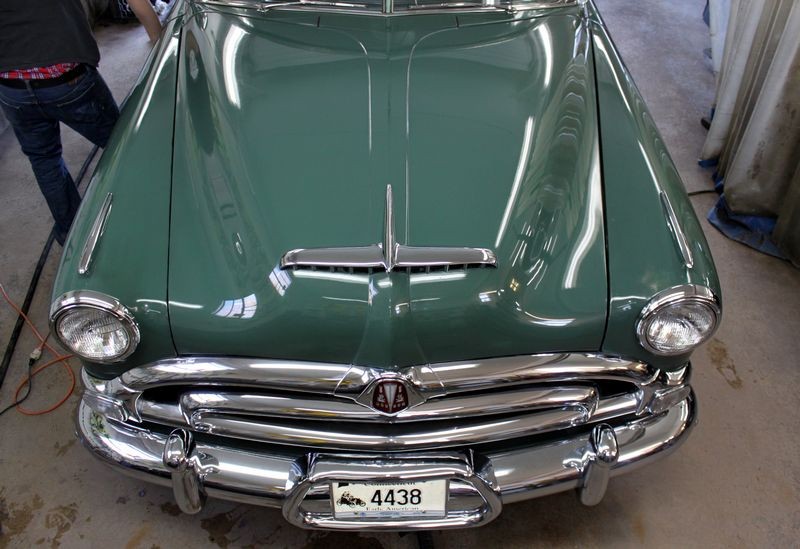
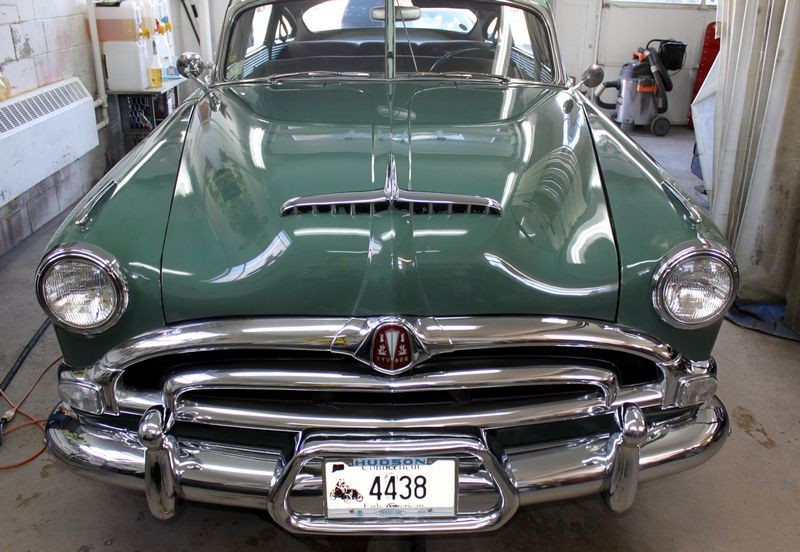
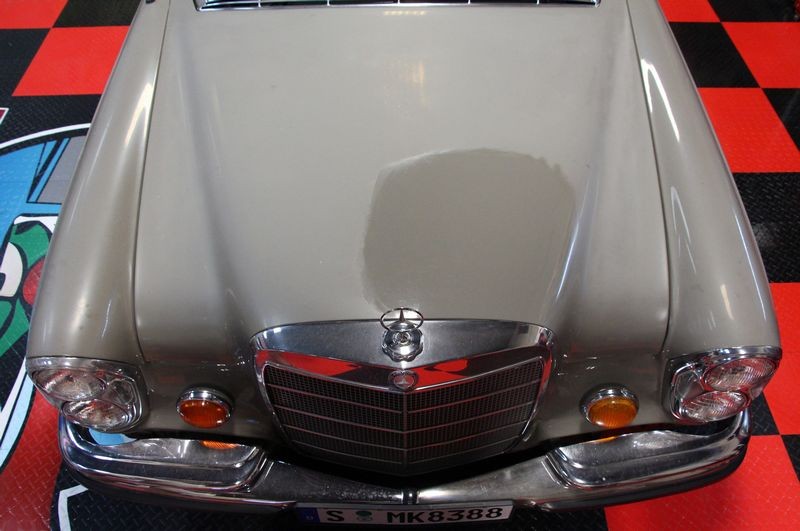
So, a friend of mine here in the UK has recently imported a beautiful 1954 Chevy Bel Air and he has asked me to see what I can do with the paintwork. Yesterday I went to have a look at the car and from a distance it looked to be in good condition, however closer inspection unearthed a different story.
Firstly, I am no expert, having only ever detailed my own car, plus those of friends and family, all of which have been relatively new cars, VW’s, Audi’s, Nissan’s etc. I have never tackled anything like the Chevy and I am at a bit of loss as to how best to treat the paintwork. I have explained to my friend that we have to have realistic expectations, after all the car is 60yrs old.
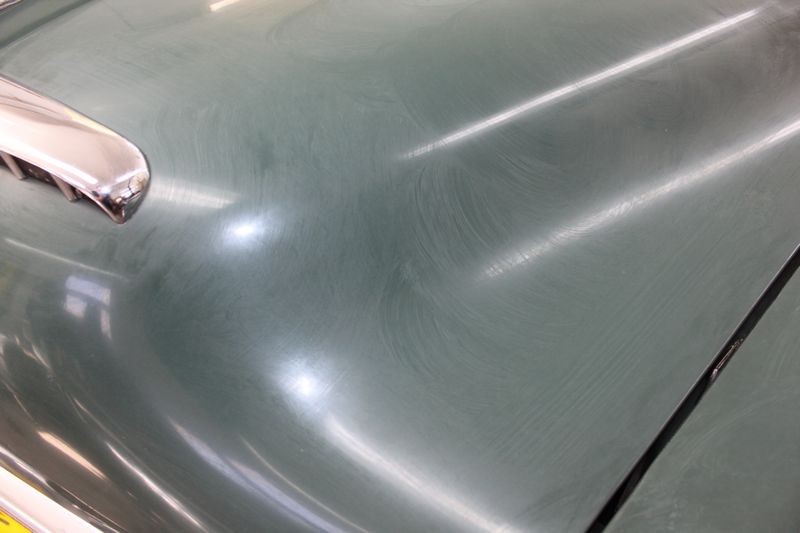
I am not sure if the paintwork would be a single stage paint or whether it even has/had a clear coat. Some areas appear glossy, whilst others are very dull (oxidisation?) If someone could clarify that it would be appreciated.
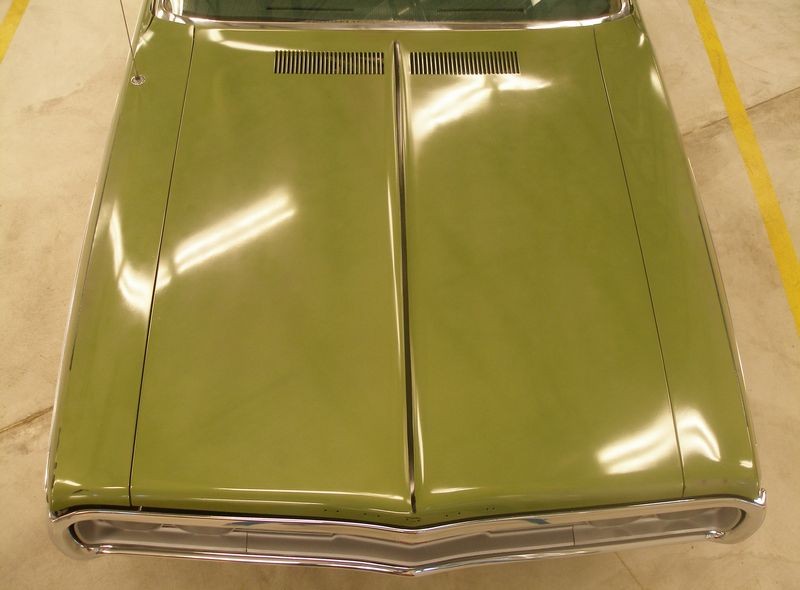
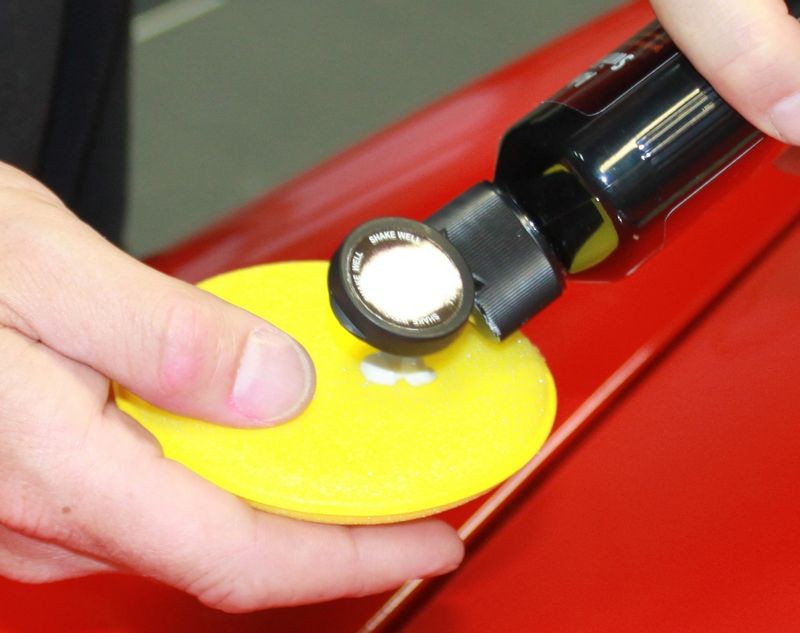
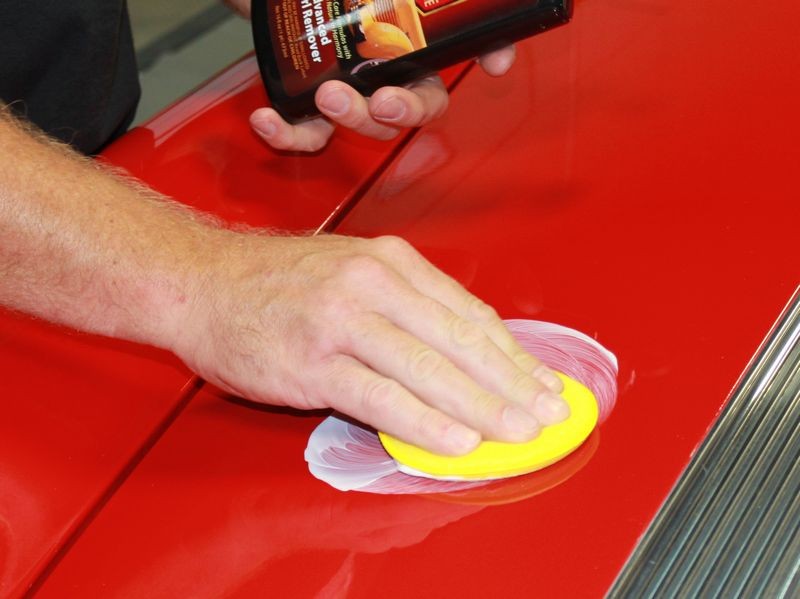
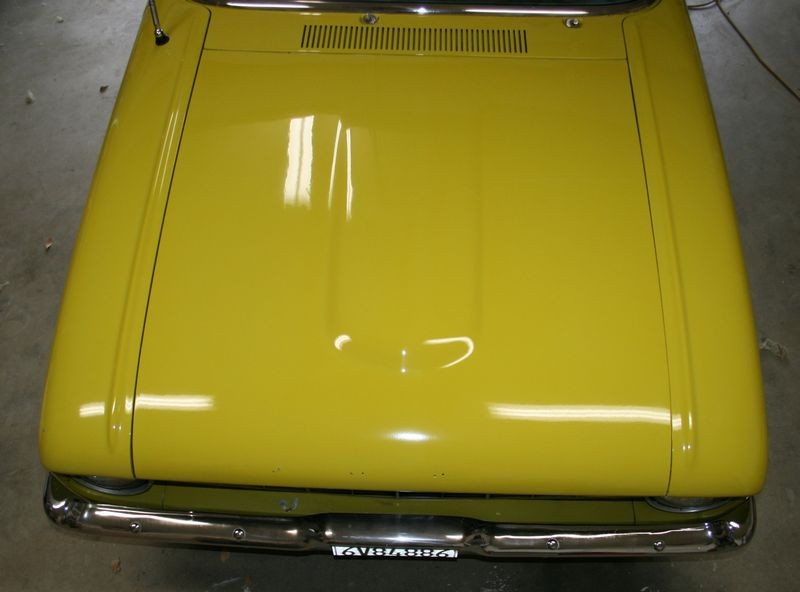
The pictures below show the condition of some areas of the body work. As you can see there appear to be contaminants stuck to/within with paint. This covers a large part of the car, especially the side panels. Could these be removed safely with clay. If not how do I treat them?

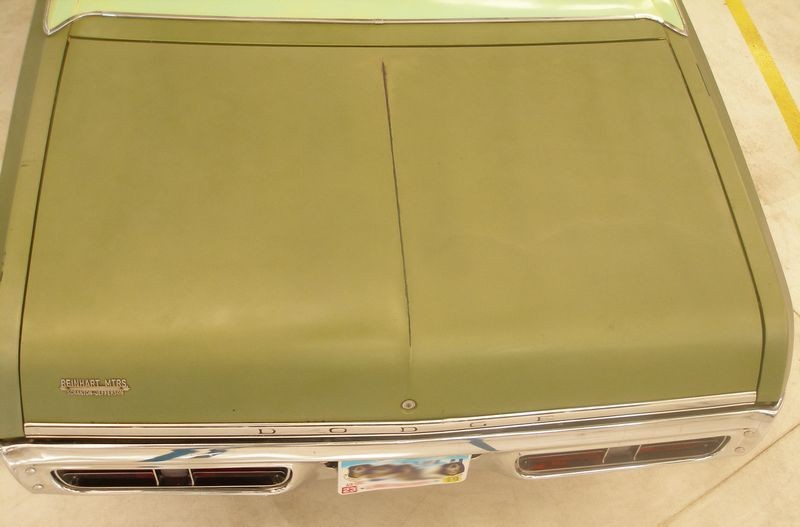
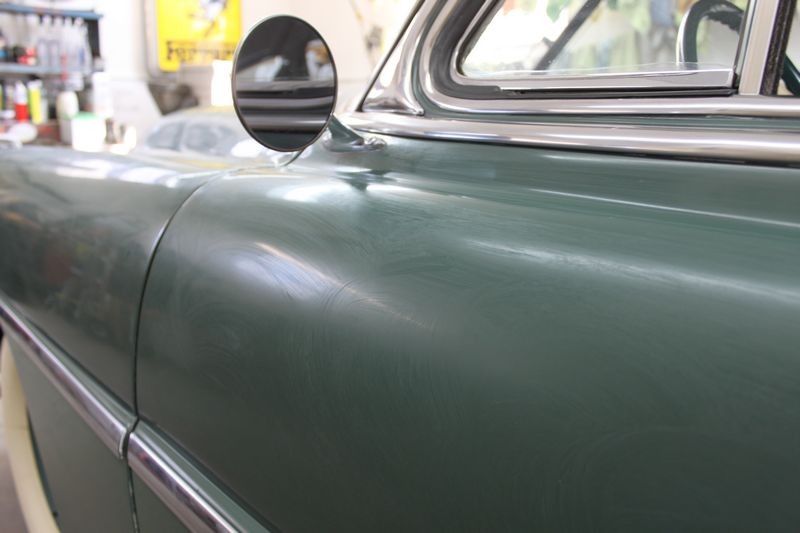
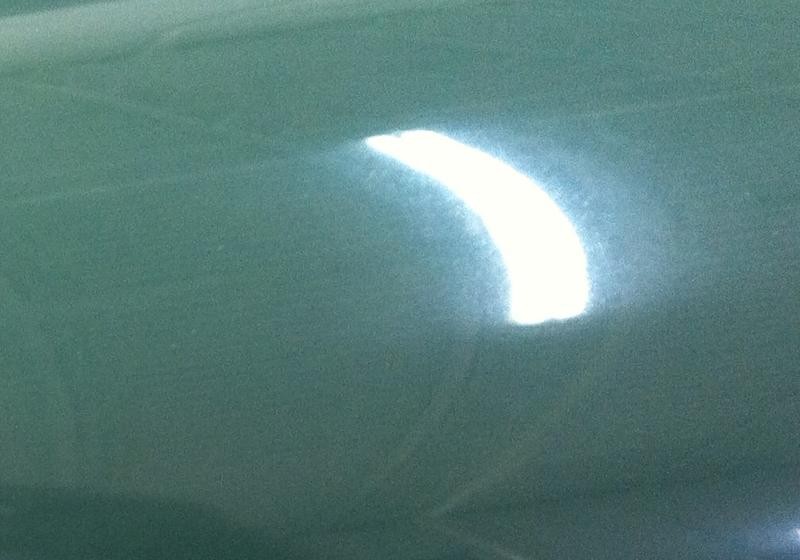
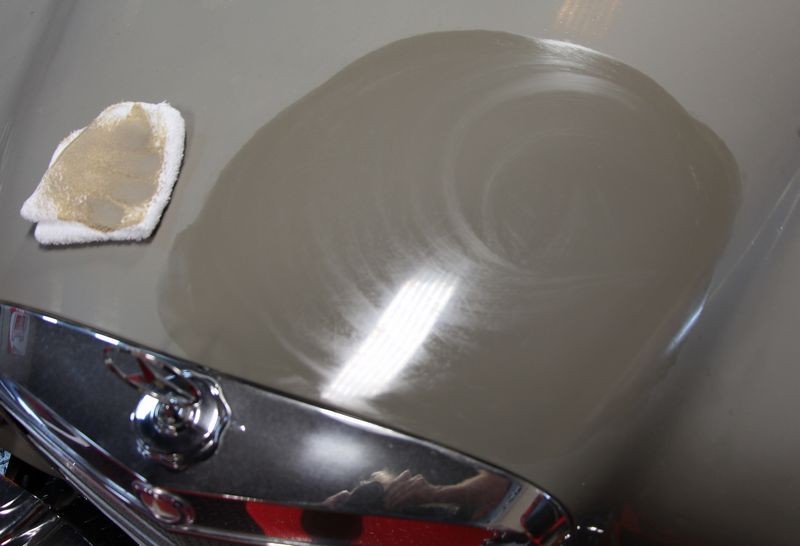
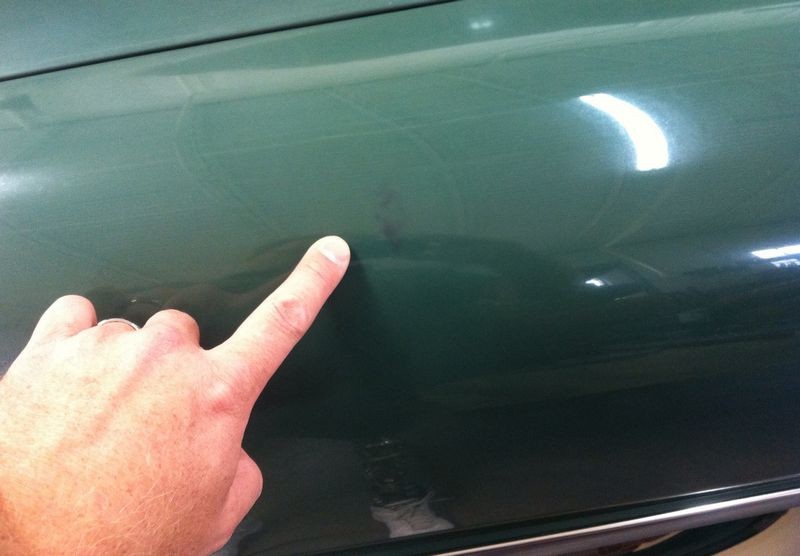
This picture shows what appears to be a thinning of the paint? It looks like the paint has worn through? Again, any ideas as to how to treat this?


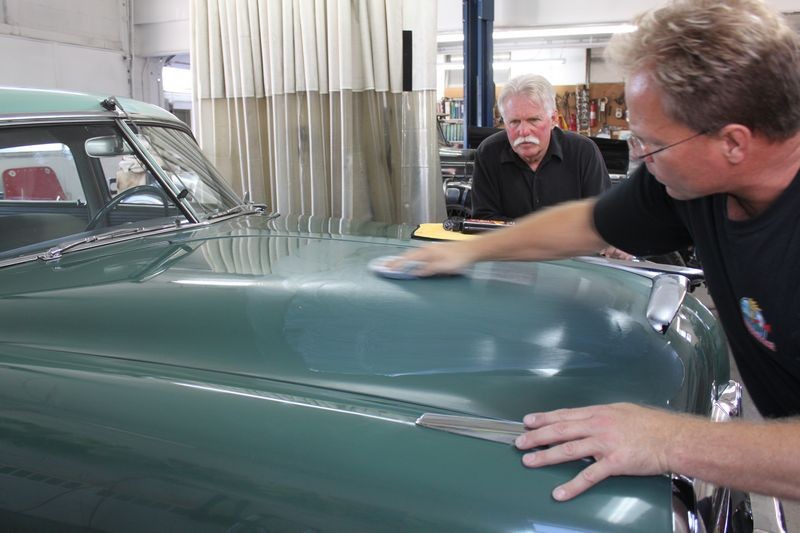
My friend has just asked me to get the car looking the best it can, given the condition of the paint. I am rather worried about machine polishing it (Das6 Pro DA). Would I be best to just do what I can by hand, rather than machine?
What products (available in the UK) & cleaning/polishing procedures should I be using? What should I be avoiding?
I appreciate any help and advice that you guys can give
This is my first post on here and I am looking for some expert advice from you guys. :xyxthumbs:
So, a friend of mine here in the UK has recently imported a beautiful 1954 Chevy Bel Air and he has asked me to see what I can do with the paintwork. Yesterday I went to have a look at the car and from a distance it looked to be in good condition, however closer inspection unearthed a different story.
Firstly, I am no expert, having only ever detailed my own car, plus those of friends and family, all of which have been relatively new cars, VW’s, Audi’s, Nissan’s etc. I have never tackled anything like the Chevy and I am at a bit of loss as to how best to treat the paintwork. I have explained to my friend that we have to have realistic expectations, after all the car is 60yrs old.
I am not sure if the paintwork would be a single stage paint or whether it even has/had a clear coat. Some areas appear glossy, whilst others are very dull (oxidisation?) If someone could clarify that it would be appreciated.
The pictures below show the condition of some areas of the body work. As you can see there appear to be contaminants stuck to/within with paint. This covers a large part of the car, especially the side panels. Could these be removed safely with clay. If not how do I treat them?
This picture shows what appears to be a thinning of the paint? It looks like the paint has worn through? Again, any ideas as to how to treat this?
My friend has just asked me to get the car looking the best it can, given the condition of the paint. I am rather worried about machine polishing it (Das6 Pro DA). Would I be best to just do what I can by hand, rather than machine?
What products (available in the UK) & cleaning/polishing procedures should I be using? What should I be avoiding?
I appreciate any help and advice that you guys can give


")


 rops:
rops: