Rover Combat Service -
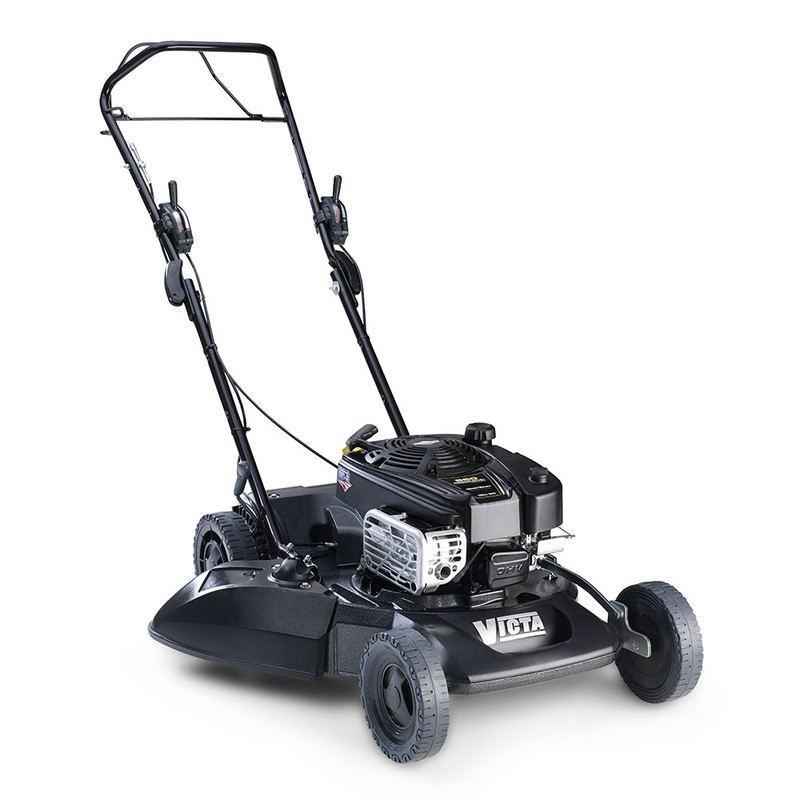
Readers will remember that one of my garden clients gave me this 18-inch alloy chassis Rover Combat. I was actually the last person to use it, I would use his mower to save unloading my own, but a leaking fuel tank and a running issue meant it sat unused in his garden shed for more than a decade. When cleaning out their shed, they had no use for it and asked if I wanted it..................is the Pope catholic?


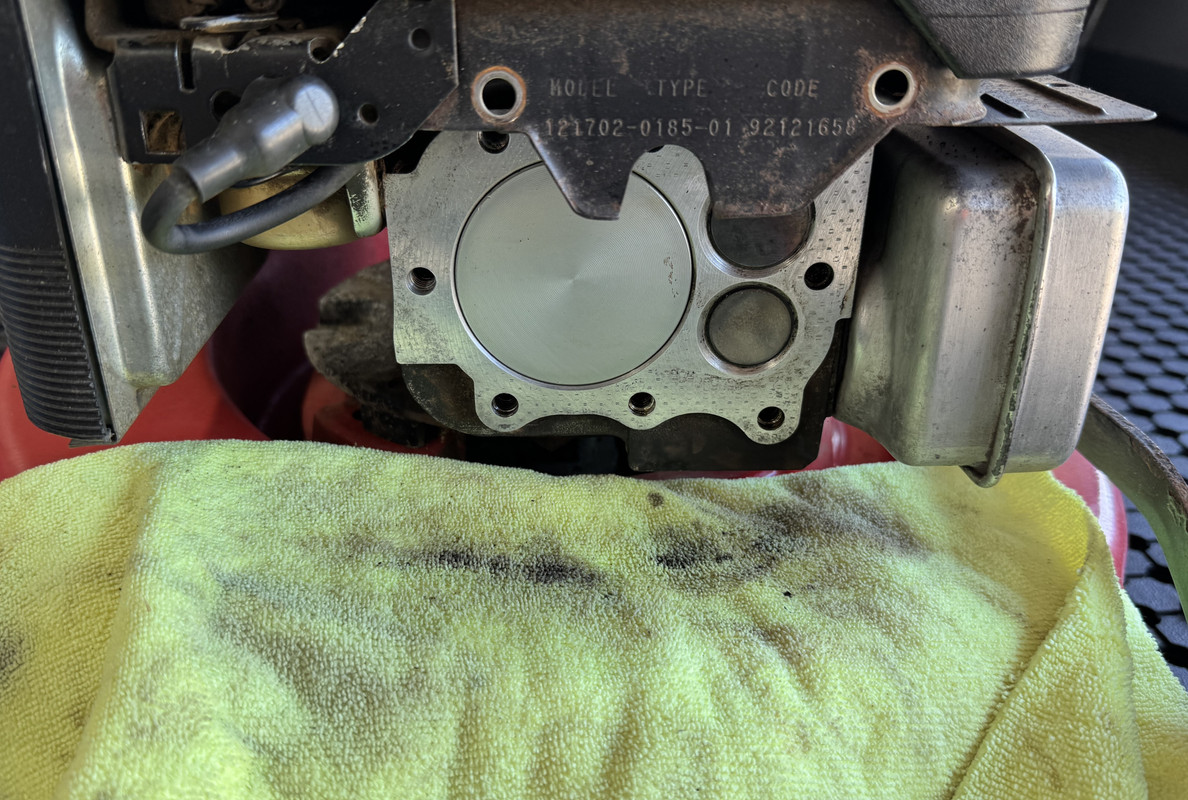
The Model-Type-Code numbers on the engine paint a picture of its age and helps with future parts ordering -
https://www.briggsandstratton.com/c.../en_us/Files/Numerical_Designation_System.pdf
Model -
121702
12 = Cubic inch displacement, 190cc
1 = Design series
7 = Vertical shaft
0 = Bearing type, plain
2 = Starter type, rewind
Type -
185-01
These numbers are used represent paint colour, decals, top engine speed and the customer/brand using the engine.
Code -
92121658
92 = Year
12 = Month
16 = Day
5 = Plant/Factory number
8 = Assembly line number
So, this engine was made in December 1992, so the mower itself would likely have been made in early 1993.
Because it was so dirty and had clearly been used as Fluffy's toilet, it needed a thorough clean to make it safe to work on.


While this mower is somewhat weathered, because it sat for so long, it's mostly cosmetic and I believe it hasn't done as much work as you would expect for the age of the machine.
The running issues I diagnosed as being caused by the leaking fuel tank, it just wasn't getting enough fuel unless ran on choke. Because this is mid-series Quantum, it has a different fuel tank to the later engines, which meant having to wait a few months to get the correct part.


In addition to the tank and a new fuel line, I had also ordered a carb kit, fully expecting I'd have to clean and rebuild it. But after dropping the bowl, its cleanliness was remarkable, so I replaced the bowl gasket and left it at that. With fresh oil, new filters and a new spark plug, it was then time to fire it up, fire it up, fire it up..........................
These engines still had low and high-speed carb adjustments, which meant I could dial it in to have a nice stable tick-over and a strong top end.

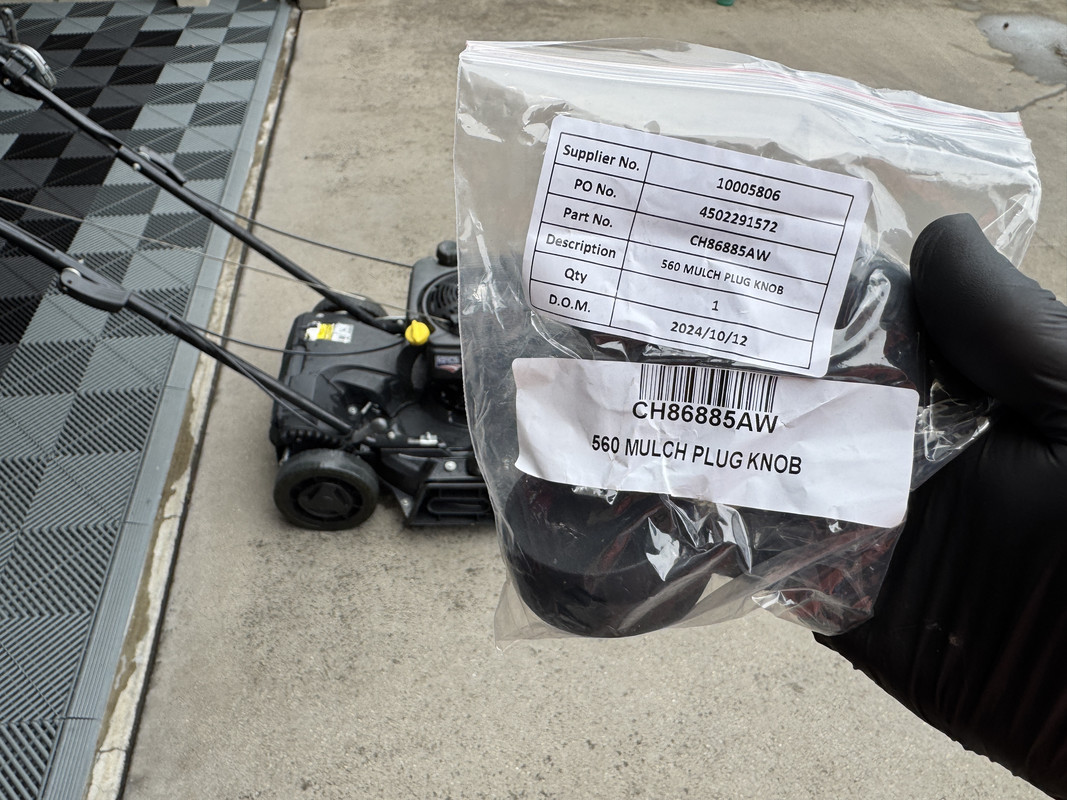
With the engine running properly again, I also replaced the cracked handlebar knobs, which I had to have sent from the UK as no one here bothers with them.

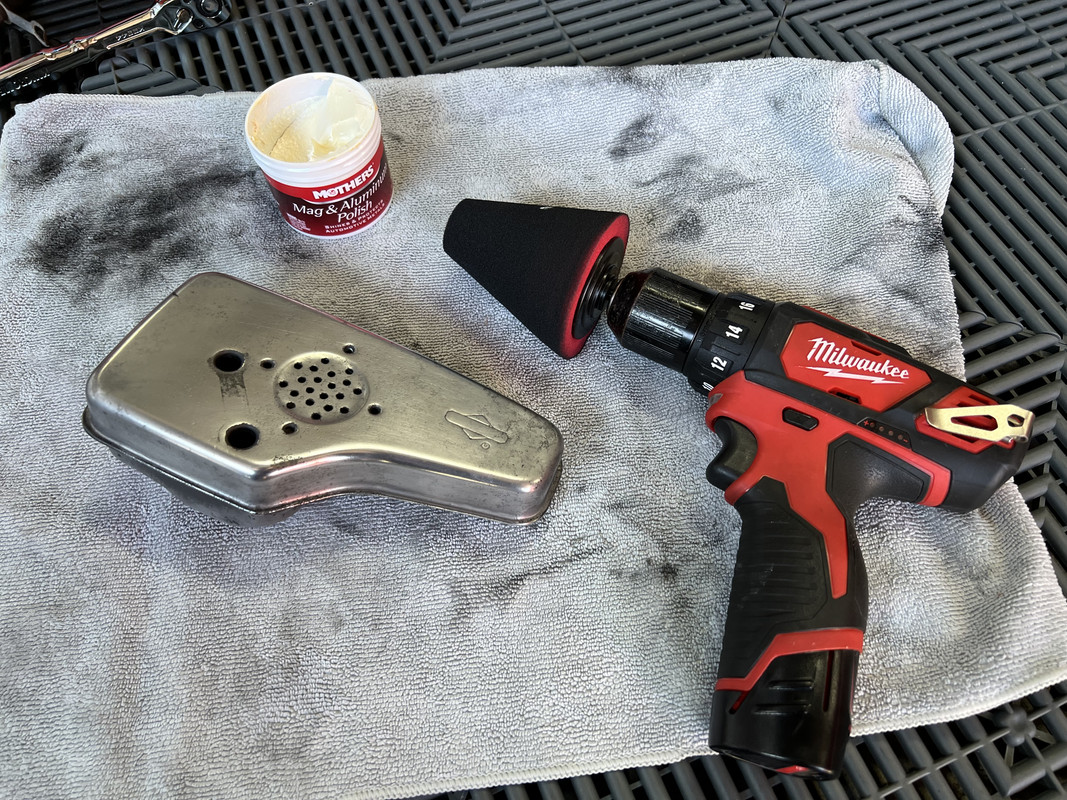
I even polished the muffler.......................
So that's the recap, so what was today about? Mainly because of storage issues, I loaned out this mower to the nursery to maintain a specific lawn that we wanted cut ultra short, something the Aussie-designed Rover could do very easily. For obvious reasons, I contemplated leaving the machine there on my departure, but I sunk a fair bit of money into this mower and it's such a sweet runner that I wanted it back. No doubt that will be looked down upon.
Most likely unnecessary, but out of curiosity I wanted to de-coke the cylinder head. So, I ordered a new cylinder head gasket and got to it.

After removing the eight remarkably clean head bolts and the two smaller bolts holding recoil, I gently lifted the head away from the block. The piston was also remarkably clean, and while it looks bad in the photo's, the head wasn't too bad either. Compared to the oil-burning Sprint from a couple of months ago, this one looks quite reasonable. The intake valve was pretty crusty though.

I then went about cleaning up the head, block and piston, removing any remaining gasket material in the process. I also sanded the head on the bench to level down any warping and create a level gasket surface. You would probably do that with the block as well, but I wasn't removing the engine or all the surrounding parts to make that possible. The valve faces were cleaned, and I did my best with the valve seats.

After cleaning the block and head with carb spray, it was then time for reassembly. For the head gasket, you need to be careful when ordering these. Despite these flat-head engines being largely unchanged over many decades, Briggs did change a lot of parts over the years, head gasket included. This is where your model-type-code number comes into the equation, which helps narrow down what parts your engine needs. For this vintage Quantum, I needed the 272200 or 272200S head gasket.
Head Gasket for 4.5HP Briggs & Stratton Quantum Motors 272200 272200S

With the recoil cover still on the machine, it can be tricky getting the head levered up under the cover plate, then aligning the gasket and at least two head bolts with the block. Once located properly, I then fed in the rest of the bolts, getting them started by hand then seating them with the impact driver. Important to note that I didn't torque them down with the impact, I just ran them down till the first click and then followed with a torque wrench. I know there is probably an official torque sequence, but I just follow a cross pattern, the first round to 10 Nm, then followed by the suggested 16 Nm..............actually, I did them at 17 Nm.

With that done, I turned to some more basic service items, starting with the spark plug. These engines originally came with Champion CJ8 plugs, but a J19LM that was used on the later flat-heads will also work. I had both in stock but went with the J19LM.
Champion J19LM

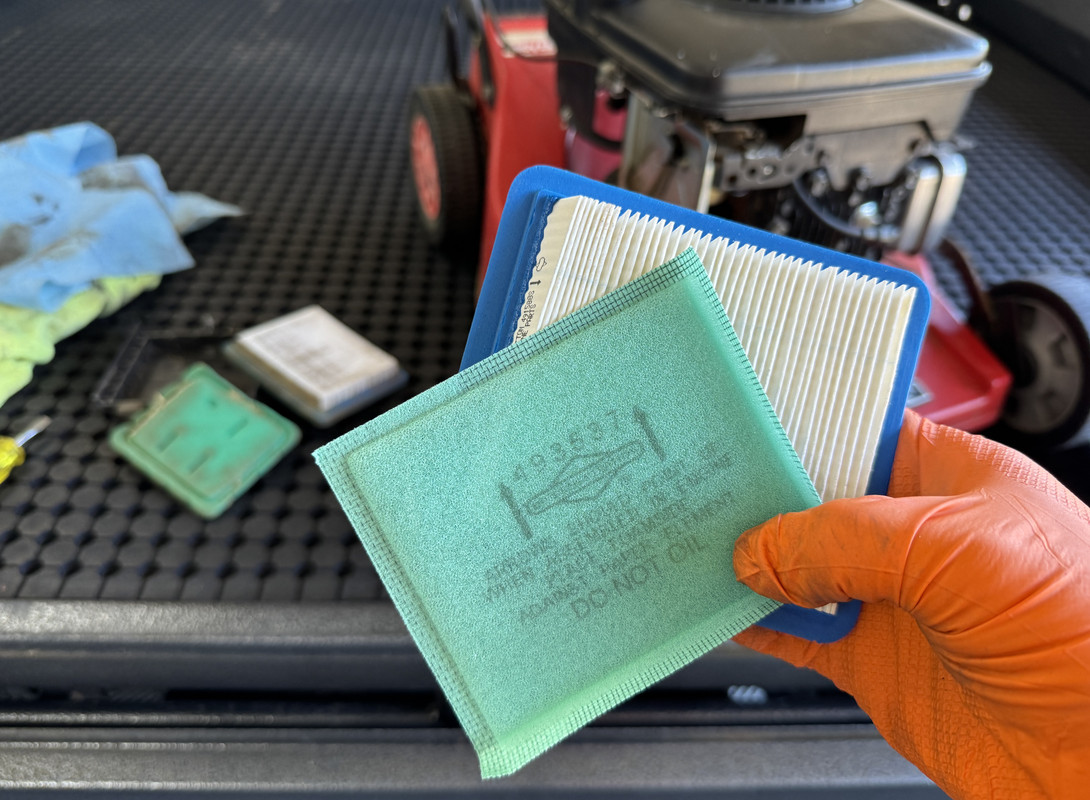
Next, the filters. Both the paper panel filter and foam pre-filter were dirtier than expected. I could have blown out and/or washed them, but I don't have the patience for that, so I just replaced them. The items that came out of the machine were aftermarket parts, the ones that went in are genuine Briggs.
Briggs & Stratton Genuine Filter-A/C Foam 493537S
Briggs & Stratton Genuine 3-6.5hp Quantum Filter-A/C Cartridge 491588S

It was then time to fire it up, fire it up, fire it up for a test run, which started on the first pull and settled into that sweet idle.

I love these engines, they are so simple to work on and seem to run much nicer than the later versions with their fixed speed carburetors. That means they can actually idle and then have enough fuel for high rpm running. What I did today wasn't really needed, but after seeing the condition of the piston and those head bolts, it sort of confirmed my suspicion that this engine hasn't done much work.
Next? I need to figure out why that Victa Commando keeps over-revving.


")