Work continued on the Victa 18 today.
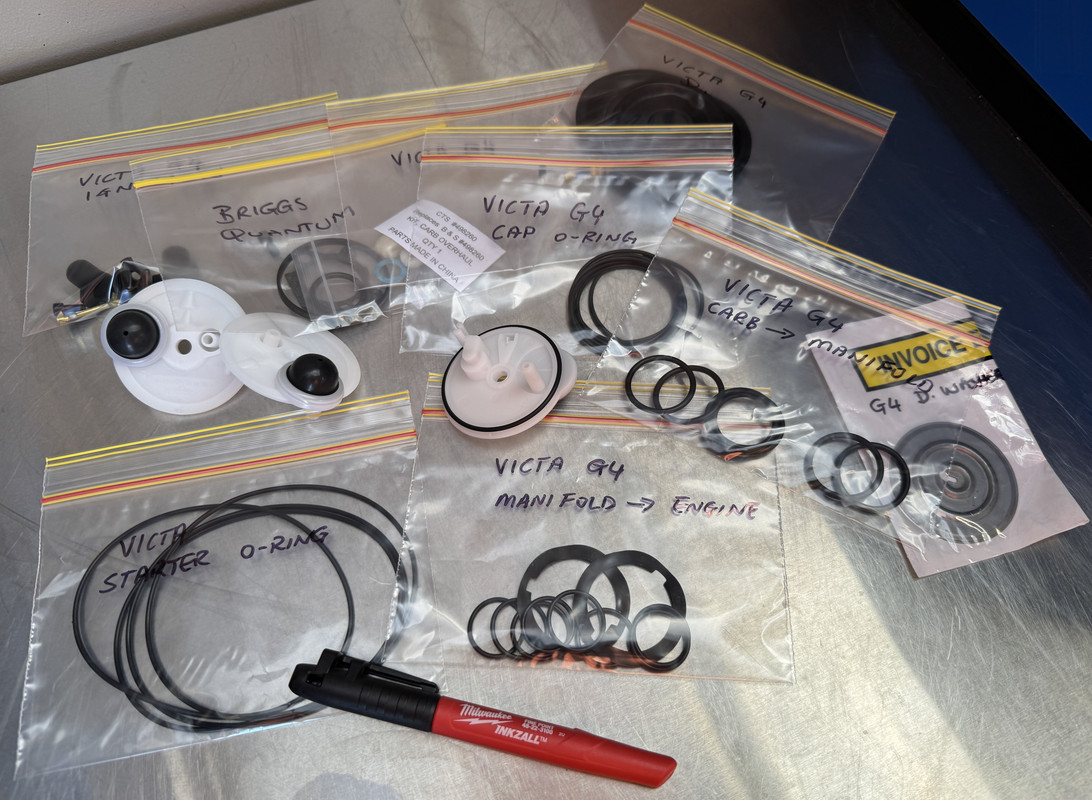
Last night I spent hours trawling for parts, I'm like a dog with a bone with this sort of thing. I also spent time watching how to rebuild these Victa 3F carburetors. Some may know him for his Ford content, but Peter Anderson also has plenty of Victa content on his channel, this one in particular is the clearest video I could find on this topic.
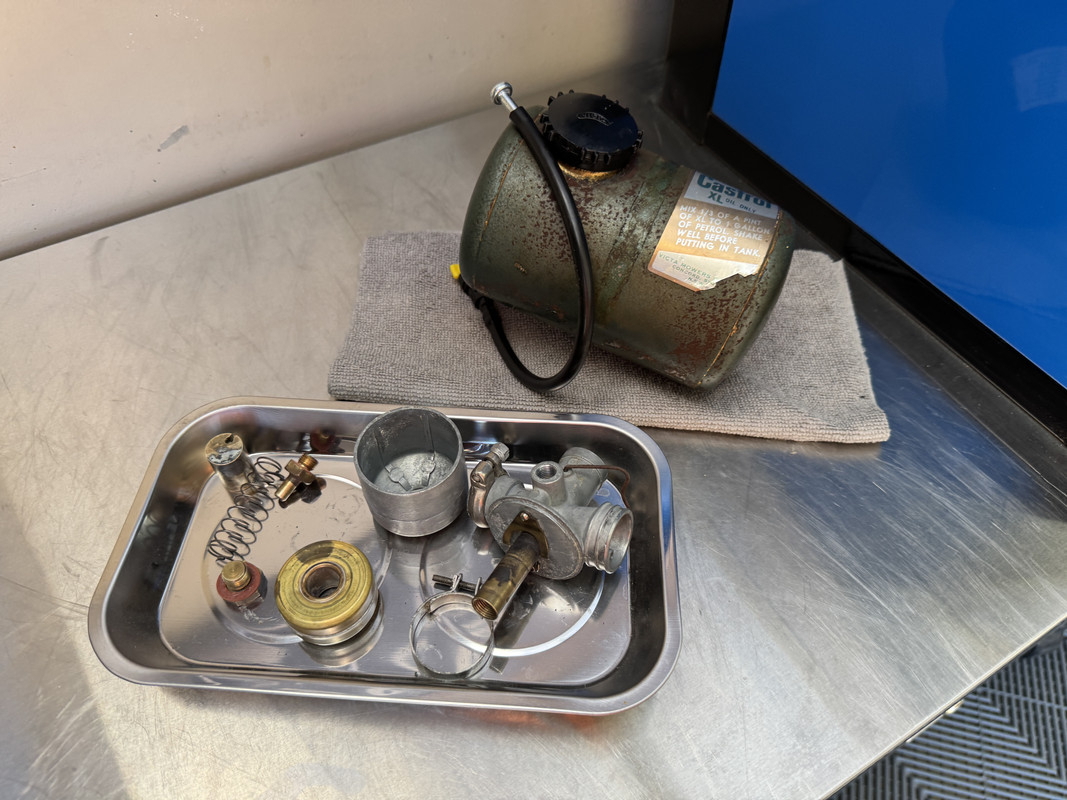
My carburetor was in much worse condition than his. I had partially dissembled it yesterday and submerged everything in kerosene overnight. This morning, I went about cleaning it up piece by piece. The brass components cleaned up fine, finished off with a light scrub with a scotch pad, then rinsed with carb spray. I needed to use a wire brush to remove the aluminum corrosion present on the carb body and bowl. That corrosion had also set up around the float needle and the classic "tickler" (primer), both frozen in place. A blast of carb spray and some light pick work got both free. I then used a torch tip wire to unplug the emulsion tube orifice, then gave the body a good flush with carb spray.
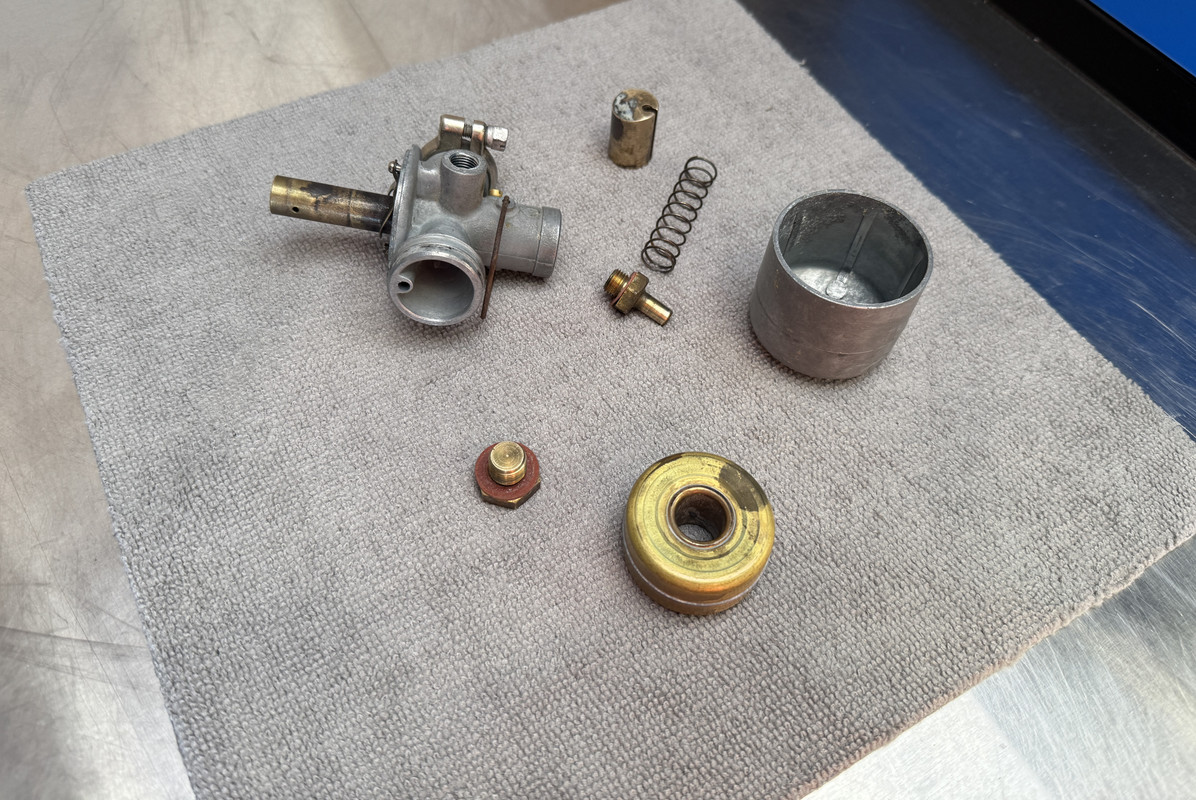
The throttle slide tube that was frozen in place is now moving freely in the barrel, some light scuffing with a scotch pad sorted it easily. All clean and ready for full assembly once the gasket set arrives.
https://www.ebay.com.au/itm/3527548...SfUJV2EvnJyWwEEkFSaeQ2qjkr3Na7V8aAhCSEALw_wcB
From here, I decided to remove the blade carrier. A little penetrant and a few zips with the rattle gun had it off hassle free. This gave me access to scrape away the dirt and grass cocktail that had been there for 30-years, then a quick blast with the pressure washer. The blades on it are as thin as a piece of paper and in no way safe. So, I have ordered a replacement disk, NOS blades and a new disk nut. Which disk I use will depend on what I find on closer inspection of the original.
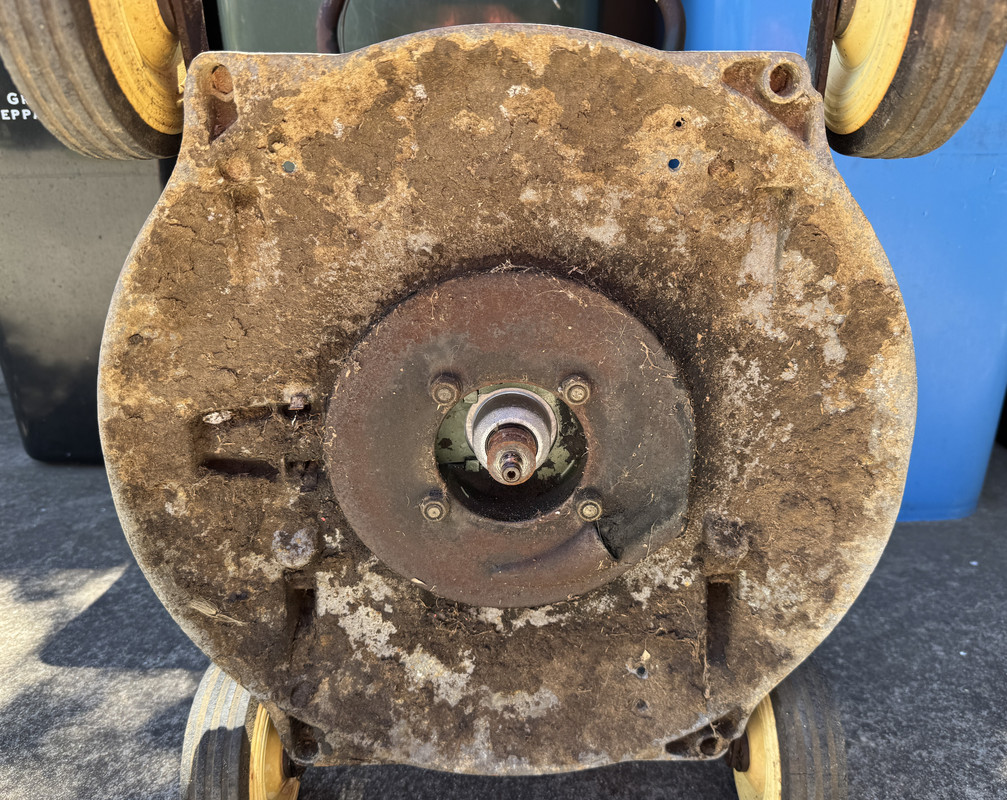
Behind the blade disk is the muffler outlet, just above the lower right engine nut. The gorgeously designed spiral muffler takes exhaust gas from the engine and directs it down through the deck and into the lower muffler plate. This type of arrangement was used on those 2-stroke Lawn Boy's in the USA.
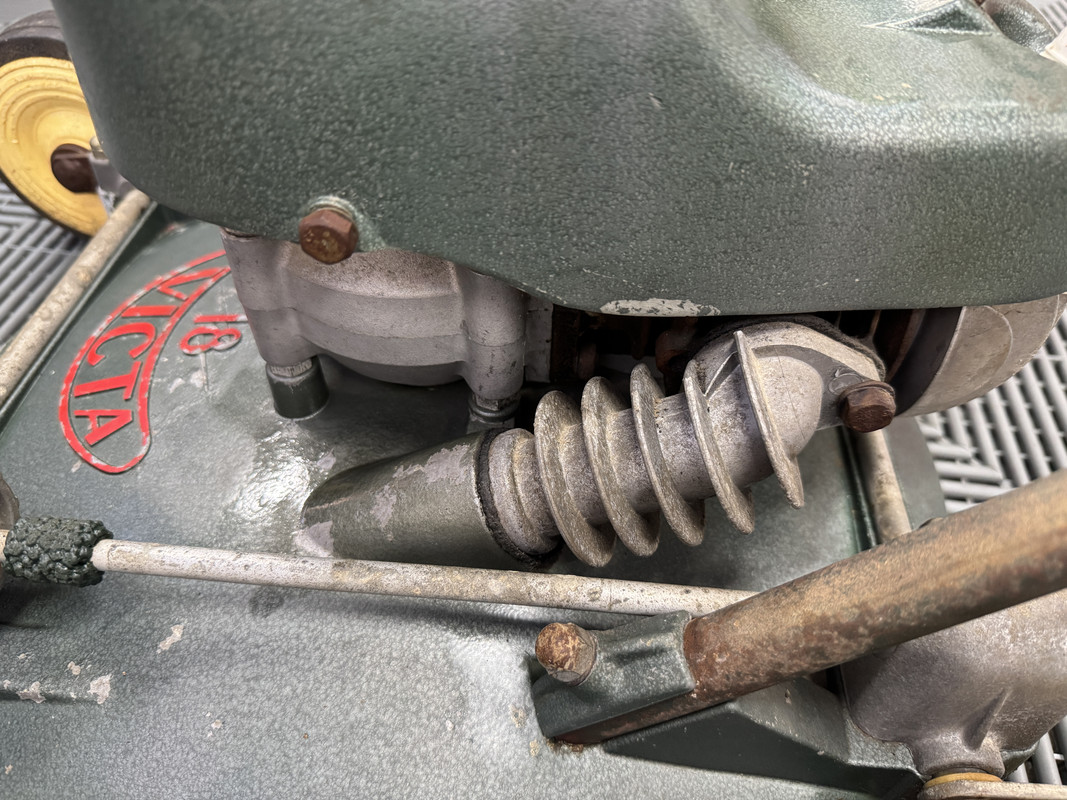
Not all of them had that muffler arrangement, I think it was specific to the Special, others had a basic round muffler pot.

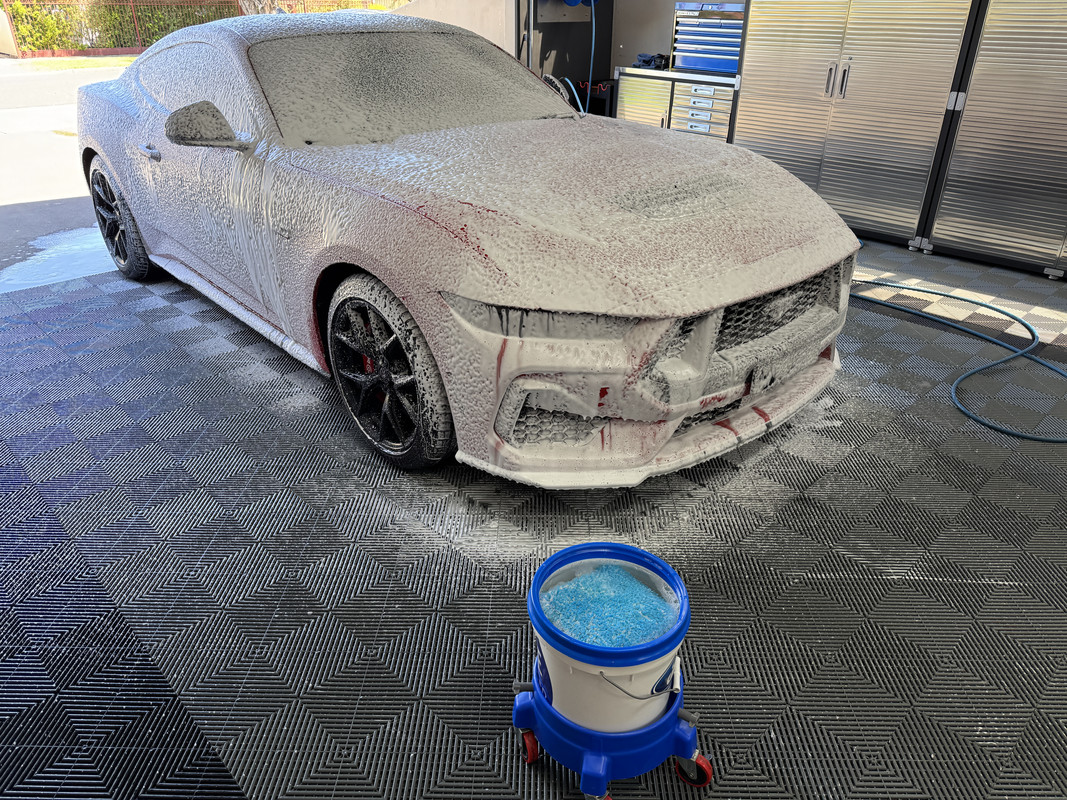
I then decided to do some "detailing". I didn't want to be blasting this with a pressure washer, or use aggressive alkaline chemicals. So, I mixed up some DIY Detail Rinse-less wash at the 128:1 water-less ratio. Why this product? Because it would offer a gentle but effective clean, reducing the risk of damaging the 70-year-old paint. Being surfactant based, this particular rinse-less also lathers up under agitation.

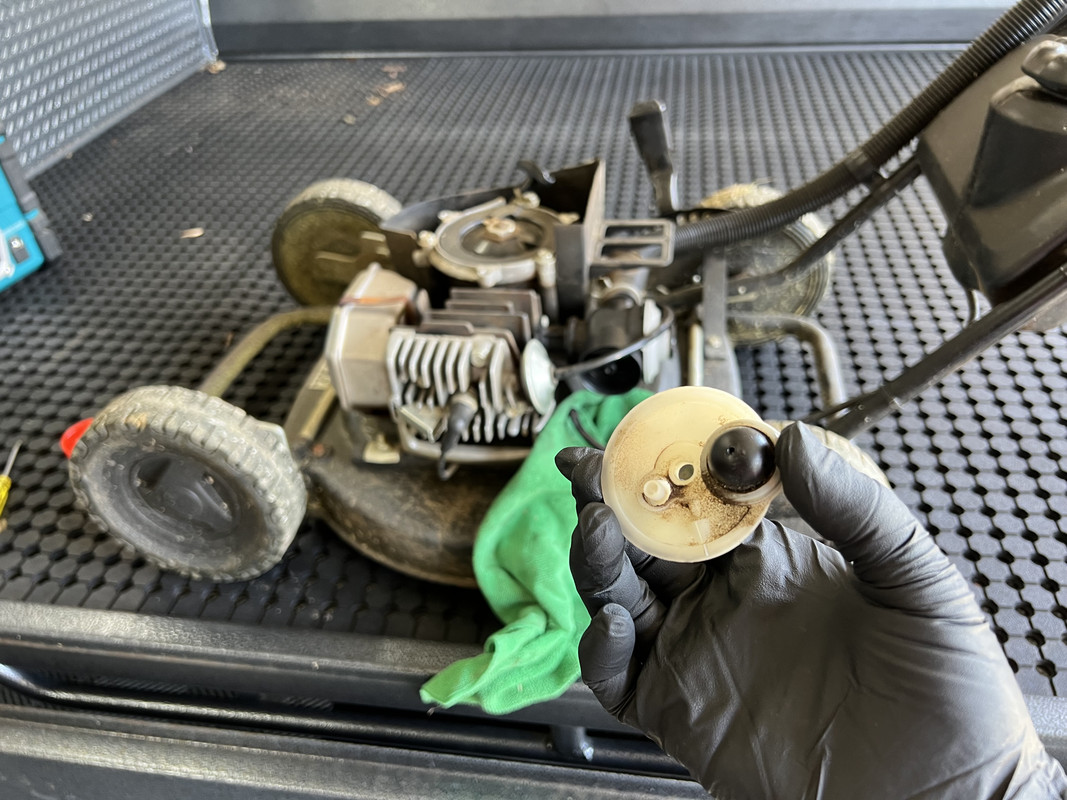
Next, I decided to tackle the fuel tank and fuel tap. To start, I disconnected the spark plug and removed the three bolts holding the cowl/blower shroud to the engine. The shroud is then lifted off the engine and a small nut loosened to release the metal tank strap. The tank can then slide off the shroud. I then loosely re-installed the shroud to keep the parts in tact.
The brass fuel tap was the removed from the tank, disassembled and placed in the kerosene bath. The two o-rings are replaceable and included in the carb kit above. I then installed a plastic fuel tap to facilitate the next step.
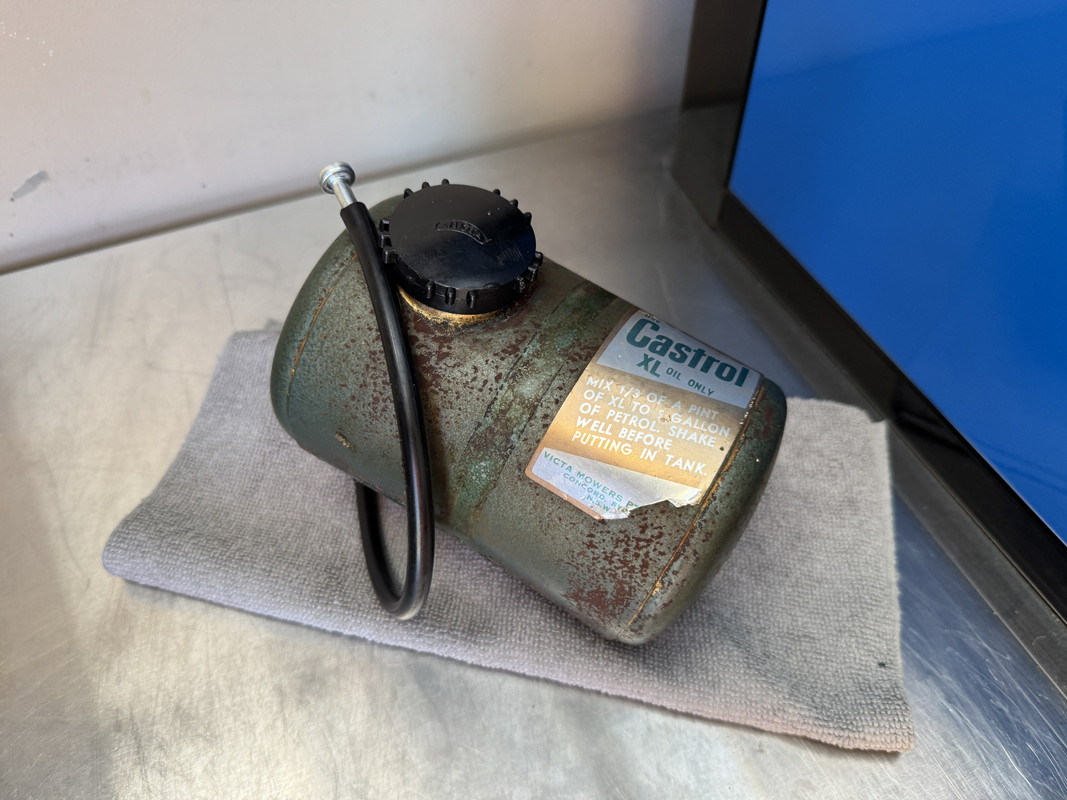
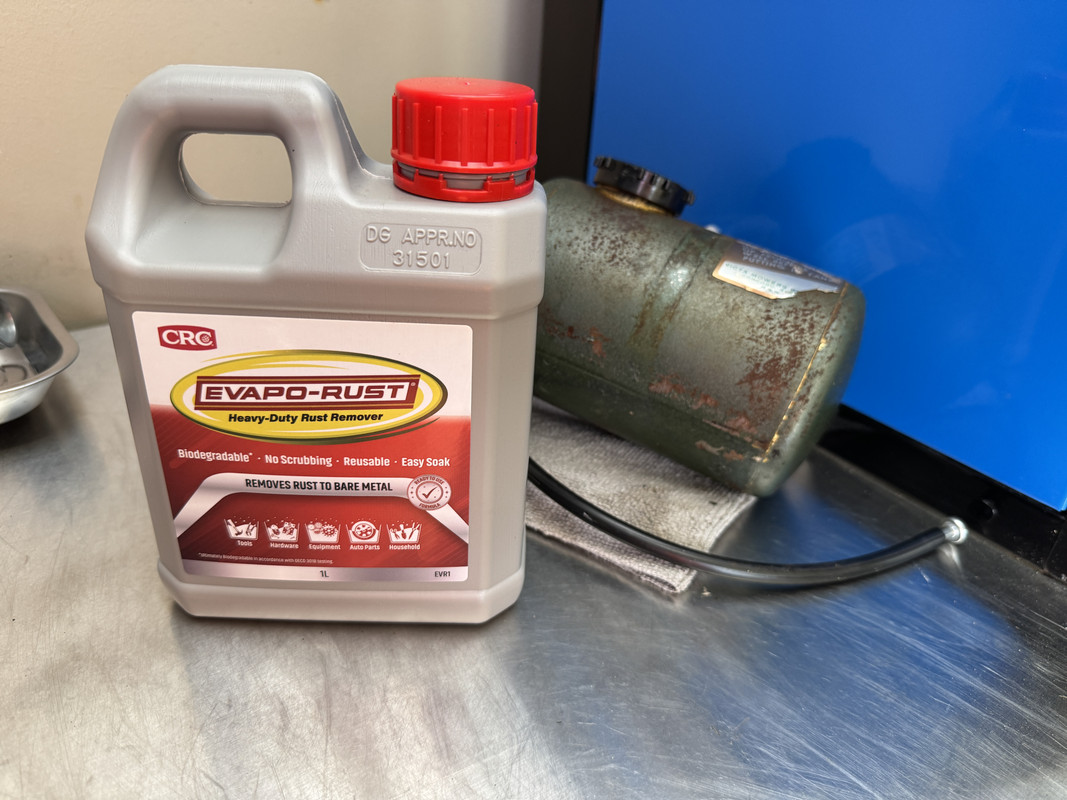
To clean, I added a handful of stones and some white vinegar into the tank. The stones help agitate loose rust flakes and the vinegar is supposed to help neutralize the rust. I'll let it soak and see what I get.
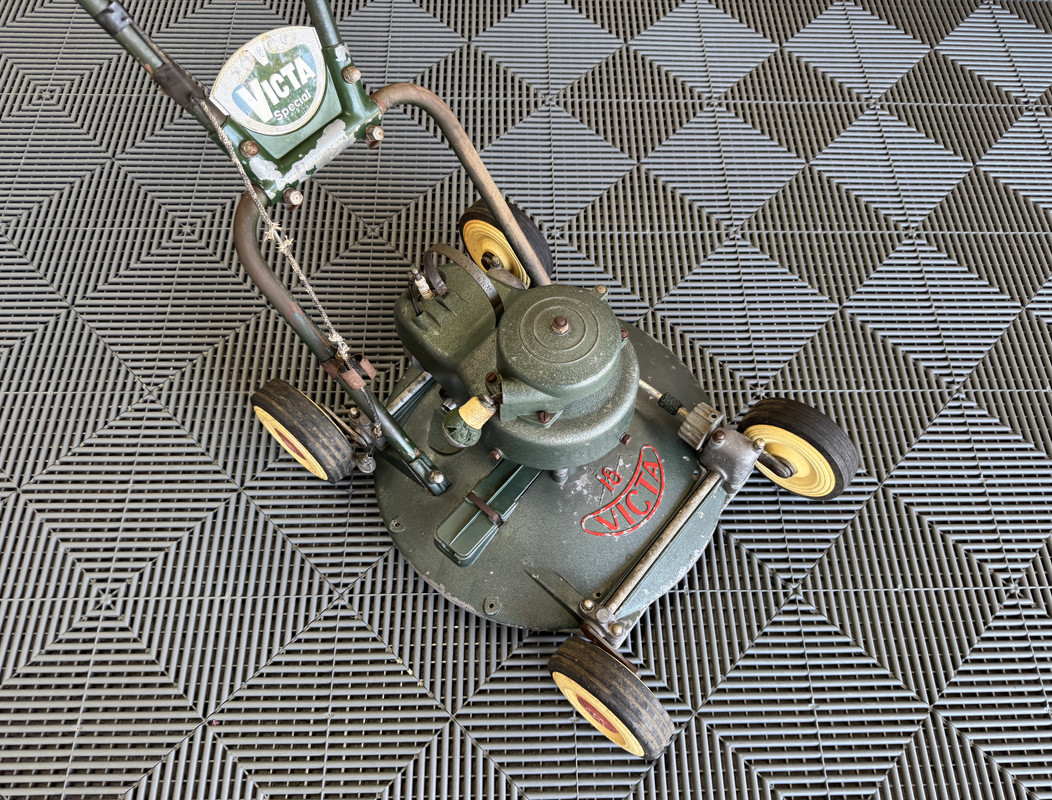
How she is sitting at the moment after a light clean and a little hyper dressing.
At this point, I'm now waiting for parts to reassemble the carb and fuel tank, then fit new blades. I have also ordered some vintage cable clips to remove the electrical tape holding the throttle cable in place. At the moment, I can't find a replacement dome air filter/choke assembly. It seems Victa reverted to a tube style intake and filter, so I've ordered one of those until the correct item pops up. Hopefully, it will then be time to fire it up, fire it up, fire it up.