Holiday Project 3 – Ranger Wheel Coating and Fitment
I feel like this project has simmering for ages now, so it’s great to finally get stuck into the final pieces of the puzzle.
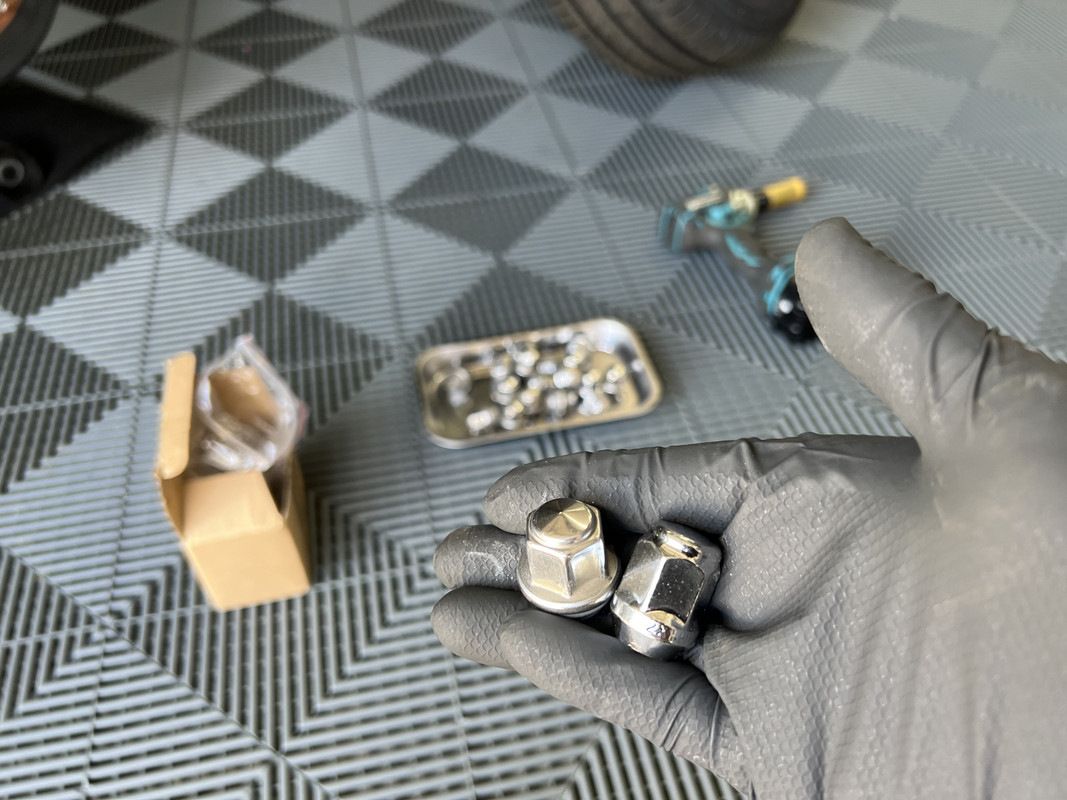
To recap, these wheels were bought second hand and have since been decontaminated, polished and touched up where required. I sourced the missing center cap along with 24 new solid lug nuts. The tyres were then fitted, directly followed by de-nibbing and a clean with Tarminator to remove any manufacturing oils and fitment soap.
They wheels have sat waiting for the ceramic coating to arrive and after two impromptu full details, I have finally found some time to get this job sorted.
Ceramic Coating –
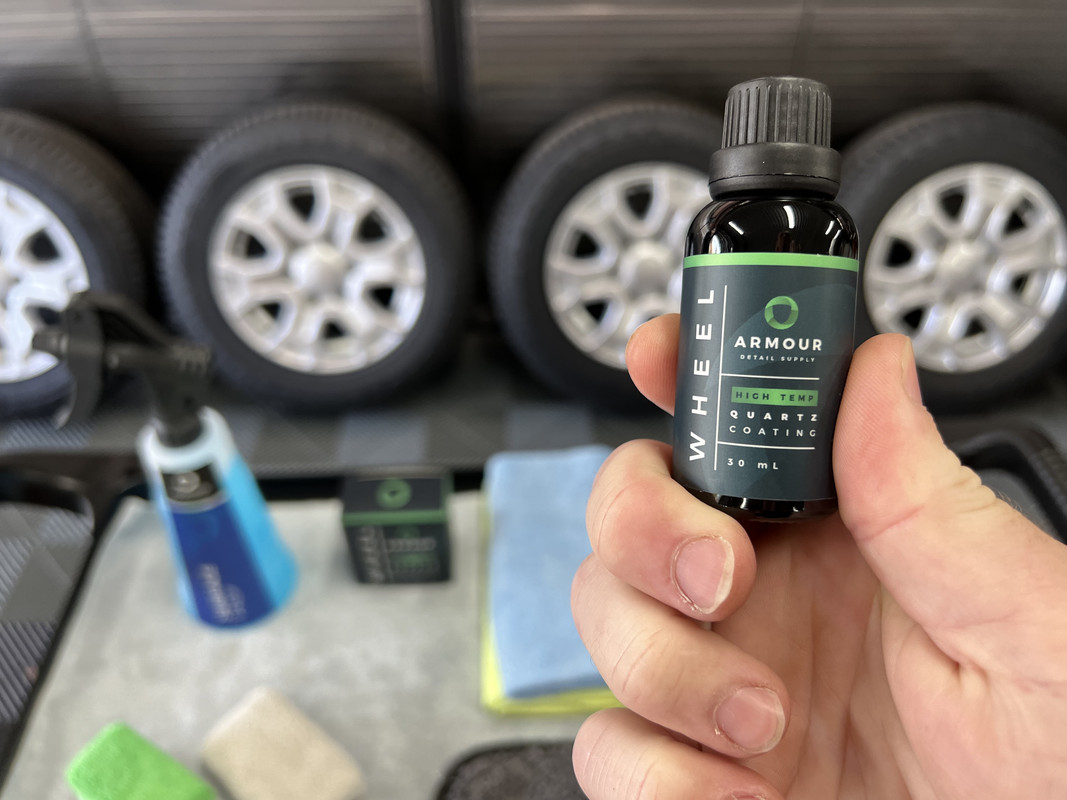
Having been impressed with the Armour Detail Supply Wheel Coating that I applied to the XR6 last year, the choice of coating for the Ranger was simple. This coating offers the ideal blend of durability with the slickness and water behavior missing from most wheel coatings.

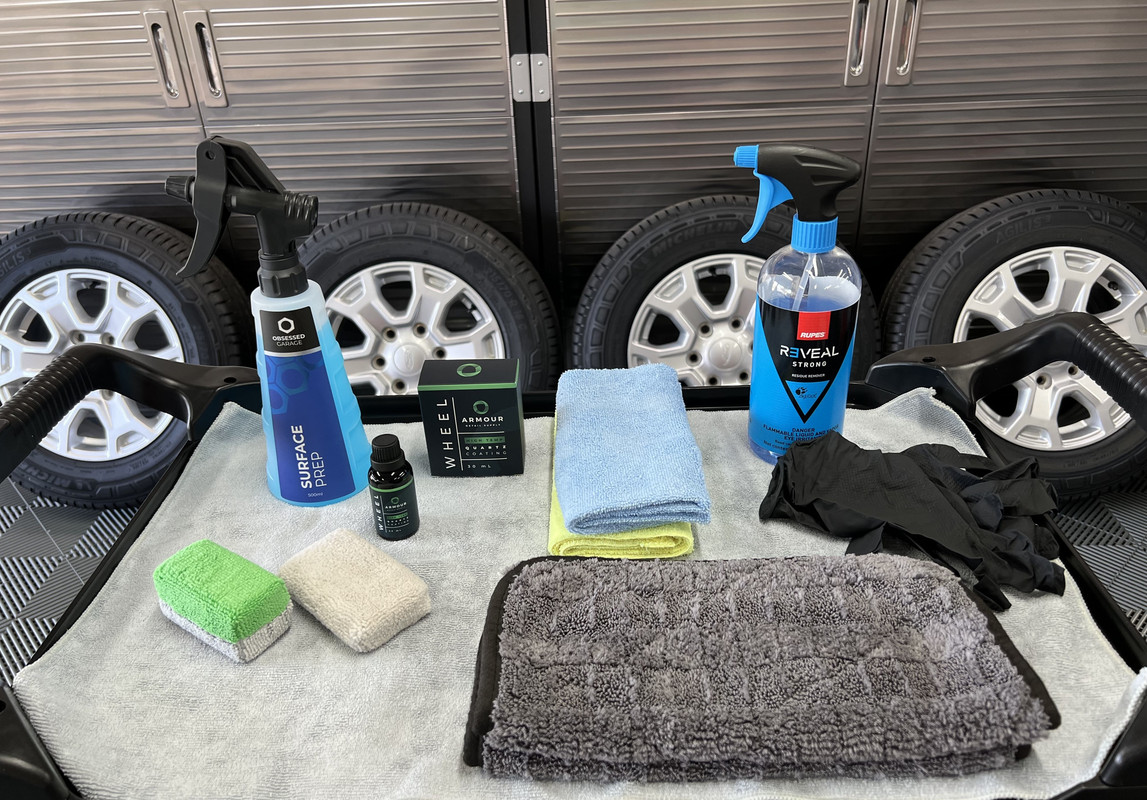
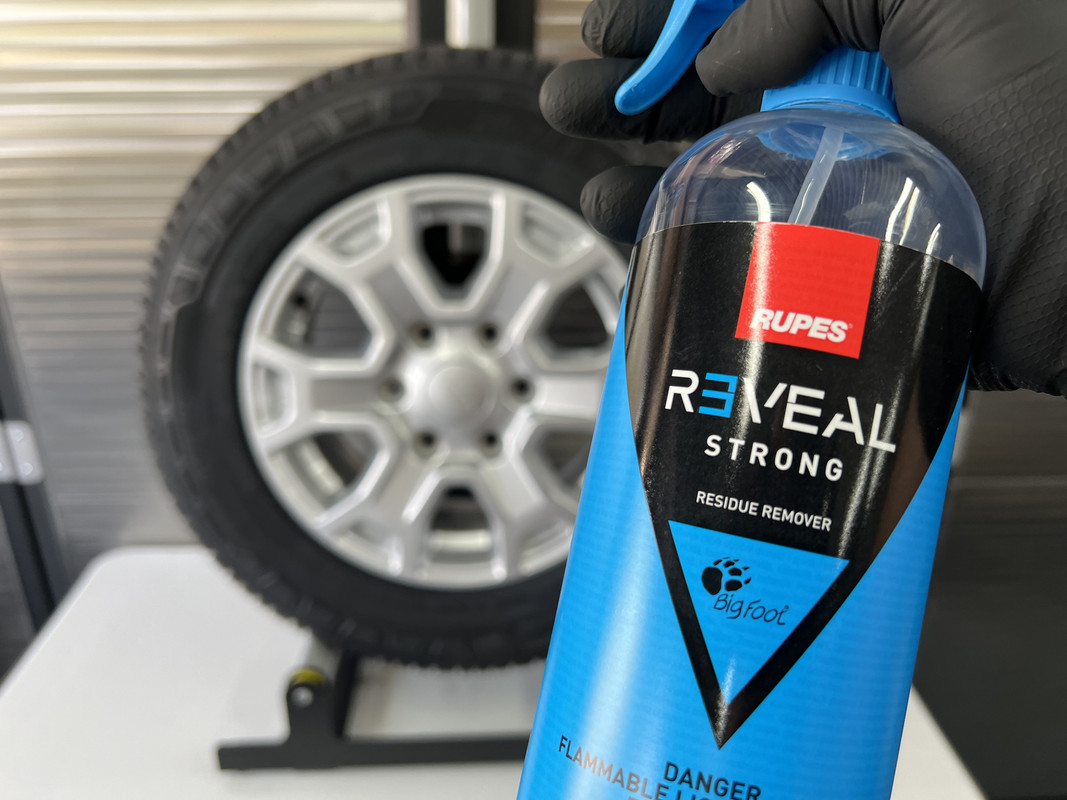
The wheels have sat in the garage since the tyres were fitted. The first step was to give them a quick once over with Carpro Eraser, followed by a final wipe down with Rupes Reveal Strong.

For the coating, I prefer to start with the wheel face first, followed by the barrels. You are more likely to have residual product transferring from the wheel face to the barrel, so doing the barrels last prevents that becoming a high spot. Having said that, a high spot on a dull wheel barrel is very unlikely to ever be seen.
Application is simple, prime the supplied microfiber applicator with three lines of product, then a single line thereafter. Work the coating across the wheel face or barrel, making sure to get even coverage. This coating is a "sweater", which will start to appear after about 2 - 3 minutes and is your cue to start leveling with the first towel. You then follow with a secondary towel to ensure the removal any lingering residue. The initial wipes will be quite grabby, which is due to the high solids content of this coating, but the secondary wipe will transform to a slick finish. I have also found that the coating becomes slicker after a few hours.
With how this coating hardens, you really need two applicators between four wheels, especially if you are dealing with larger wheels than these tiny 16's.
Once the wheels had been coated, it was then time for fitment.
Wheel Fitment and Wheel Arch Cleaning –
Starting at the front left, I removed the two-piece lugs and the old steel wheel.

Completely unnecessary on a car like this, but I decided to give the front arches some attention. In this case, Green Star APC, a bucket of ONR at 256:1 and a selection of brushes. I actually thought the calipers would have been worse considering they have NEVER been cleaned, but they cleaned up brilliantly with some NV Purge. I then flushed everything with ONR and water.


The new wheels were then offered up and lightly secured with the new solid lug nuts. The old chrome jacket items were starting to show some wear and with their high failure rate, replacement seemed like cheap insurance. Torque figure on Ranger lugs is 135 Nm. (I love that Wera torque wrench by the way!)

Save for wiping the face of the drum barrel, the rear arches were not cleaned.
Final step, and my favorite, the application of a tyre dressing. Today, I decided on OG Tire Dressing with the assistance of a large boars hair brush. For some reason, commercial tyres seem to amplify a dressing, so I actually knocked them back with a towel after 20 min.


A quick look at the old tyres after removal justified my choice to buy some new ones.................

With just on 39,000 km (24,000 miles) on the clock since new, while they still have tread, those tyres are now 8 years old and don't look crash hot. With the coating needing to cure for 12-hours before being driven, I'm still to see how the new tyres perform. I will say though, I can't fault the OE fit Dunlop's, they have done their job as a daily driver, hauling tools and garden supplies, taken me across the country...............and played along as I indulged in some wet weather car control practice.

rops:
Finished Result -
Having had this car for nearly 8 years now, seeing it without those 16-inch steelies is strange................


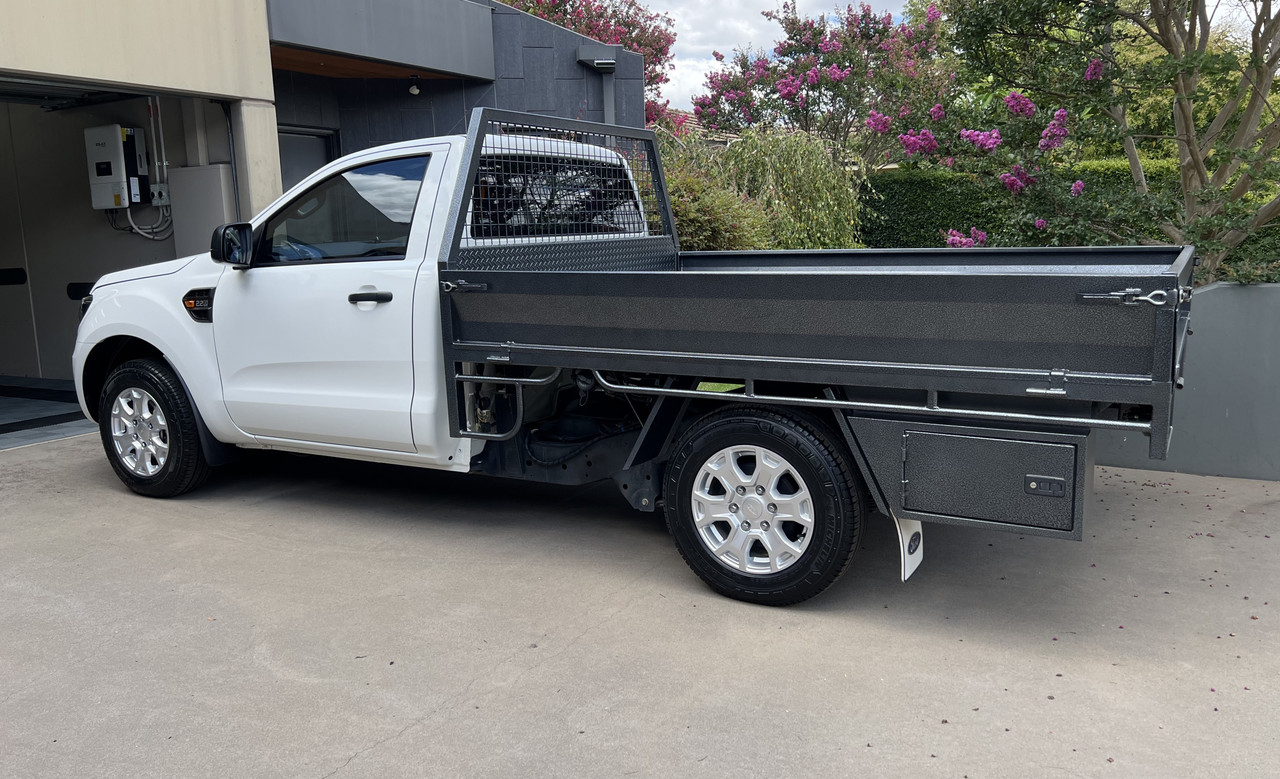

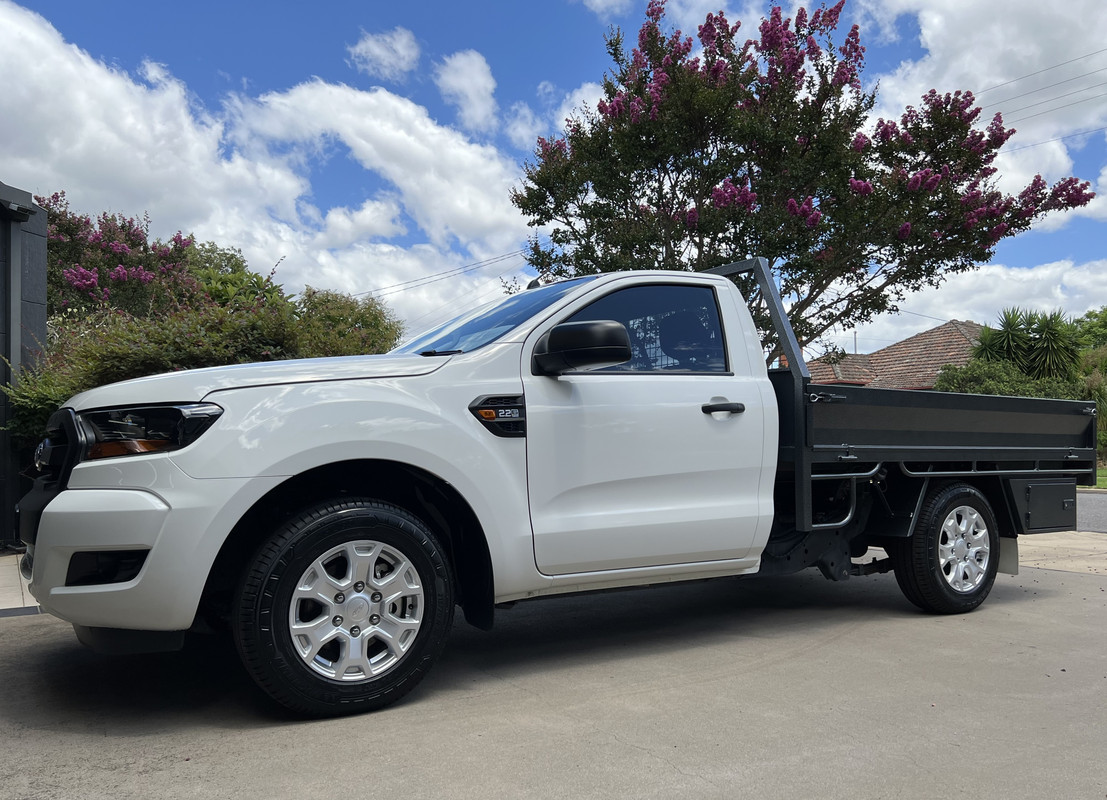
And with that, my Povo Ute just got a little less povo! :dblthumb2:


 ️
️


")