DFB's Garage

Got to hand it to Gyeon, they have their packaging game sorted!


I'm also factoring a care package into the price, so it gets maintained properly! I'm told they use a 30-year-old leather chamois and the "blue soap from the supermarket" (Armor All). :nomore:


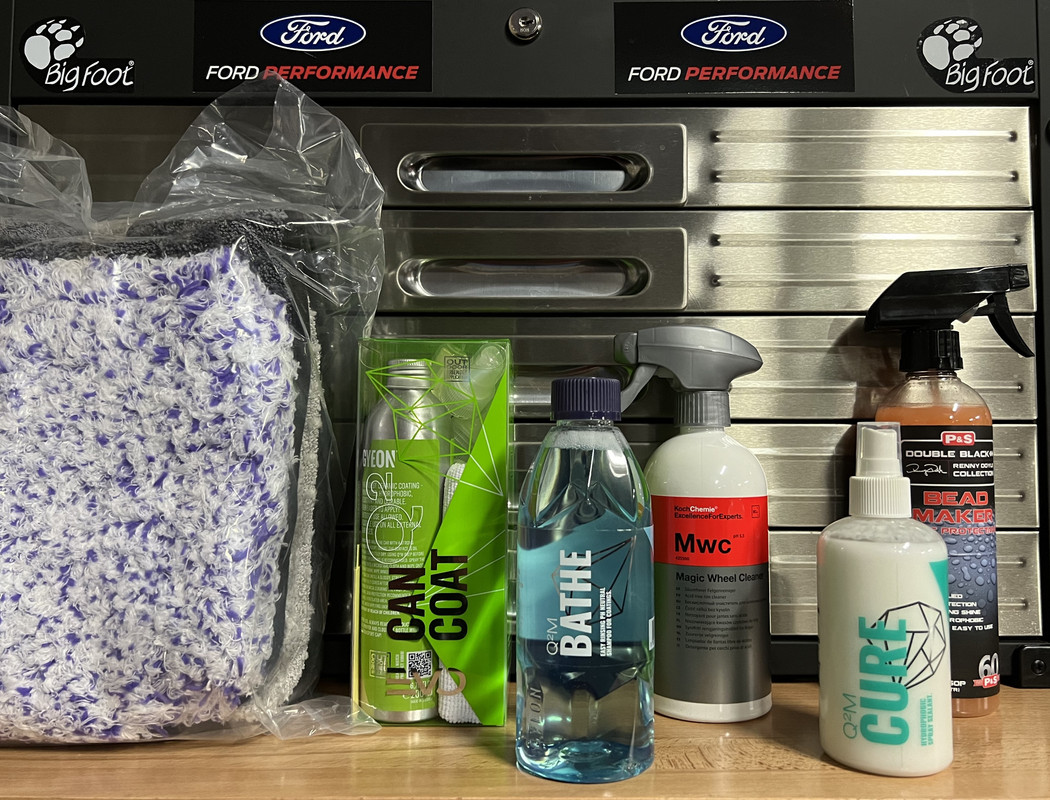
A wash mitt, drying towel, Gyeon Bathe and Beadmaker. (The Magic Wheel Cleaner is MINE though!)
I have a 20+ year old synthetic chamois, but it's only used on the door jams and wheels.

Sent from my motorola edge 20 fusion using Tapatalk
 
I remember using a chamois all the way back in my teen years. Finally threw it away in the early 2000's. One thing that I really enjoyed with it was our local 'you wash it' had a few crank rollers onsite where could wring the chamois out easily a few times while drying your car. I have to say, I miss the times when I didn't care about the swirls etc. back then. I remember seeing all of that and thinking "that's just how paint is". I remember getting rattle-can paint overspray on my Camaro back in the day that would have likely just came off with a clay barring. It was info that was just not known by many back then.
 
Curious to hear how you like can coat. Like you, I’ve never done any type of coating but after a late night YouTube bender, I decided to buy some Adam’s graphene and coat a f150. Then our expedition. Then our Tesla lol. Now I’ll be doing my “new to me” F350 once my build is completed on her! It’s addicting and soooo easy to maintain. One thing that’s funny is soap will NOT stick to it from a foam cannon afterwards. 2 bucket method only after coating for me I guess!


Sent from my iPhone using Tapatalk
 
Today I did a pre-sale detail on this 2011 Mazda 3. I last detailed this car back in January 2021, that day was a stifling 38 deg C / 100 deg F, today was rather different at 15 deg C / 59 deg F and solid rain.

Overall, the car in ok condition, especially for it's age and the 205,000 km's / 127,000 miles on the clock. The paint needed to be polished, and I also suggested an engine bay detail to help the sale. The headlights once again needed to be cleaned up as well.


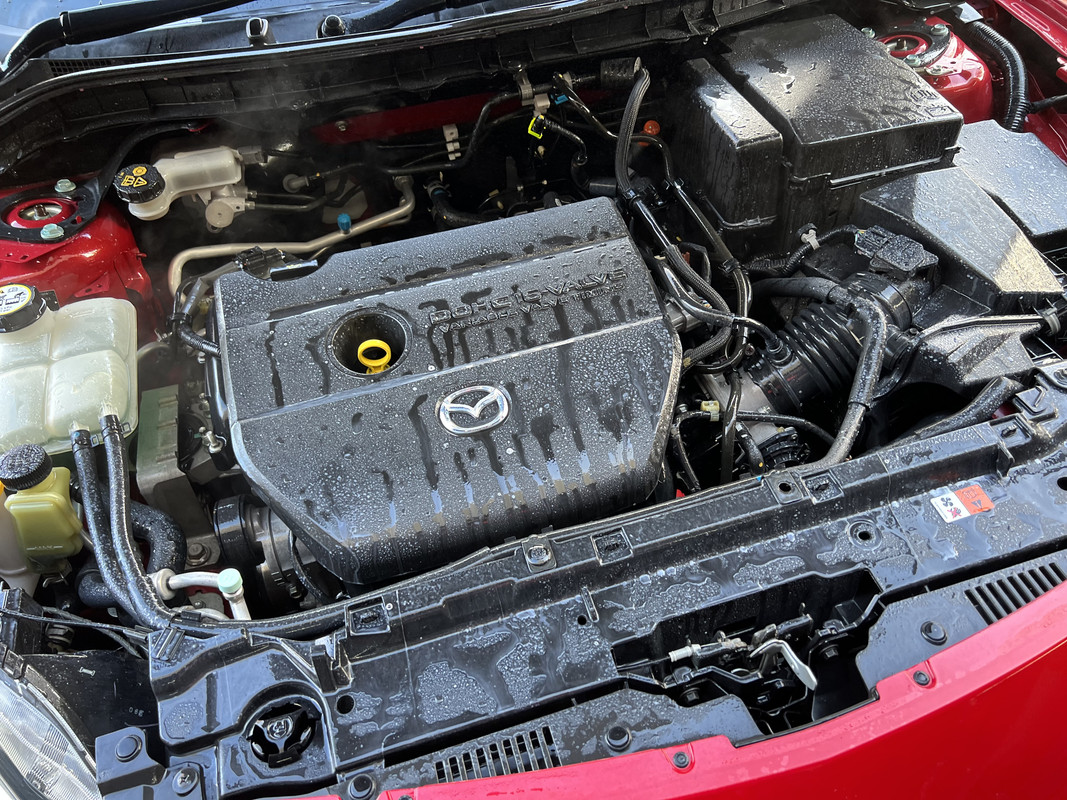
I decided to do the engine bay first, as this can be a messy job, any overspray of APC or dressing can be dealt with during the wash. First, a pressure rinse -


Next, I applied APC all over the engine bay, including the scuttle and the underside of the hood and agitated with brushes. The EZ-Detail Brushes are fantastic for this job, able to get to areas other brushes or your hands can't!


Then I thoroughly rinsed and sprayed the whole engine bay and scuttle with Meguiar's Hyper Dressing.


Close the bonnet and you're done!

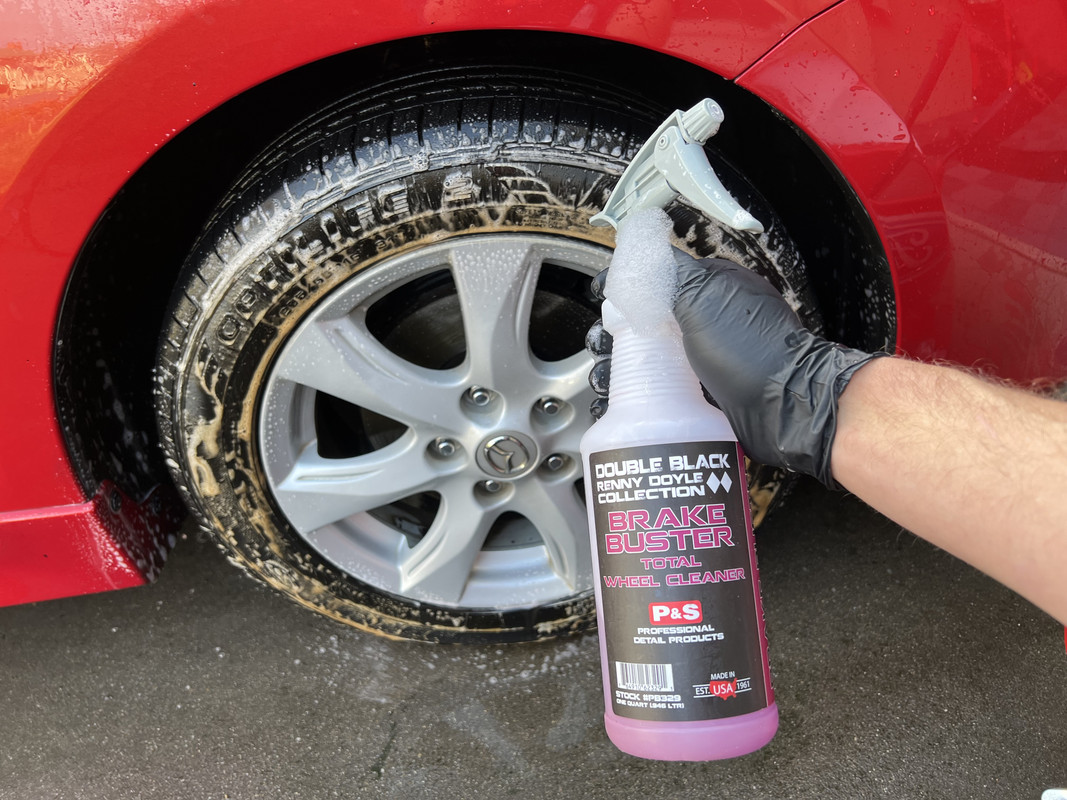
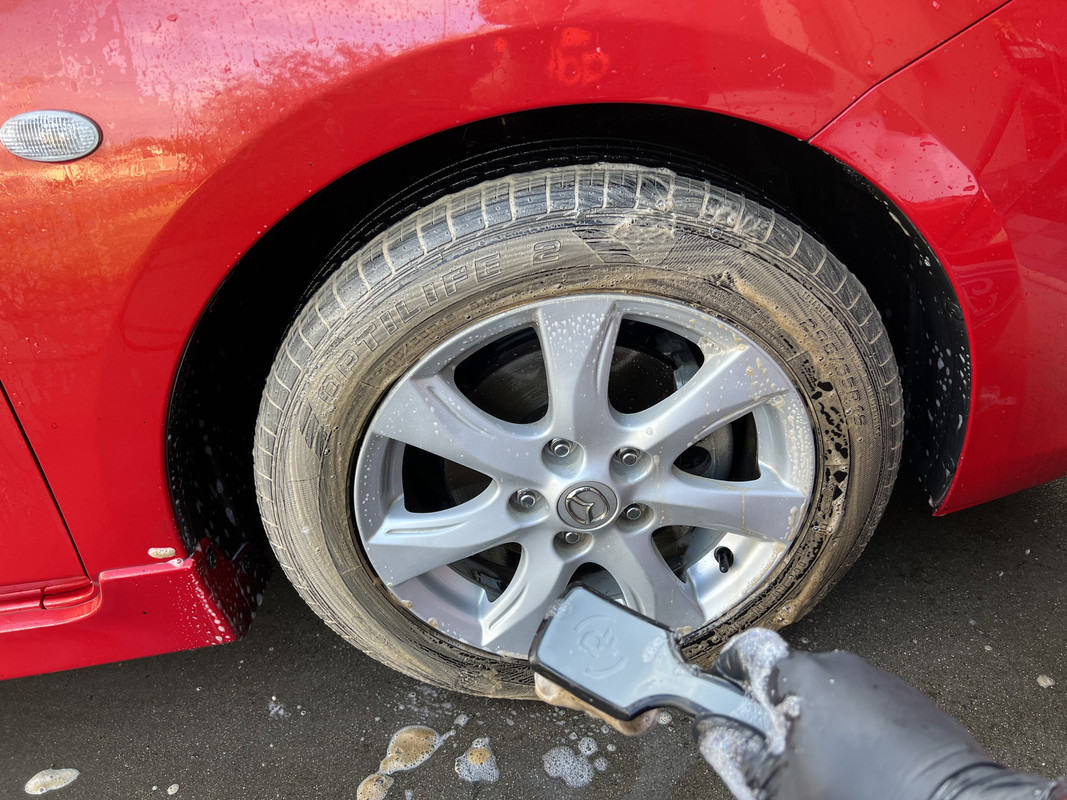
Onto the wheels, tires and wheel arches. Brake Buster for the tires and arches -


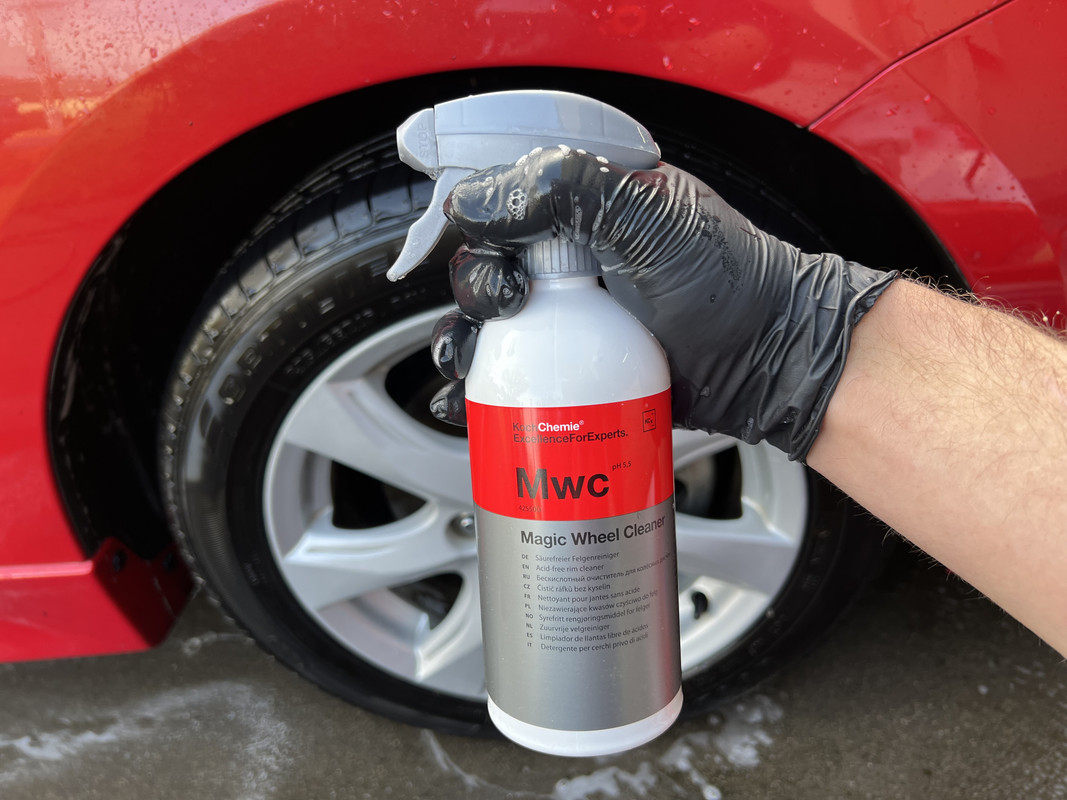
For the wheels, I wanted to try a new product, Koch Chemie Magic Wheel Cleaner -


As a wheel cleaner, this product is very good. It's labeled as an acid-free wheel cleaner, despite an acid pH reading of 5.5, and is a reactive iron-removing product. I was impressed with its cleaning ability.

It was then onto the paint. In this case, I'm using OG Decontamination Soap for the first time. While pre-soaking, I went around the car with a brush cleaning the crevices, badges, grill and fuel door.


This is a very good soap. It won't wow you with a scent, but with a pH of 10, it will strip the paint pretty well as a pre-soak and contact wash combo.

It was then on to a more thorough decontamination using NV Purify and a clay block in unison. It's amazing how smooth the paint became after doing this step, at the start the paint was all kinds of crunchy!


Then came the task of removing VERY stubborn tar deposits. This step was frustrating to say the least! I started using Koch Chemie TEA, when that didn't touch it, I went to Eulex. When even that didn't work, I had to get a bazooka out in the form of Stoners Tarminator. I typically only use that product for tire prep, and even then I'm careful with how I use it. Today, I needed its ability. I don't have any pics of Tarminator melting the tar from the paint, by that stage I needed to get on with it!


Because I used so much decon product on the car, I wanted to neutralize any remaining residue with another foaming. I then rinsed as well as possible before applying Hydr02 to the wheels and moving the car inside for the next steps.

This is how I tackle big jobs like this -


Some of the steps and products I mixed around with, but the idea is to get it out of my head and offer some form of visual structure, rather than getting distracted by thoughts of "what's next".

With the car dry, I got out the polishers and went to town. The goal here was to be realistic, this car did not need to be absolutely perfect, but I did want to restore some of it's shine. I went with the one-step Sonax Perfect Finish on a blue Shine Mate pad.


The result was a much cleaner and shinier looking car. The boot lid was in the worst shape for some reason, and the clearcoat on the lip spoiler is failing. Again, being realistic about the efforts here, and being mindful that Mazda paint is thin and soft.

I showed less conservatism getting the headlights sorted, straight to Sonax CutMax with a yellow Shine Mate Pad on my 3 inch machine.


The lenses are heavily pitted, limiting my efforts here. They at least look vastly better than before and make the car far more presentable for when it goes on the market.

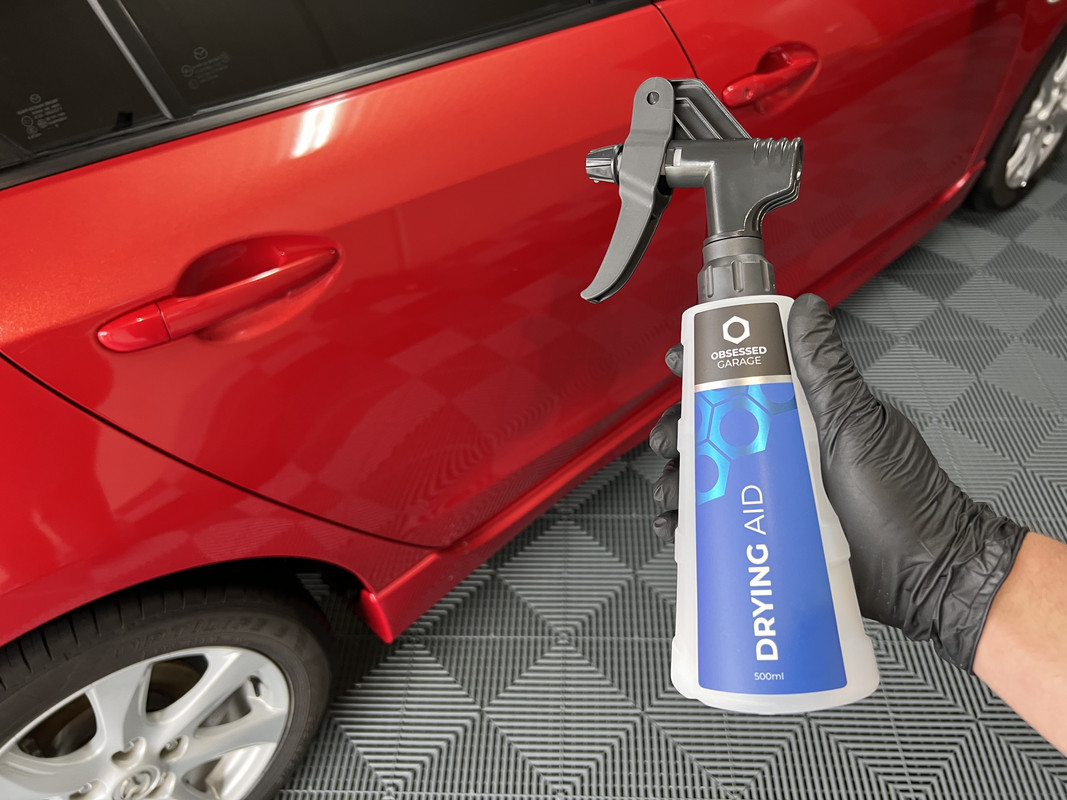
After a wipe down with Eraser, I went over the whole car with OG Drying Aid. While this product is sold as a drying aid, it's actually a spray sealant. I like that I can use this product to quickly and easily boost gloss and add some protection. Again, all about making sure it's presents well for sale without going overboard.


Finishing off the exterior, I applied Mother's Naturally Black to the rear bumper insert and dressed the tires with Gyeon Q2M Tire.


The interior was pretty good, just needed some fine details sorted. I used P&S Express, a microfiber towel and the Carpro InnerScrub mitt to get everything clean. The pedals scrubbed using a small brush and Green Star. The cloth trim was given a light scrub with some Koch Chemie Pol Star. The floor mats were blasted with the Tornador, scrubbed with Pol Star and vacuumed. The glass was then cleaned, and the carpets given a mist of Koch Chemie Fresh Up. No before and after's of the interior sorry, I was getting pressed for time.

The car is spending the night in my garage, as I mentioned, it's been raining all day, and I didn't want to ruin all of my efforts. There are also a couple of minor touch-ups I want to do in the morning before I return it anyway. And I will most likely do some sale pics for them as well.


Overall, the car looks pretty good. With my own cars, I keep on top of their maintenance, so attempting to recreate that with someone else's cars is not always possible. Scratches, ingrained dirt, dints, stone chips, baked on tar and clearcoat failure are limiting factors in achieving "perfection". At some point, I need to remind myself of that and call time.

The customers new car will be next and should be a bit easier to deal with.
 
Will you be sealing up the headlights and trim on the CX5
 
Will you be sealing up the headlights and trim on the CX5

I will use Gyeon Can Coat for trim and lights on the CX-5. Gyeon Quick View on the glass, really like that product.
 
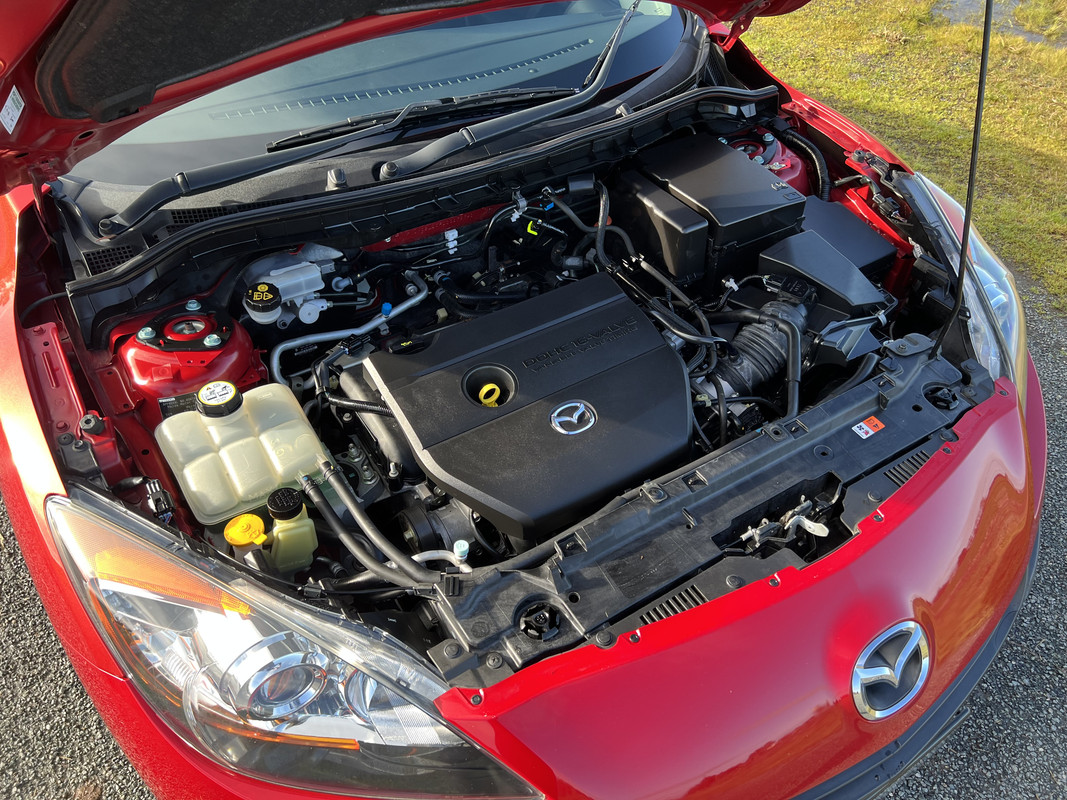
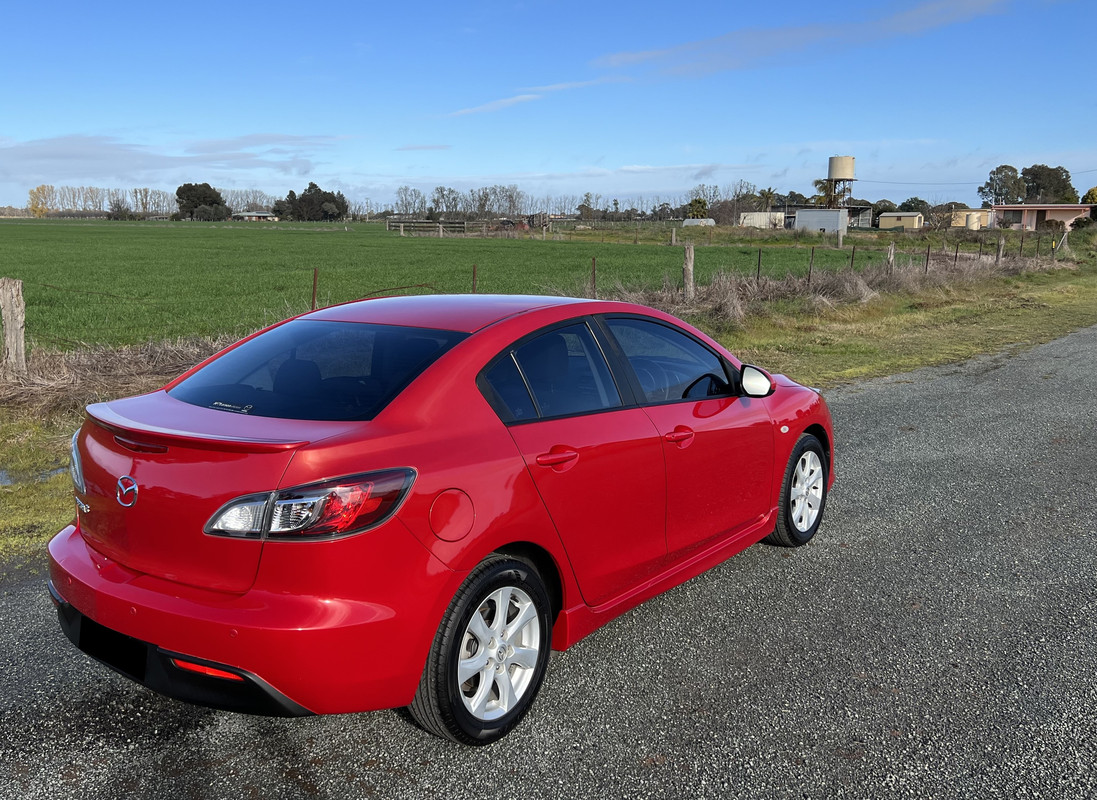
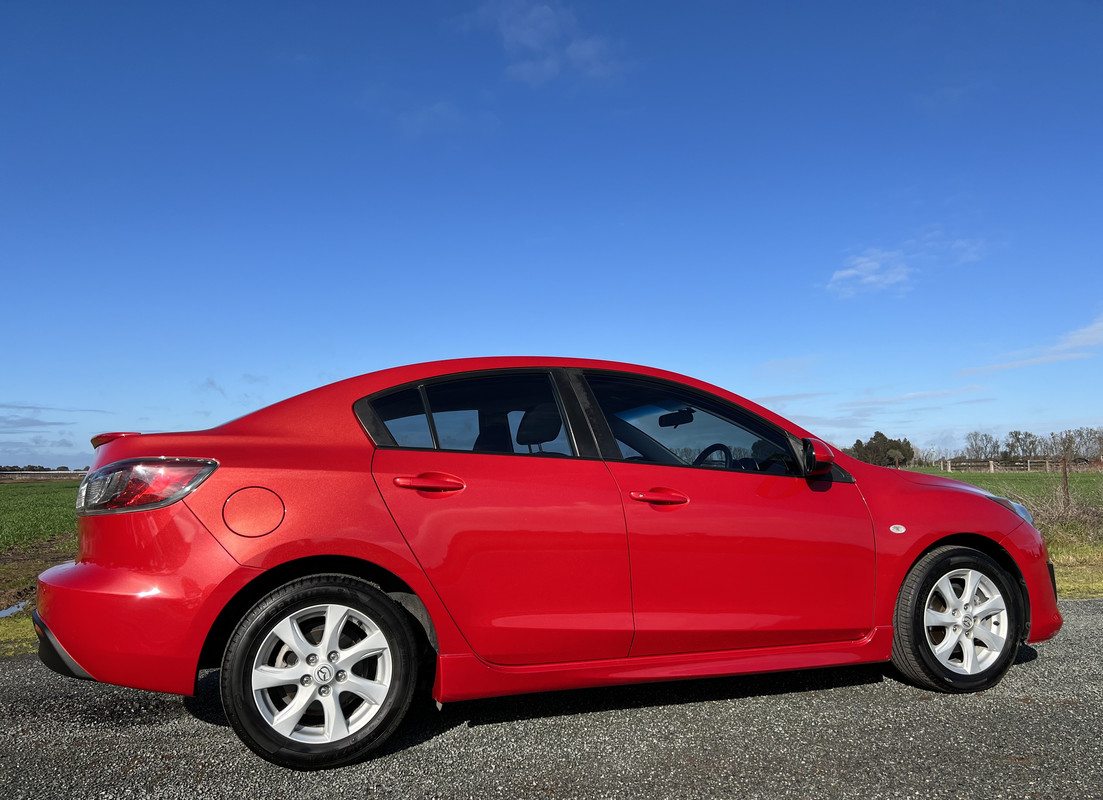
Glamor shots of the Mazda 3 this morning after a few finishing touches; exhaust tip, engine bay wipe over and misting the interior with Eden.

First of all, the engine bay turned out absolutely brilliant. I mentioned giving it a wipe over, but I really didn't need to. Hyper Dressing simply levels out as it dry's and leaves an almost perfect finish. Note: No greasy, slimy car yard spec engine bay here!


I chose not to dress the interior; I think sometimes dousing an interior in dressing can make an aged interior look even worse. The interior looks honest and respectable.


The exterior shots make it look better than the paint condition actually is, but it's certainly radiating some gloss now.


These shots will be used for the online listing too. I have an absolute hatred of poorly presented online car listings, you know the type; crooked, poorly lit, out of focus and pointless random pics. I also hate laziness, if you want to sell your car, at least remove all of your crap from the interior BEFORE you take pics. And clean the thing! Clean and tidy car, some decent pics and some effort put into the listing, a car should sell quickly. Be lazy, and well, you reap what you sow.

This car should sell pretty quickly, it looks great and drives very nicely for it km's. I can see this being someone's first car.
 
Save for the few minor touches on the Mazda and washing some polishing pads, there was no detailing today. That was so I could focus on assembling another cabinet.


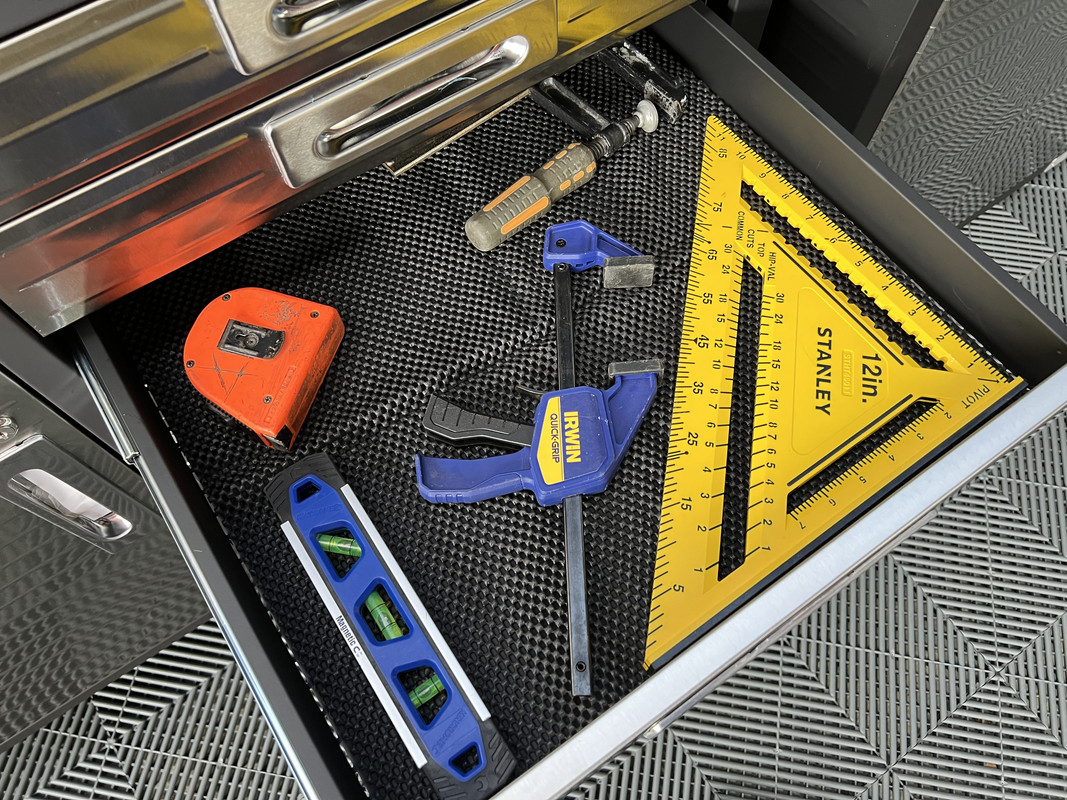
Along with the cabinet, I ordered some stackable tool trays..........in red naturally! :D This helps to at least put some organization into the random tools that seem to have been collected over the years. I also removed the contents of two cheap socket sets into one of these so that I could pitch a few molded plastic cases.


Don't judge the rusty jack-saw, that's what happens when you "lend" tools to people. :dunno:


I then reorganized the blue toolbox to find a home for my torque wrench, impact sockets and ratcheting spanner set.


Still a bit of fine tuning to do, but I'm happy with this corner of the garage now.

Next: Improving my compressed air system.
 
Have to ceramic coat every tool to be OG certified Im the MAN


Only joking at least yours will be used :D
 
Your boss sould get $7,000 - $10,000 for that Mazda because of current situation :cruisin:


Edit as i thought is was a 2005 Model
 
Last edited:
Have to ceramic coat every tool to be OG certified Im the MAN


Only joking at least yours will be used :D

OMG, don't give me ideas! :nomore: :laughing:
 
Was up early this morning to take delivery of my boss's new car, a Mazda CX-5 Akera in Eternal Blue.


They even splurged on the Turbo engine; I think I may have influenced that a little. :D


After advising to skip the dealer protection packages, the aim of this detail was to install paint and interior protection.

I normally start on the exterior but switched that around today as I had to go out mid-morning. As you would expect for a brand-new car, there was not a lot to do on the interior. I simply vacuumed the carpets and used a damp microfiber to dust off the dashboard and door trims. There were a couple of specific treatments though.

A quick misting of 303 Fabric Guard on the carpet mats and boot floor.


With the customer wanting the leather to be protected, I decided on Colour Lock Leather Shield. Being brand new, I only felt the need to clean the front seats, the rest was given a wipe with a damp microfiber. In this case, I'm using Colour Lock Mild Leather Cleaner.


Once clean and dry, it was onto the Leather Shield. Colour Lock offer two leather protection products, Leather Shield is for new leather less than 3 years old. Leather Protector is then used from 3 years and older.

Leather Shield protects against abrasion, color transfer and general wear and tear in those first three years. After that, it is then a case of feeding/protecting the leather with Protector.


Application is easy, simply wipe the product on with a cloth or application sponge and allow to dry.

That was it for the interior, save for cleaning the glass. No scented cleaning products were used or needed, nor did I apply any scent...........a car only smells like this ONCE!

Moving to the exterior, it was onto cleaning these stunning 19-inch wheels. Brake Buster for the tires and wheel arches as usual, then NV Purge for the wheels.


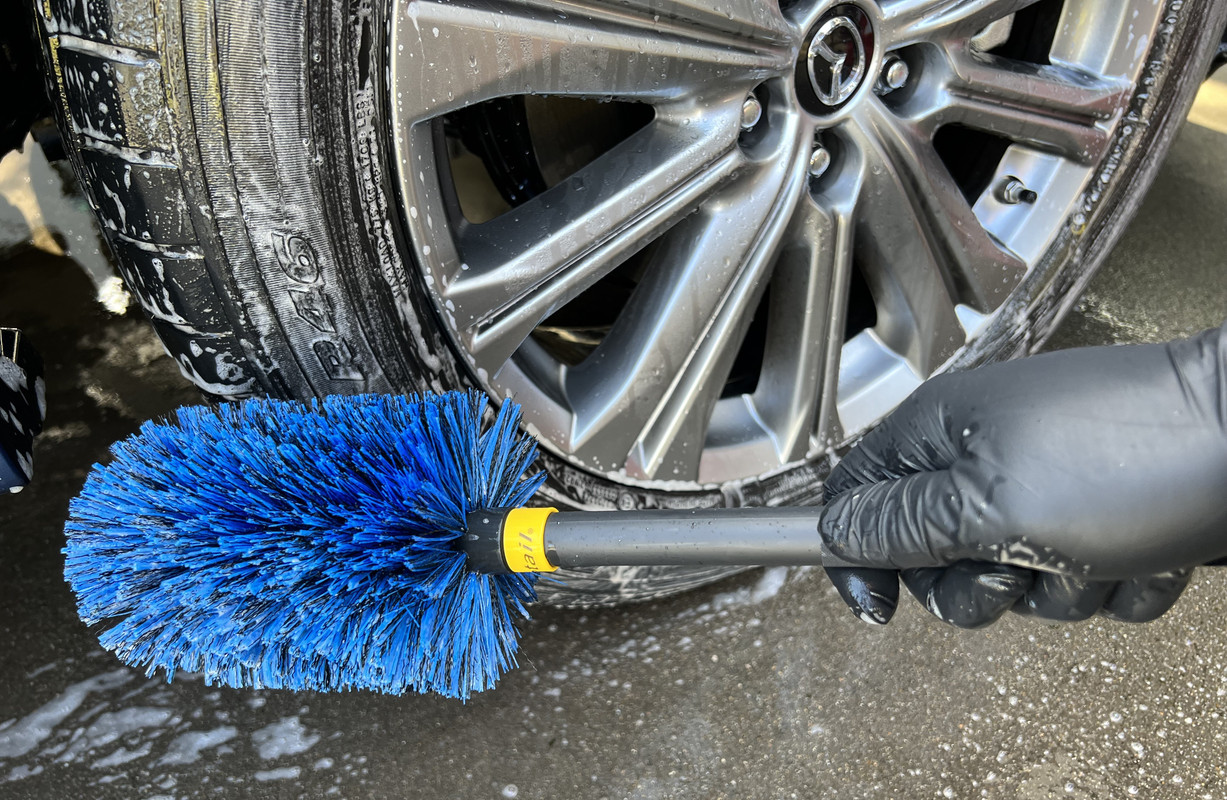
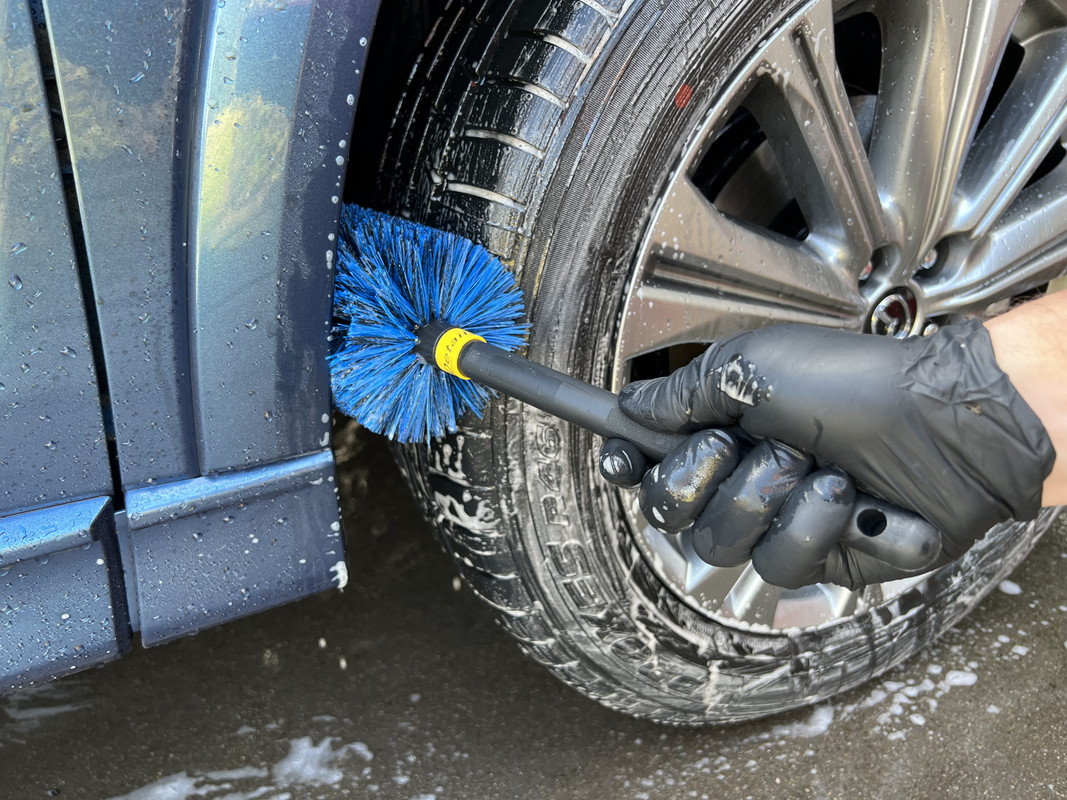
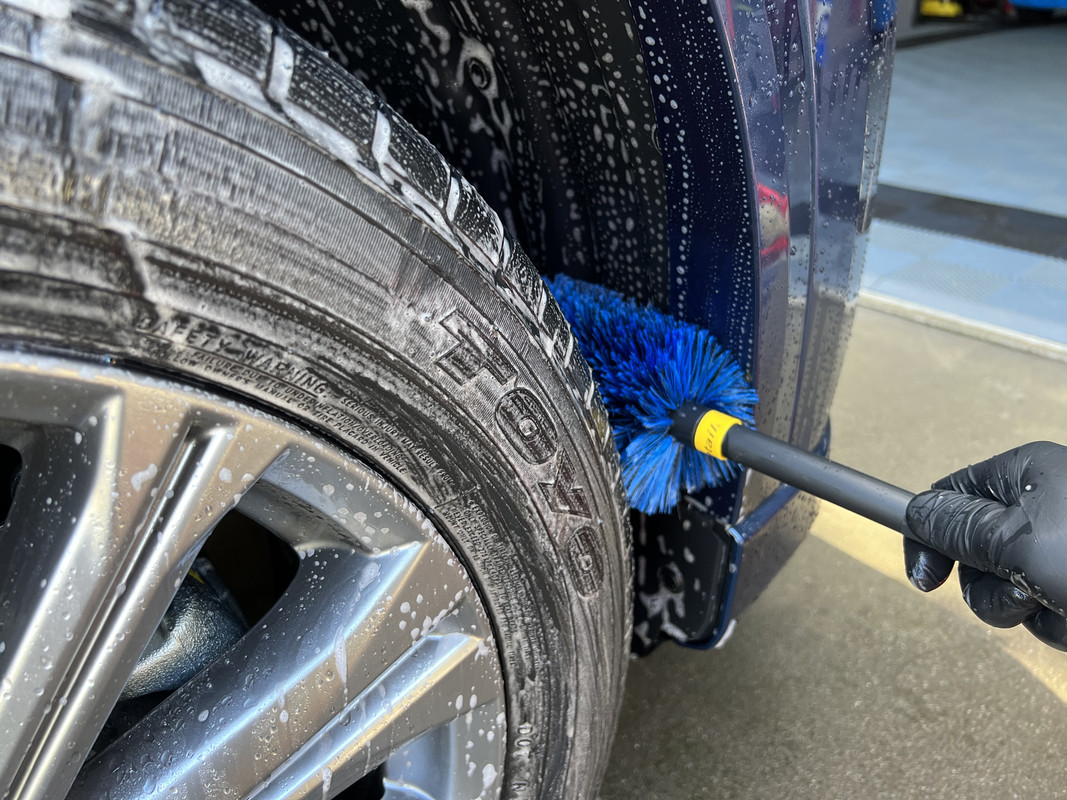
This was my first chance to try my new EZ Detail GO Brush. I bought this specifically for wheel arches, a job it does very well.


Again, a new car so minimal to no iron-reaction.


The car has been with the owners for two weeks, this will be it's first wash in that time on my instruction! Knowing that they would be using a foam sponge, the "blue soap from the supermarket" and a 30-year-old chamois, I didn't want them to create more work for me! :xyxthumbs:

Pre-soak with OG Decontamination Soap, a rinse, re-foamed and then contact washed was the sequence.


Thankfully, the paint felt lovely and smooth, meaning I could skip the clay step. Even so, I did do an iron-decon just to safe.


As always after using IronX, I like to take the extra few minutes to re-foam the car and then rinsing to remove any residue. I then applied Gyeon Wet Coat to the wheels and wheel arches.


The car was then moved inside and meticulously dried using my blower and a towel. It was then wiped down from head to toe with Carpro Eraser in preparation for the next step.


Now for the interesting part, well for me at least. And I have to say the daunting part as well. Save for applying a ceramic coating to wheels and trim, I have never used a ceramic coating on the paint of a vehicle before. Some could say it was foolish to practice on my boss's car, but I choose a very user-friendly coating to begin with; Gyeon Can Coat EVO.


Can Coat EVO is a 12-month coating, up from 6 months for the original formulation. Unlike more hardcore coatings, Can Coat is much easier to apply, flashing instantly with minimal residue to remove, meaning it requires less micromanaging to get right.


I chose to apply Can Coat with a microfiber applicator block rather than a folded towel. You use very minimal product, only two to three spray per section. It's also advised to spray the coating into the towel/applicator away from the car to avoid inadvertent over-spray. Do not spray directly onto the paint.


Application is simple; apply the product to the applicator, work the product over the surface before buffing immediately, making sure to overlap your buffing to prevent high spots. I will say it can be hard to see where Can Coat has been applied to, my only complaint with the product. It took me about an hour to get around the car, some of that was me just getting used to the product.

While Can Coat can be used across all surfaces, including glass, I chose to use Gyeon Quick View for that role.


I then applied Dr. Beasleys Metal Coat to the exhaust tips and dressed the tires with Koch Chemie Plast Star.


Can Coat needs 12 hours to cure and should not be exposed to water during that time. To mitigate this, I applied Gyeon Cure to the whole car. Cure also improves slickness.


Something interesting to note when giving the engine bay a quick wipe down with OG Drying Aid, this $60,000 car has a prop-rod. So, it's not just Ford Mustang's that miss out on proper bonnet struts, seems Mazda are stingy in that department as well.


To go with the detail, I also put together a care package for the car. Sticking with the Gyeon theme, I went with a bottle of Bathe for washing in conjunction with a Rag Company Cyclone Wash Pad. I also put in a bottle of Bead Maker as a drying aid and coating maintenance product. Knowing the chamois situation, I gifted them a couple of towels too.


The interior on this CX-5 is stunning! Excepionally well-made and sporting a variety of lush, soft touch materials. I really like the leather trim, having a plum/chocolate hue to it rather than the predicably boring all black interiors that most cars on the market have.


The Eternal Blue paint has a really nice purple flake to it in direct sunlight, emphasized by the Can Coat and Cure combination.


As for Can Coat, it was very easy and forgiving to work with. I'm a classic overthinker, so thanks to those who offered advice and reassurance. :props:

This car was a pleasure to work on. I'm really happy with how the car came up, being brand new made it so easy, making a change from the neglected and filthy customer cars I normally deal with. The best bit was seeing it driving out of the garage and down the street, it just looked so perfect.
 
Was up early this morning to take delivery of my boss's new car, a Mazda CX-5 Akera in Eternal Blue.


They even splurged on the Turbo engine; I think I may have influenced that a little. :D


After advising to skip the dealer protection packages, the aim of this detail was to install paint and interior protection.

I normally start on the exterior but switched that around today as I had to go out mid-morning. As you would expect for a brand-new car, there was not a lot to do on the interior. I simply vacuumed the carpets and used a damp microfiber to dust off the dashboard and door trims. There were a couple of specific treatments though.

A quick misting of 303 Fabric Guard on the carpet mats and boot floor.


With the customer wanting the leather to be protected, I decided on Colour Lock Leather Shield. Being brand new, I only felt the need to clean the front seats, the rest was given a wipe with a damp microfiber. In this case, I'm using Colour Lock Mild Leather Cleaner.


Once clean and dry, it was onto the Leather Shield. Colour Lock offer two leather protection products, Leather Shield is for new leather less than 3 years old. Leather Protector is then used from 3 years and older.

Leather Shield protects against abrasion, color transfer and general wear and tear in those first three years. After that, it is then a case of feeding/protecting the leather with Protector.


Application is easy, simply wipe the product on with a cloth or application sponge and allow to dry.

That was it for the interior, save for cleaning the glass. No scented cleaning products were used or needed, nor did I apply any scent...........a car only smells like this ONCE!

Moving to the exterior, it was onto cleaning these stunning 19-inch wheels. Brake Buster for the tires and wheel arches as usual, then NV Purge for the wheels.


This was my first chance to try my new EZ Detail GO Brush. I bought this specifically for wheel arches, a job it does very well.


Again, a new car so minimal to no iron-reaction.
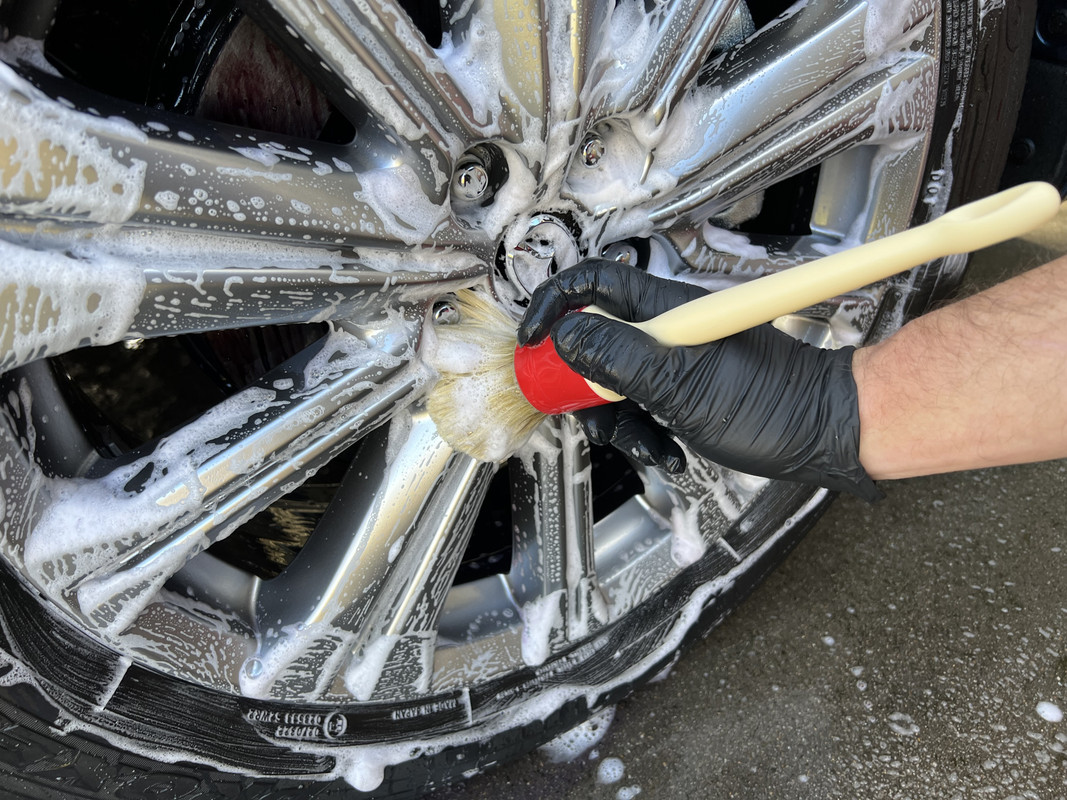


The car has been with the owners for two weeks, this will be it's first wash in that time on my instruction! Knowing that they would be using a foam sponge, the "blue soap from the supermarket" and a 30-year-old chamois, I didn't want them to create more work for me! :xyxthumbs:

Pre-soak with OG Decontamination Soap, a rinse, re-foamed and then contact washed was the sequence.
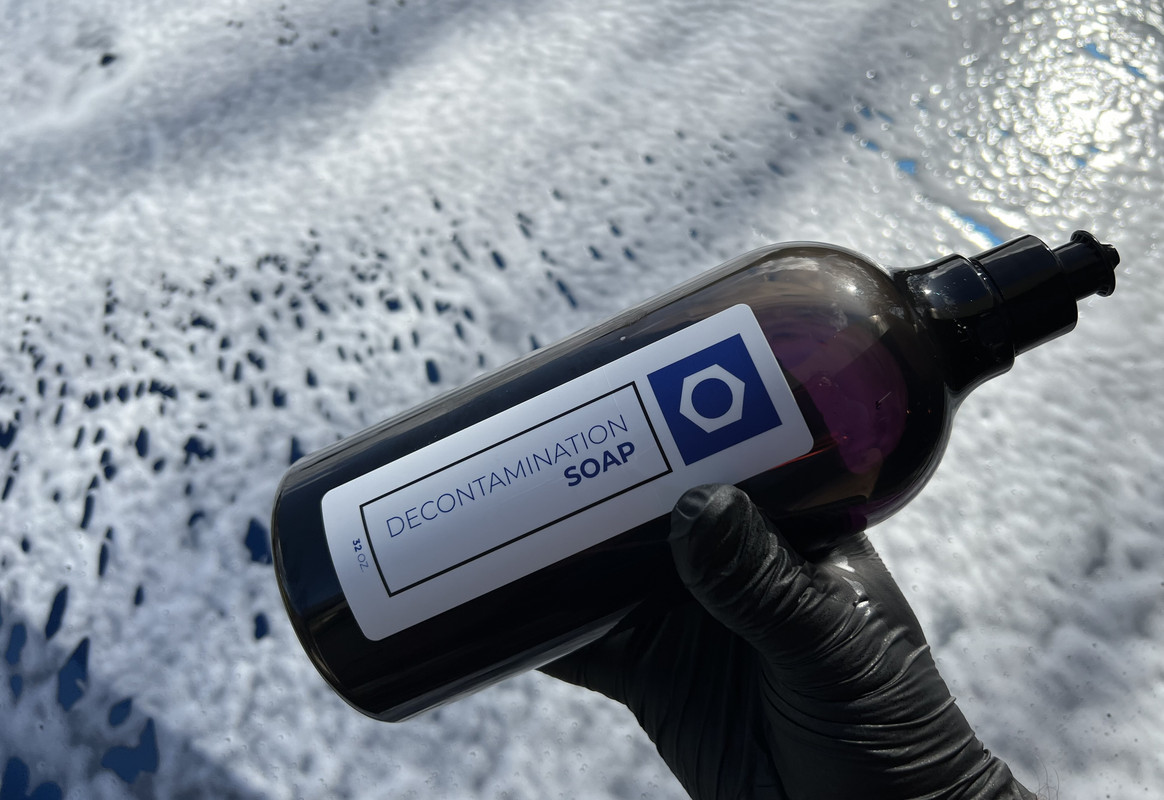


Thankfully, the paint felt lovely and smooth, meaning I could skip the clay step. Even so, I did do an iron-decon just to safe.


As always after using IronX, I like to take the extra few minutes to re-foam the car and then rinsing to remove any residue. I then applied Gyeon Wet Coat to the wheels and wheel arches.


The car was then moved inside and meticulously dried using my blower and a towel. It was then wiped down from head to toe with Carpro Eraser in preparation for the next step.


Now for the interesting part, well for me at least. And I have to say the daunting part as well. Save for applying a ceramic coating to wheels and trim, I have never used a ceramic coating on the paint of a vehicle before. Some could say it was foolish to practice on my boss's car, but I choose a very user-friendly coating to begin with; Gyeon Can Coat EVO.


Can Coat EVO is a 12-month coating, up from 6 months for the original formulation. Unlike more hardcore coatings, Can Coat is much easier to apply, flashing instantly with minimal residue to remove, meaning it requires less micromanaging to get right.


I chose to apply Can Coat with a microfiber applicator block rather than a folded towel. You use very minimal product, only two to three spray per section. It's also advised to spray the coating into the towel/applicator away from the car to avoid inadvertent over-spray. Do not spray directly onto the paint.


Application is simple; apply the product to the applicator, work the product over the surface before buffing immediately, making sure to overlap your buffing to prevent high spots. I will say it can be hard to see where Can Coat has been applied to, my only complaint with the product. It took me about an hour to get around the car, some of that was me just getting used to the product.

While Can Coat can be used across all surfaces, including glass, I chose to use Gyeon Quick View for that role.


I then applied Dr. Beasleys Metal Coat to the exhaust tips and dressed the tires with Koch Chemie Plast Star.

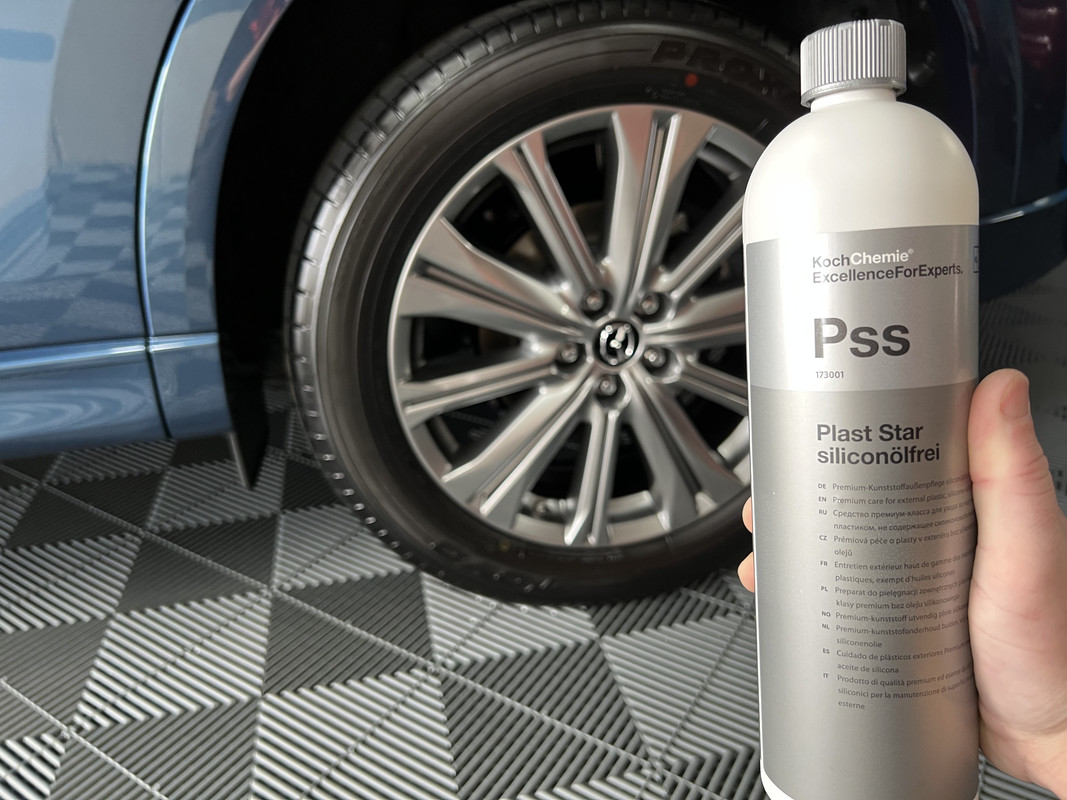


Can Coat needs 12 hours to cure and should not be exposed to water during that time. To mitigate this, I applied Gyeon Cure to the whole car. Cure also improves slickness.


Something interesting to note when giving the engine bay a quick wipe down with OG Drying Aid, this $60,000 car has a prop-rod. So, it's not just Ford Mustang's that miss out on proper bonnet struts, seems Mazda are stingy in that department as well.


To go with the detail, I also put together a care package for the car. Sticking with the Gyeon theme, I went with a bottle of Bathe for washing in conjunction with a Rag Company Cyclone Wash Pad. I also put in a bottle of Bead Maker as a drying aid and coating maintenance product. Knowing the chamois situation, I gifted them a couple of towels too.
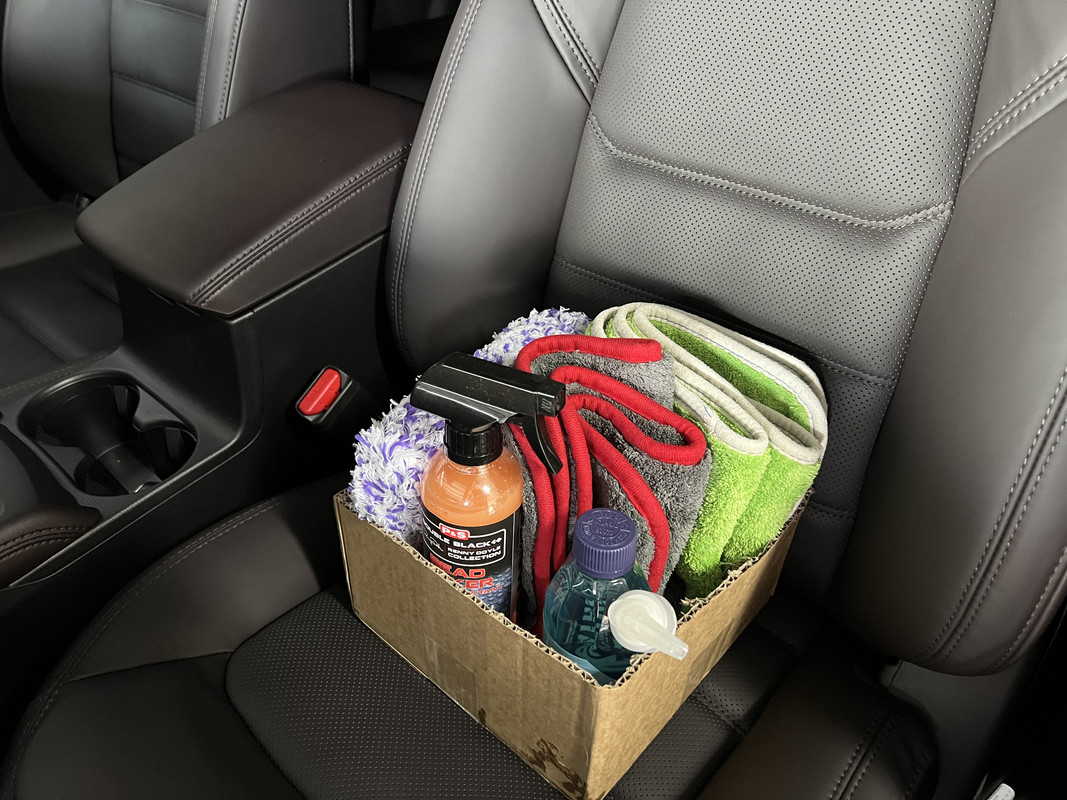


The interior on this CX-5 is stunning! Excepionally well-made and sporting a variety of lush, soft touch materials. I really like the leather trim, having a plum/chocolate hue to it rather than the predicably boring all black interiors that most cars on the market have.

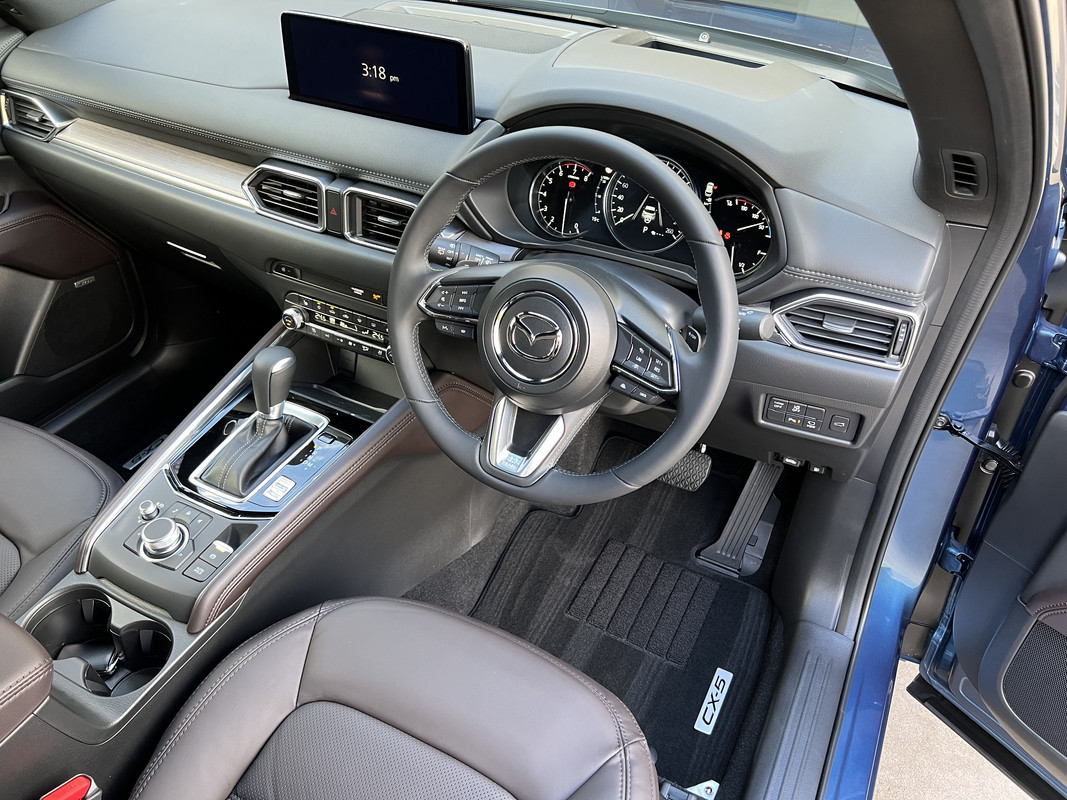


The Eternal Blue paint has a really nice purple flake to it in direct sunlight, emphasized by the Can Coat and Cure combination.


As for Can Coat, it was very easy and forgiving to work with. I'm a classic overthinker, so thanks to those who offered advice and reassurance. :props:

This car was a pleasure to work on. I'm really happy with how the car came up, being brand new made it so easy, making a change from the neglected and filthy customer cars I normally deal with. The best bit was seeing it driving out of the garage and down the street, it just looked so perfect.
Stunning mate, I know it's a new car but beautiful. The second last pic really shows the blue so well.

I followed a black one of these the other day, they'd put some fat 20 inch rims on it, they were so wide they had to stick some cheap rubber wheel arch extensions on. So wrong.

Sent from my motorola edge 20 fusion using Tapatalk
 
Really appreciate your posts DFB, I like the commentary with the pictures as opposed to just a bunch of pictures. Thanks for sharing.
 
Awesome right up and great work!! That outdoor finished pic looked phenomenal. Really like the idea of a care package

Sent from my SM-S901U using Tapatalk
 
Nice job..Wow a 60K Mazda.

Australia is one of the very few markets around the world where Mazda have had success. Mazda sit in either 2nd or 3rd in the sales race each year, spurred by styling, driving dynamics and excellent reputation for reliability.

As for the price, keep in mind that is Australian Dollars. The base CX-5 starts at just on $34K and works up to the flagship at just under $60K. Believe it or not, you can spend even more on a CX-9, which at the top end is just on $82K, and people have no problem spending that on a Mazda in this country.
 
Awesome right up and great work!! That outdoor finished pic looked phenomenal. Really like the idea of a care package

Sent from my SM-S901U using Tapatalk

The care package I flat out told them I would include in the price!

My theory being, you just spent the most money you ever have to buy a lovely new car, then it deserves the little extra to keep it nice. All up, the care package added just on $60 to the price and I did not mark the items up, just did them at cost. If they like the new items, then I'm happy to supply them some more.
It's nice little touch that in some cases could be added to the cost of a detail, perhaps even building some loyalty in the process.
 
Killed it DFB! Glossy AF i would tell the boss to get some rubber floor mats because working at the nursery is dirty boots.

Maybe some bedrock or 3D :dblthumb2::cruisin:
 
Back
Top