DFB's Garage

Had to get dressed up for a family lunch today at a toffy nosed winery, at least I got to wear my favorite shoes. :D

For scientific purposes, ColourLock Leather Protector works very well on cherry red Dr. Marten's..........................:xyxthumbs:


Doc Martens?


Sent from my iPhone using Tapatalk
 
Doc Martens?


Sent from my iPhone using Tapatalk

Was asking if they were Doc Martens. Completely missed where you said the were

We called them Doc Martens because here in the home of Nirvana everyone calls them Docs…


Sent from my iPhone using Tapatalk
 
Play time! Im the MAN I wait all week for this day, it's what sustains me.

Two cars in line today, the XR6 and Ranger, and a bunch of product to try.

Now, I have had Carpro ECH20 for a while now, but my use of it so far has been limited to door jambs, engine bays ect and never as a drying aid or rinse-less wash. After being urged to try it by Mr. Klasse Act, I thought it was about time I gave it a go as a rinse-less.

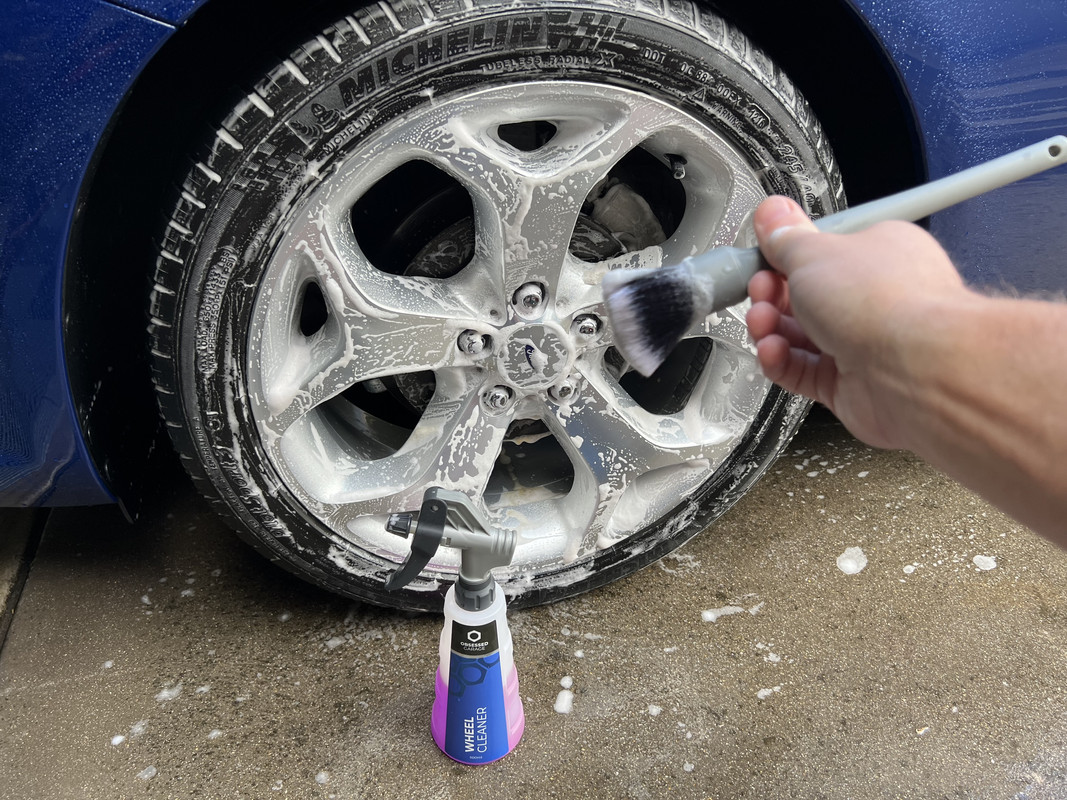
Before that, I washed the wheels and tyres with Brake Buster and the garden hose.


Carpro's typical dilution rate for ECH20 is from 1:5 to 1:25 and out to 1:40 depending on usage. For rinse-less washing, 1:200 is the excepted wisdom. To 7 liters of warm water, I added 35ml of ECH20. I then used the same dilution as the pre-sray.


The key factor in ECH20's favor is the slickness and gloss it creates. I used the multiple towel method for this wash, then used ECH20 at 1:20 as the drying aid. Overall, an enjoyable and pleasing rinse-less wash.

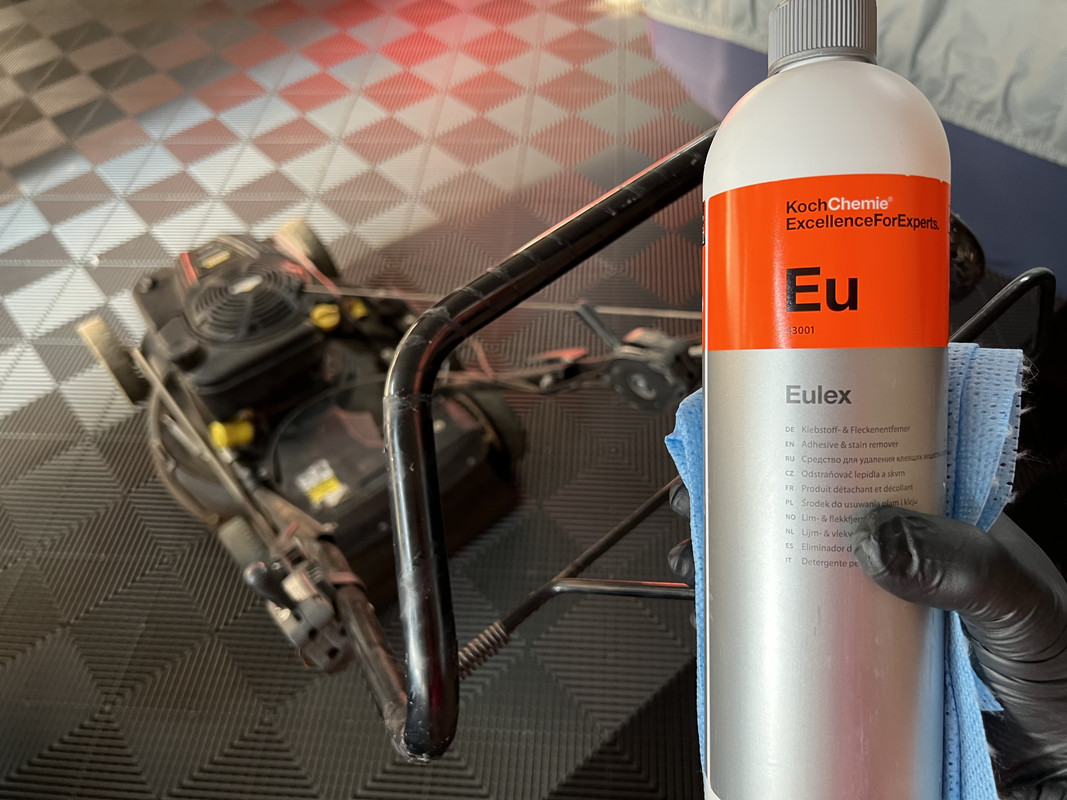
I also had a chance today to try out a few of the freebies I recently won. (I never win anything, so you can imagine how excited I was when notified of this. The best bit was the delivery featured a bunch of products that I have yet to try.) In this case, Koch Chemie All Round Quick Shine was used on the engine bay, a quick detailer able to be used across multiple surfaces. I can't really give a verdict on this product just yet as I really need to use it on paint more. The scent is called "fresh citrus", an acquired taste in my opinion.


After dressing the tyres in NV Onyx, I wiped the wheels over with Herrenfahrt Ultra Gloss & Quick Detailer. This product, like Quick Shine, can be used across various surfaces. It's faint scent is barely noticeable, but it does impart some nice gloss and slickens.


Overall, I'm impressed with ECH20 as a rinse-less and final topper, although it doesn't quite reach the same insane gloss and slickness that Absolute and Bead Maker can achieve. A lot of that would be down to Bead Maker alone, so probably not a far comparison. Either way, ECH20 and Absolute + Bead Maker are at the top of my rinse-less tree.


Moving onto the Ranger and a similar process, with ECH20 swapped for N-914 and the Herrenfahrt Ultra Gloss & Quick Detailer as the drying aid. I did pre-rinse the car after the wheels, Carpro Reload applied at the previous wash is certainly doing it's thing....................


I have also bought another of the TRC Ultra Utility Brush for apply tyre dressing, in this case Carpro Perl at 50/50.


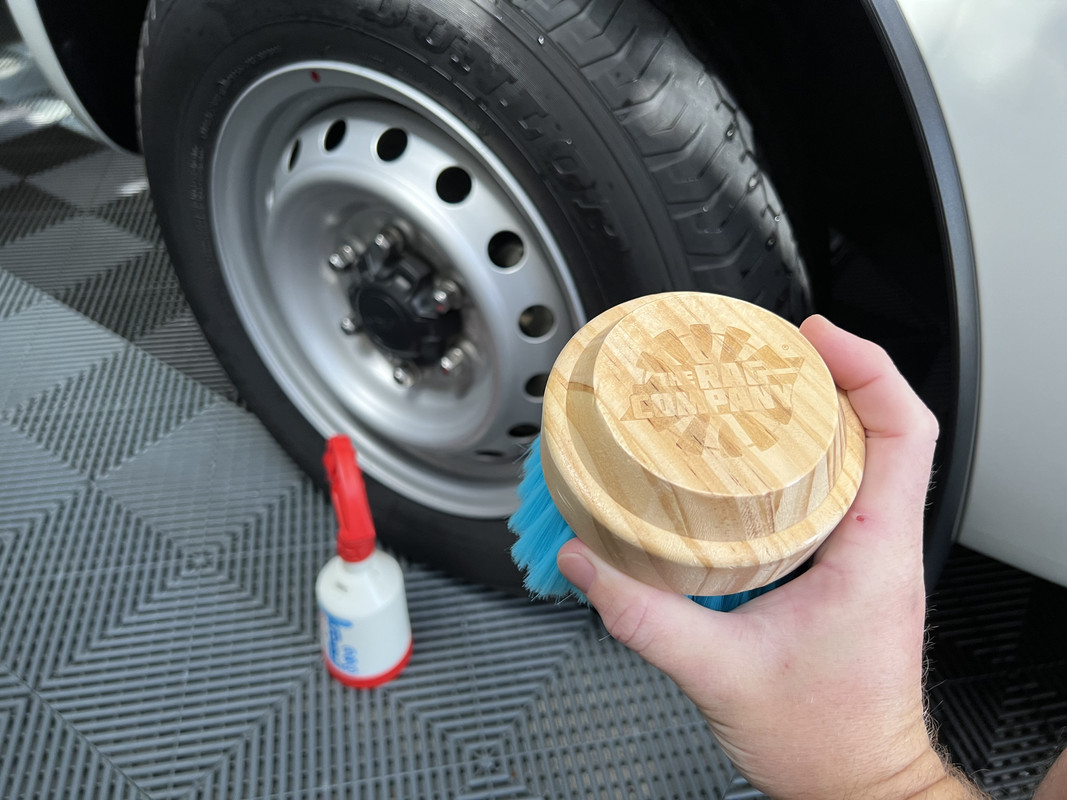
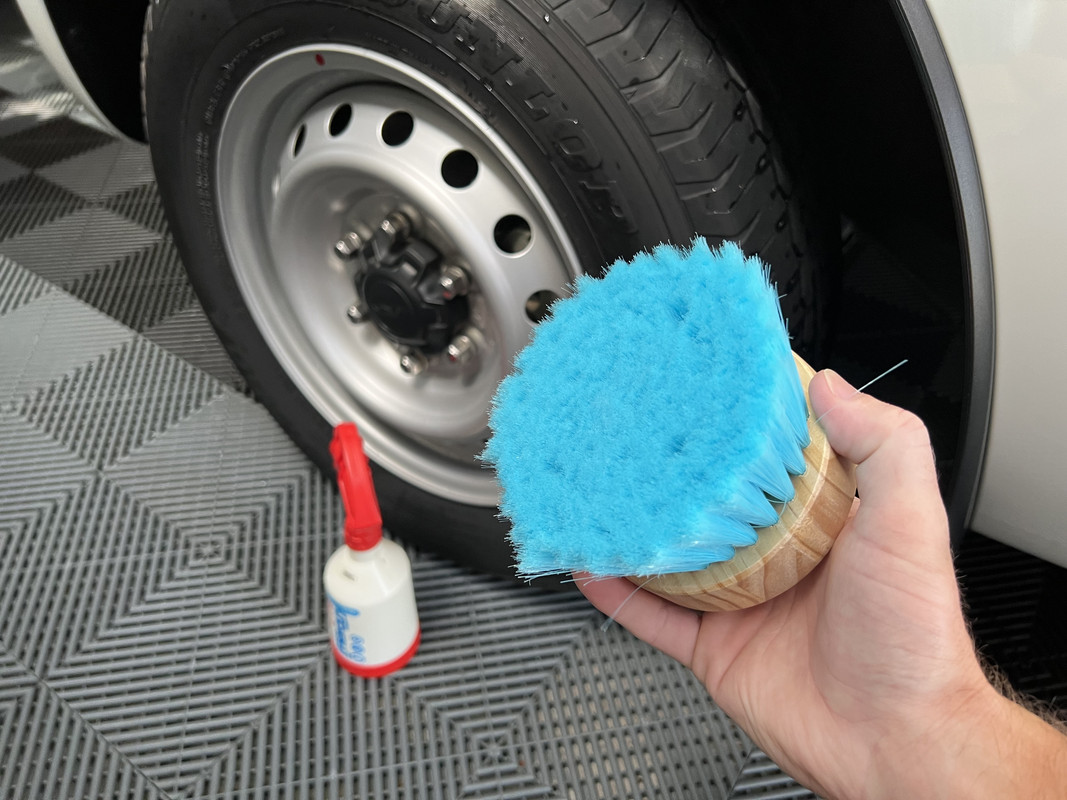
If you have big SUV or Pickup tyres, this is a very efficient way to dress tyres.

I love the gloss/slickness and versatility of ECH20. When I used it it streaked a bit, so I cut the dilution down to 1:25. It really leaves a nice look behind. You can use it on all engine bay plastics and trim too. Could replace a few products with just that one alone.
 
Was asking if they were Doc Martens. Completely missed where you said the were

We called them Doc Martens because here in the home of Nirvana everyone calls them Docs…


Sent from my iPhone using Tapatalk

I have had a pair or two of Dr. Martens since I was about 14, loved them then, and still love them 23 years later.

I actually have a pair of classic 1460 high tops that I got in high school, still in immaculate condition and still super comfortable.


I don't know what it is about these shoes or the brand, but I just love them. I will say the later versions made in Vietnam don't have the same leather smell to them. My old black pair were made in the UK, and they do offer the option to buy UK made "classic" models that carry an extreme cost premium over the regular line that are made in Vietnam.

And yes, these were/are called Doc's here too.
 
Last night, I sent an email to Stihl Australia in regard to finding out the production date for the 028 AV Super. To my surprise, thay had responded by 9.30am this morning.

My original estimates had the saw being made from about 1988 to 1990. After attempting to decode the serial number myself, I sent an email to Stihl with the serial number and asked if they could give me a production date and location.

Due to the age of the machine, they could only give me the production date. The saw would have been made in either the Virginia Beach USA factory or the Waiblingen Germany factory in May 1986.

So, a little bit older than I had thought. In fact, it's only 6 months younger than I am.

 
The parts have started to arrive for the Rover Combat.

Before I dive into the mechanicals, I'm waiting until the new fuel tank arrives. The old tank is leaking it's contents over a 24-hour period, so I want to sort that out before I pull the carby to pieces.

Arriving today was the carby kit, replacement fuel line and clips, spark plug and handlebar knobs.

The old Rover knobs had cracked, limiting their ability to tighten properly.


These aftermarket items are similar to the ones fitted to my ProCut.


Because of the reversed orientation of the handle bar on the Combat over the ProCut, I had to fit them on the inside. Either way, it's given some rigidity back to the handle.


The spark plug fitted was the classic Champion CJ8, in decent condition.


The modern replacement is the Champion J19LM, the plug fitted to the later versions of the flat head engines.


I also went around and tightened the cylinder head bolts. These have a habit of backing out over time, especially around the exhaust valve. I'm glad I did as most were needing some extra torque, again, especially the exhaust side.

 
I noticed the handles on the inside, I thought that's wrong, why has he done that. Then I read the text, now I know. Those bolts poking out would annoy me though.

Funny thing, the right side handle on my Victa works itself loose, only takes a half turn to fix, but it takes about a month till it's loose enough for me to notice again.

I'm going to service mine this week, new spark plug, air filter and an oil change. It's getting used every week at the moment, and I don't remember ever changing the spark plug, but I did clean it and reset it before summer.

Sent from my motorola edge 20 fusion using Tapatalk

They annoy me too, I'll be shortening them down at some point.
 
Next, I scrubbed the engine, deck, wheels, catcher and handlebars with Brake Buster at full strength.


I even used a wire brush and some Koch Chemie Magic Wheel Cleaner to brighten up the muffler. At some stage, I will be removing this part and cleaning it further with some metal polish.

After a thorough rinse, I applied some Hydr02 to the whole thing, then I doused it with Hyper Dressing. I then dried it with the EGO and a towel.

Do you cover anything or avoid rinsing any parts of the engine?
 
...
For some reason, the left side of engine cover/fuel tank has deteriorated at a different rate to the right side. This whole part is being replaced due to the fuel leak, so it won't matter in the long run.
...

Wonder if it's sun damage from sitting against a garage outside or something similar?

Since you're replacing it anyway, might be interesting to play with a heat gun (obviously with care since it's a fuel tank!) and see if you can refresh it a bit. I've seen folks use heat for restoring plastics but haven't tried it at all myself. Nice to tinker with a part that doesn't matter.
 
One of my customers who once worked in Logistics at FPV, gave me his pair of official FPV overalls last week.


They are miles too big for me to wear, so they will be a keepsake I suppose. Either way, a cool piece of local Ford history.

For those who don't know, FPV (Ford Performance Vehicles) was Ford Australia's performance division. Think of it like the Aussie SVT or Ford Performance, BMW M or Mercedes AMG. FPV would add finishing touches to high-performance Falcon's, including the GT, GT-P, Pursuit, Super Pursuit and F6 Typhoon. Cars would be assembled at the Broadmeadows assembly plant, FPV models would be delivered to the FPV factory across the road without bumpers, correct wheels and brakes. FPV would then add specific bumpers, wheels, brakes, stipes ect. V8 engines were assembled at FPV and delivered to Broadmeadows for fitment. The turbo inline-6 was engineered by FPV but built at the Geelong engine plant. FPV's went above and beyond the XR6 and XR8 performance models, offering more power, more performance, better braking, better seats and a certain level of cache for it's owners.


The FPR (Ford Performance Racing) racing team was also housed within the same facility, complimenting the road-car division and building on the idea of "race on Sunday, sell on Monday".


I never managed to own an FPV, well sort of. When Ford announced the closure of local car manufacturing, it was decided the FPV division would be shut down two years before the 2016 closure. The XR8 became the only remaining V8 Falcon, although it was fitted with the FPV engine, wheels, brakes and suspension. Either way, I still managed to get some of that FPV DNA in my life. Having said that, the FPV brand replaced the Tickford name previously applied to high-performance Falcon's. Under that name, I did manage own the final swansong for the Tickford name in the form of the TS50. These were also the swansong of the Windsor V8, the last Ford in the world that was fitted with this engine, in hand built 5.6-liter stroker form.


Wonder if it's sun damage from sitting against a garage outside or something similar?

Since you're replacing it anyway, might be interesting to play with a heat gun (obviously with care since it's a fuel tank!) and see if you can refresh it a bit. I've seen folks use heat for restoring plastics but haven't tried it at all myself. Nice to tinker with a part that doesn't matter.

The strange thing is, the mower had been stored in a garden shed for 15 years, with stuff stacked on top of it, so it's odd that it has faded like that. Unless the UV damage happened before I arrived on the scene.
 

From what I have observed over the 20+ years of being a Ford man, there are far too many layers of management within the Ford system. Too many silly product decisions. Too much internal politics. Too much cost containment at the expense of product quality. Too much "customers will buy what we tell them to". There is also far too much big talk about product quality and of being a "global" brand, all the while not delivering on quality or tailoring vehicles for the global market.

It's hard to be a fan of the brand sometimes.
 
The strange thing is, the mower had been stored in a garden shed for 15 years, with stuff stacked on top of it, so it's odd that it has faded like that. Unless the UV damage happened before I arrived on the scene.

Huh. Weird. Last guess just for fun - is that the plastic above the chamber that is the fuel tank? Wonder if the plastic was getting altered from fuel vapor exposure?

Have you ever played with heat for restoring plastics? I know TTQ B4U uses Polytrol oil for restoring faded/beat up plastic too. Like I mentioned - I get the part is going to be replaced, just nice to have tools in the arsenal for when new parts aren't an option.

The actual fuel tank part of the cover wraps around the engine, shown in the pattern highlighted below, the rest is purely decorative. So, I don't know, I'm just putting it down to where the owner was storing the machine before I came on the scene.


Later Quantum's had a different design, guess which version is easier to find and costs less.................:doh:

 
I know, another lawn mower post, but I did use a few detailing products to do this little job.

For whatever reason, Victa don't fit a soft grip handle on their commercial range of mowers. That includes the MasterCut utility, the 19 and 21 inch Commercial models and the Mulchmaster. When you consider a Mulchmaster costs $1899 AUD, this seems like a strange and stingy oversight.

Mulchmaster 560


These mowers are dedicated mulching and side discharge machines. They were once available in push and self-propelled guises fitted with the strong 160cc Victa 2-stroke engine, Honda GXV160 or Briggs & Stratton Vanguard DOV 161cc engines. They are now only available with the Briggs 190cc 850 engine and self-propel, the same spec as mine. As a lawn contractor, in the right conditions these mowers can save considerable time. Time is money and all.

So, it's quite an odd oversight that even the entry level Victa's come with a soft grip handle.


This might seem like a trivial issue, but you certainly notice the absence of the padding with extended use. My solution has been to apply bike handlebar wrapping -


I can't remember when I applied this but renewing it had been on the to-do list for a while.


After removing the old tape, it was time to apply the new stuff, which was purchased from Amazon.


Removing the old tape left some adhesive residue, so it was out with the Eulex and a shop towel. This stuff is pretty potent and has a high evaporation rate, but it simply melts away glue and adhesive residue. I then followed that with some Gyeon Prep to remove any lingering Eulex residue.


I then applied the new tape. This stuff comes in a roll with a strip of adhesive tape running up the center. You then wrap the tape over the handlebar in an overlapping pattern.


Much better looking, and certainly more comfortable to hold.
 
Back
Top