DFB's Garage

Cleaning carpet floor mats can be very tedious.

Normally, if I find carpet mats need more than a simple vacuum, I'll start by blasting them with compressed air first. This helps dislodge stubborn sand and debris, which in turn makes vacuuming easier.

If the mats are stained, I'll usually blast with compressed air, then lightly apply some carpet cleaner, agitate with a brush, then vacuum. I'll then put them in the sun to dry while I continue working on the vehicle. This method limits the amount of moisture introduced, which means not handing a car back with wet carpets.

Considering this car is not currently being used by the owner, I decided to try another method, basically the next step in carpet cleaning.....................

In the past, I've seen carpet mats being blasted by a pressure washer to properly flush out the dirt from the fibres. So, I'm going from "minimal" moisture to "fully" saturated! No turning back on this one.................


It's surprising how heavy these mats are when fully saturated.

You would never do this and leave it that way, not unless you have days for the carpet to dry. Otherwise, you need an extractor. Something I've always wondered while watching certain Youtube detailers go all-in ripping out seats, then fully saturating carpet with cleaning chemicals and extractors. Do they then keep the car until all of this dries out, or hand it back that way? This is rarely, if ever, addressed.

Anyway, I bought this Bissell a few years ago when they were on sale. At the time, I didn't necessarily need it, but the price was too good to ignore. It's sat in my cabinet ever since, again, the idea of handing cars back with wet carpet didn't appeal


After the blast with the pressure washer, the mats looked much cleaner, the high-pressure water removing that ingrained dirt that wouldn't lift with the vacuum. Even so, I then applied some KCx Pol Star, allowed it to soak, then went in with the extractor.

These extractors have two reservoirs, one for a cleaning chemical or clean water, the other holds the liquid extracted from the carpet. The chemical or clean water can then be sprayed onto the carpet as you work. This method would be used for fabric seats and carpet in situe. In my case, I used the Bissell simply for extraction purposes as the carpet was already wet and already had cleaning chemical applied.


This was my first time using an extractor. Even after using the pressure washer, it was surprising how much extra funk the Bissell drew out of the carpet. And I have to say, it was deeply satisfying seeing all that water and dirt being sucked into the extractor head and into the tank.

The end result is by far the best finish I've ever achieved cleaning carpet mats. Once dried, I'm going to apply some 303 Fabric Guard, then follow with some KCx Fresh Up to kill off any odours.
My brother has the same and I used it on my seats their cloth but were hard to the touch NEVER been cleaned, and some P&S stuff can't remember. I sprayed and sucked and it was satisfying to see the chocolate like water. Now soft and fresh!
 
Woke this morning to a frosty -4 degrees outside. For 20 years, I had to endure those early morning winter temperatures, be that in my own business or at the nursery. I got quite good at layering up with thermal clothing, but those layers didn’t prevent painful frozen fingers and toes, made worse by my diabetes. In the later years, I was using those thermal toe warmer packs, which I’d also put inside my garden gloves. These worked very well to get you through the first few hours until the sun took the edge off. If nothing else, a frosty morning at least meant a lovely sunny day would follow. It’s funny, when you pursue a career in Horticulture, you end up becoming a meteorologist as well.


These days, I’m not expected to be outside while the rest stay indoors with the heater on, you know, just in case a customer decided to buy a plant in -4 temperatures (which they never did, I know I wouldn’t). I also have flexibility to start my working day whenever I feel like it. No more frozen fingers and toes. And that makes me happy.

So, after things had thawed out a little, I made a start on the Wildtrak. I’m so glad I got this car coated before the cold months set in, it’s made cleaning off winter road grime so much easier. That coating also means I can use more effective pre-treatment chemicals without stripping protection.

To start with today, I removed the rubber floor mats and popped the hood. I then applied Bilt Hamber Touch-less to the lower body, wheels, floor mats and engine bay. While the Touch-less did its thing on the paint, I scrubbed the floor mats, followed by a little agitation of the engine bay with Detail Factory and EZ-Detail brushes. From here, the whole car including the floor mats and engine bay was rinsed. With the floor mats drying in the sun, a healthy dose of Meguiar’s Hyper Dressing (mixed at 4:1) went onto the engine bay, followed by a quick blast with the EGO to removed excess water and distribute the dressing.


With this method of engine bay detailing, you will end up with some Hyper Dressing on the exterior surfaces, which is why you do this step prior to washing. With the hood closed, you can then rinse any overspray and continued with the rest of the job.

After cleaning the wheels and tyres with Brake Buster and Carpro ReTyre, I then attacked the rest of the car with Carpro Reset. Following that, I foamed with Hydr02 Foam, which is proving quite useful as a foam & rinse coating topper. After a hit with the EGO, Megs HCD was the drying aid.

The interior wasn’t too bad this time around, so a quick vacuum and wipe down with ADS Pilot, leather included. Glass was via P&S True Vue, which is good at this time of the year as you can richen the mix to help with evaporation in colder conditions (4:1 in winter, 10:1 for summer). A quick spritz of KCx Cozy Cotton and the floor mats reinstalled, the interior was done.

Finally, I prepped the tyres with Stoner’s Tarminator, then followed with a fresh application of ADS Ghost. On these tyres, I’ve found they need two layers. I then popped the hood and mopped up any remaining water/Hyper Dressing.


With a car booked tomorrow, I then went ahead and started refilling bottles and mixing up dilutions, ready for action in the morning. This is one of my favourite detailing activities, a cliché I know, but I find it strangely satisfying. Today I also finished off a few bottles of product, which is also extremely satisfying as it either means getting rid of a dud product or justifies a shopping spree for more! 😁
 
Nice work Deyon, that last engine bay shot looks like it's from a sales brochure, for a second I thought I saw a smudge on the fan shroud, but then I realised it was on my phone screen.

If you look closely, you can still see some Hyper Dressing residue that's caught in the ribbing of the fan shroud and fuse box. Hyper Dressing self levels so it will eventually flash away without looking like an oil slick.
 
Subaru Forester Detail & Product Testing -

The Subaru returns for another detailing session. Compared to its visit last month, there was considerably less work to be done this time around. Even so, to free up some time today I actually began proceedings on Sunday, bowling over the vacuuming and interior wipe down.

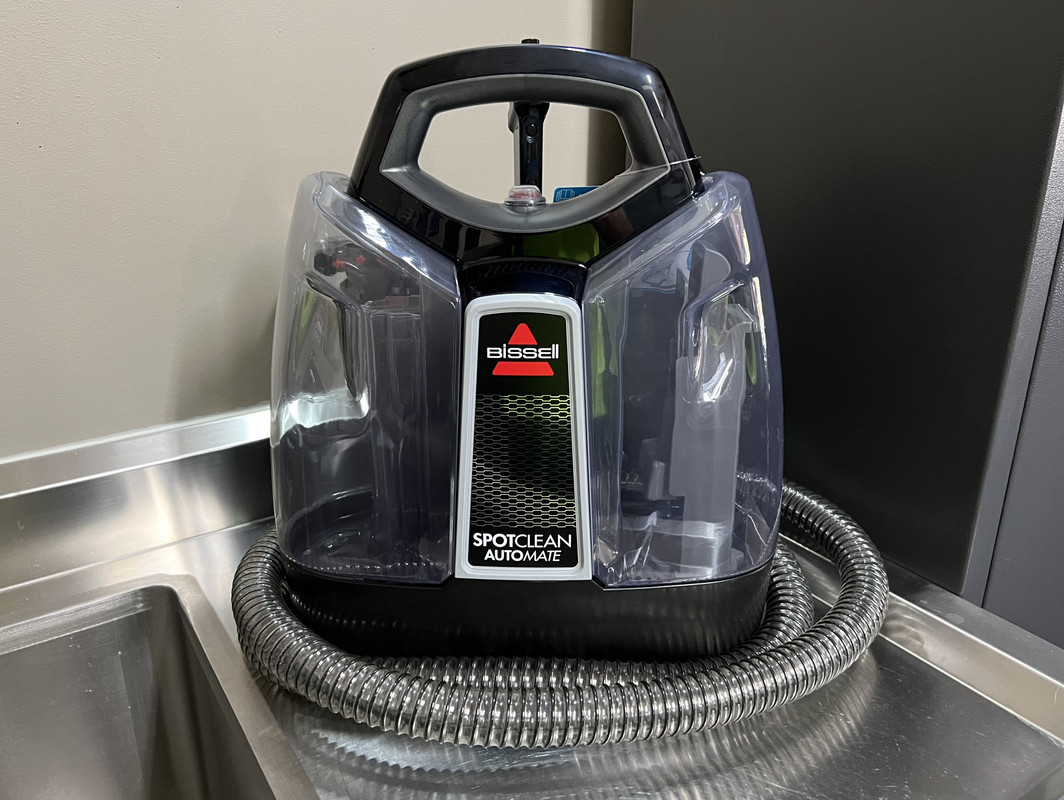
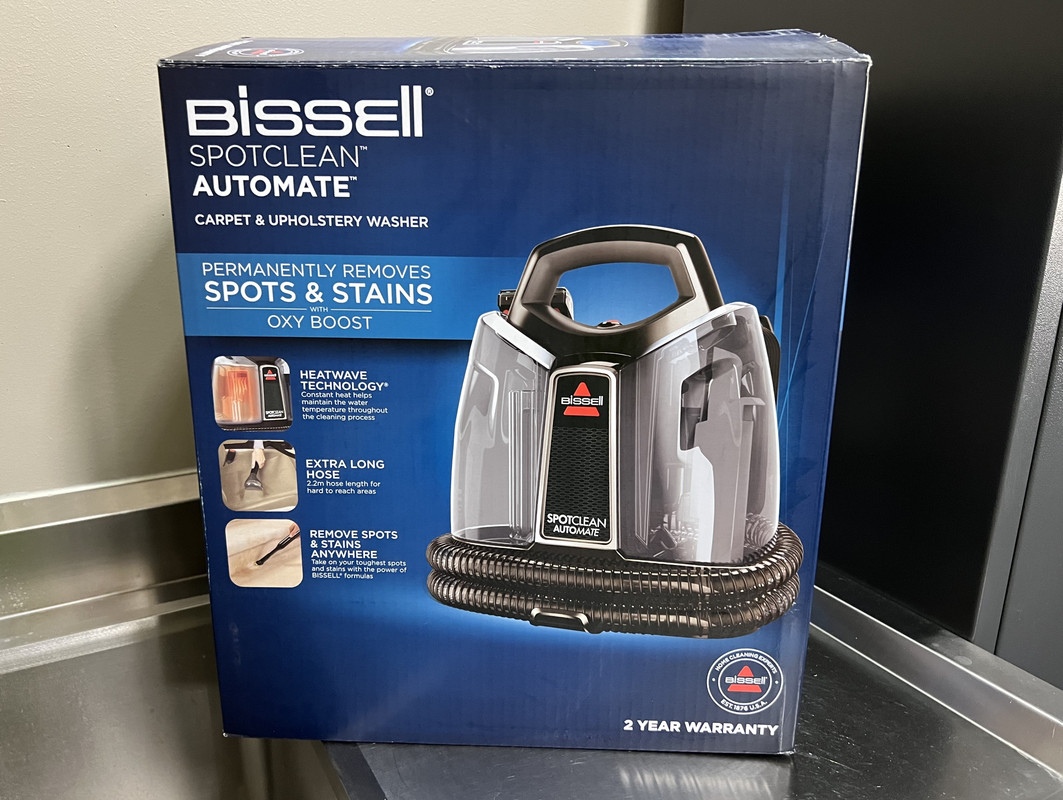
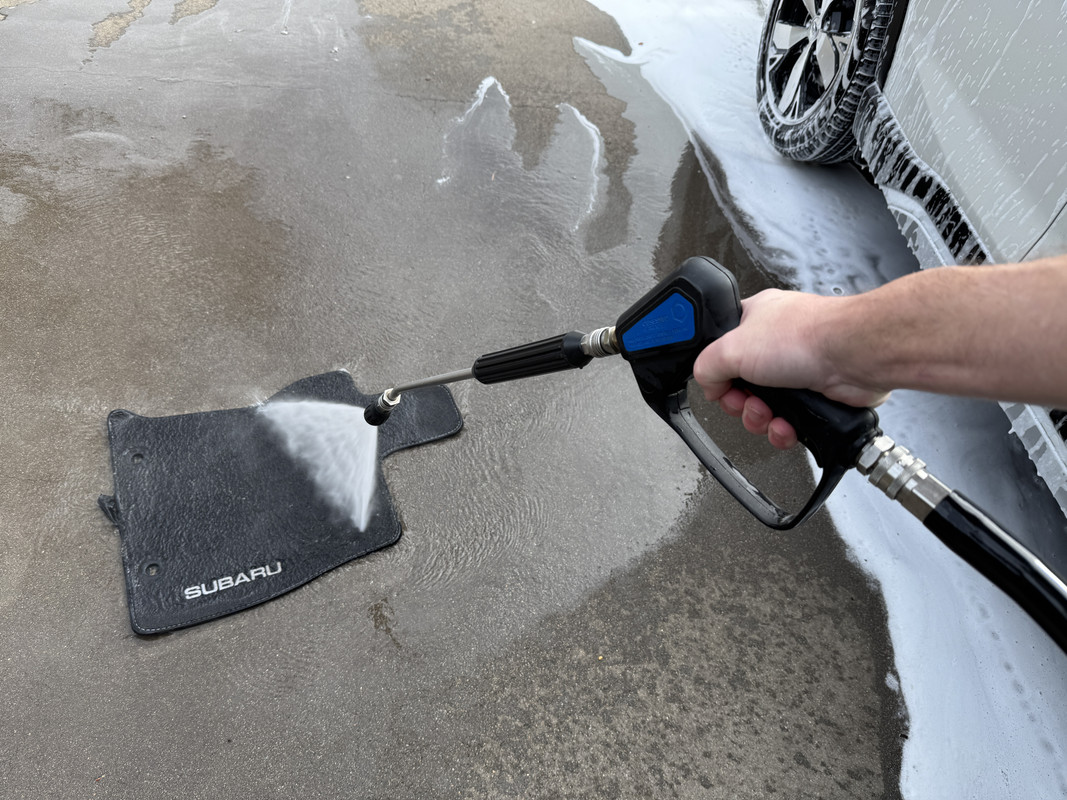
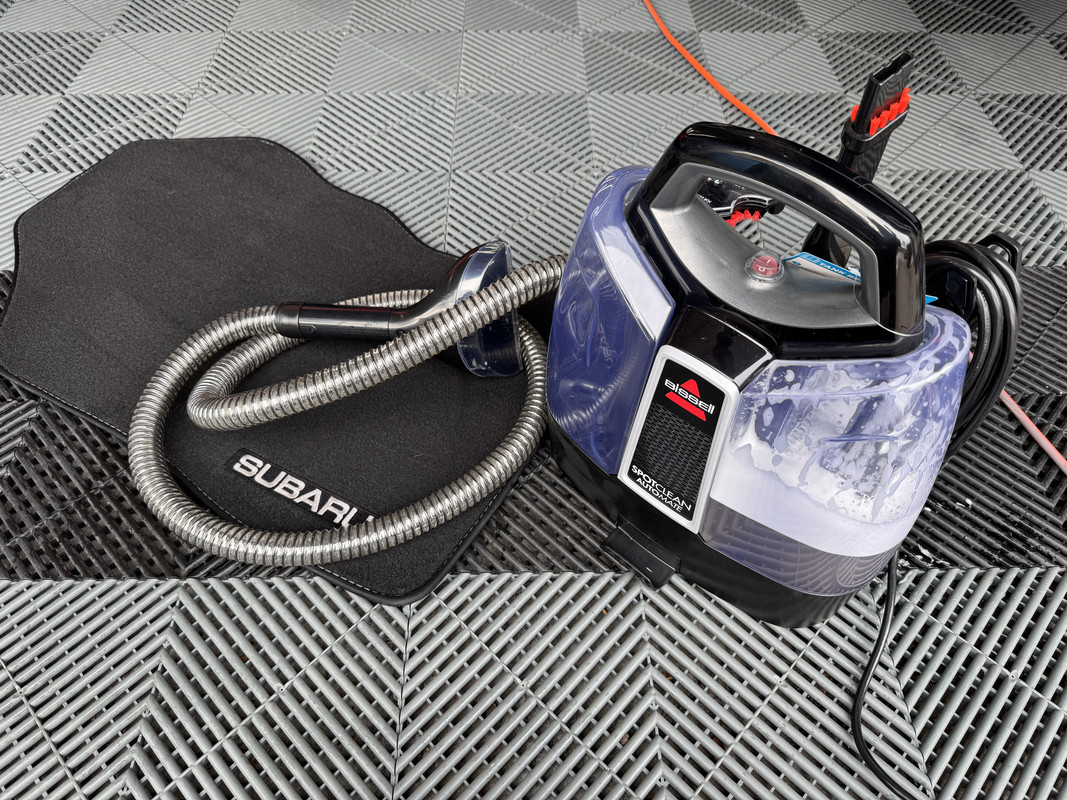
As per a previous post, I decided to give the front carpet mats a deep clean in an attempt to remove the ingrained dirt. This is why I personally think daily drivers are much better served with rubber floor mats, it's a vastly superior solution, especially in winter. After a blast with the pressure washer, KCx Pol Star was applied and allowed to soak before extracting with the Bissell. This process revealed bright white stitching and Subaru lettering, they were grey-brown prior to treatment.


Also on Sunday, I had given the car a very quick Touch-less foam and rinse to plough through the bulk of the dirt, again freeing up some time for today.

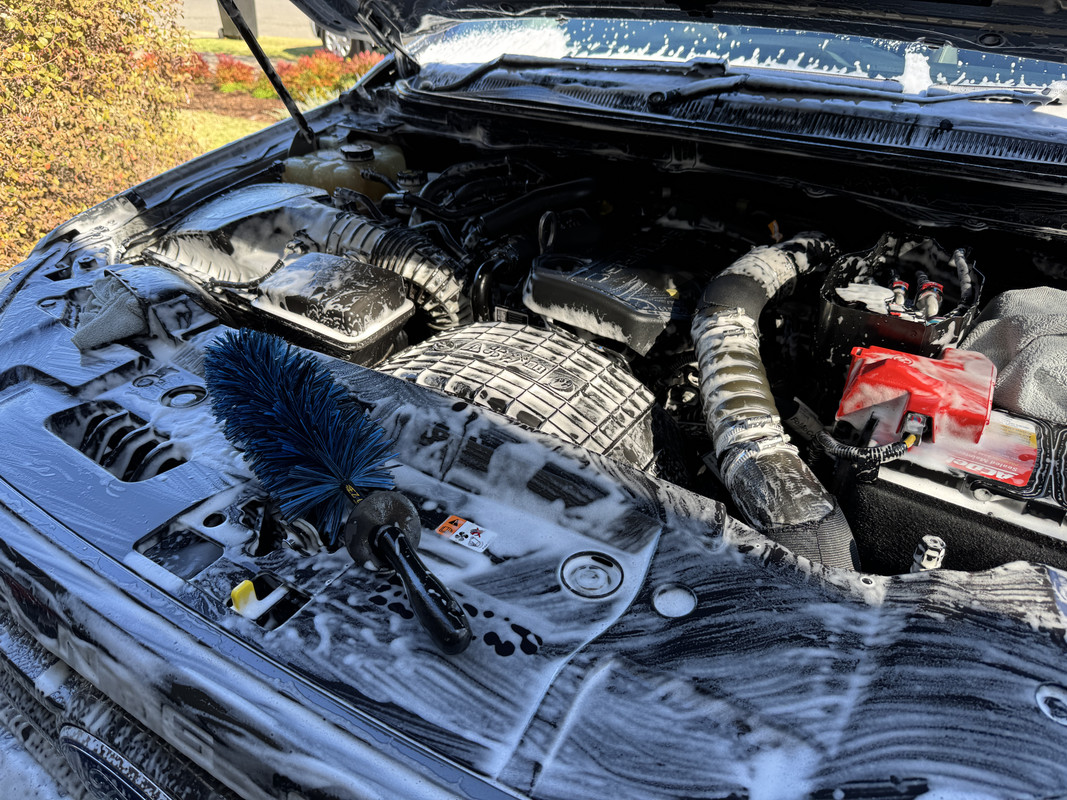
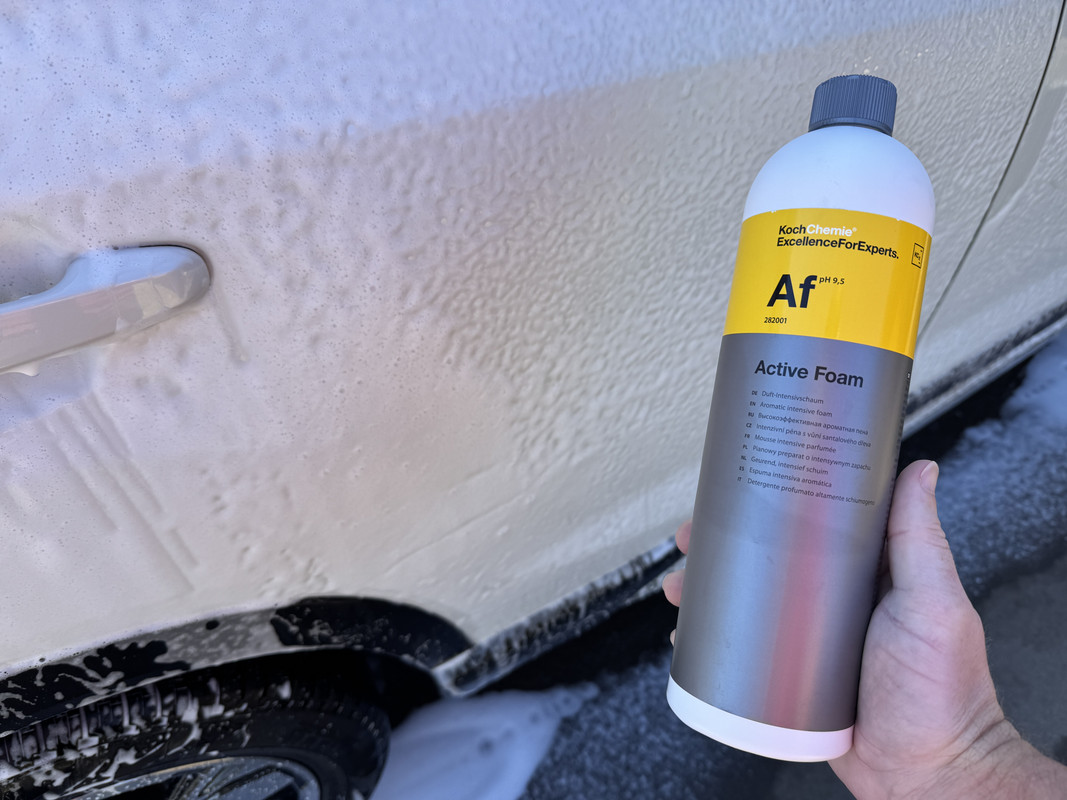
For it's visit last month, I'd given the Subaru a pretty extensive decontamination wash, which meant I could skip all of that today. With the wheels and tyres taken care of (Purge, Brake Buster & Wise Guy), the vehicle was then foamed with KCx Active Foam as a pre-soak. After a rinse, I then reformed with Active Foam for the contact wash. Don't let the "Foam" aspect of the name fool you, this is an excellent soap for contact washing as its super slick and holds onto the paint as your work around the car. It's pH of 9.5 puts it with Meguiar's Hyper Wash, meaning its slightly more aggressive but not to the level of KCx Super Foam or Carpo Lift. However, where Hyper Wash is a bear to rinse off, Active Foam is free rinsing, which improves efficiency and reduces water use. Oh, and it smells divine.


Normally from here I would get some Hydr02 or similar onto the car, but I had other plans so skipped this step. I will say though, the P&S Defender that was applied last month is much more durable than you'd think. After a hit with Touch-less and two rounds of Active Foam, it was hanging in there.

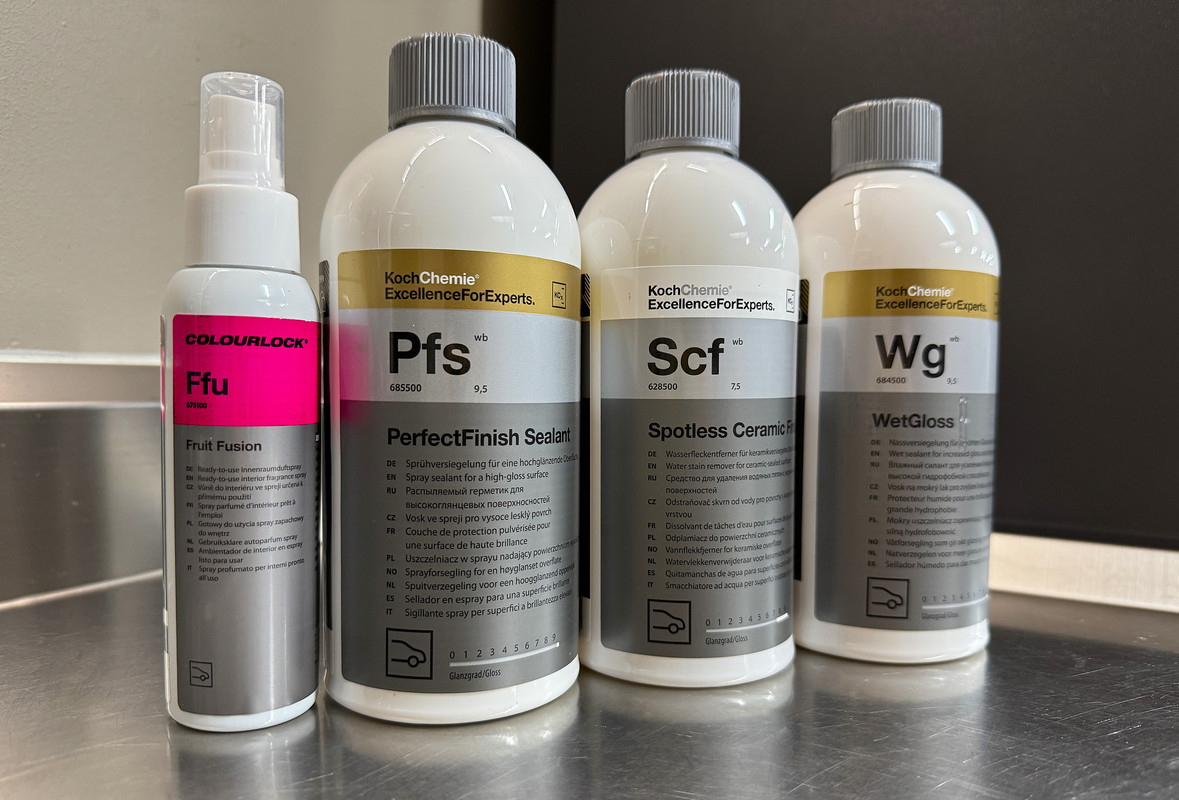
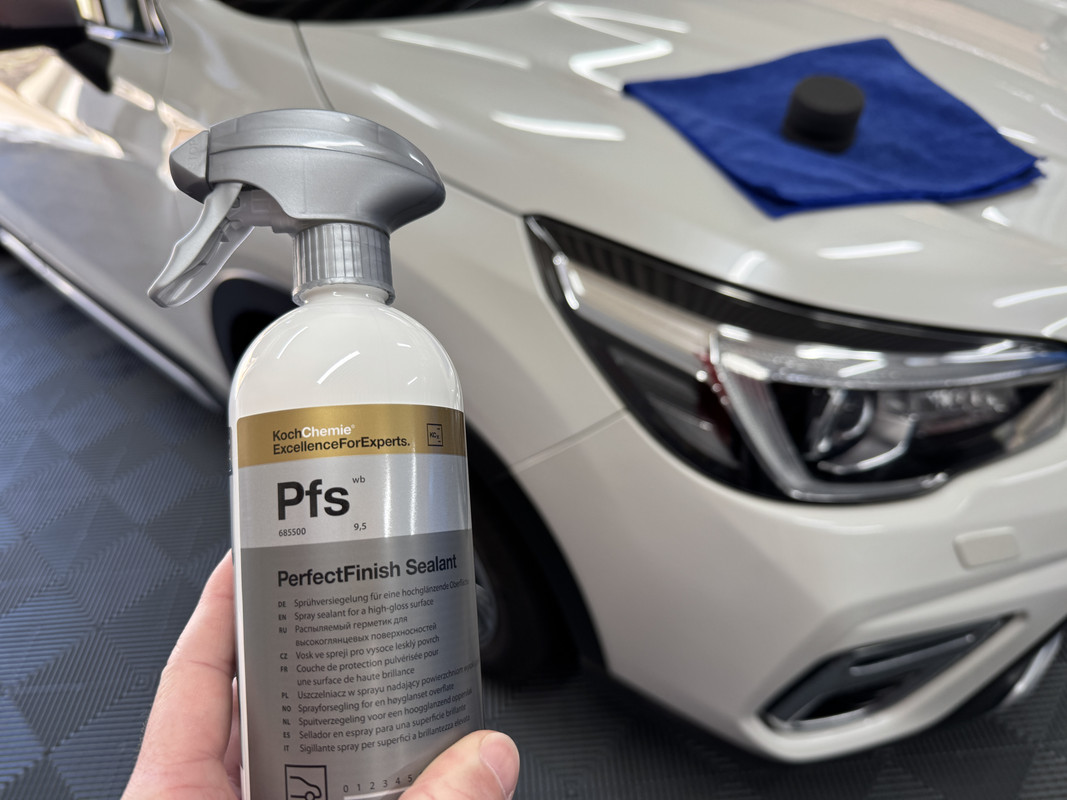
And this is where the new product testing comes into the equation. Earlier in the month I was sent a small selection of new Koch Chemie products to sample. All bar one have already been used and reviewed, but I needed the right vehicle to test the remaining product, Perfect Finish Sealant.

Koch Chemie Perfect Finish Sealant | Durable Gloss Enhancer & Sealant – Waxit Car Care


Perfect Finish Sealant is a new product from Koch Chemie, one that I've struggled to get my head around (more on that shortly). Words such as "ceramic", "hybrid" and "Si02" are completely missing from the product description, instead this is an old-school synthetic polymer sealant. Koch Chemie highlight the following benefits -

- A high gloss finish with a slick feel
- Amplifies reflectivity and smoothness after polishing
- Durability, forming a long-term barrier to contamination
- Provides UV protection
- Ease of use, both application and removal
- No streaking
- Apply by hand or machine
- Provides anti-static properties, in theory keeping the car cleaner for longer

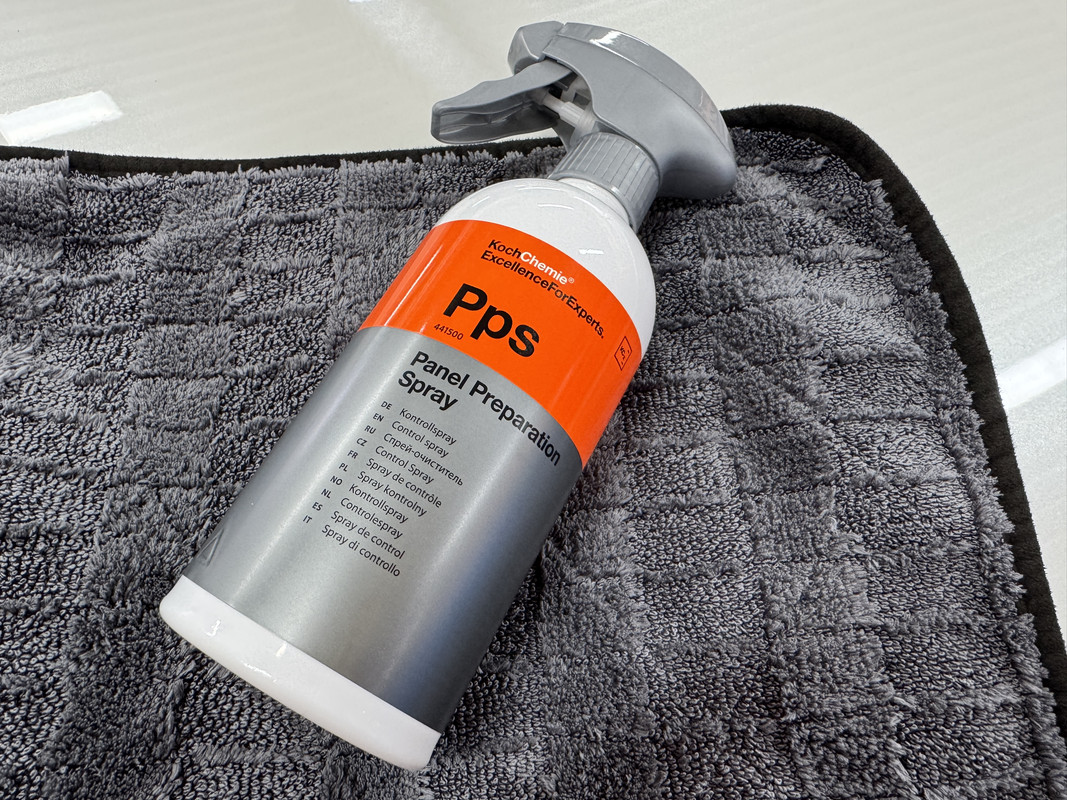
Before application, I gave the entire car a wipe down with KCX Panel Preparation Spray. Actually, I did this after blowing the car off with the EGO, then used PPS as a drying aid to remove remaining moisture. I actually finished off this bottle, which I bought at great expense for a prep spray comparison a few years ago, an absurd $42.95 for 500ml. This is an excellent product, so much so that I found it to be the best on test.................but I just couldn't hand it the win due to the ridicules price. Carpro Eraser won that comparison, which back then a 500ml bottle was half the price of PPS. However, since Waxit have taken over distribution of KCx, the pricing is much more palatable.

Koch Chemie (PPS) Panel Preparation Spray | Control Spray – Waxit Car Care


And this is where I got confused, the application. The consistency of PFS is quite thick, which means it doesn't atomize like a regular spray sealant. That said, a spray head can be used to apply it into a towel or applicator. For anyone who has used AMMO Hydrate, you will know what I mean here. As such, this is NOT a simple mist and wipe product such as Carpro Reload, ADS Amplify or NV Boost.

Reading the directions, Koch Chemie suggest using a foam applicator sponge or a soft waxing pad on a dual action polisher. This puts it alongside some very old school sealants such as Menzerna Powerlock or Wolfgang DGPS. I've also seen suggestion of using a two-towel application method, one to spread, one to buff. In the end, I went with a foam applicator puck, but also tried it with the towel method.


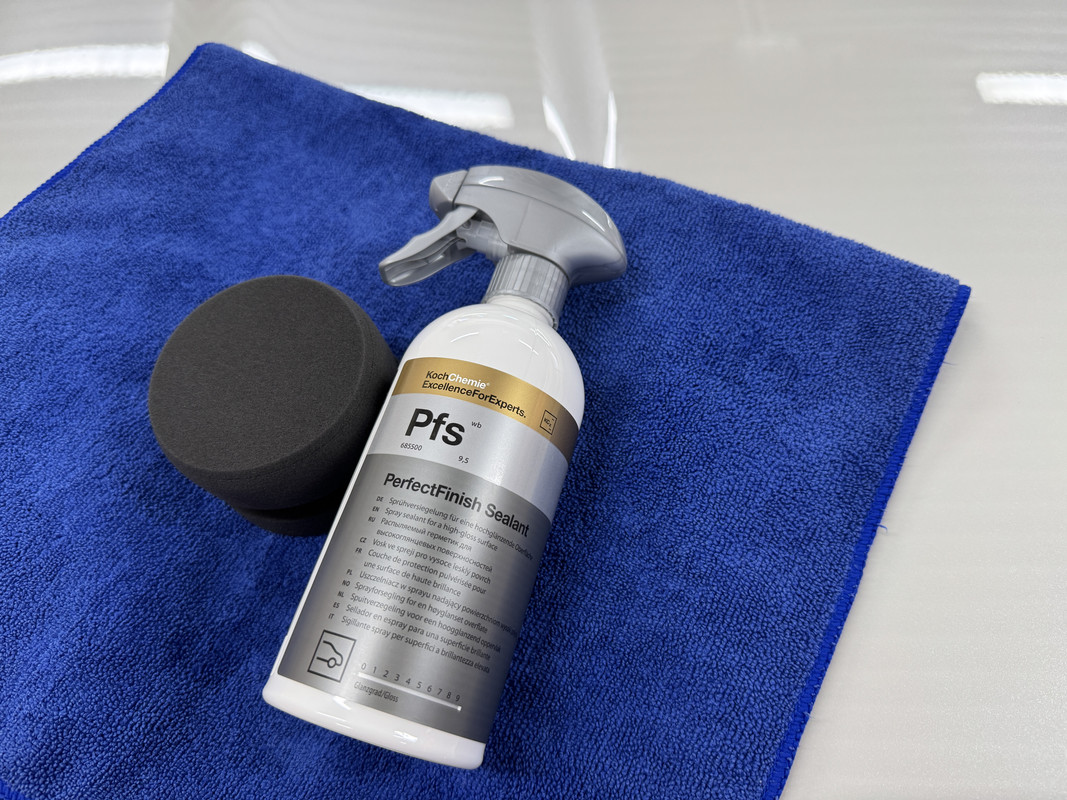
Working panel to panel, apply PFS into the applicator, then work across the section. After allowing 30 - 60 seconds to bond, wipe off with a towel. I'm told a little goes a long way, however I found that hard to gauge owing to the white paint. Once applied, PPS doesn't necessarily haze over like a traditional sealant, in fact it almost flashes away. The wipe off itself is then very easy and requires little to no effort achieving a perfectly clean, clear finish. A "perfect finish" if you will.


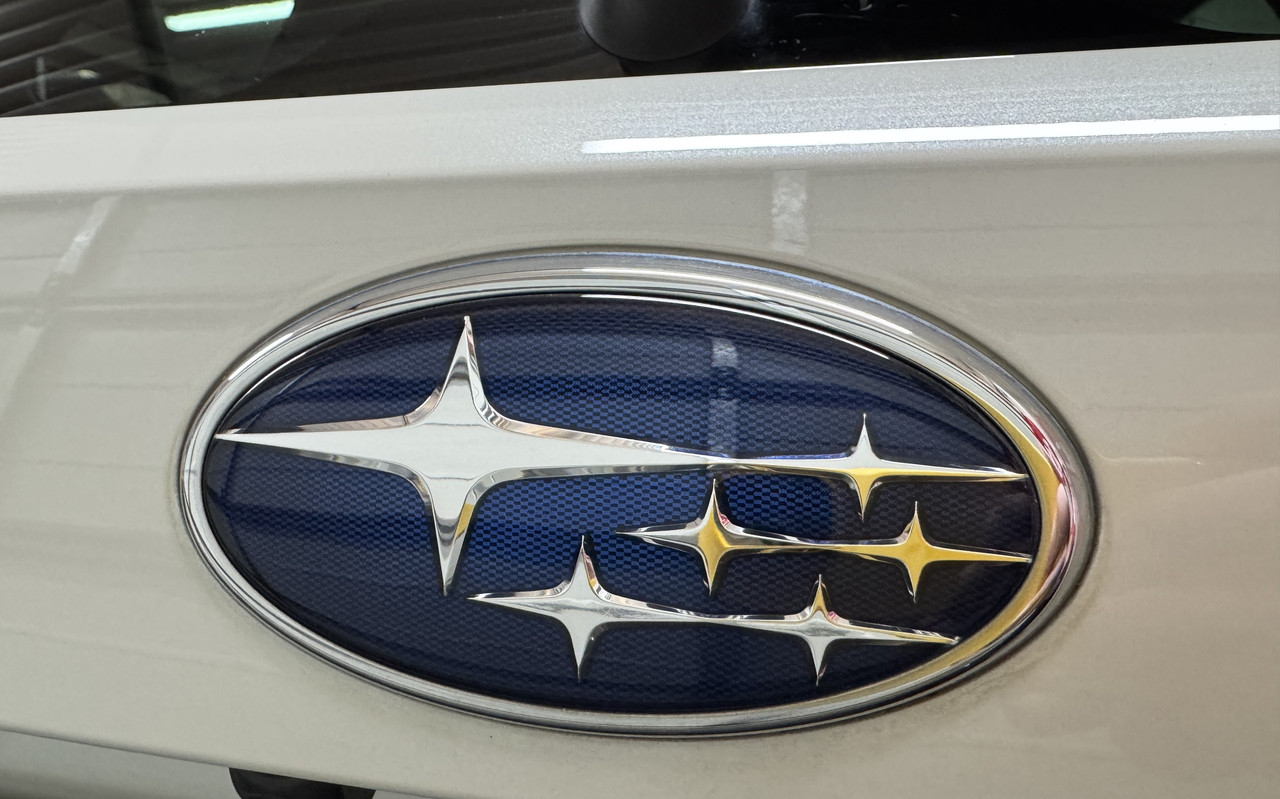
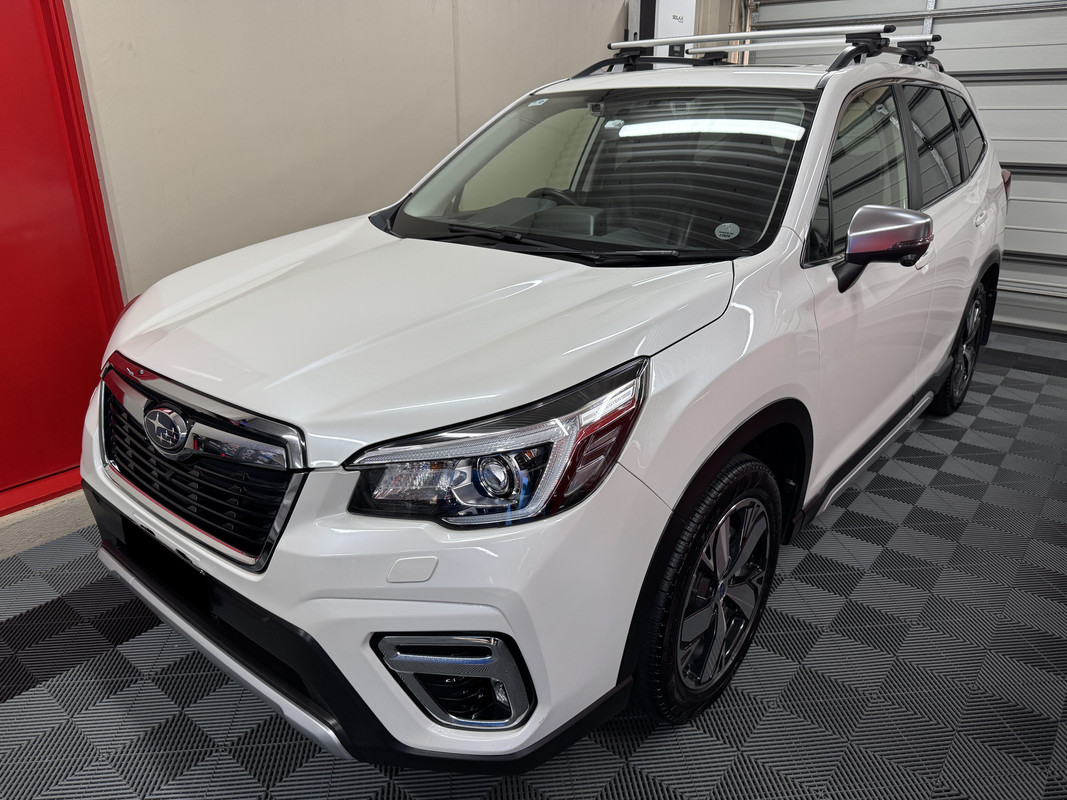
Funnily enough, untreated panels felt slicker than the freshly treated ones, which is somewhat odd for a polymer sealant. However.................the gloss it imparts is hard to argue with. And it's a lovely warm gloss too, not the almost fake glass-like gloss a ceramic will achieve. I was also told prior to use that PFS has the ability to mask or reduce minor paint imperfections. And that certainly played out here. In fact, right before my eyes I watched as PFS transformed a jacked-up Subaru badge into a clear, glossy Subaru badge. It also helped bring out the metal flake of this Crystal White Pearl paint.


So, while the (as usual) KCx product description caused some confusion, and its not the quickest and easiest to apply, the results speak for themselves.

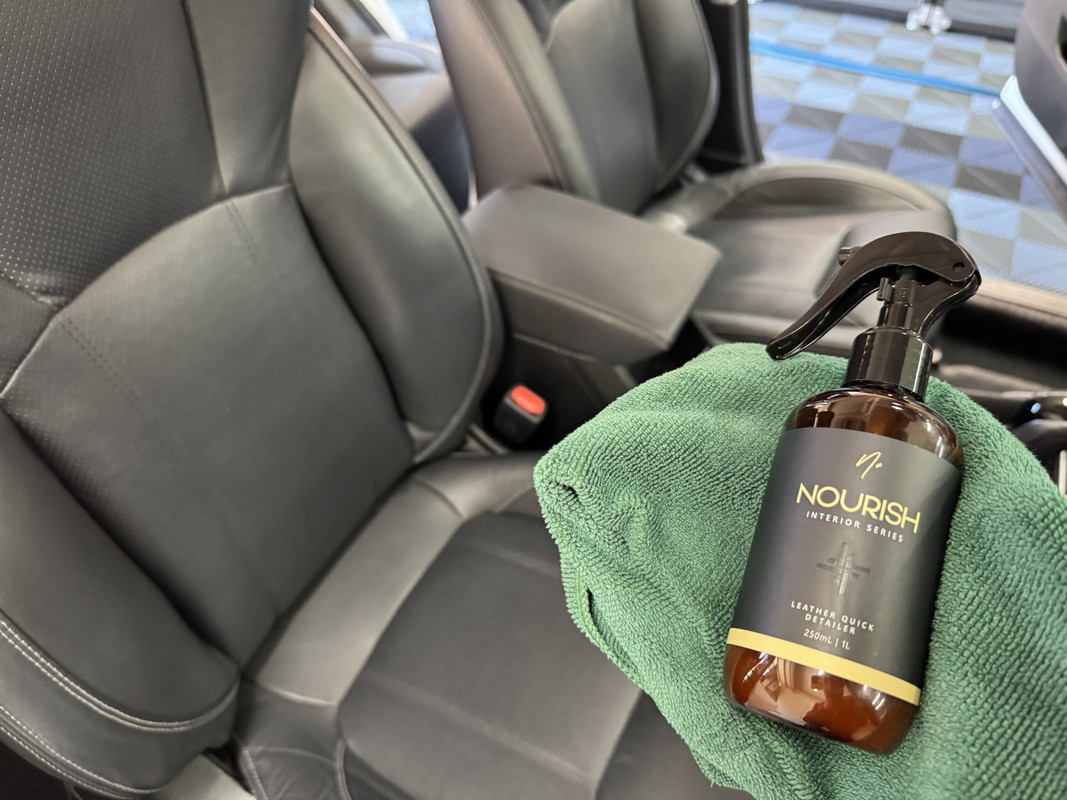
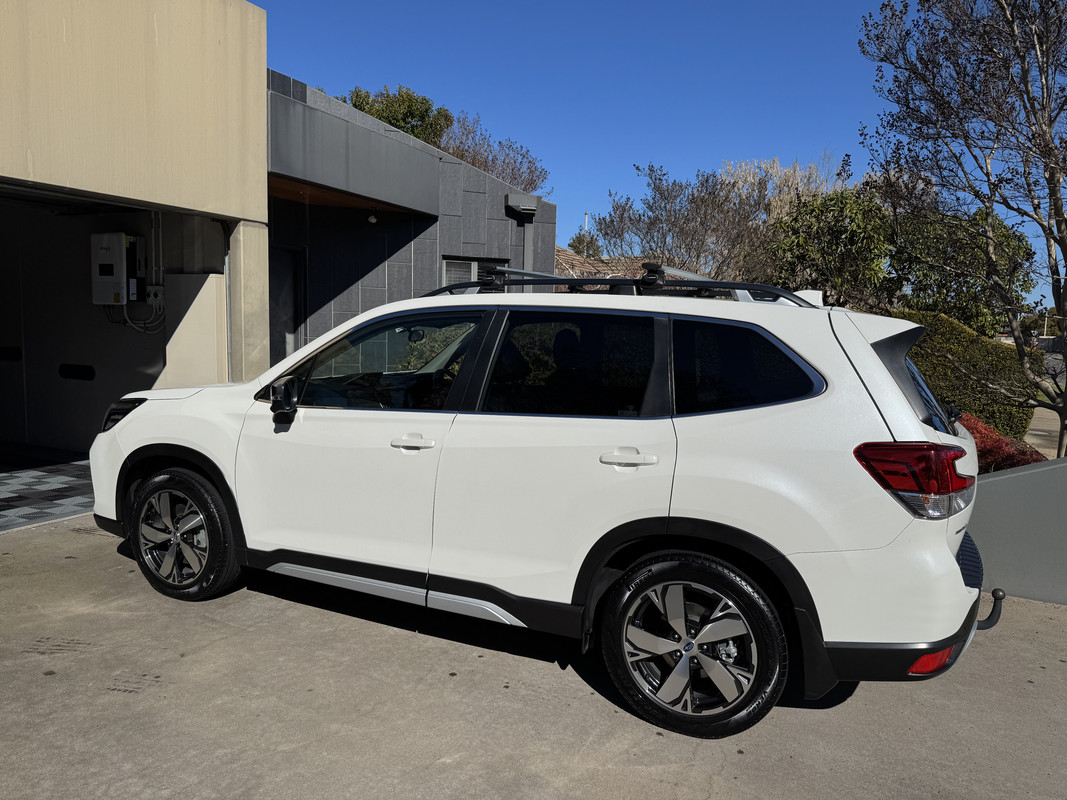
For the rest of the vehicle, I used ECH20 on the door jambs, Stoner Invisible Glass inside and out, misted the carpets with Fresh Up, scrubbed the seats with Pol Star, then applied an old favorite to the leather, NV Nourish. The tyres were dressed with Carpro Perl, and the black plastic trim treated with Mother's Naturally Black.


Finished results! The key to making white paint POP is having the surrounding materials and accents dialled in. In this case, the black plastic body cladding and tyres......................


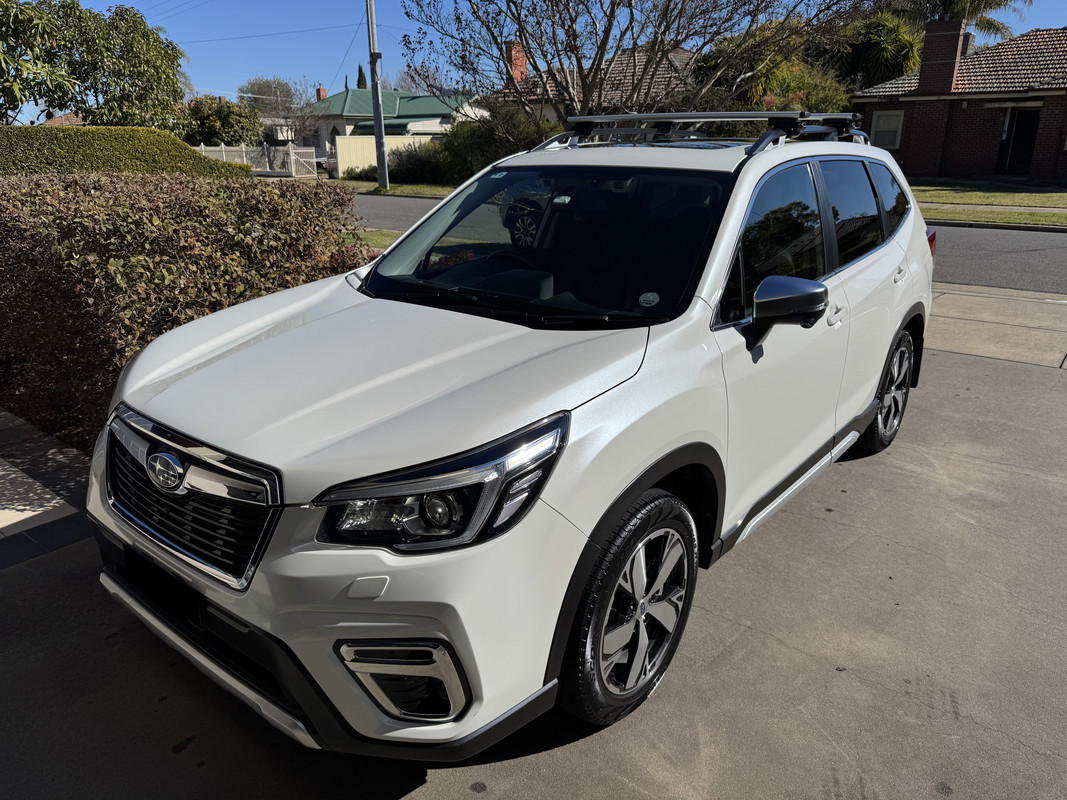
I'm told Perfect Finish Sealant has proven to be comparable with NV Boost v2 in terms of durability, so up to 6-months or so. Obviously, that's dependant on a variety of factors, so use that as a guide only. With this vehicle parked in the open most of the time, it will be interesting to see how long PFS lasts. As it stands, I really like the way this sealant looks.
 
The Wildtrak looks great as usual! What engine is in it? Is it an inline diesel?

The engine is a variant of Ford's Eco-Blue 2.0-litre 4-cylinder diesel. This Bi-Turbo version and makes 157 kW and 500 Nm (210hp and 369 ft-lb). It's mated to the 10-speed automatic. This was the top spec powertrain on this model, from about 2016 till the latest Ranger arrived in 2023. Ford even used this engine in the Raptor, which went down like a lead balloon. While it has just enough grunt, it should never have been associated with the Raptor branding, it was a joke.

The current Ranger now has a good selection of engines. They dropped the old 2.2 4-cylinder diesel (which is what I have) and the 3.2 5-cylinder diesel (which you guys got in the Transit, it's NOT a Volvo engine by the way). There are now two versions of the 2.0 diesel, a single turbo with a 6-speed auto, and the Bi-Turbo with the 10-speed. Ford dropped the manual for the new model.

They now also offer the 3.0 Powerstroke V6 diesel and 10-speed auto. This was originally used by Landrover/Jaguar, as well as the F-150. Demand exceeds supply on that engine. The Raptor now has the engine it should have always had, an EcoBoost 3.0 V6 with 400 hp. Ford have also just recently added a plug-in hybrid Ranger, which uses a detuned 2.3 EcoBoost.
 
Back
Top