PPLd
Member
- Oct 6, 2010
- 454
- 0
Intro:
Most professionals and enthusiasts here use high end polishers such as the Meguiar’s G110, or Porter Cable 7424, etc. These machines are powerful and can give you a perfect show-car finish. They make use a backing plate that has Velcro hook-and-loop fastening mechanism so that the user can change to any foam pad as desired. However, the G110 and PC are quite expensive and they are not available in a lot of countries.
The B&D dual action polisher is fairly cheap. I purchased it for less than USD$40. It is available at local hardware store (at least here in Hong Kong). The major drawback of the B&D is that it comes with a fixed a black foam pad that is glued to a hard plastic backing plate. The backing plate cannot be easily removed without disassembling the unit. You are supposed to put on foam or wool bonnets on the original foam pad as you use it. The bonnet system makes this polisher a pain to use and limited its correcting power. After failing for a few times, I decided to modify the B&D DA so that it can make use of foam pads like the other high end polishers.
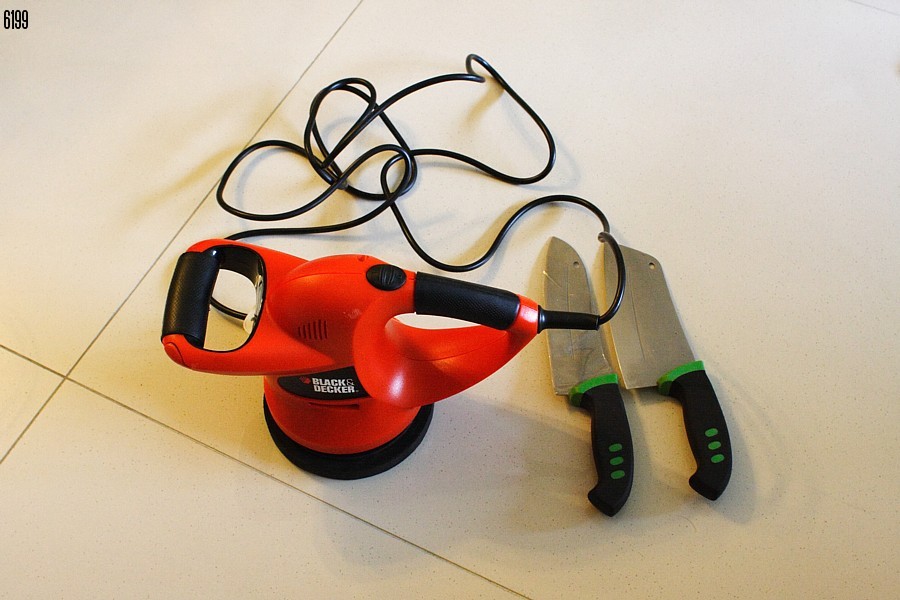
Tools used, in the order I used them:
B&D DA
Kitchen knife, teeth preferred
A glass/ceramic plate
Lighter fuel / kerosene
Plastic ruler
A pair of Scissors
Hook-and-loop stripes
Strong adhesive / super glue
A ball-pen
It is a good idea to have a few old cloths around in case if you need some cleaning.
Procedure:
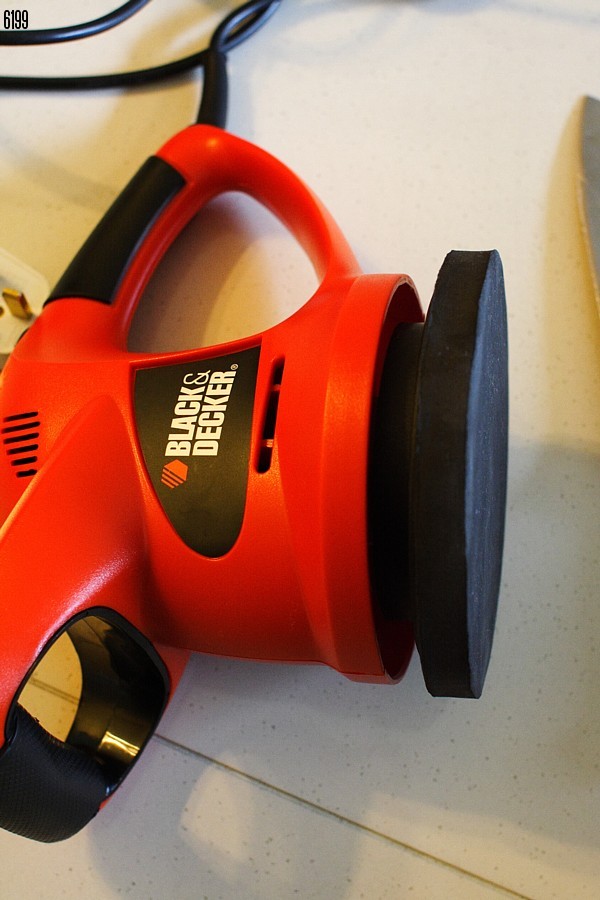
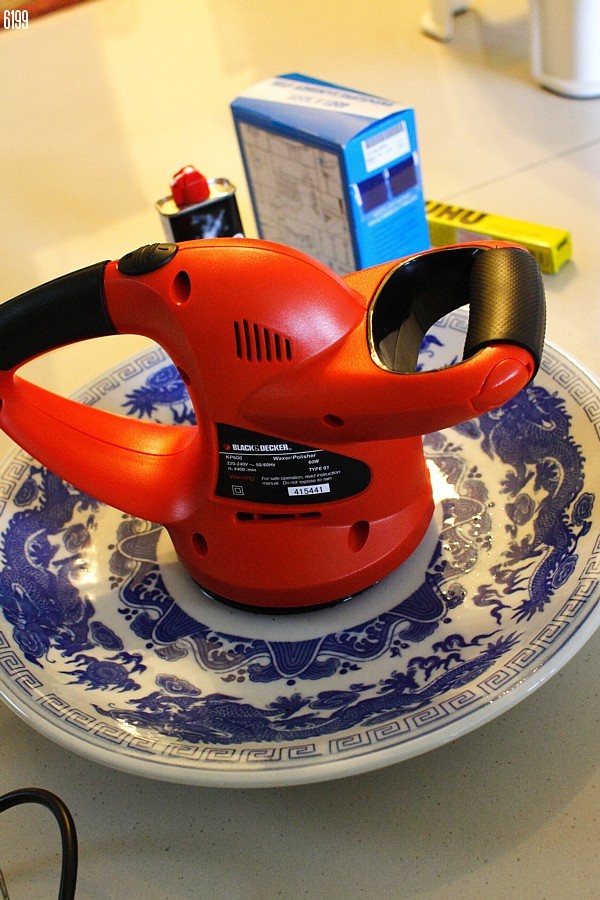
First, here is the B&D KP-600 Dual Action Polisher.
As you can see, the B&D comes with a fixed hard plastic backing plate. The foam pad is glued onto the backing plate. B&D said you should use foam and wool bonnets (not in the photo).
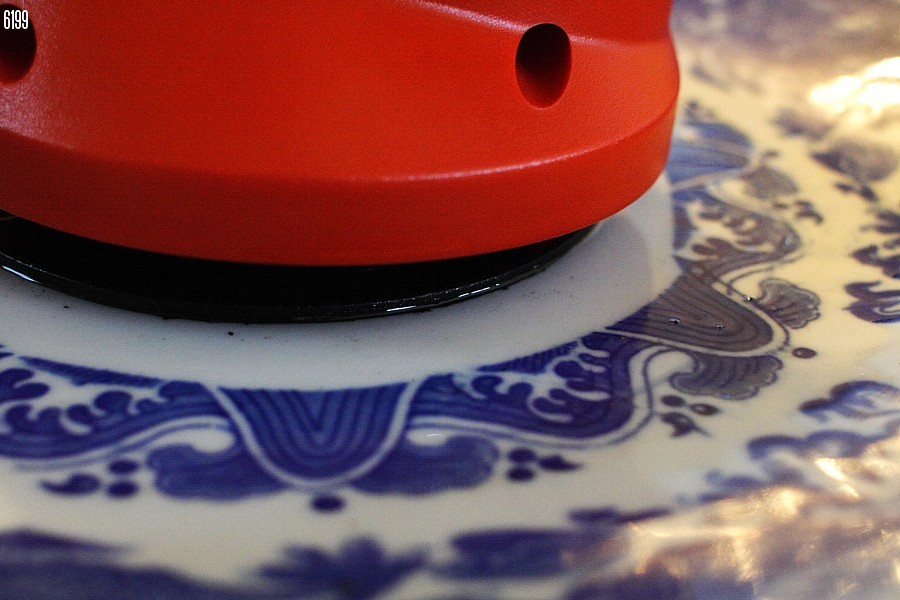
Take your knife out and start cutting. Beware that the head can rotate/move as you cut.
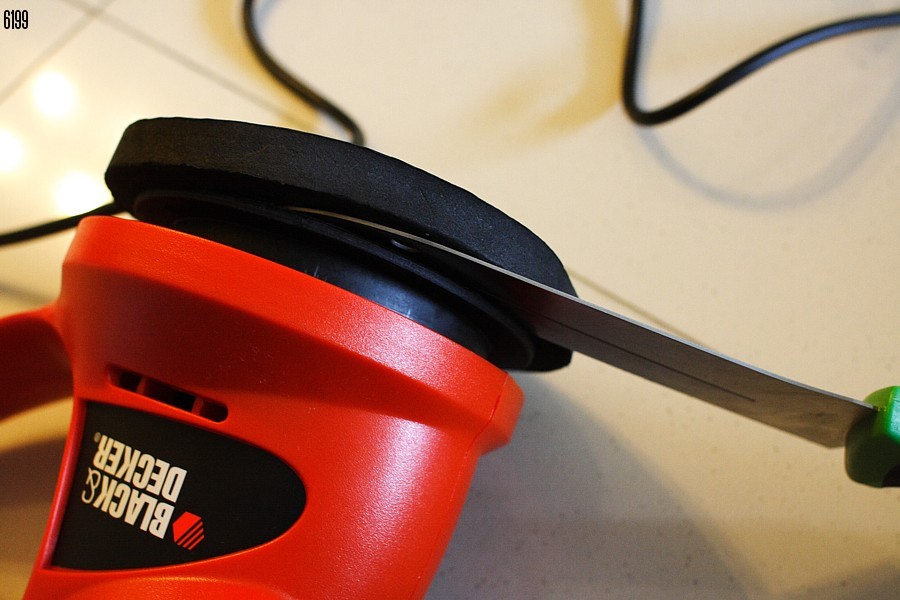
Tada!
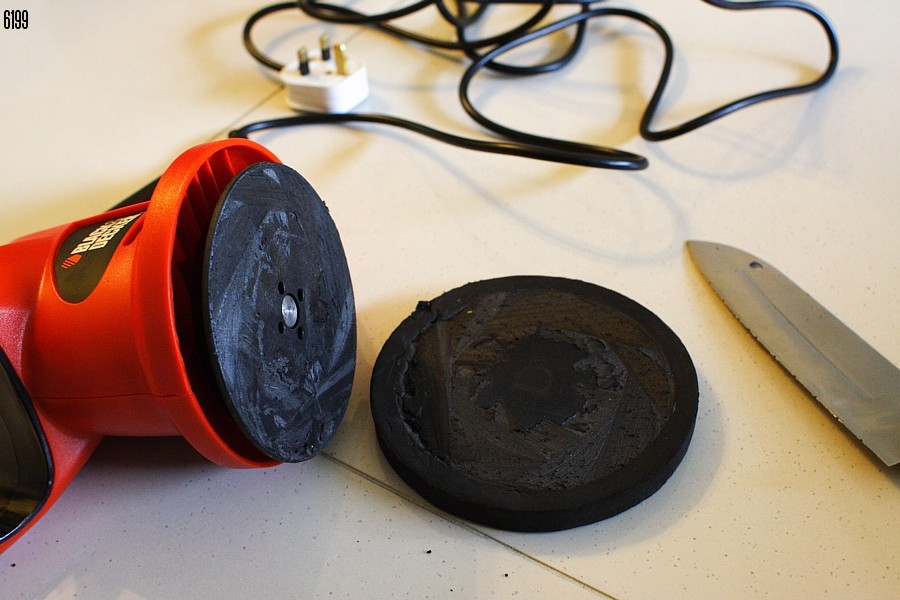
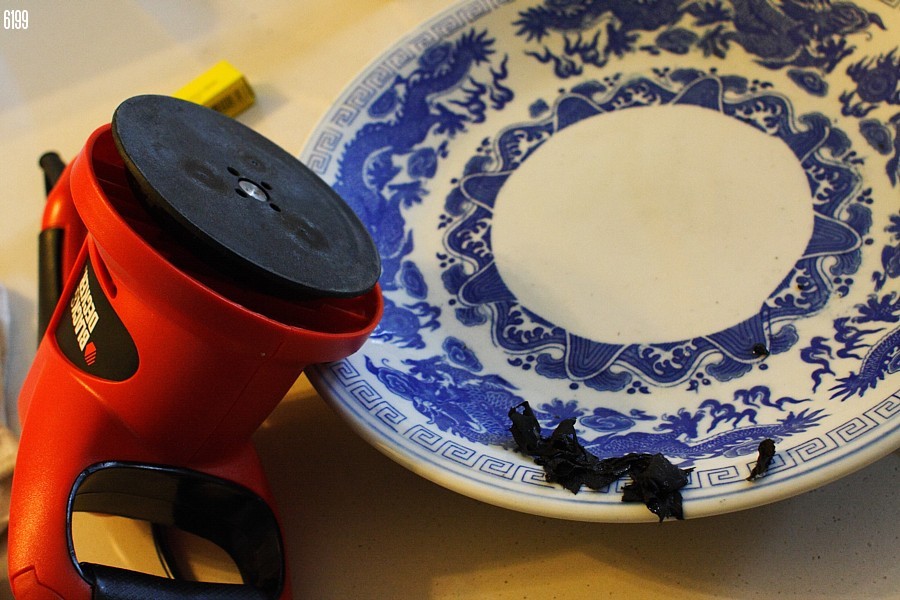
There are a lot of remaining adhesive and foam on the backing plate. Now pour some lighter fuel into a glass/ceramic plate and soak the backing plate in it.
Allow 2-3 minutes for the sticky material to soften up.
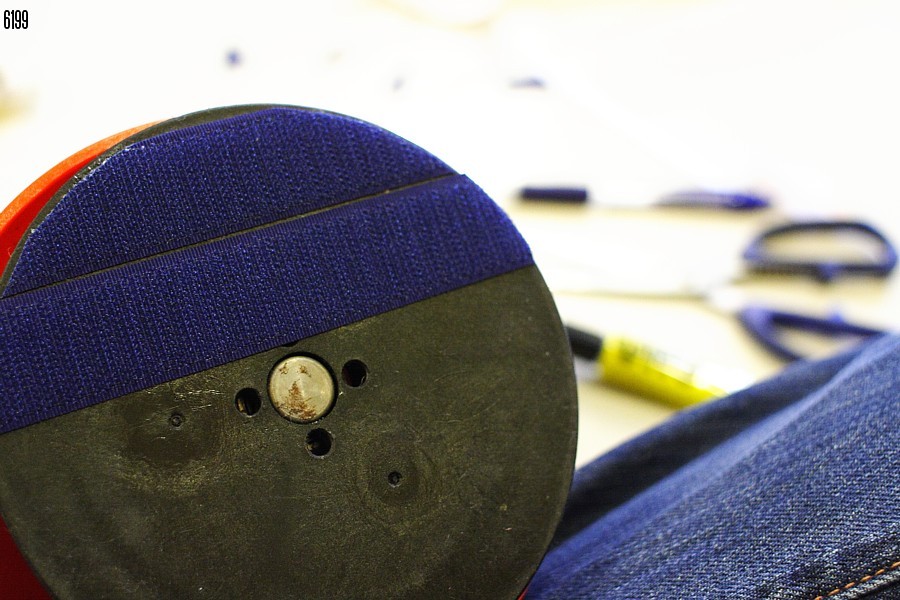
Use our ruler to remove the nasty sticky black stuff. Use a dry and clean cloth to dry your backing plate.
It’s time for the Hook-and-Loop strips. You will need a pair of scissors to cut the strips, as well as a ball-pen to draw the circular edge of backing plate onto the strips.
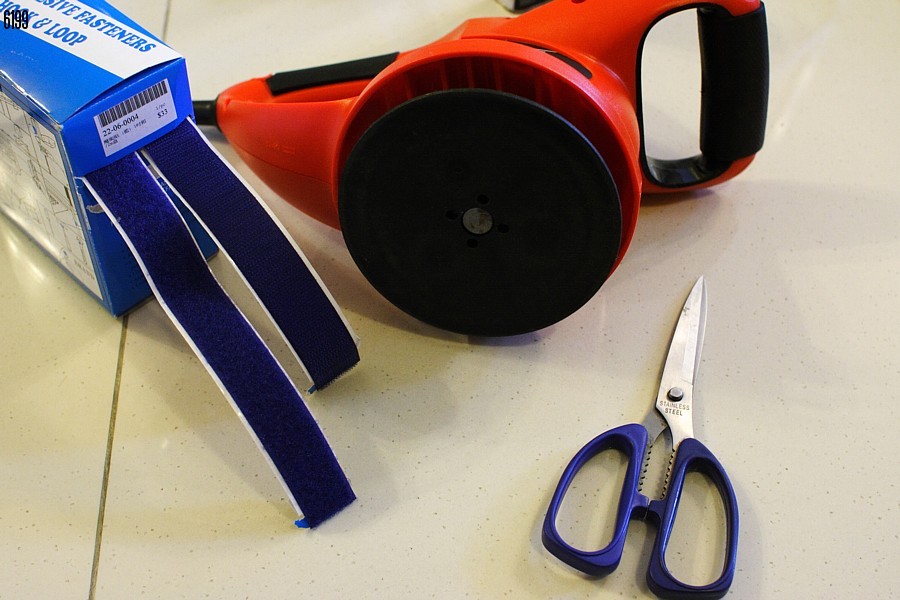
Cut the strips and stick them with super glue. Little glue goes a long way. Repeat until the whole plate is covered.
Tada! Finished!
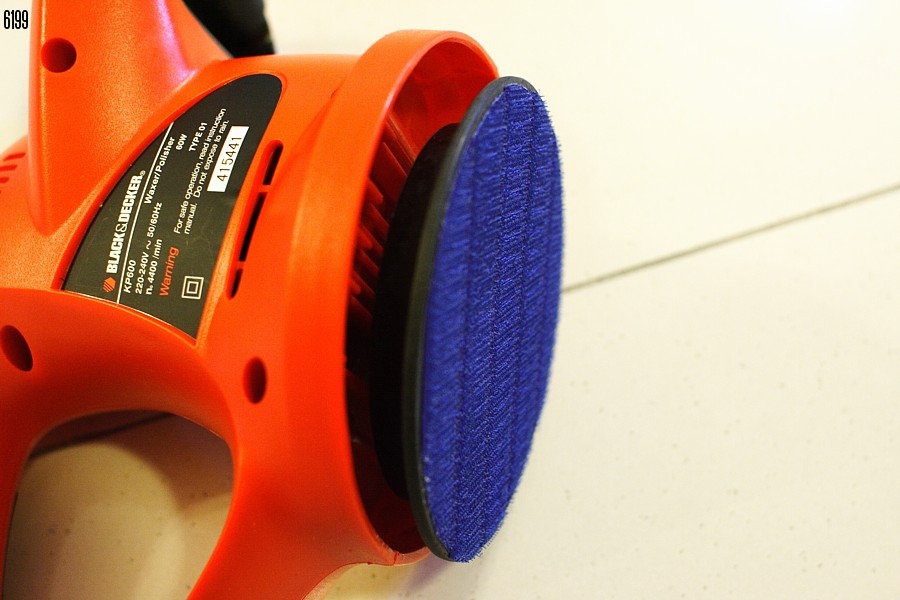
Another angle:
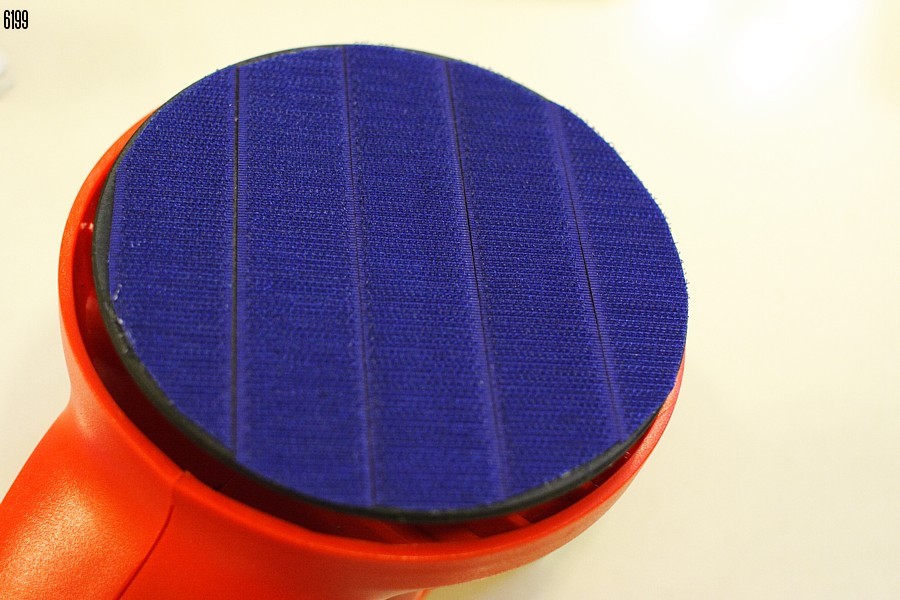
The size of the DIY backing plate is of 5-inch diameter in case if any of you are wondering.

Conclusion:
The Black and Decker DA is an entry level DA. It has a power of 60W and 4400rpm no load speed that is not adjustable. The above process took me 1.5 hours to complete. By cutting/modifying the machine you will lose all the warranty provided by manufacturer. So take this guide as a reference only! I hope I can help friends here with tight budget like me
Sorry for my bad English and thank you for reading! Feedbacks are welcomed!
Most professionals and enthusiasts here use high end polishers such as the Meguiar’s G110, or Porter Cable 7424, etc. These machines are powerful and can give you a perfect show-car finish. They make use a backing plate that has Velcro hook-and-loop fastening mechanism so that the user can change to any foam pad as desired. However, the G110 and PC are quite expensive and they are not available in a lot of countries.
The B&D dual action polisher is fairly cheap. I purchased it for less than USD$40. It is available at local hardware store (at least here in Hong Kong). The major drawback of the B&D is that it comes with a fixed a black foam pad that is glued to a hard plastic backing plate. The backing plate cannot be easily removed without disassembling the unit. You are supposed to put on foam or wool bonnets on the original foam pad as you use it. The bonnet system makes this polisher a pain to use and limited its correcting power. After failing for a few times, I decided to modify the B&D DA so that it can make use of foam pads like the other high end polishers.
Tools used, in the order I used them:
B&D DA
Kitchen knife, teeth preferred
A glass/ceramic plate
Lighter fuel / kerosene
Plastic ruler
A pair of Scissors
Hook-and-loop stripes
Strong adhesive / super glue
A ball-pen
It is a good idea to have a few old cloths around in case if you need some cleaning.
Procedure:
First, here is the B&D KP-600 Dual Action Polisher.
As you can see, the B&D comes with a fixed hard plastic backing plate. The foam pad is glued onto the backing plate. B&D said you should use foam and wool bonnets (not in the photo).
Take your knife out and start cutting. Beware that the head can rotate/move as you cut.
Tada!
There are a lot of remaining adhesive and foam on the backing plate. Now pour some lighter fuel into a glass/ceramic plate and soak the backing plate in it.
Allow 2-3 minutes for the sticky material to soften up.
Use our ruler to remove the nasty sticky black stuff. Use a dry and clean cloth to dry your backing plate.
It’s time for the Hook-and-Loop strips. You will need a pair of scissors to cut the strips, as well as a ball-pen to draw the circular edge of backing plate onto the strips.
Cut the strips and stick them with super glue. Little glue goes a long way. Repeat until the whole plate is covered.
Tada! Finished!
Another angle:
The size of the DIY backing plate is of 5-inch diameter in case if any of you are wondering.
Conclusion:
The Black and Decker DA is an entry level DA. It has a power of 60W and 4400rpm no load speed that is not adjustable. The above process took me 1.5 hours to complete. By cutting/modifying the machine you will lose all the warranty provided by manufacturer. So take this guide as a reference only! I hope I can help friends here with tight budget like me
Sorry for my bad English and thank you for reading! Feedbacks are welcomed!
 rops:
rops: