AustrianOak82
New member
- Sep 26, 2014
- 324
- 0
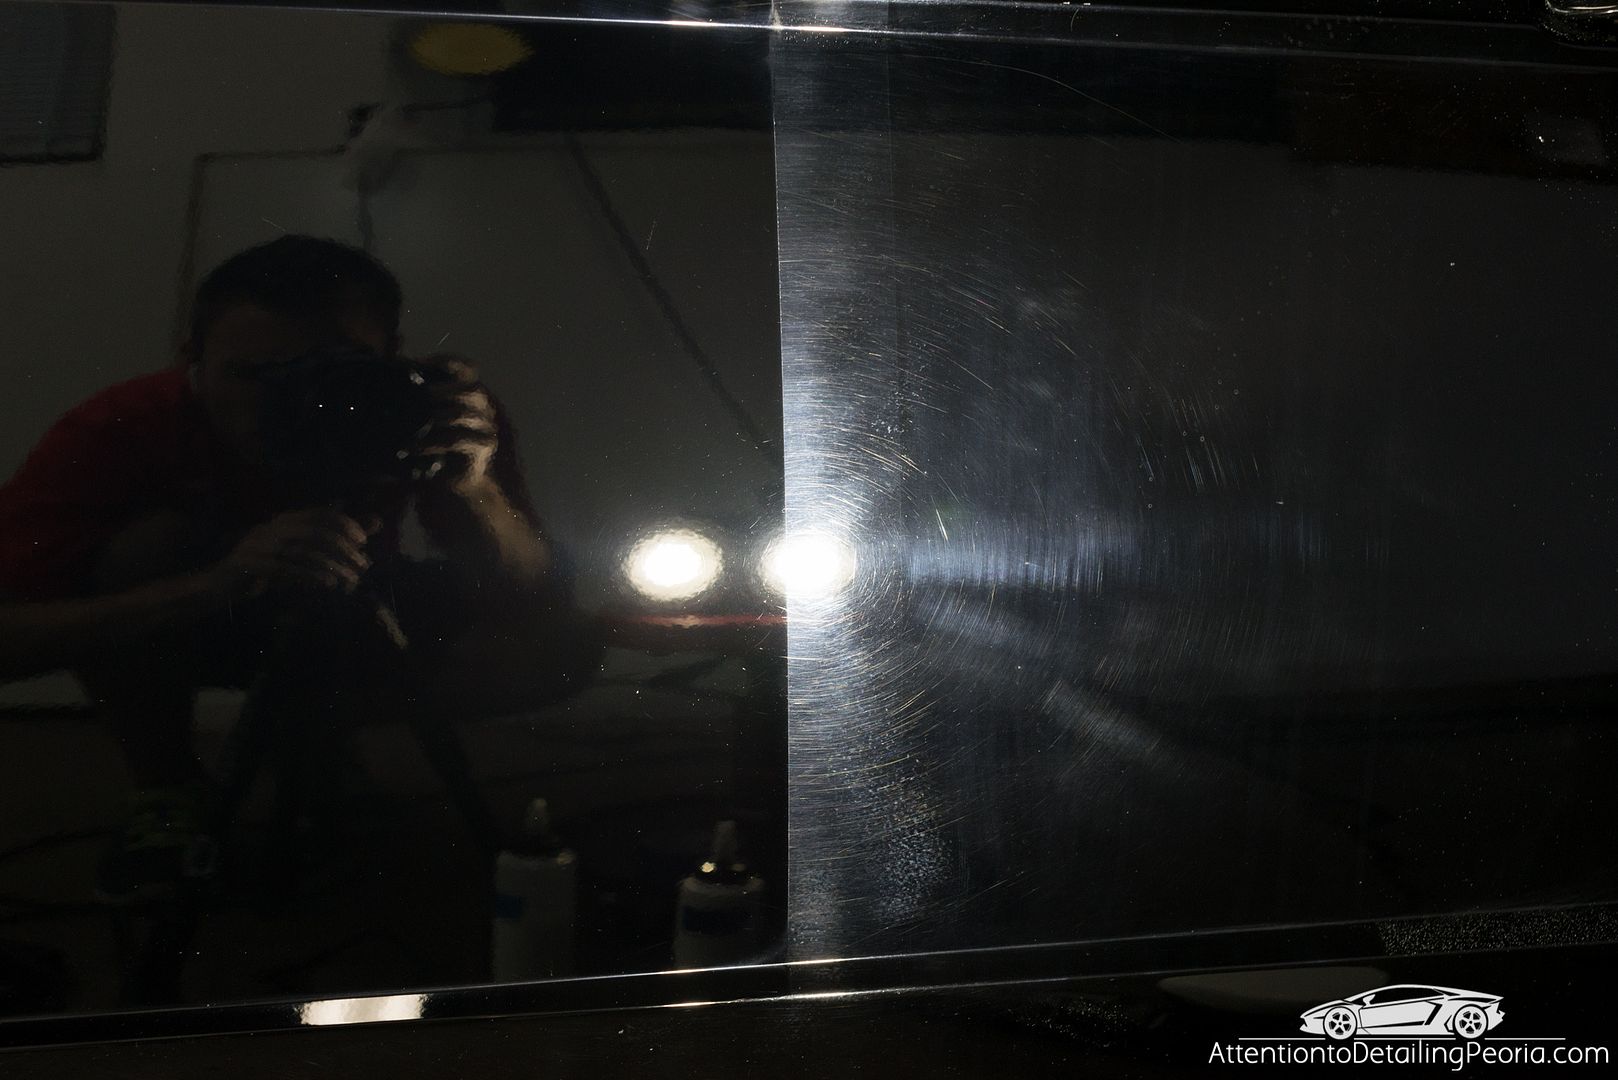
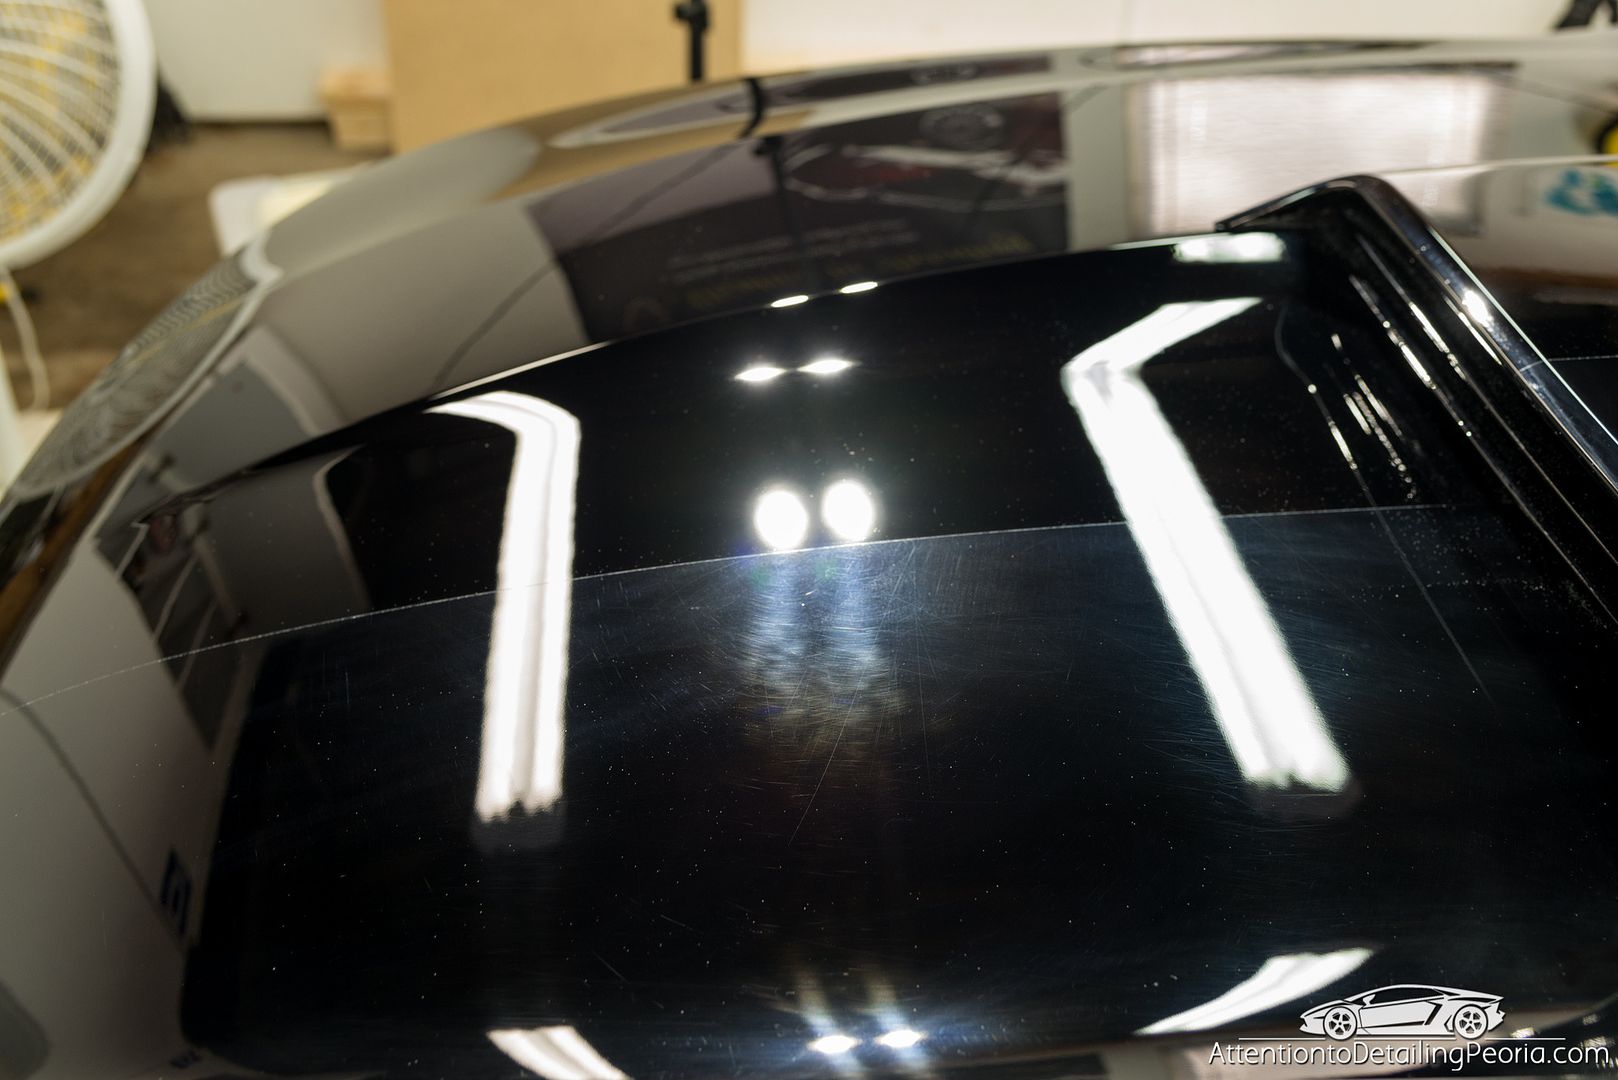
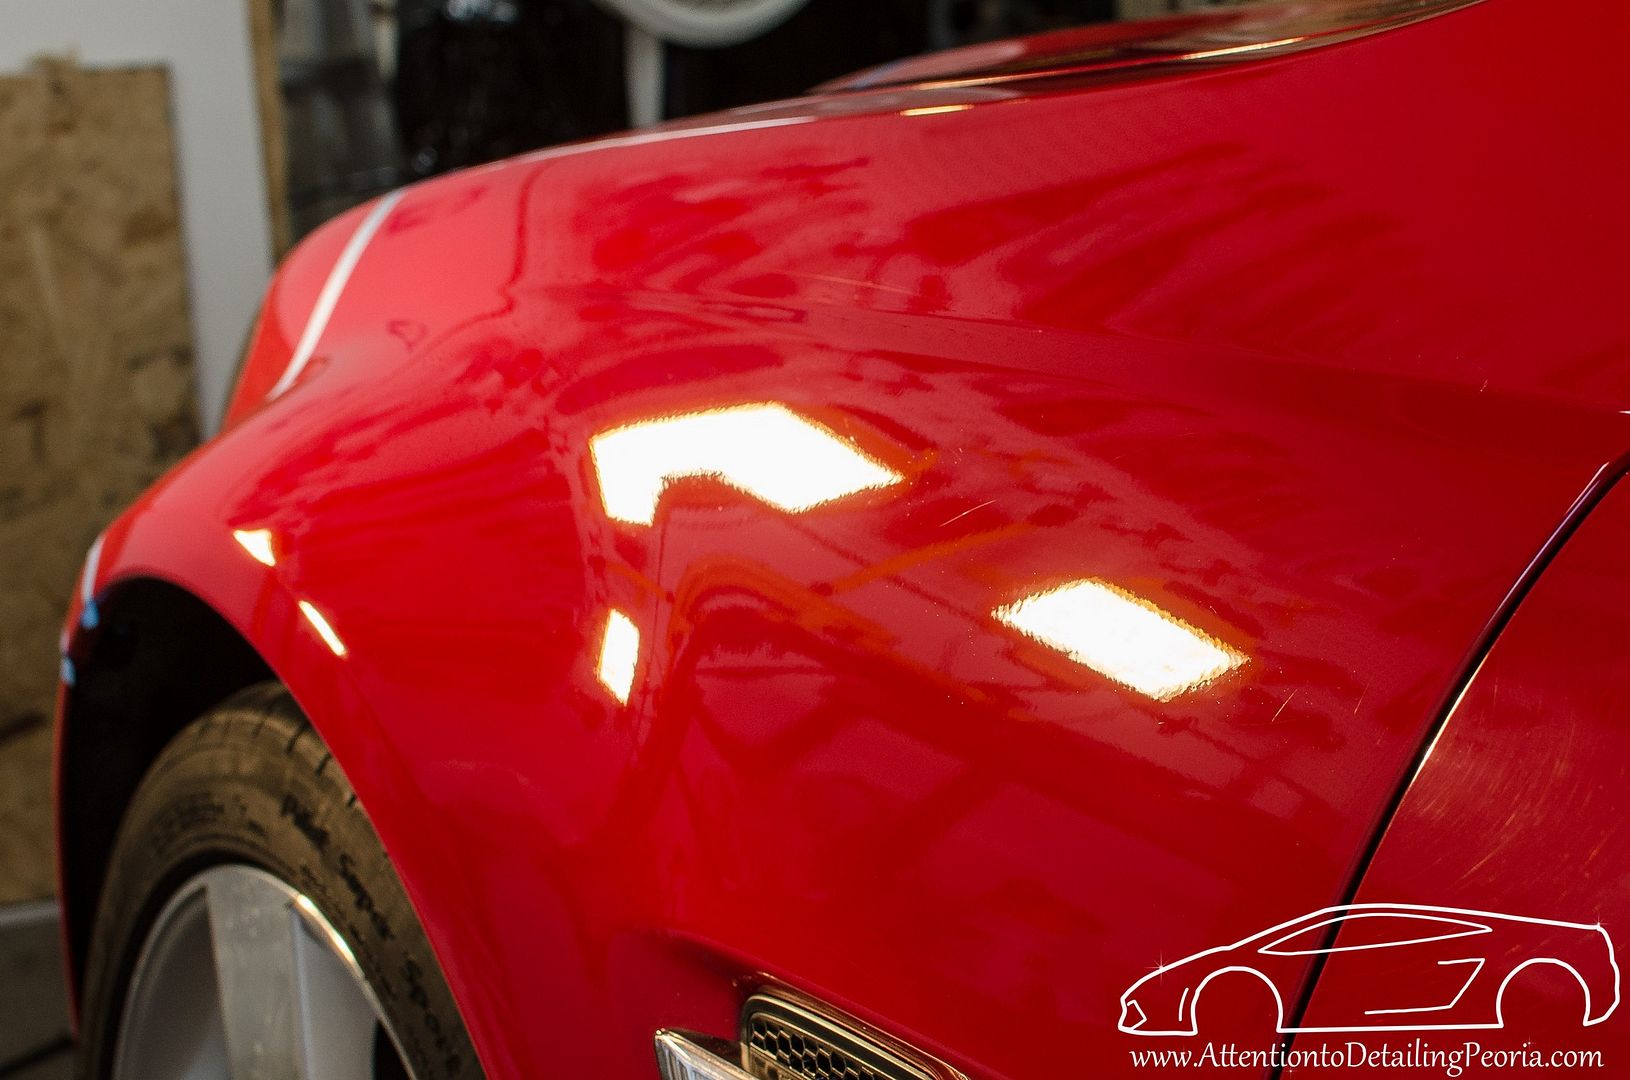
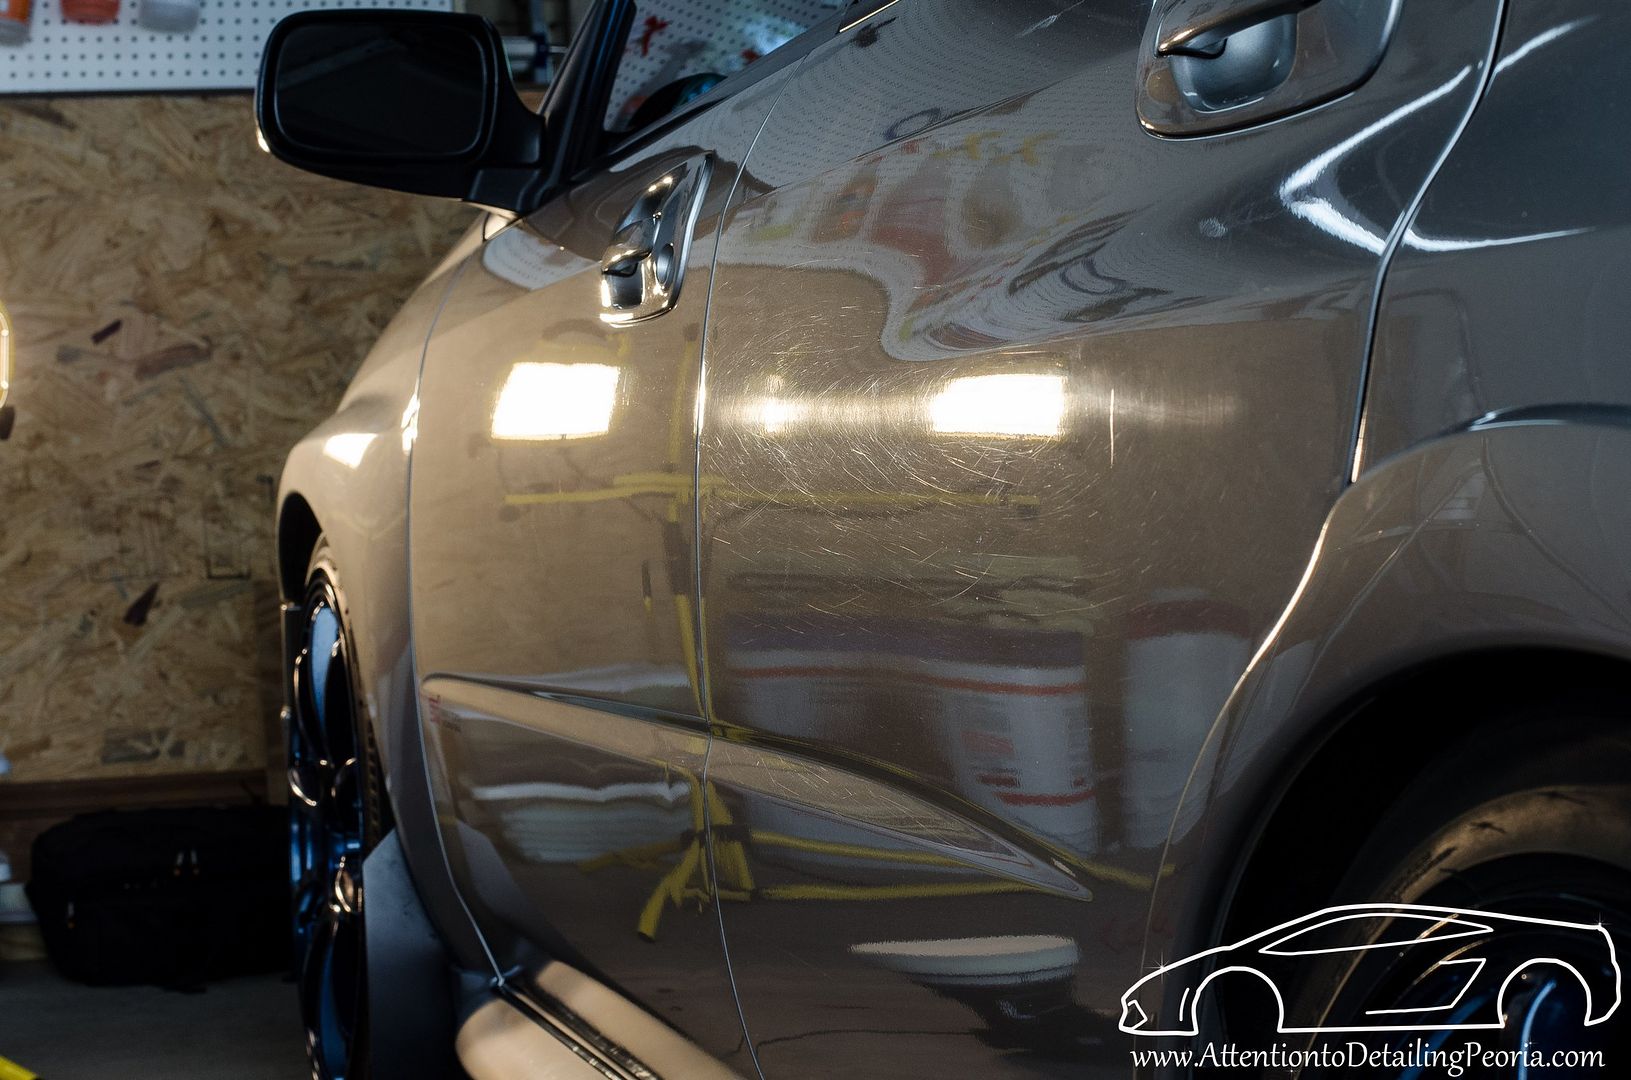
I have typically been using my Note 4 to get before and after photos, as well as whole car photos. I have been doing it this way because it is much easier to get uploaded to my FB page and website. I have been having some trouble lately getting good close-up shots for the paint correction before and afters, obviously because it's a cell phone and not ideal. The problem is, I know next to nothing about the camera I have. I got it when my son was born, and I just keep it on "Auto" mode most times, unless I switch over the close-up mode or something like that.
My question is, for those of you that use a DSLR for your photos, what settings do you adjust to really show and accentuate the paint correction? Any tips or trucks? I have a Nikon D3100.
My question is, for those of you that use a DSLR for your photos, what settings do you adjust to really show and accentuate the paint correction? Any tips or trucks? I have a Nikon D3100.