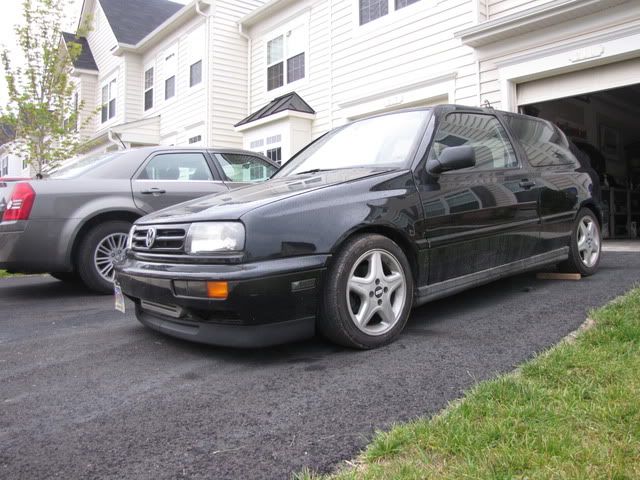
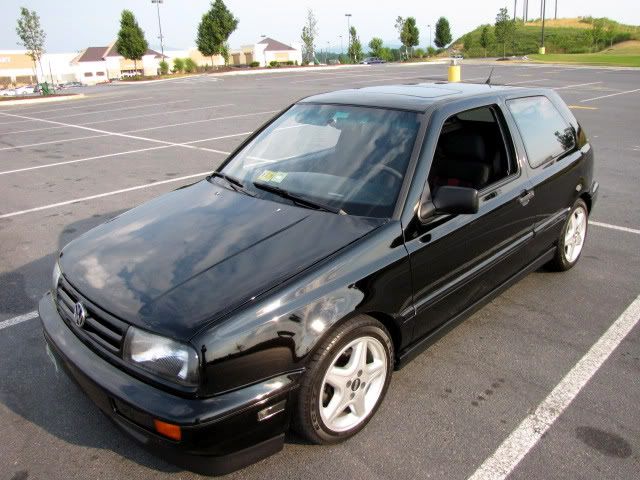
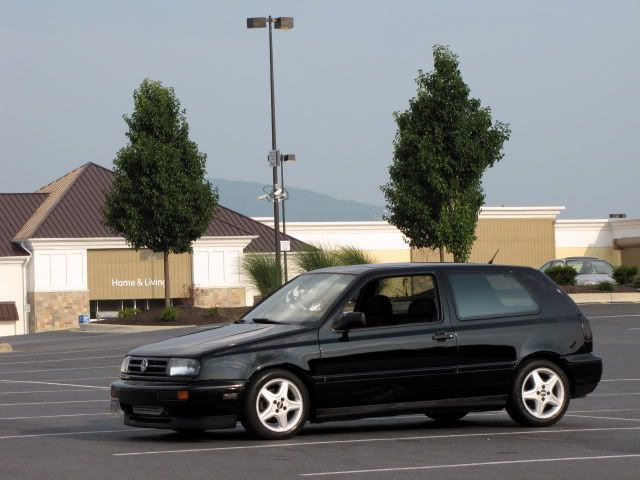
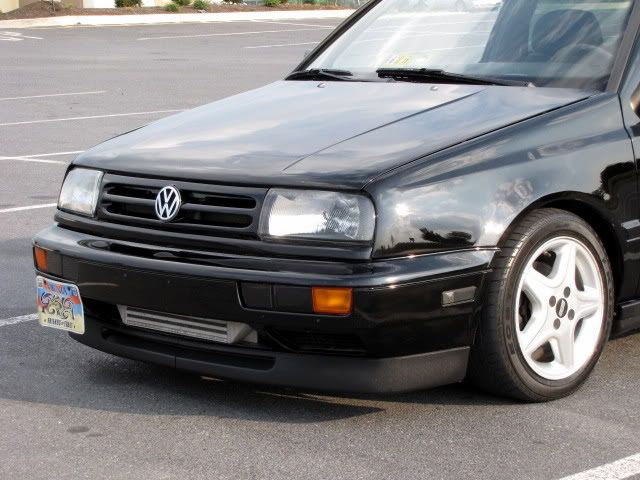
This is my personal vehicle that I've owned since I was 16. I bought the car used with 60,xxx miles on it as my first vehicle completely stock. I had taken decent care of the finish with what knowledge I had with just washing and waxing. The last few years as I started to get into detailing I started to see what my paints finish really looked like. This cars finish is what originally got me into doing paint correction as I wanted the car to be perfect. Since starting to detail and do correction jobs I just have not had time to do my own vehicle which has been killing me. I haven’t driven the car all winter and it was sitting outside and as you will see it was in need of a serious correction. The entire finish of the car looked horrible. I will let the pics speak for themselves. Hope everyone enjoys!
Process
Wash/clay
-Two bucket wash w/ heavy mix of dawn
-DP Extreme Auto foam/heavy Dawn mix via AG Foam cannon
-Red LC wash mitt
-Dried with LC HD WW towels
-Pinnacle Clay bar
-Pinnacle clay lube
Wheels/Tires
-Various Brushes w/ P21s Wheel Gel
-Meg's Gold class tire gel
-Wheel wells received some Aerospace 303
Correction
-PCXP 7424
-Megs 105 w/ LC Orange pad (2 Passes)
-Megs 205 w/ LC White pad (2 Passes)
LSP
-Black Fire Wet Diamond Paint Sealant
-Pinnacle Souverän
All exterior textured trim received some Aerospace 303 protectant
Total Time: 12 hours
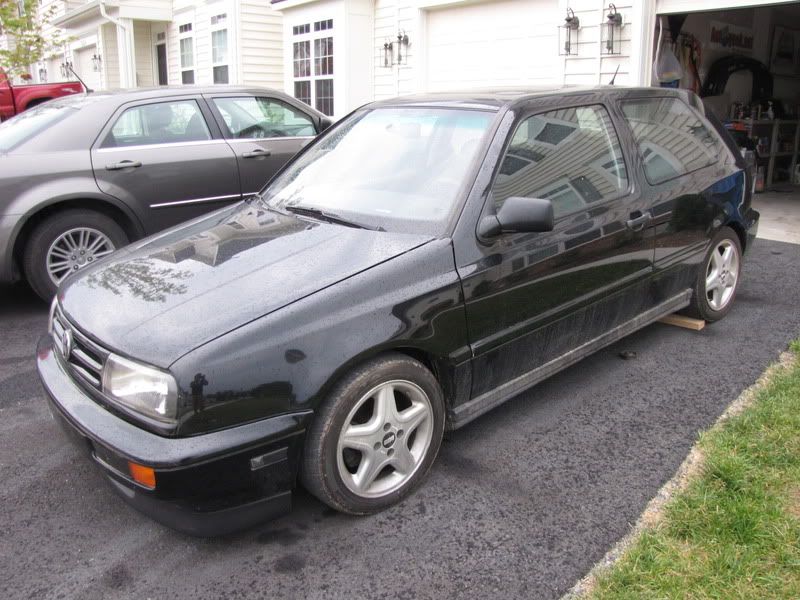
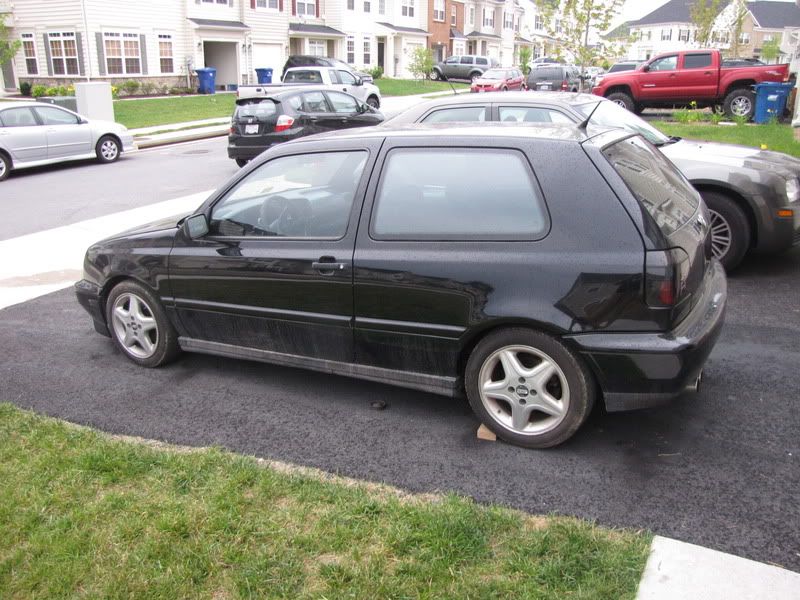
Started with the car being extremely dirty.
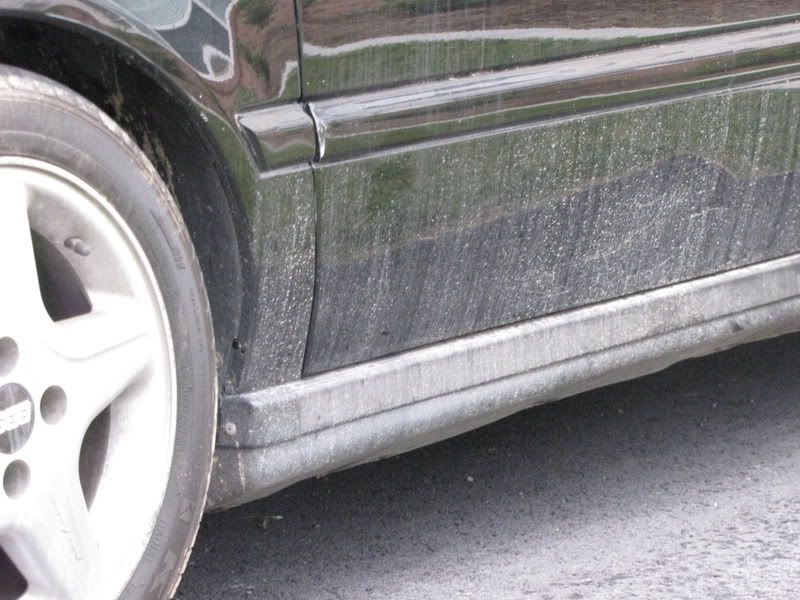
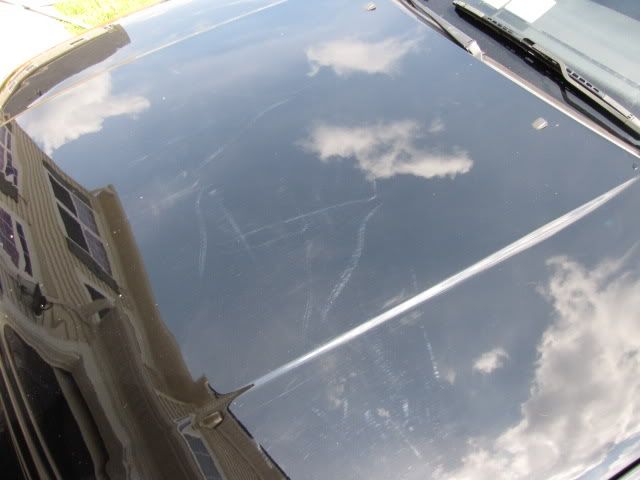
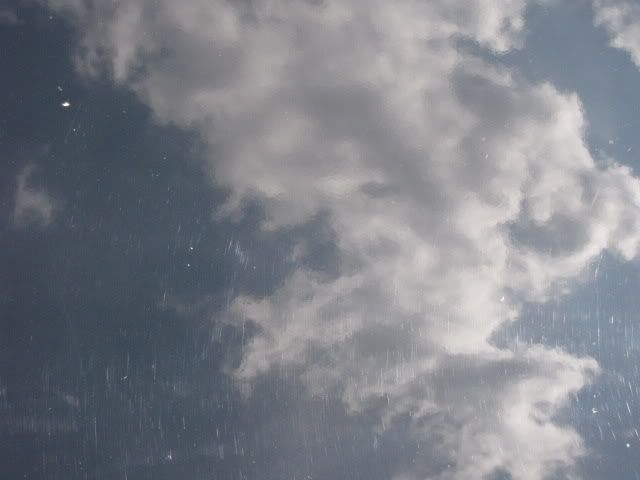
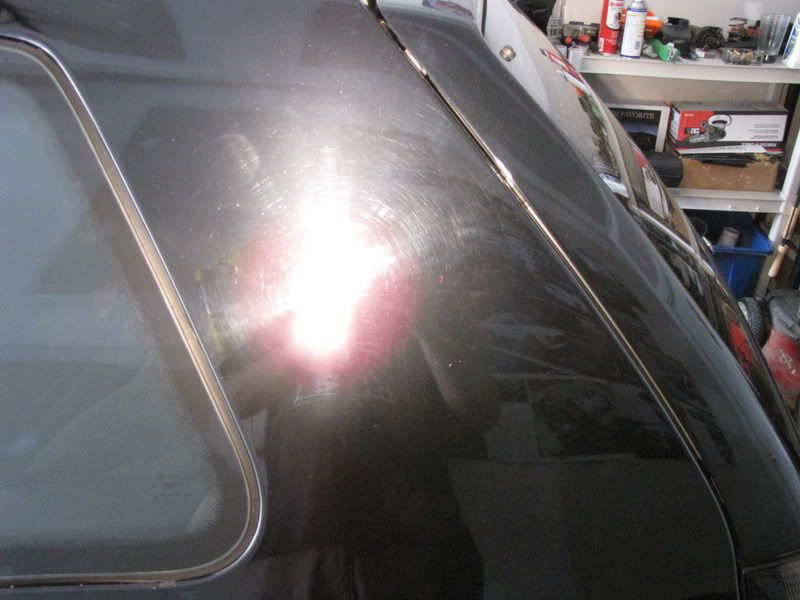
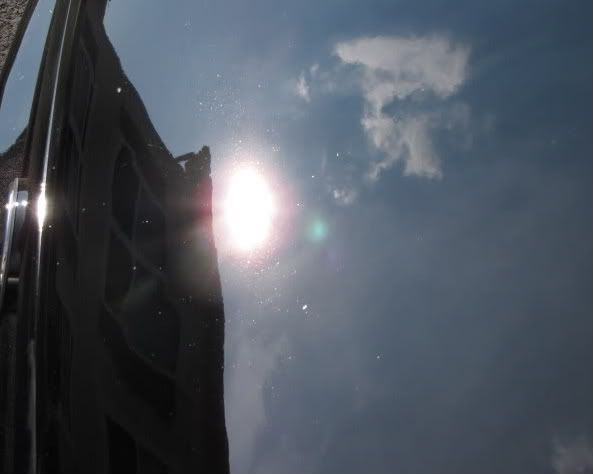
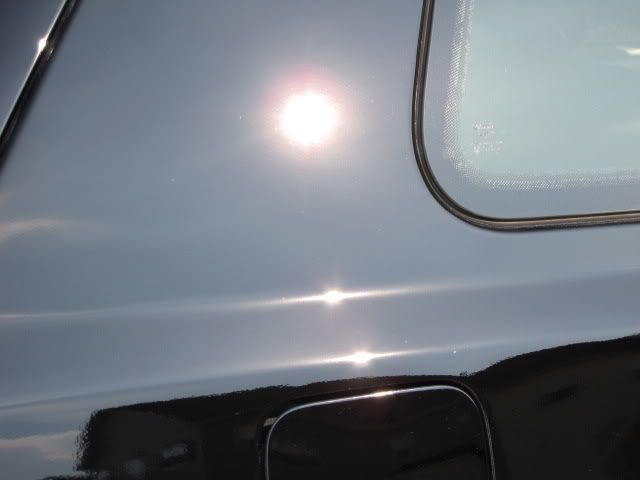
After I washed and clayed the car I took it out into the sun to see the real defects. It wasnt pretty. Actually it was really really bad.

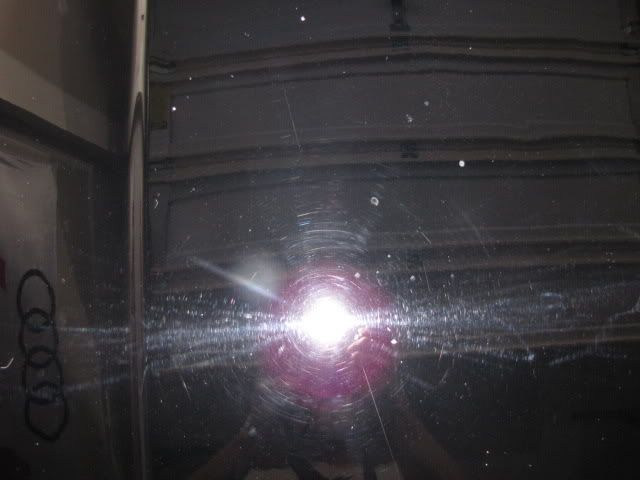
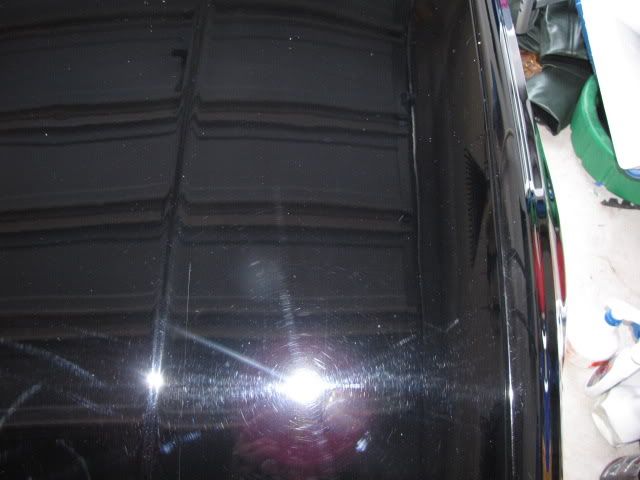
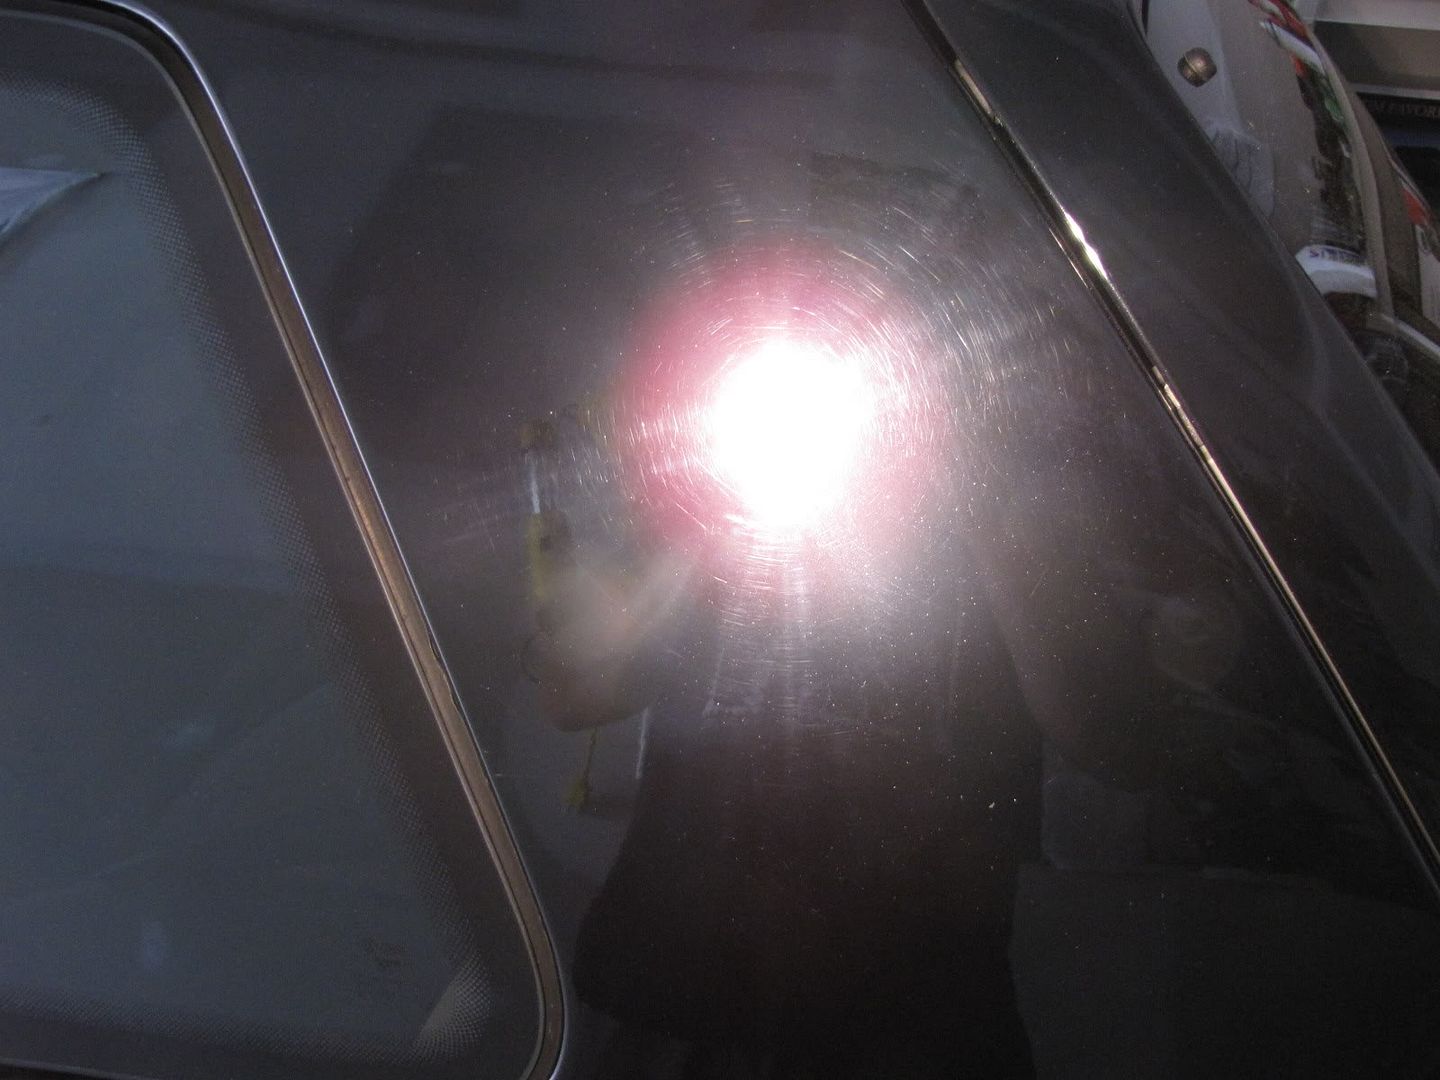
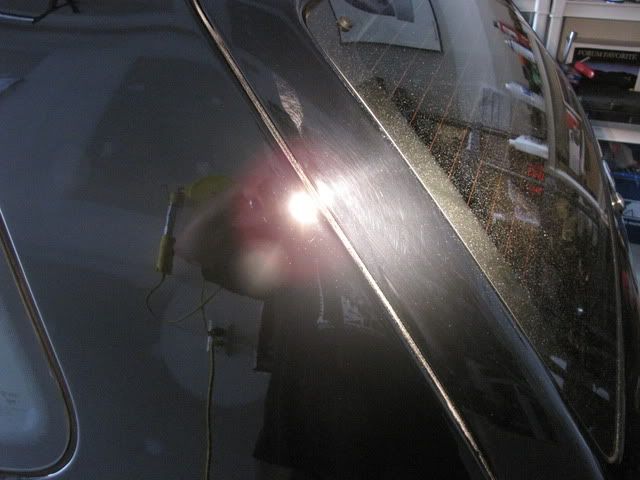
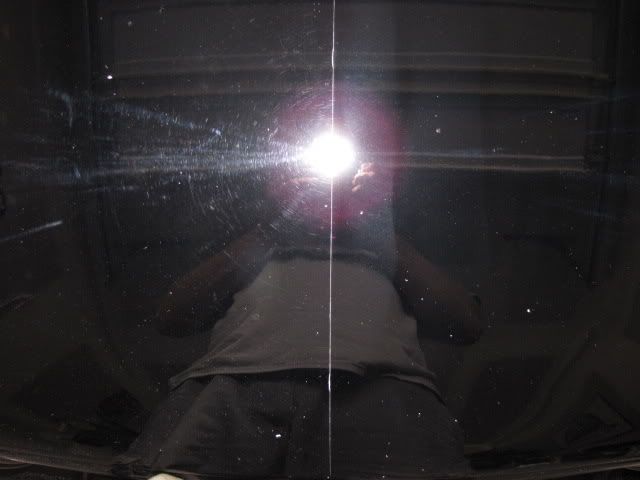
Under the lights it was much worse.

The entire cars finish looked like this. Very disappointing as I had a lot of work ahead of me.
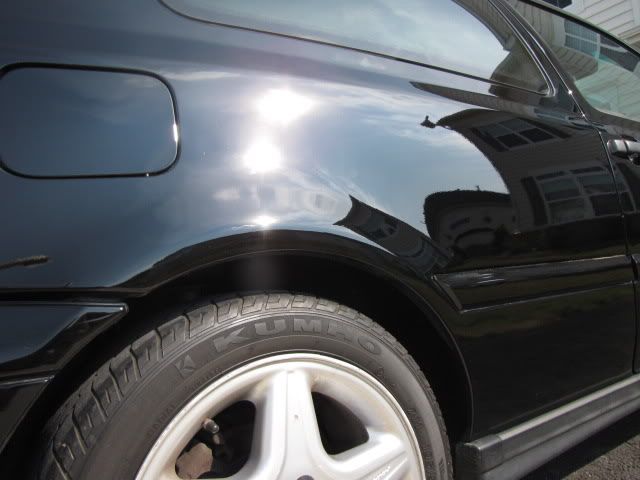
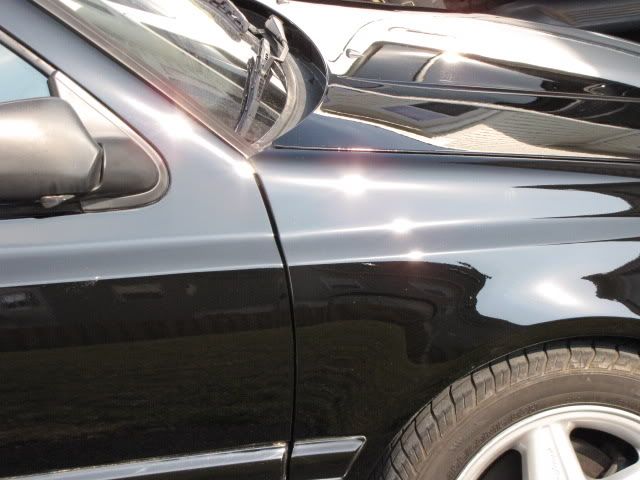
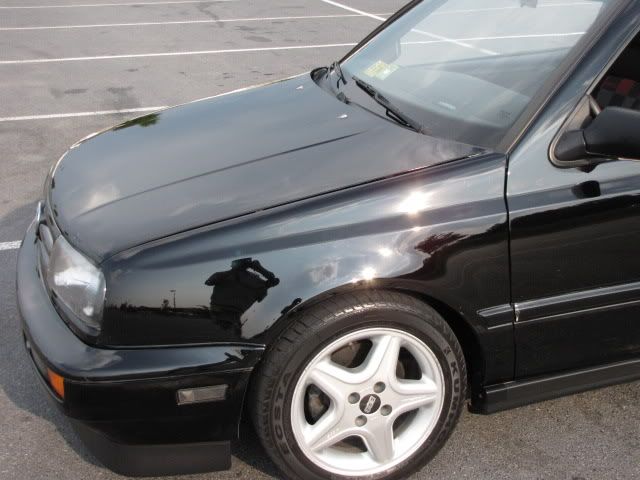
Fender area

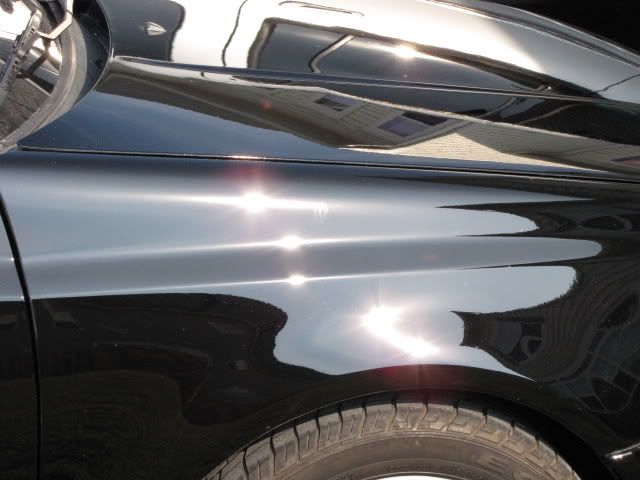
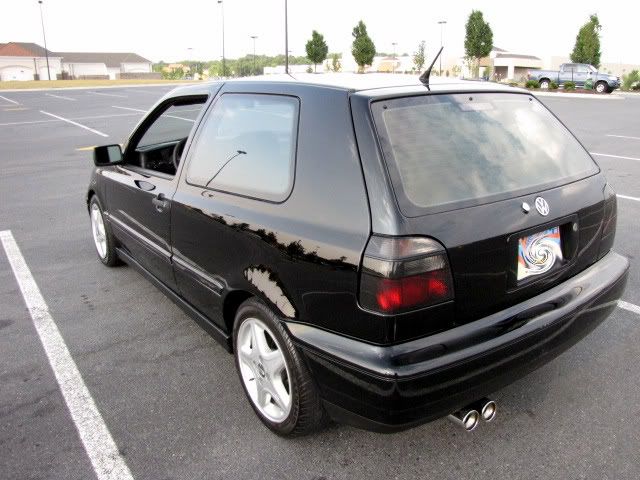
Rear quarter
I did a test section and found that 2 passes with LC orange and m105 and 2 passes of LC white with m205 would do the trick.
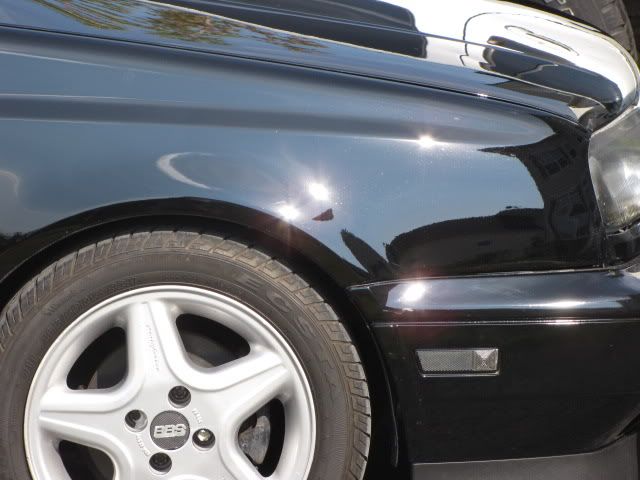
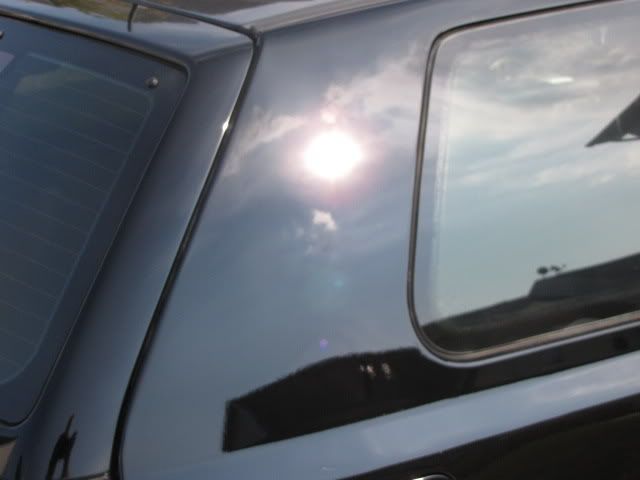
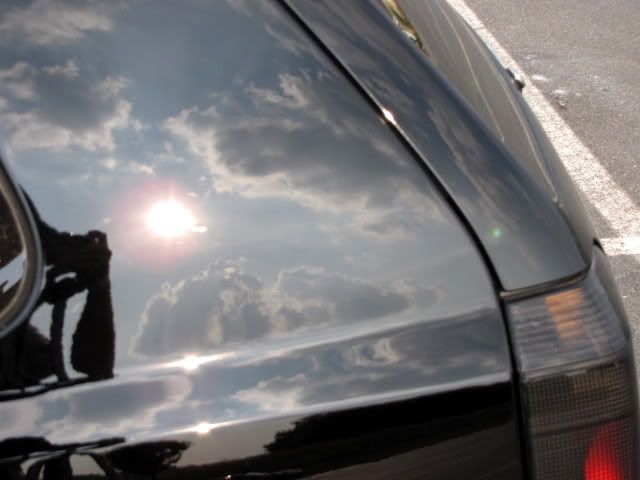
Here is the rear quarter after both passes
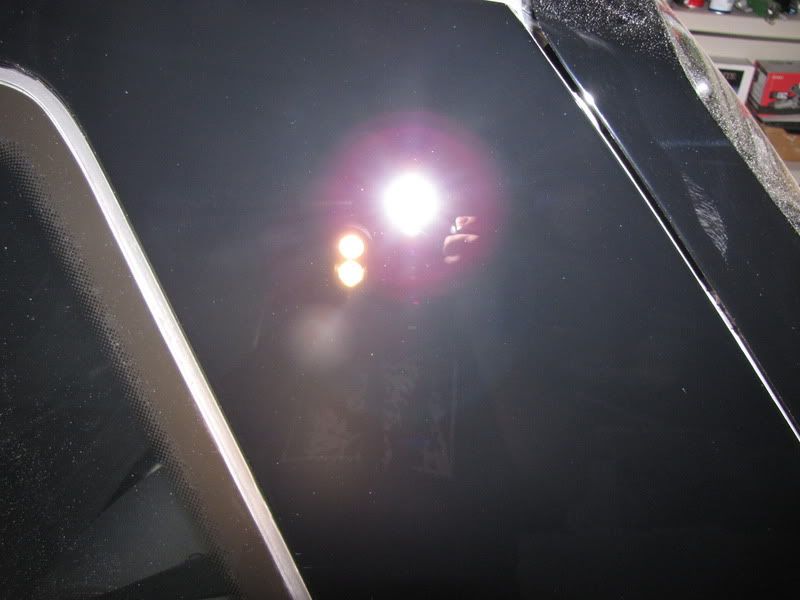

and a semi 50/50
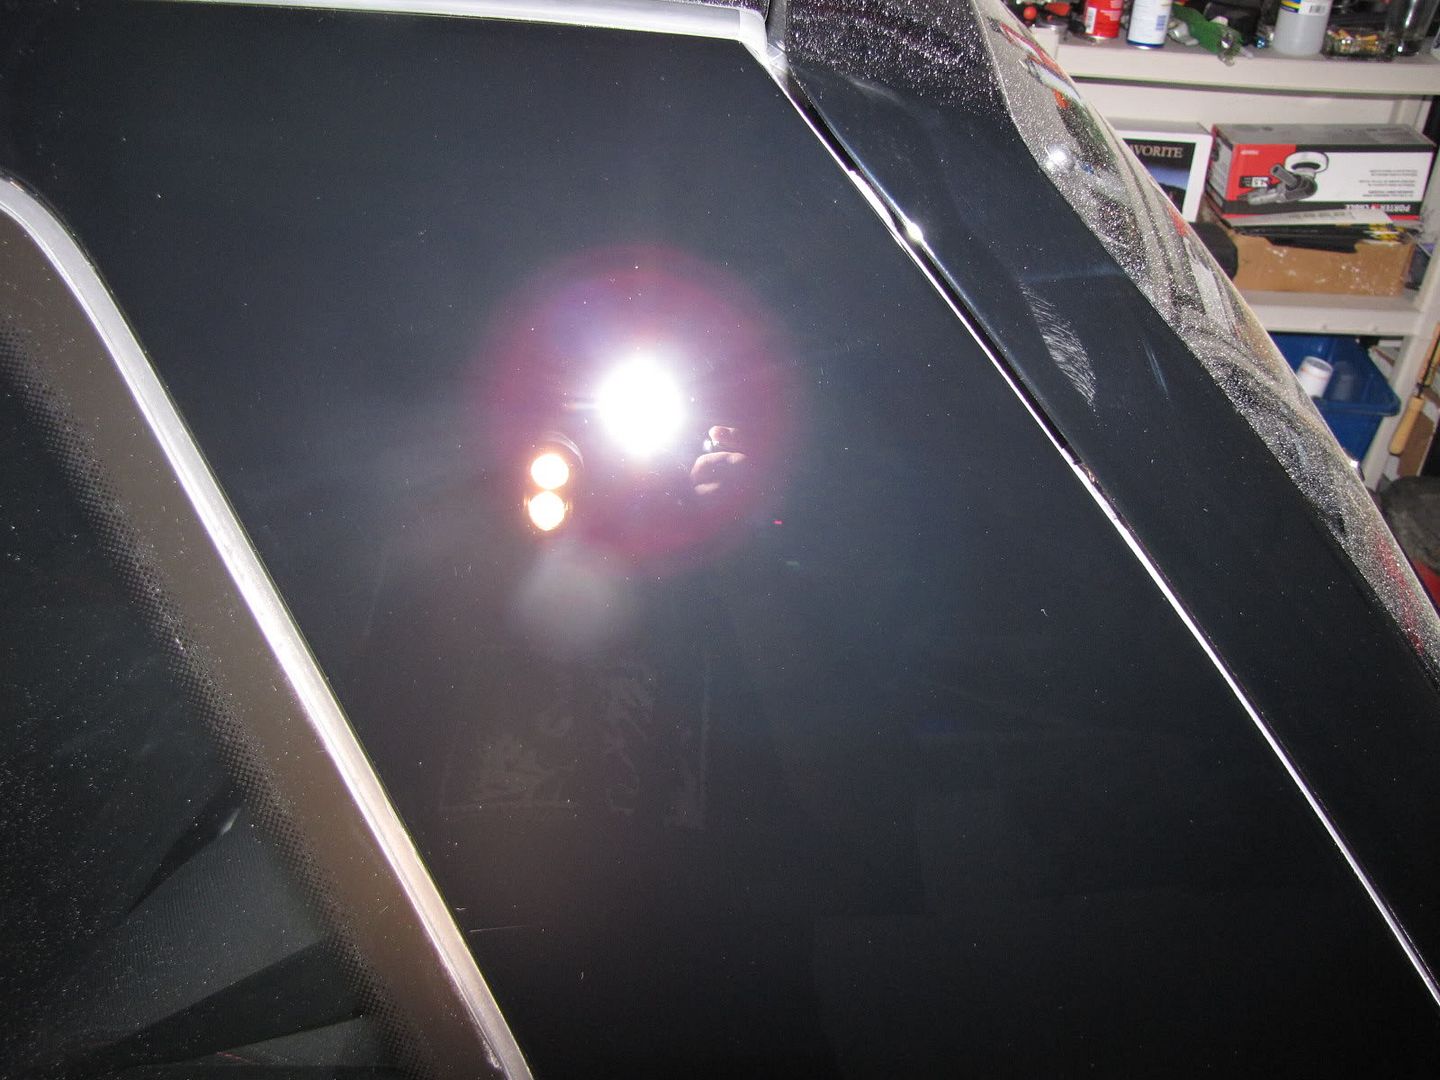
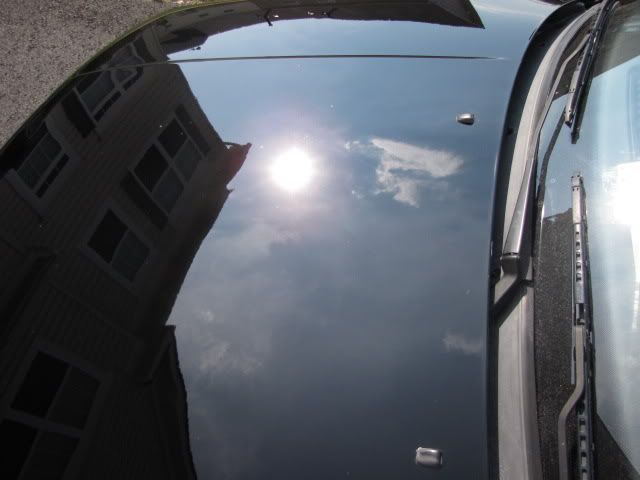
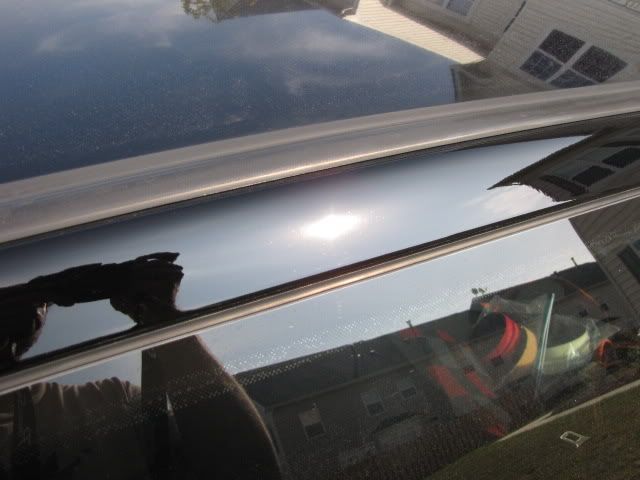
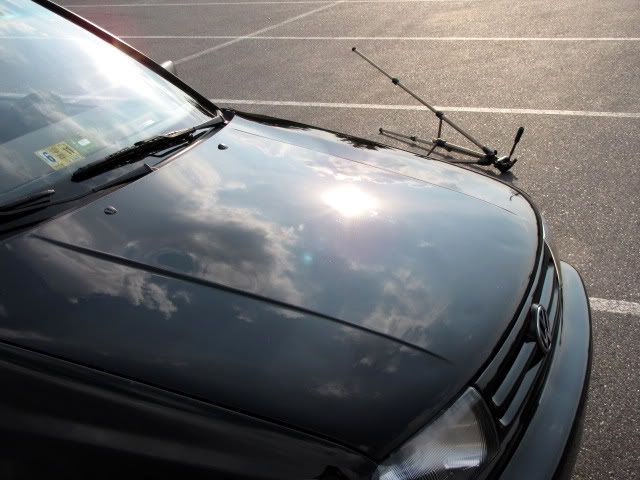
I followed this process the entire car. Here is the hood section 50/50 with just one pass of orange with m105
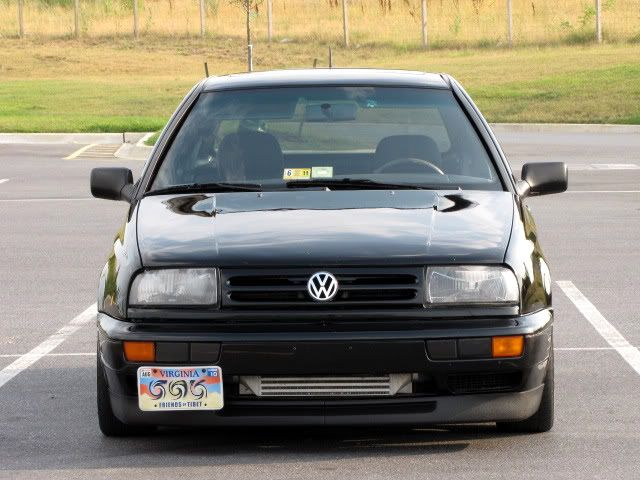
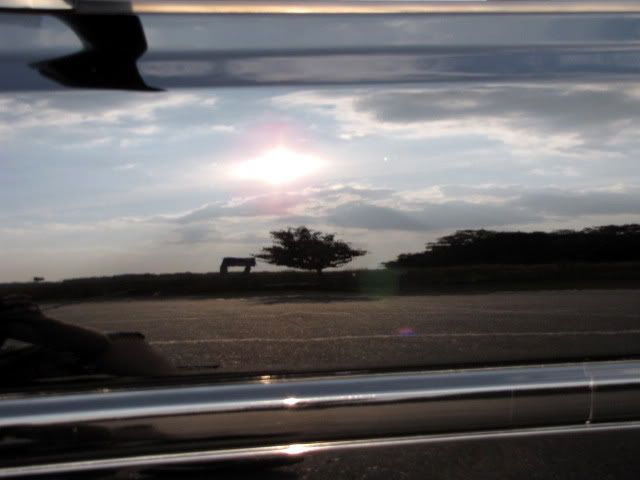
Batteries died and didn’t have anymore at the house so I didn’t get anymore during process shots. After I did the entire vehicle I took it outside to check my work and before LSP and after an IPA wipe down and another heavily mixed dawn wash.


Process
Wash/clay
-Two bucket wash w/ heavy mix of dawn
-DP Extreme Auto foam/heavy Dawn mix via AG Foam cannon
-Red LC wash mitt
-Dried with LC HD WW towels
-Pinnacle Clay bar
-Pinnacle clay lube
Wheels/Tires
-Various Brushes w/ P21s Wheel Gel
-Meg's Gold class tire gel
-Wheel wells received some Aerospace 303
Correction
-PCXP 7424
-Megs 105 w/ LC Orange pad (2 Passes)
-Megs 205 w/ LC White pad (2 Passes)
LSP
-Black Fire Wet Diamond Paint Sealant
-Pinnacle Souverän
All exterior textured trim received some Aerospace 303 protectant
Total Time: 12 hours
Started with the car being extremely dirty.
After I washed and clayed the car I took it out into the sun to see the real defects. It wasnt pretty. Actually it was really really bad.
Under the lights it was much worse.
The entire cars finish looked like this. Very disappointing as I had a lot of work ahead of me.
Fender area
Rear quarter
I did a test section and found that 2 passes with LC orange and m105 and 2 passes of LC white with m205 would do the trick.
Here is the rear quarter after both passes
and a semi 50/50
I followed this process the entire car. Here is the hood section 50/50 with just one pass of orange with m105
Batteries died and didn’t have anymore at the house so I didn’t get anymore during process shots. After I did the entire vehicle I took it outside to check my work and before LSP and after an IPA wipe down and another heavily mixed dawn wash.
")
")