Ferrari 458 Italia Tag Team Paint Correction by Unique and Tru Shine Detailing

Tru_Shine

New member
Joined
Jan 13, 2010
Messages
97
Reaction score
0


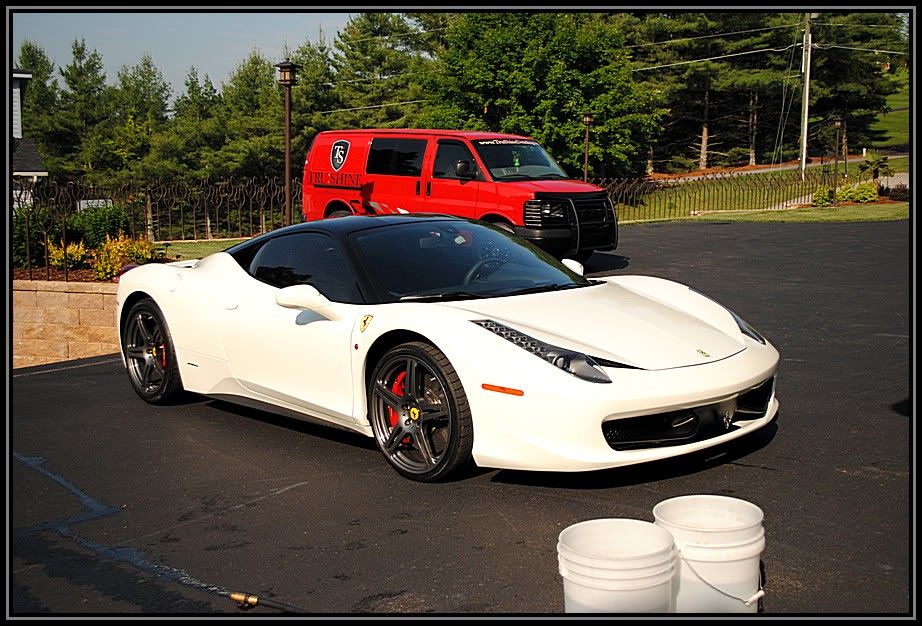
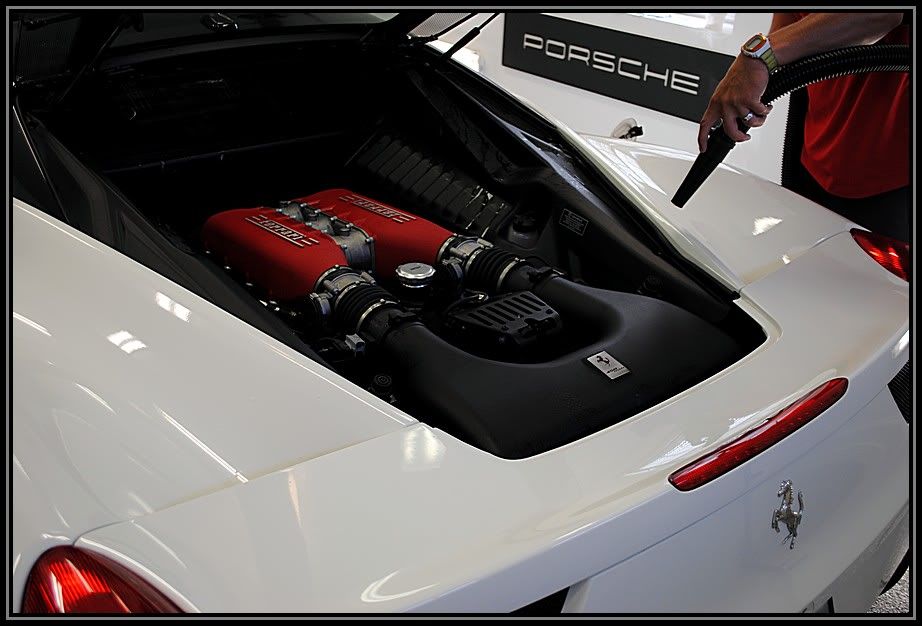
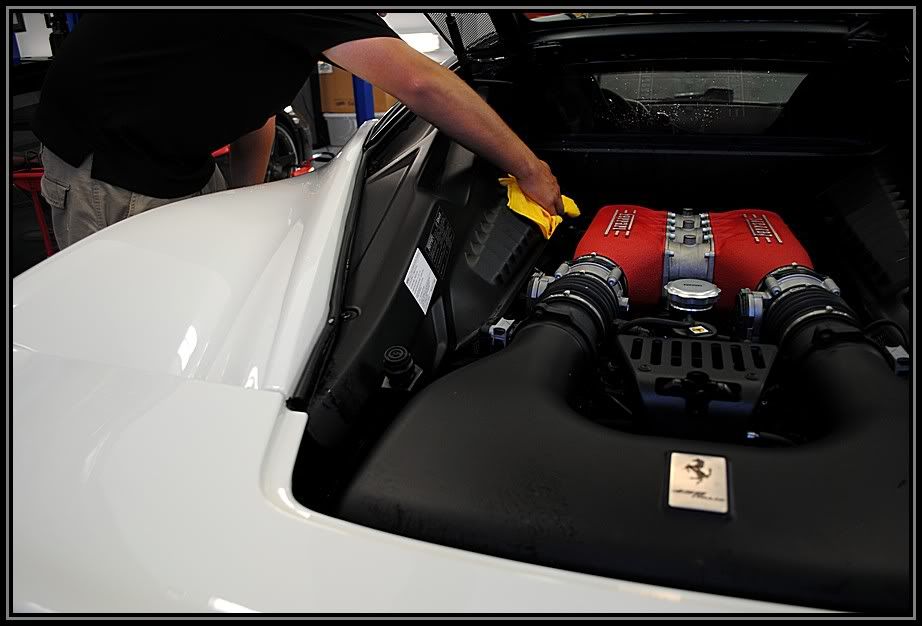
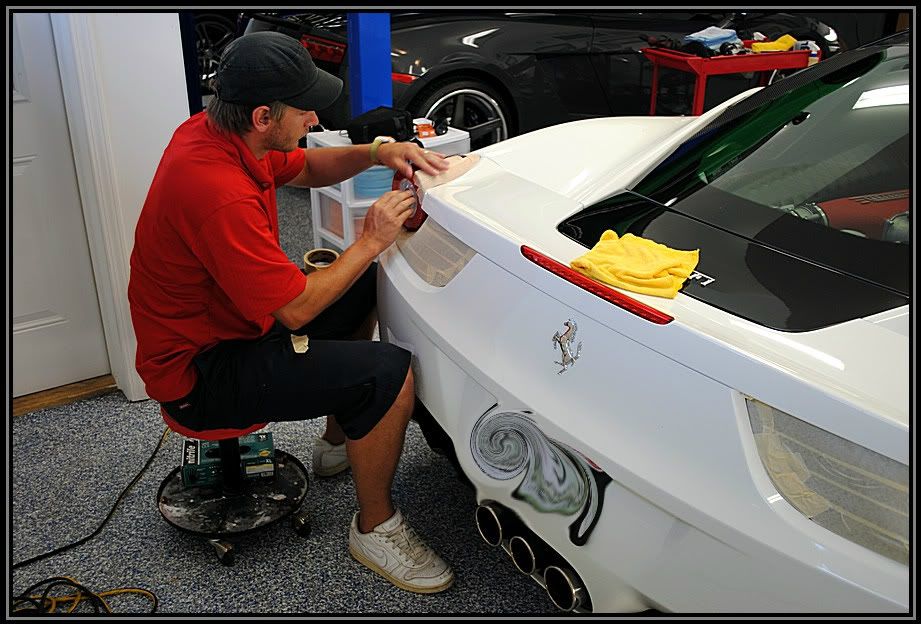
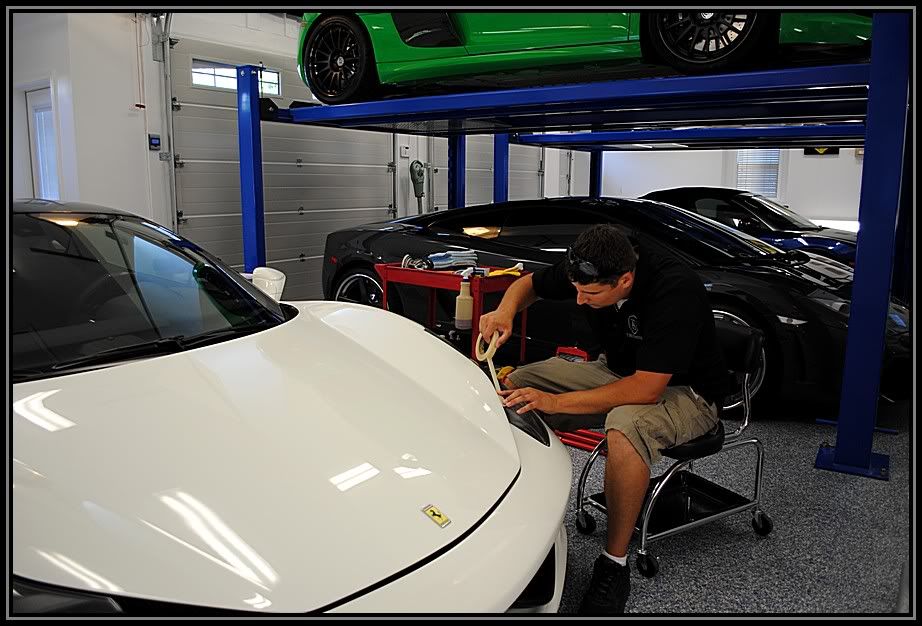
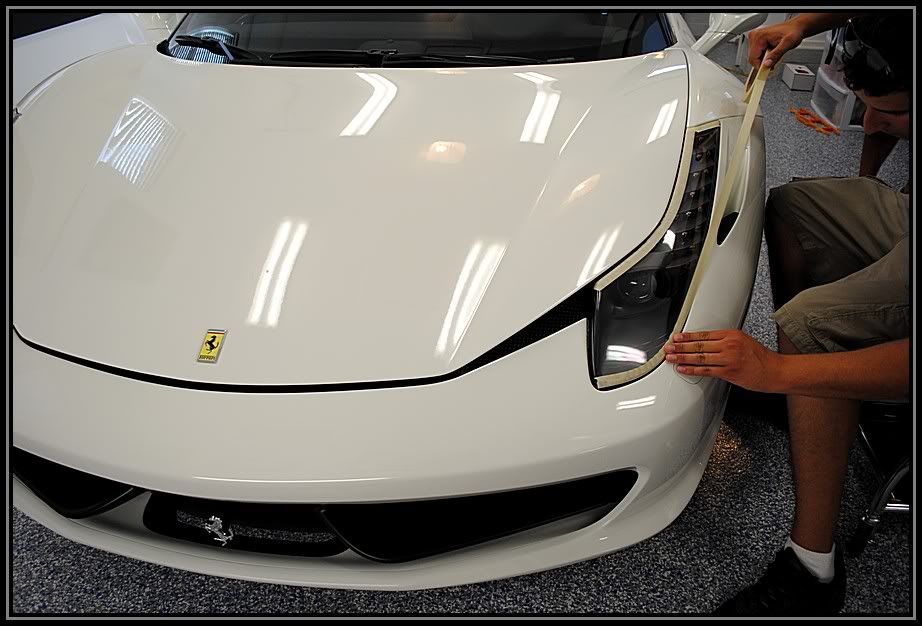
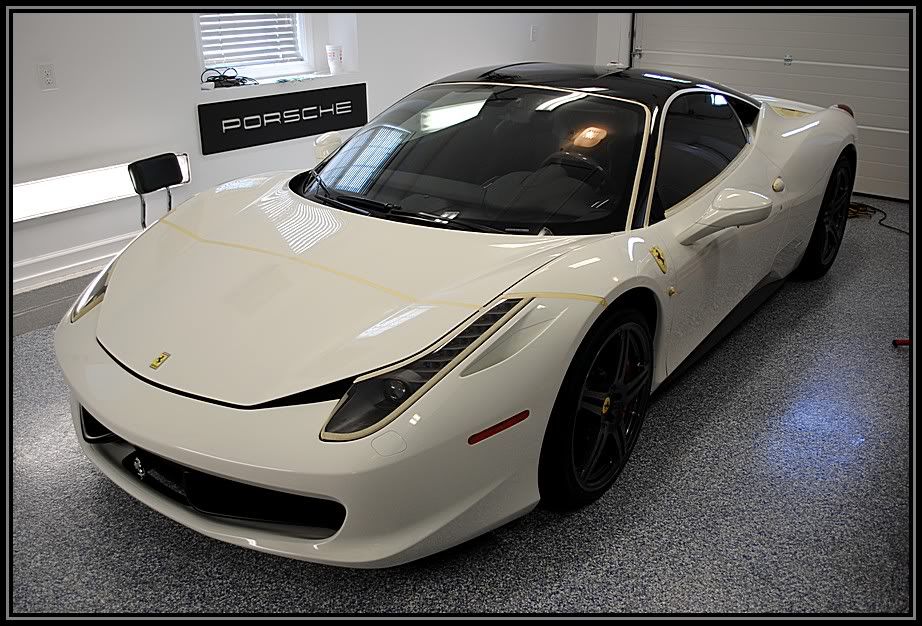
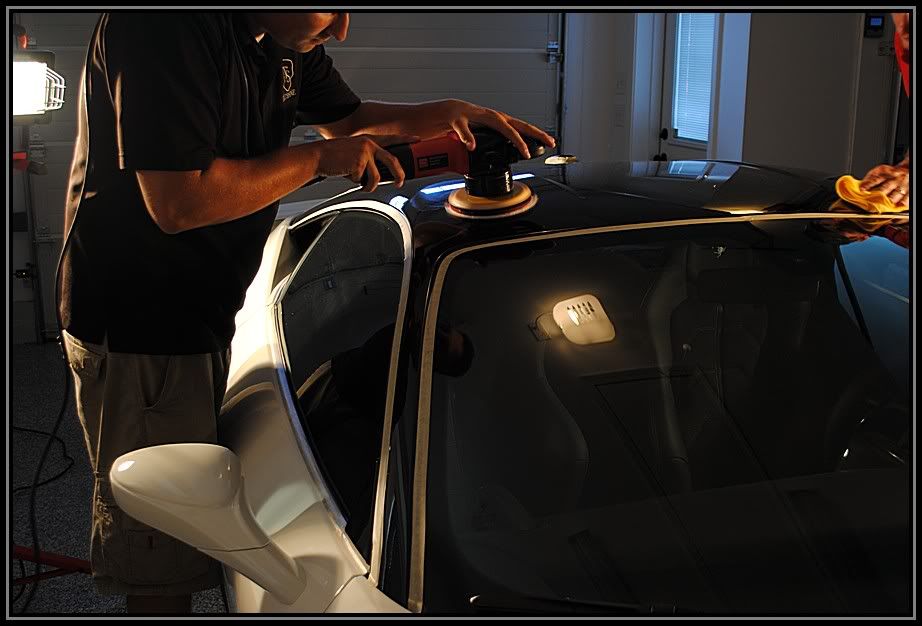
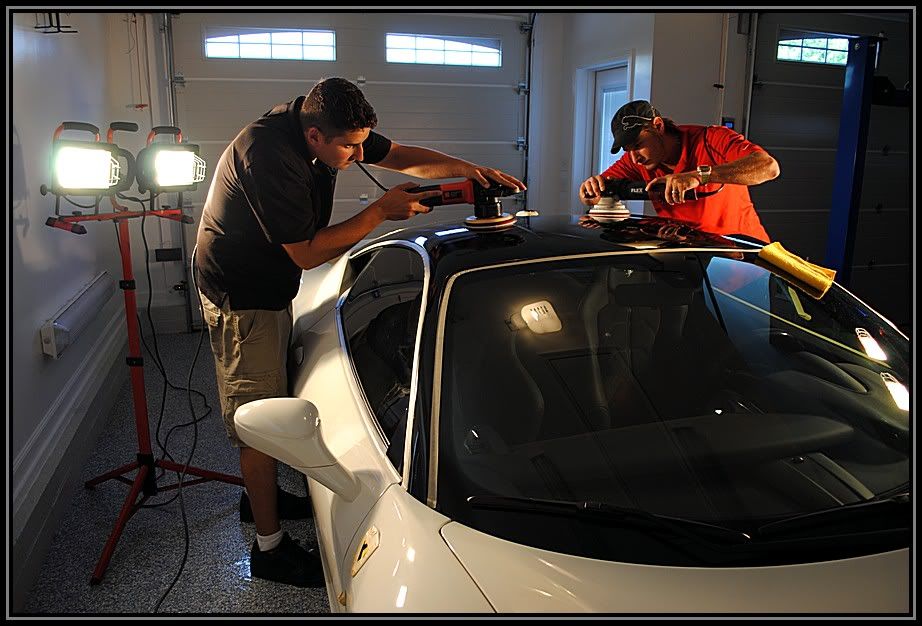
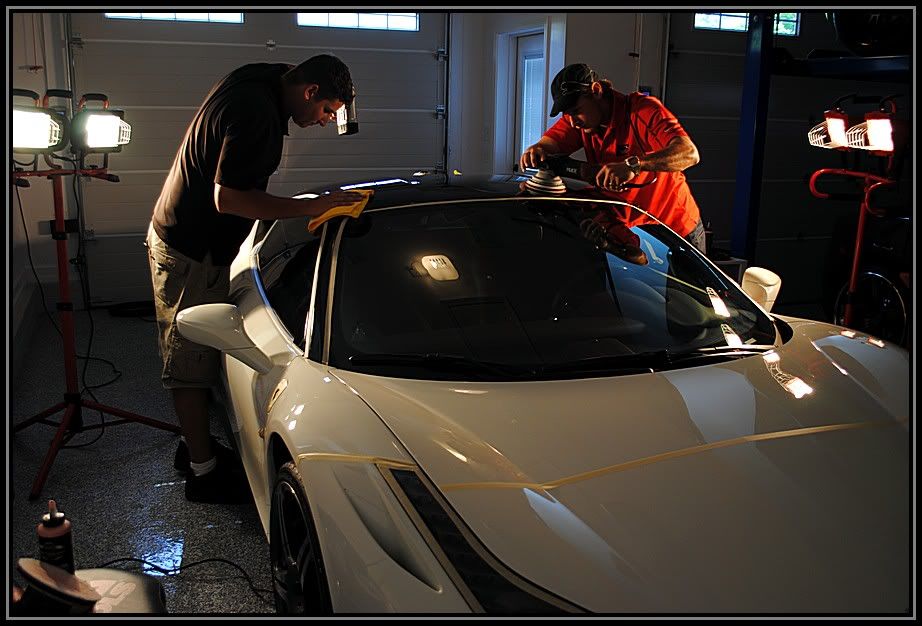
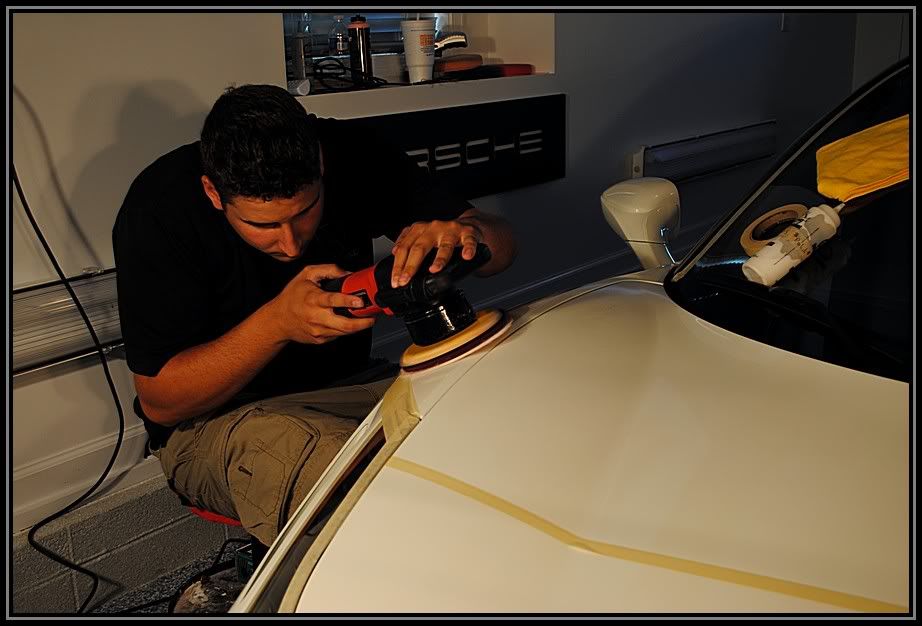
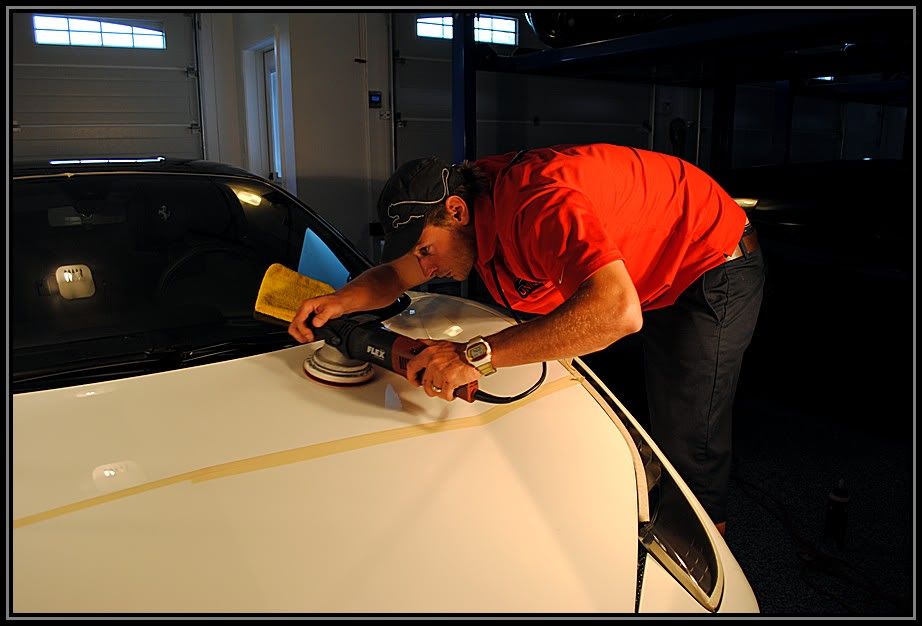
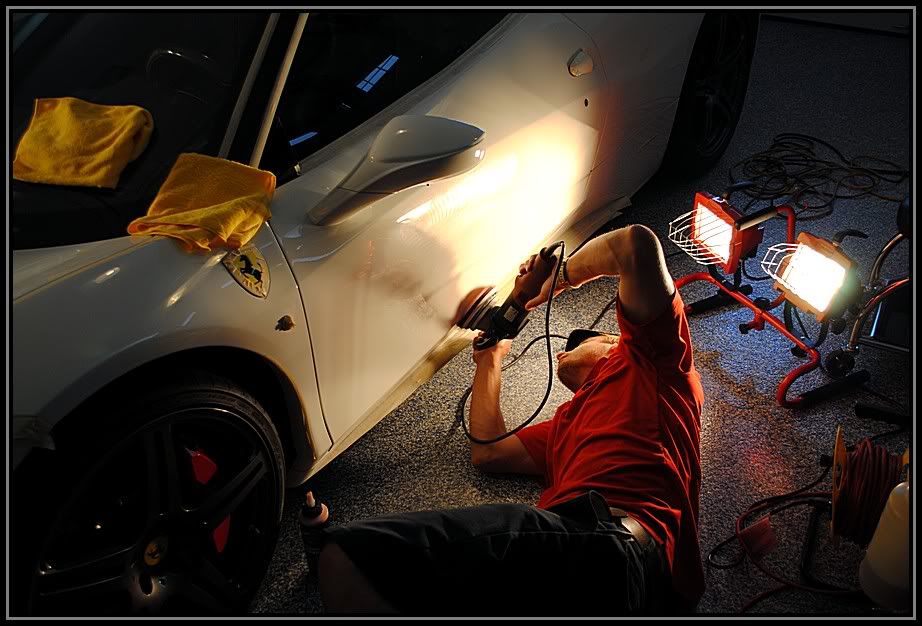
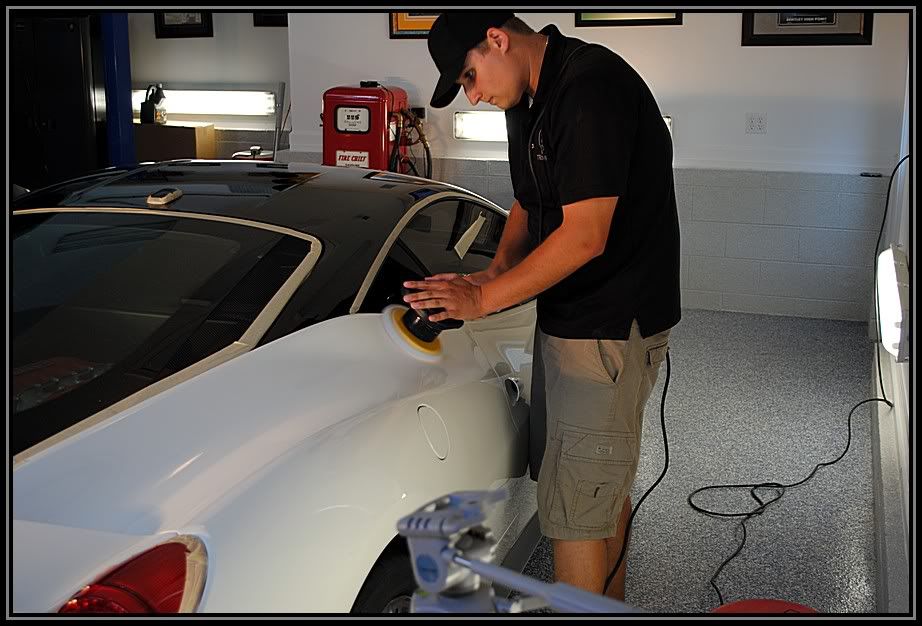
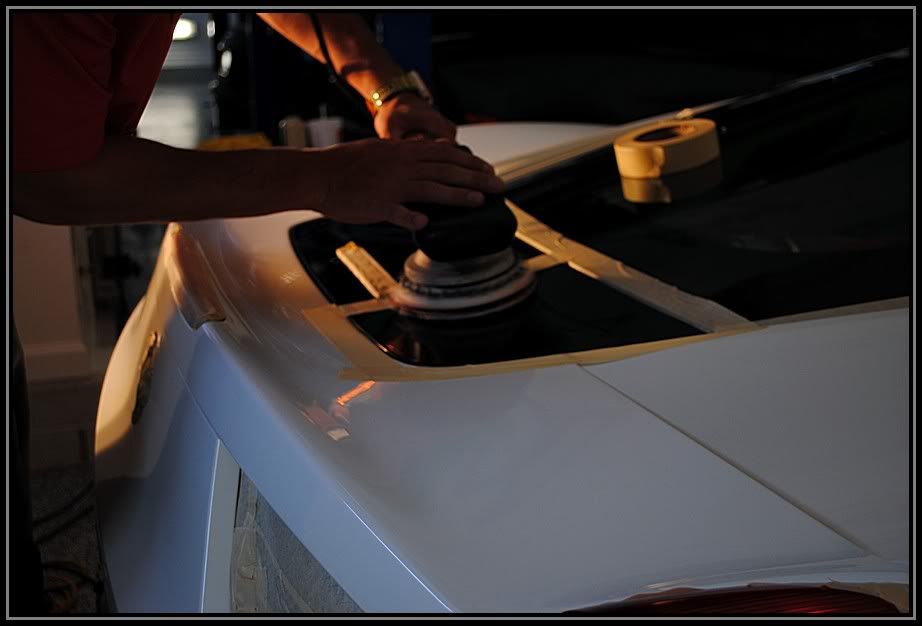
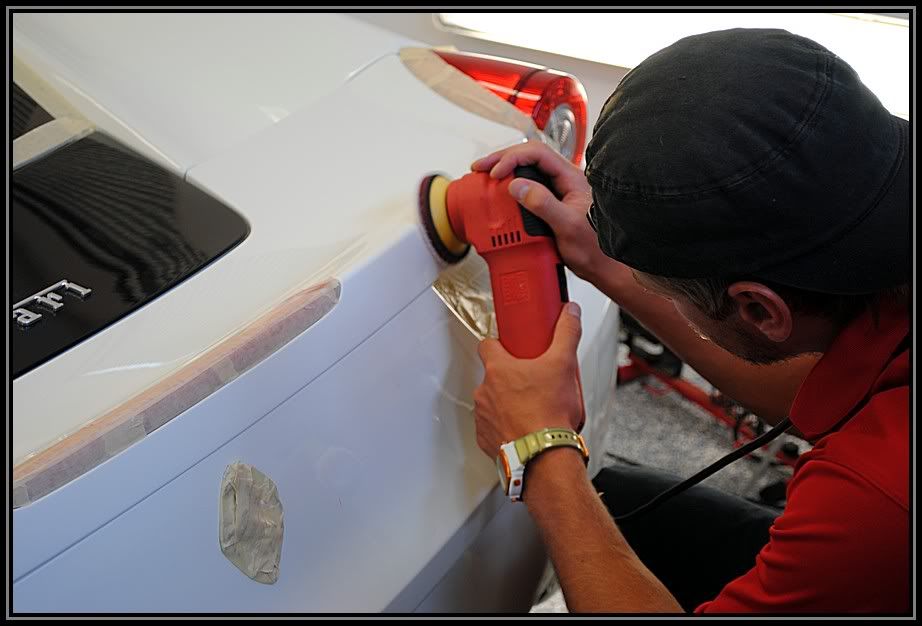
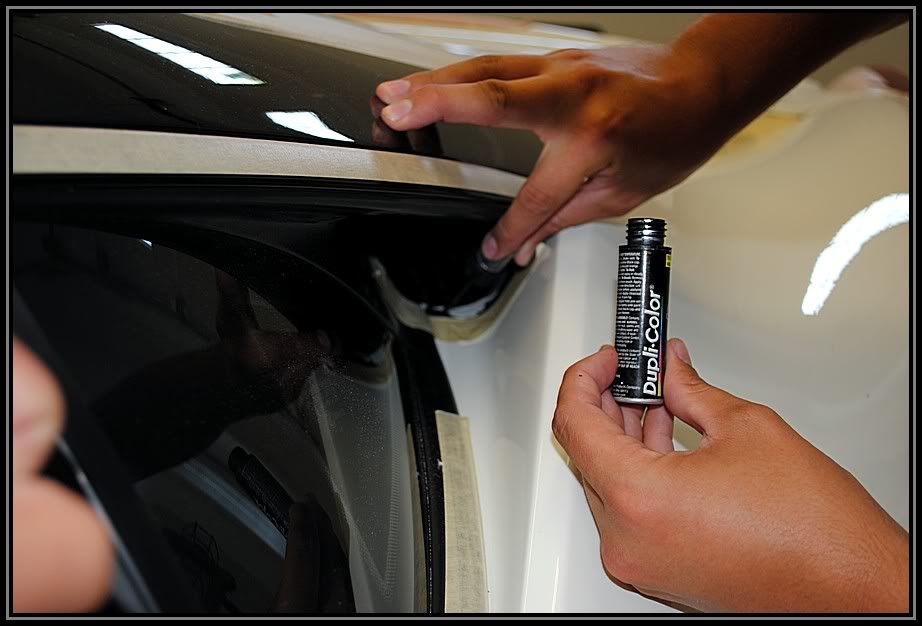
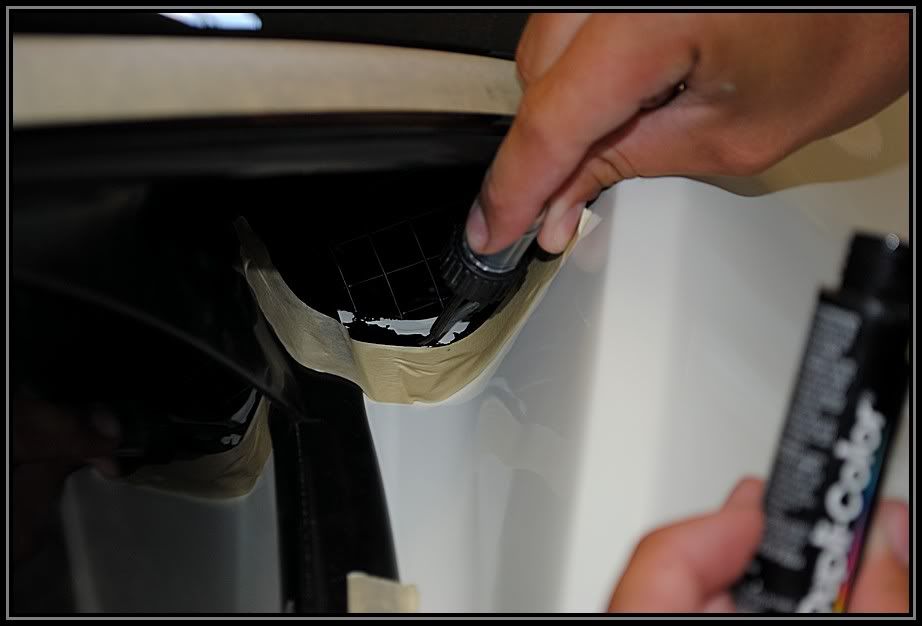
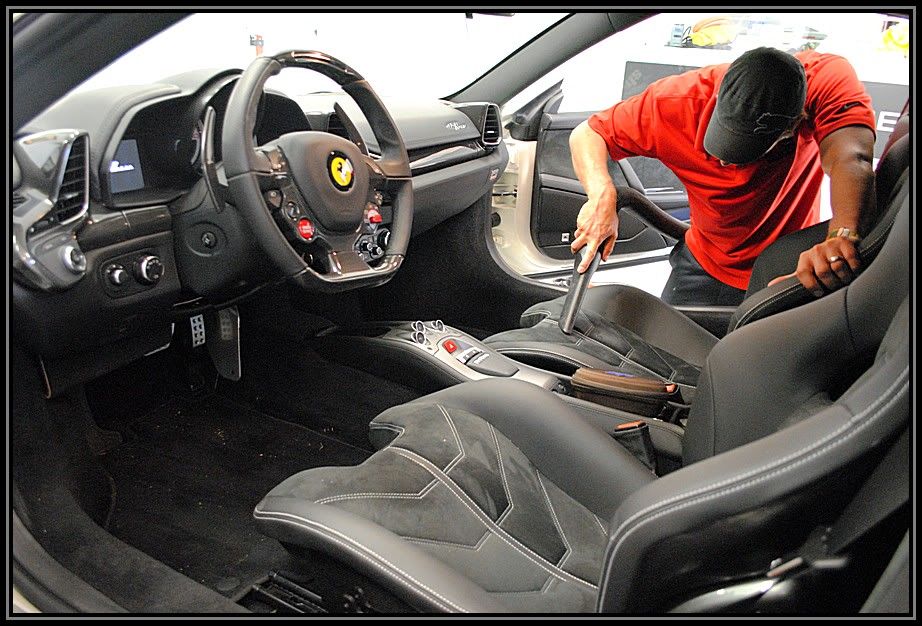
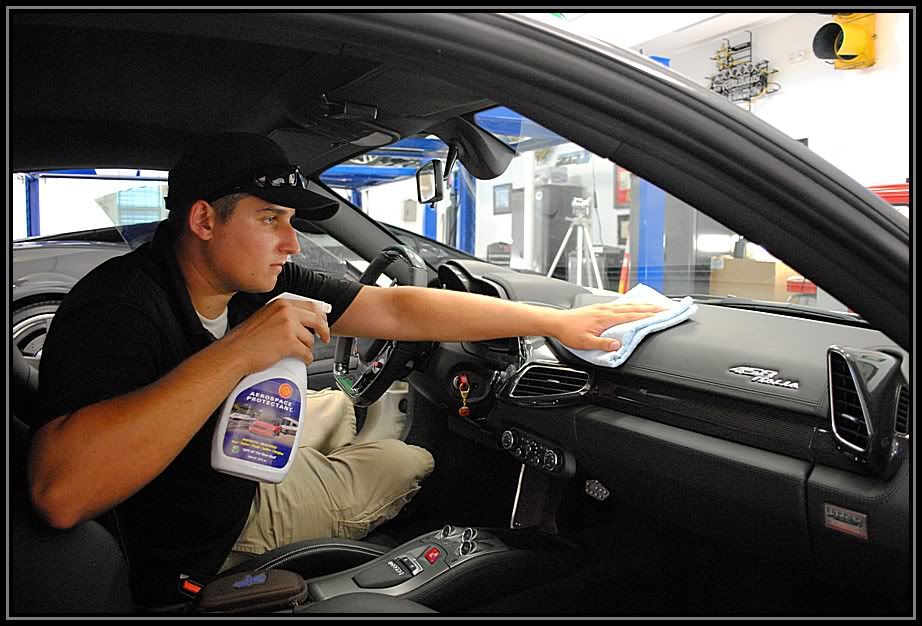
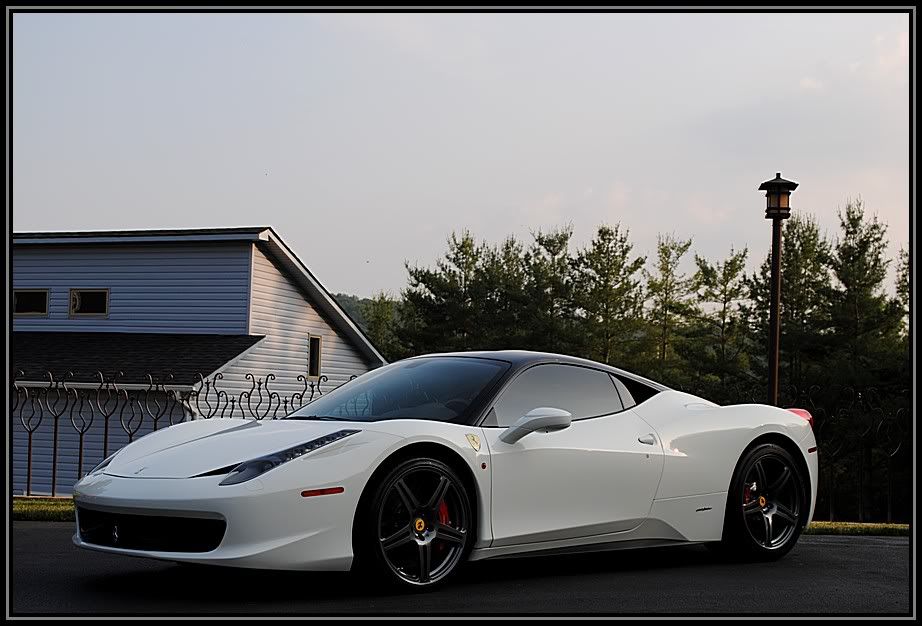
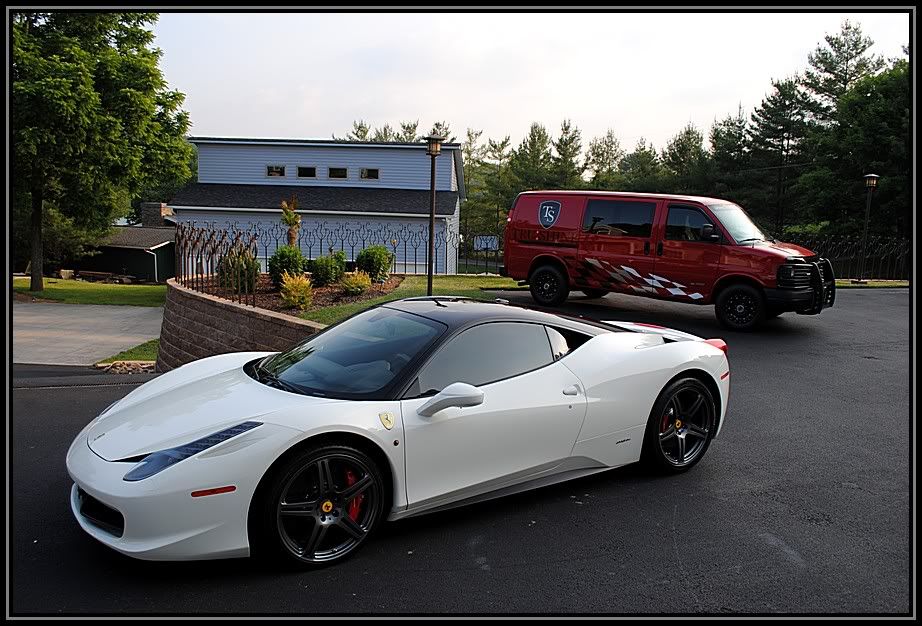
I was invited up to Bristol VA by my good friend David Purser of Unique Mobile Detailing to help work on this Ferrari 458 Italia. Surprisingly, with only 600 miles on the car, these cars do not get delivered to the customer in perfect condition. There were lots of paint defects and sand scratches and buffer trails all over the car. This car received a full paint correction and a quick interior clean up, so with that being said, let's get this write up going.

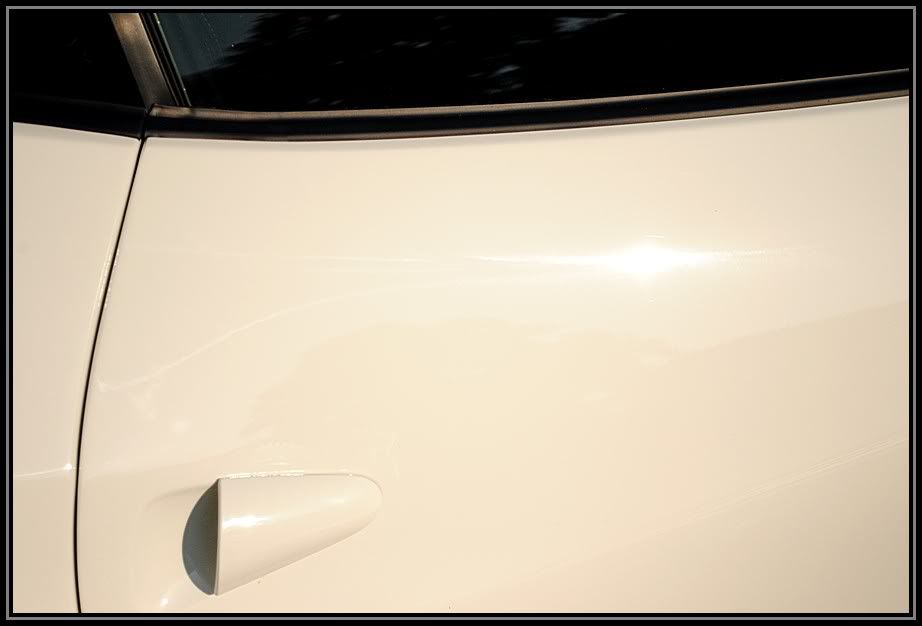
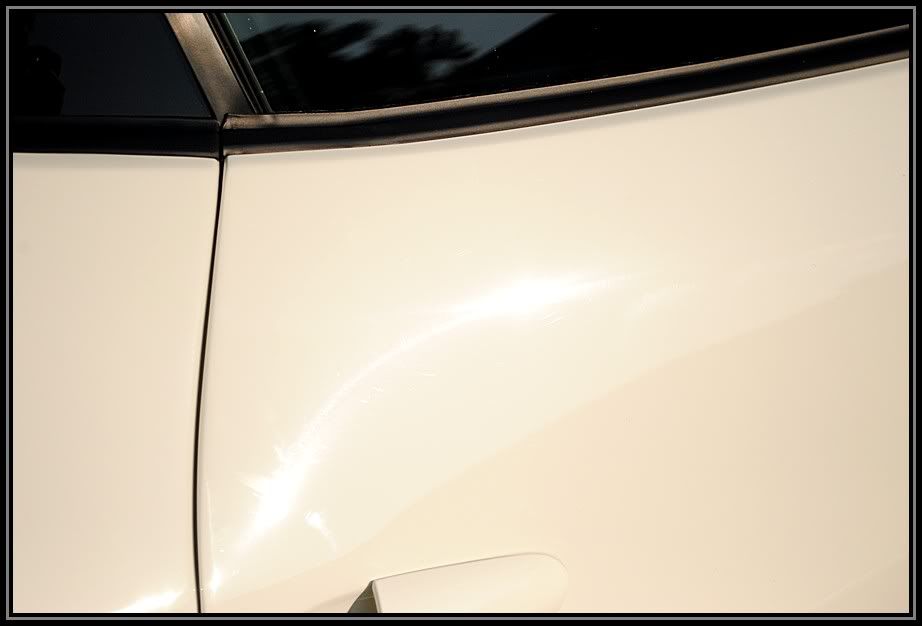
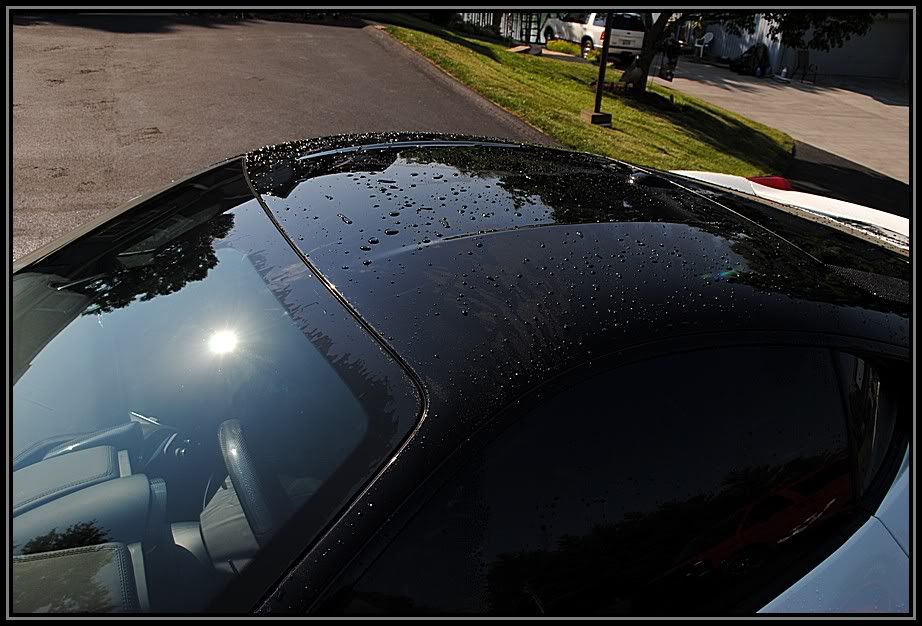
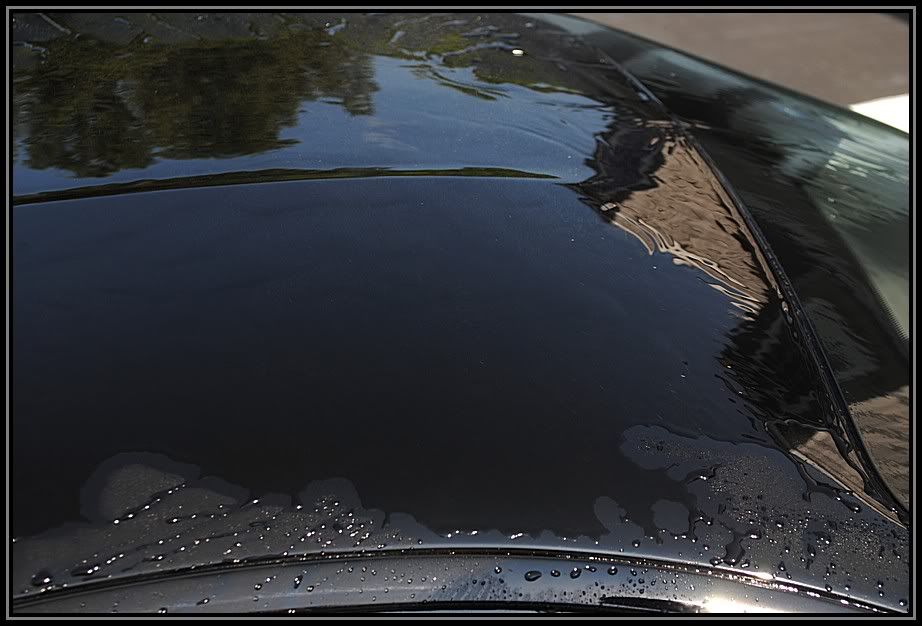
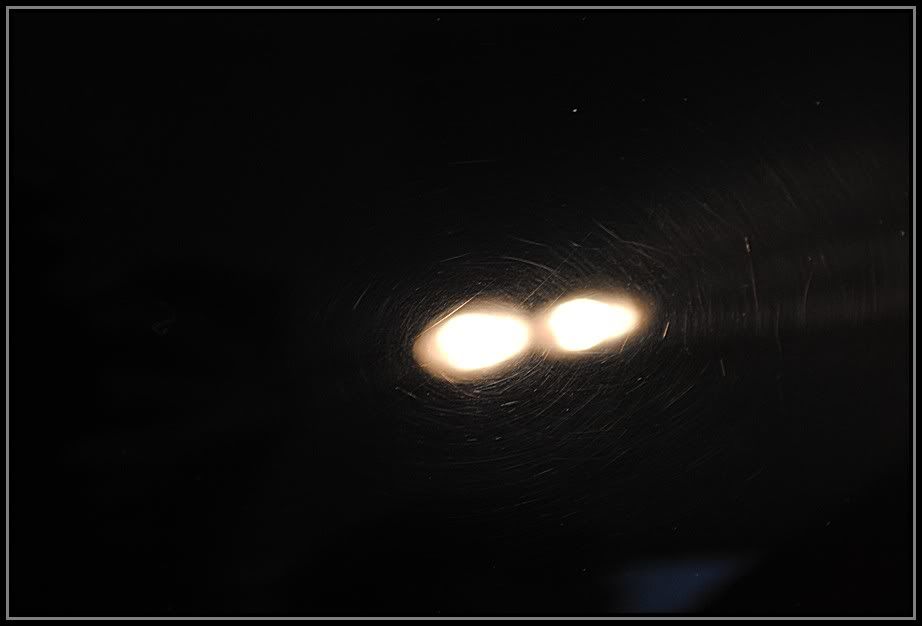
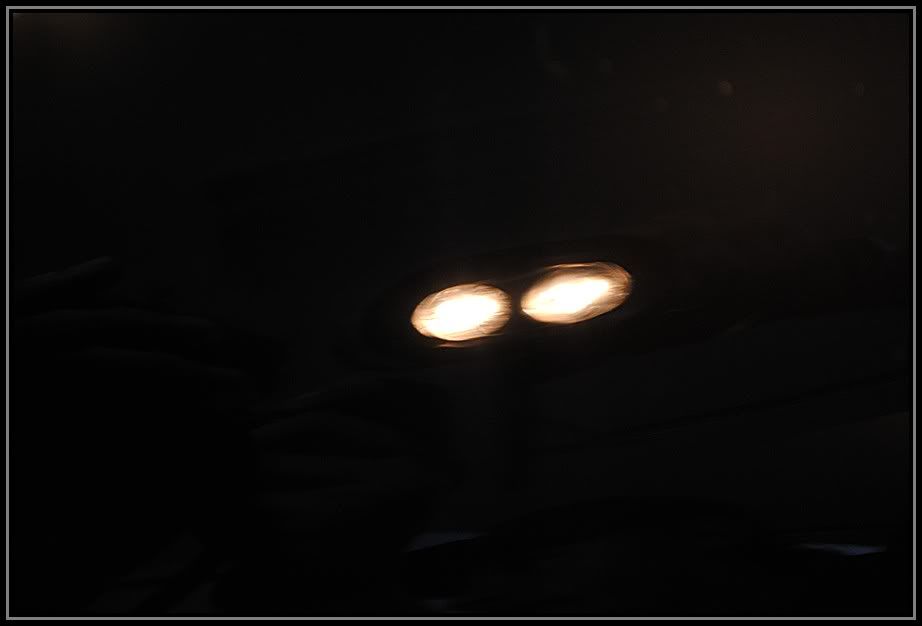
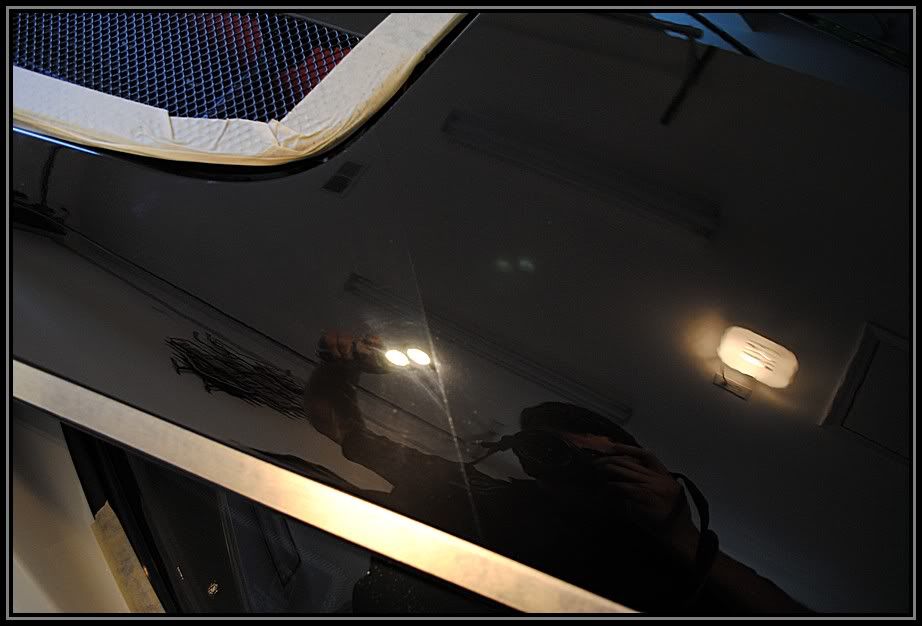
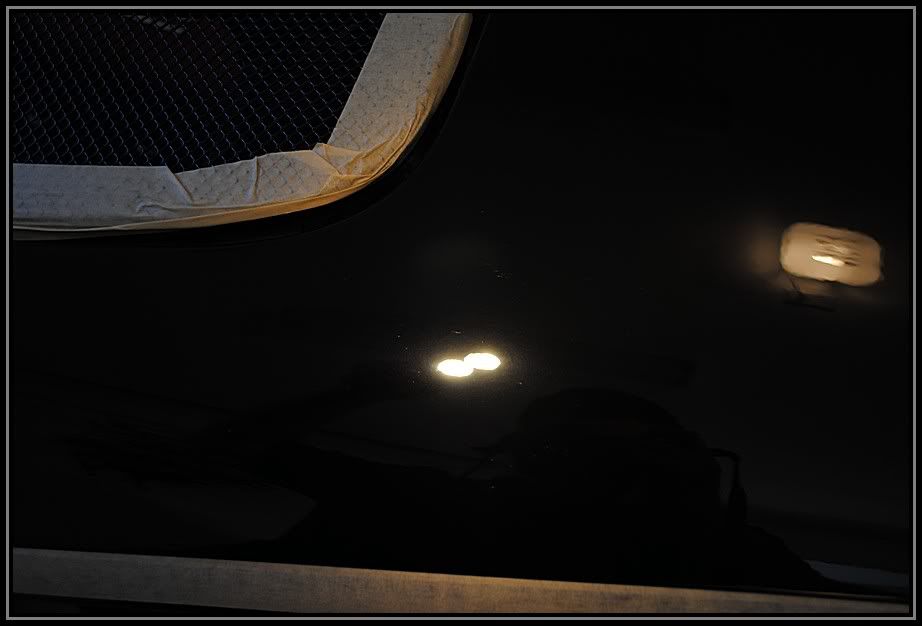
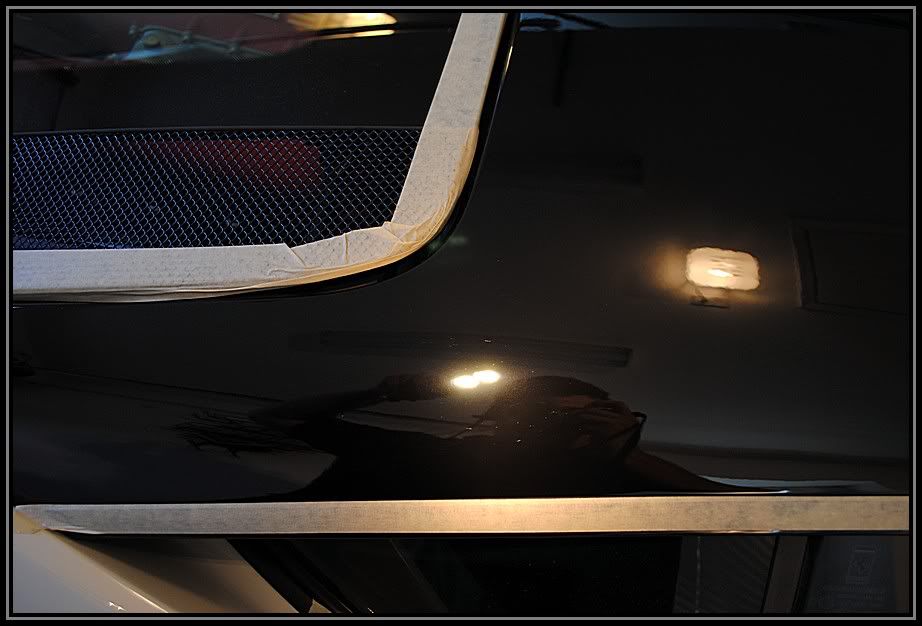
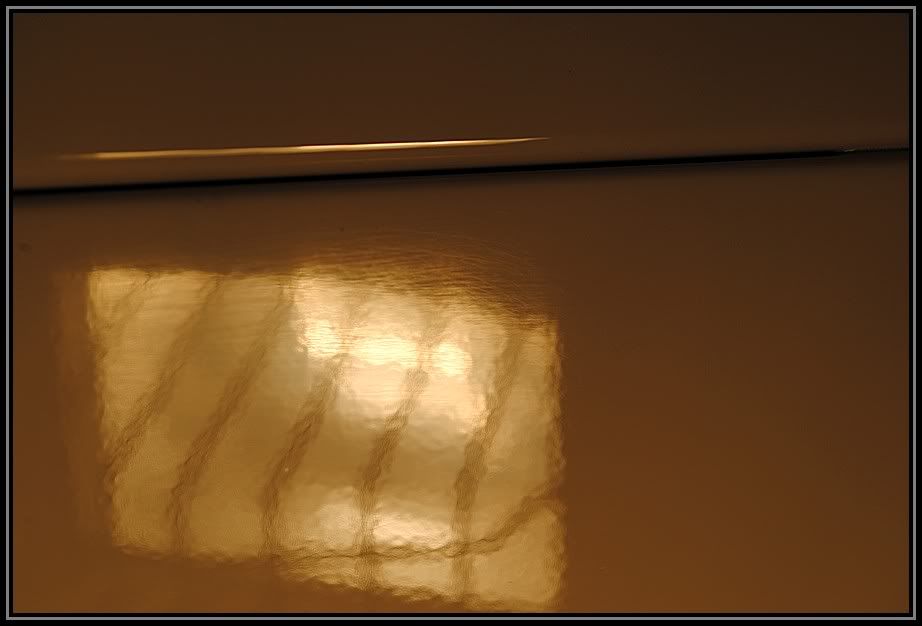
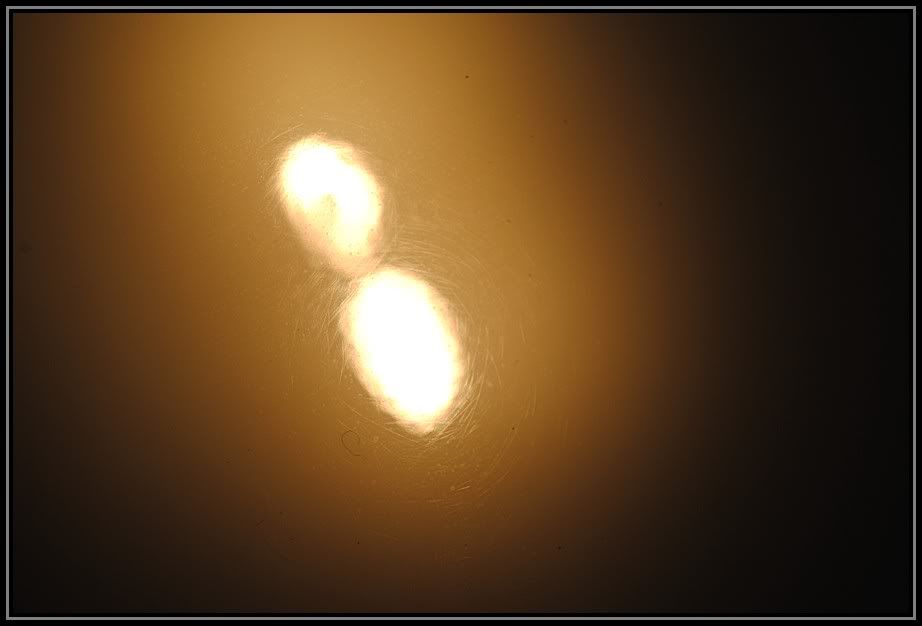
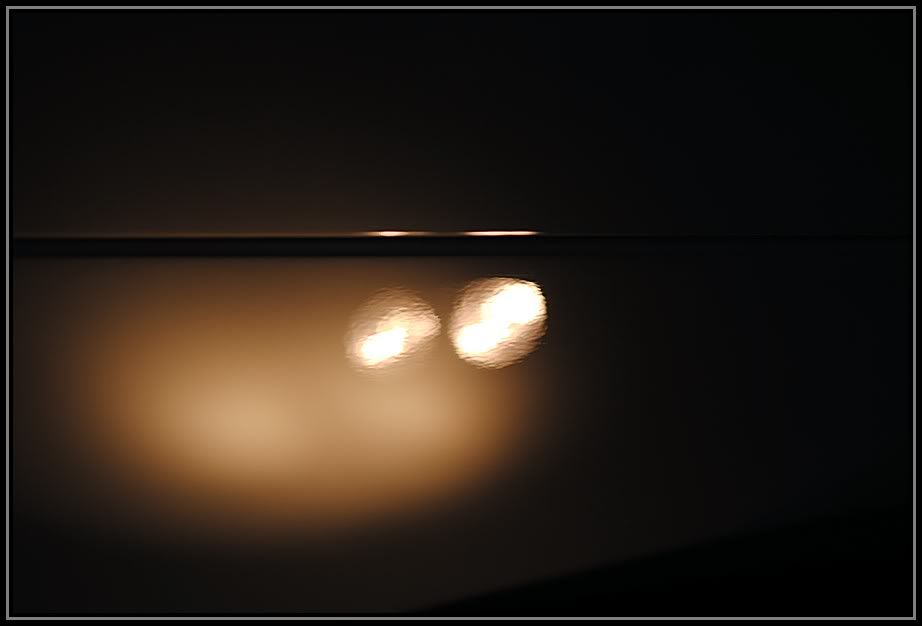
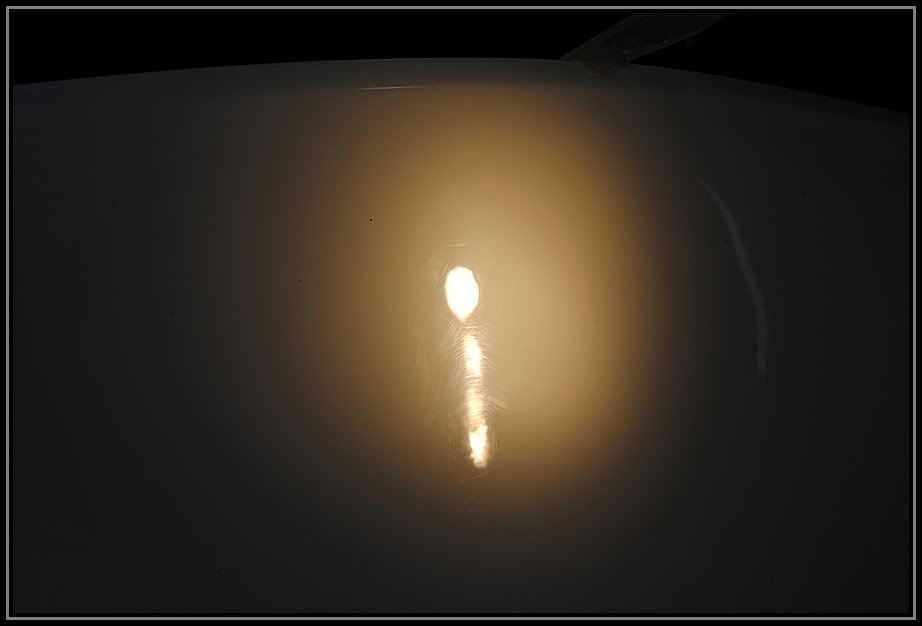
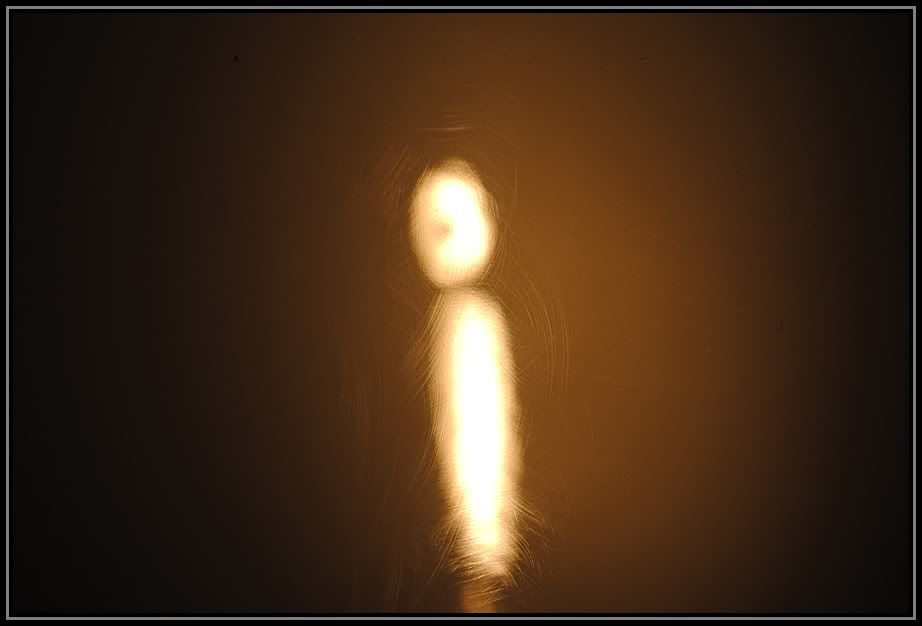
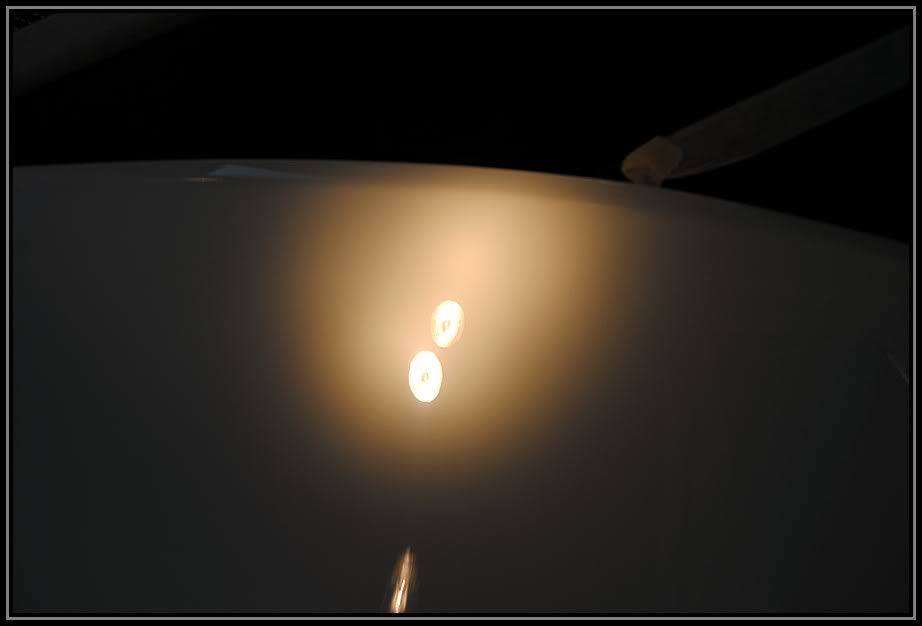
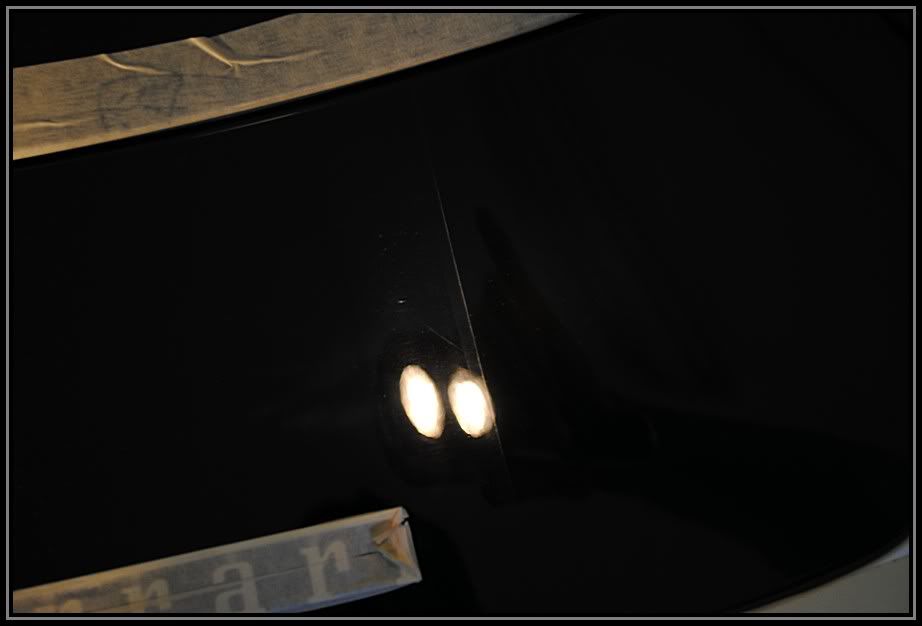
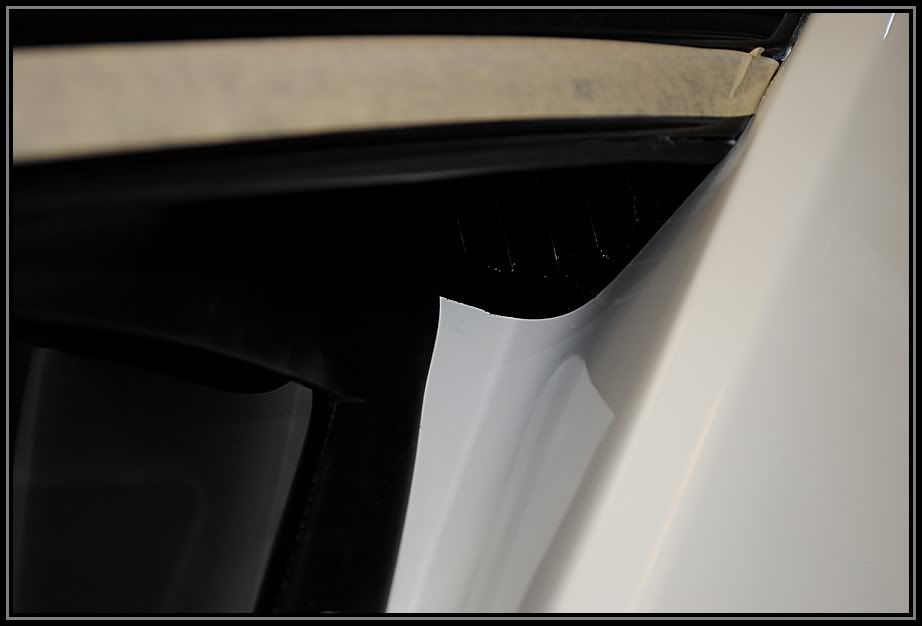
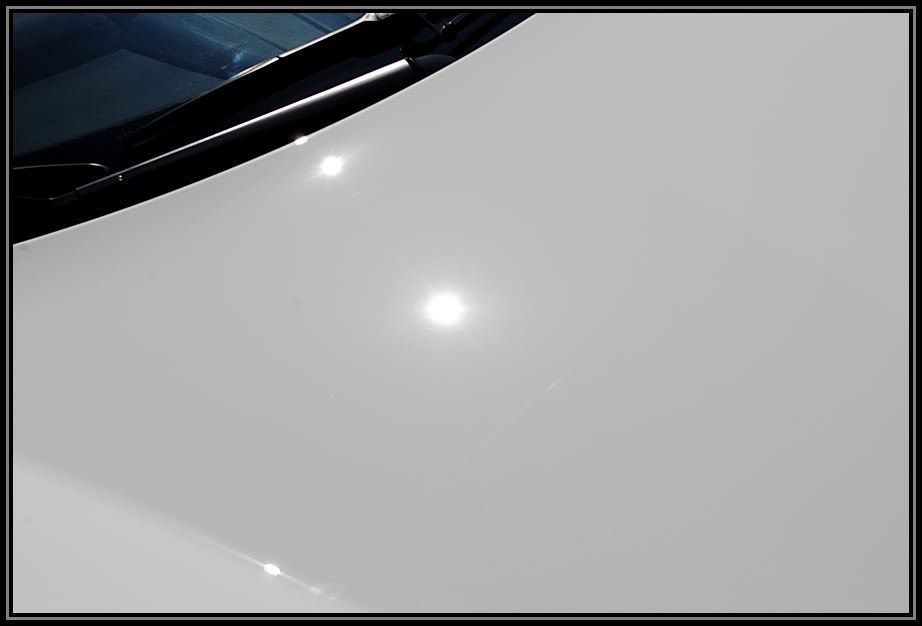
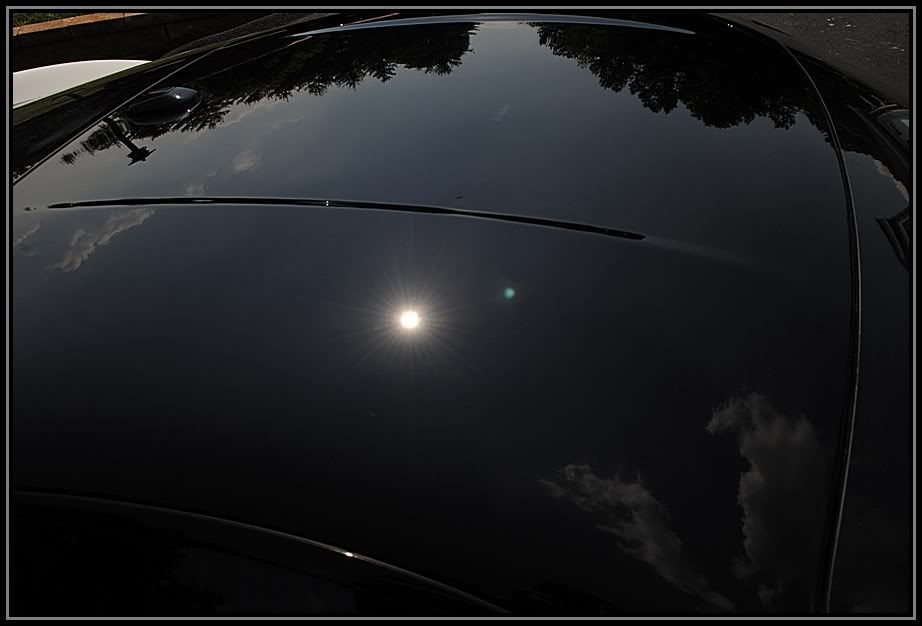
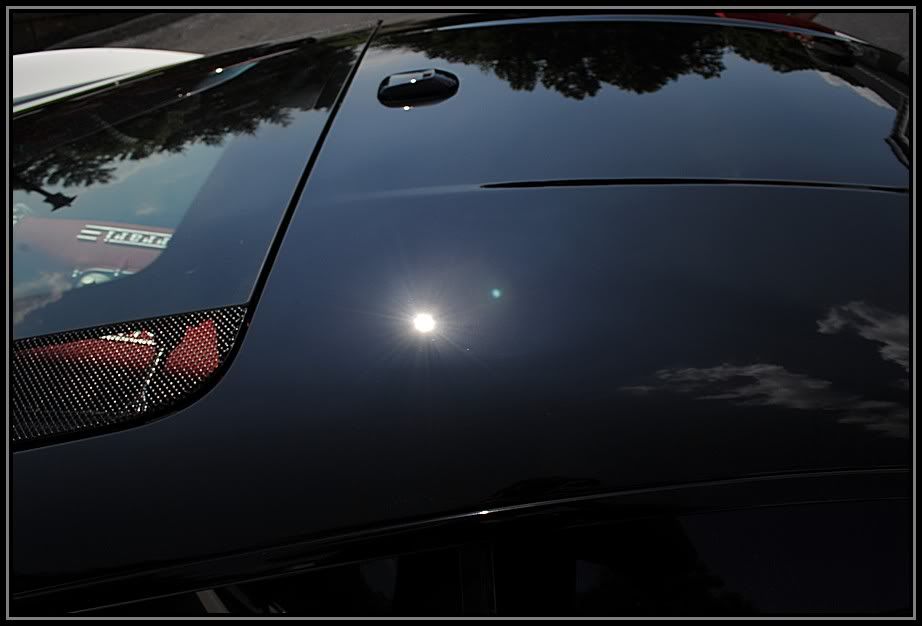
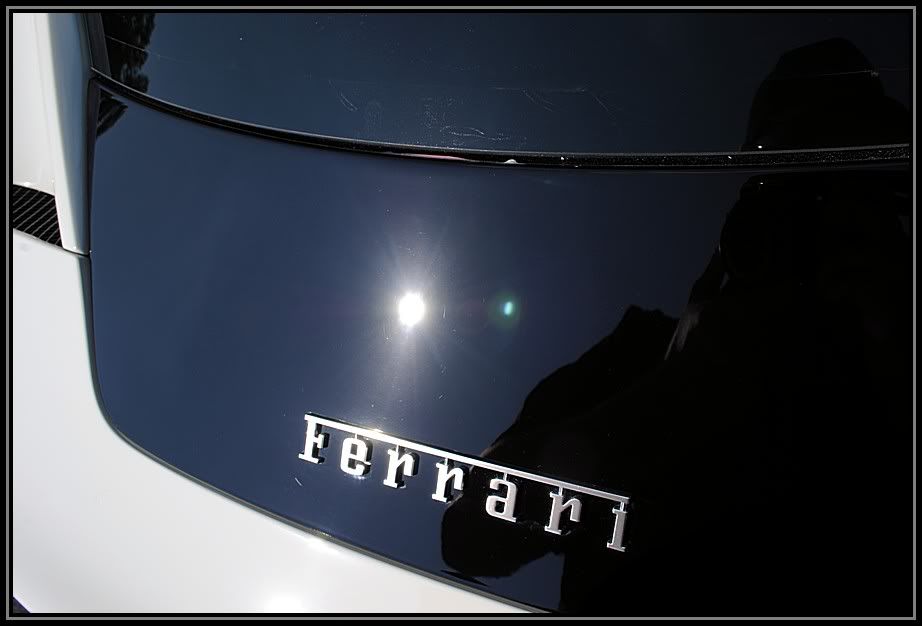
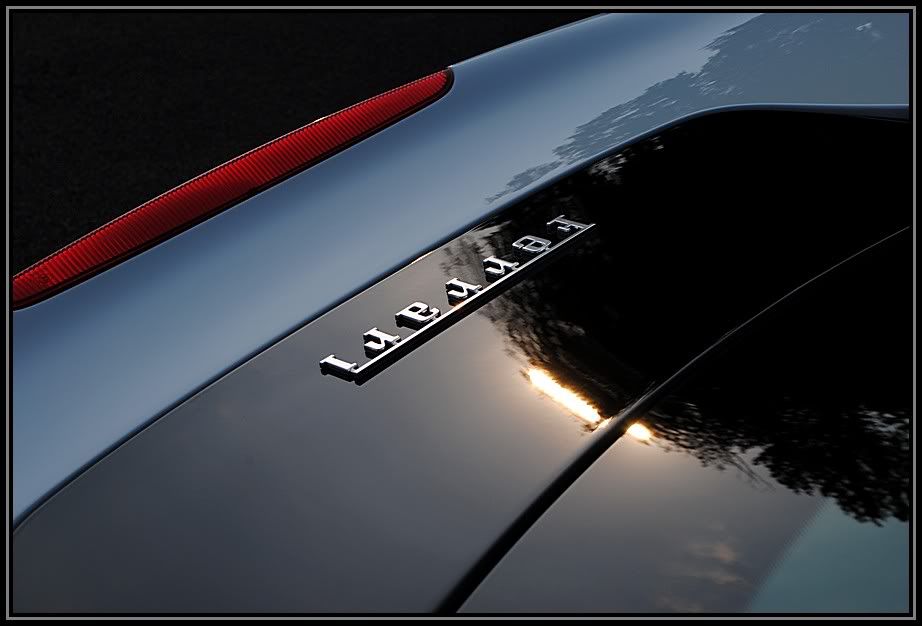
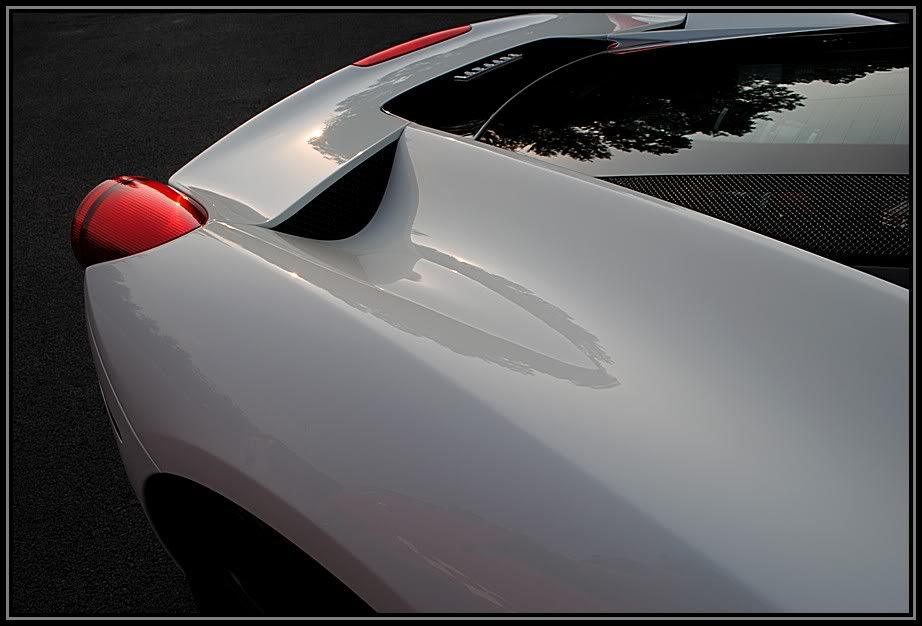
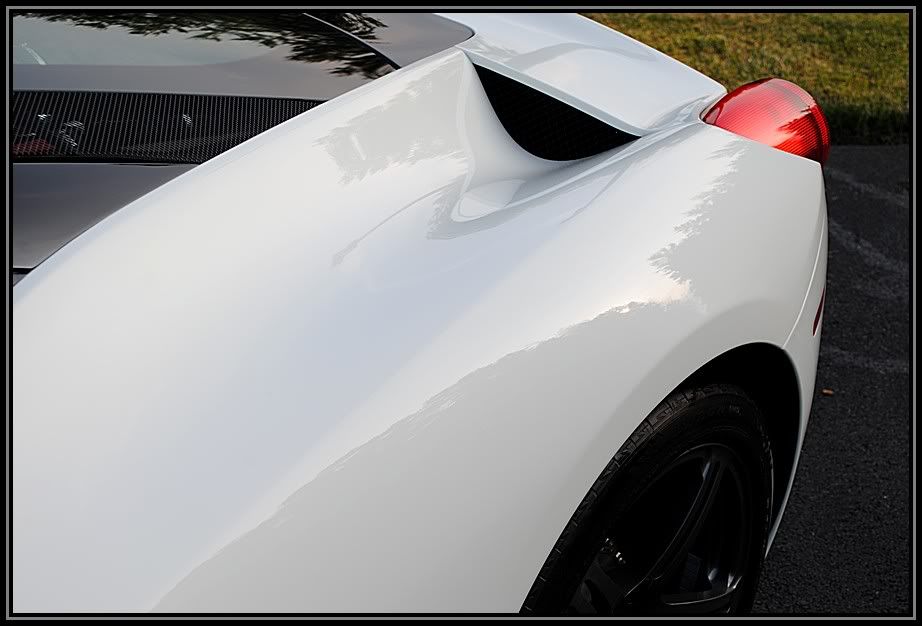
We pulled the car outside to see what exactly we were working with. In these pics you can see all of the holograms and buffer trails not only on the black, but you can see them on the while also.

c00315c3.jpg


buffer trails on the roof

450dabf9.jpg


f70072b7.jpg


f1f17685.jpg


a5df97c5.jpg


also on and around the doors

75a5b138.jpg


af17a926.jpg


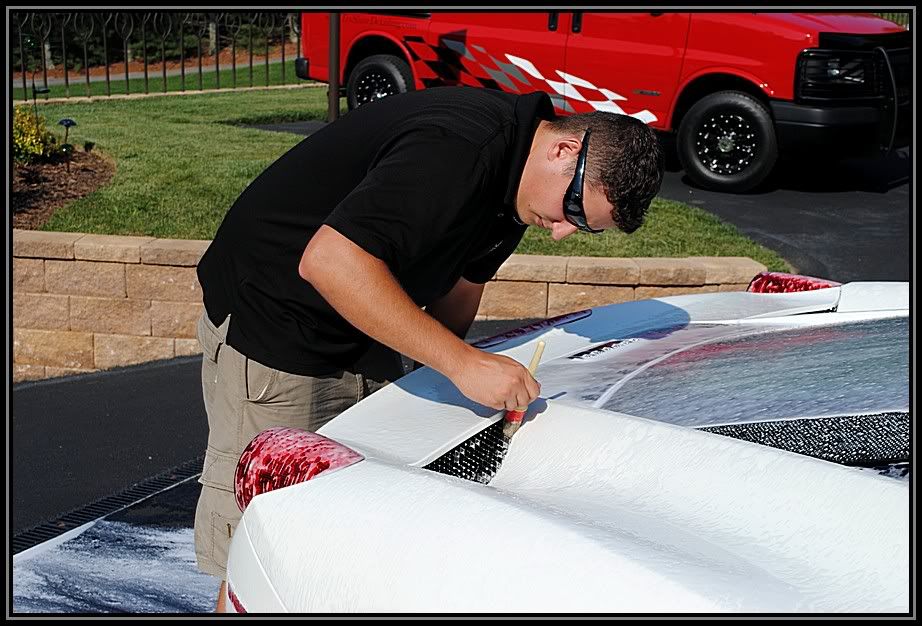
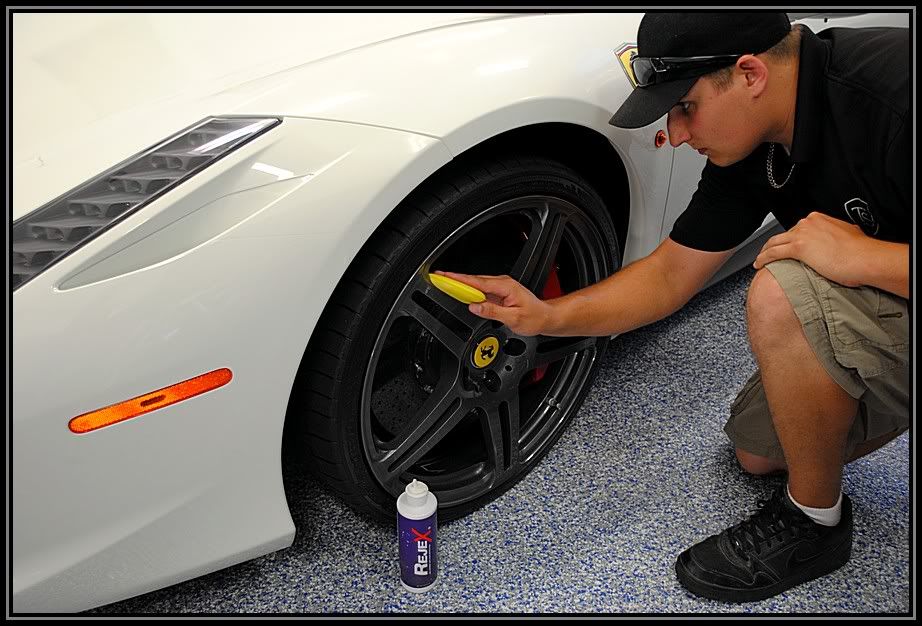
So for the Wash process, it's always good to start with cleaning the wheels first. This will help prevent water from just setting on the paint surface increasing the chances of causing water spots on the paint and glass.

685c0fb2.jpg


First the wheels were pre-rinsed to dislodge and loose debris

8acebc28.jpg


Then we Used some Sonax Full Effect wheel cleaner to clean the wheels. This is a pH balanced wheel cleaner that is safe for all types of wheels and brakes and when sprayed on the wheels, it will activate with the iron particles and turn to a red color letting you know it is working.

77aeffff.jpg


after the wheel cleaner was left to dwell for a few minutes, we then agitated them with various wheel brushes such as the EZ detail brush and the Swissvax brush to get deep into the wheels and all the tight areas.

d7f22377.jpg


377ce3c3.jpg


0e830f35.jpg


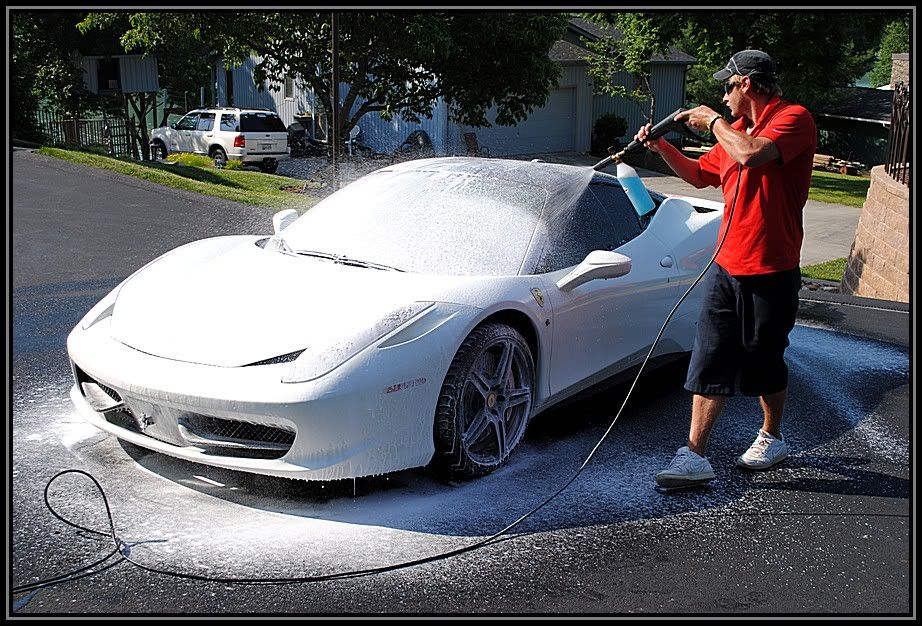
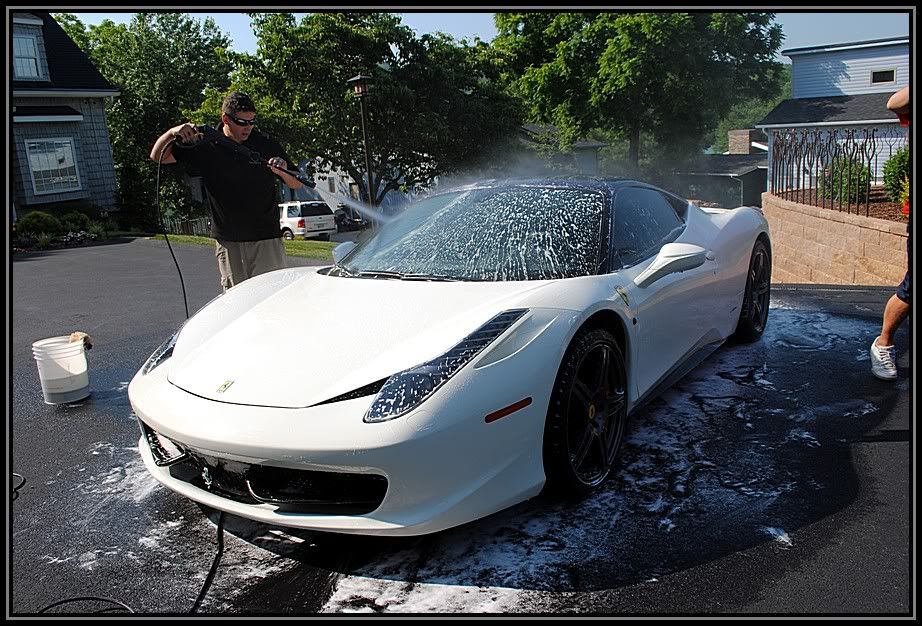
Next we pre-rinsed the car down making sure that all loose debris were knocked off, this helps make sure your not grinding anything into the paint when washing.

988688ad.jpg


as you can tell from the water beading, there was some type of protection on the car, so it is a important step to remove all of this, so we will get a Tru correction later when the car is buffed on.

58a2a908.jpg


d3b2dc1f.jpg


To strip the protection off of the car, we used a mixture of Dawn Ultra concentrate and some Degreaser mixed in the Foam canon.

10fa76cb.jpg


4e69c123.jpg


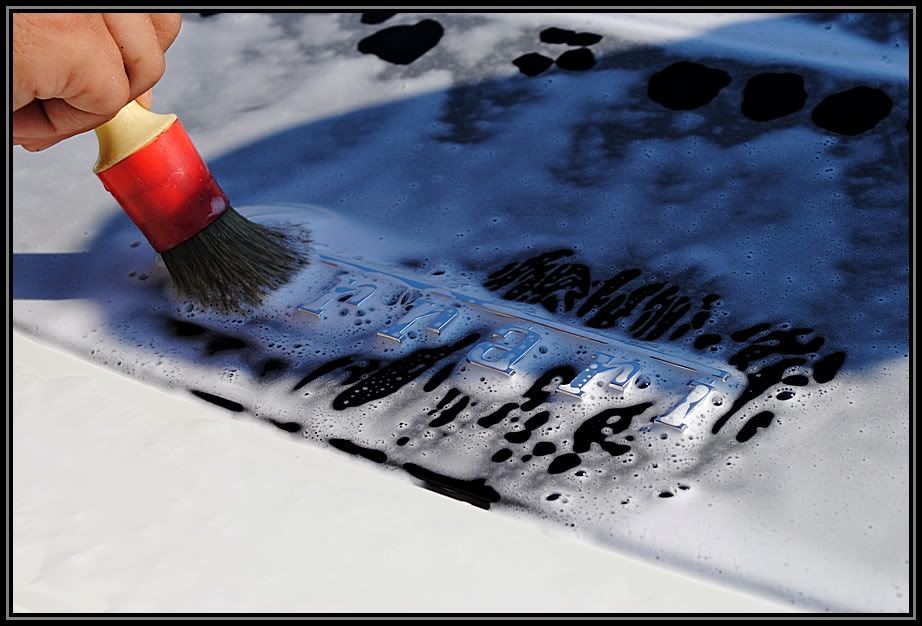
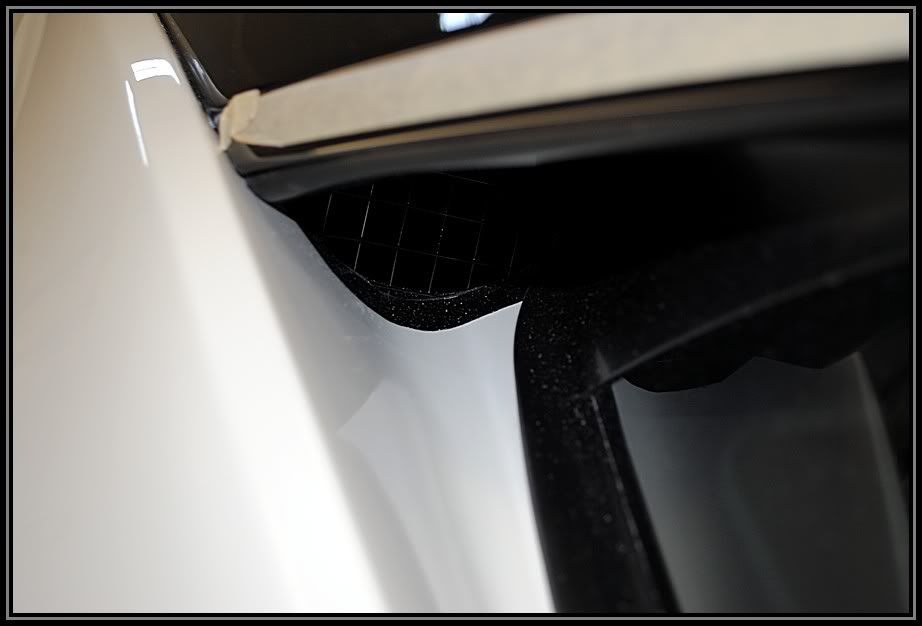
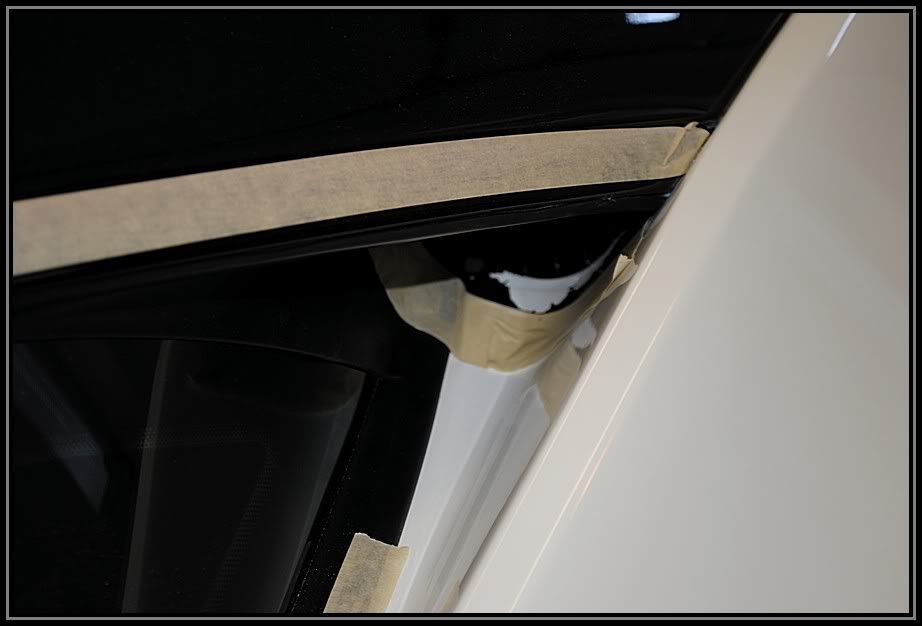
Then all crevices were agitated

83fc4981.jpg


6b4944a8.jpg


bab769c0.jpg


19721b42.jpg


Then the car was washed using 100% sheep skin wash mitts and the two bucket method with Grit Guards in the each bucket.

b855d32a.jpg


ba207d16.jpg


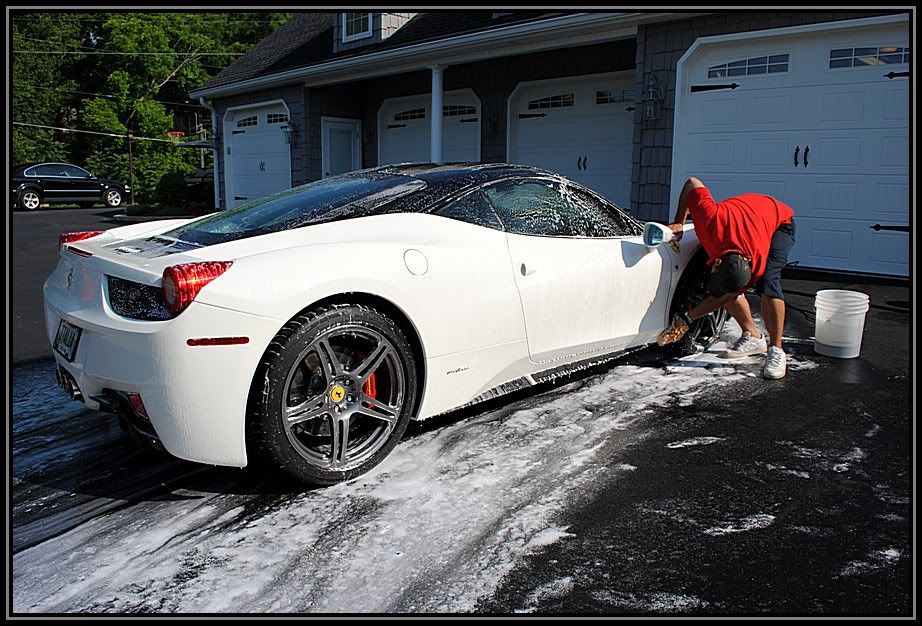
Then the car was rinsed

57d433fa.jpg


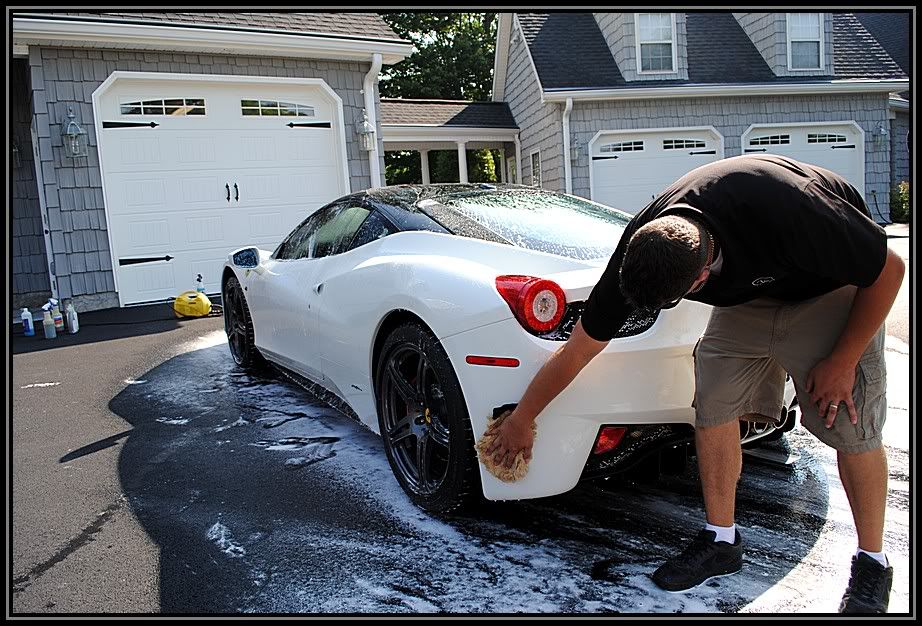
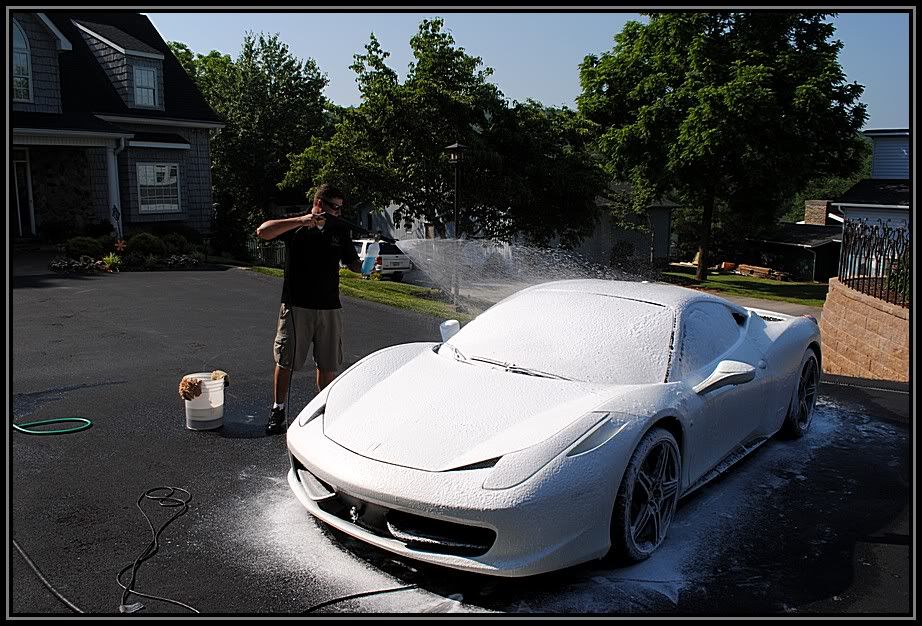
but beading was still there, So we gave it one more foam bath with extra foam this time letting it dwell for a short time

00a8ec07.jpg


8a0e5fb4.jpg


7faea32a.jpg


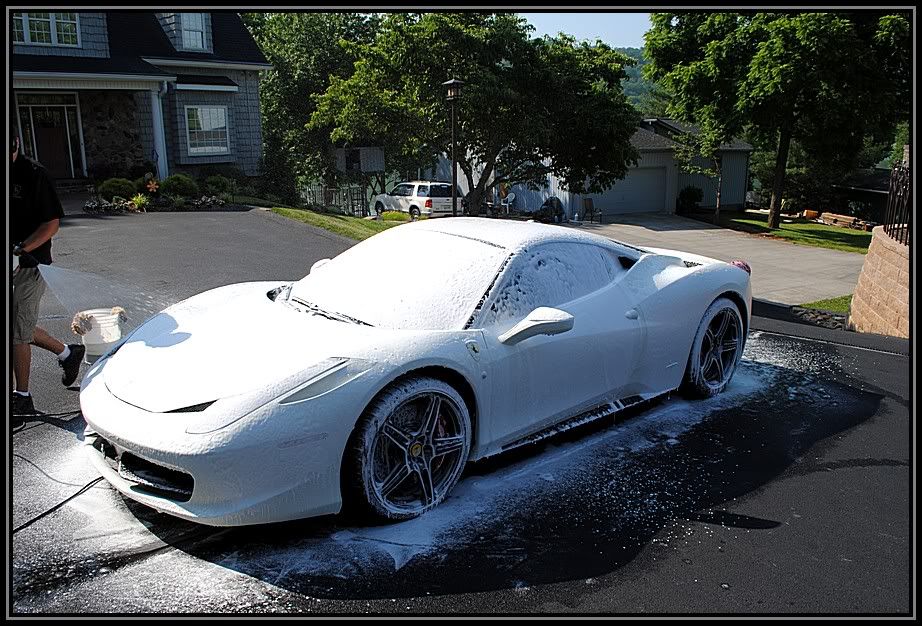
This time we got what we were looking for, no water beading

10e7445f.jpg


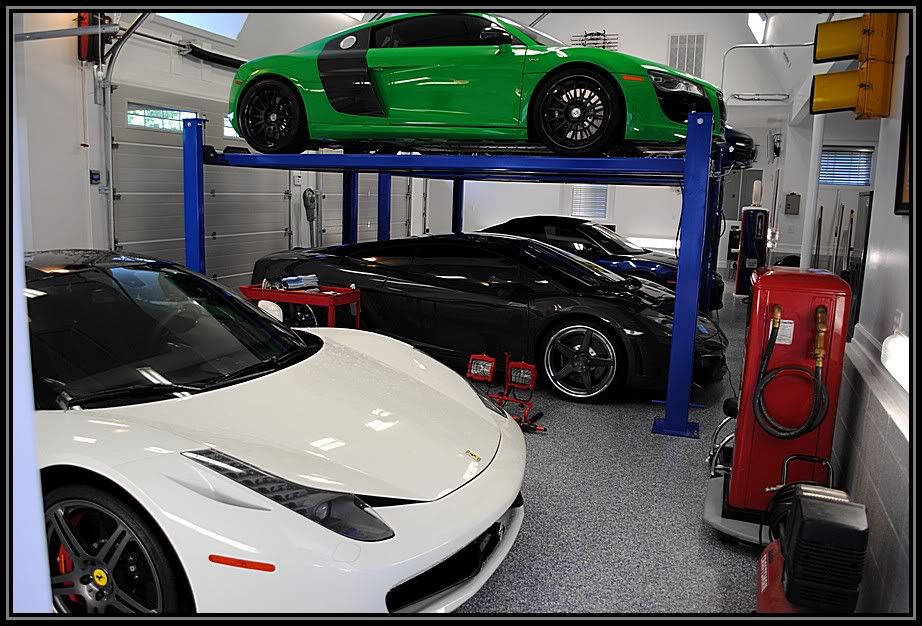
Next we pulled the car back into the garage

0cf0e327.jpg


While David was using the Metro Air Force Blaster to get all of the water out of the cracks and crevices, I dried off the car using a micro fiber towel.

a38cadc2.jpg


866c931d.jpg


c3b980be.jpg


23e7dbb9.jpg


Next we clayed the car using Clay Magic Blue Fine Clay

cb2c08e9.jpg


Then we began to tape it up

d8170038.jpg


df02e09d.jpg


f4a6e679.jpg


Just to make sure the paint was safe and thick enough to buff on, we took Paint thickness measurements all over the car, The average was about 9mils thick all over. which let us know we had plenty of room to work with.

5508b818.jpg


7f3df9c1.jpg


Now that she is all taped up, we can began

7afed5c0.jpg


here are some of the swirls and defects found using our Brinkmans Swirl finder light.

17be5f5e.jpg


Testing out the new Meguiars DA system (Which worked amazingly)

570f09ef.jpg


great correction was achieved

b2f9f154.jpg


For the Correction process, I used the Griot's 6in DA with the Meguiars DA system and David chose the Flex 3401.

1682a182.jpg


e47cd313.jpg


here are some more of the buffer trails and holograms that came from the factory....

c4807e35.jpg


4e5f27a1.jpg


8cae0541.jpg


here is a hard to see 50/50 shot

432b2534.jpg


and here it is after the cutting disc and D300

c1674909.jpg


4ab96340.jpg


we had the music going and we were getting in the zone!

3b392c7d.jpg


71677c2a.jpg


a6851ca8.jpg


643a52de.jpg


Here are some sand scratches left behind from the factory. These were on the rear lower side skirt on the passenger side.

7c51fbd2.jpg


dfd7bc5e.jpg


010ed688.jpg


After being buffed out.

acdc9151.jpg


b1586b19.jpg


The rear quarter panel had some really bad sand marks

7efe0a29.jpg


88108a6d.jpg


937fcece.jpg


I had to use the Surbuff pad and Meguiars M105 to remove the heavier sand marks.

5704ccb7.jpg


b4f2dc2e.jpg


While i was doing that, David was working on the rear

85353e54.jpg


1744b193.jpg


9db2064f.jpg


The owner had asked us if we could do anything about some paint flaking off near the rear air vent

caf9c7ff.jpg


be04cef1.jpg


The passenger side was fine but the driver side flaked off a little bit for some reason. This is what it is saposed to look like

ea194a41.jpg


So to fix it, I taped off a straight line and added some black touch up paint.

3492cc94.jpg


13c09a11.jpg


b3ea1ad5.jpg


Then removed the tape......and walla! Cant even tell a difference.

bedfb1af.jpg


After the Polishing stage, We pulled the car out side to check it over.

2709bb9e.jpg


a8fbe051.jpg


249898cf.jpg


8108c50c.jpg


Then we brought it back inside and applied some Black Fire Wet Diamond on a Blue LC pad

612ffe43.jpg


While David was Doing that, I applied some Rejex to the wheels.

9fa679bd.jpg


We left the BFWD to cure for a bit while we cleaned up the inside, we did a quick Vacum and Wipe down with some 303

1a0f91dd.jpg


d2d291ab.jpg


1c06ee5e.jpg


346a0f48.jpg


Then it was time to wipe off the BFWD and polish on the tips

7ae9c9fb.jpg


5aab3294.jpg


54512314.jpg


Then backed it out for the Final Pics.


077fab78.jpg


4fc10d84.jpg


83ad96d9.jpg


3e62eb4d.jpg


b3186cf3.jpg


044a3d1b.jpg


Bonus pics:

The Boss is home!
9bb0d8b8.jpg


ba3636c5.jpg


ea7c222c.jpg


Thanks For Viewing, and Stay tuned for some 911 turbo and R8 Spyder action.....


I saw this over on tid, you also did one of the Audi's in that garage. Is the owner going to have you cleanup all his cars? I could only dream of owning one of those, let alone having an entire garage filled with that beautiful cars!
 
I saw this over on tid, you also did one of the Audi's in that garage. Is the owner going to have you cleanup all his cars? I could only dream of owning one of those, let alone having an entire garage filled with that beautiful cars!

Yes, I have a lot more in store...., audi, porsche, bently, Green R8, I am currently finished with all of these, just gotta put together the wirte ups. Unfortunately TID is gone, so I am moving here to AGO.
 
good work as always Eric! good to see you here on Autogeek as well! :dblthumb2:
 
Great work, such a lovely car, can't believe for the price of them how bad they come out the factory!

That green R8 is the sex! :dblthumb2:
 
Man nice work!! As mentioned before, I can't believe the amount of mess ups that came from the factory on such an expensive car!

Nate
 
Holy cr@p! I think that's the most beautiful car I've ever seen! Great job!!

:props:
 
Excellent work Tag Team!!! Sweet Rides!!!:xyxthumbs: Thanks for sharing.
 
Thanks guys, I have a lot more to come! so stay tunned
 
That looks great. You got that correction from the meg mf? thats awesome! Now I have to get a set.
 
Back
Top