Howdy! Old lurker — new member.
I'm the proud owner of a new Porter Cable. And while I've obsessed about keeping my vehicles nice since highschool, this is my first DA.
I have a silver 2002 Tacoma that lives outdoors. I do the best I can to keep it coated so it stays youthful.
Last night, I started on a portion of the hood. I used a four-step process:
1) Clay
2) Megs Ult Compound w/ green pad
3) Megs Ult Polish w/ white pad
4) Megs Ult Wax w/ black pad
The DA produced sweet results and I sweated far less than I ever have when working by hand!
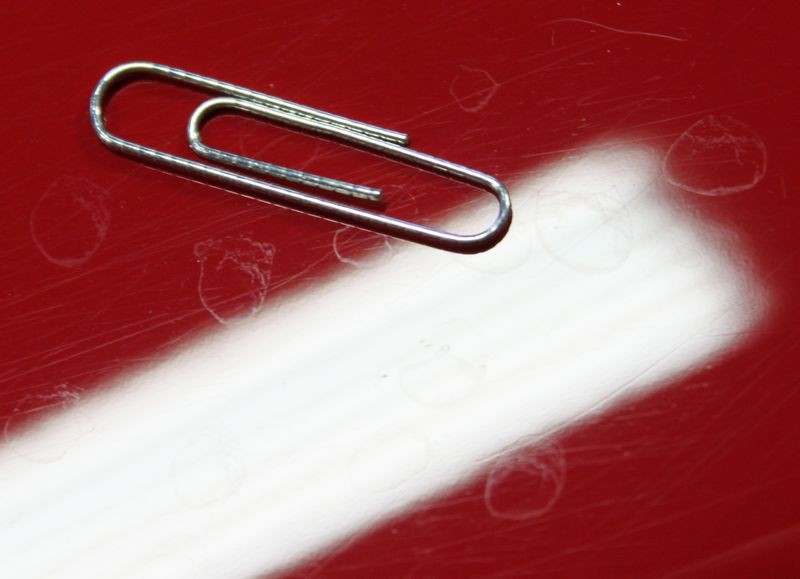
I'm happy with the smoothness, BUT — now that my clearcoat is more reflective, I can see tons of little of imperfections under artificial light. Looks like water spot damage.
Where would anyone recommend I start and how to proceed?
I'm thinking try vinegar to see if these are deposits rather than etched?
If that doesn't fix it, can anyone recommend product/pad and method?
Thanks much!
I'm the proud owner of a new Porter Cable. And while I've obsessed about keeping my vehicles nice since highschool, this is my first DA.
I have a silver 2002 Tacoma that lives outdoors. I do the best I can to keep it coated so it stays youthful.
Last night, I started on a portion of the hood. I used a four-step process:
1) Clay
2) Megs Ult Compound w/ green pad
3) Megs Ult Polish w/ white pad
4) Megs Ult Wax w/ black pad
The DA produced sweet results and I sweated far less than I ever have when working by hand!
I'm happy with the smoothness, BUT — now that my clearcoat is more reflective, I can see tons of little of imperfections under artificial light. Looks like water spot damage.
Where would anyone recommend I start and how to proceed?
I'm thinking try vinegar to see if these are deposits rather than etched?
If that doesn't fix it, can anyone recommend product/pad and method?
Thanks much!
 ostpics:


")