DetailedByPrecision
New member
- Sep 15, 2009
- 807
- 0
A little background story on this car. A good friend of mine went to Ikea to purchase some stuff. He said he misjudged the cement parking poles and went around it too close and side swiped his right rear door and quarter panel. He does not plan on bringing the car into a shop to get it repaired so he asked me if I could do anything. I inspected the paint and told him not to get your hopes up, but I will do my best. Well... I'll let the pictures do the rest of the talking for me now...
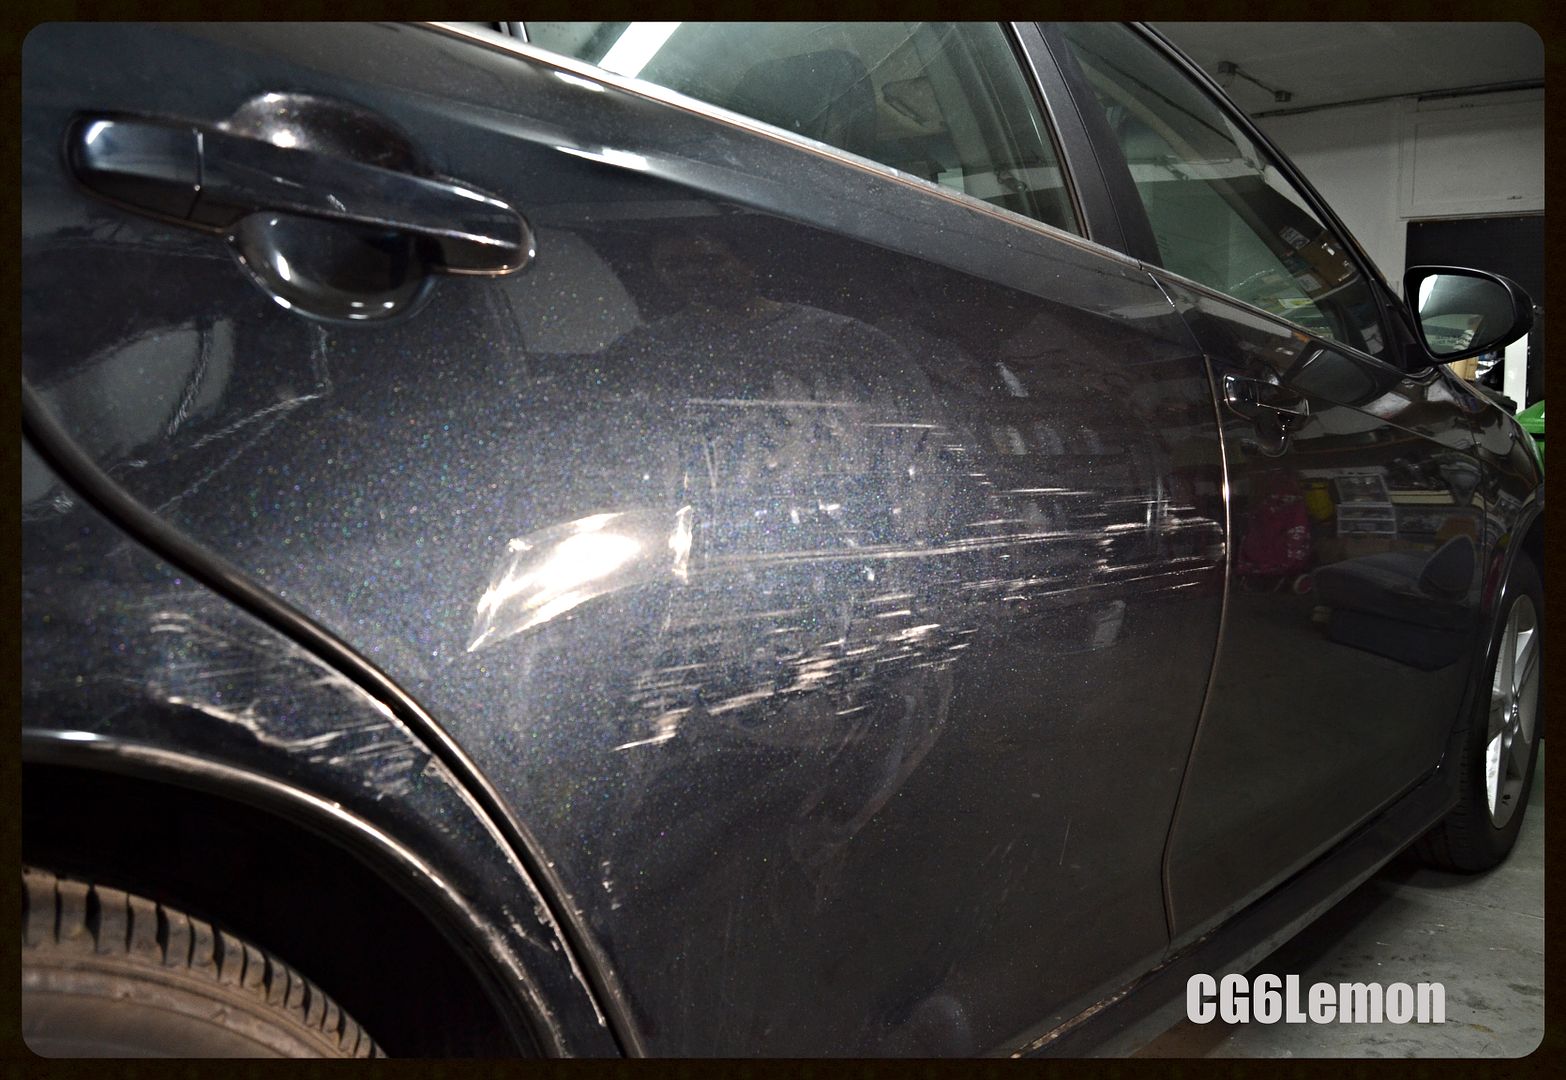
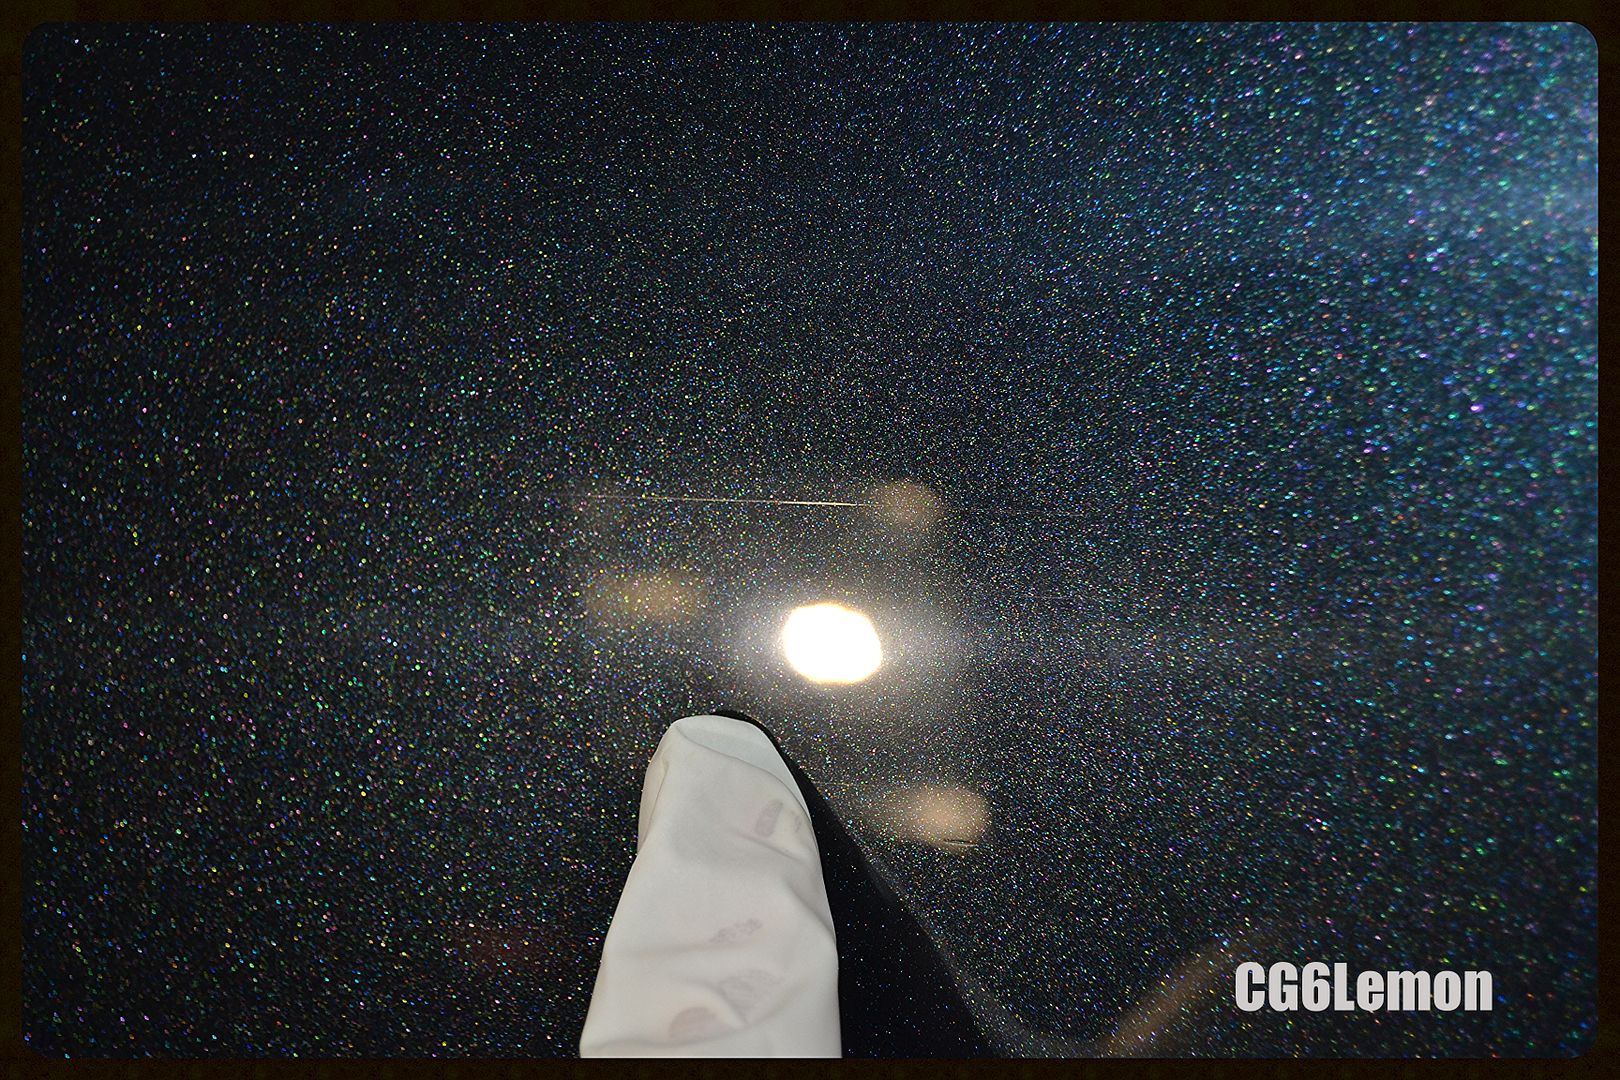
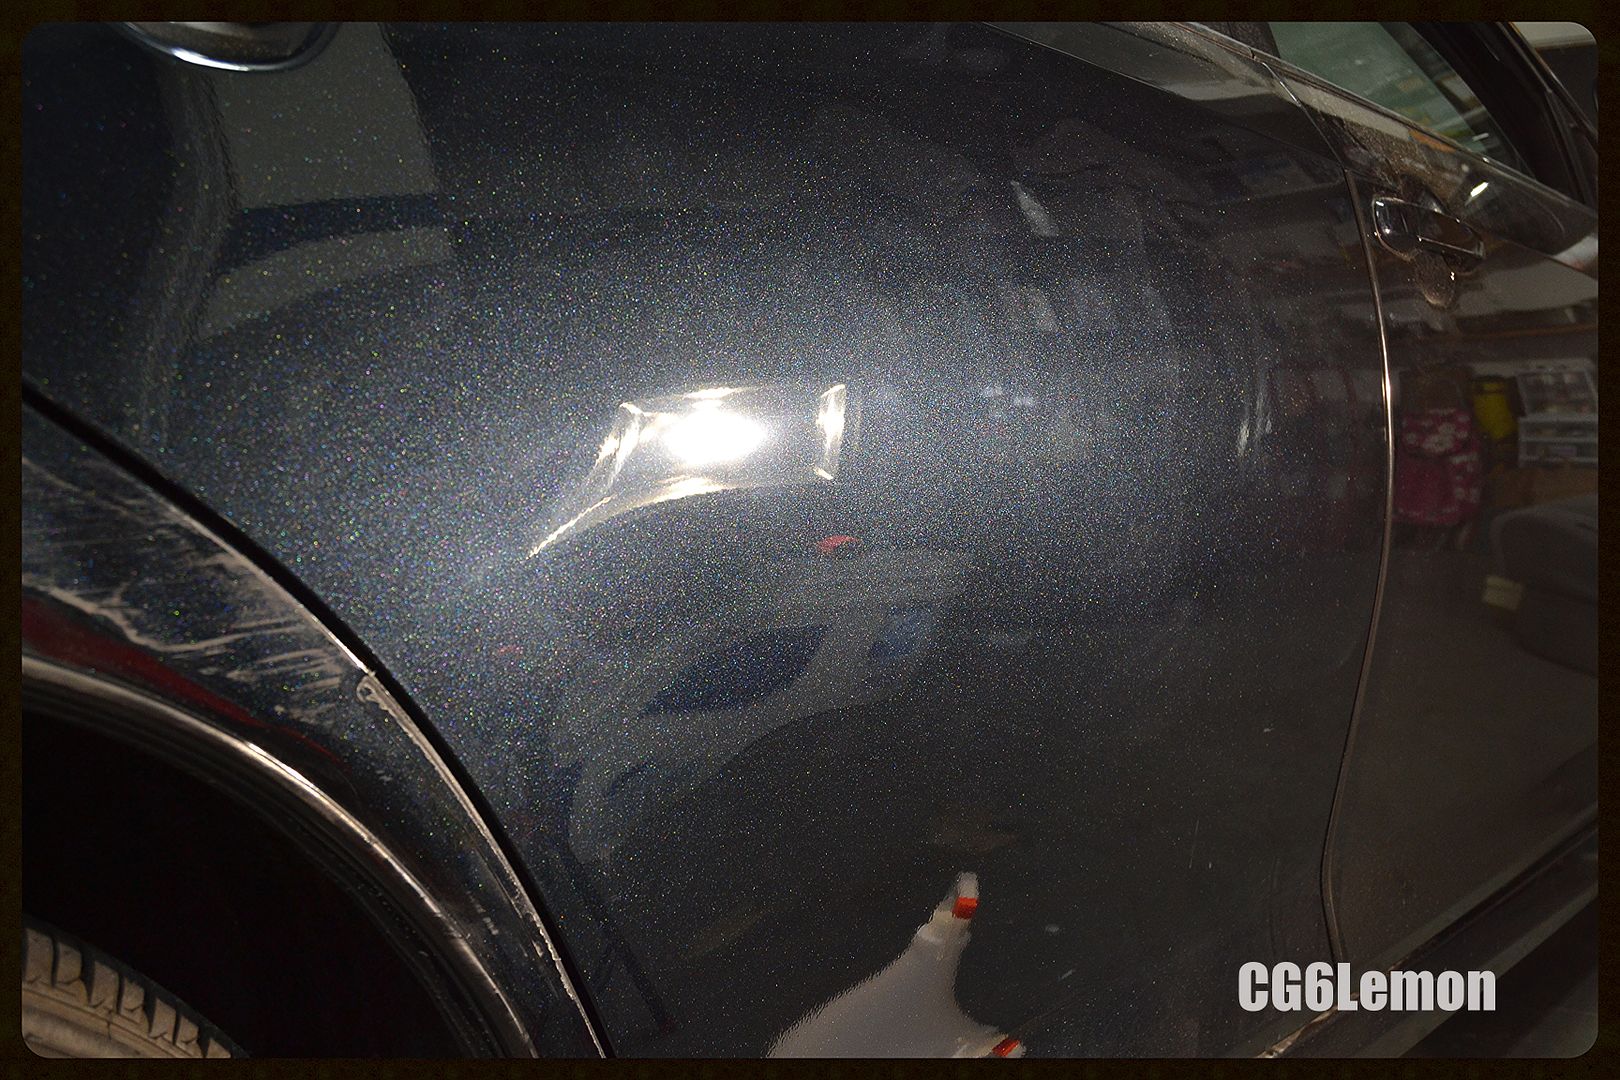
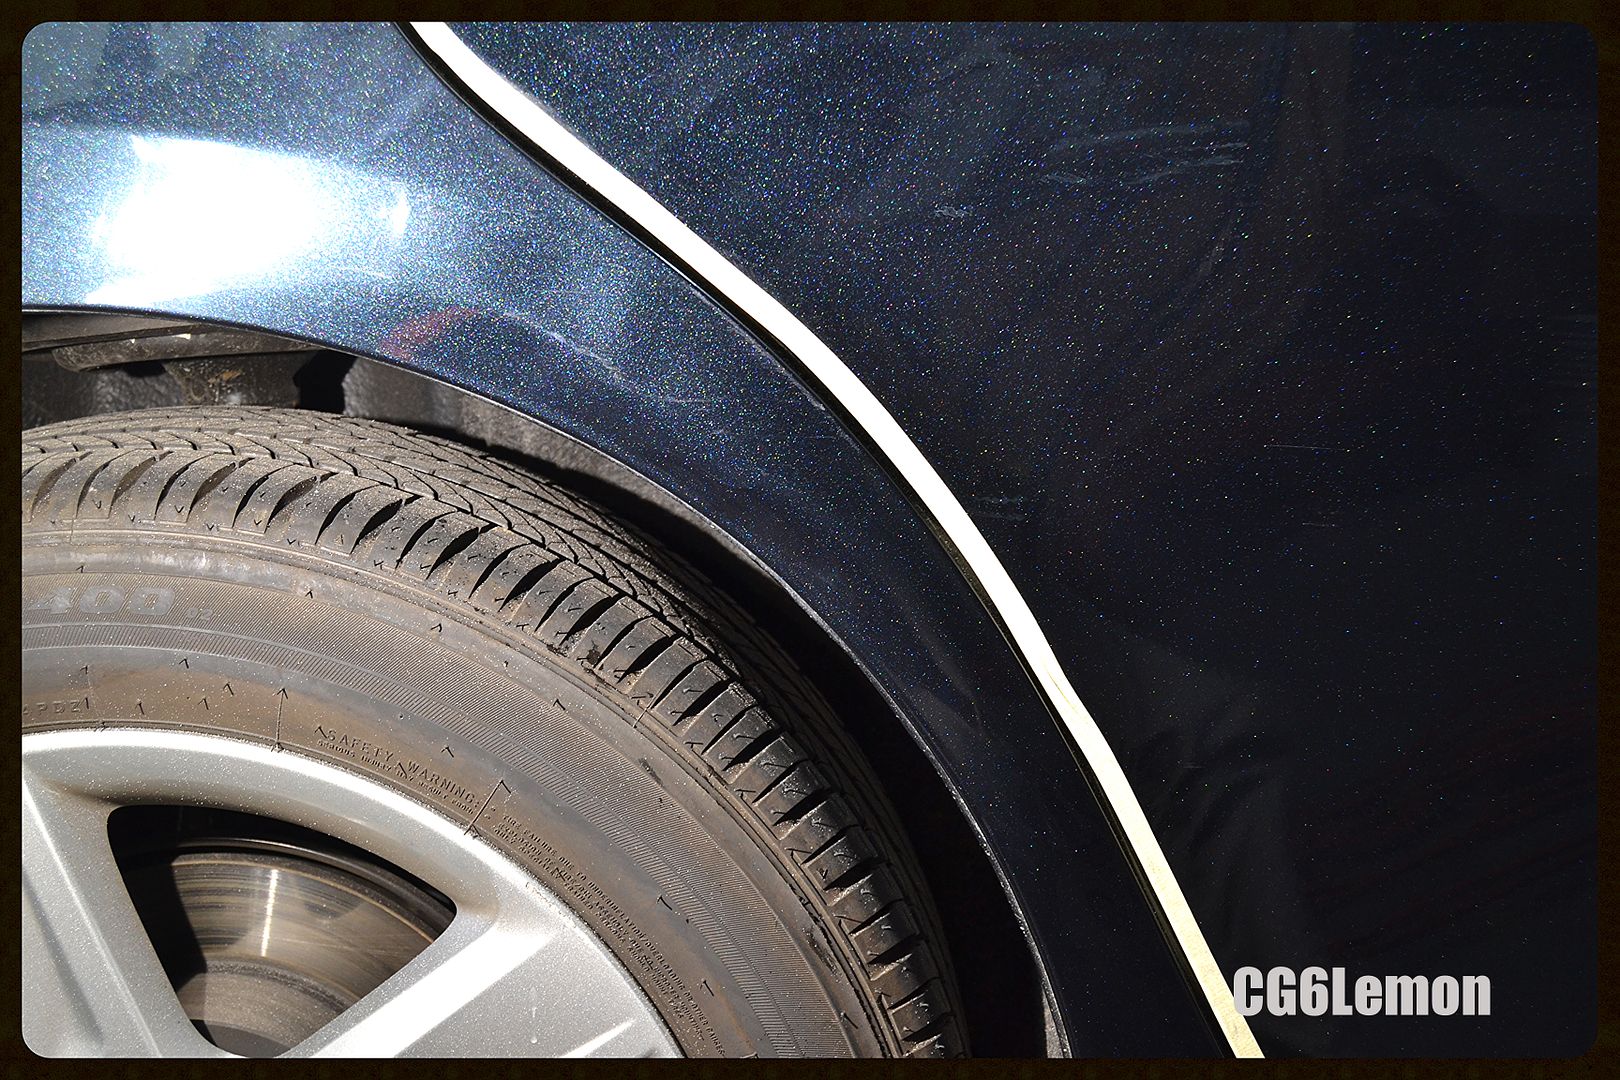
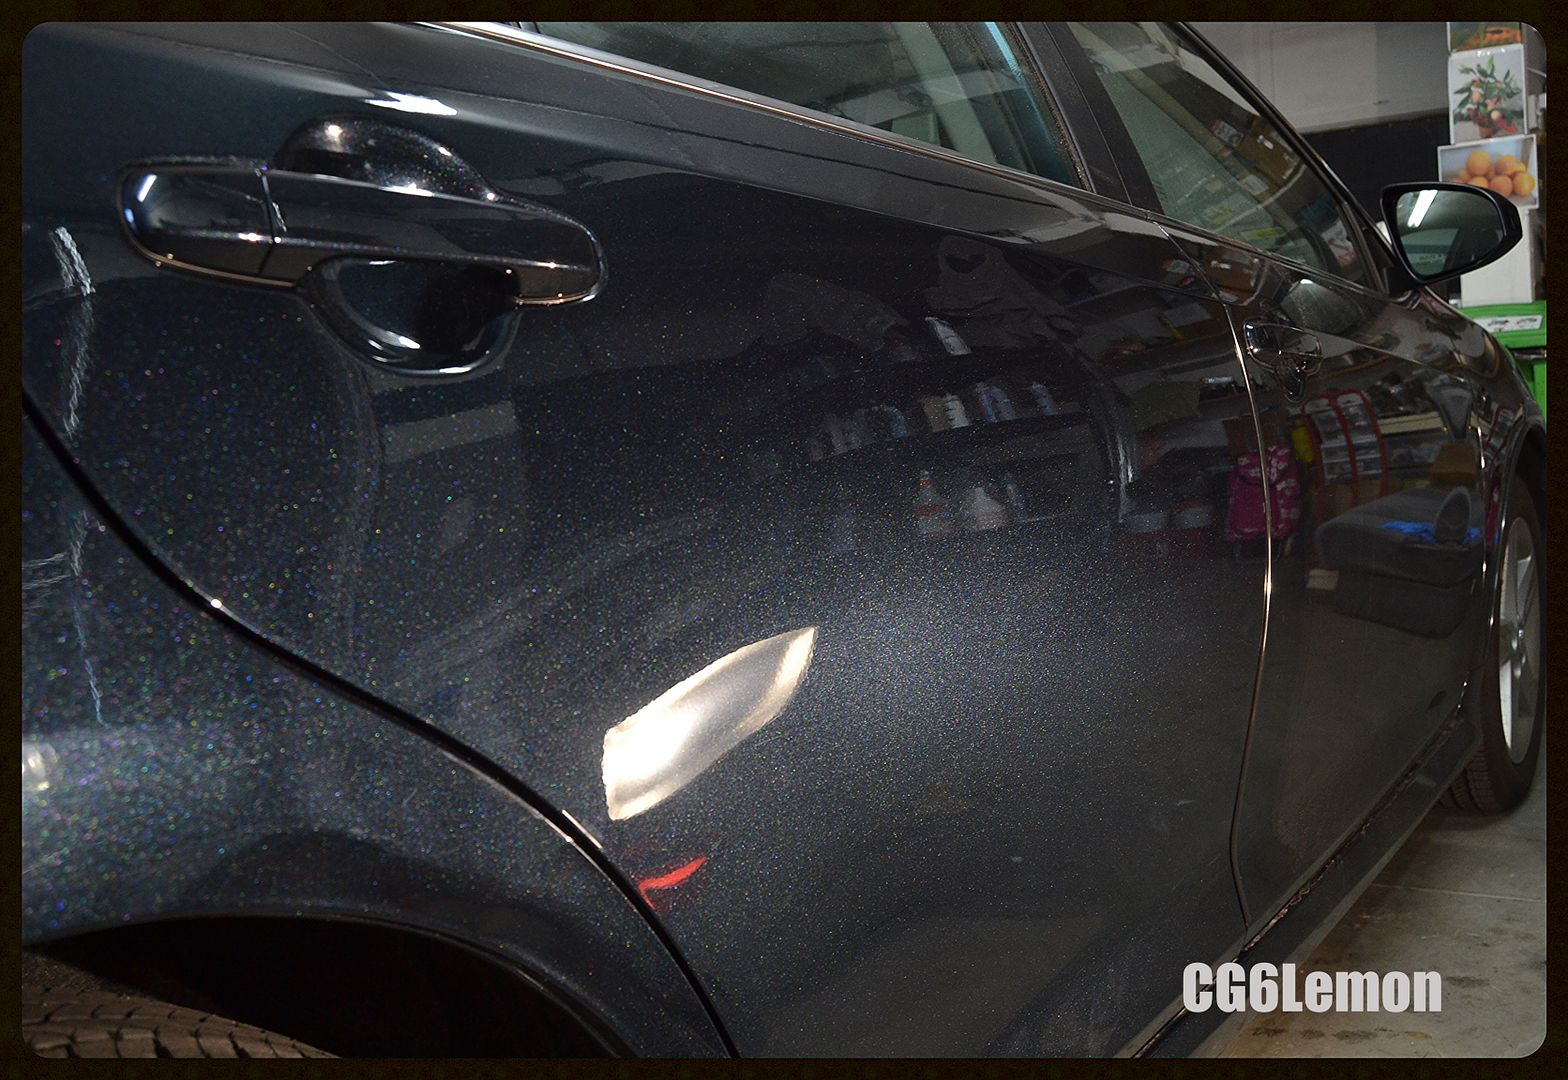
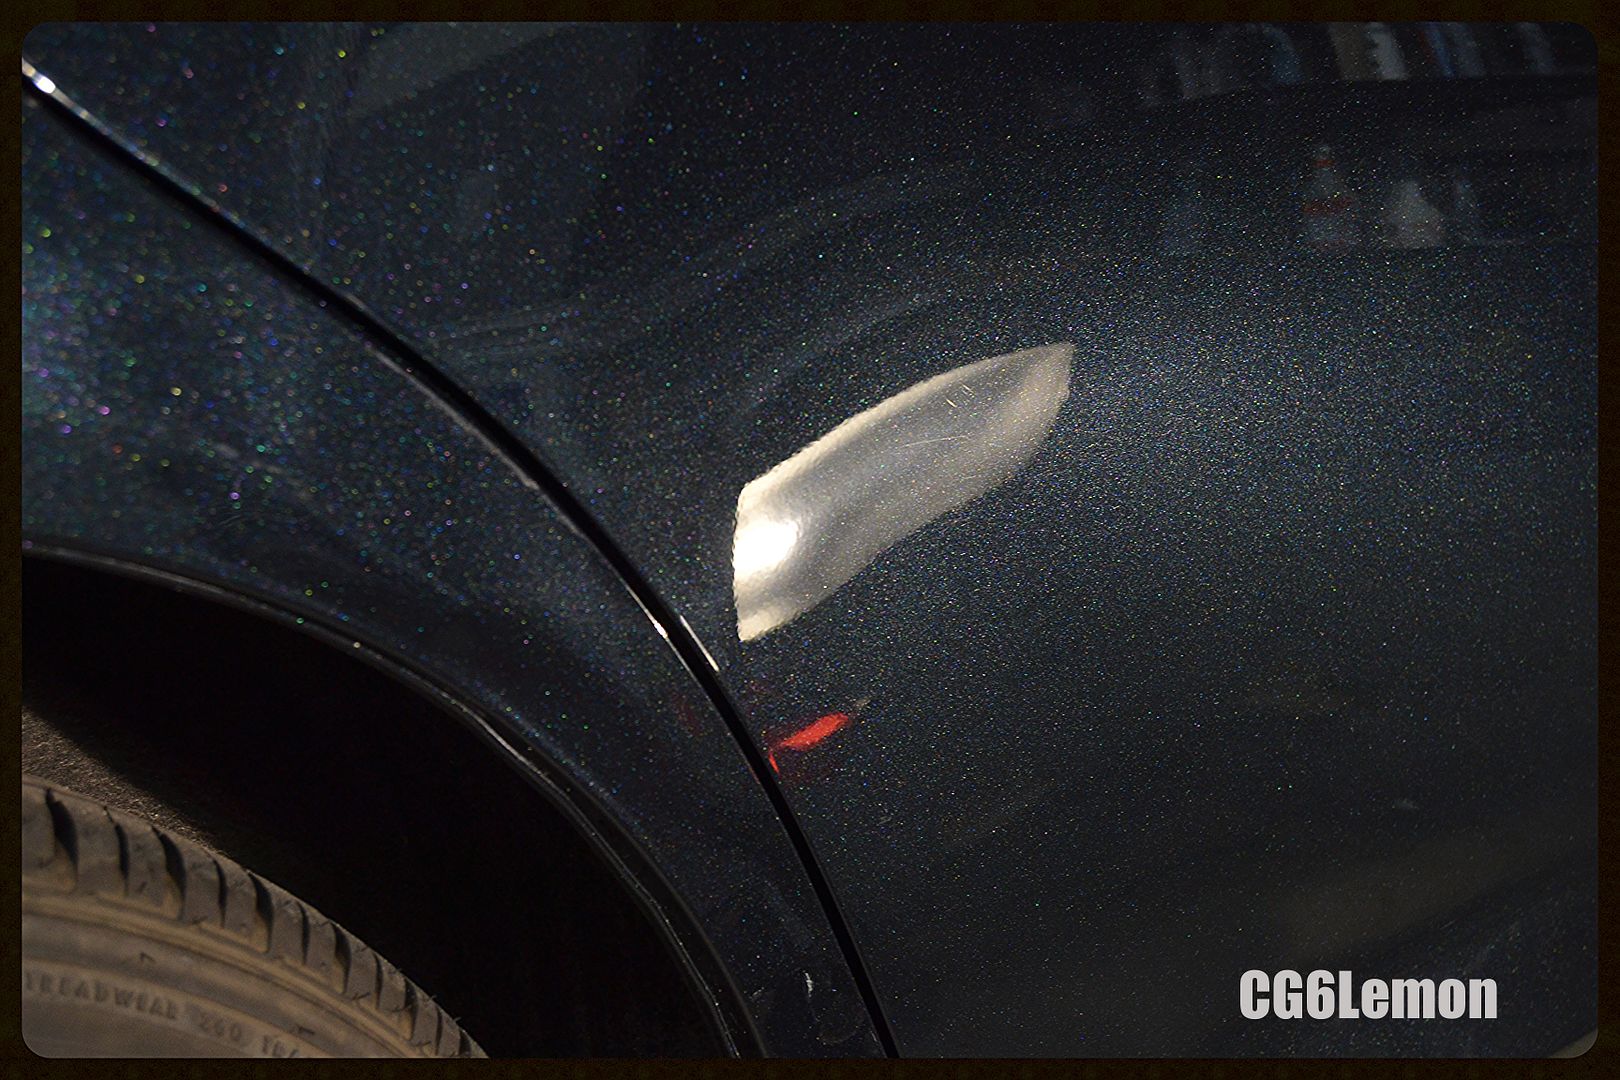
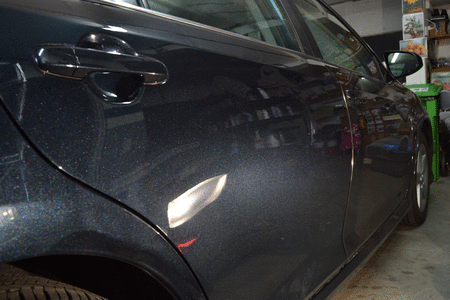
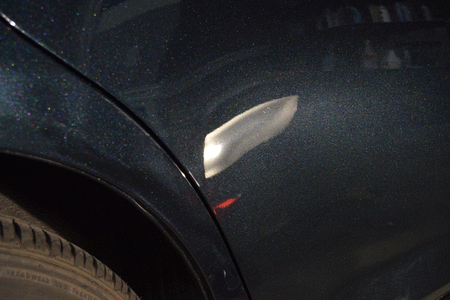
Car condition on arrival
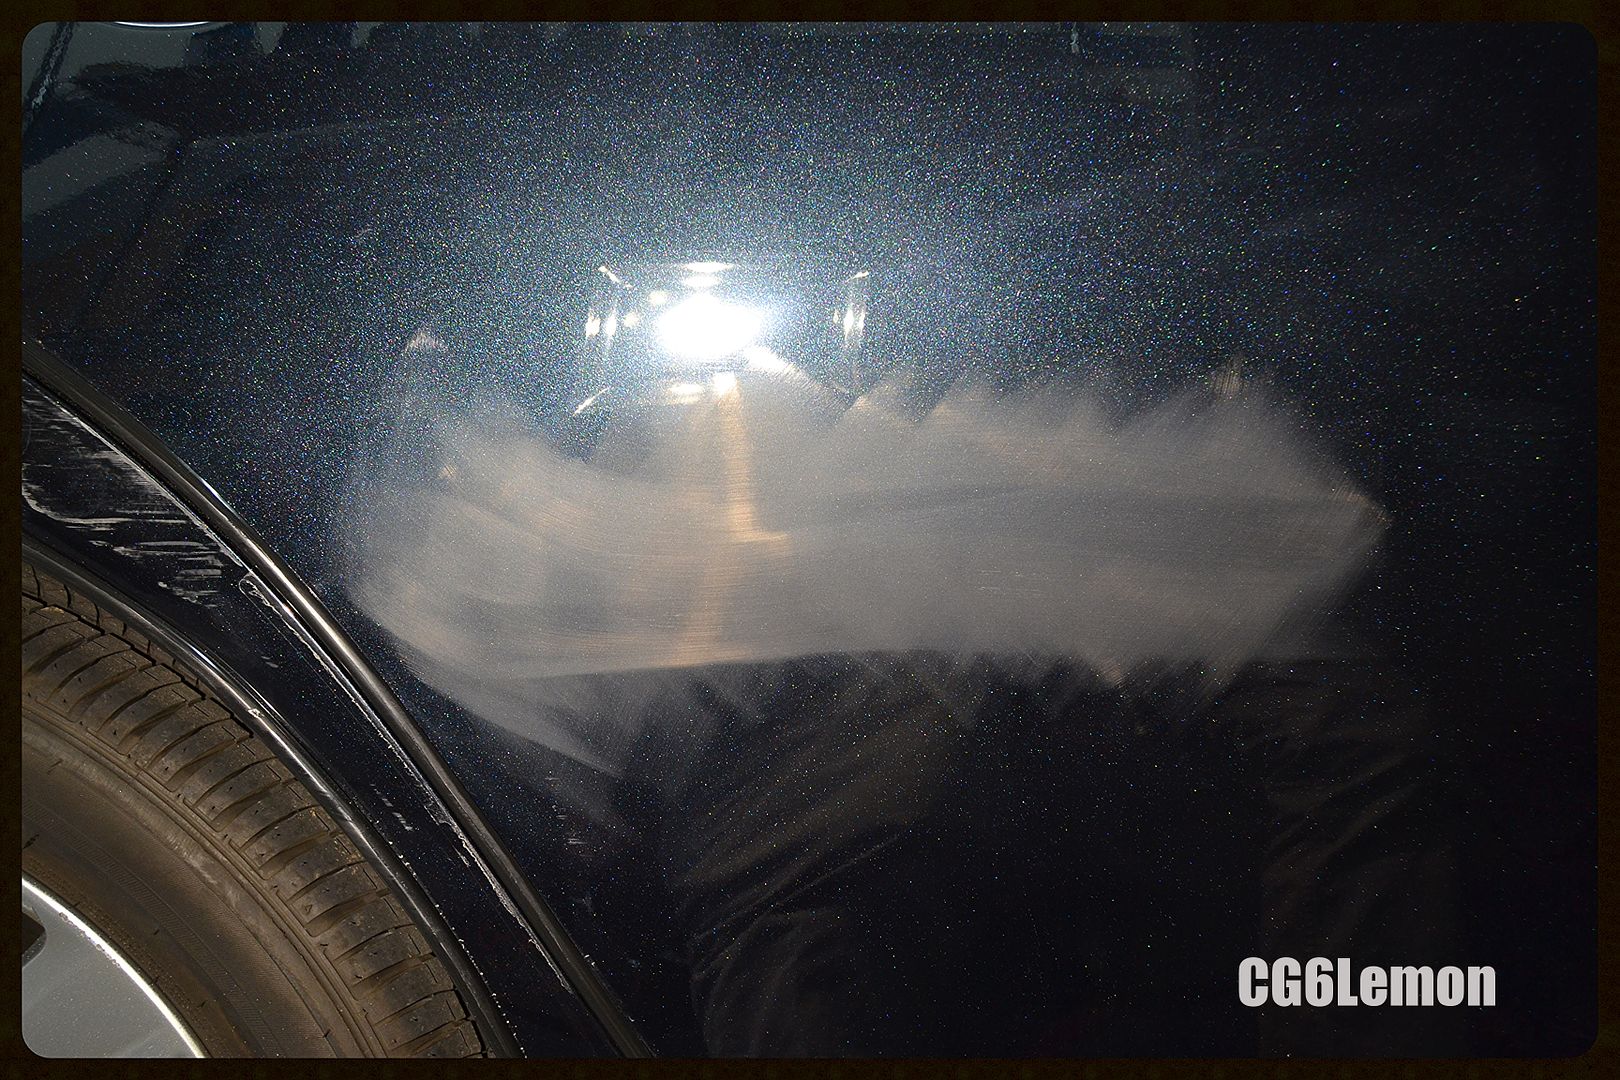
Started working on half of the door.
*Process:
Harbor freight DA w/ 3" Meg MF pad & Meg 101 compound @ speed 4.5
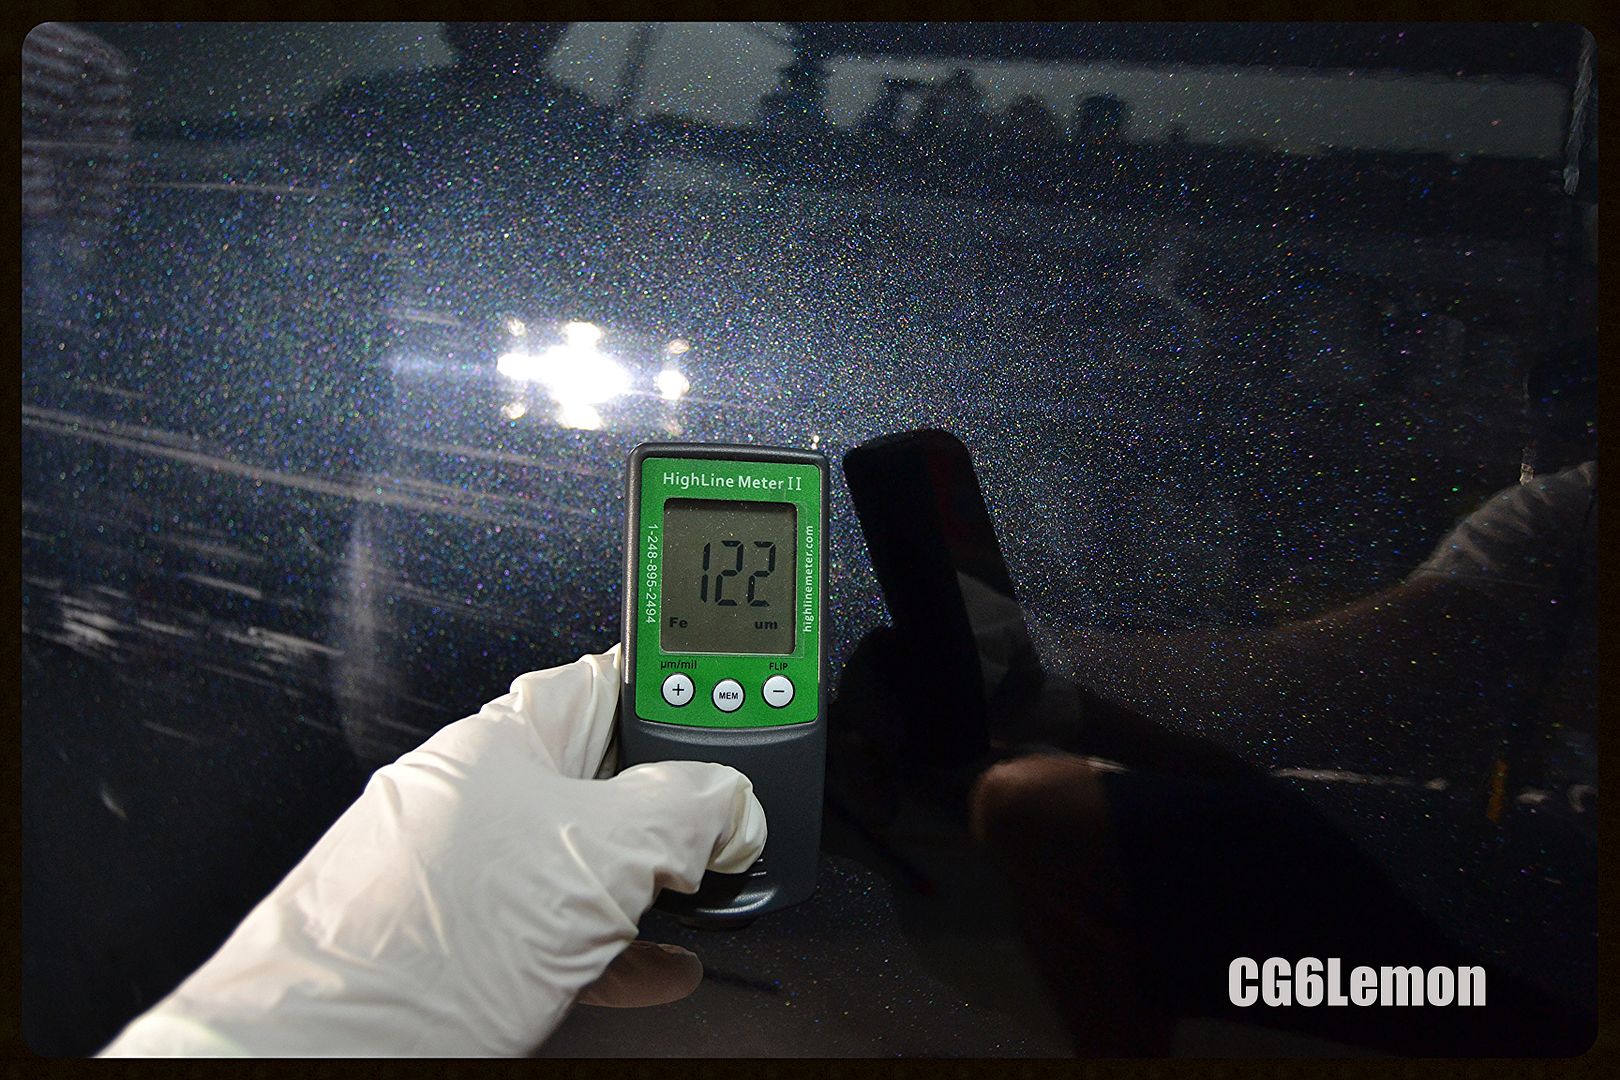
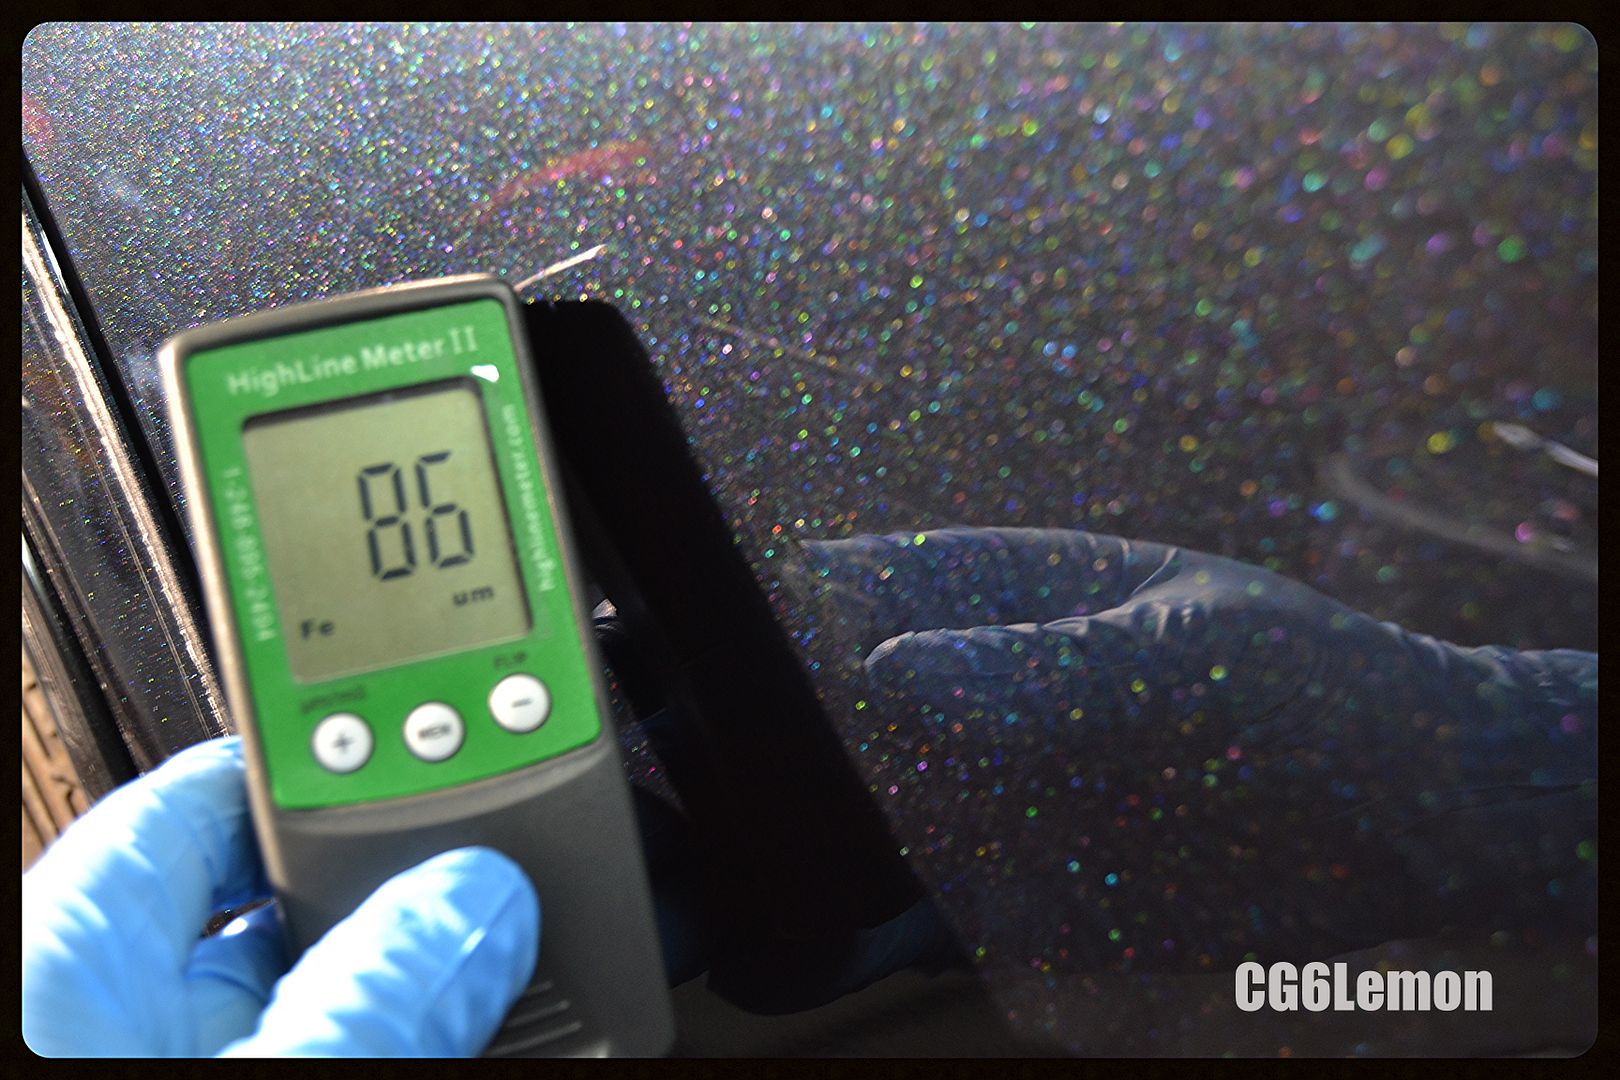
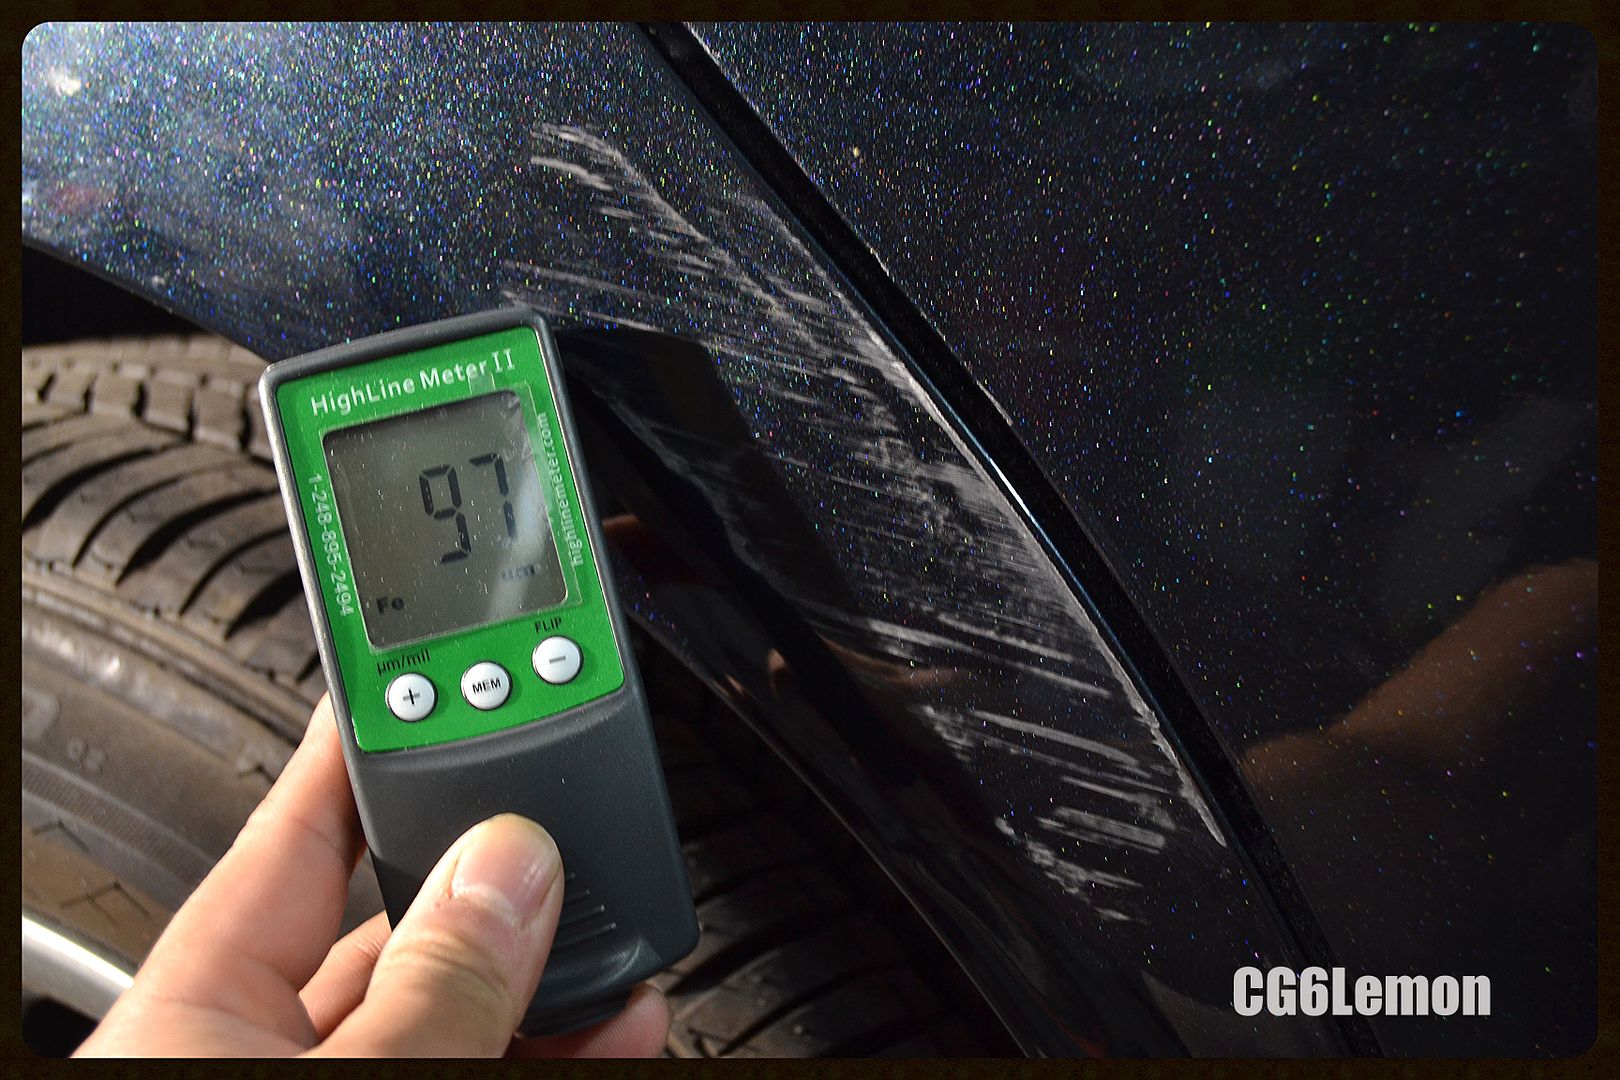
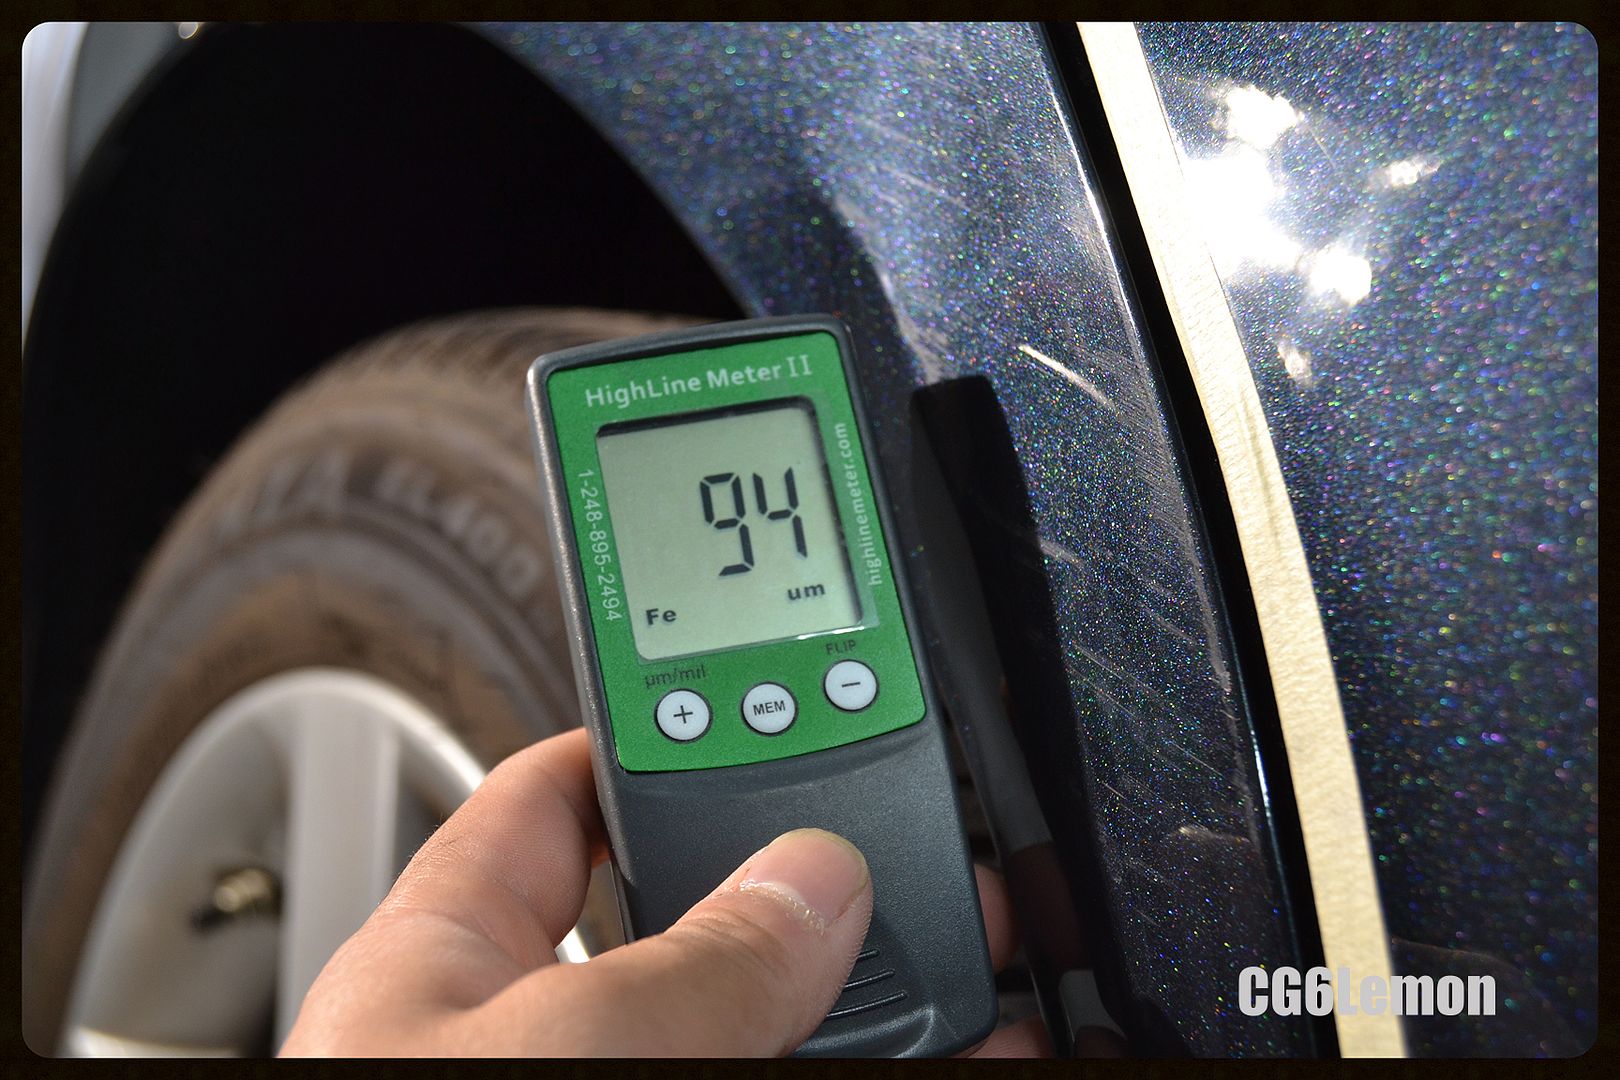
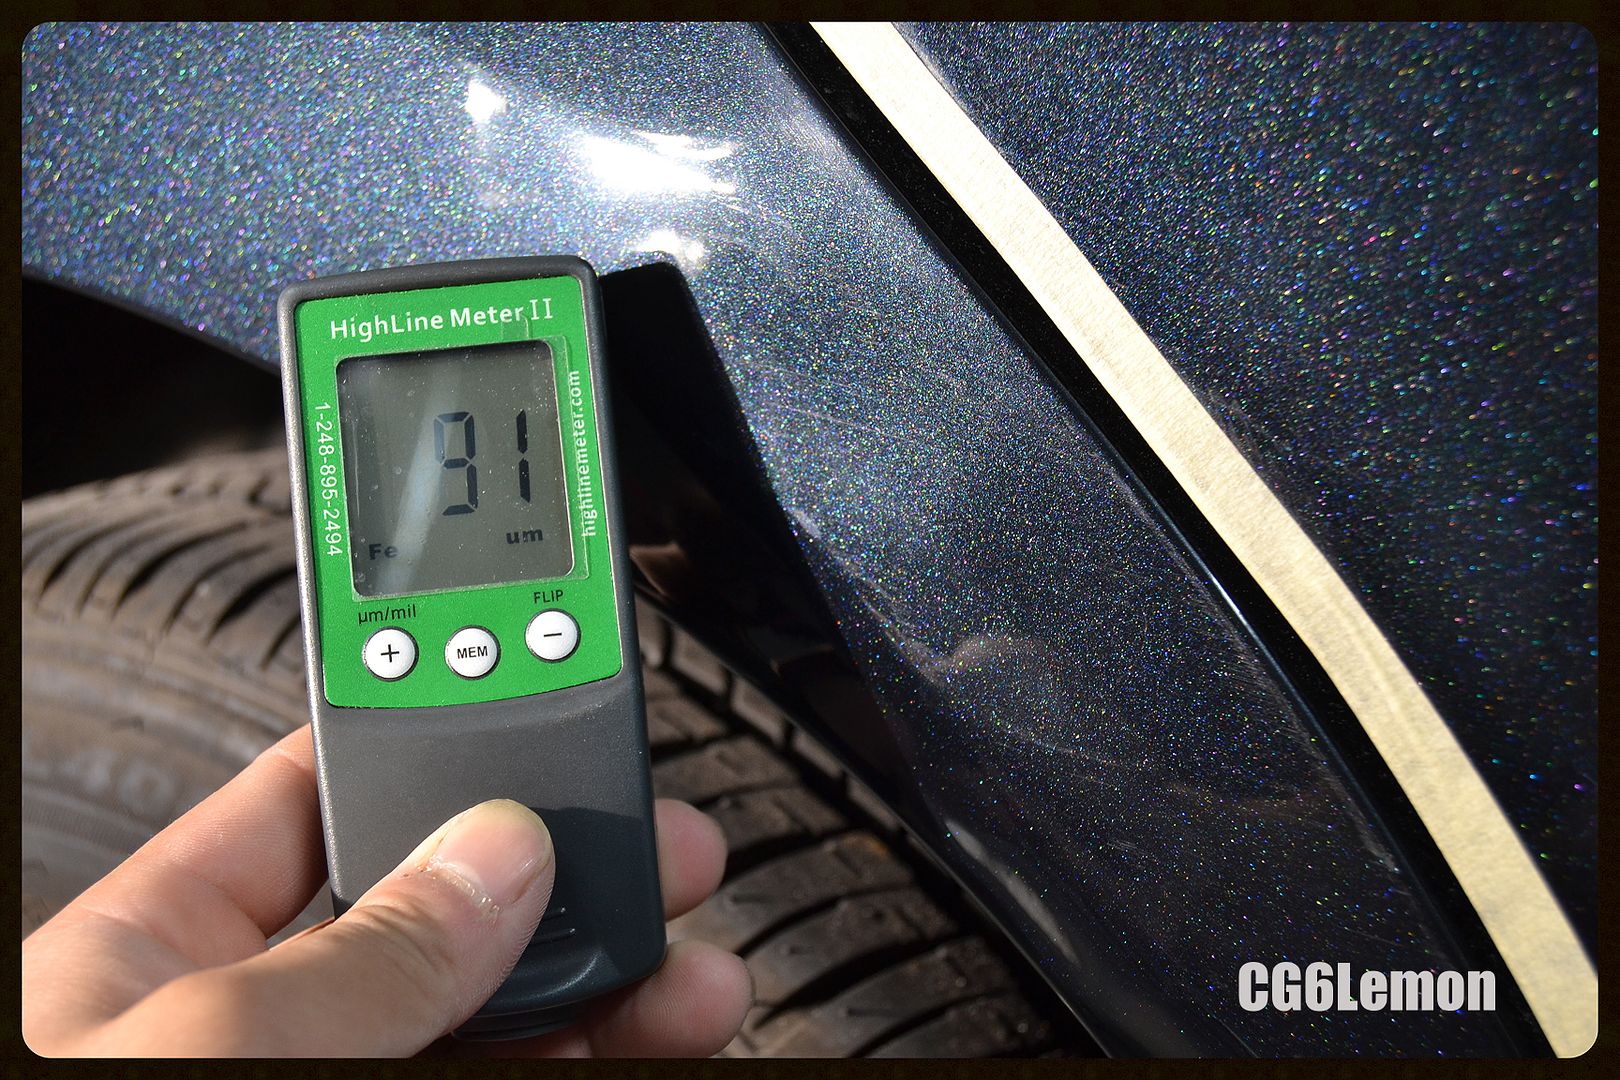
Knowing this car was bought brand new and no previous signs of respray, the paint had healthy readings ranging from 90-130 microns.
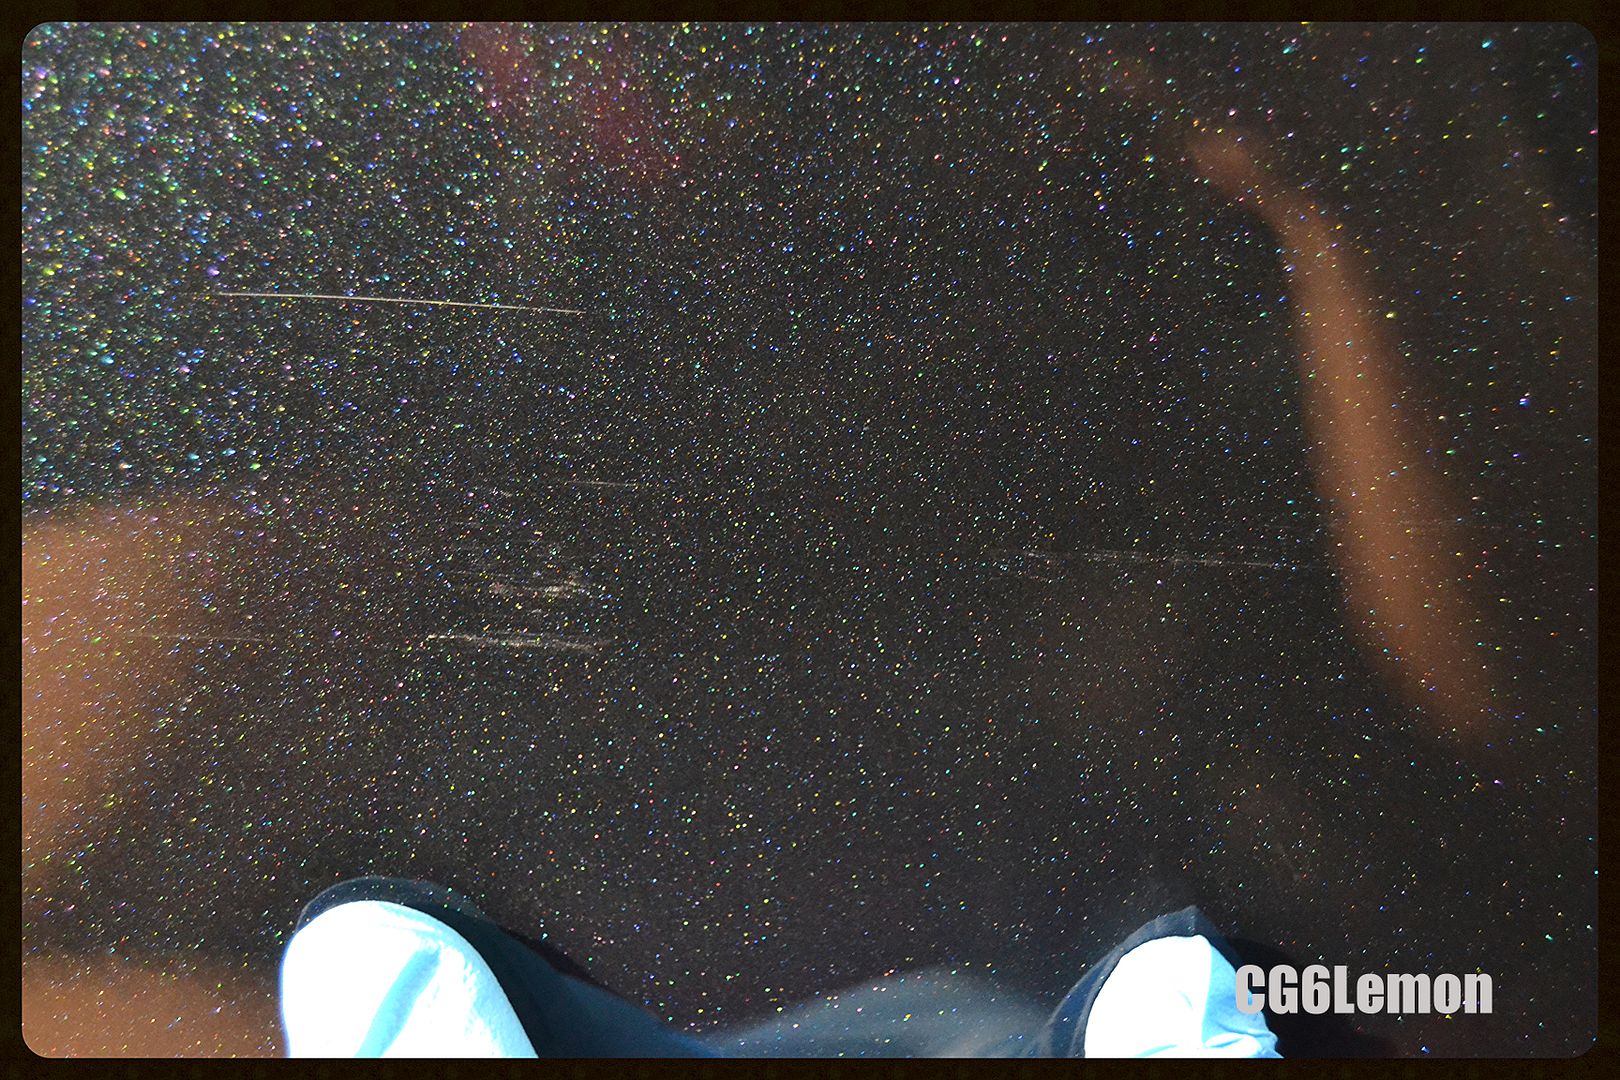
Same section zoomed in. Only left with one scratch that I did not chase.
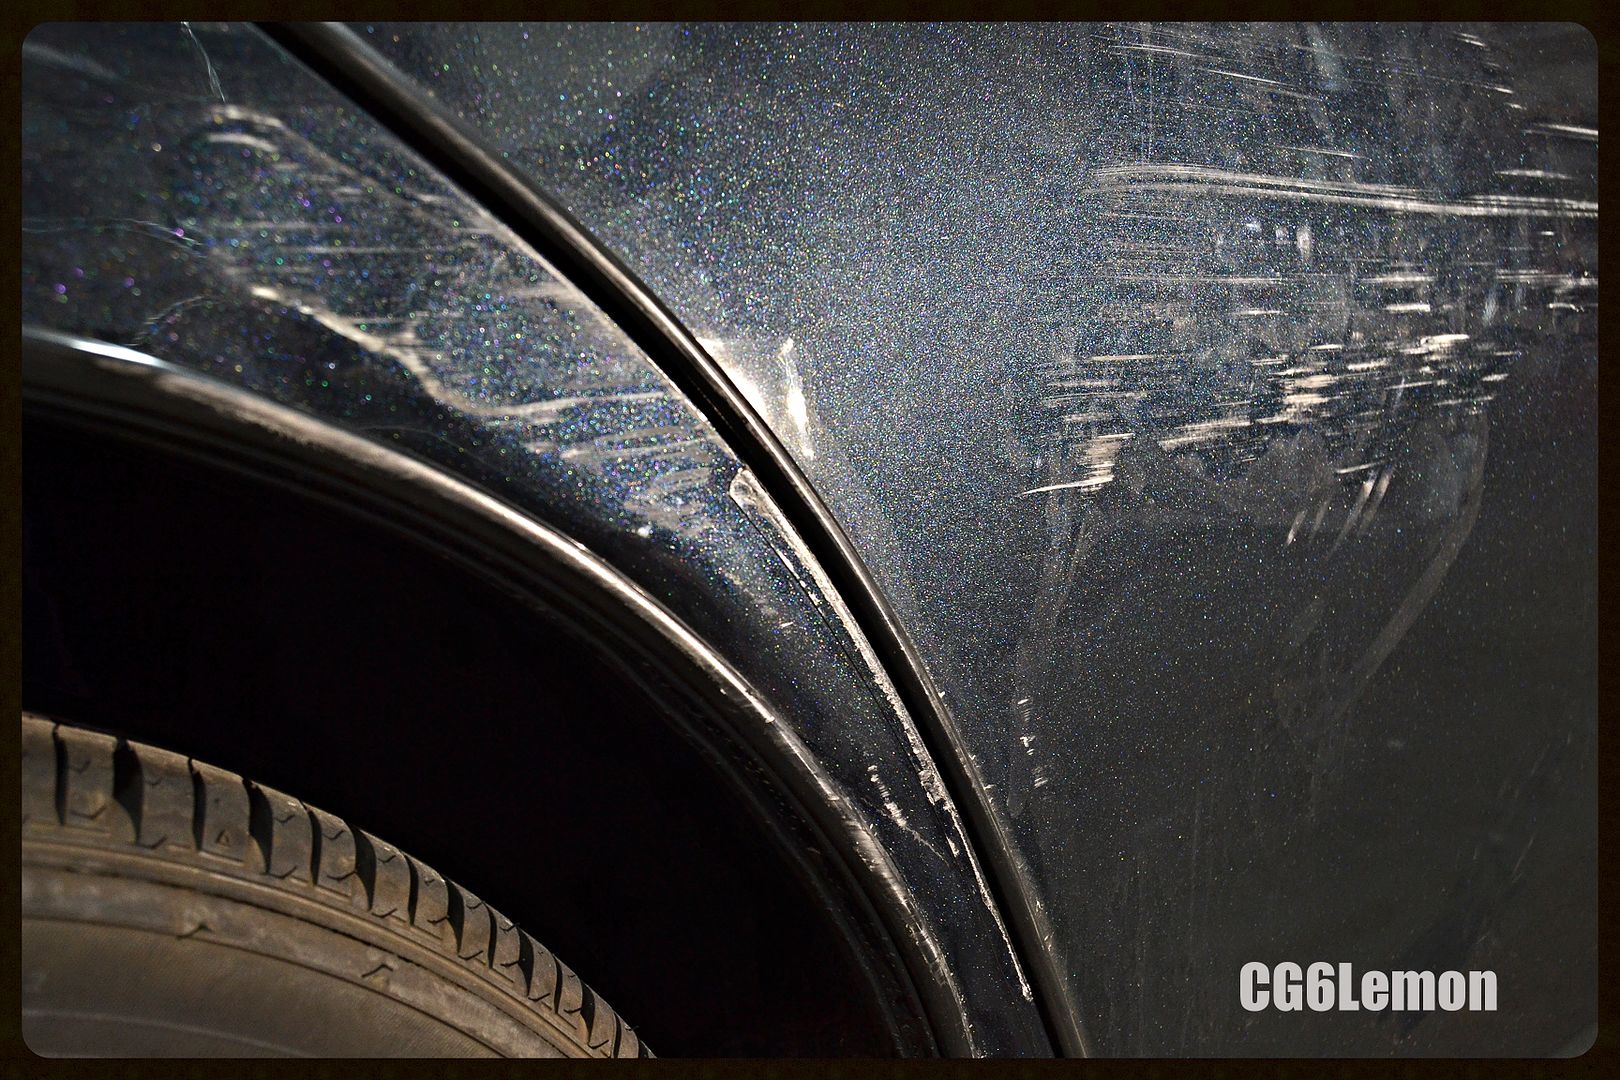
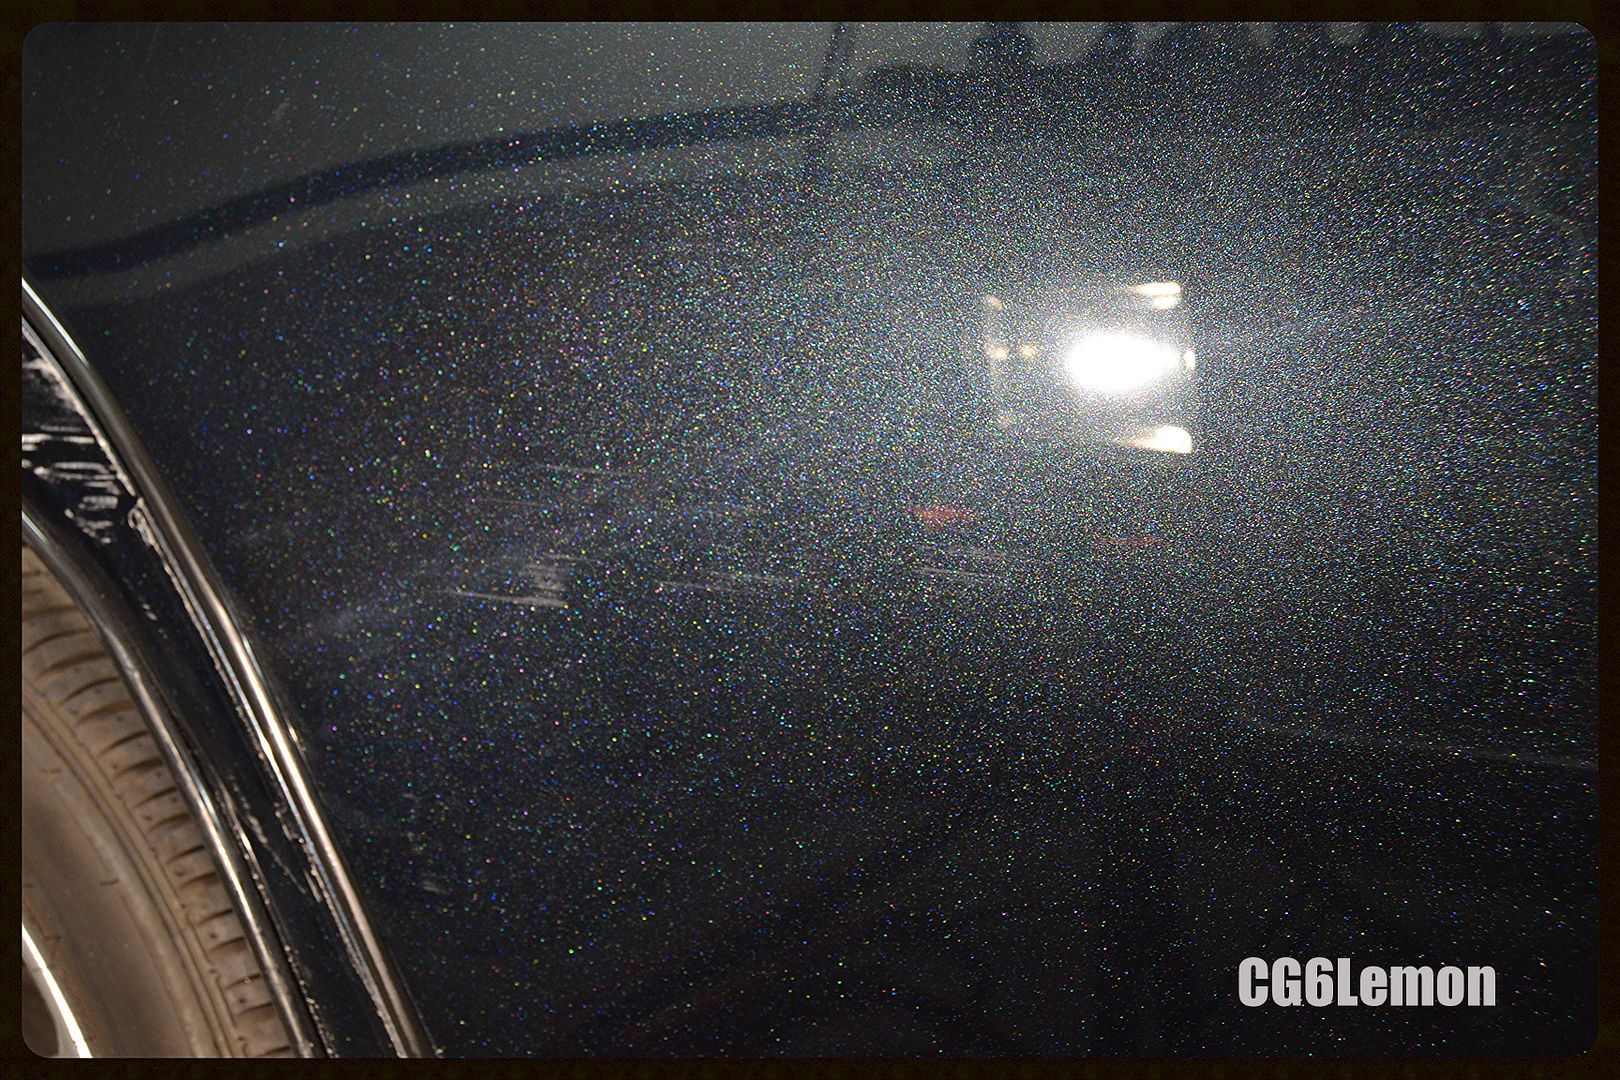
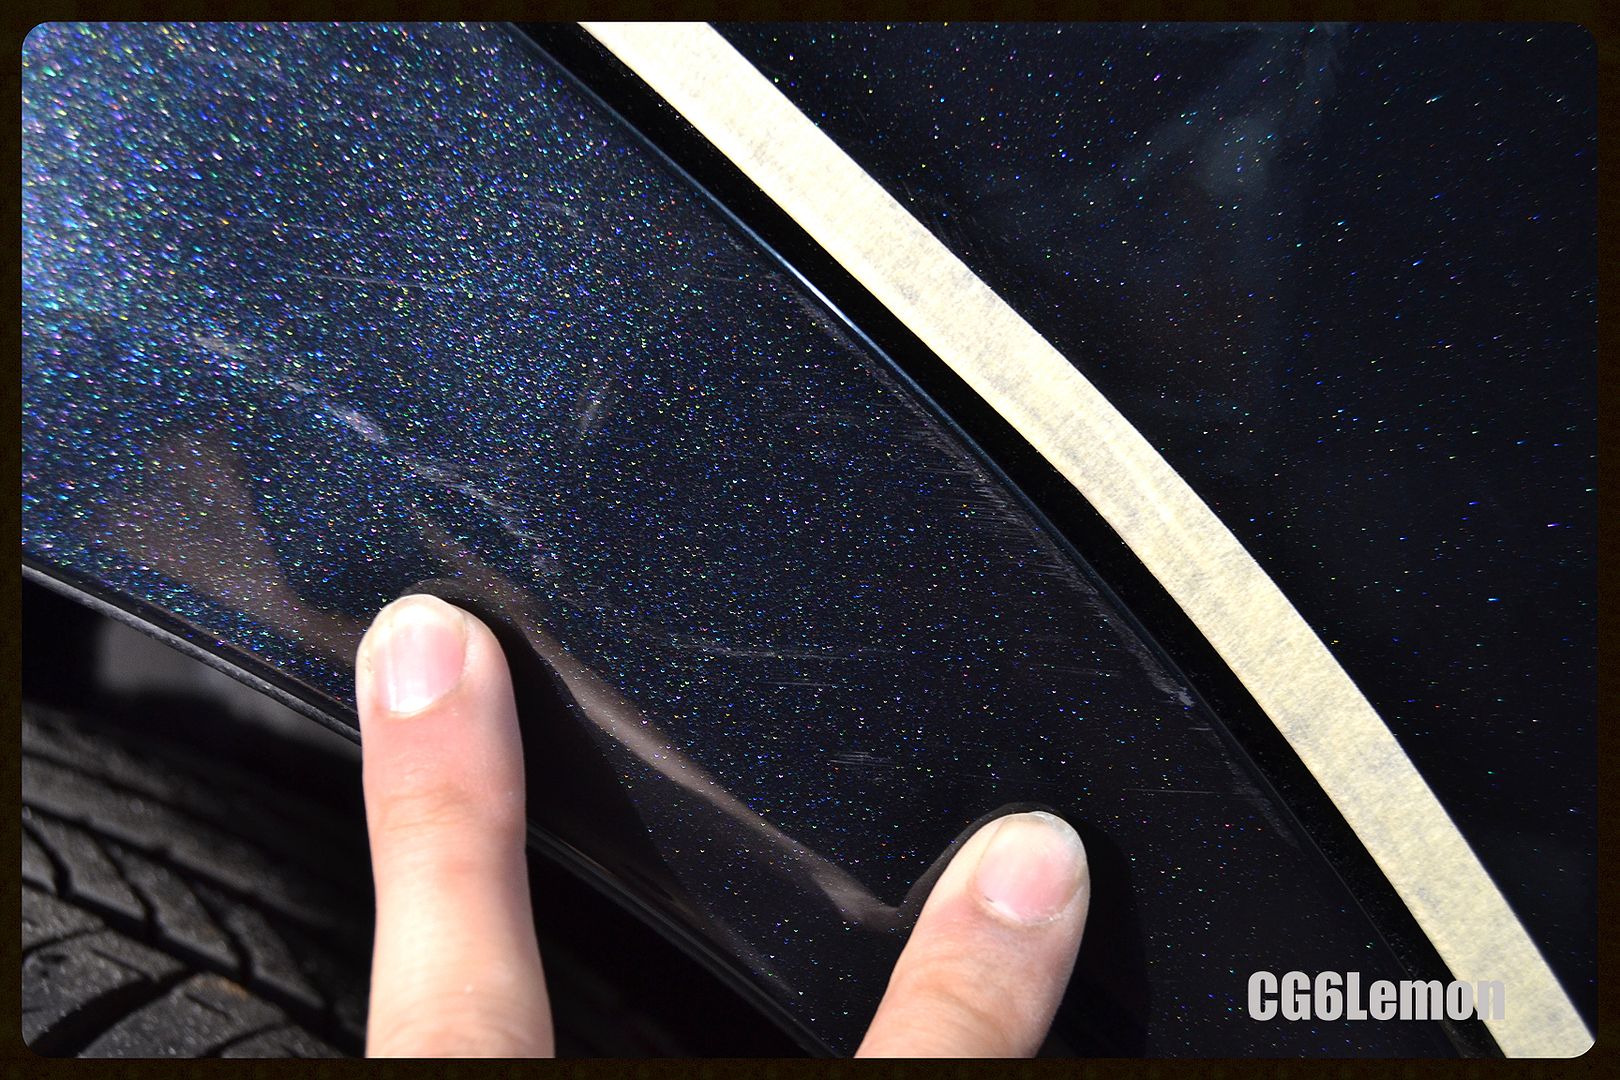
Now I am left with the left side which have deeper scratches to remove/level
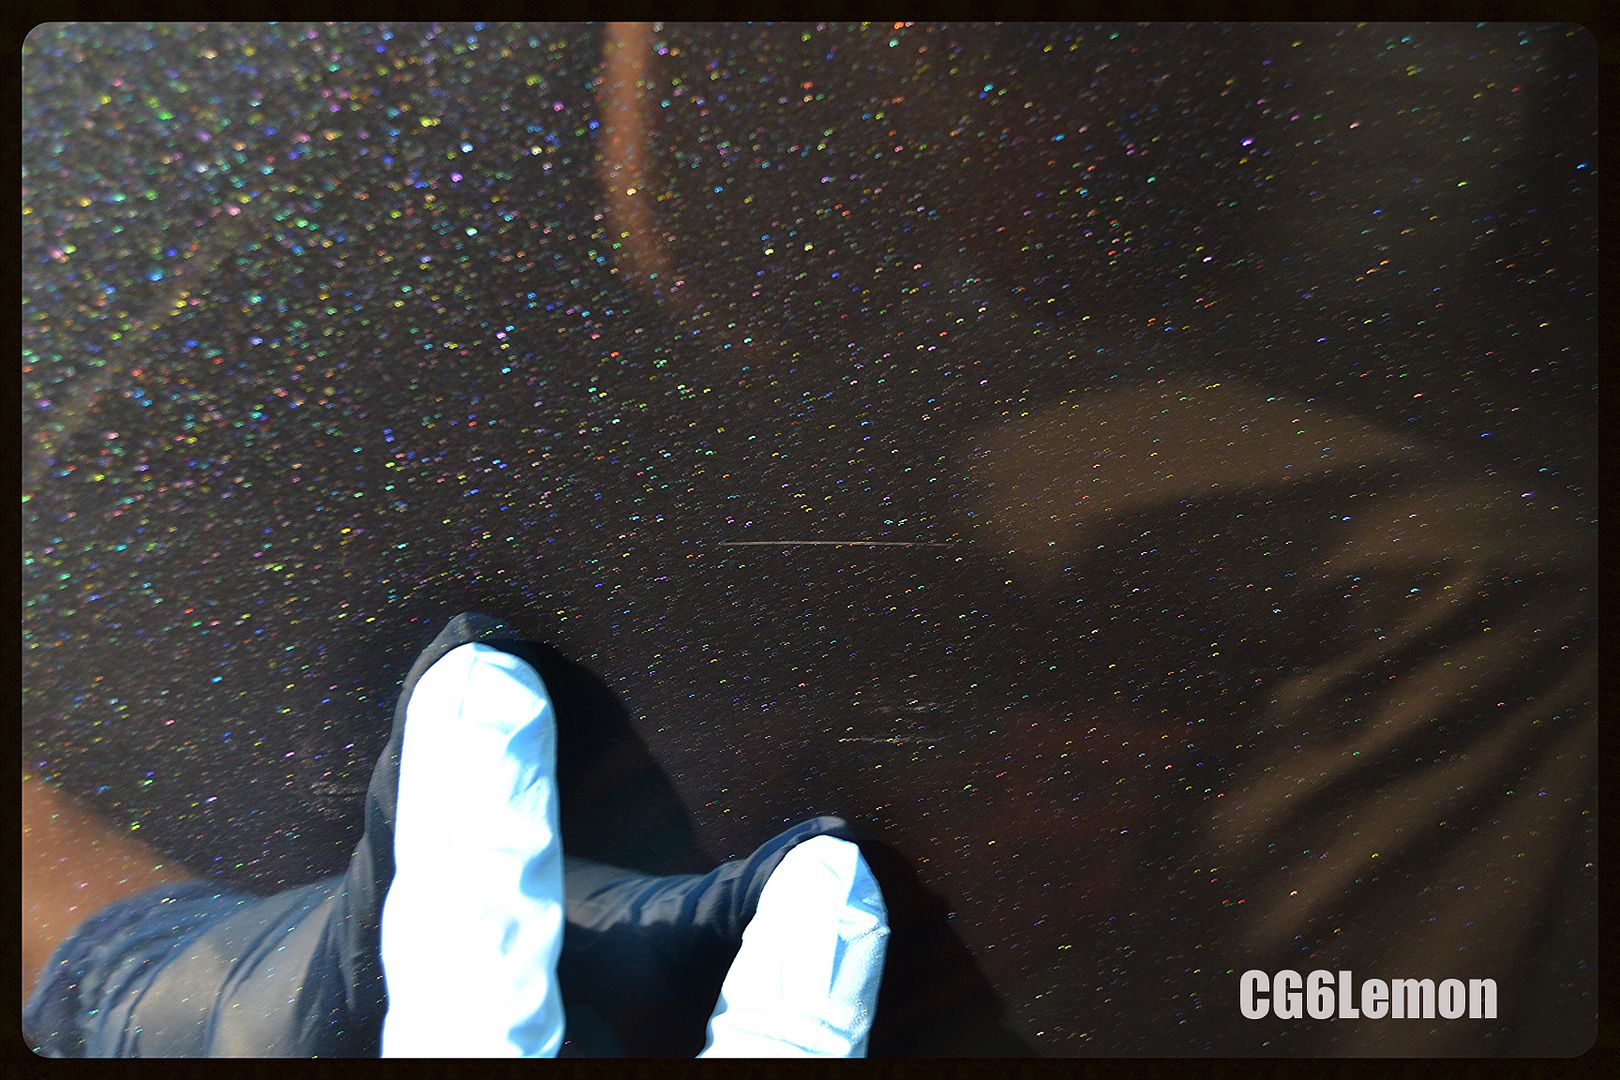
After using the same technique as above, I am left with the deeper marks.
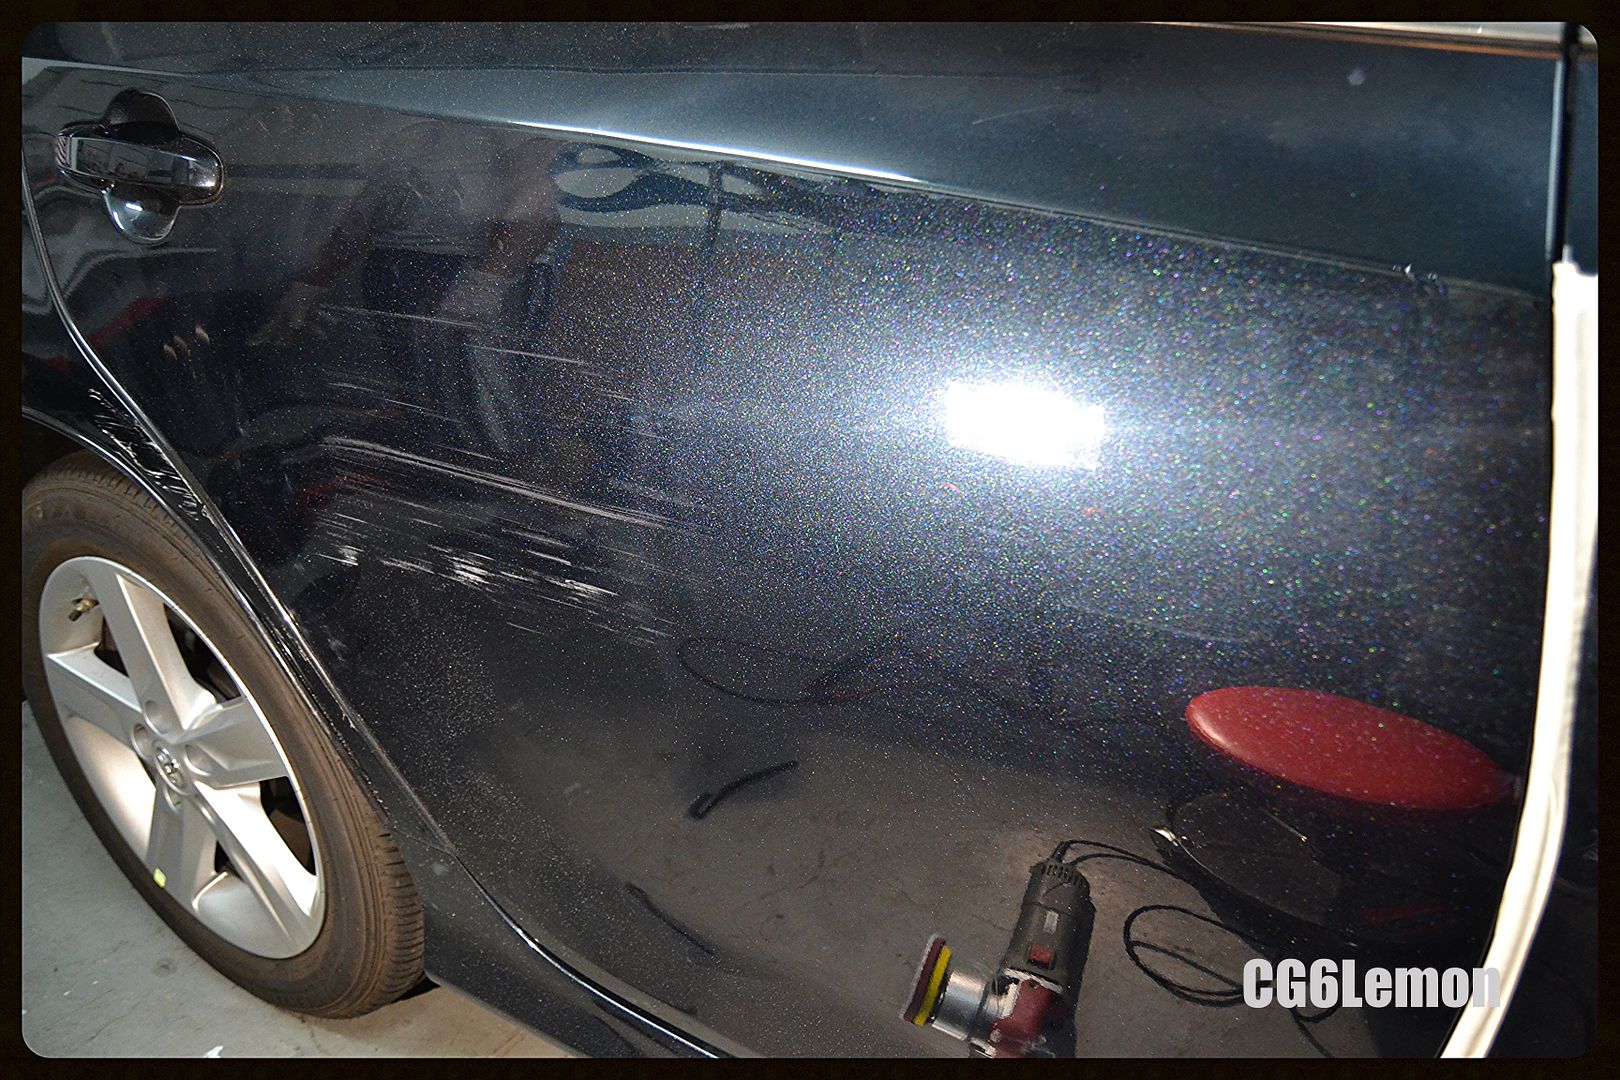
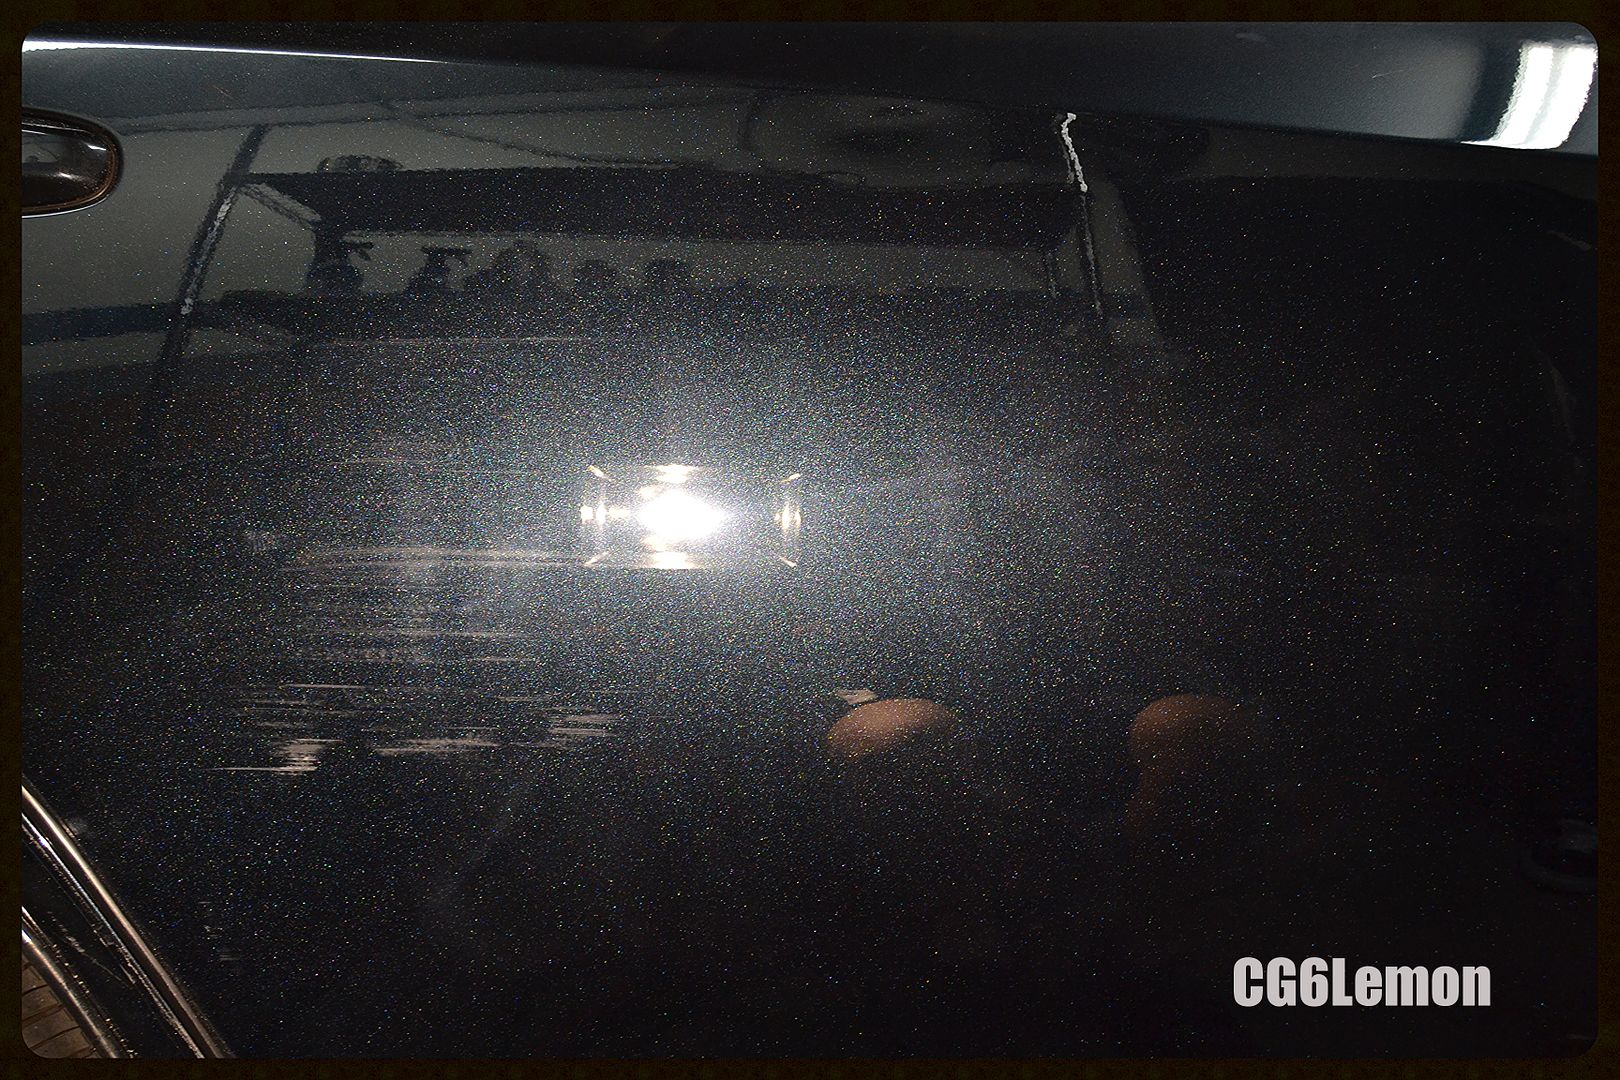
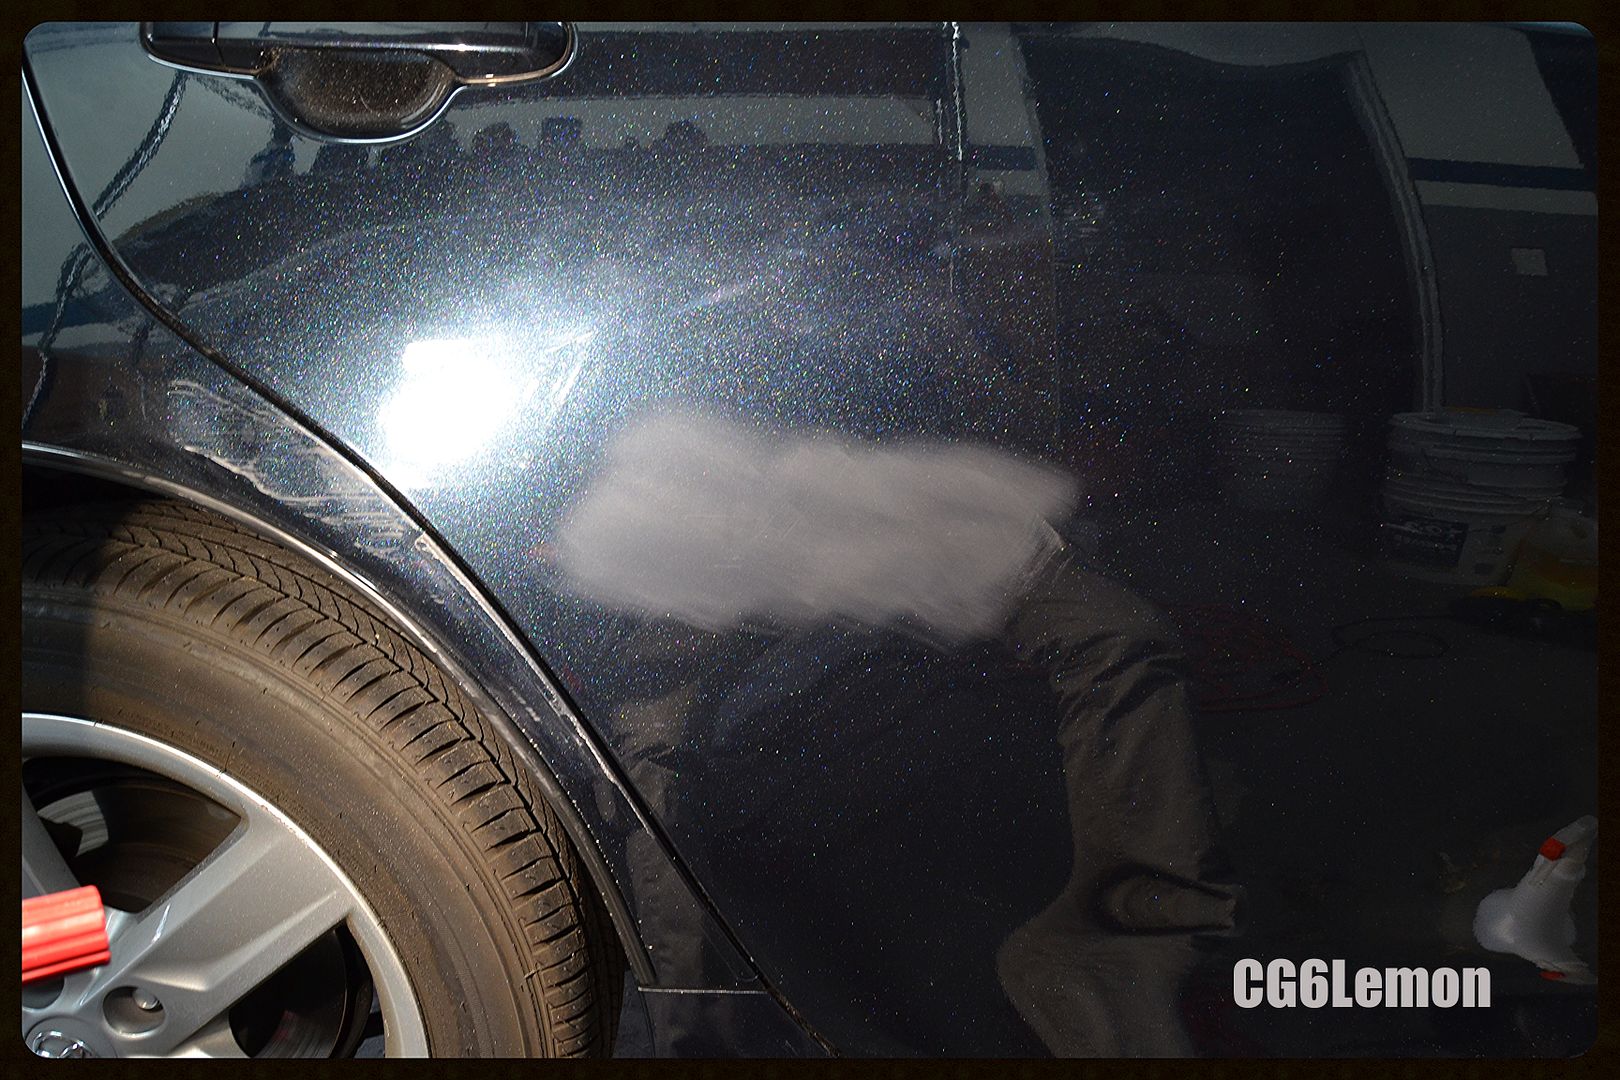
Whole shot of door
Although it is a huge improvement compared to before, I knew there were still room for improvement.
*Process:
Damp sanded with 2500 grit then refined with 3000 grit
After compounding, ended up with this
I took some readings, and made a decision to chase a little bit more with the scratches so I damp sanded again with the same process.
Another round of compounding, and I end up with a result that will pass my standards.
Because of my decision to chase the scratches, I had to sacrifice some clear to reach my goal.
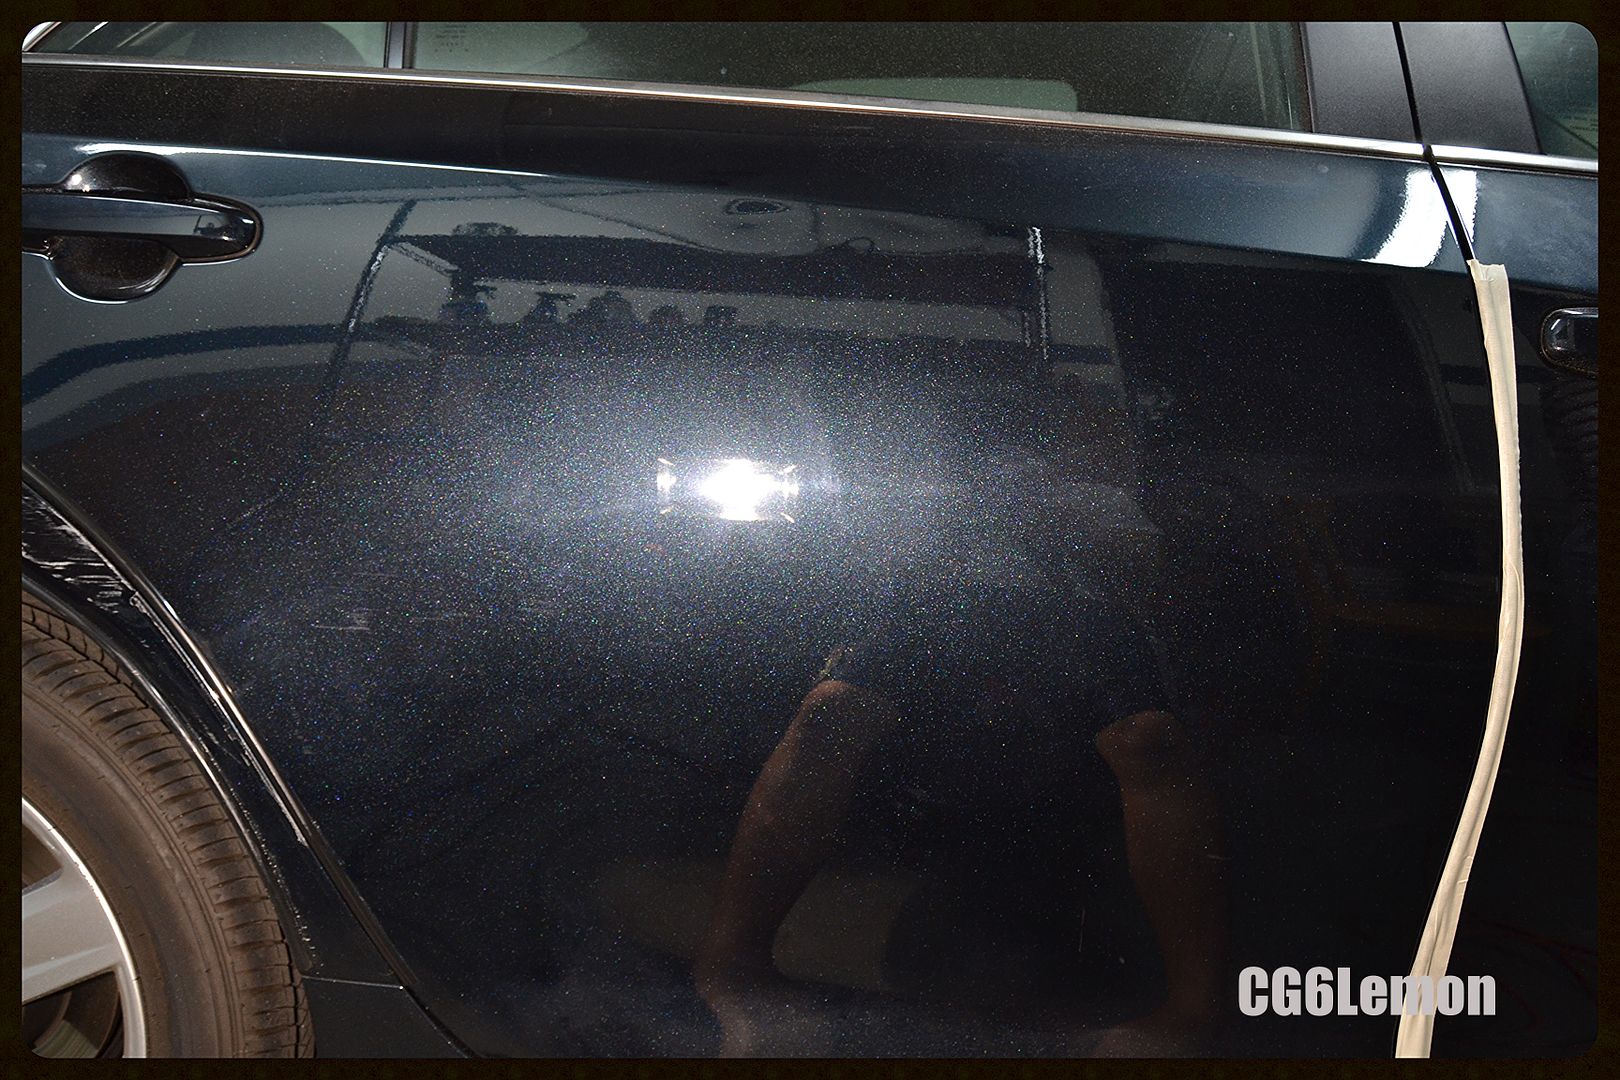
Couple pics of the door all finished up. I still need to refine the paint with polish.
Continuation for Part 2 now.....
Starting point for quarter panel. I got a little lucky here because after I looked a little closer it seemed the clear film protected the paint underneath.
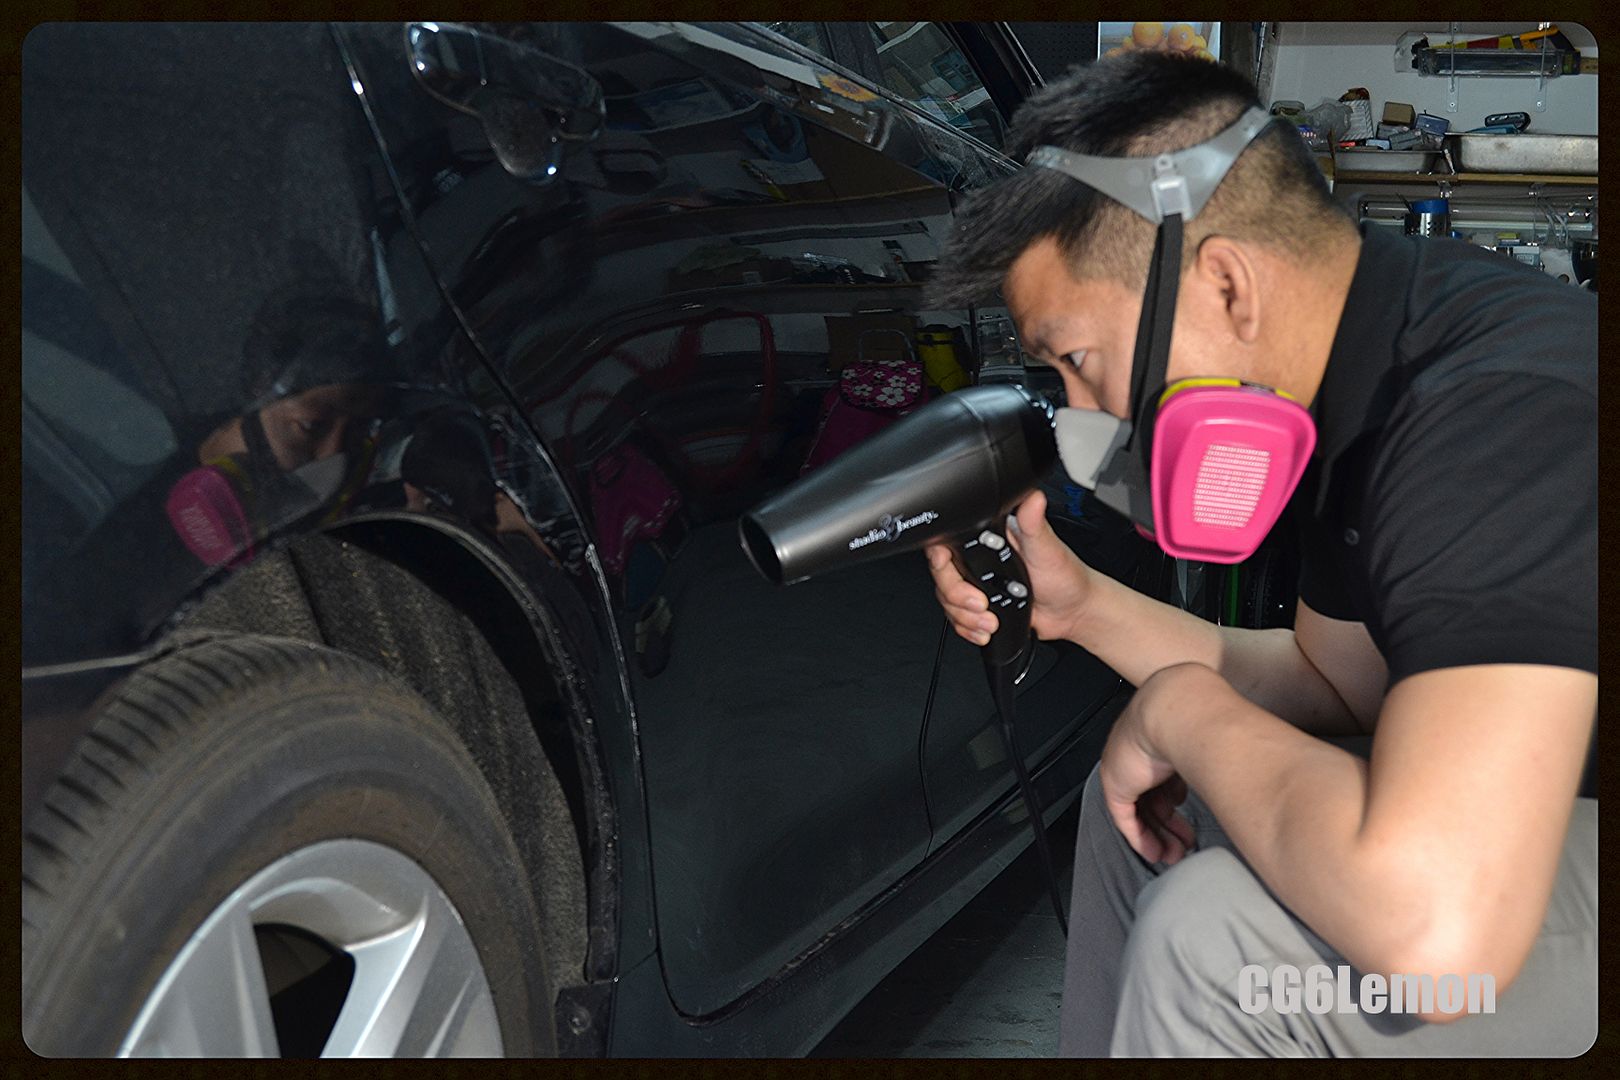
Here, I am using a hair dryer to heat up and soften the film prior removing it.
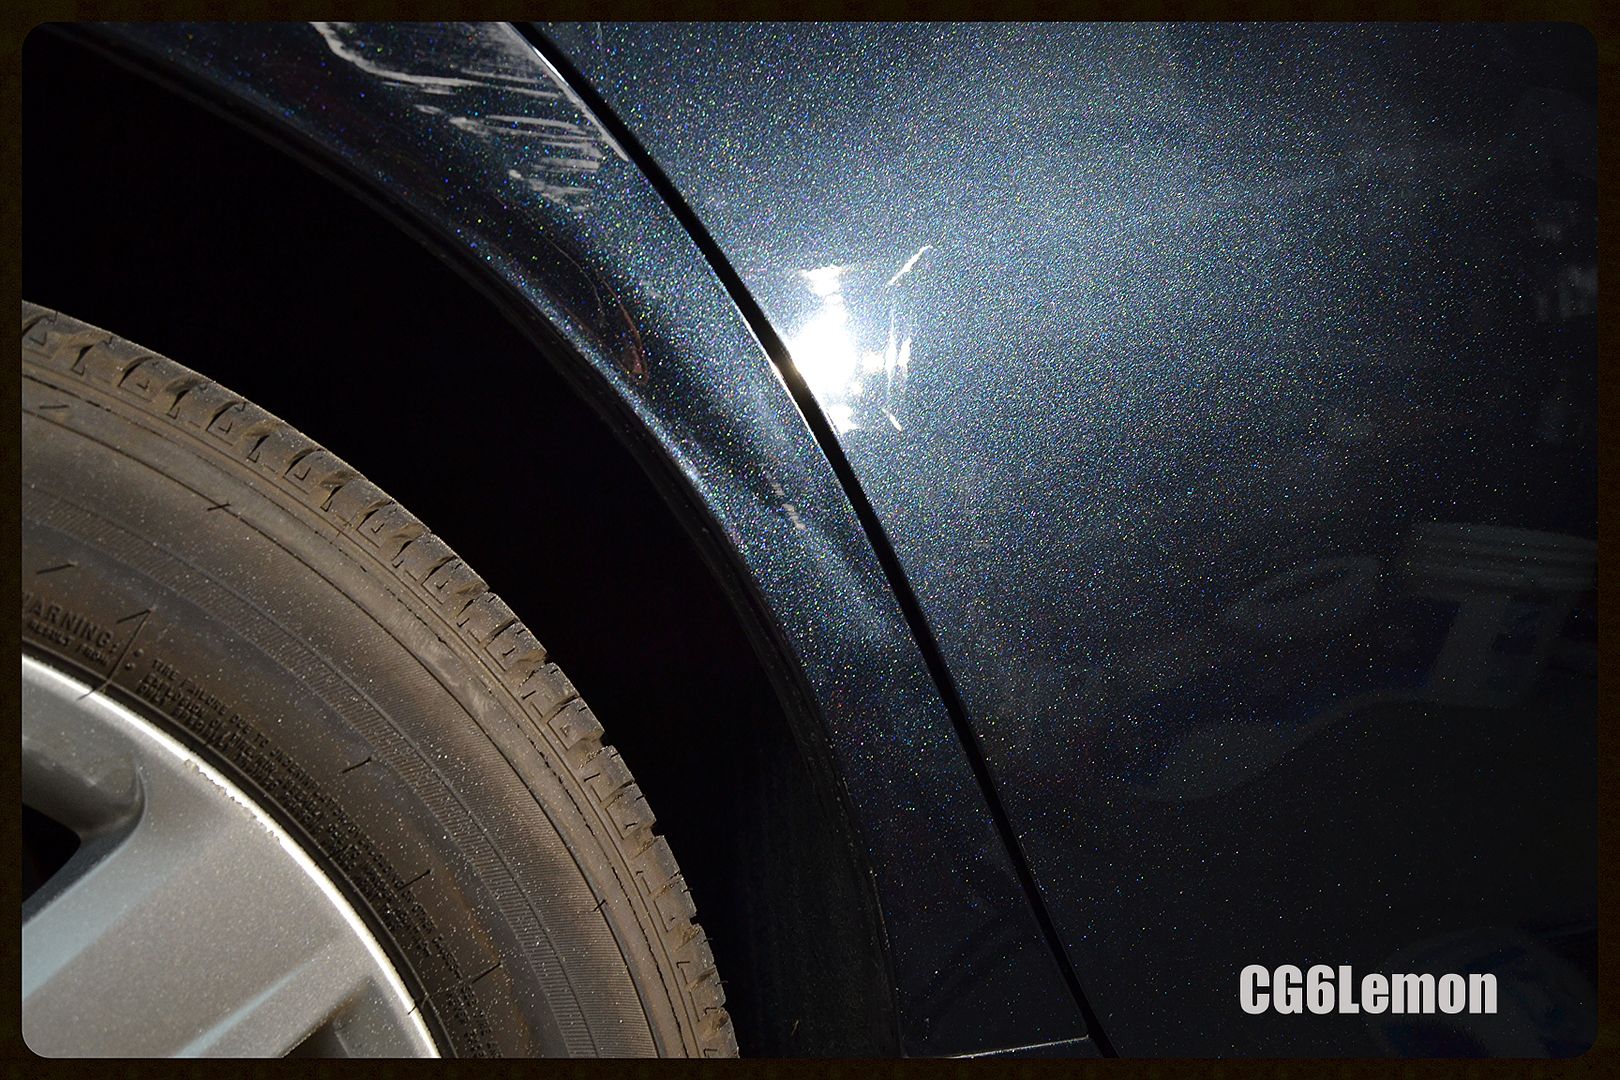
After the film was removed, what do you know.... only a scuff where the dent is at. Pretty lucky IMO here
Afterwards I moved on to the damaged area. I took some readings, and I knew I had to damp sand from the get go. Went with the same process as before 2500, and 3000. Compounded, and ended up removing 3 microns along with the majority of the damage.
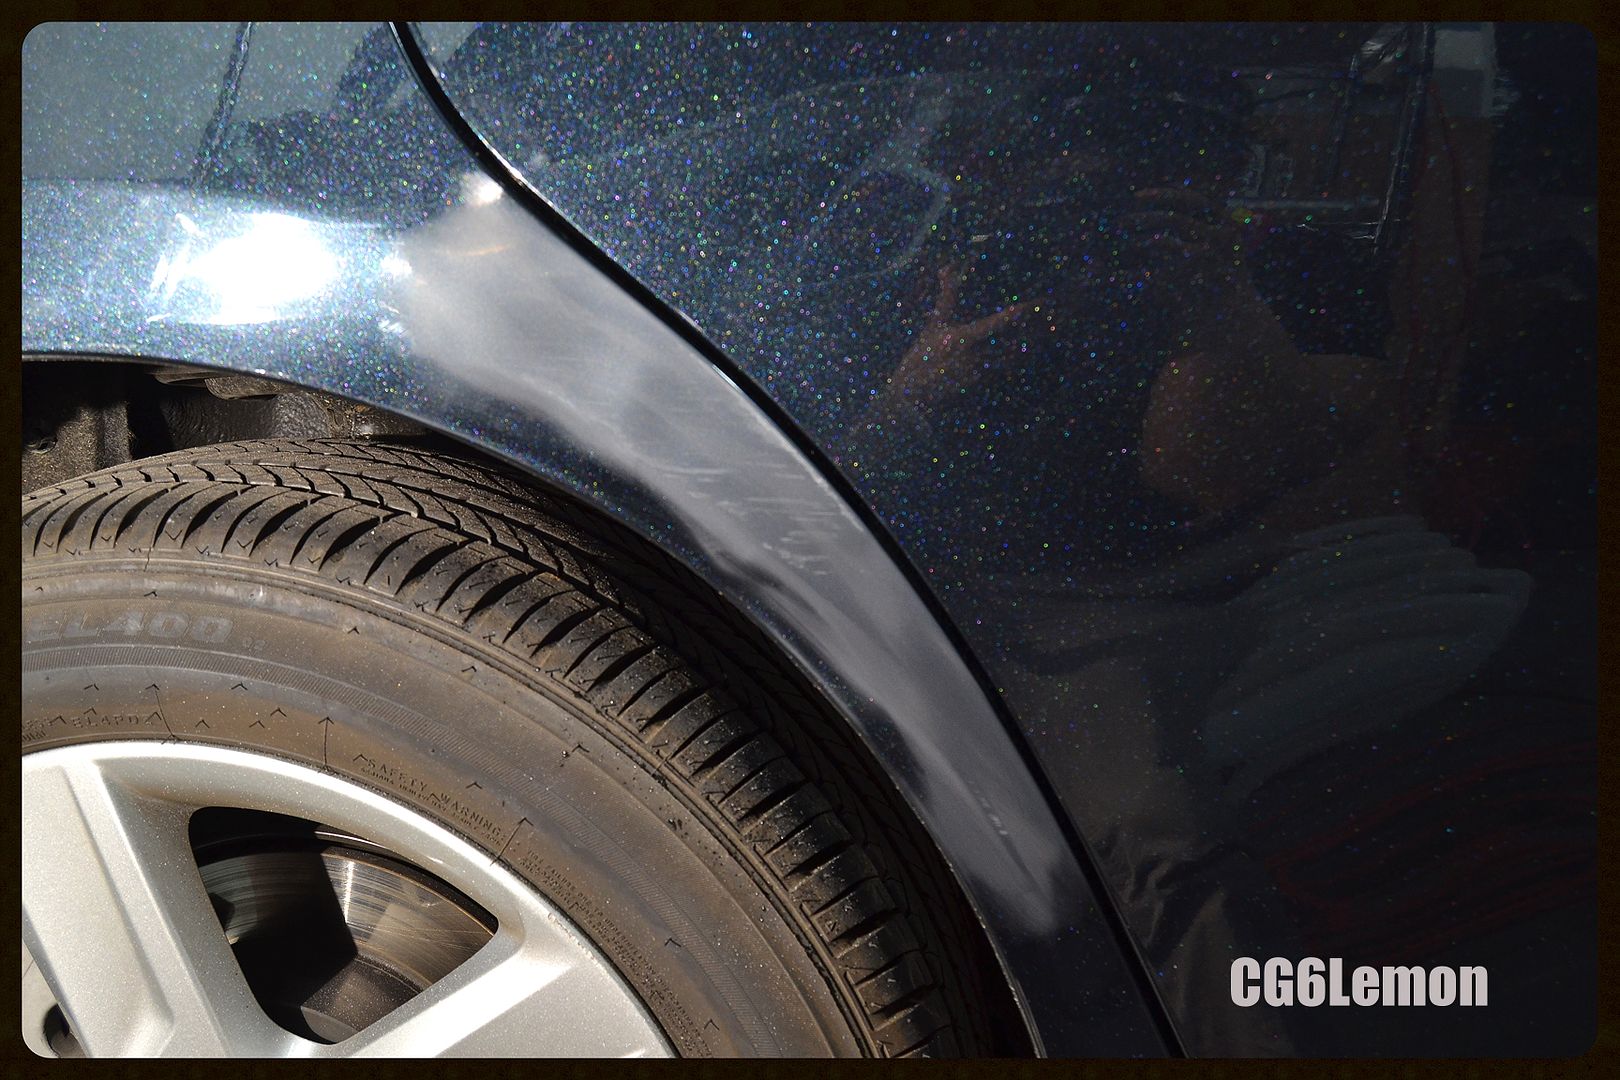
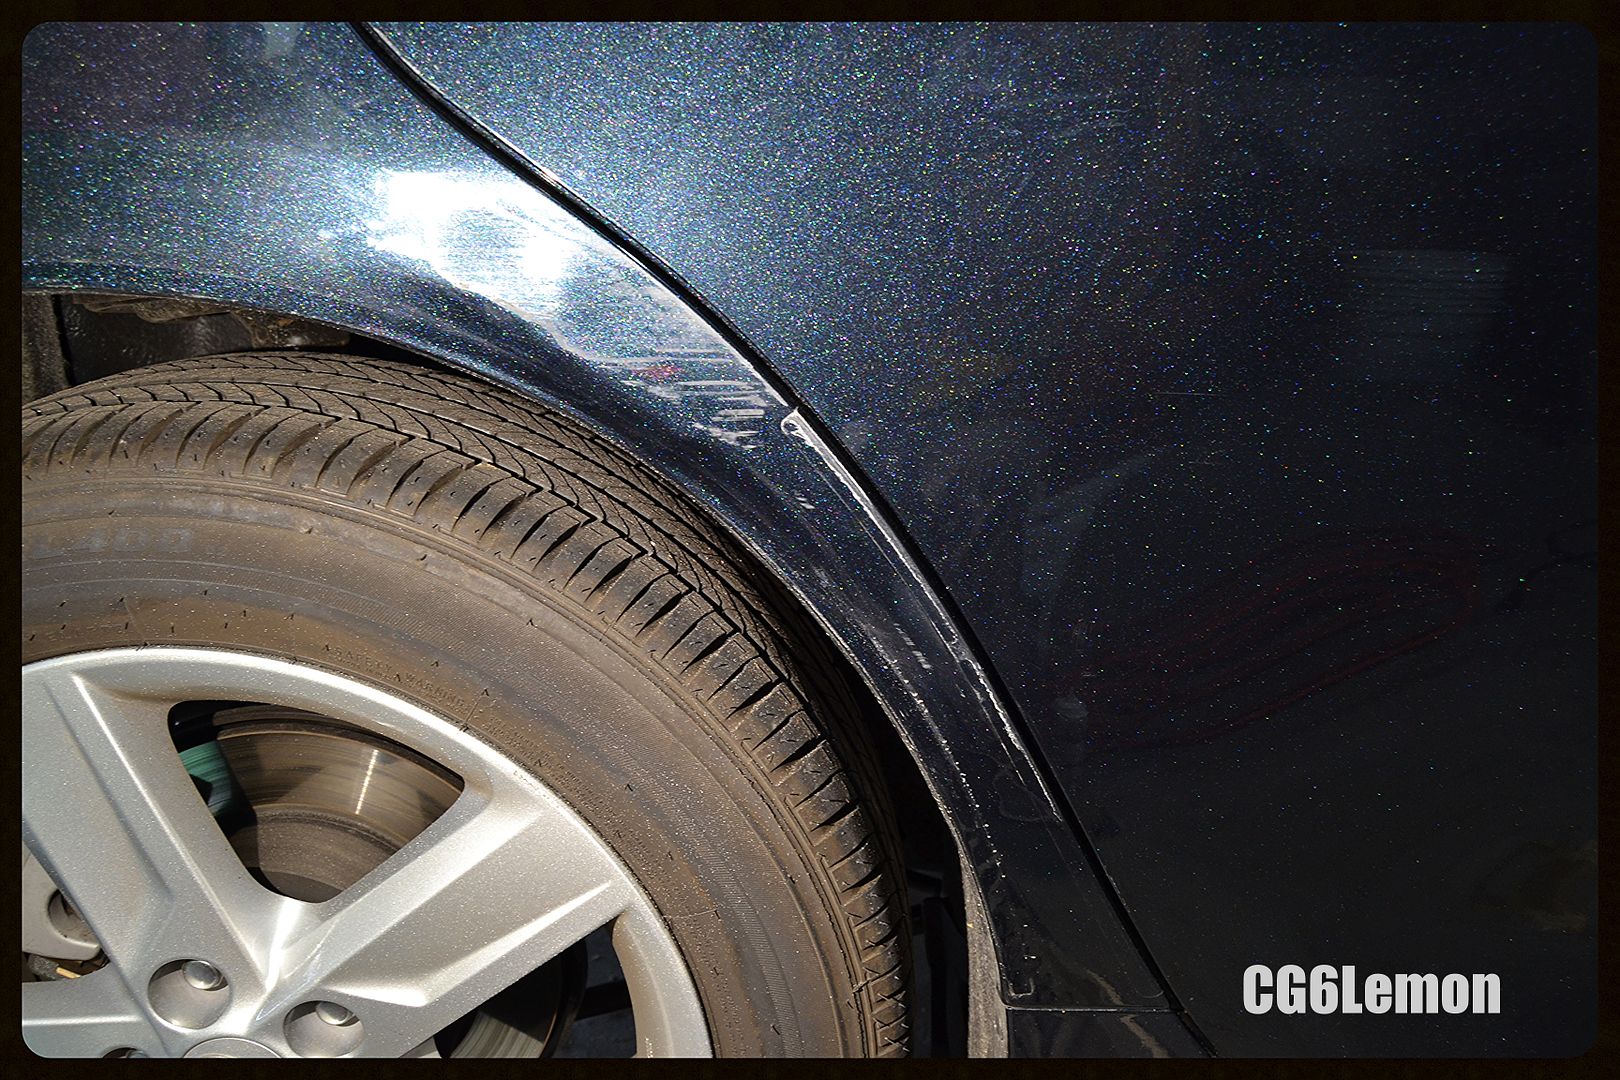
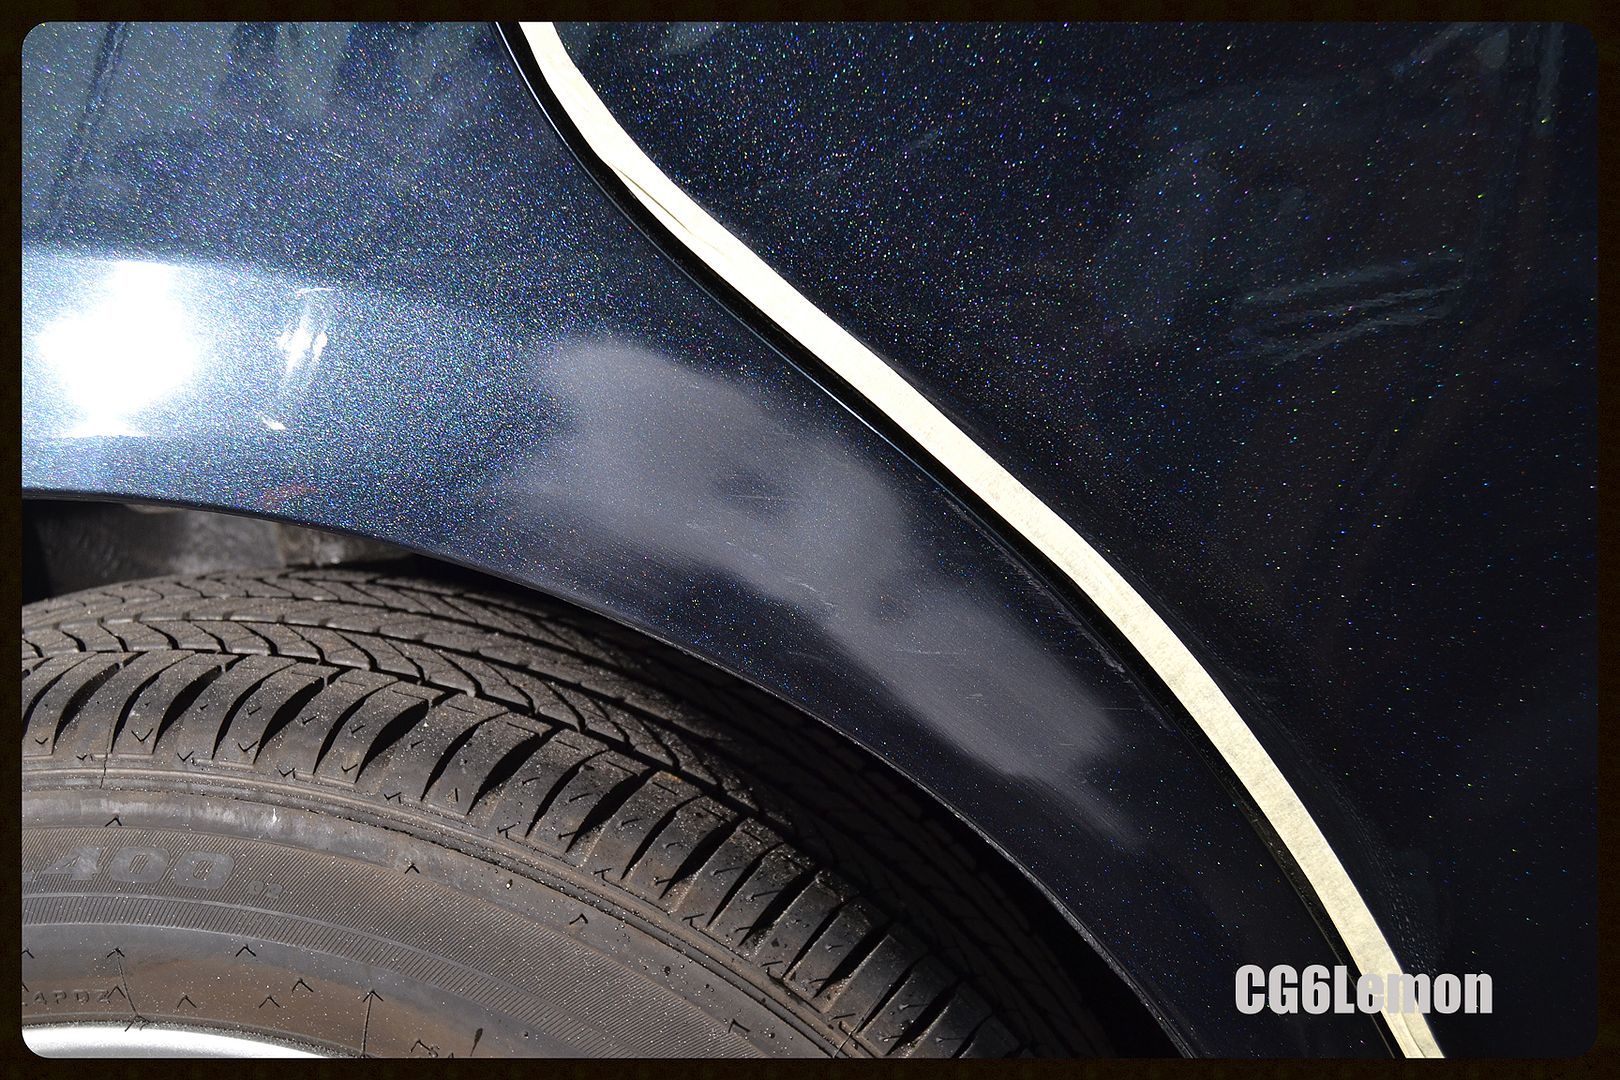
A shot of the overall condition of the paint atm. A few scuffs left as expected due to more severe damage in this area.
I was pretty happy with the outcome already compared to how bad it was before, but I wanted to push the results a little bit further, so I sanded a little bit more carefully using 2500 and 3000 grit.
The final results of my fruits and labor. A total of 6 microns were removed to achieve this correction.
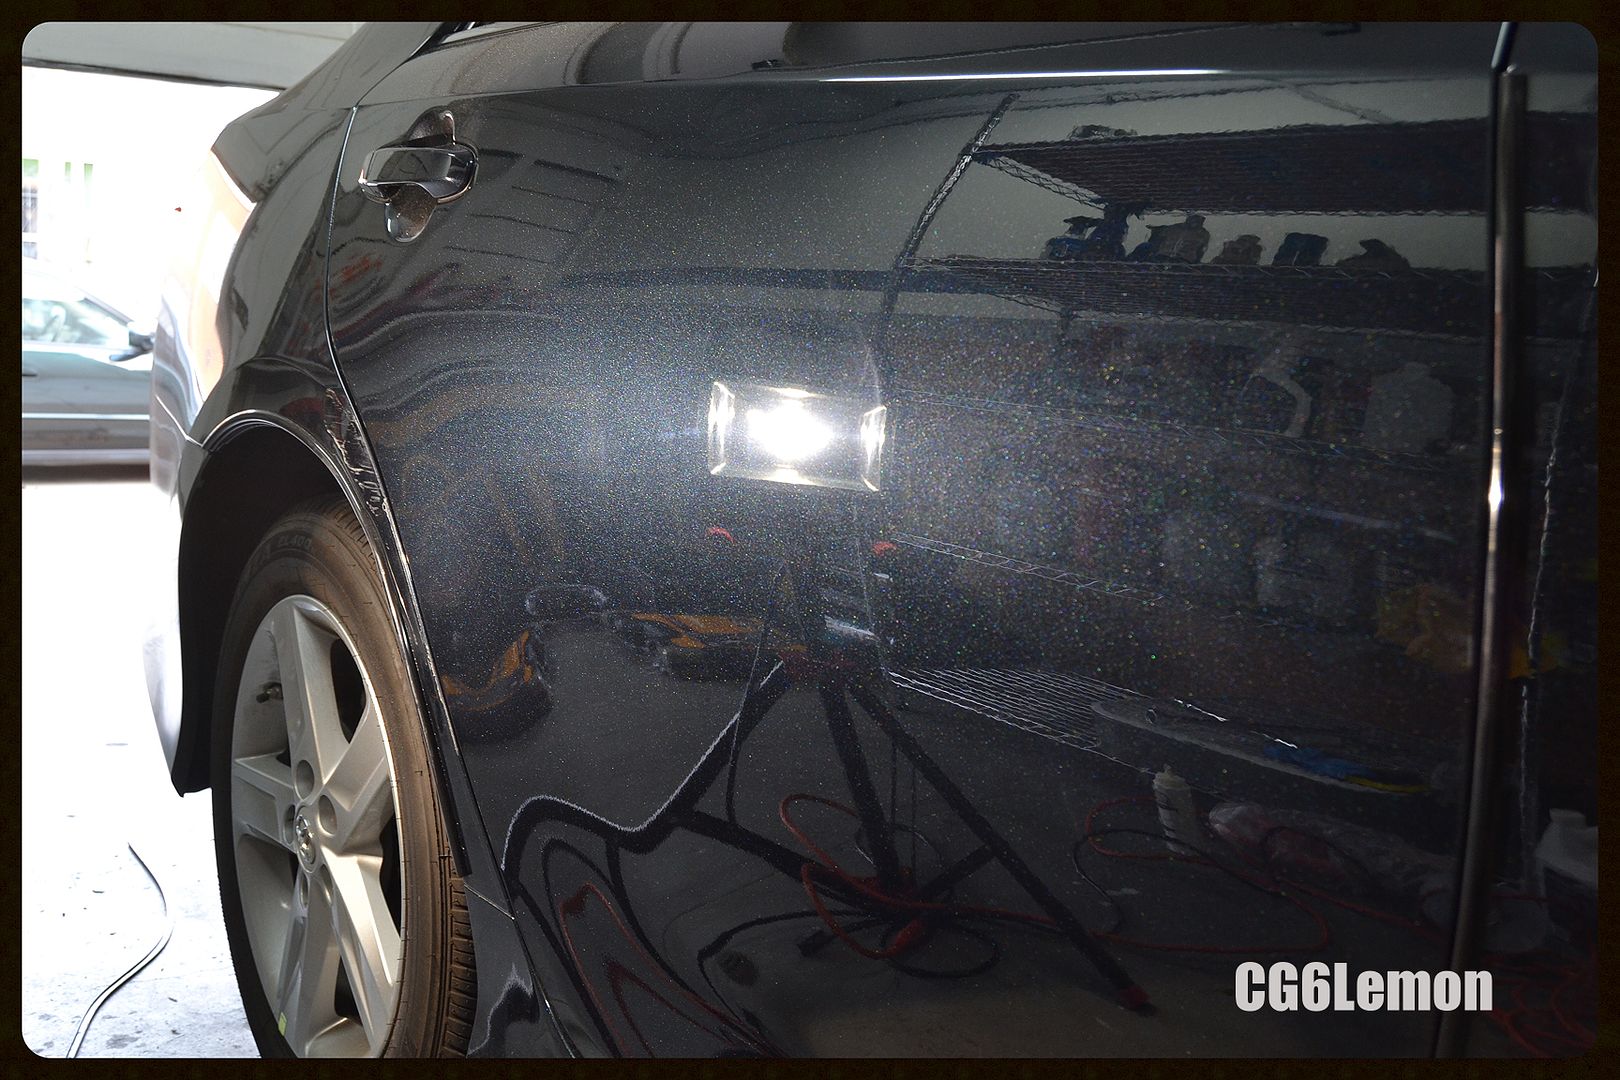
The after shots
For those that have made it this far, I appreciate your time viewing my work. Let me know if there are any questions, and feel free to leave a comment. Total hours on this project: 5 hrs.
Car condition on arrival


Started working on half of the door.
*Process:
Harbor freight DA w/ 3" Meg MF pad & Meg 101 compound @ speed 4.5

Knowing this car was bought brand new and no previous signs of respray, the paint had healthy readings ranging from 90-130 microns.

Same section zoomed in. Only left with one scratch that I did not chase.

Now I am left with the left side which have deeper scratches to remove/level

After using the same technique as above, I am left with the deeper marks.

Whole shot of door

Although it is a huge improvement compared to before, I knew there were still room for improvement.
*Process:
Damp sanded with 2500 grit then refined with 3000 grit

After compounding, ended up with this

I took some readings, and made a decision to chase a little bit more with the scratches so I damp sanded again with the same process.

Another round of compounding, and I end up with a result that will pass my standards.

Because of my decision to chase the scratches, I had to sacrifice some clear to reach my goal.

Couple pics of the door all finished up. I still need to refine the paint with polish.


Continuation for Part 2 now.....
Starting point for quarter panel. I got a little lucky here because after I looked a little closer it seemed the clear film protected the paint underneath.

Here, I am using a hair dryer to heat up and soften the film prior removing it.

After the film was removed, what do you know.... only a scuff where the dent is at. Pretty lucky IMO here

Afterwards I moved on to the damaged area. I took some readings, and I knew I had to damp sand from the get go. Went with the same process as before 2500, and 3000. Compounded, and ended up removing 3 microns along with the majority of the damage.


A shot of the overall condition of the paint atm. A few scuffs left as expected due to more severe damage in this area.


I was pretty happy with the outcome already compared to how bad it was before, but I wanted to push the results a little bit further, so I sanded a little bit more carefully using 2500 and 3000 grit.

The final results of my fruits and labor. A total of 6 microns were removed to achieve this correction.

The after shots


For those that have made it this far, I appreciate your time viewing my work. Let me know if there are any questions, and feel free to leave a comment. Total hours on this project: 5 hrs.

 rops:
rops: