RaskyR1
New member
- Apr 14, 2008
- 3,733
- 0
***Let me first start by saying that this car underwent a full repaint and that this is NOT something I recommend you do on a factory painted car to remove orange peel.***
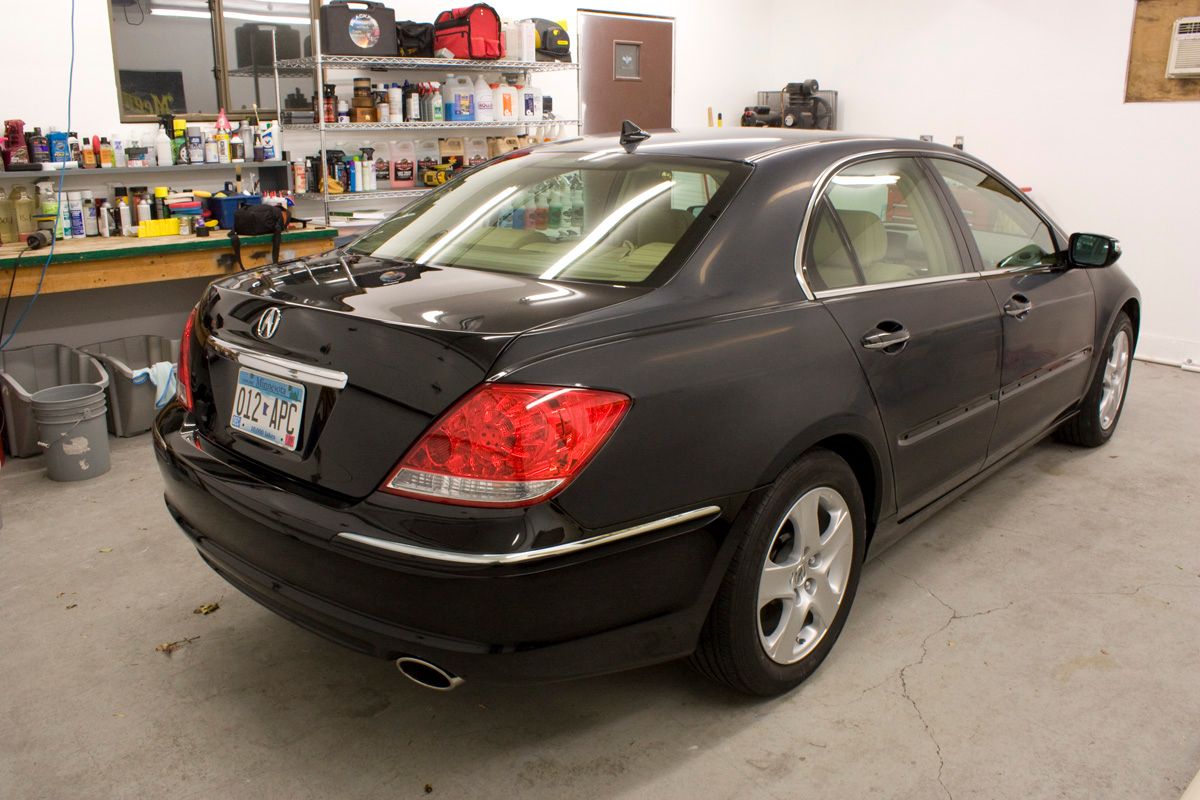
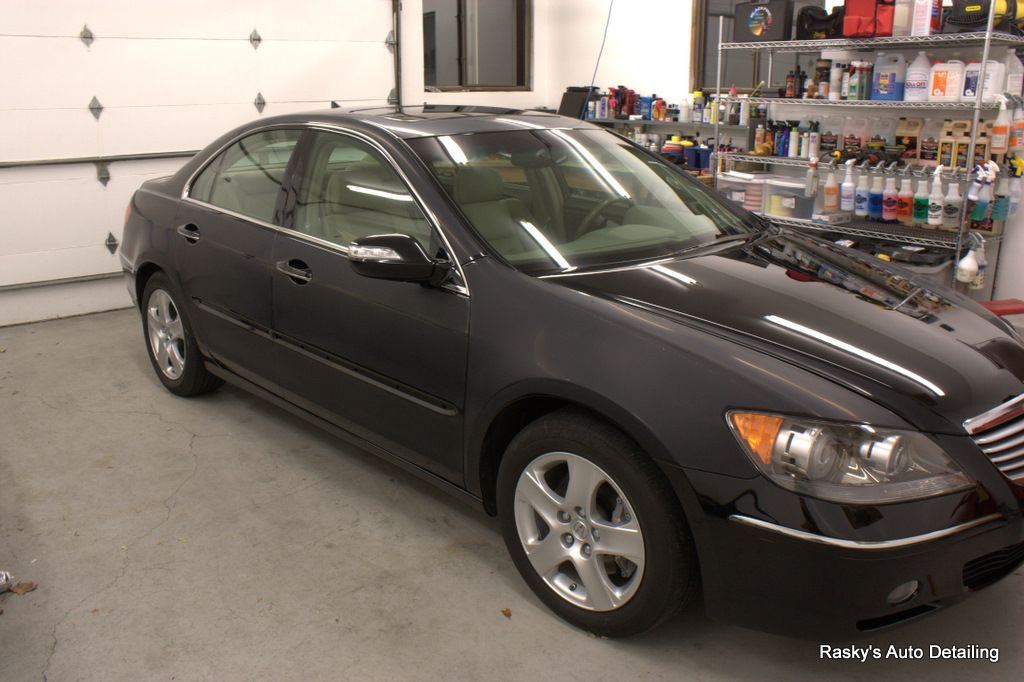
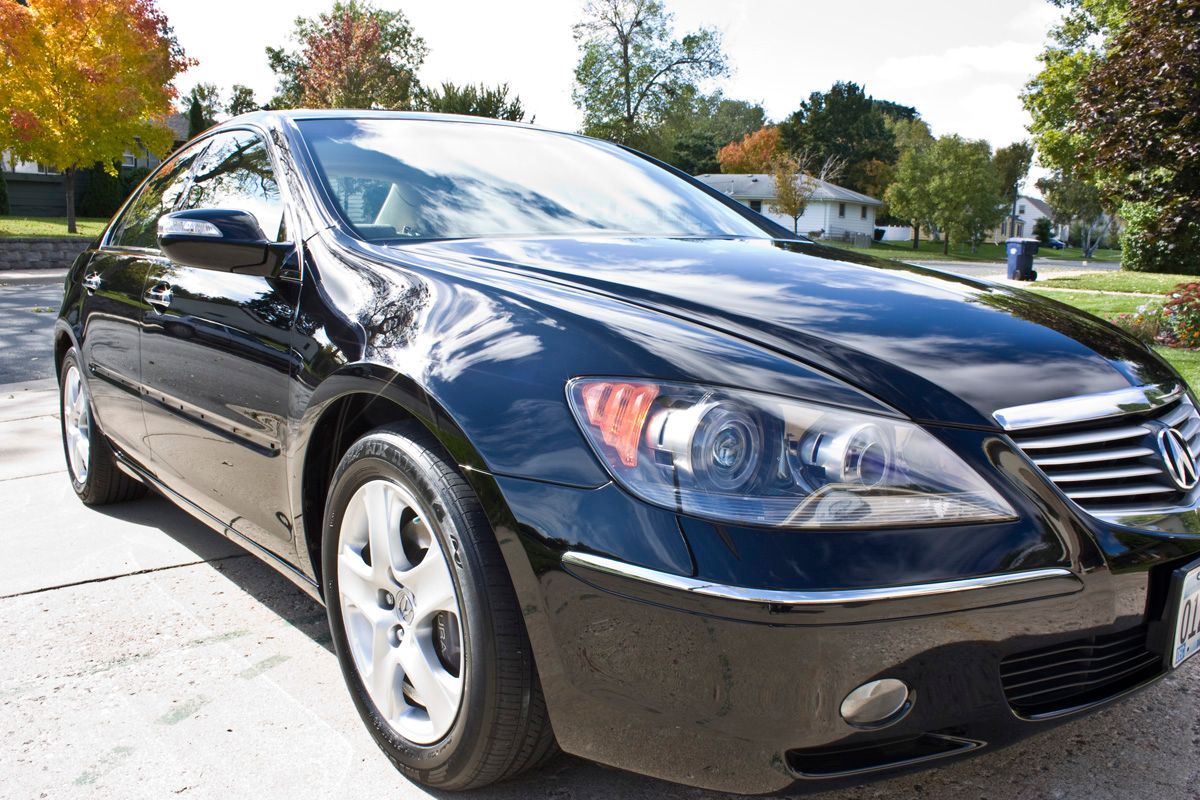
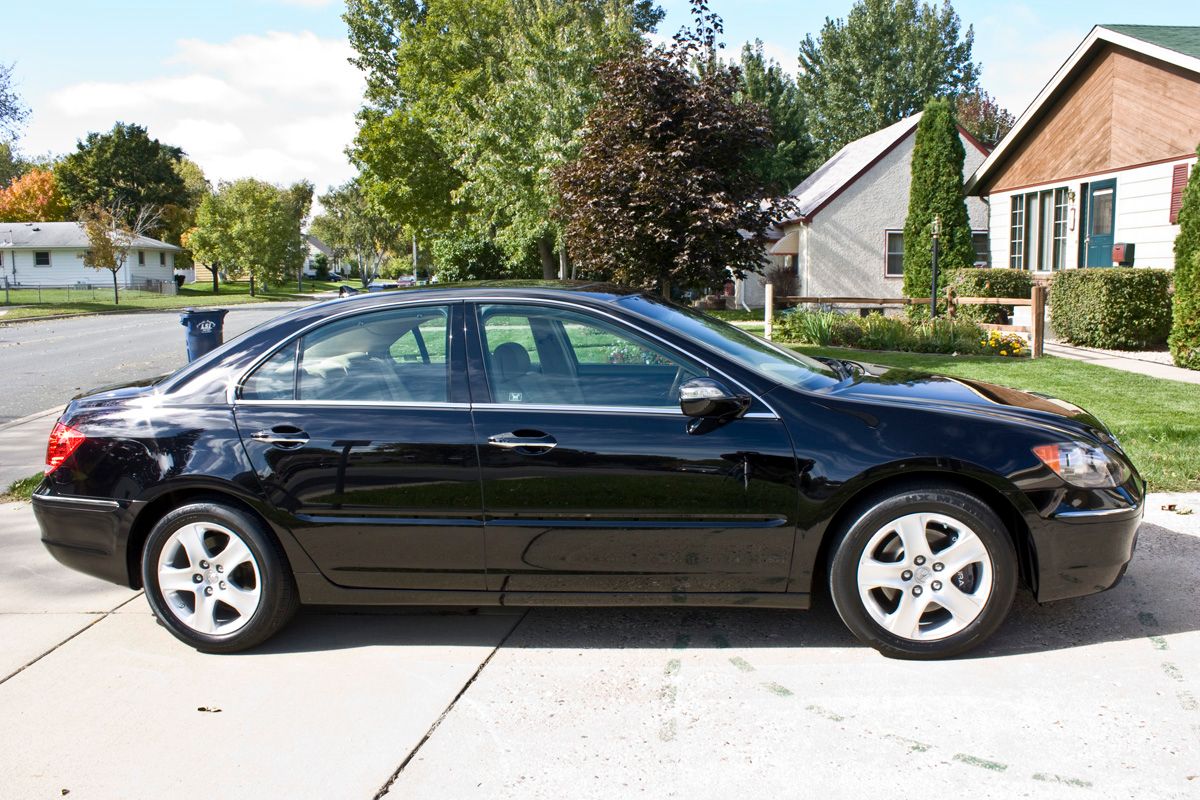
This is actually my fiancée and the car, which got hammered with over $9k in hail damage! My father works at the body shop where the work was done and I offered to do the wet sanding and buffing in exchange for having the bumpers and side moldings painted….that and I didn’t really want them doing it anyway.
Originally I had planned on doing the work the same week I picked it up knowing just how hard these newer high solids clear coats can get. Unfortunately things kept coming up and the job kept getting pushed out. It was about 4-5 weeks time between when it was painted to when I started the work…not good.
As my past experience has shown, the clear was indeed rock hard! Probably the hardest I have ever worked on and my normal process for wet sanding had to be tweaked in order to work with this paint type.
Wet sanding process:
-3M P800 via DA with soft interface pad for initial leveling (I taped off the edges 1/16-1/8 away for this step since I wanted to avoid thinning an edge too much)
-3M P1500 grit via DA with soft interface pad.
-3M P3000 grit via DA with soft interface pad.
Buffing process:
- 3M Perfect-it 3000 extra cut rubbing compound via rotary and Meguiars Solo heavy cutting pad (cut faster than M95 and Power Gloss but left deep marring)
-Meguiars M95 via rotary and Meguiars Solo light cutting pad (removed heavy marring from the extra cut and picked up any pig tails I may have missed)
-Menzerna SIP via rotary and orange LC Classic pad (finished nicely)
-Meguiars M205 via PC7424XP and White LC Classic pad (removed any remaining buffer trails left behind from SIP)
-Menzerna PO85RD via rotary and black LC Classic pad (Icing on the cake!)
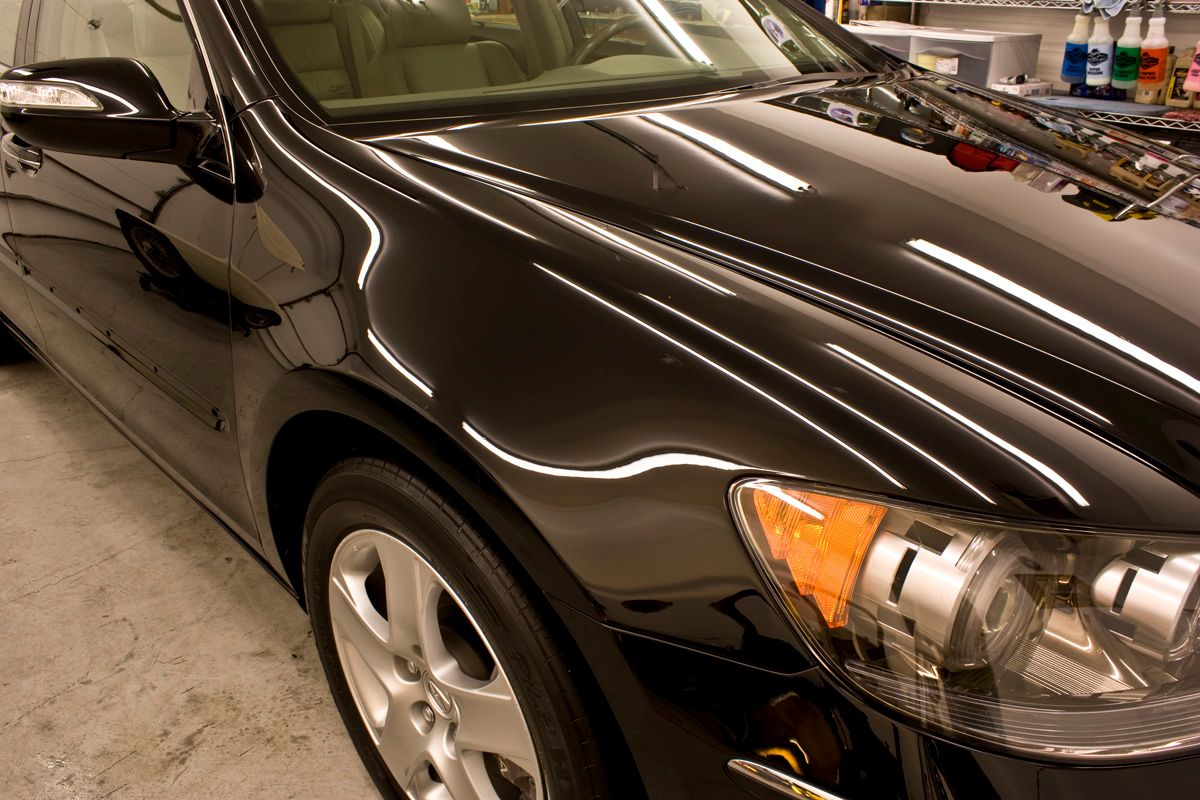
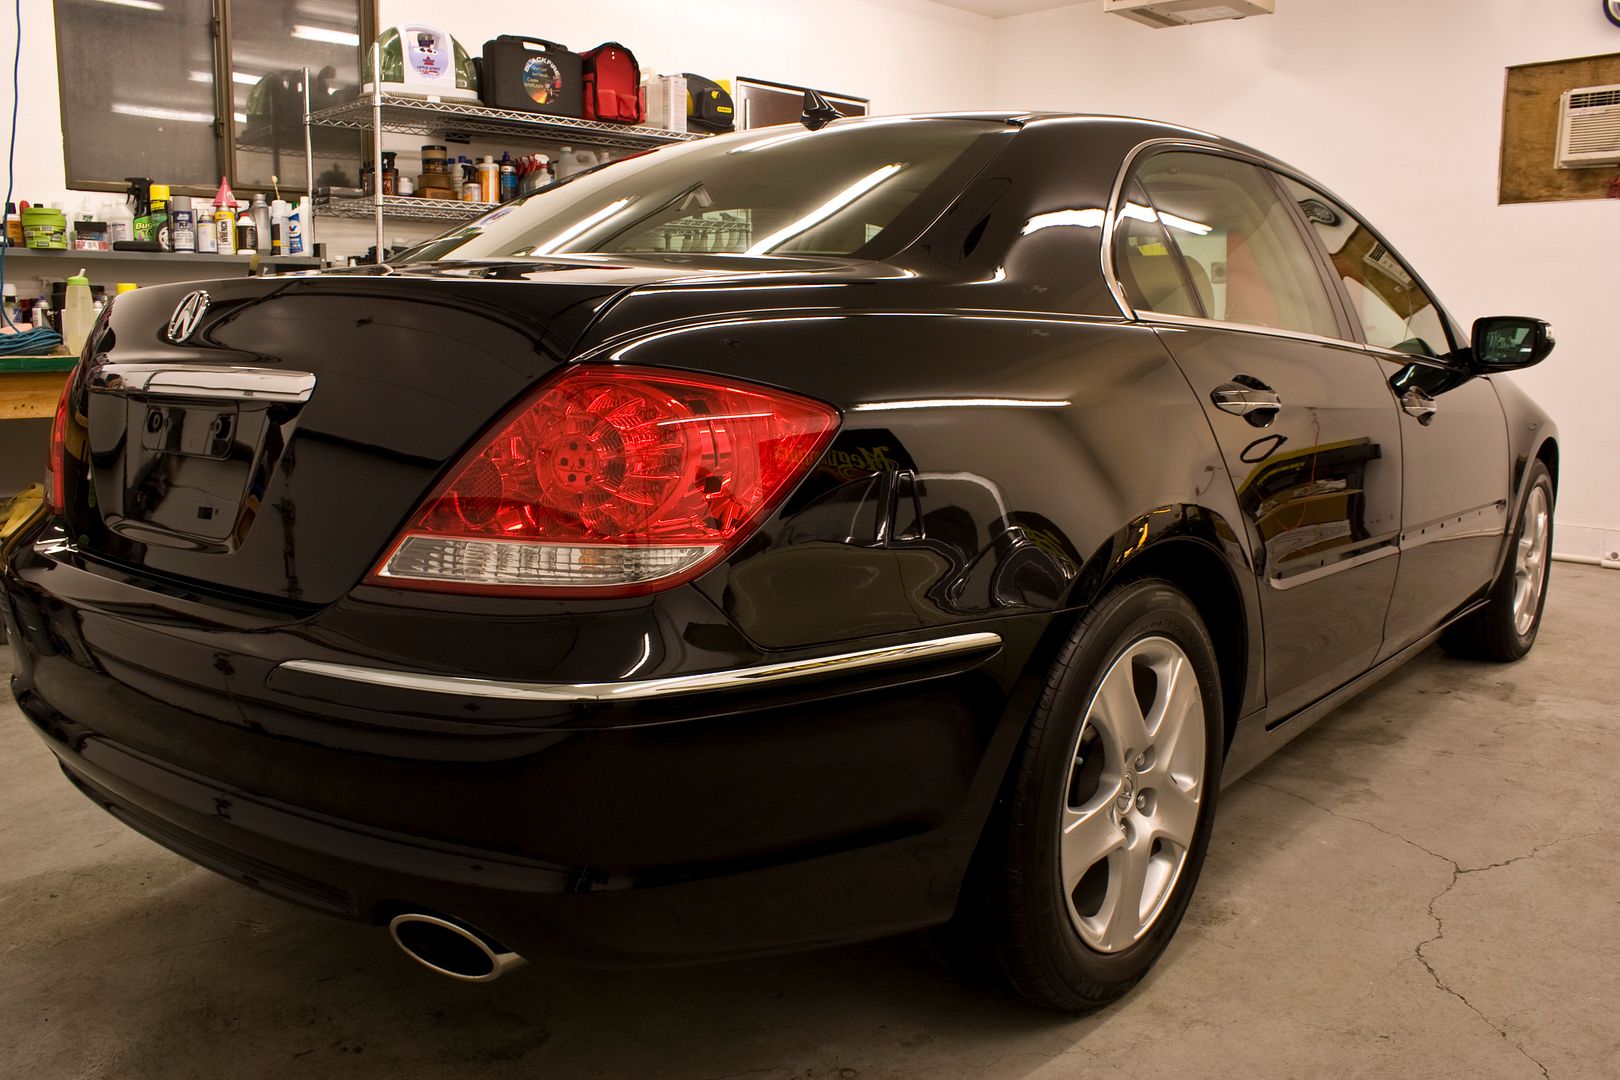
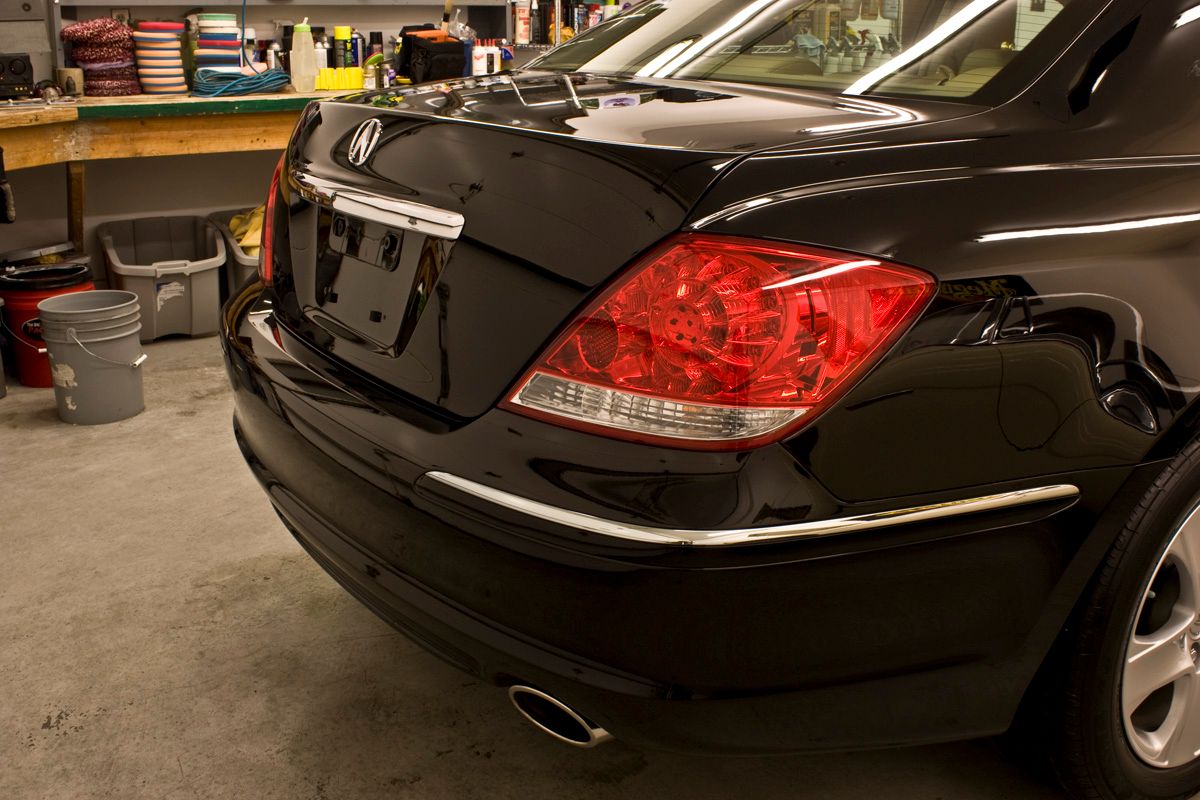
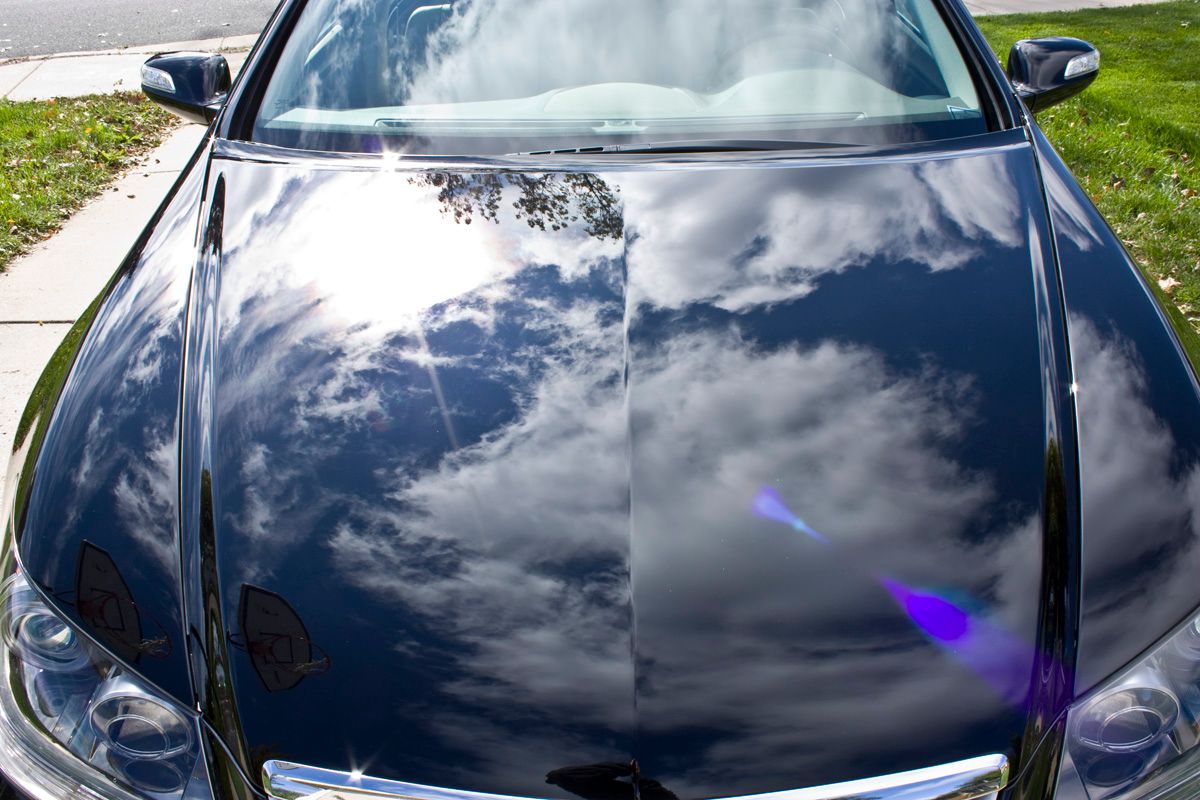
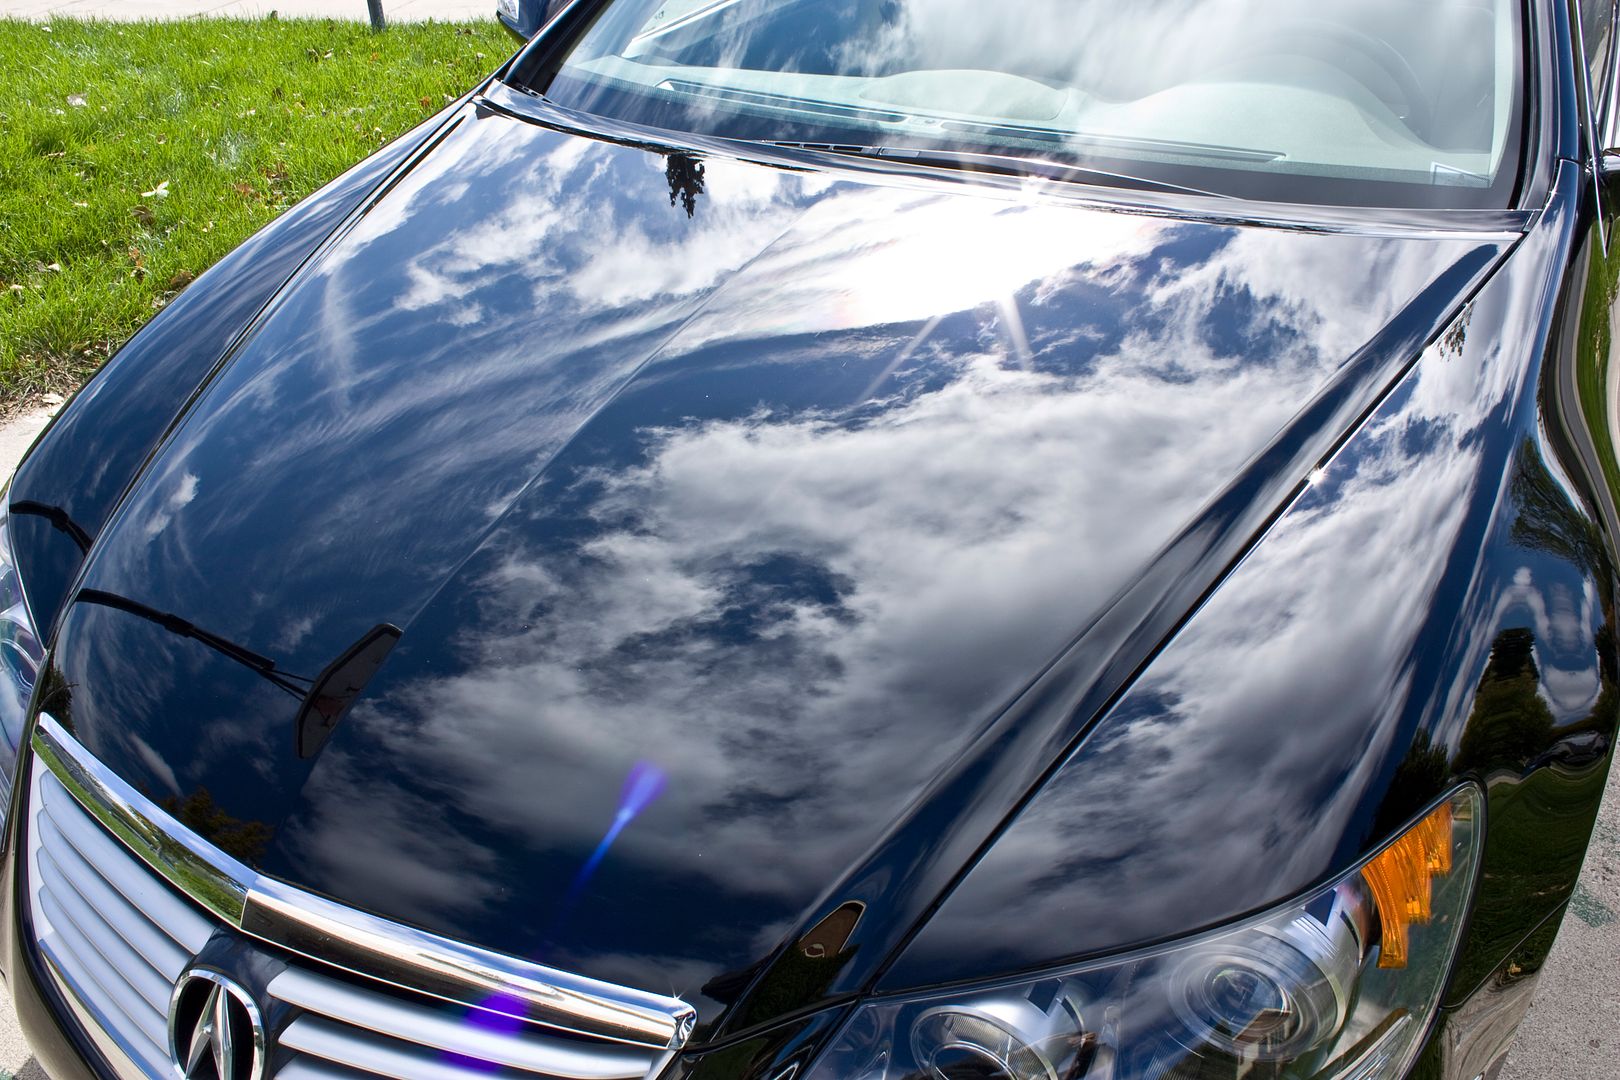
My choice of LSP was Blackfire Wet-Diamond.
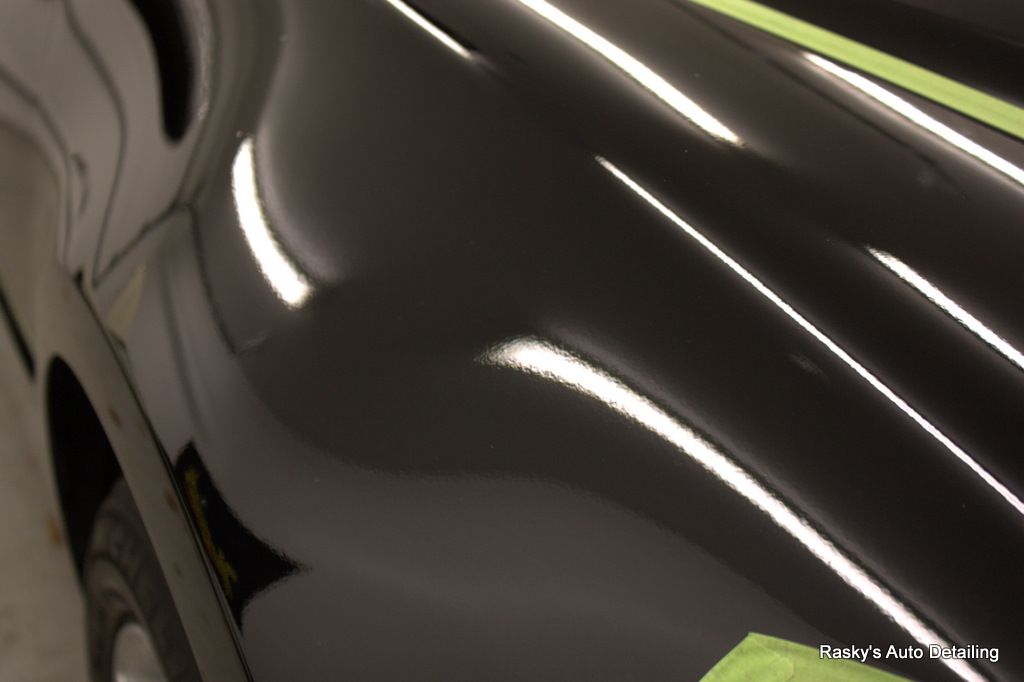
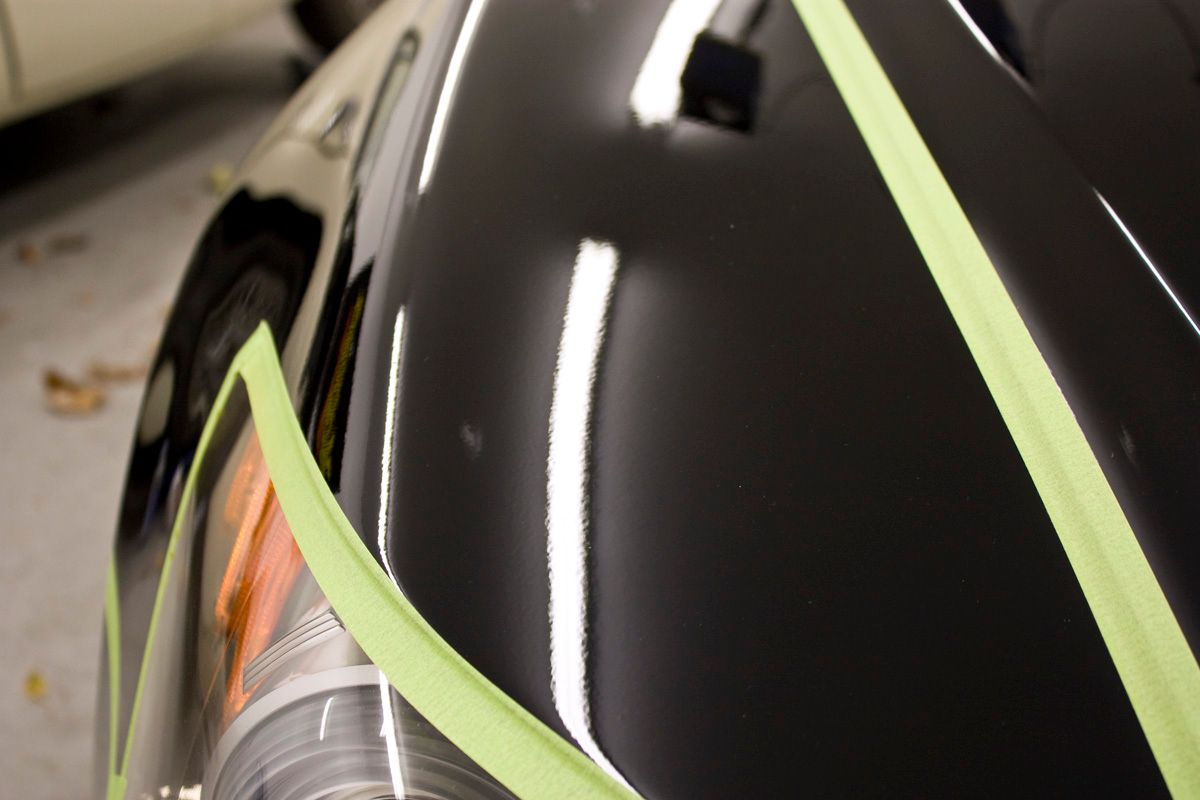
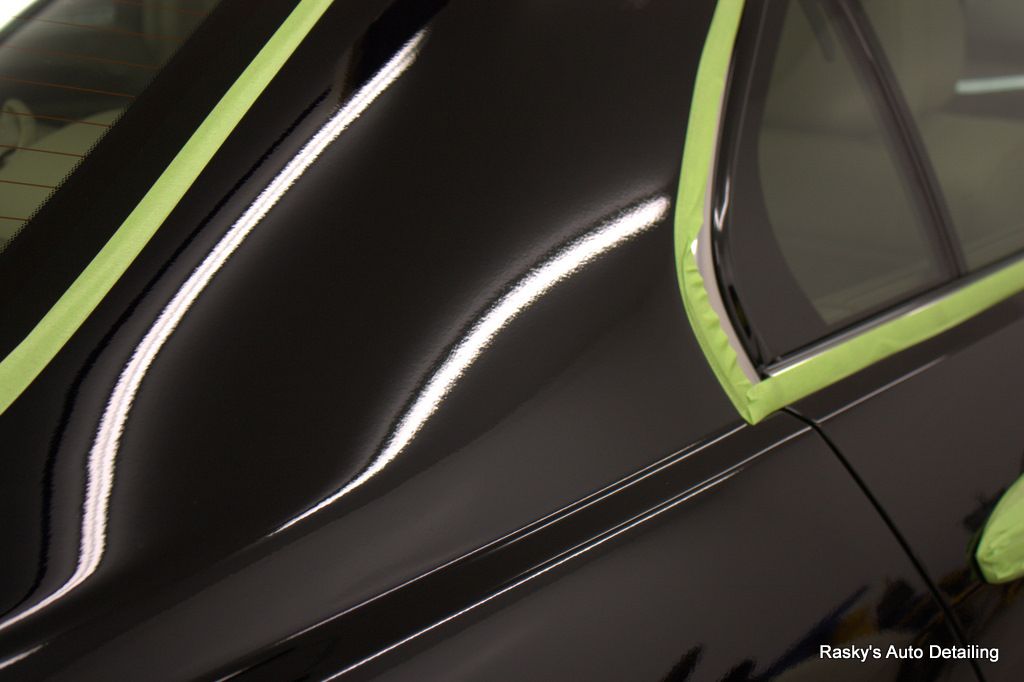
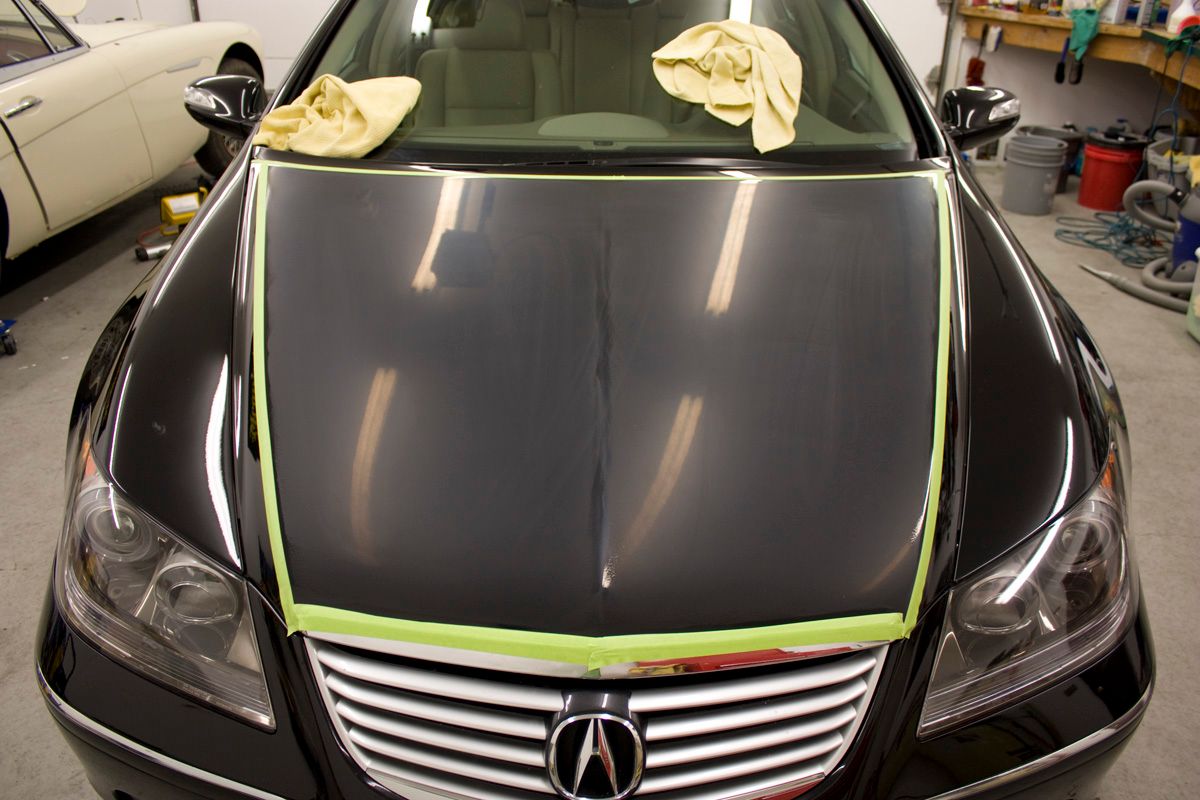
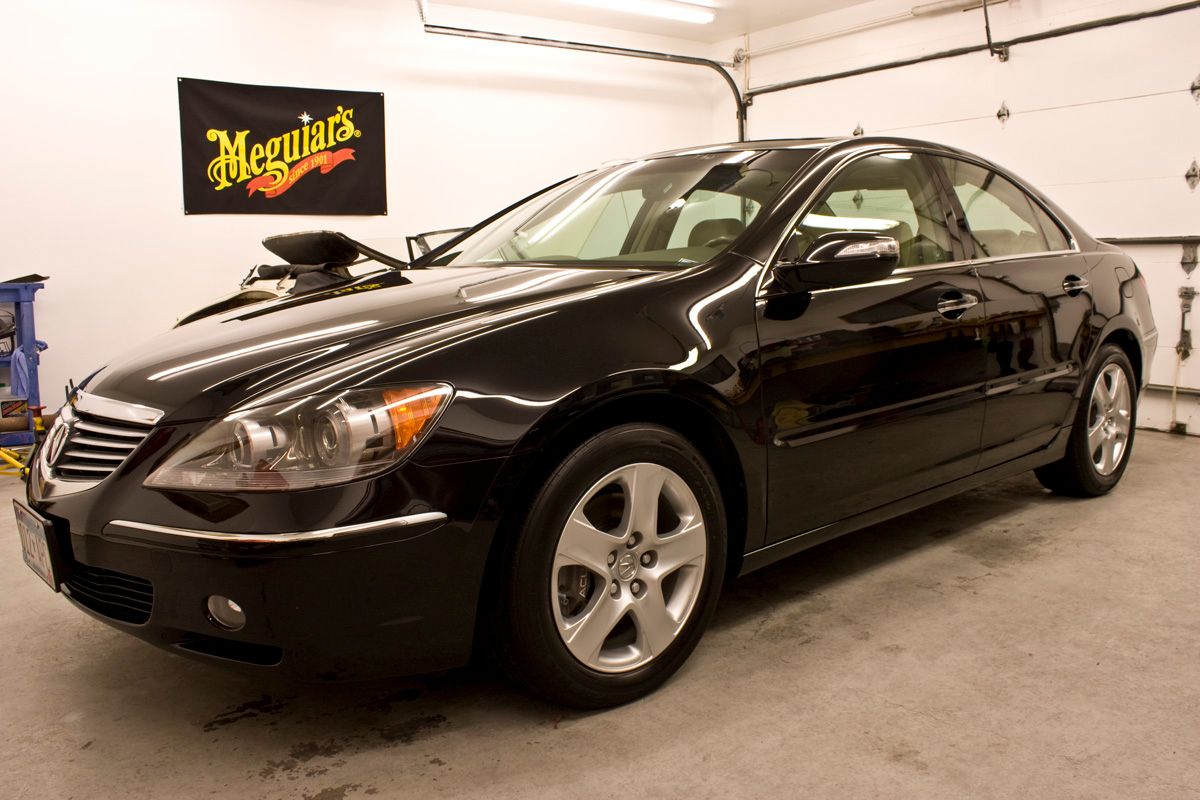
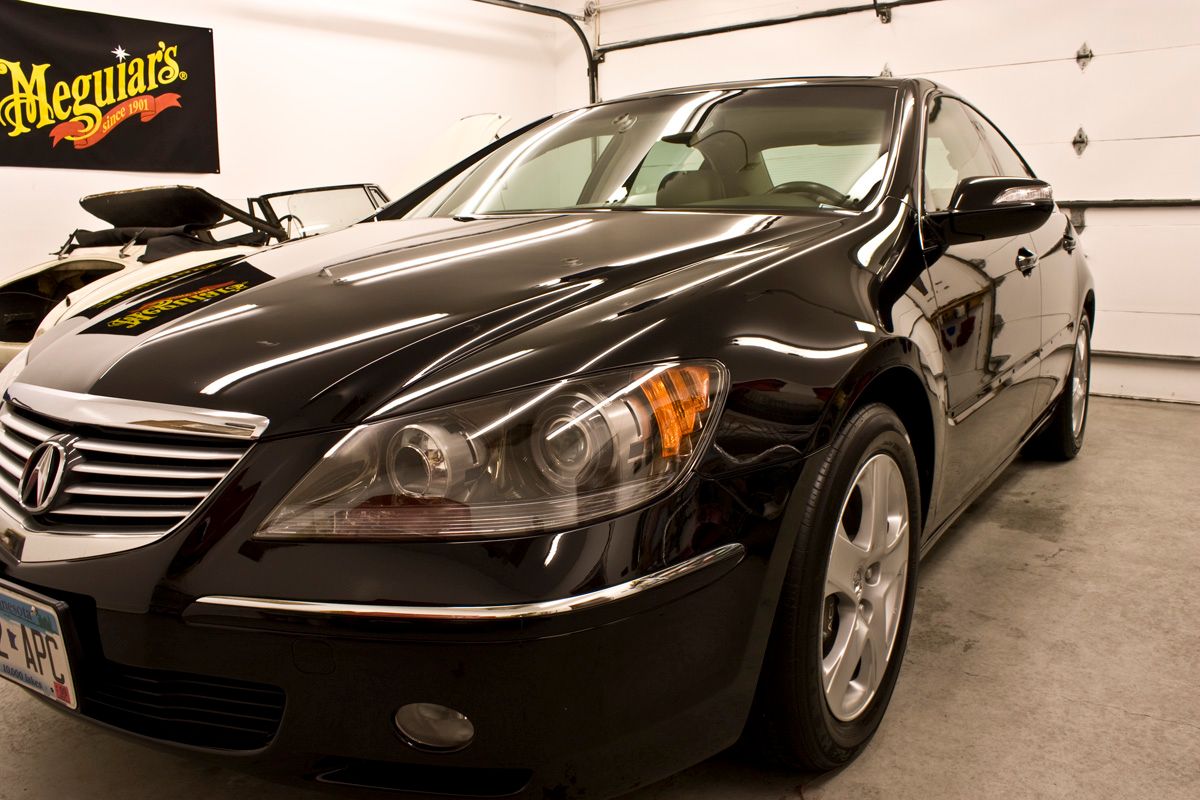
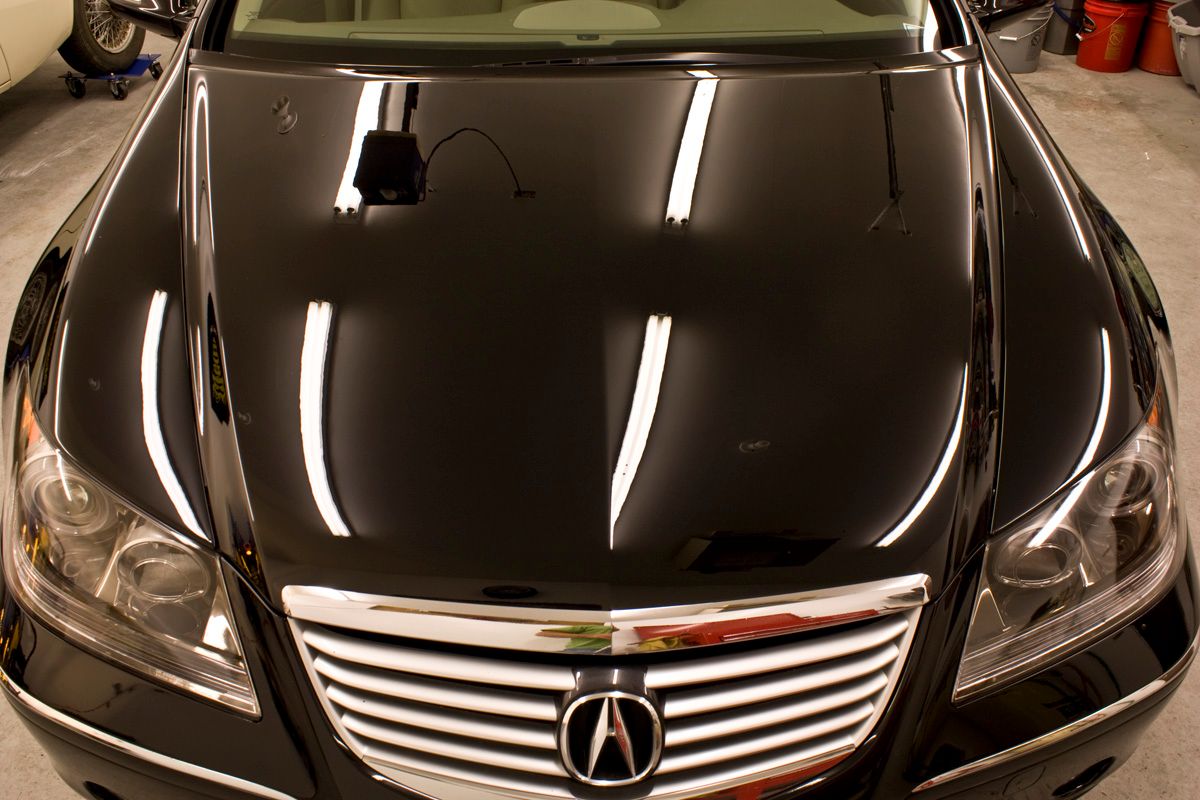
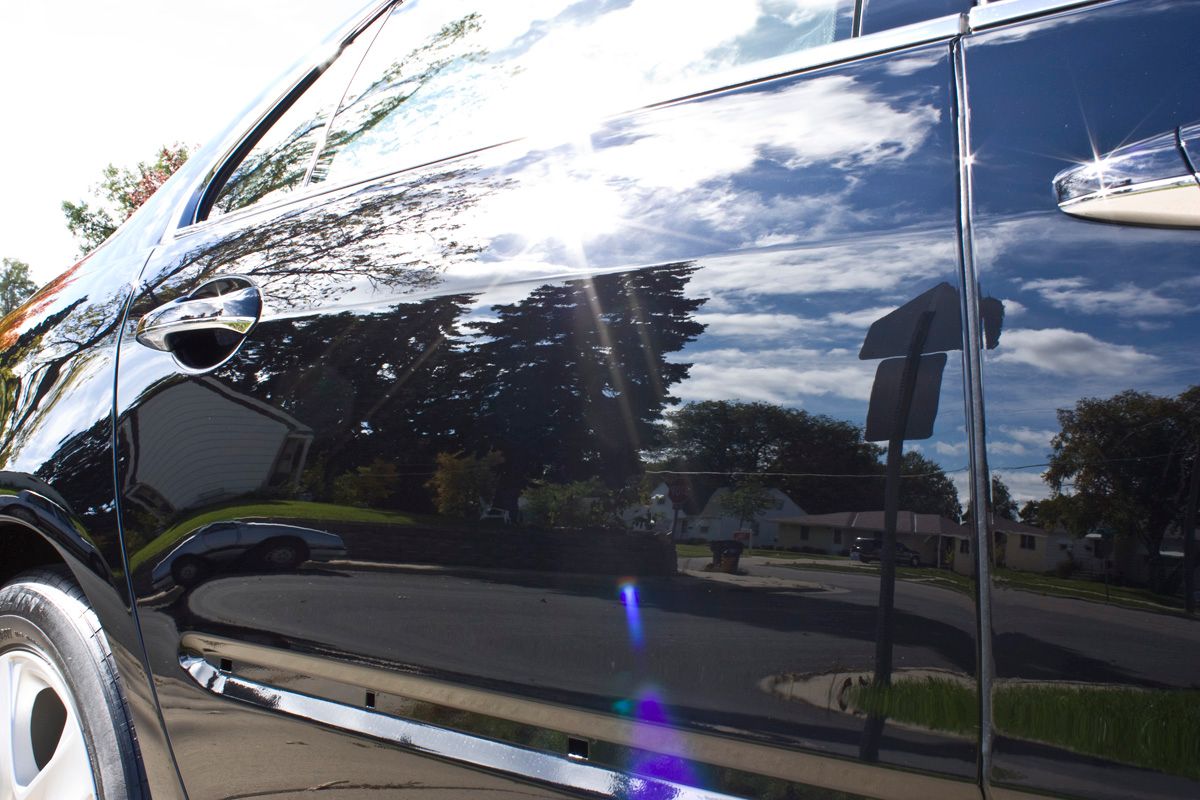
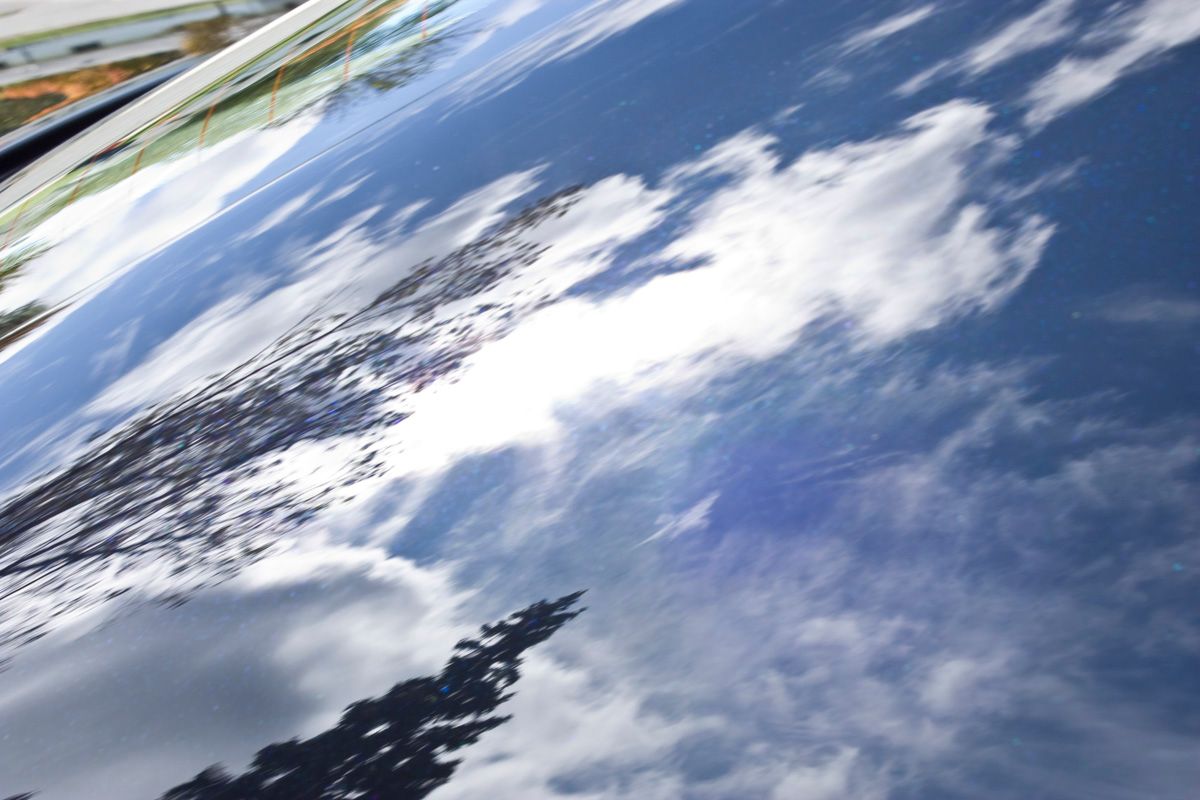
Pre hail damage the paint on this car was actually like glass right from the factory. As you will see, after the car was painted it had some pretty serious orange peel, and to be honest, I wasn’t really happy with the way it came out. While my father did all the body work on the car, they do have dedicated painters at his shop so I couldn’t blame him in any way. They shop normally turn out top notch work. regardless, I didn’t feel it was so bad that it needed to be redone, but it definitely meant taking off more clear than I really wanted too in order to get it to the level it was at prior to the damage.
Before sanding I spoke with the manager about the paint thickness readings I found on all the new panels and wanted to ensure full paint warranty if I were to level the paint myself….which he assured me they would honor.
On with the pics!!!
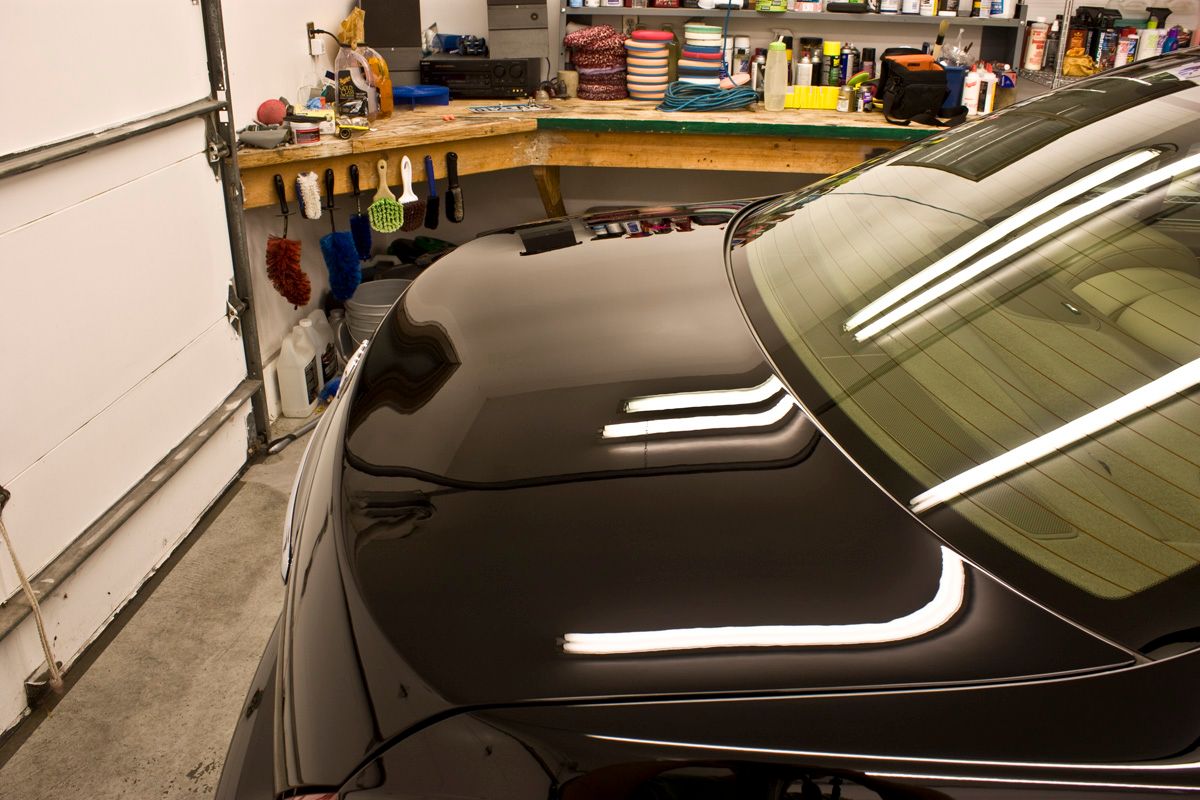
Bad orange peel
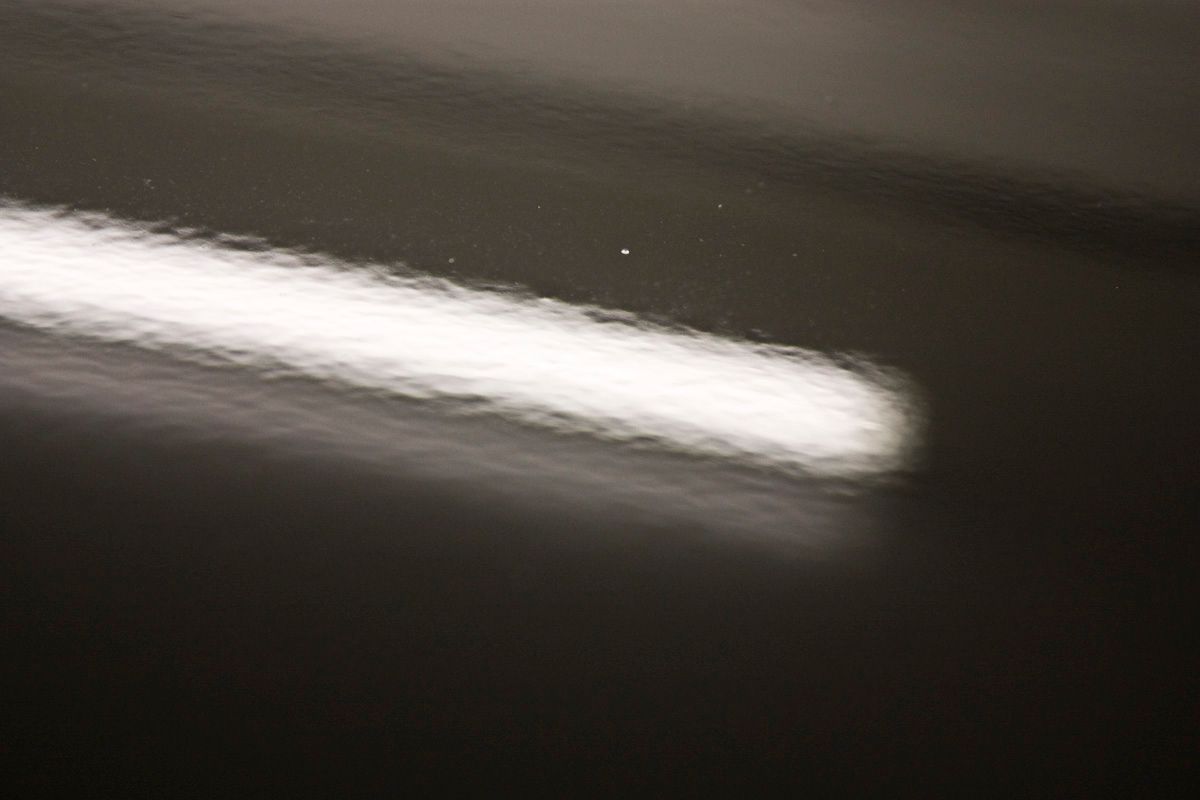
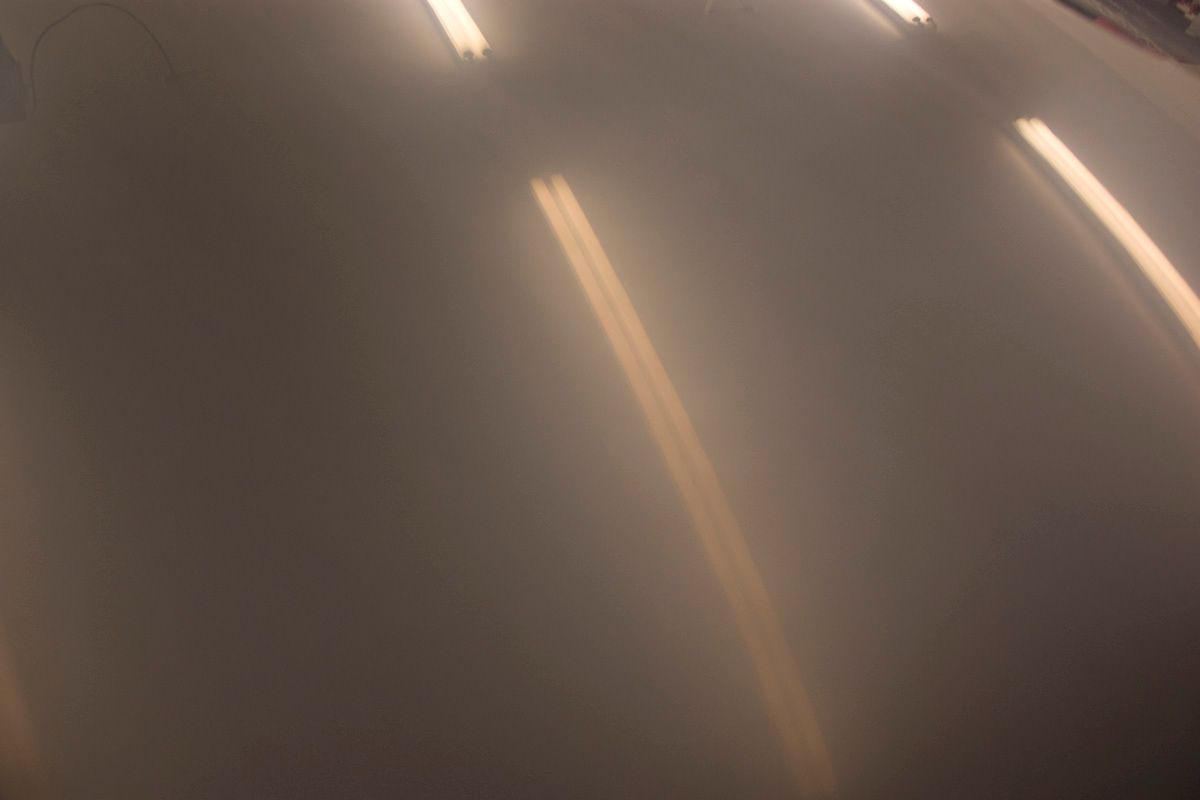
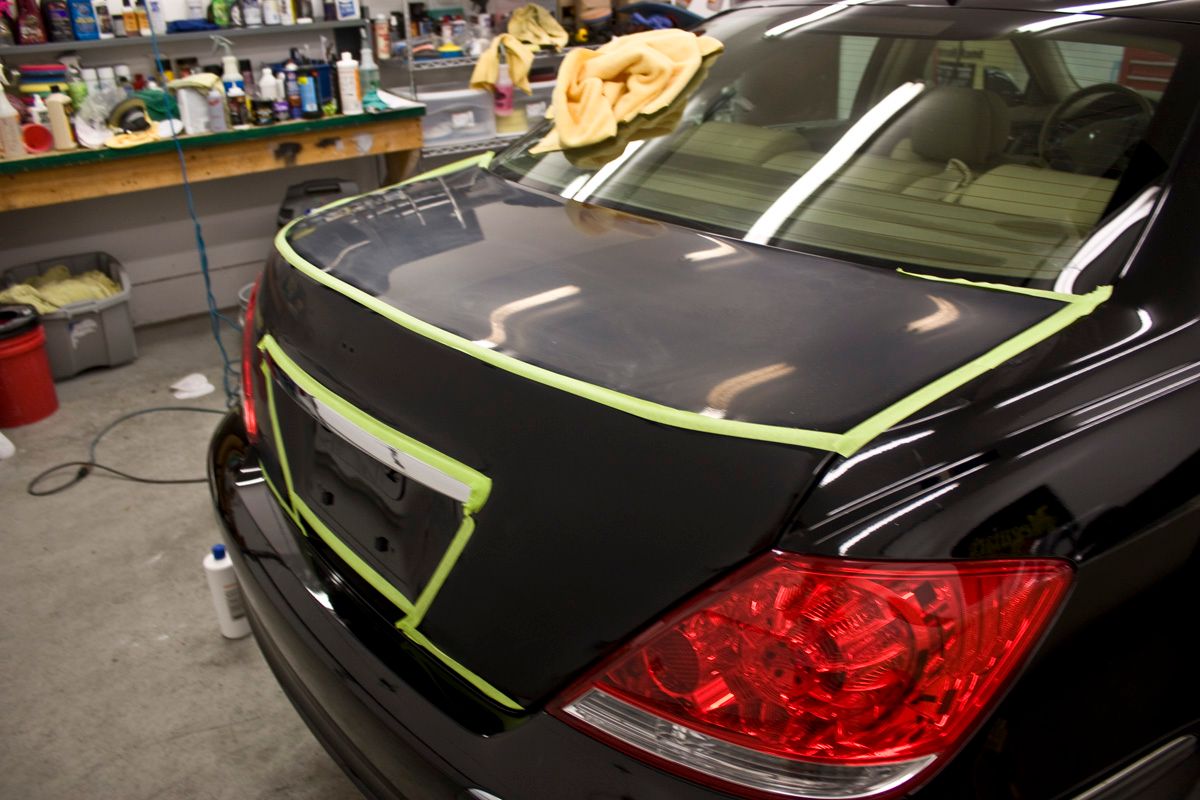
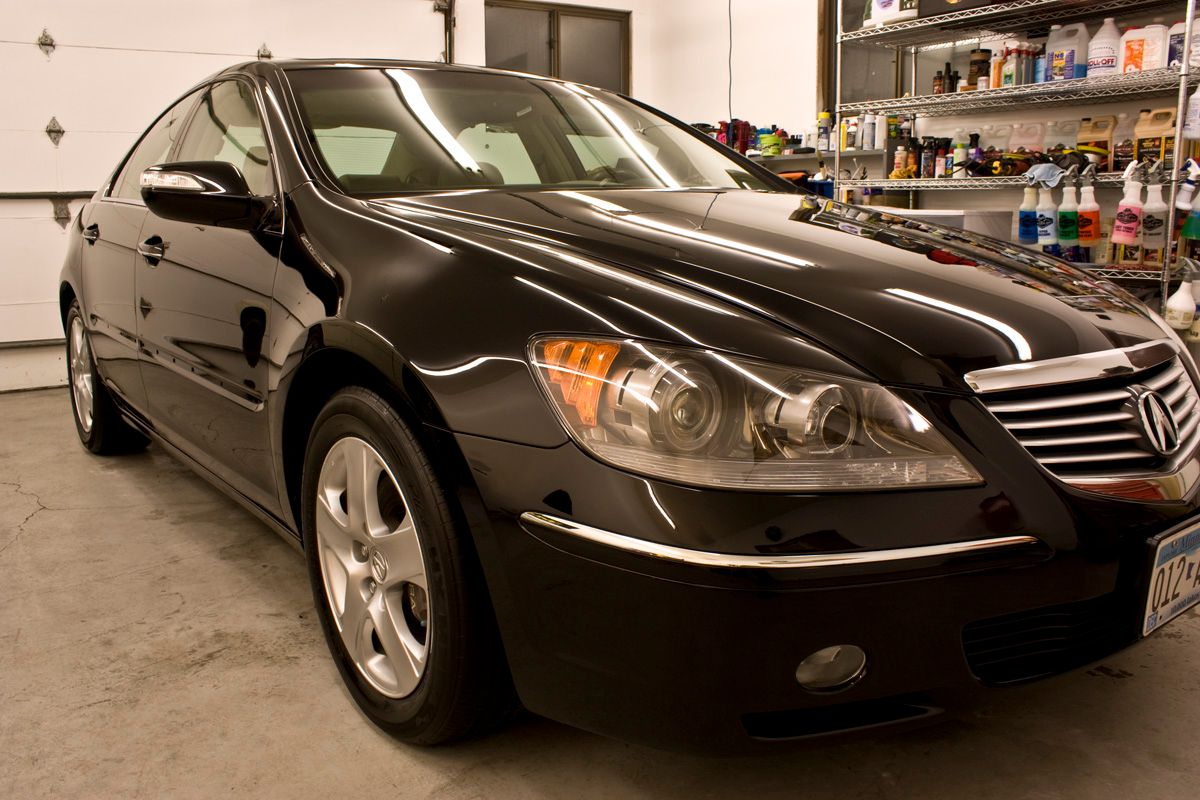
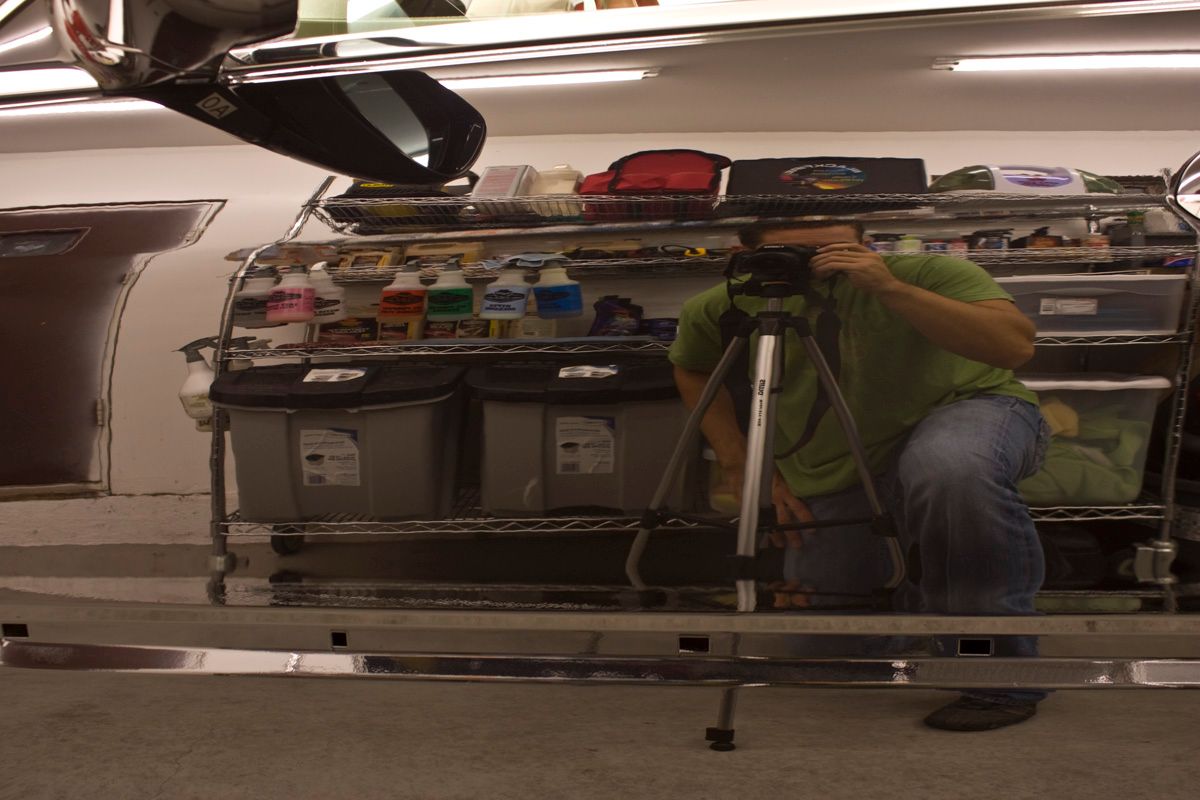
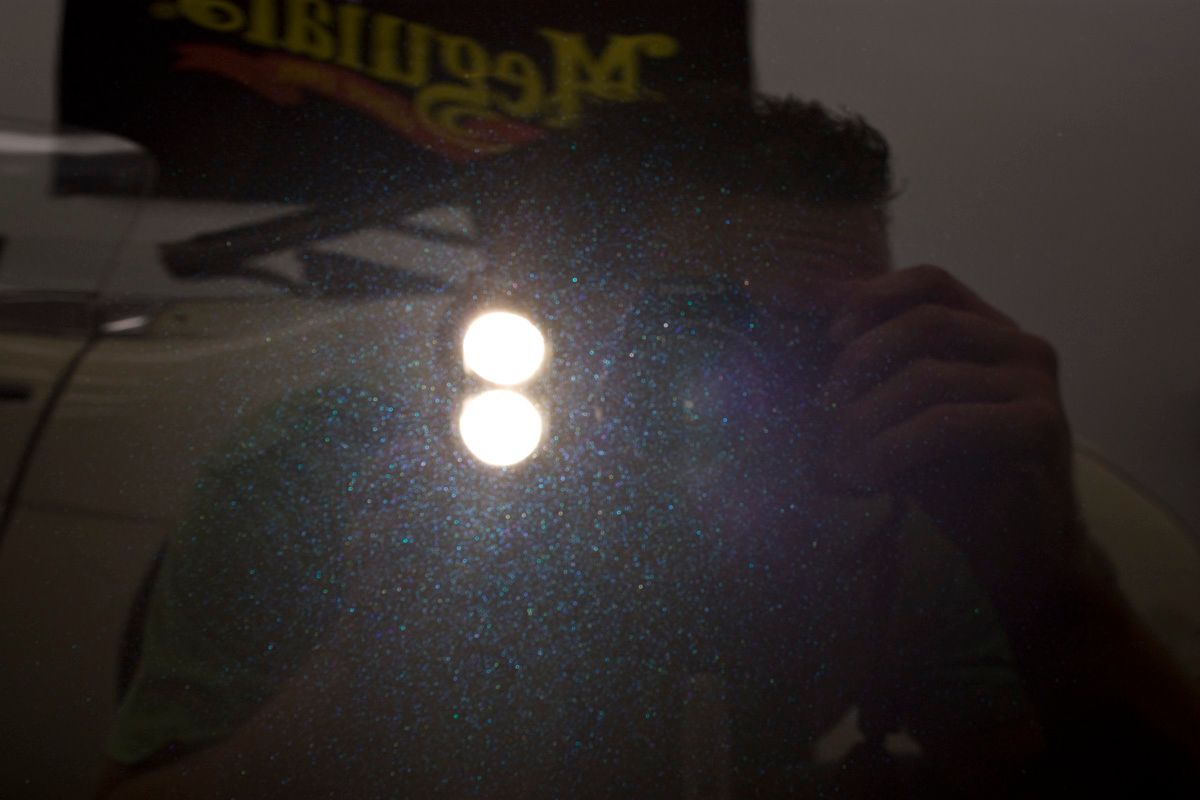
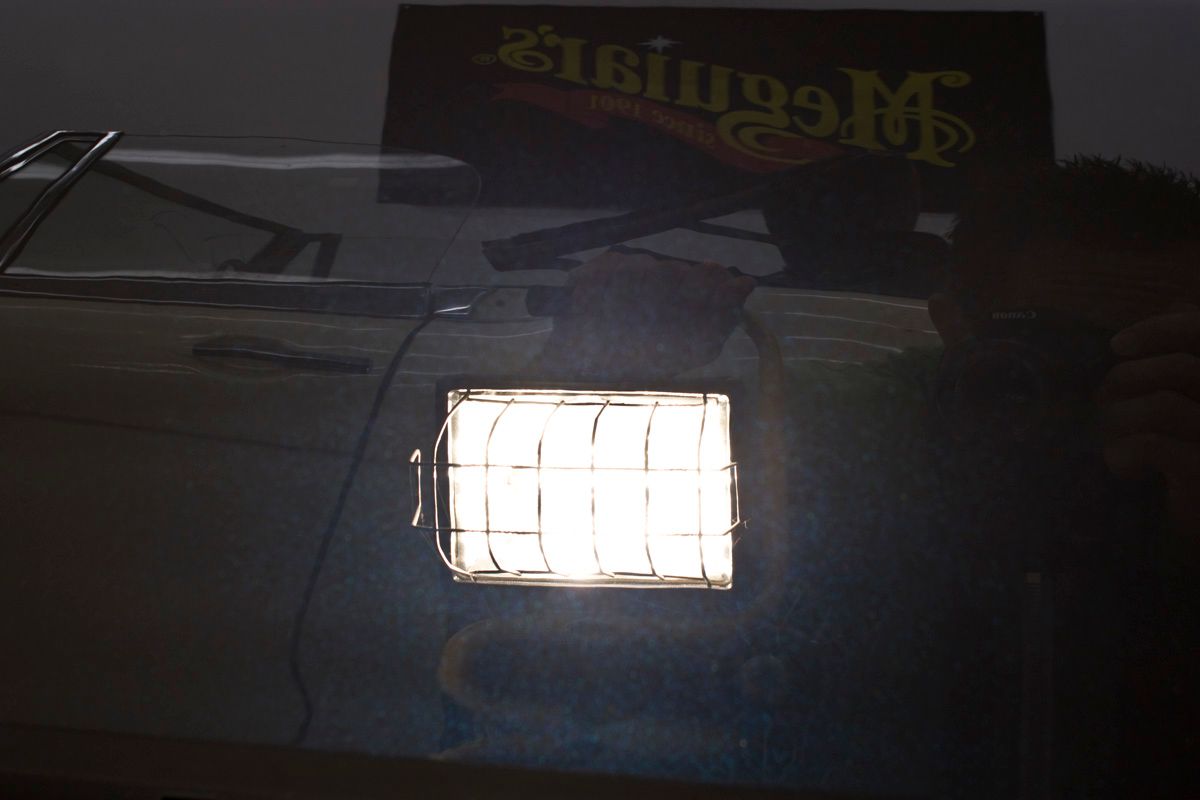
Sanding in process

This is actually my fiancée and the car, which got hammered with over $9k in hail damage! My father works at the body shop where the work was done and I offered to do the wet sanding and buffing in exchange for having the bumpers and side moldings painted….that and I didn’t really want them doing it anyway.
Originally I had planned on doing the work the same week I picked it up knowing just how hard these newer high solids clear coats can get. Unfortunately things kept coming up and the job kept getting pushed out. It was about 4-5 weeks time between when it was painted to when I started the work…not good.
As my past experience has shown, the clear was indeed rock hard! Probably the hardest I have ever worked on and my normal process for wet sanding had to be tweaked in order to work with this paint type.
Wet sanding process:
-3M P800 via DA with soft interface pad for initial leveling (I taped off the edges 1/16-1/8 away for this step since I wanted to avoid thinning an edge too much)
-3M P1500 grit via DA with soft interface pad.
-3M P3000 grit via DA with soft interface pad.
Buffing process:
- 3M Perfect-it 3000 extra cut rubbing compound via rotary and Meguiars Solo heavy cutting pad (cut faster than M95 and Power Gloss but left deep marring)
-Meguiars M95 via rotary and Meguiars Solo light cutting pad (removed heavy marring from the extra cut and picked up any pig tails I may have missed)
-Menzerna SIP via rotary and orange LC Classic pad (finished nicely)
-Meguiars M205 via PC7424XP and White LC Classic pad (removed any remaining buffer trails left behind from SIP)
-Menzerna PO85RD via rotary and black LC Classic pad (Icing on the cake!)
My choice of LSP was Blackfire Wet-Diamond.
Pre hail damage the paint on this car was actually like glass right from the factory. As you will see, after the car was painted it had some pretty serious orange peel, and to be honest, I wasn’t really happy with the way it came out. While my father did all the body work on the car, they do have dedicated painters at his shop so I couldn’t blame him in any way. They shop normally turn out top notch work. regardless, I didn’t feel it was so bad that it needed to be redone, but it definitely meant taking off more clear than I really wanted too in order to get it to the level it was at prior to the damage.
Before sanding I spoke with the manager about the paint thickness readings I found on all the new panels and wanted to ensure full paint warranty if I were to level the paint myself….which he assured me they would honor.
On with the pics!!!
Bad orange peel
Sanding in process
Last edited:


")
")